Hello, hivers! Welcome!
In the last post about building my garden railroad, I talked about putting weed barrier cloth under the track, and working on the curve at the back of the garden. In this post, I'll be talking more about that back curve.
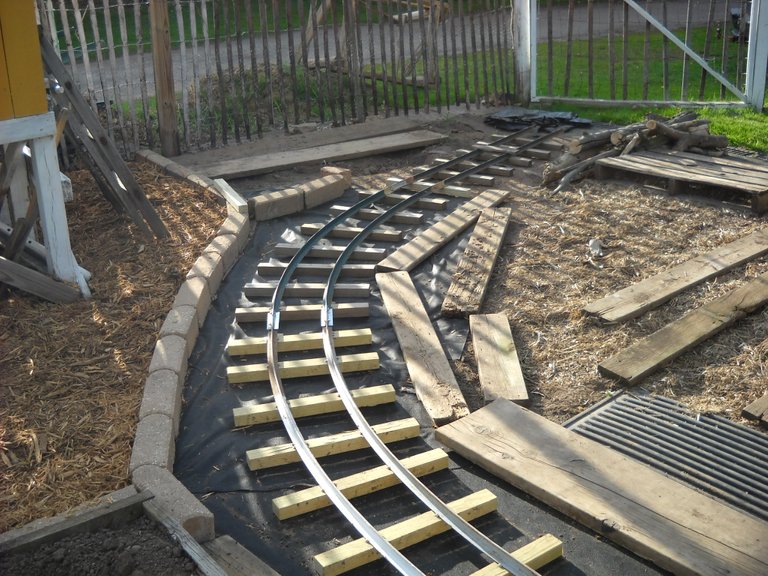
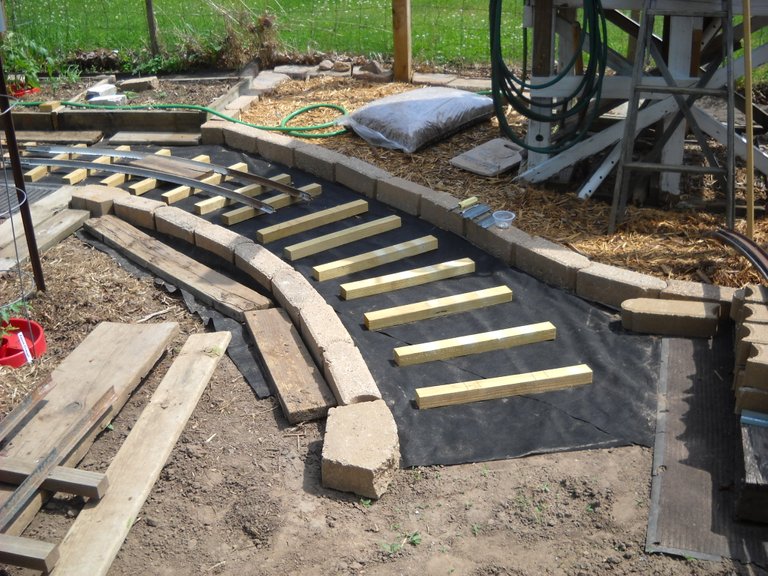
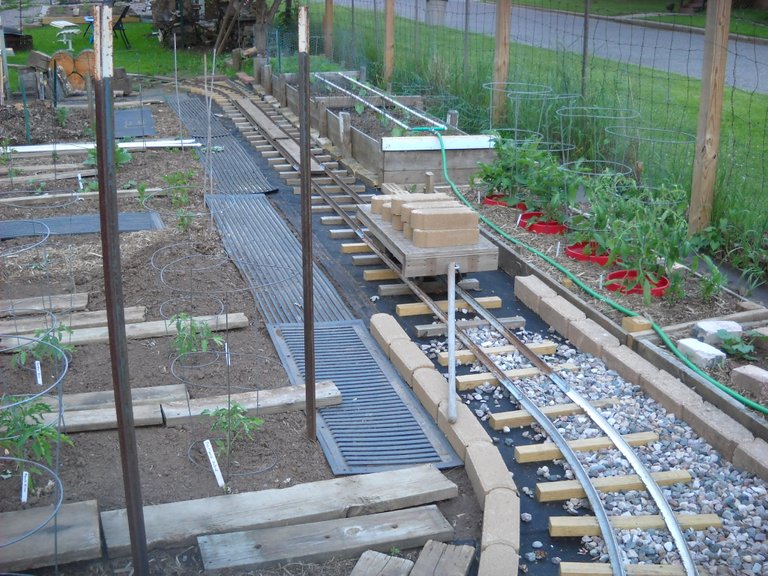
First, a picture of where I left off in the last post, showing how the curve was set up. In this picture, you can see 2 curve sections of track, and a straight section at the end of the curve. You can also see that I'm holding down the landscape cloth on the inside of the curve with boards. At this point, I had not yet planted my tomato plants in the garden.
Something I had forgotten to talk about in my last post was putting the landscaping edge blocks on the landscape cloth on the outside of the curve. This was both to hold down the cloth and to hold the cypress mulch in place on the outside of the railway. These edge blocks would also serve to hold the ballast rock in place once I filled it in around the railroad ties. I had gotten all those edge blocks second hand last year and had them in a pile in the back yard, so they came in handy for the purpose.
I decided to use edge blocks for the inside edge of the landscape cloth also, but I didn't have any more of the used ones, so I had to buy some new ones. I brought them in through the back gate and stacked them on a pallet by the railroad so they would be close at hand to use. Then I started laying them out. I had pulled the last straight section of track out because I needed to do more leveling work on the rail bed.
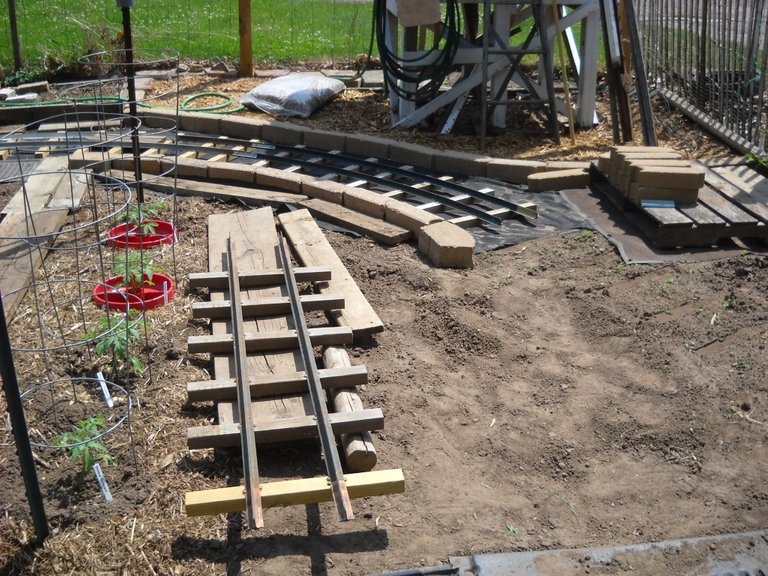
It was during this work that I decided to pull out the second curve section of track also. I had been having a hard time keeping the flatcar on the track on that piece of curve, and decided that that curve section was too tight of a curve for the car to handle.

I decided to build another curve section with a bit less bend in the rails to get a wider radius curve. This is the rails setting on the ties to see how well they matched. It's a bit tricky to bend the second rail of a curve to match the first rail because the distance between the rails has to stay constant through the curve. There's a lot of bending, checking, and re-bending on the second rail to get it right.
Here's the ties set in place for the new second curve section.
Of course, I forgot to take a picture after I put the second curve section together.
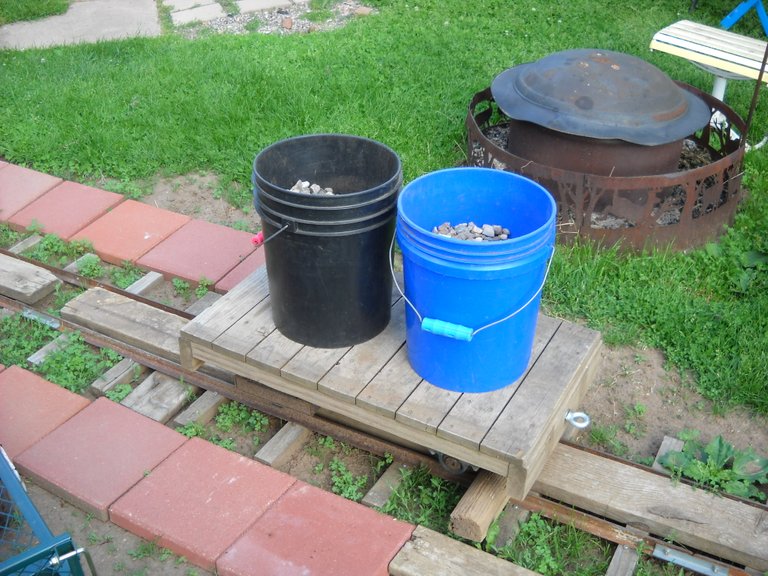
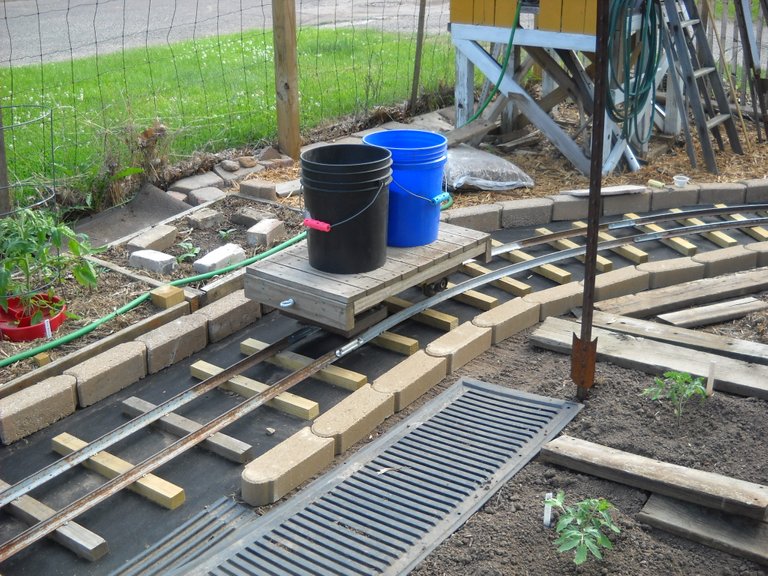
After getting the new second curve section in place and tested, I decided that it was time to haul the first of the ballast rock down from the greenhouse area to the curve to dump between the ties. I used buckets and the flatcar to haul the rock.
This picture is from up by the greenhouse.
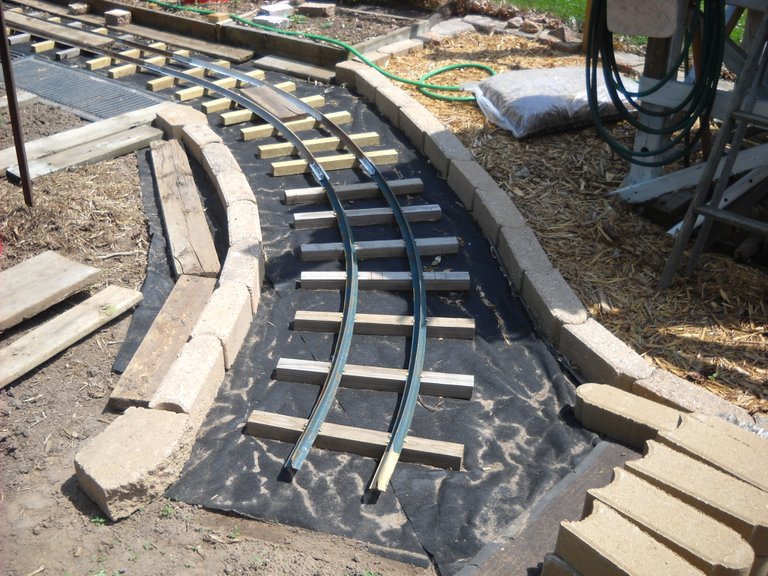
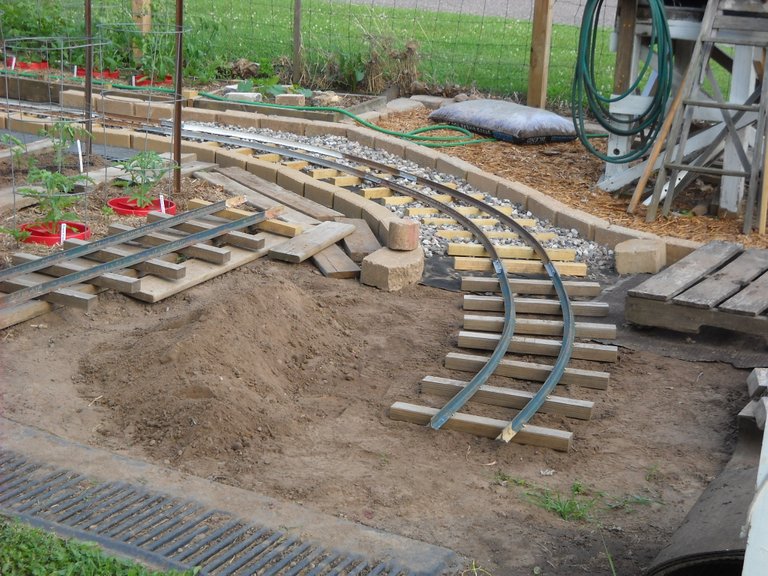
This is down at the curve. You can see part of the new second curve section in place here.
Here's the first load dumped on the track.

Several loads of ballast later, I had more of the track filled around. I decided that I needed to haul some edge blocks up the line to put in place between the track and the garden. That way, I would be able to add more ballast in that area. I also needed to get more ballast to add to the railroad.
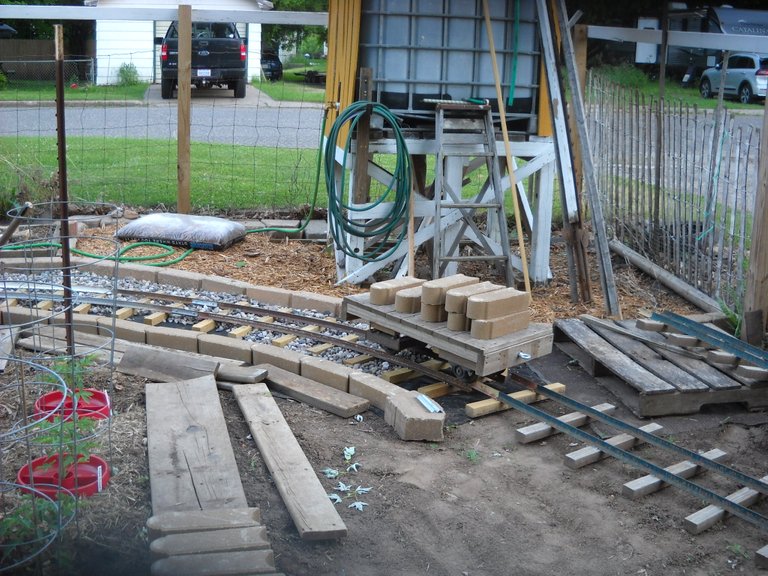
It was easier to move the edge blocks with the flatcar than carrying them up to where I was putting them.

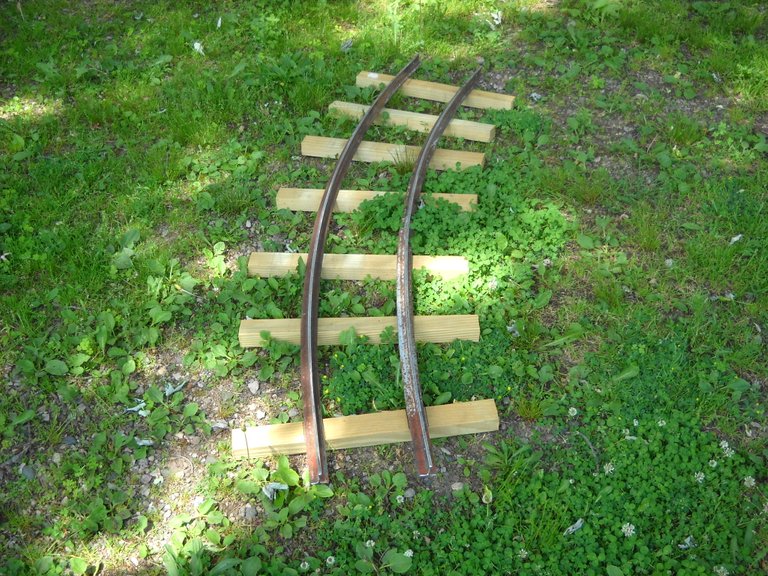
One other thing that I did at around this time was that I took apart the curve section that I had removed from the track and re-bent the rails a bit to make the curve section a bit wider radius of curve. Then I put it back together and put it at the end of the other 2 curve sections.
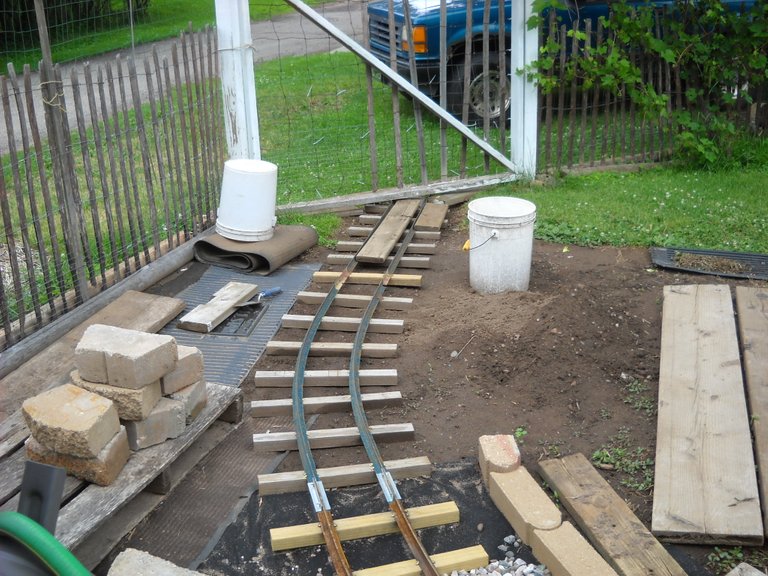
All of this work was done during the first 2 weeks of June. At some point around the middle of June, I also added the last straight section of track to the end of the curve. This took some more digging and leveling to get the track section to fit where I wanted it, and also to fit under the gate. I was thinking that having the track go under the gate would make it easier to load stuff on the flatcar from outside the garden fence. You can see the alley in this picture.
This section of track ended up having more of a slope to it than I wanted, so I ended up raising the gate so that I could raise the track under the gate for less slope. I didn't do that work until later in the summer. That will be part of another post, when I get to that point in the work that I did on the railroad.
In my next post, I'll talk about putting landscape cloth under the part of the railroad up by the greenhouse.
That's it for this post, I hope you found it interesting!

What a stunning idea! You must be exhausted from all the back-breaking work. But worth it in the end. Can't wait to see the finished result.
Thank you!
It has been a lot of work, but I'm pretty happy with the result.
My first thought on the raising of the gate was how critters would appreciate it..... Just loving reading this!
I had to put extra stuff under the gate where it closes to keep the rabbits from going under the gate. There was a big gap under the gate after I raised it, lots of space for a rabbit to get under.
What a wonderful hobby and so very useful.
Being retired allows us to undertake projects that take time to complete, enjoying every minute of doing so.
Simply remarkable!
Thank you!
I must say, it's been hard on my bad back, but most of the hard work is done. I'm planning on building a bit more track next year. Winter is approaching, so I won't get any further on it this year.
I am further on in the building process than the last post, I have a couple more posts to write about the work on the railroad to catch up to where I'm at with it right now.
The railway is looking fantastic! Really enjoyed following along with your progress!
Thank you!
I would be super interested in seeing a plan/map of the layout/intended layout for your whole railway - even a rough sketch...
I really should draw up a sketch of the garden and the railroad.