Hello Steemit community as they are, this is my first post and I hope you serve them and they like this information that I bring to you.
Today I come to share my knowledge that I acquired during all this time that I worked in the nursery "Good and God" where I work with the steemit community.
 In my presentation post I talk about the Good and God nursery where I work, you can visit the following link to know me.
https://steemit.com/introduceyourself/@rigor192/presentate-en-la-comunidad-steemit-introduceyourself-in-the-steemit-community
One of the first jobs we did in the nursery is the "seedbed", which is the placement of the seeds in a series of trays, where they are separated from each other for better management later.
These are the materials we use for the "seedbeds".
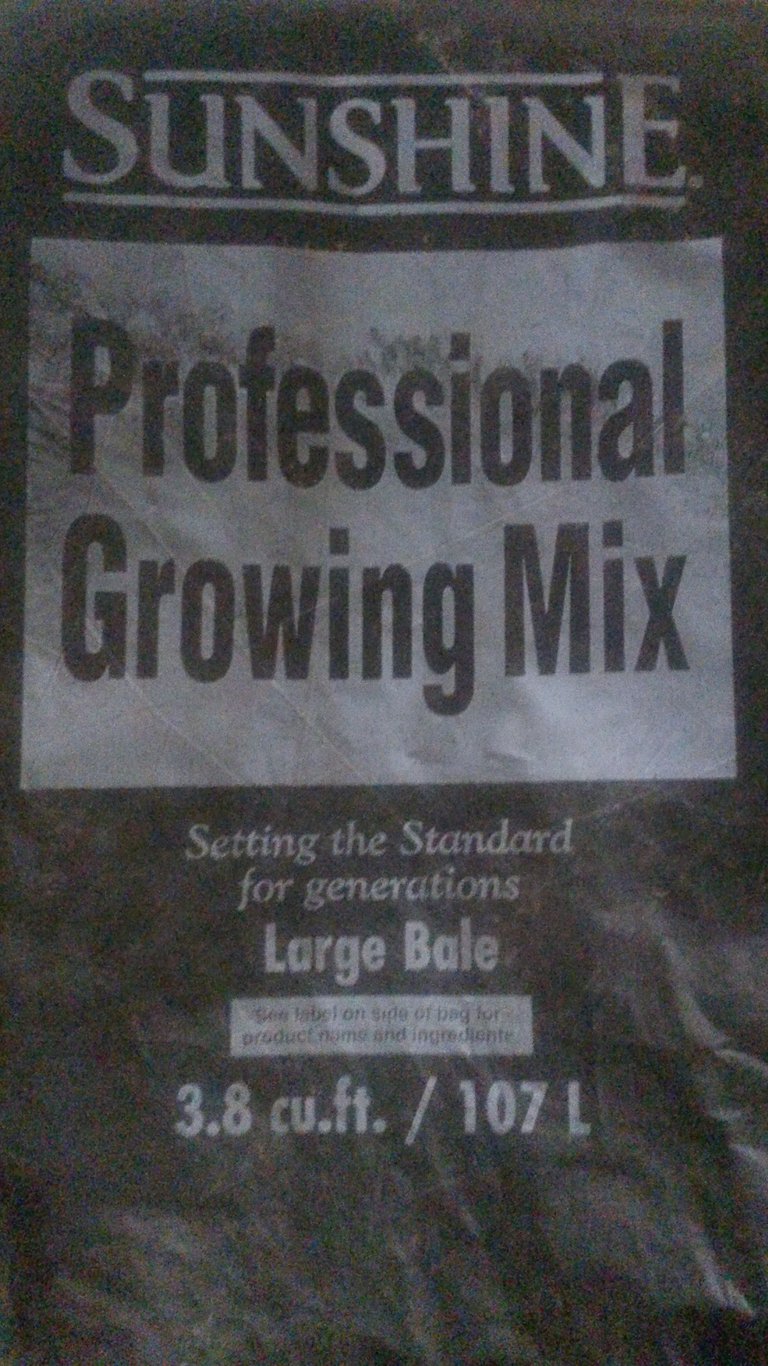
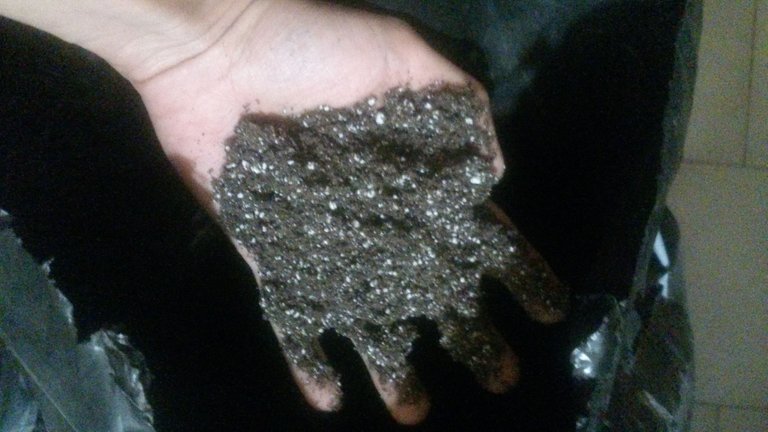
Substrate
It is a substrate based on organic material with moisture retainers.
In my presentation post I talk about the Good and God nursery where I work, you can visit the following link to know me.
https://steemit.com/introduceyourself/@rigor192/presentate-en-la-comunidad-steemit-introduceyourself-in-the-steemit-community
One of the first jobs we did in the nursery is the "seedbed", which is the placement of the seeds in a series of trays, where they are separated from each other for better management later.
These are the materials we use for the "seedbeds".
Substrate
It is a substrate based on organic material with moisture retainers.
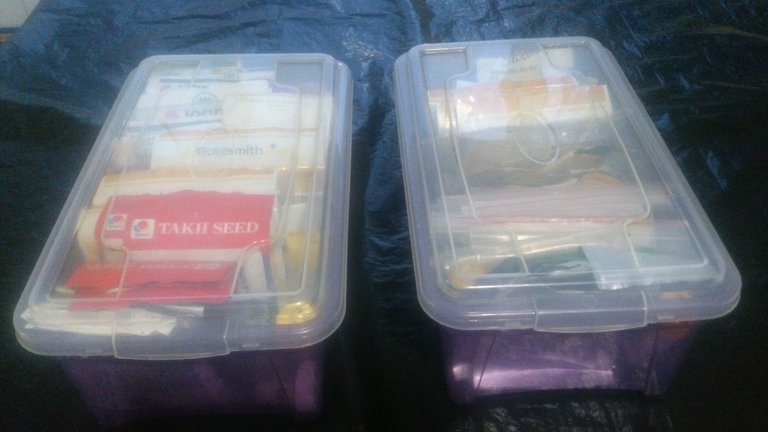
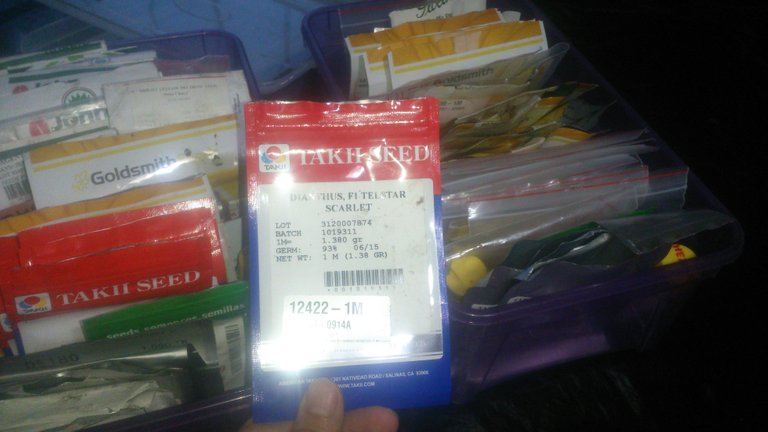
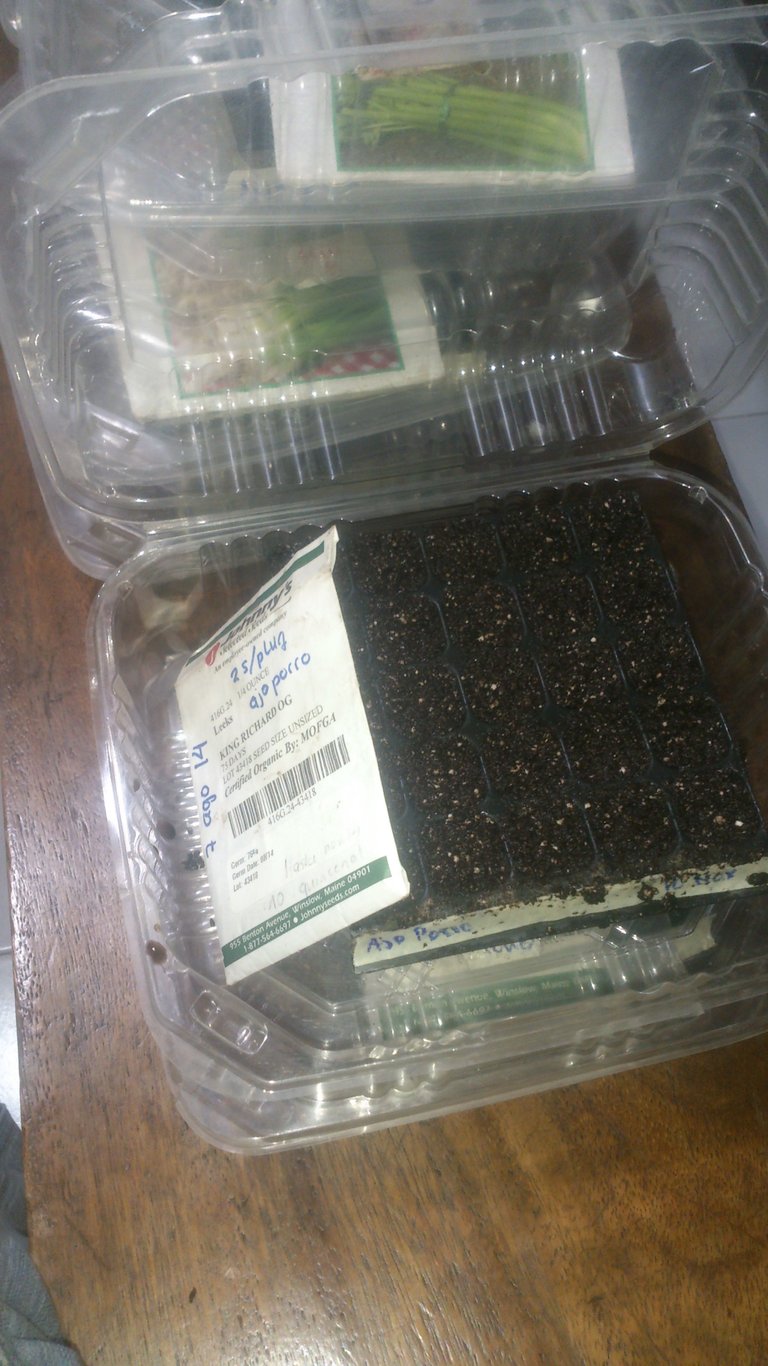
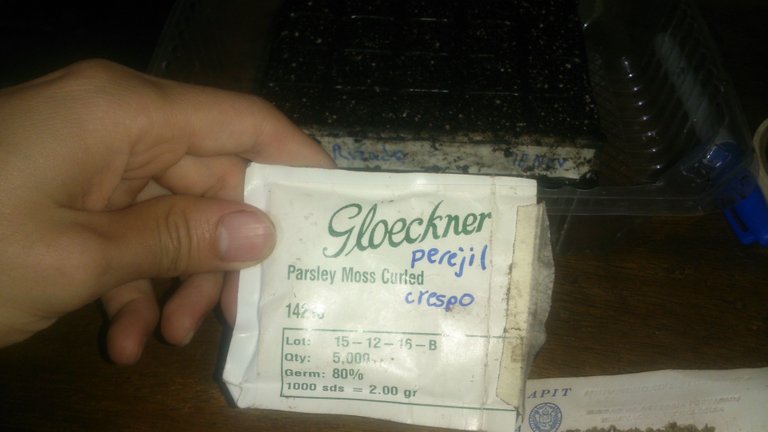
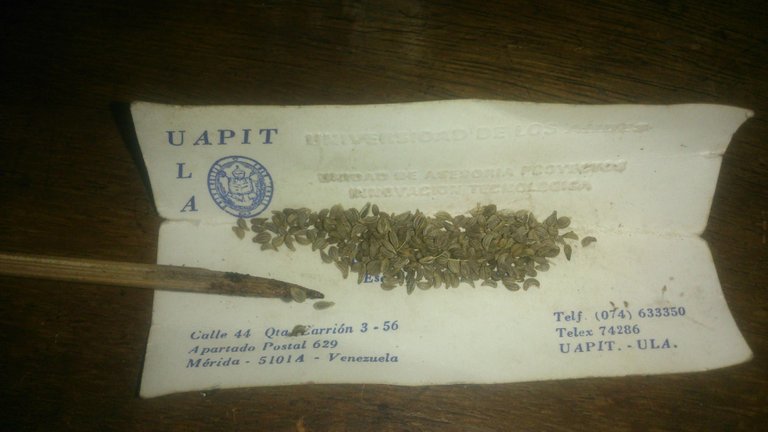
 Seeds
The box on the left contains ornamental plants, flowers and edible plants and the other box on the right contains only Petunias.
The seeds are kept refrigerated so they do not get damaged.
Seeds
The box on the left contains ornamental plants, flowers and edible plants and the other box on the right contains only Petunias.
The seeds are kept refrigerated so they do not get damaged.
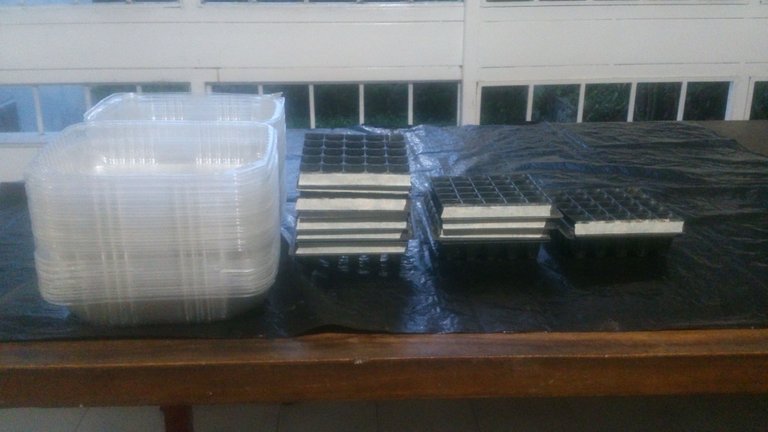
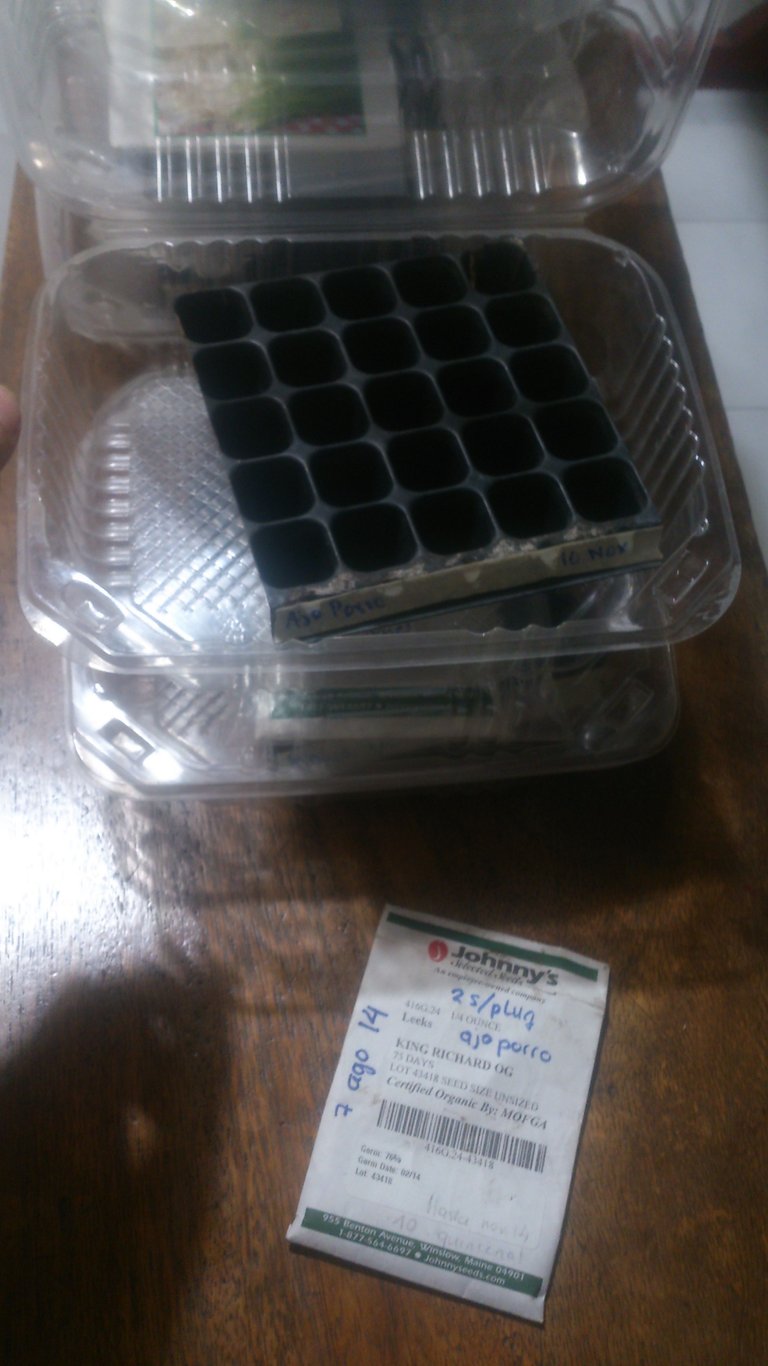
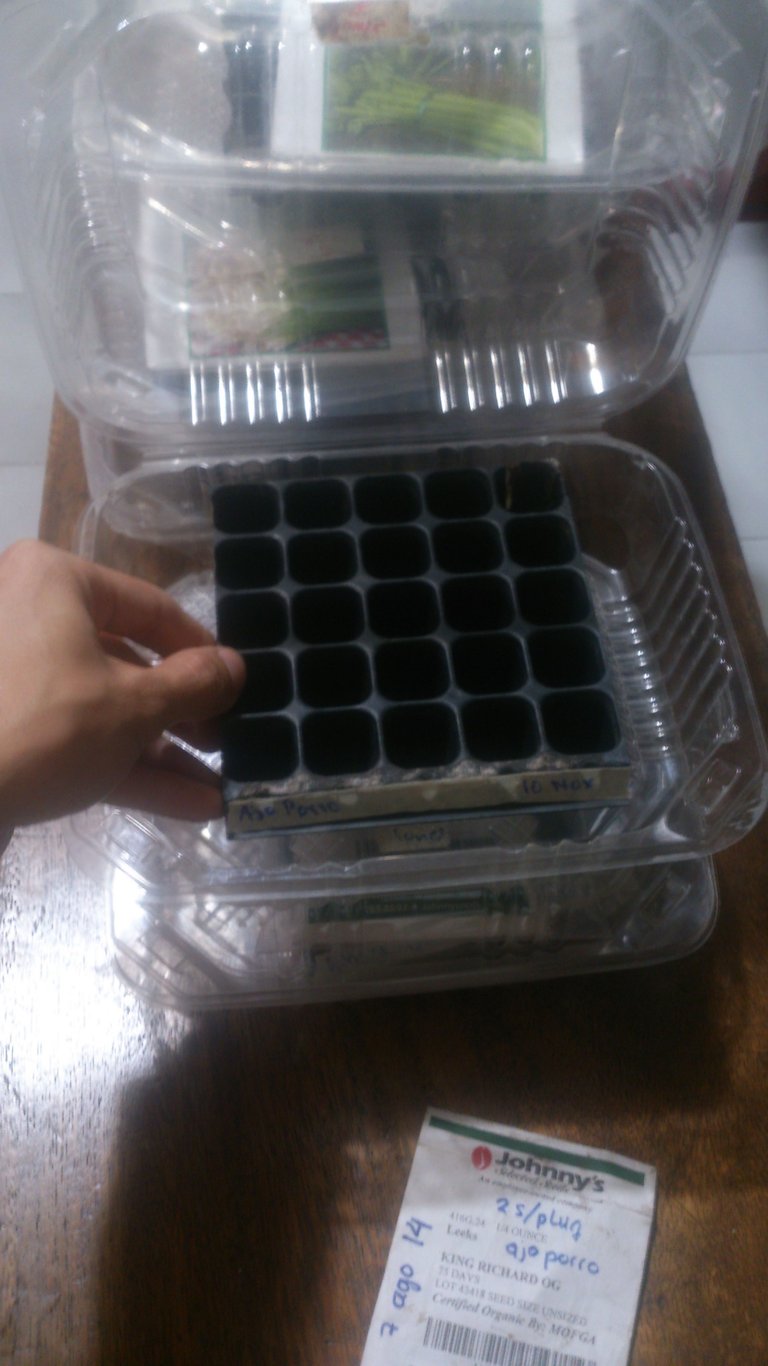
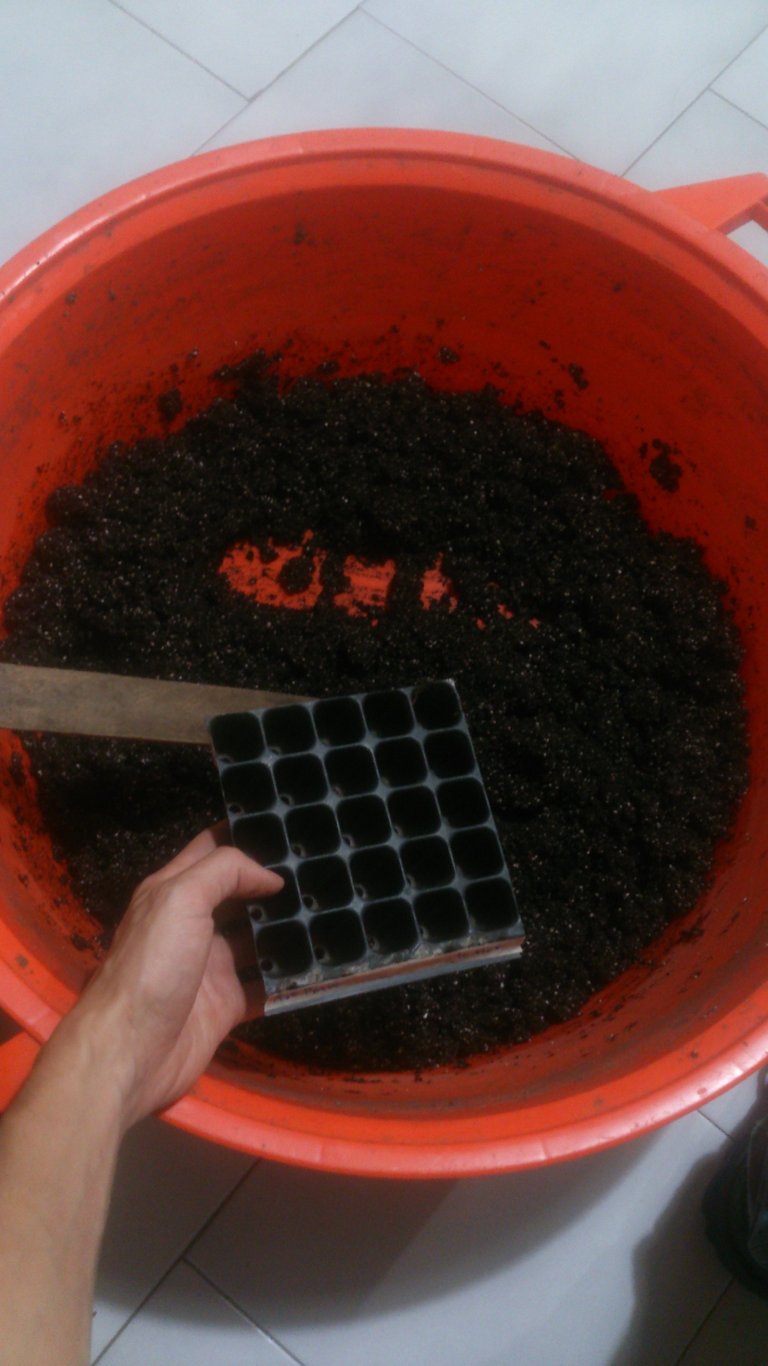
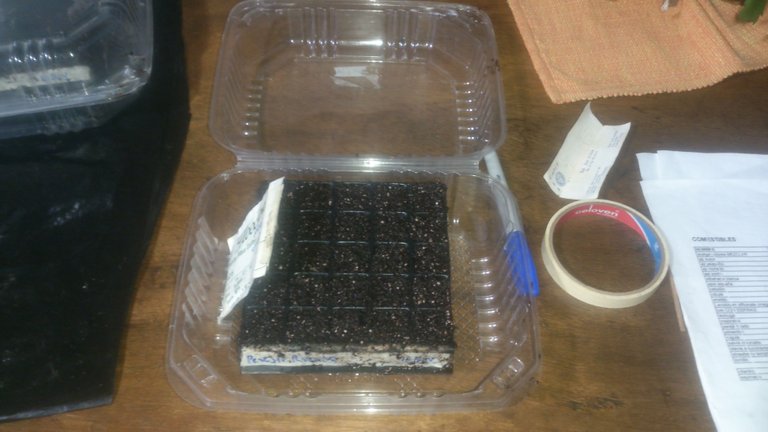
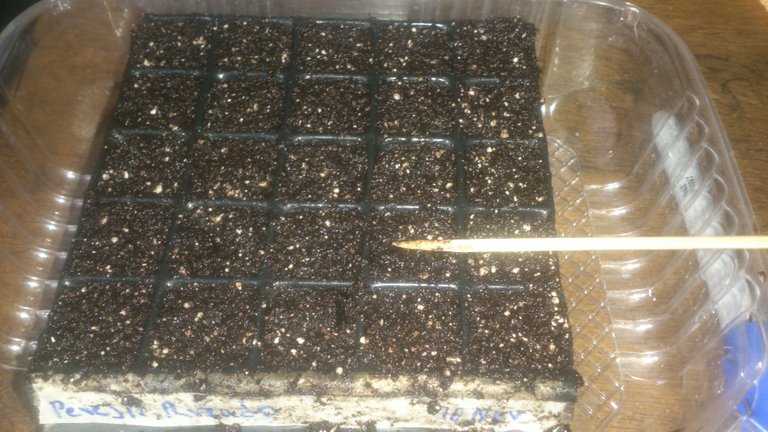
 Seed tray
Here we will place the substrate moistened and the seeds we will place a tape to later identify what type of seed they are, each tray is 5x5 and can contain up to 25 plants.
Seed tray
Here we will place the substrate moistened and the seeds we will place a tape to later identify what type of seed they are, each tray is 5x5 and can contain up to 25 plants.
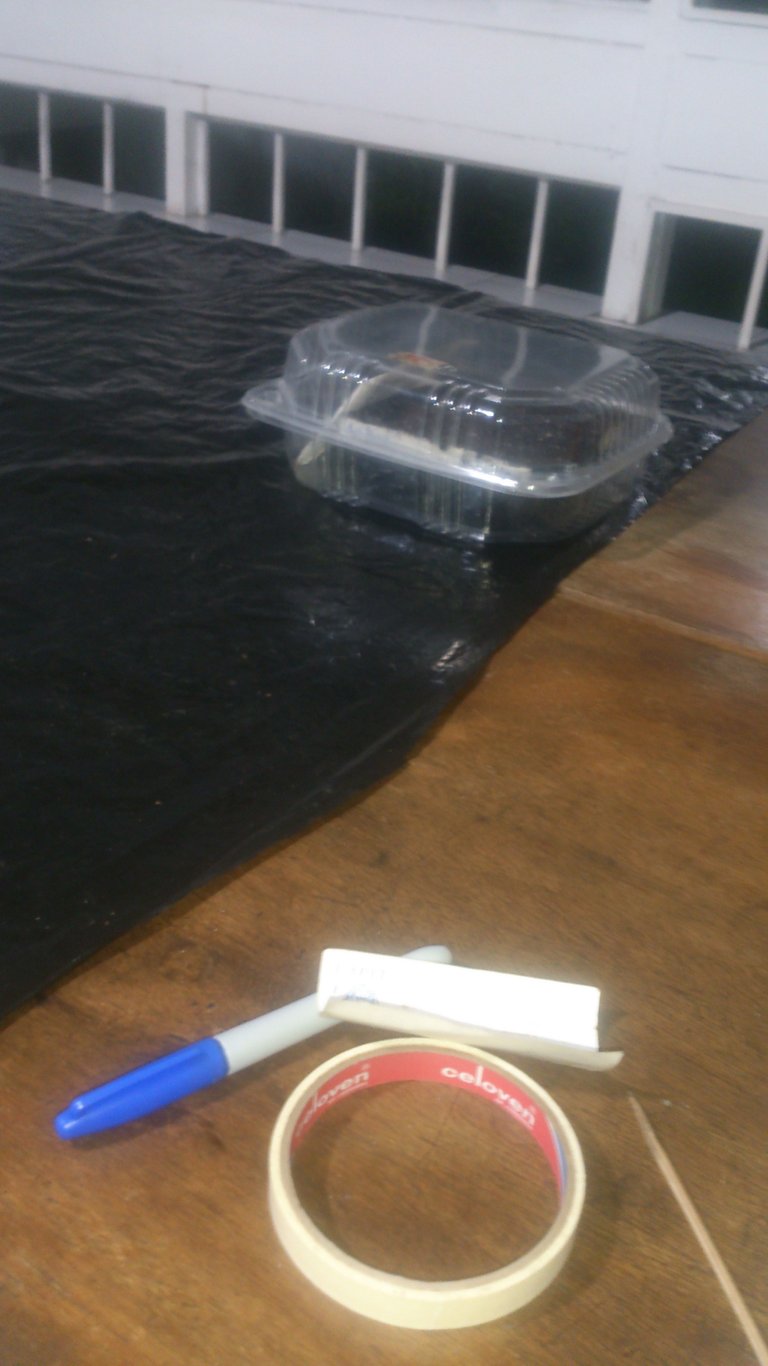
 Marker, a stick of wood, adhesive tape and a card or something to place the seeds preferably white so that the seeds stand out since many are black or brown.
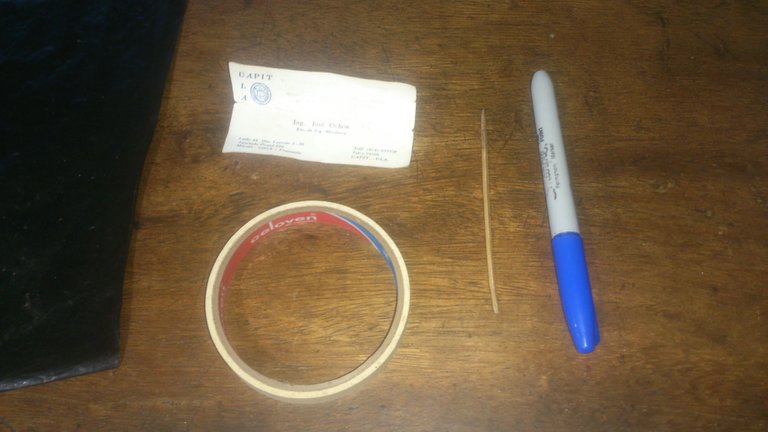 All these mentioned materials can be found in your gardening shop, except the marker, the adhesive tape and the wooden stick that you can find in a stationery store.
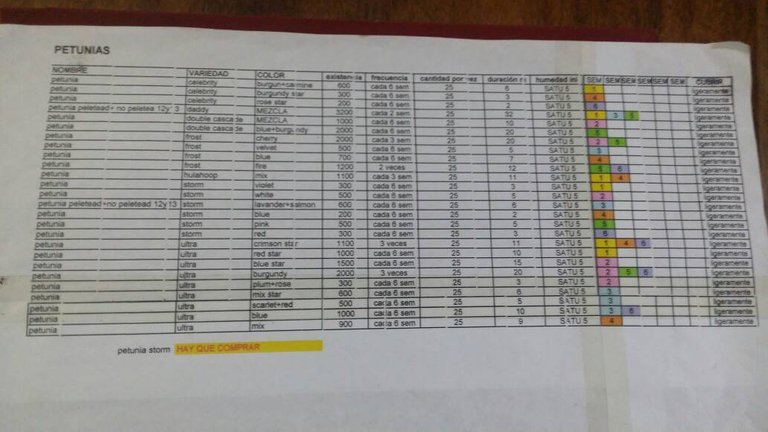
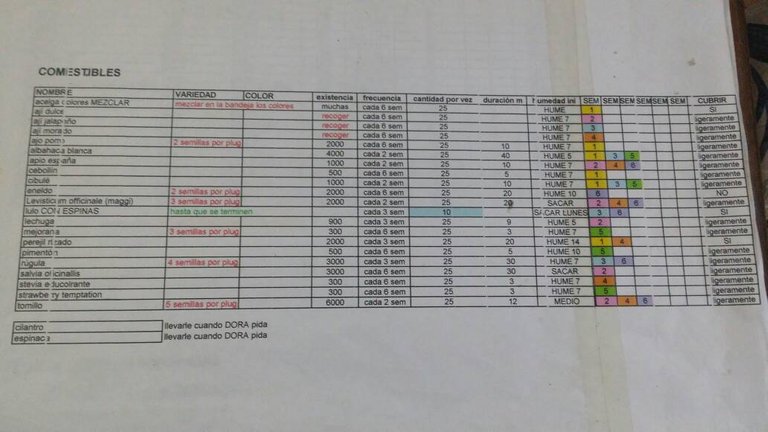
Seed table
Here it contains information about the seeds, such as the duration, humidity, the amount of seeds to be placed, the arrangement of the seeds and the frequency.
All these mentioned materials can be found in your gardening shop, except the marker, the adhesive tape and the wooden stick that you can find in a stationery store.
Seed table
Here it contains information about the seeds, such as the duration, humidity, the amount of seeds to be placed, the arrangement of the seeds and the frequency.

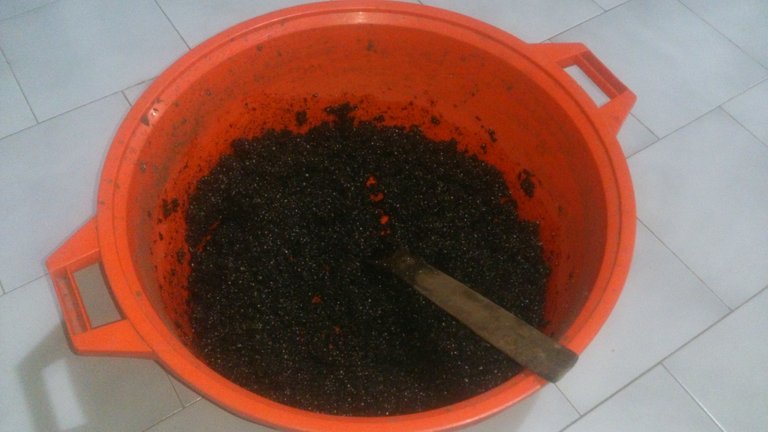
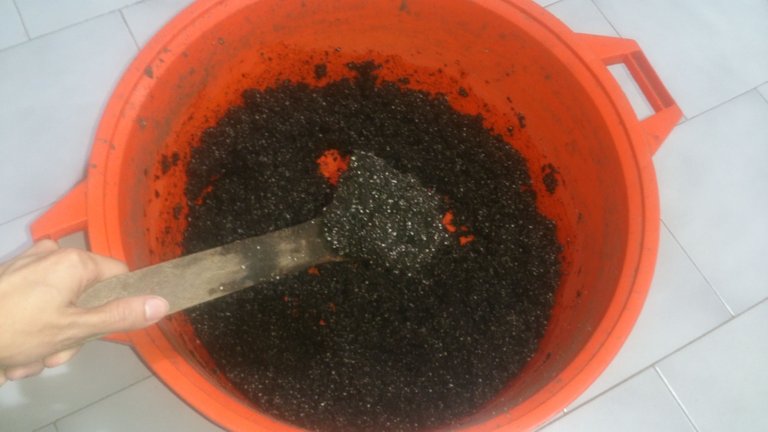
 Once we have all the necessary, we will place our substrate in a container, we add water the amount required is the same amount of the substrate used if we use 2 cups in the same way we add 2 cups of water mix it to hydrate well and not leave dry parts.
It does not matter if you put a little more water.
Once we have all the necessary, we will place our substrate in a container, we add water the amount required is the same amount of the substrate used if we use 2 cups in the same way we add 2 cups of water mix it to hydrate well and not leave dry parts.
It does not matter if you put a little more water.
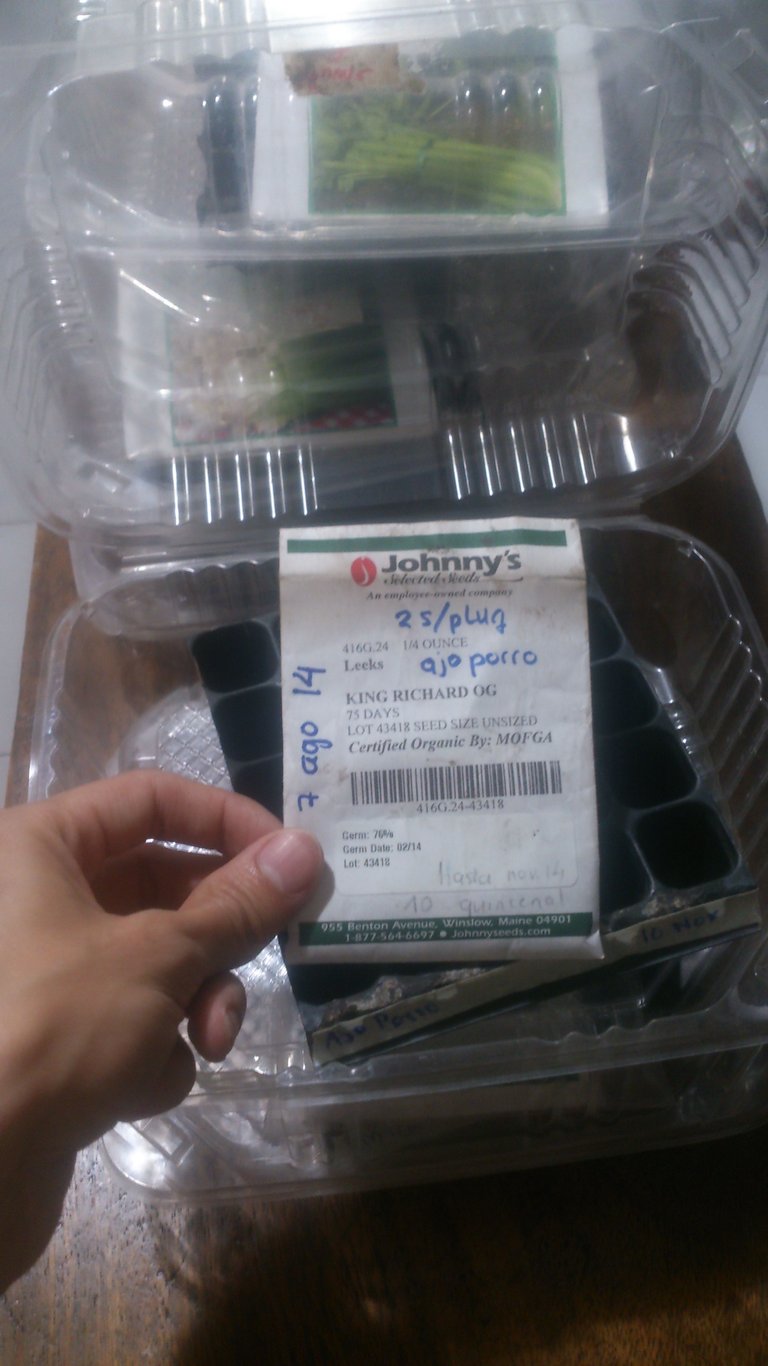
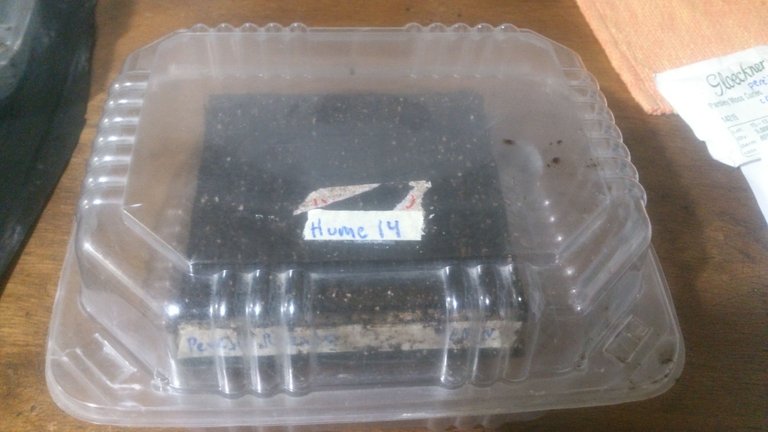
 Done this we leave it aside, we take the seed holders label them one by one placing the name of the plant that will take and its respective, date to track when it is ready to transplant to materos.
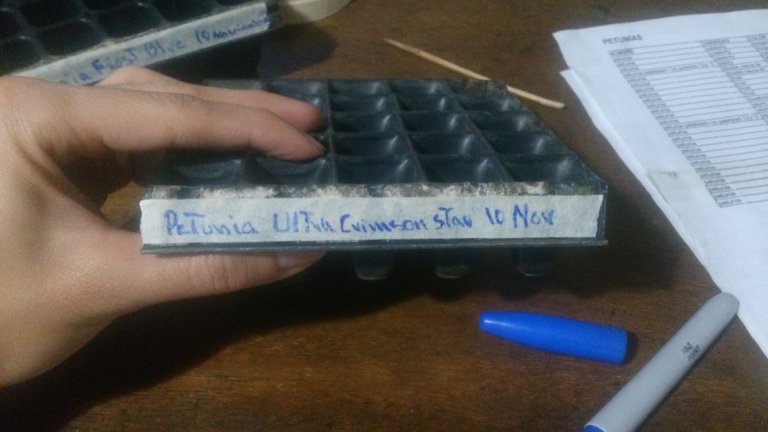
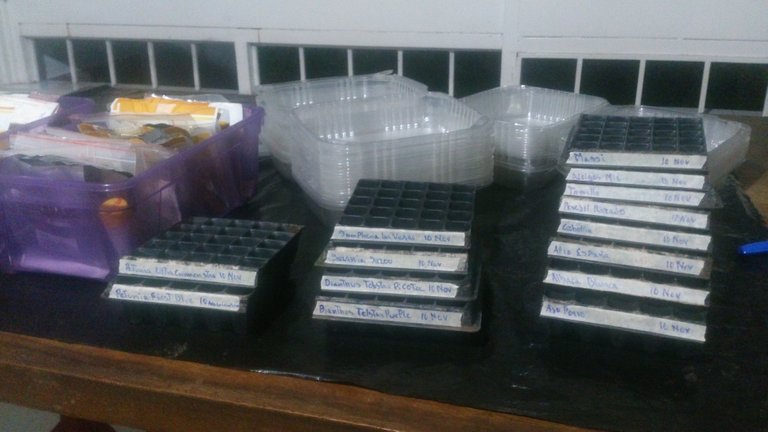 In the first row we see that there are 2 petunias in the second row, there are 2 Dianthus 1 Gazania and 1 Gromphena and the last row contains only edible plants such as white basil, garlic porro, parsley, scallion, among others.
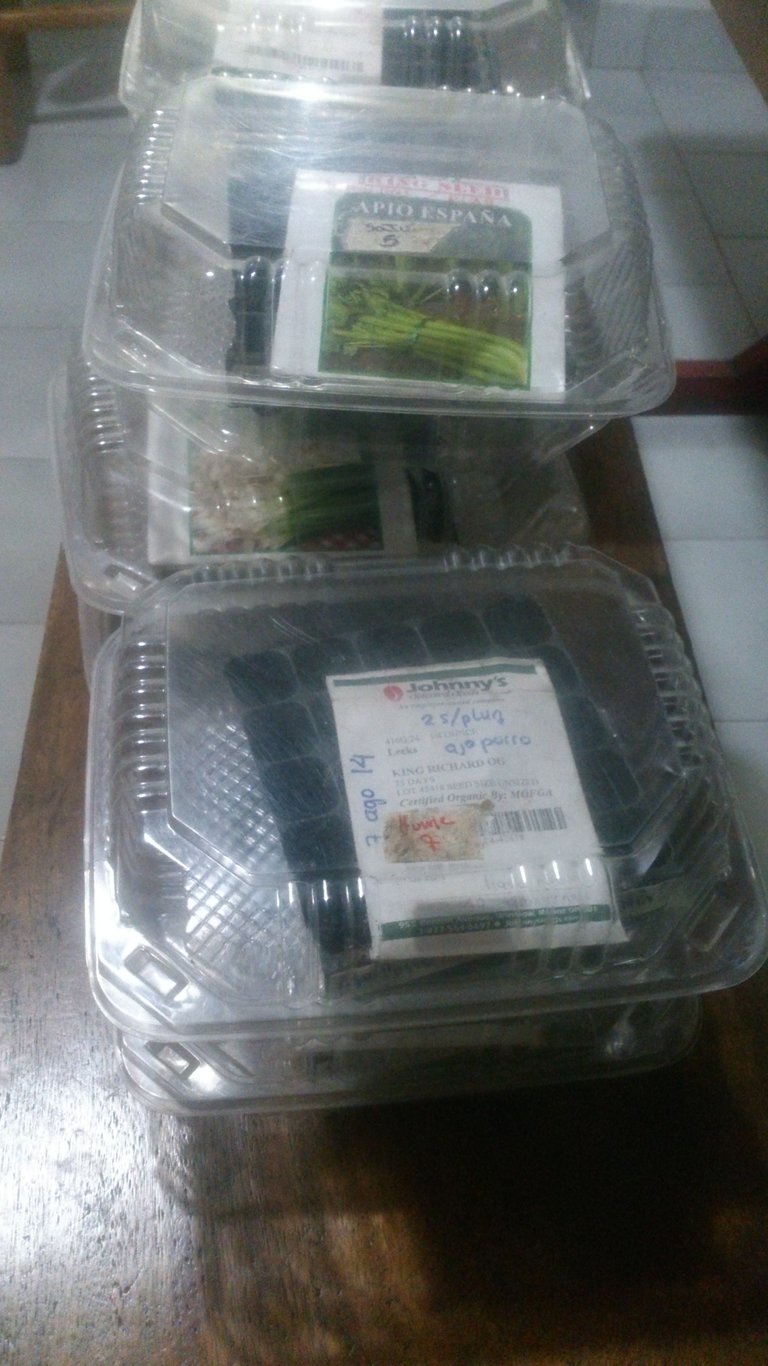
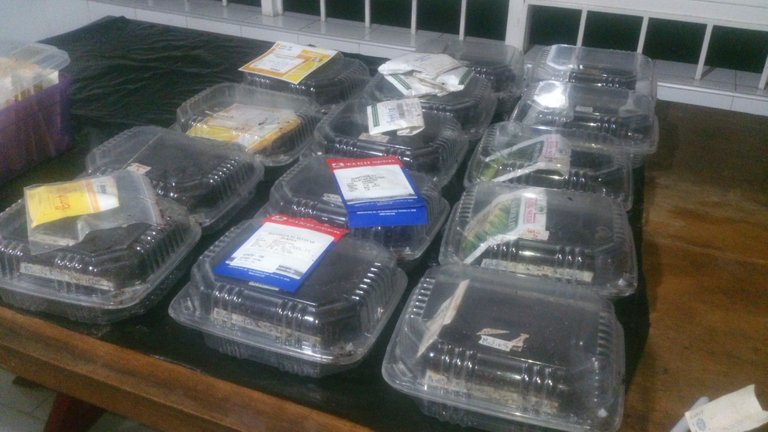
We take our labeled trays are placed inside the transparent container next to their respective seeds.
In the first row we see that there are 2 petunias in the second row, there are 2 Dianthus 1 Gazania and 1 Gromphena and the last row contains only edible plants such as white basil, garlic porro, parsley, scallion, among others.
We take our labeled trays are placed inside the transparent container next to their respective seeds.
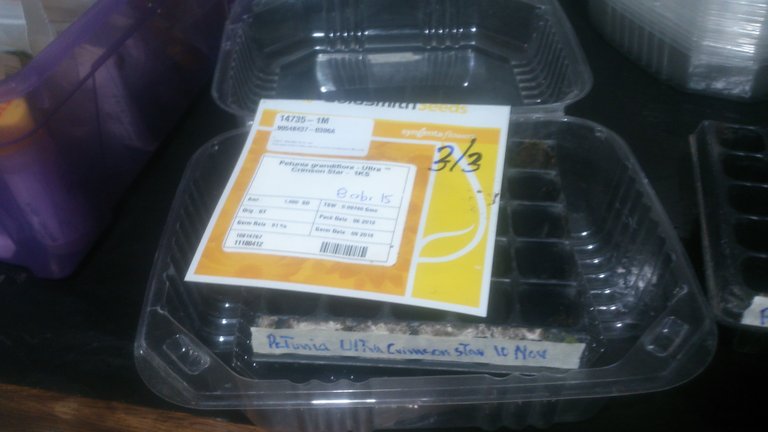
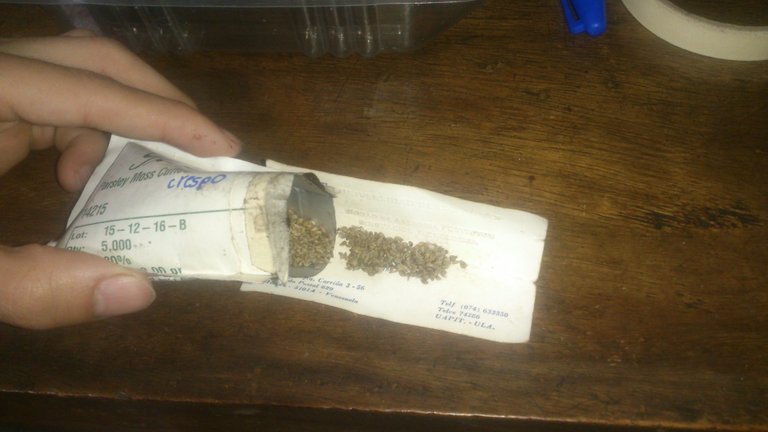
 Now we are going to fill each tray with our previously hydrated substrate, take the first tray, place our seed on the side so as not to wet it since many of them have a paper packaging, others are plastic and metallic.
 Here we can see that some are full of our substrate and others are not, we will give a slight blow to fill it completely.

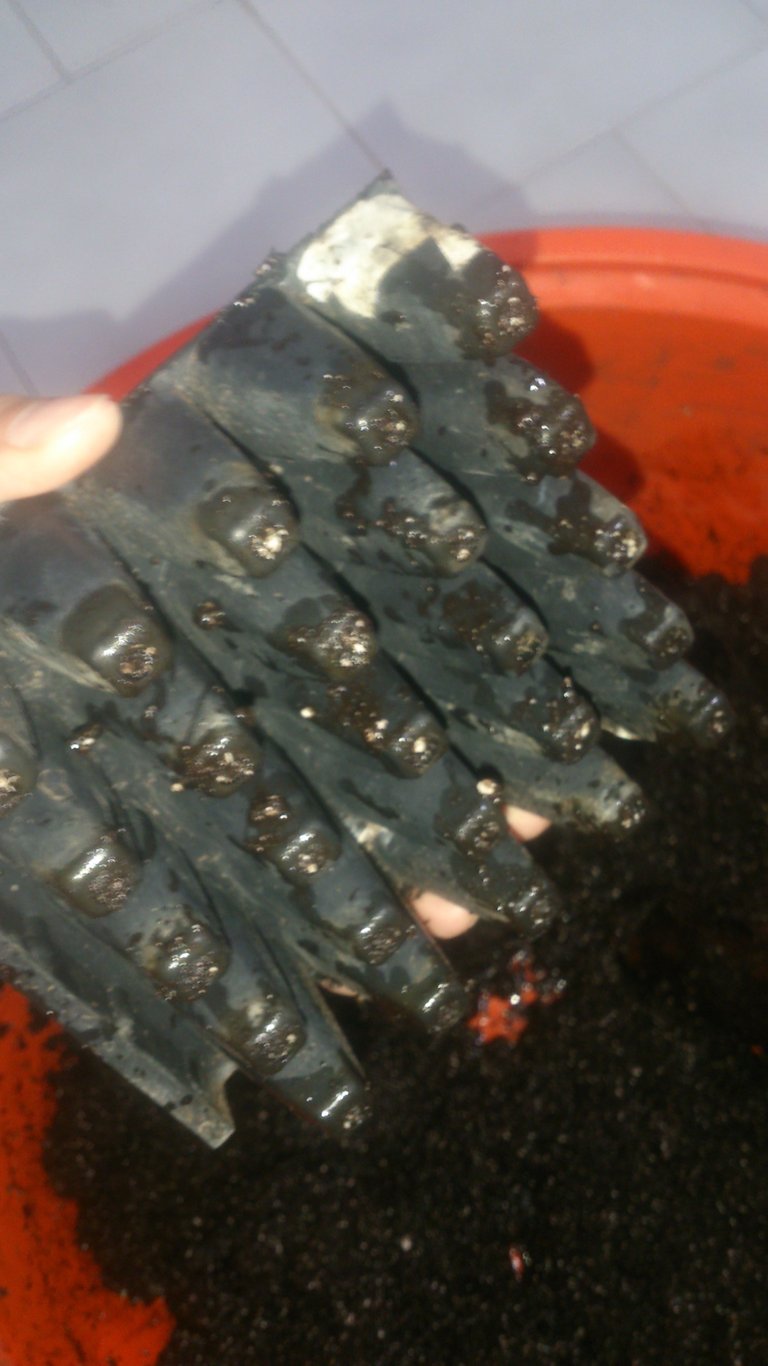 We return to place more substrate to fill it completely and eliminate the exedent.
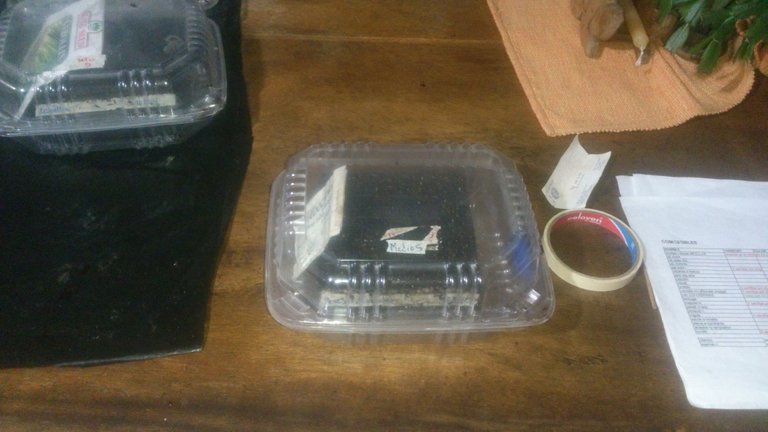
 We will place it inside its container next to its respective seed on the side, not on the tray, since all the seeds will be wetted, we will close it and place it in a secluded place.

 We will repeat the same procedure with all our trays.
 Now we proceed to place the seed, we take the first tray we remove the seed and we spread it on our leaf preferably of white color to be able to distinguish it.
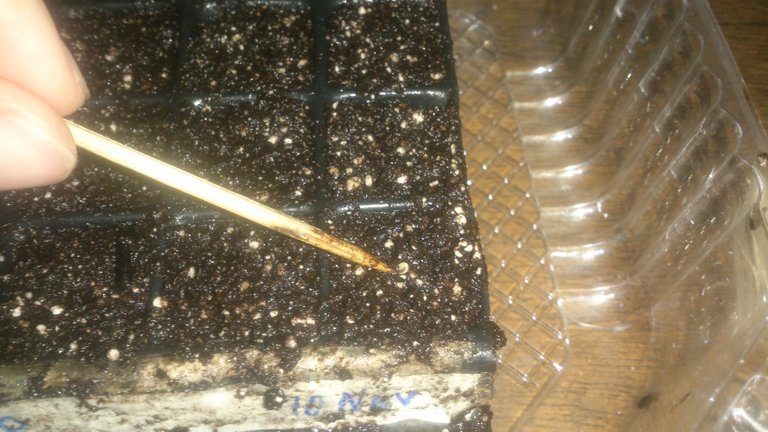
 We moisten our wooden stick so we can more easily take the seeds.
 We proceed to place the seeds each has a different arrangement ranging from not covered, slightly covered, and covered and the amount of seeds to be placed. This information is in the "Seed Table" part.
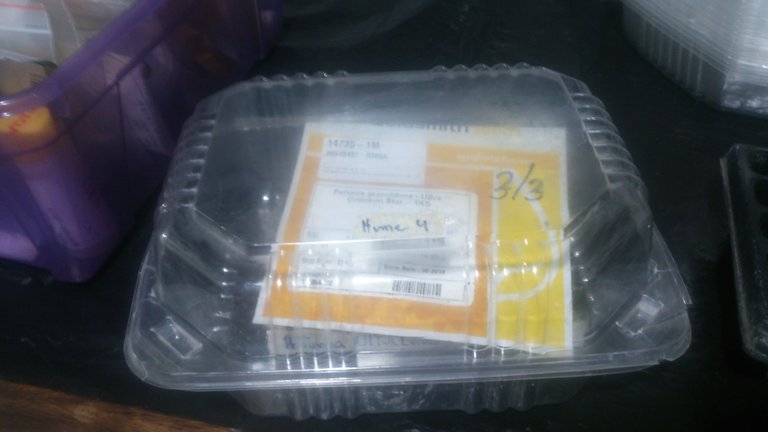
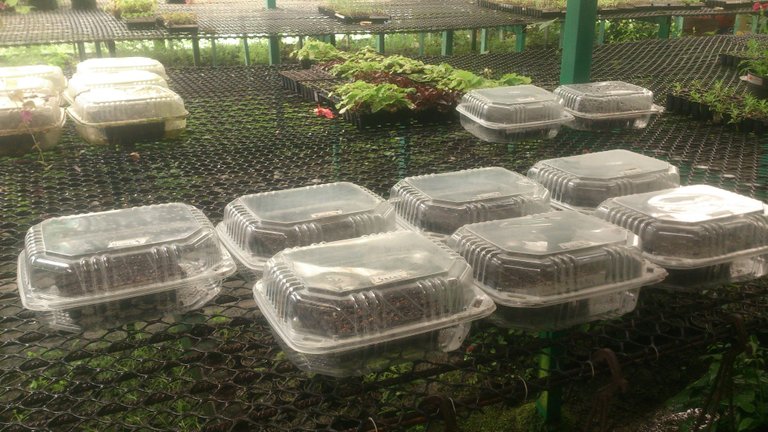
 Once you have placed all the seeds in the trays, we cover them and place a label with the moisture that it carries and place it in a secluded place, in our case we place it in a basket for its transfer to the nursery.
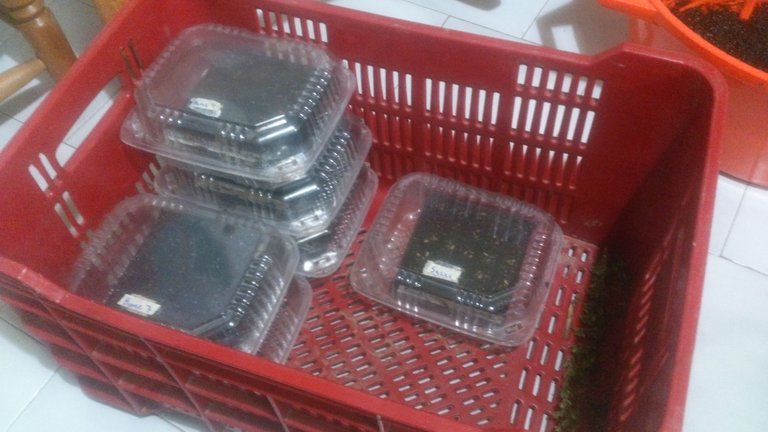
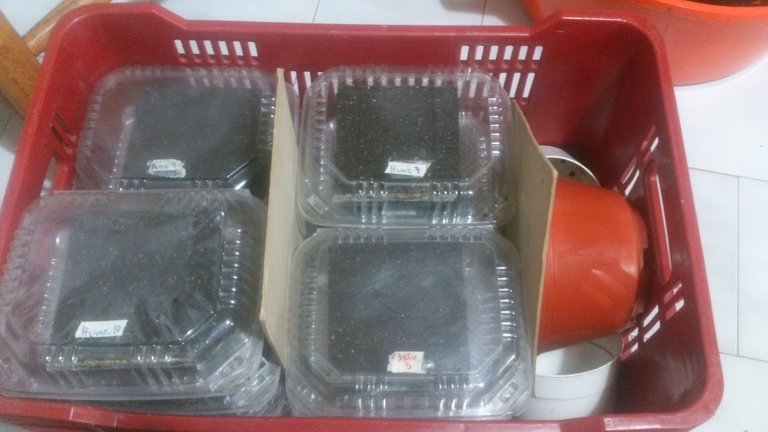 We do this with each of our seeds that we have to take better control of the amount to use each week in the nursery.
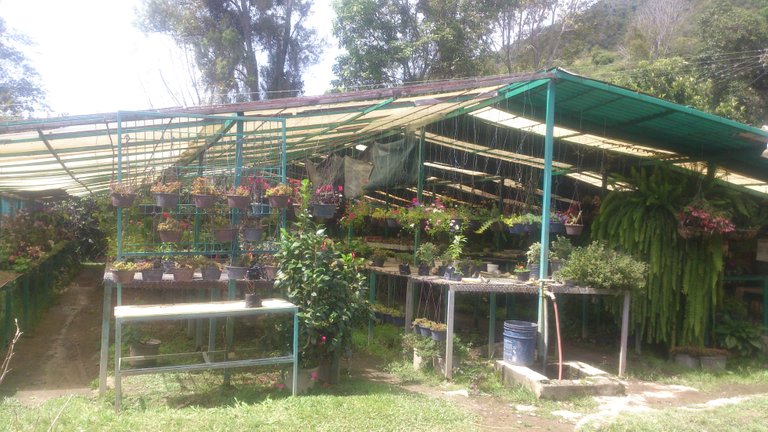
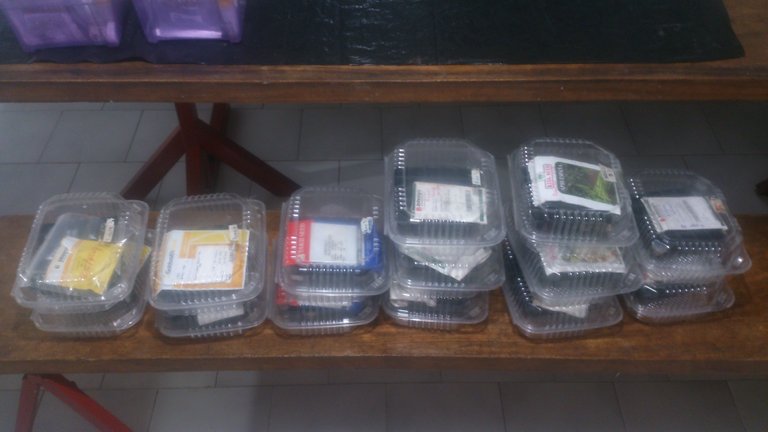
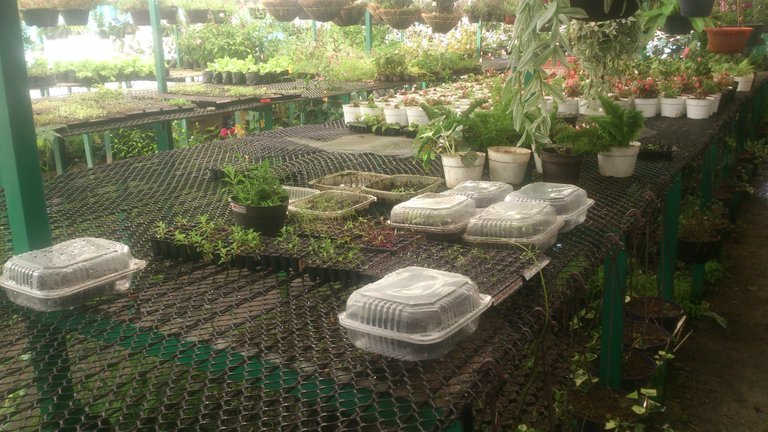
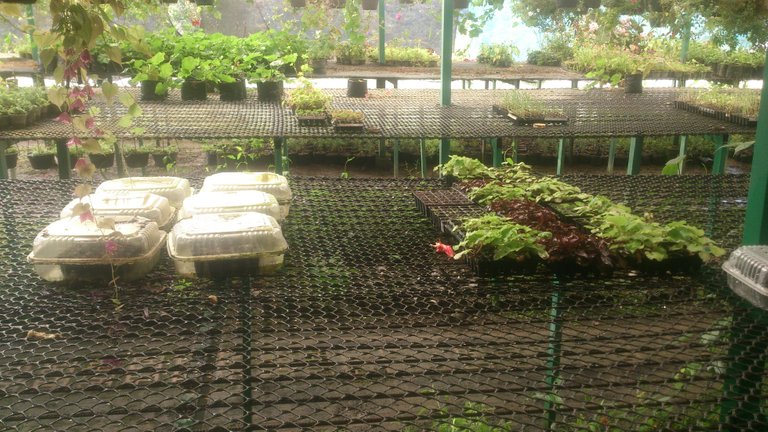
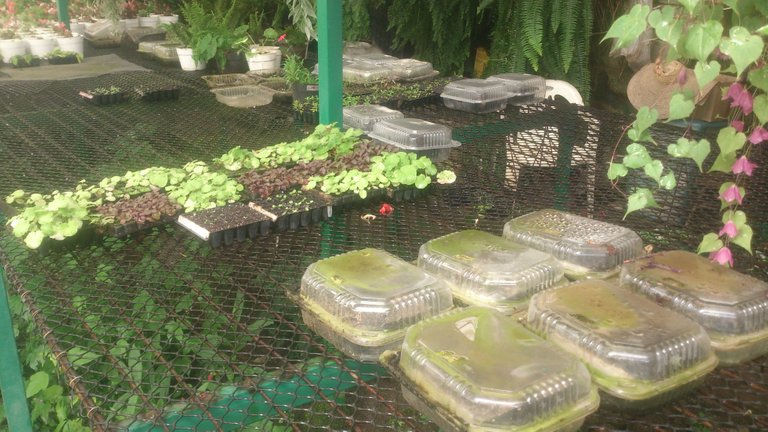
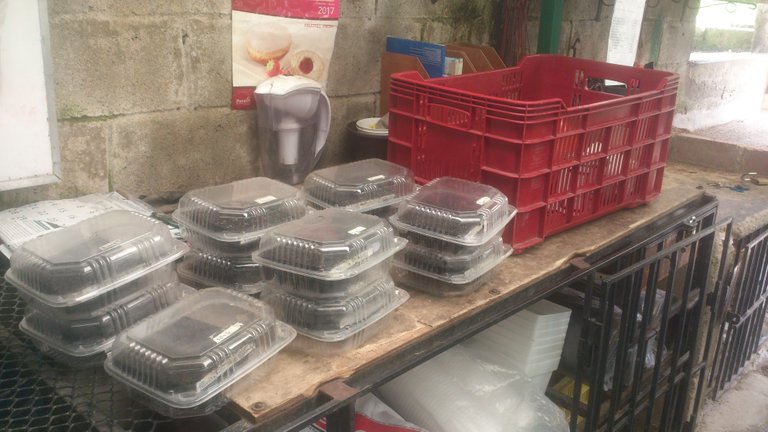 Here you can see where we place our seed trays in the nursery each one is placed in a specific place.
 This is all we will see in a next post, I hope you liked it, do not forget to follow me to be aware of more publications on gardening.
Welcome! There are loads of homesteaders and gardeners on here - you should find good company!
Thank you
welcome dear
Thank you
Welcome to steemit! I see you're new here!
I belong to a homesteading and gardening group and community here on steemit and we're always looking for new members. If you're interested, just let me know, I can invite you to our discord group
of course add me to the community
awesome! here is the link to join our discord group
https://discord.gg/VKCrWsS
Good job! Thanks to @raserrano you have planted 0.01 tree to save Abongphen Highland Forest in Cameroon. Help me to plant 1,000,000 trees and share my Steem Power to the others. Selfvoting is prohibited, but that should be the reason to spread the world to protect our precious environment. Check out profile of our conservation association @kedjom-keku and the founder/coordinator @martin.mikes to get more information about our conservation program. My current SP is 14351.58. Help me to plant more trees with your delegated SP.
Thanks a lot,
your @treeplanter
www.kedjom-keku.com
Welcome to steemit Javier. I am keen gardener so I will forward to reading more of your posts.
Thank you
Amazing work dear nothing as harvest your own food, my father every year collect their best seeds and plants its in the next year
Specially beans 3 varietity, some pumpkings, bananas the young plants, camotes or sweet potatoes ipomea batatas and another kind that today i am not remember, but in the spring here in CentralAmerica we plants for get a lot of good food.
Best regard @galberto
if there is nothing more rewarding than growing your own food because you know the effort that cost you to do it
Congratulations @rigor192! You have received a vote as part of @raserrano donation to this project.
I will be able to help more #minnows