
I've been wanting to put a worm farm in the backyard for ages, but wasn't sure how it would go and was hesitant to spend a lot of money on one.
Our summers here get very hot. A fair number of days in January and February hover around the 40°C mark. Winters aren't too bad as most days are warm. The nights are currently getting down to between 1°C and -2°C though. I was worried that this temperature range might not be good for the worms and that I'd risk them cooking in summer and freezing in winter, so I did some research on what was best for them.
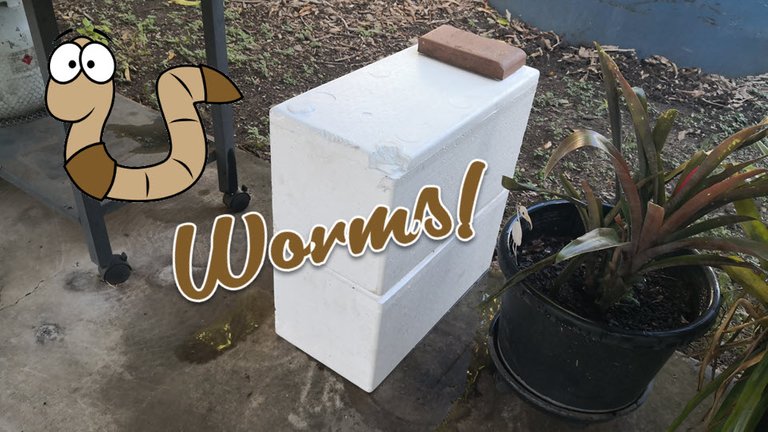
I found a number of beginner guides to vermicomposting, including instructions on how to make various types of worm farm. The one that seemed to meet my needs was the DIY "broccoli box" worm tower. It's very easy to construct, the polystyrene provides some insulation for the little wormy guys - protecting them from both hot and cold weather, and the initial outlay is next to nothing.
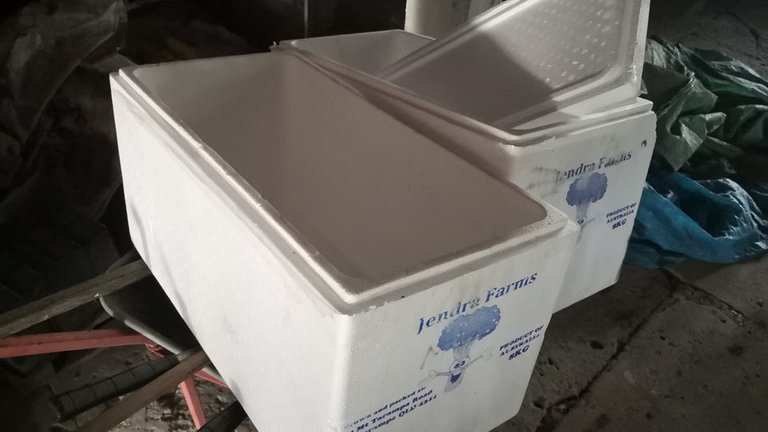
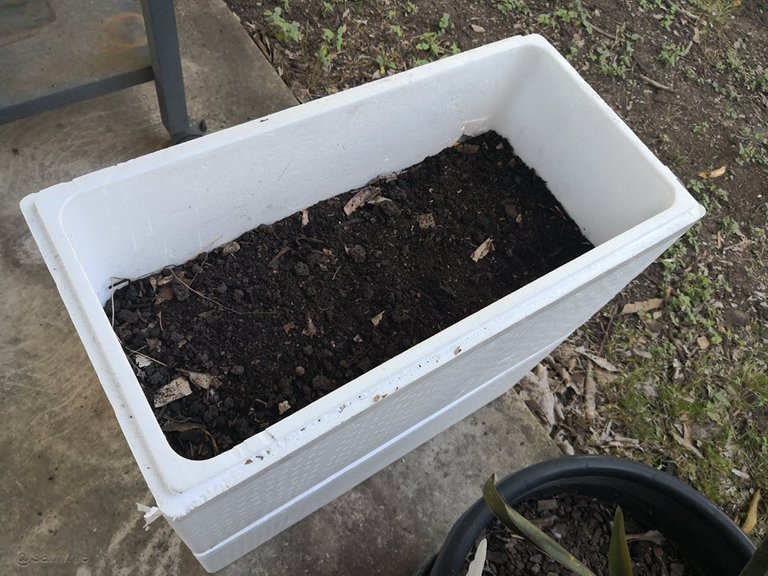
I picked up these two broccoli boxes from the local fruit'n'veg shop for a dollar each. On the day I got them they only had two boxes and a single lid that was missing a bit of it's corner, but all the essential features I needed were there. The boxes were intact, with no holes in the bottom or sides, and the lid still sealed properly.
A few other things I needed were:
- a piece of shadecloth or flyscreen
- newspaper
- something for the worm bedding, like shredded paper
- some soil
- a few food scraps
To set the worm farm up I first picked a reasonably sheltered place. It's mostly under cover and in shade for most of the day. I positioned the bottom box and put a paver in the bottom. This box will catch all the liquid, or "worm juice", from the top box. The paver weighs the box down a little and provides a raised island in case any worms fall through from the top.
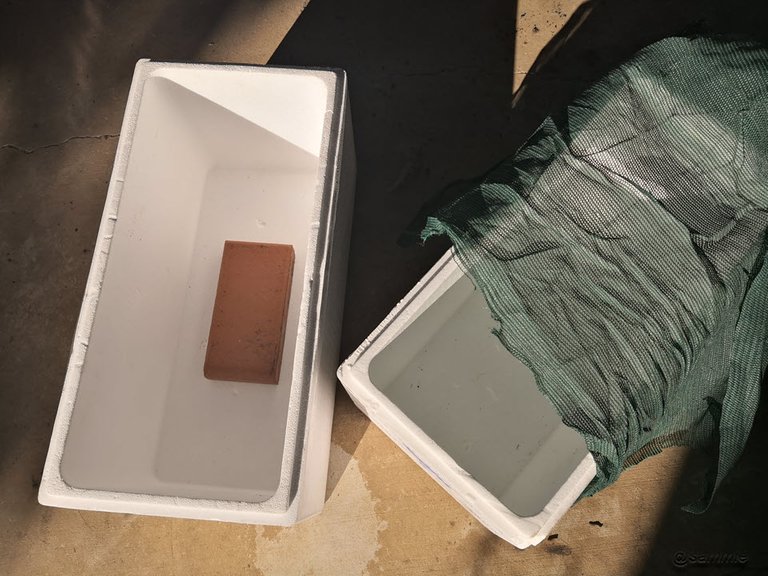
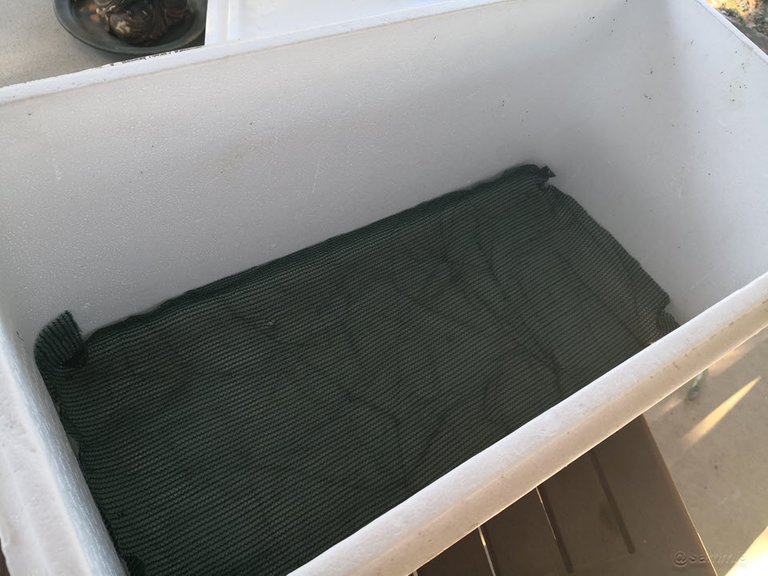
With the top box I used a pair of scissors to punch 15 or so holes in the bottom, spaced about 10cm apart. Each hole was roughly 1cm in diameter. I then lined the box with a piece of green shadecloth I managed to scrounge. Its open weave will allow excess liquid to drain, but should stop any worms from falling through the punched holes and drowning in the bottom box.
The top box was then placed firmly on top of the first box. On top of the shadecloth I placed a layer of shredded paper. This was mostly office paper (a cathartic shredding of last semester's University notes!), with a bit of torn up newspaper mixed in. I sprayed it with the hose to dampen it a little. On top of the paper went the soil - a mix of soil from the garden, a little mango leaf compost, and some mushroom compost.
On top of everything went a few sheets of newspaper, wet down with the hose again. I could hear the water running through to the bottom box, so I knew the drainage was working well.

I let everything sit for a few days before purchasing some worms for it. I suspect I needed twice this amount for this size of box, but I figure it's a good start.
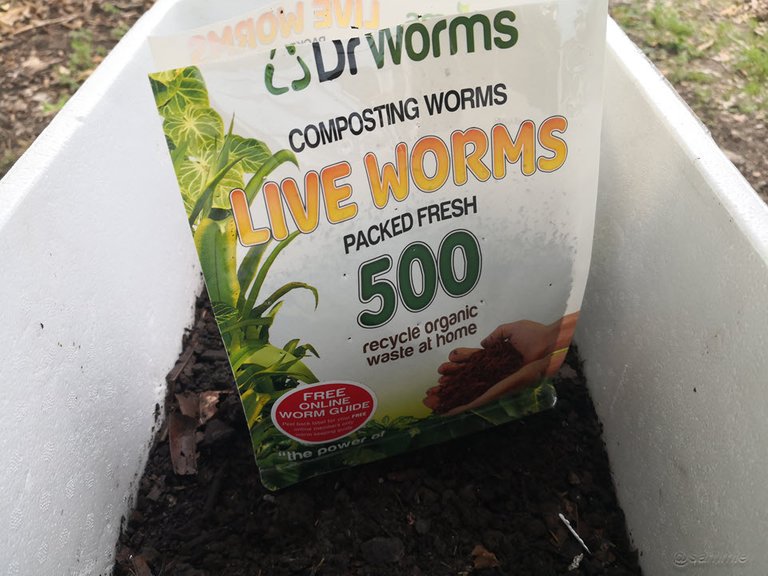
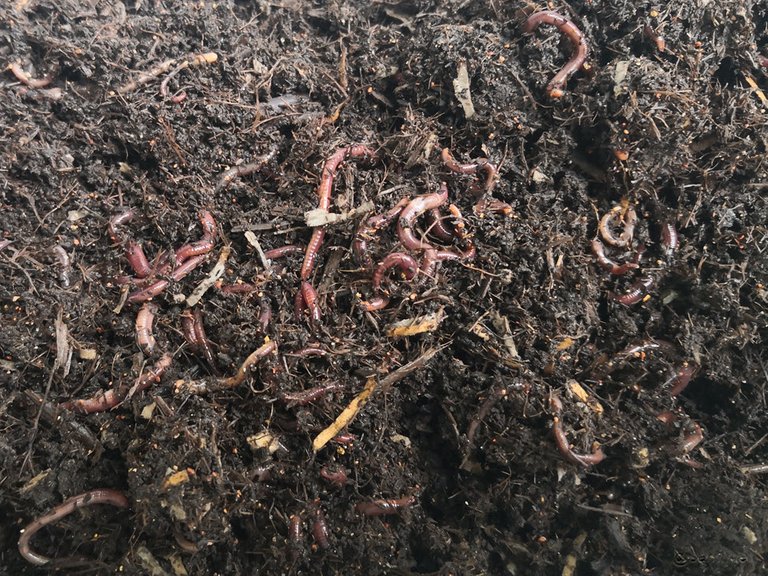
Despite having sat in a plastic bag on a shelf at the local Bunnings, they seemed very happy and healthy and squirmed their way into the soil as soon as I placed them in the box.
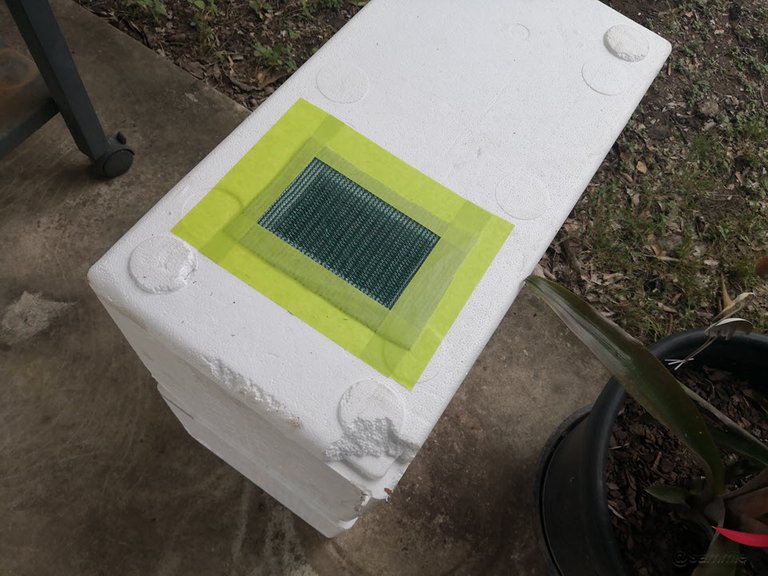
The final step of the project was to cut a ventilation hole in the top of the box. I couldn't find my glue gun, so it's just taped down for now. I'll see how this style of ventilation hole goes. If it's too big and the box starts to dry out too quickly, I can always get another broccoli box lid and try something else.
They've been in there for a couple of days now. I added a small amount of lettuce yesterday, placing it between the soil layer and newspaper pages. When I checked this morning there were a couple of worms exploring the lettuce. I hope this means they're enjoying their food!
Until next time,
@Sammie
Our summers are a literal killer for worm farms, aren't they! I hope this one makes it through. I’ve featured your post in The Lotus Garden newsletter, which will be published tomorrow.
Curated for #naturalmedicine (by @minismallholding) - join our community here.
The Lotus Garden is a newsletter supporting content relevant to Homesteaders & supported by Natural Medicine. Earn LOTUS & HIVE for your #homesteading content!
About II Discord II Community
Thank-you!
Yes, the summers are hot and can be so dry :-/ I think I'll end up moving it onto the concrete under the house over summer, just to keep it a little cooler.
Congratulations @sammie! You have completed the following achievement on the Hive blockchain and have been rewarded with new badge(s) :
You can view your badges on your board And compare to others on the Ranking
If you no longer want to receive notifications, reply to this comment with the word
STOPSupport the HiveBuzz project. Vote for our proposal!