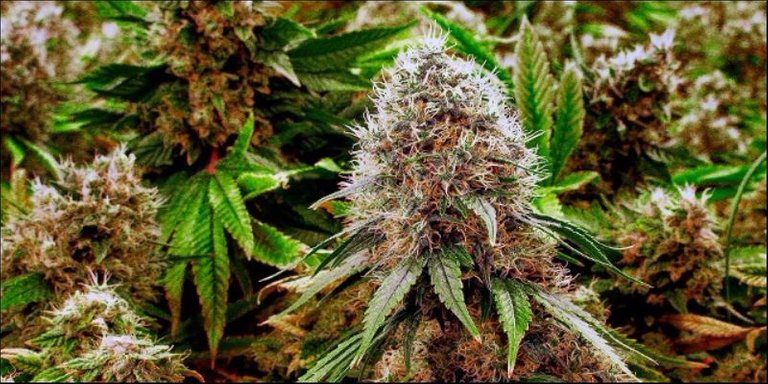
1.To get huge cannabis buds, start with the best.
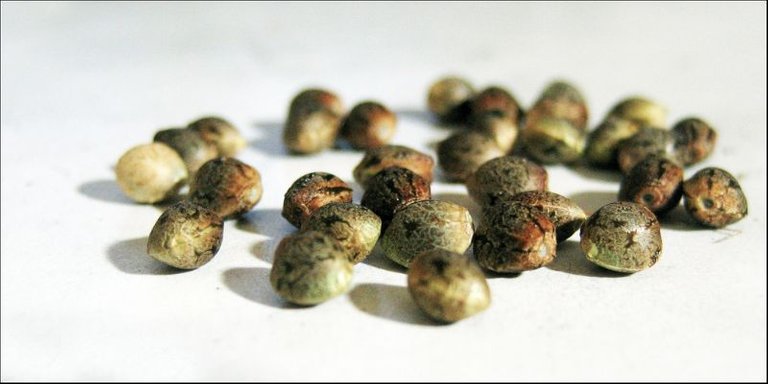
To get the best end result, you need to start with a high-quality product. Do a little research, and find seeds from a reputable breeder. Alternately, choose a healthy clone that has a well-established root system. Be sure to read up on the strain you’re getting and make sure you have the correct setup before you bring home you try to get your plants started.
Typically, you don’t want to grow sativas in a tiny cabinet. Some strains are also better suited for the outdoors. If you want the optimum yield from your plants, you need to be mindful of their preferred environment. You can typically find this information on your seed supplier’s website or sites like SeedFinder list general growing facts about your strain.
2.Nute it up
No matter how you decide to grow, nutrients are key. To grow huge buds, you need to speed up the growth process to give your plants plenty of time in their flowering stage. This means your ladies will spend more energy developing a big, crystally flowers.
Vegetative phase
Starting with a perfect soil blend or hydroponic solution will set you off on the right foot. But, once your plant is established, you’ll want to start a fertilizing routine. During the vegetative phase, opt for nutrients with a high nitrogen content. Fertilizers that contain a nitrogen, phosphorous, potassium (NPK) of 3-1-2 are a good place to start.
Flowering phase
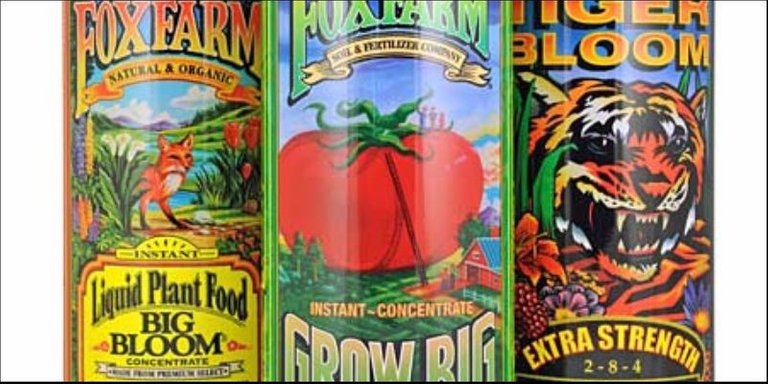
Plants need different nutrients during the flowering phase. During veg, your plants needed lots of nitrogen. Once you’re ready to switch them over to flower, they need less nitrogen and more phosphorus. A good NPK ratio is 10-30-10. Another option that people tend to like is FoxFarm Big Bloom, which has an NPK of 0.1-0.3-0.7.
If you’re hoping for something easier and more natural, try mixing wood ash with water. That will give you a hefty dose of phosphorous.
Start slow and with half the dose when you first start giving nutrients. Bump up after every couple of weeks, depending on how your plant is doing. Your feeding schedule will vary significantly depending on your grow setup, but a general thumb is to give nutrients every 1 to 2 weeks.
If your plant has light green leaves, bump up your feeding schedule. If the leaves develop brown edges and the tips begin to curl under, move your feeding schedule back.
Supplementing with high-quality compost tea will also give your plant a wide variety of micronutrients, which are also crucial to growing great buds.
3.Check your pH
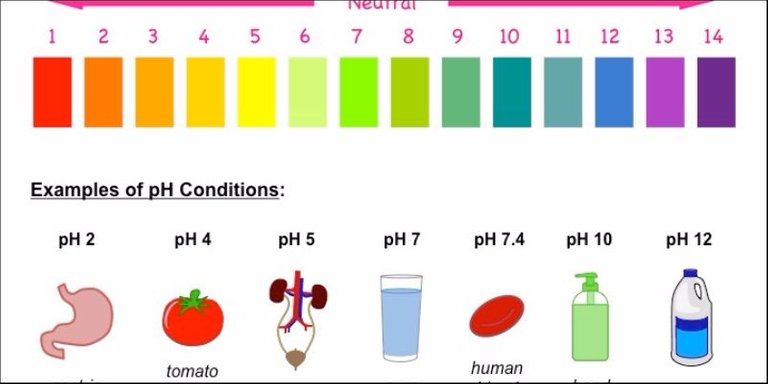
In order to grow great buds, your plants need to absorb the nutrients properly. To do that, your soil or hydroponic solution need to be at the correct pH. The optimal pH for cannabis is about 6. Though, the plant can tolerate a pH between 5.8 and 6.5. Yet, if you’re looking for the best results, you’ll want to keep it as close to 6 as you can. When kept at this pH, the plant is better able to suck up nutrients through its roots.
4.Check the lights
Lighting is incredibly important when growing cannabis. If indoors, when your plant has reached a decent size you can force it into flower. You do this by switching to a 12:12 light cycle. Meaning 12 hours under the lights and 12 hours in complete darkness.
The faster you can get your plant to grow in the vegetative stage, the sooner you can flower. Flowering sooner means that your plant has plenty of time to grow huge cannabis buds.
When growing indoors, opt for the most powerful light you can afford for the size of your grow. Next, you’ll want to keep that light as close as possible to your plants without causing heat stress or burn. To determine the optimum height, you simply position the light far enough away to bathe your entire crop with light. Yet, you still want it to be as close as possible.
Watch your plants over the next day or two to see how they respond to the light intensity.
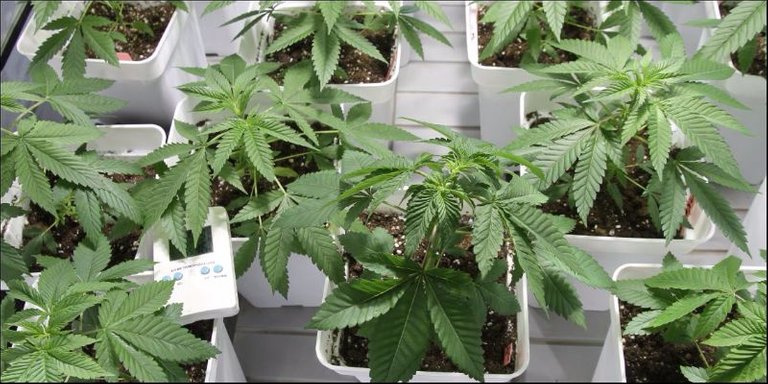
5.Maintain temperature and humidity
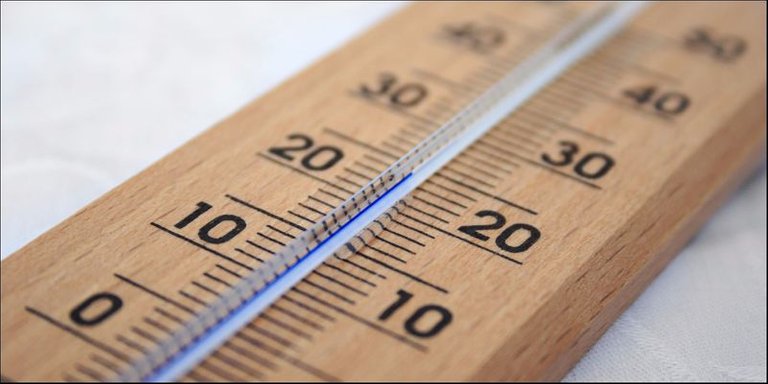
The next big thing you need to monitor is temperature and humidity. Cannabis like a nice warm environment that has a bit of humidity, but not too much. Here are some basic guidelines to follow:
Seedling: Aim for a temperature of 65-75ºF (20-24ºC) with 60% humidity until the plant is 2-3 weeks old
Adult, lights on: Aim for a temperature no higher than 80ºF (26.6ºC). For humidity, work down by 5% each week after seedling stage until you reach 40%
Adult, lights off: Aim for a temperature between 62-72ºF (17-22ºC), though avoid major swings in temperature from day to night
As a precaution, if your temperature drops too low at night, you risk mold. Make sure there’s never more than a 10ºC difference in your daytime and nighttime temperatures. Also, avoid really hot temperatures if you are still at higher humidities. If you’d like to increase your temperature, do it in a way that follows your humidity schedule. The last thing you want is a ruined bud.
6.Pruning and training
Pruning and clearing off dead leaves are essential to growing a healthy plant. The more energy your plant has to spend trying to rid itself of a dying leaf, the less energy it’s going to put toward growing amazing, high-THC buds. So, make sure you clip off dead or damaged leaves throughout the growing process.
You can also train your plants via a process called low stress training (LST). LST basically just means bending. As your plant grows, you can tie down branches to make better use of your light. You tie back any tall branches while your plant is still young and bendy. This will make your plant grow wider, not taller, allowing more light to reach more buds.
7.Topping
Topping is a type of pruning. You simply prune back the top cola. When you cut away the top flower, you then have two main colas that develop rather than one. You do this during the vegetative cycle when your plant is still quite young. This makes it easier to train. As a precaution, you should never top a plant more than twice.
8.Access to CO2
If your plant is outside, you won’t have a problem with this. However, indoor environments tend to be low in carbon dioxide (CO2). This is a bit of a problem since plants take in CO2 and release oxygen. CO2 also helps the plant absorb more light and convert it into energy. To correct for a lack of CO2, you can easily build your own CO2 drip. The video above gives a more detailed explanation, but here are the basics:
Fill a jug or bottle with white vinegar
Poking a small hole in the cap, just enough for the vinegar to drip out
Hang the bottle upside down near your plants
Place a bowl full of baking soda beneath the vinegar
Each time a little vinegar hits the baking soda, a little puff of CO2 is released. For larger grows, you can invest in CO2 generator. Be careful, though. CO2 is dangerous for humans.
These 8 easy hacks will definitely help you get a larger, more potent yield. However, the best way to get large buds is to just keep practicing. Over time, you’ll find nutrient ratios that seem to work well for you and your environment. You’ll also start to get into a groove with how you care for your plants, playing with different tweaks here and there. Yet, you’ll only get so far if you ignore some of these steps.
Do you have any tips for huge buds? Share them with us on social media!
https://herb.co/marijuana/news/growing-huge-buds
Hi! I am a robot. I just upvoted you! I found similar content that readers might be interested in:
https://herb.co/marijuana/news/growing-huge-buds