For this post, I originally wanted to find a Pinterest Hair Tutorial and do a really cute updo on my friend.
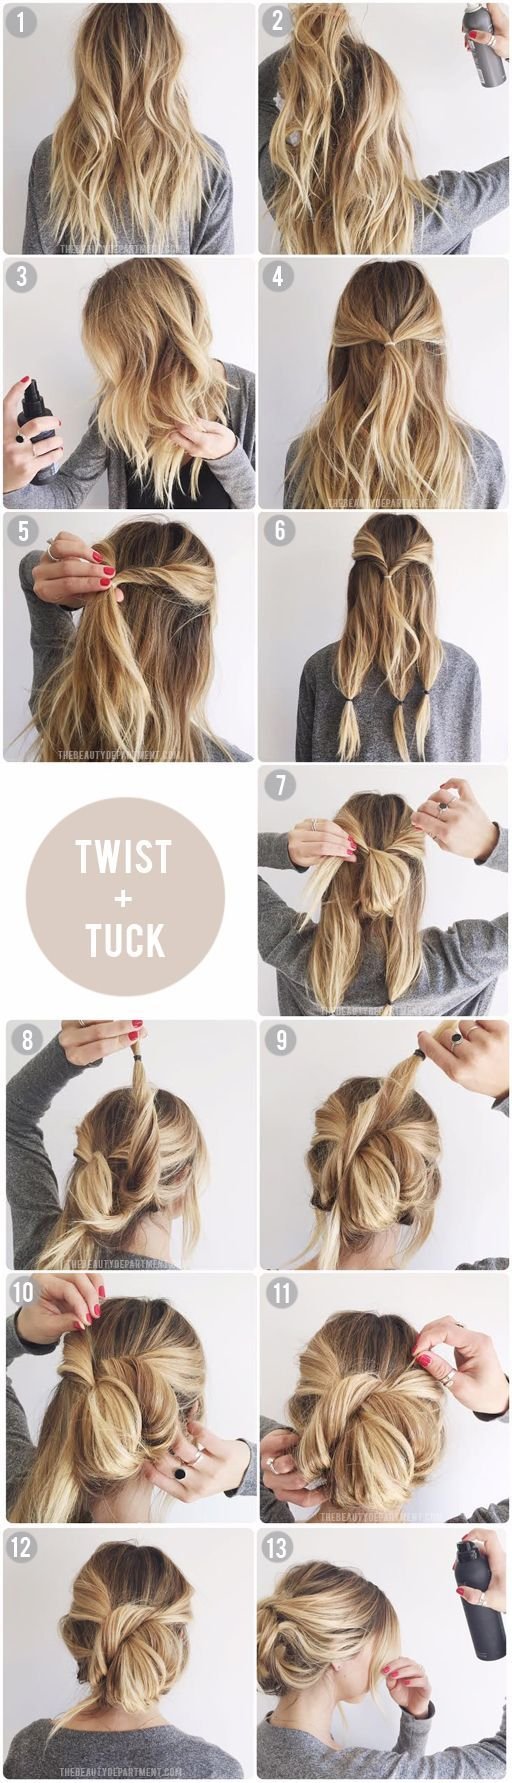
I found this post by the Beauty Department and thought it would be perfect and easy (because I am definitely not a hairdresser lol). It even says in the post that it's "THE EASIEST UPDO EVER."
Well I'm here to tell you that it isn't. But grab your hair anyway and let's try together to do this Pinterest Hair Tutorial!
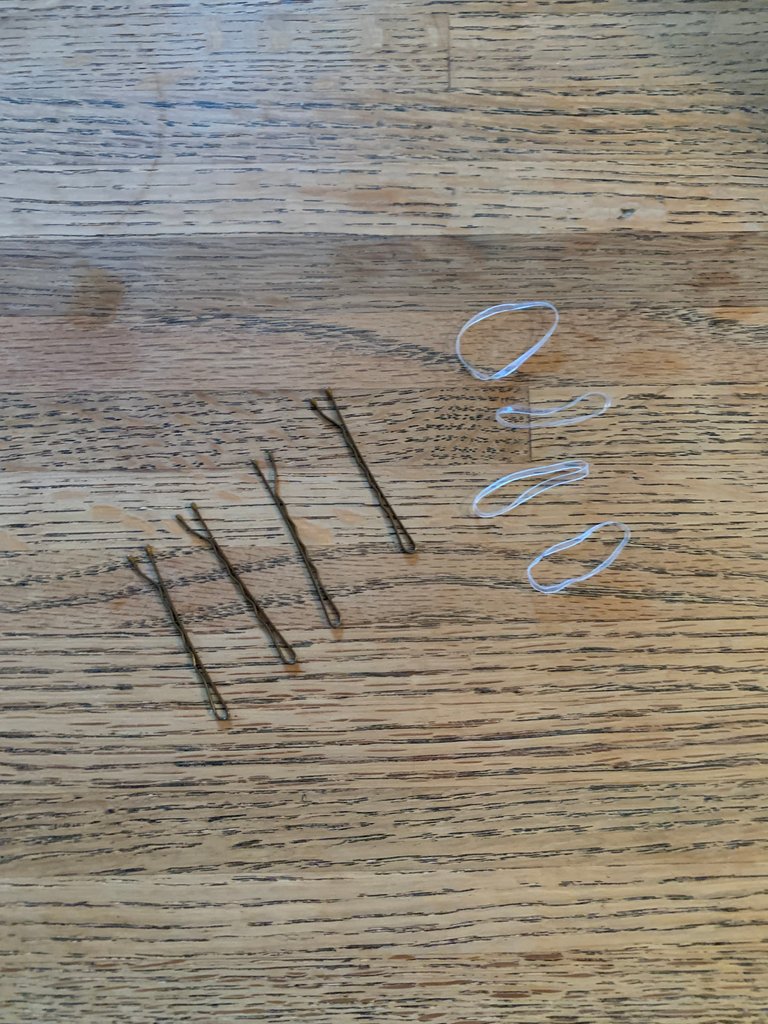
All you need ~supplies wise~ are a few bobby pins and some small hair elastics. The elastics can be clear or not, it won't matter in the end.
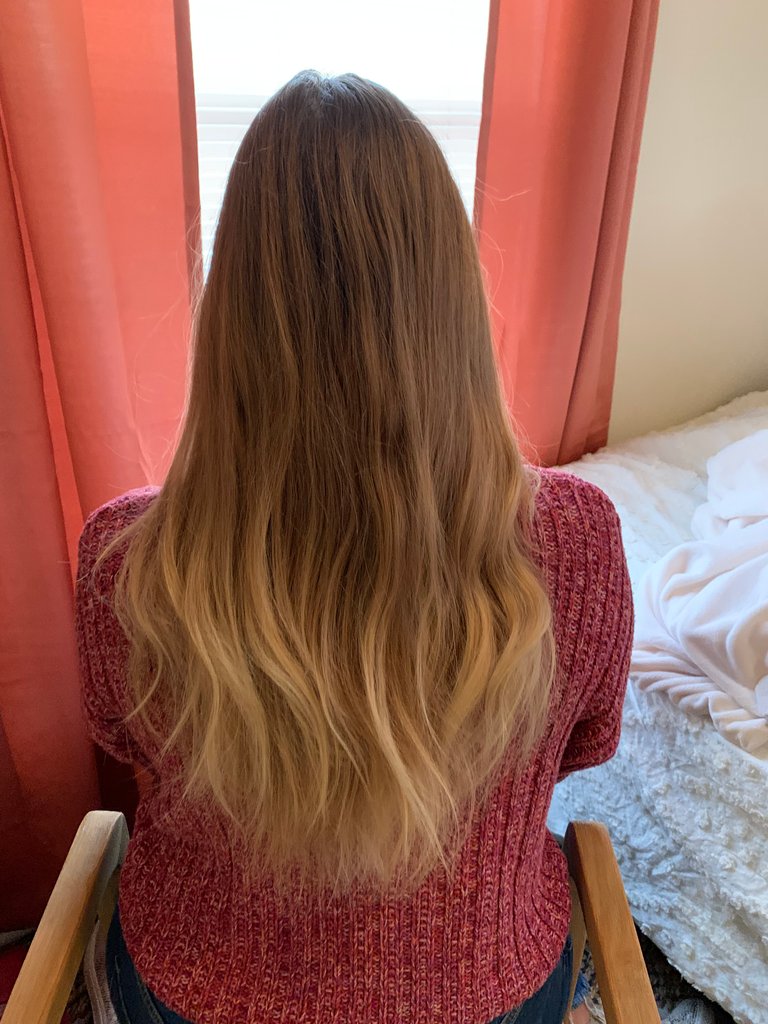
I decided to use my friend Hannah Kay's hair for this tutorial because it would be easier to take pictures of her and not myself and my hair is too short for this look (isn't her hair beautiful!!).
The first three steps in the picture graphic are basically the lady applying dry shampoo and some texturizer to her hair to make it stay better. They recommend second day hair. I've learned lately that dirty hair actually makes for better hair styles that stay longer. Go figure.
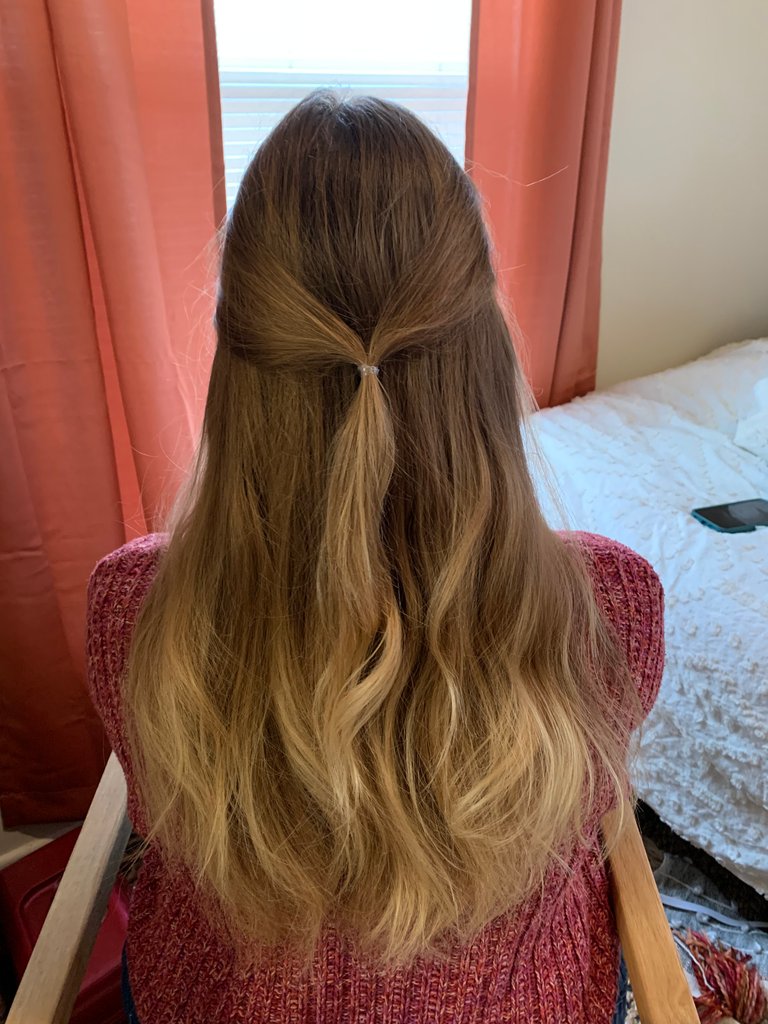
The first actual step is taking hair from the front and bringing them together in the back (if you've got hair, you've probably done this before). You also might want to leave a few pieces in the front out for face framing.
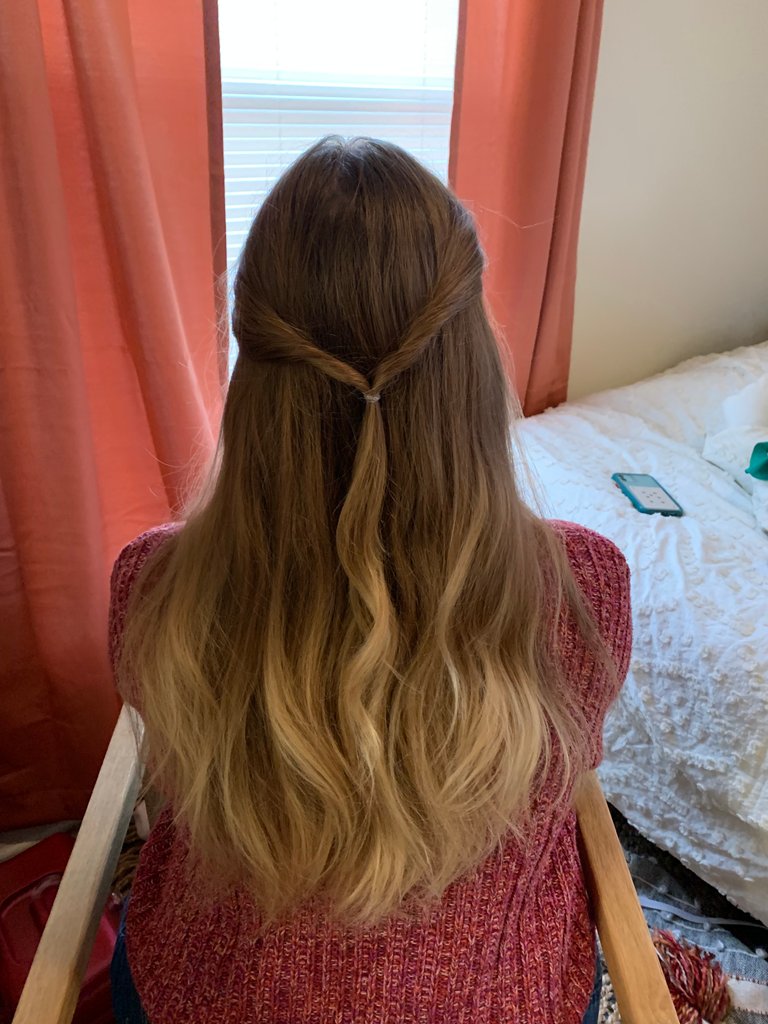
Next, you're supposed to twist the connected pieces (don't you love my terminology) so that they have a nice twirl near the end. This'll make it stronger for what we are about to do.
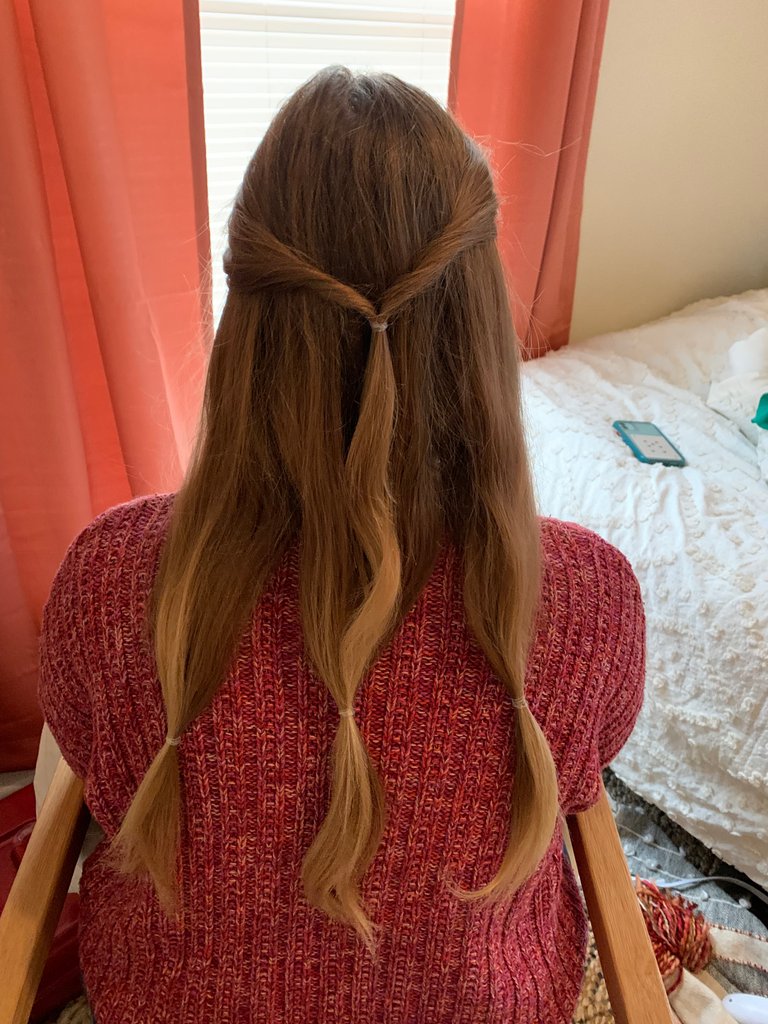
Next, separate the rest of the hair into three sections, including the leftover hair from the top in the middle section.
For Hannah Kay's hair, since it was so long, I decided to make a mini-bun at the end of it.
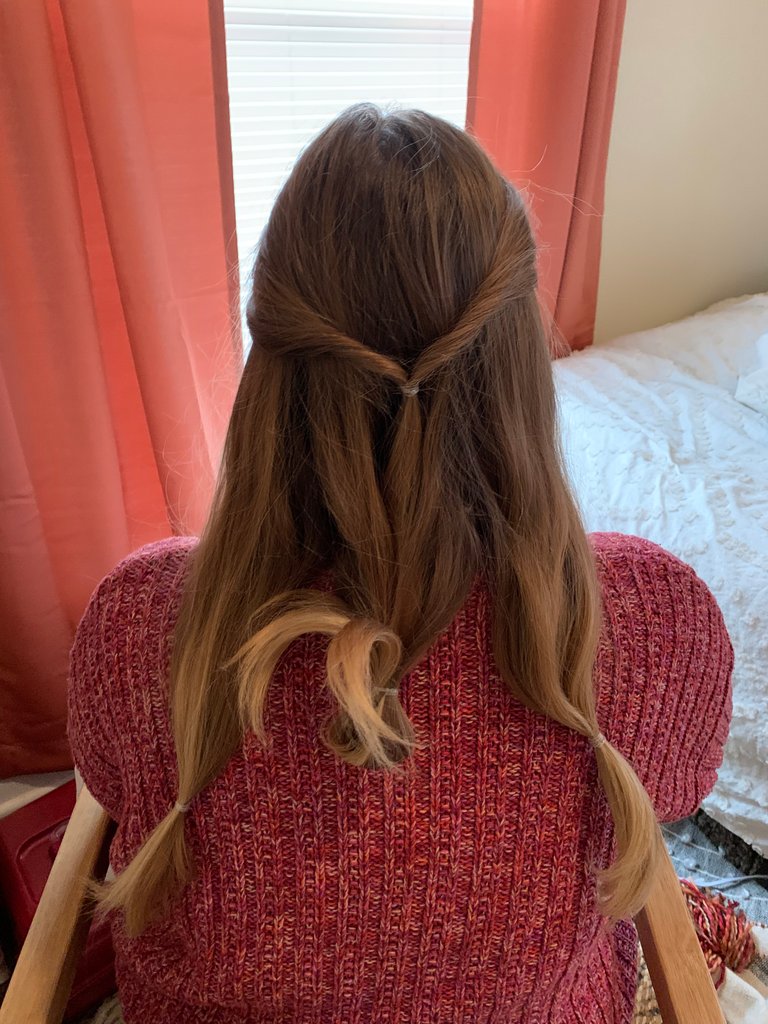
Next, you tuck that middle section of hair into the top piece. If you want to bobby pin underneath the bun piece, you can. It might add more stability to the updo.
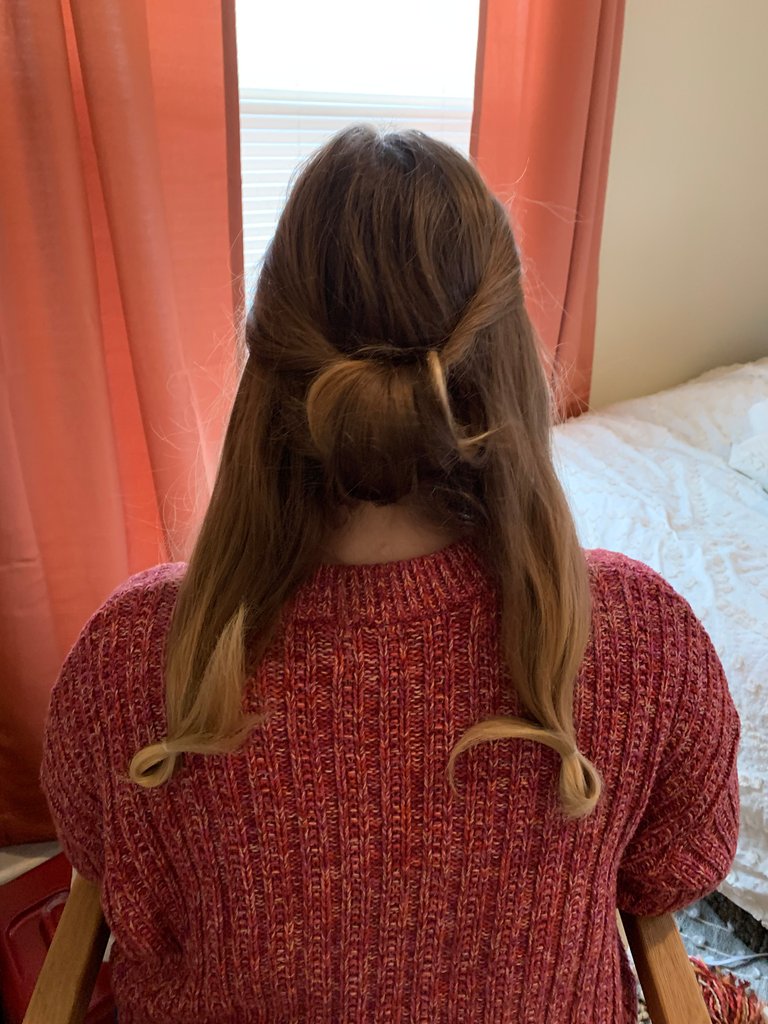
I decided to make mini-buns on the rest of Hannah Kay's hair, but I could see that the middle piece wasn't holding super well and that this might not turn out the way I had hoped.
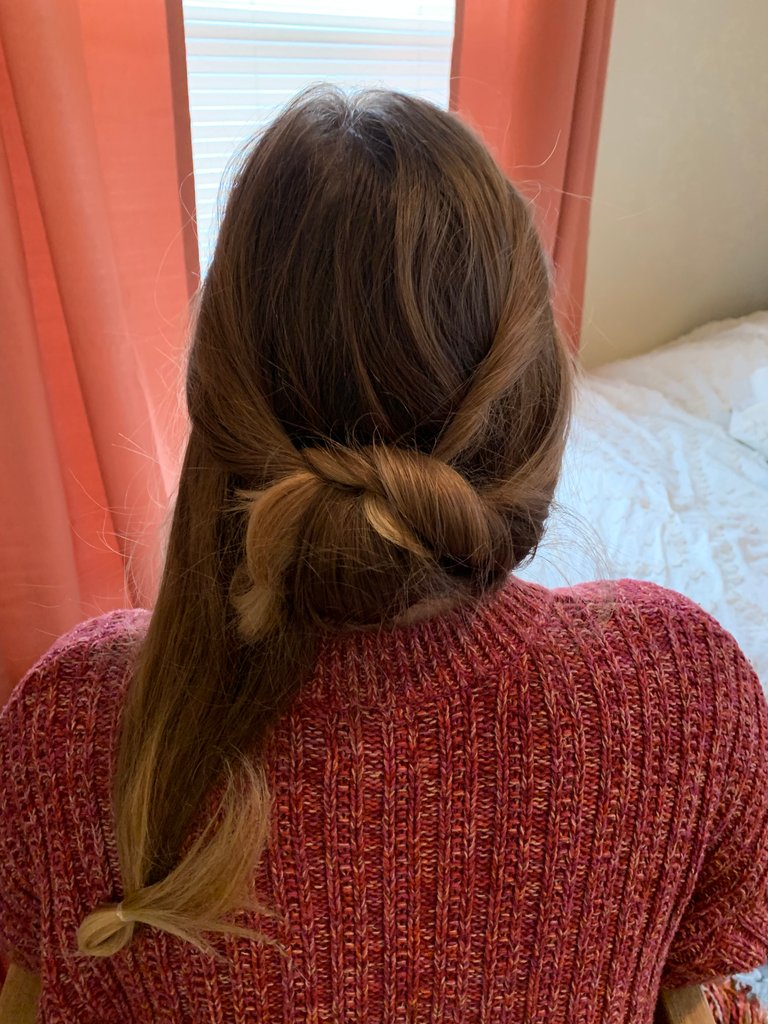
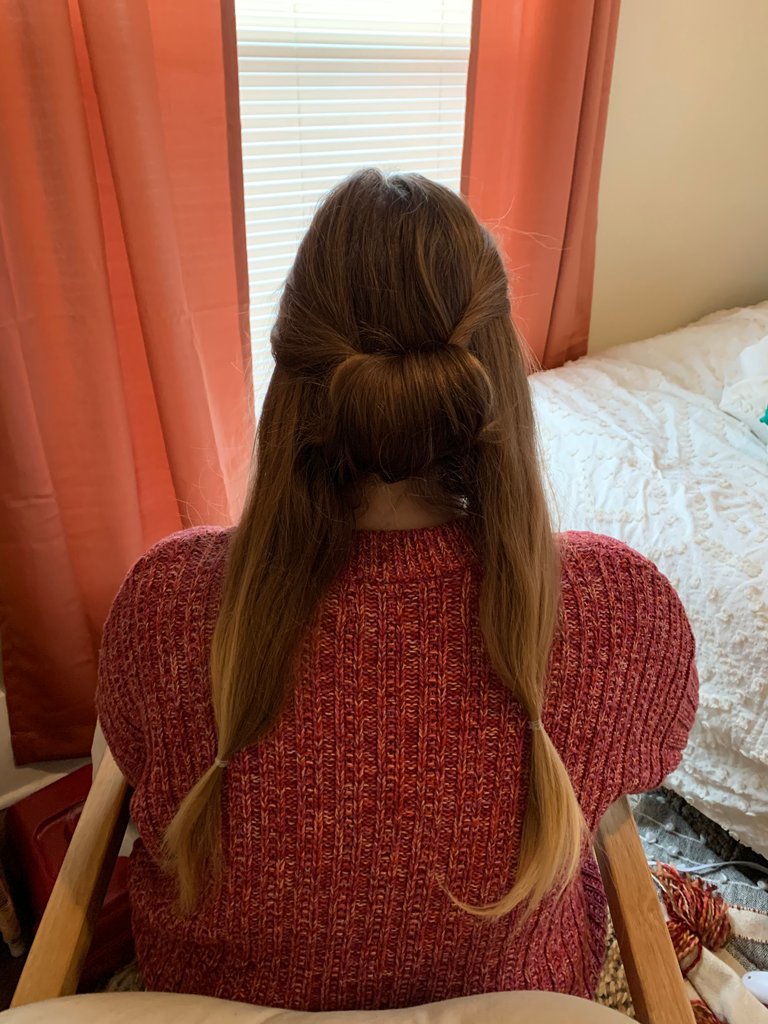
Nevertheless, I tucked the right mini-bun into the configuration by first lifting and twirling it to the left and then tucking it on the left side of the middle bun.
As you can see, I did bobby pin this one into place, sensing that the integrity of the hairstyle was about as good as a house of cards.
Next, I did the same thing with the third piece on the left (except I twisted it to the right and pinned it on the right side) and got....

Ooof. Yeah, this doesn't look like the picture. It doesn't look terrible, but you should've felt how easily it could've fallen out and it just didn't look super put together in general.
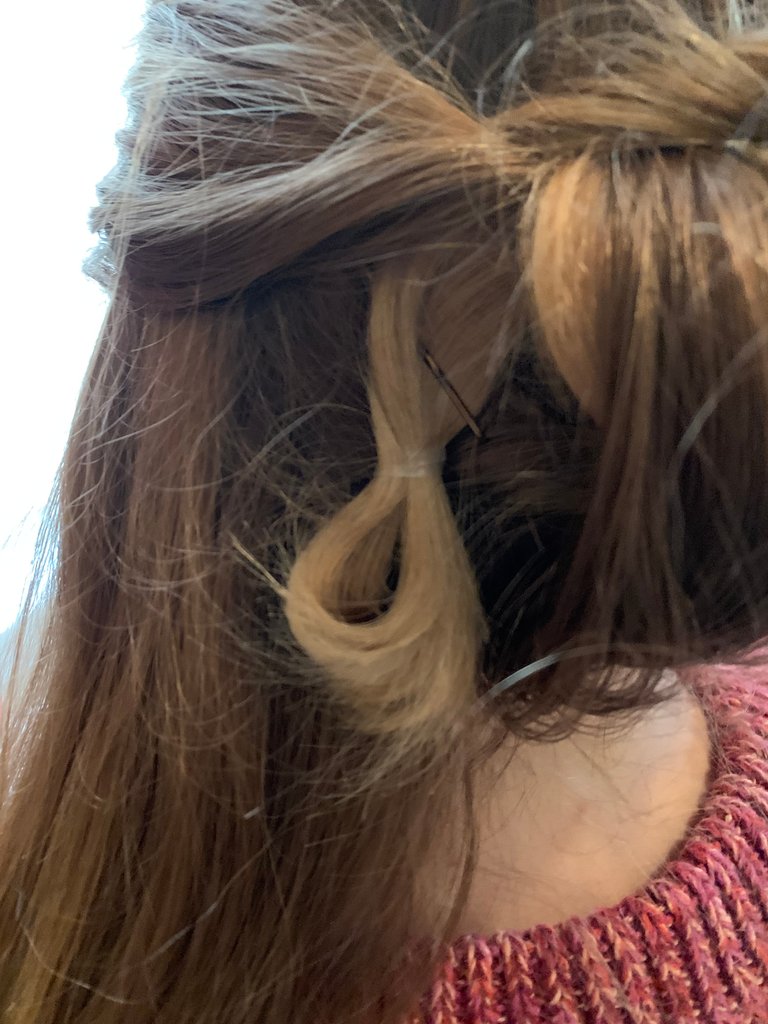
Instead of stopping there, I decided to try again. I took the sides down a few times and played with them a bit, but always got the same result.
Then I thought that maybe my top piece was too low. So I made it higher.
But then I got this:
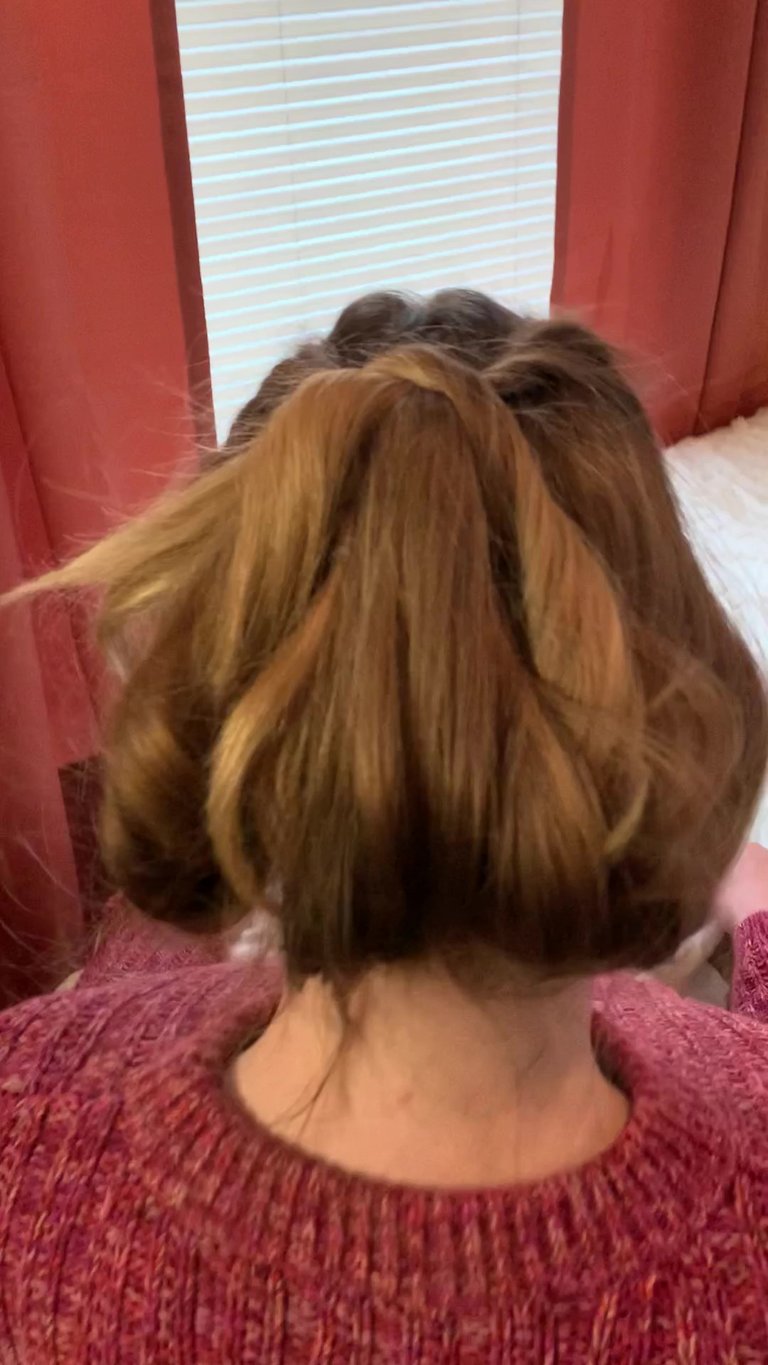
Which we didn't get a good picture of because we were laughing so hard. You can laugh, I know it's bad haha.
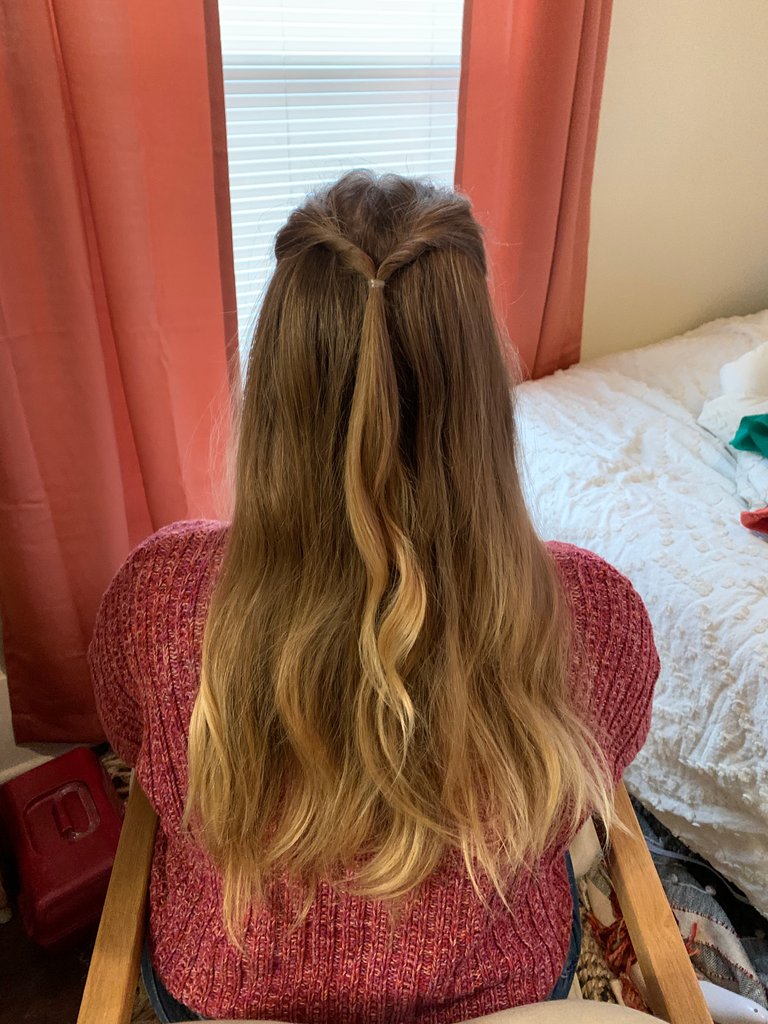
Scratching that, I was close to giving up, but I tried one more time, lowering the top piece so that it was in what I thought was the right spot. I didn't do the mini-buns at the bottom of the strands. I twisted and tucked and twisted less and twisted more until I arrived at:
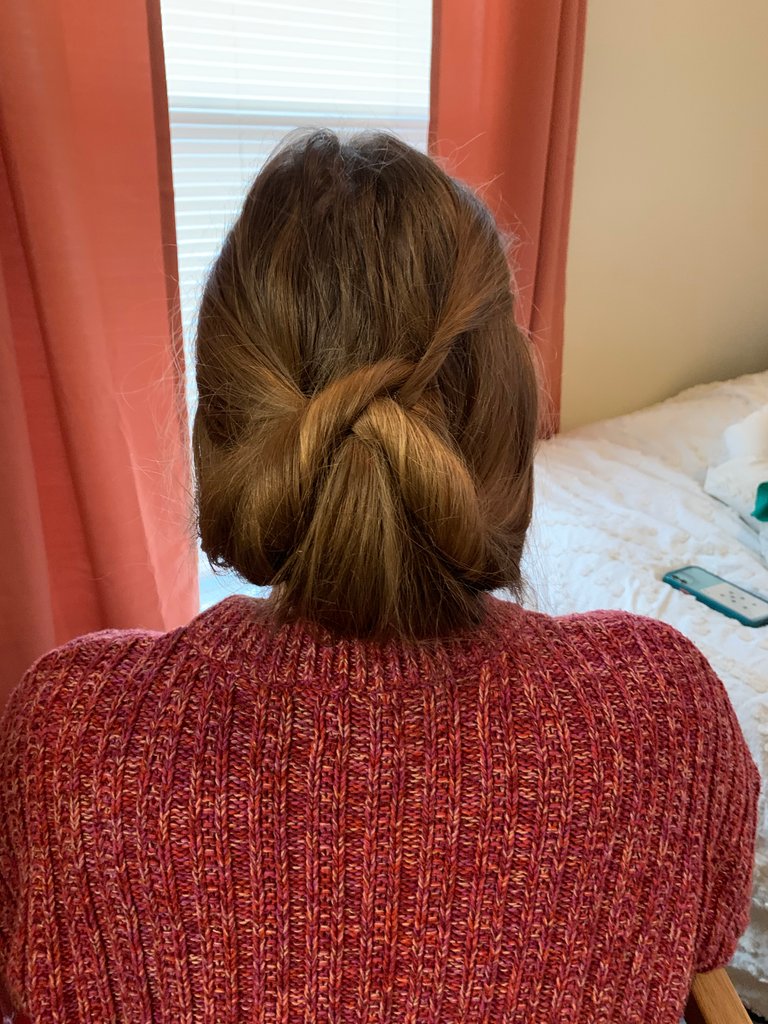
Hannah Kay said it looked like the poop emoji. I decided that I will never be a hair stylist. And I realized that Pinterest Hair Tutorials Don't Work. At least we got to laugh a lot together.
If you feel like you could do this, feel free to try it out and comment your results! I'm sure you'll do better than I did!