.jpg)
We will imitate the forged product.
For this we need:
A beautiful bottle shape;
Alcohol;
Vata;
Napkins;
PVA glue;
Acrylic paints black + green;
Water;
Sponge for dishes;
Acrylic paint for gold;
Brush.
The bottle must be cleaned of labels. Then, using cotton wool and alcohol, wipe it, in order to degrease.
.jpg)
We take napkins. I previously tore them up a bit - so it's easier to glue them on the bottle.
Glue PVA must be diluted with water. At 50 gr. water 1 tbsp. adhesive.
Now we proceed to wrap the bottle with napkins.
We take not very soft brush and apply glue on a napkin, so that the air under it does not form. And we do this work on the entire surface of the bottle and the bottom, in two or three layers.
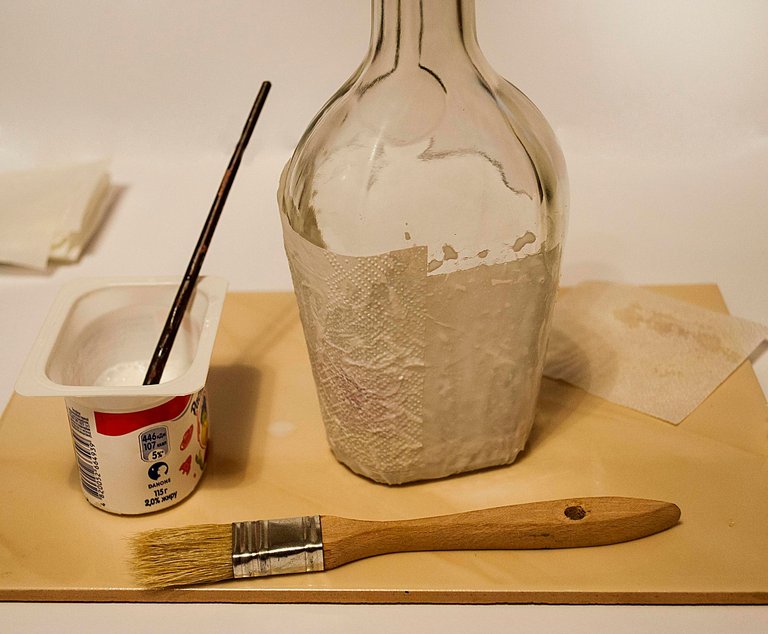
Leave for a day to dry.
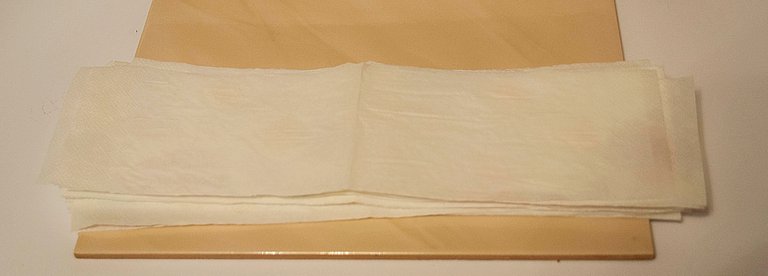
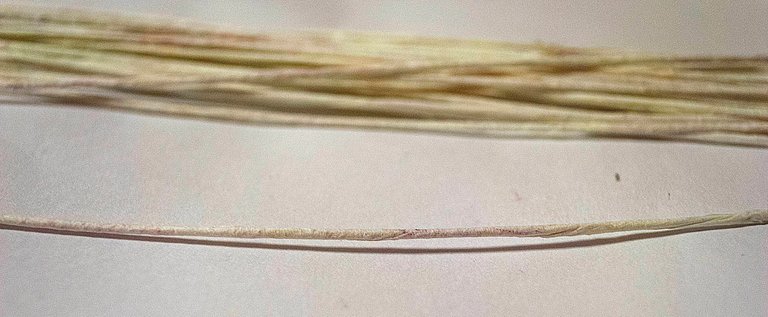
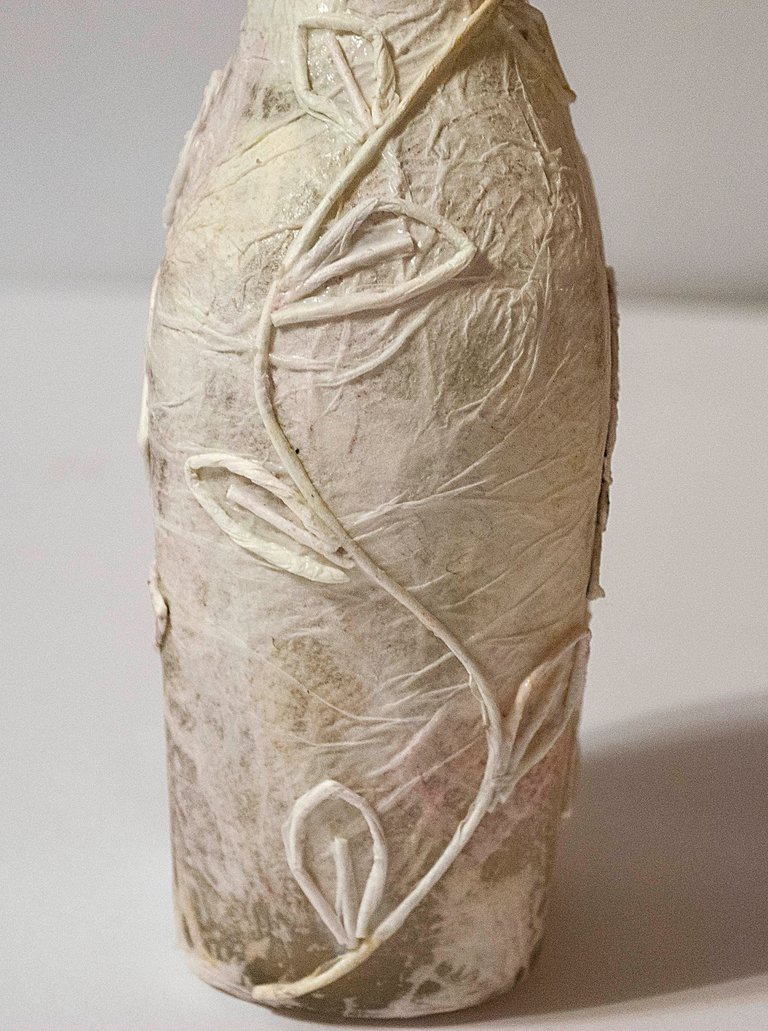
This time you can make blanks from napkins.
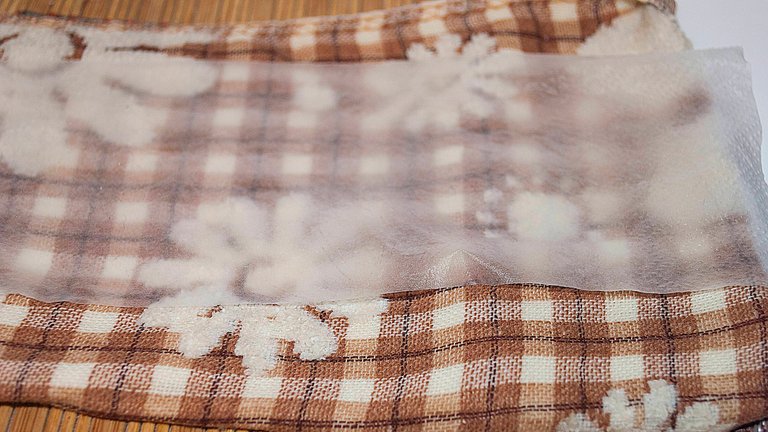
We take one napkin, add it along and cut it. The thinner the width of the napkin, the thinner the flagella. We moisten the towel, put a cut napkin on it and hand it a little. Then we twist in one direction our napkin. If you did not immediately get a thin flagellum, do not be scared, you can lightly wet your hands and several more times scroll. All leave to dry them too. The number of flagella depends on what pattern you will make.
I do not know how to draw, so I found a rose pattern on the Internet, printed it and cut it out.
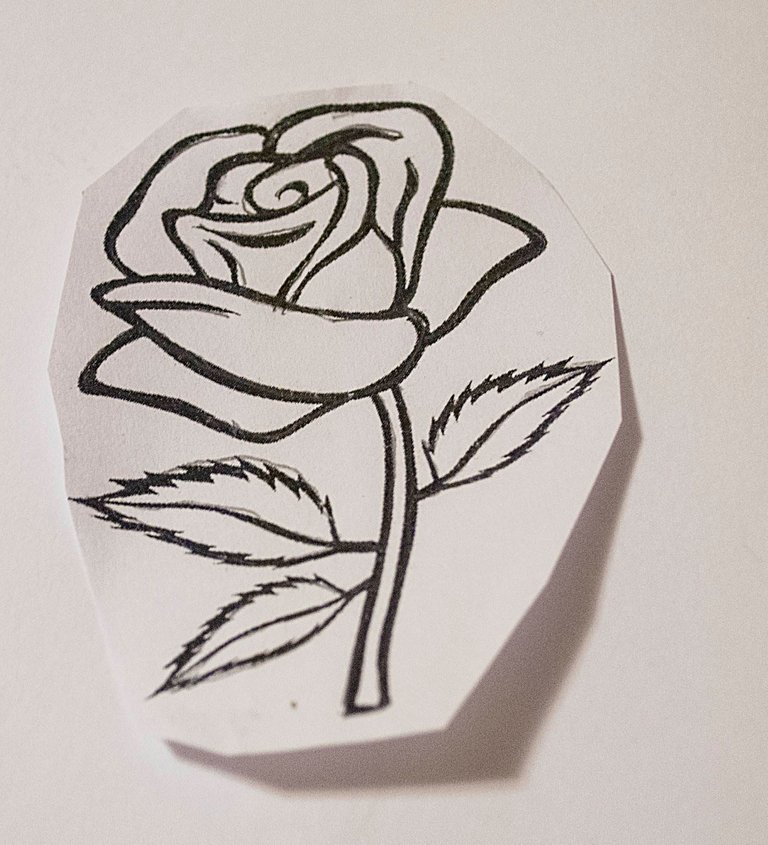
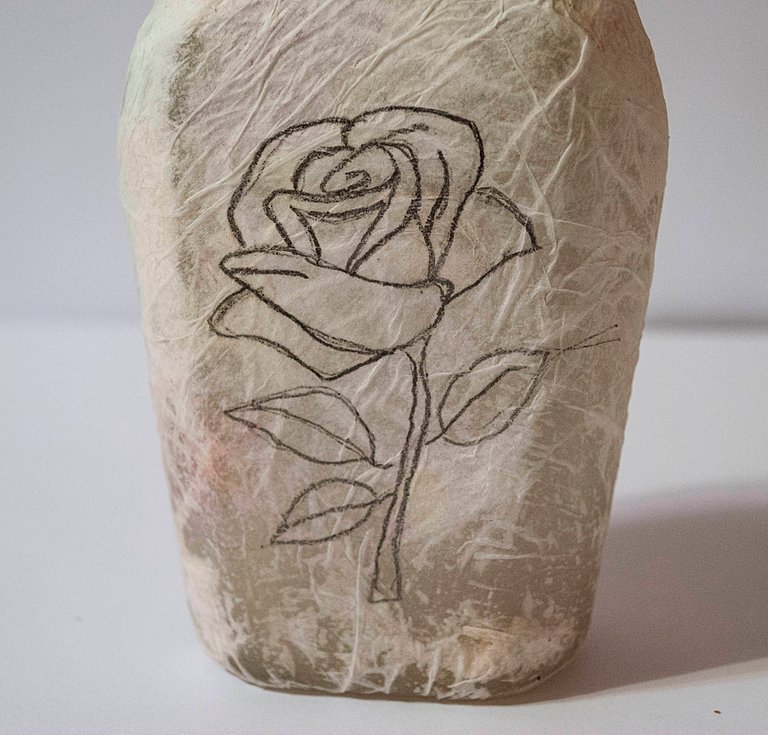
Then, with the help of a photocopy, moved the drawing to a dried bottle, on both sides.
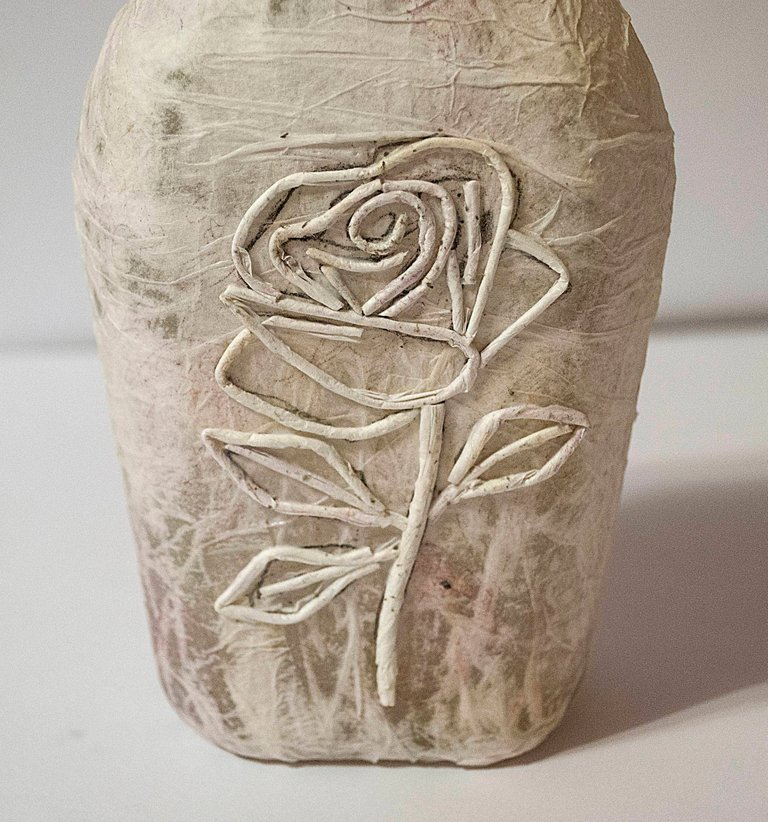
We need to glue our blanks on this picture. Pre-measure the piece, then apply glue and lay out the tourniquet. On the sides I made two branches with leaves. And on the spot where the emblem was round, I made a circle from the harness.
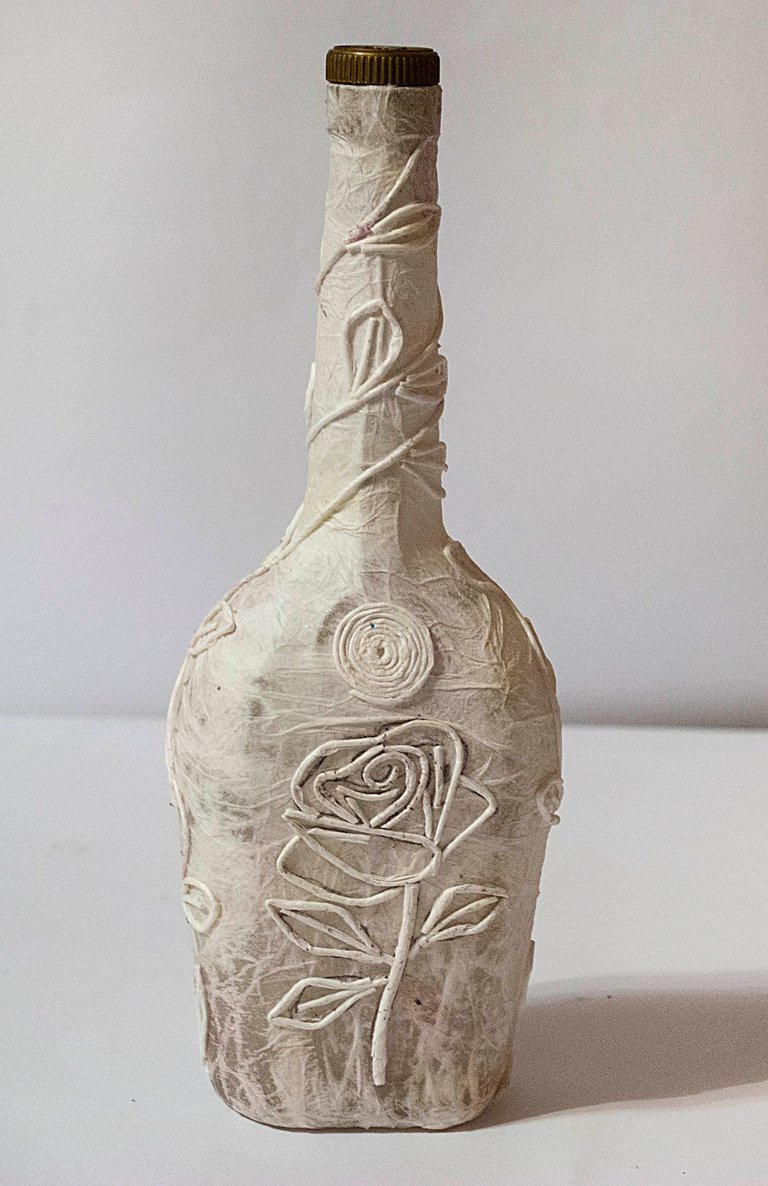
When all is pasted, I turn to painting. I take acrylic paints and mix black with green. And with the help of a brush I paint the entire bottle. I leave to dry for 2 hours.
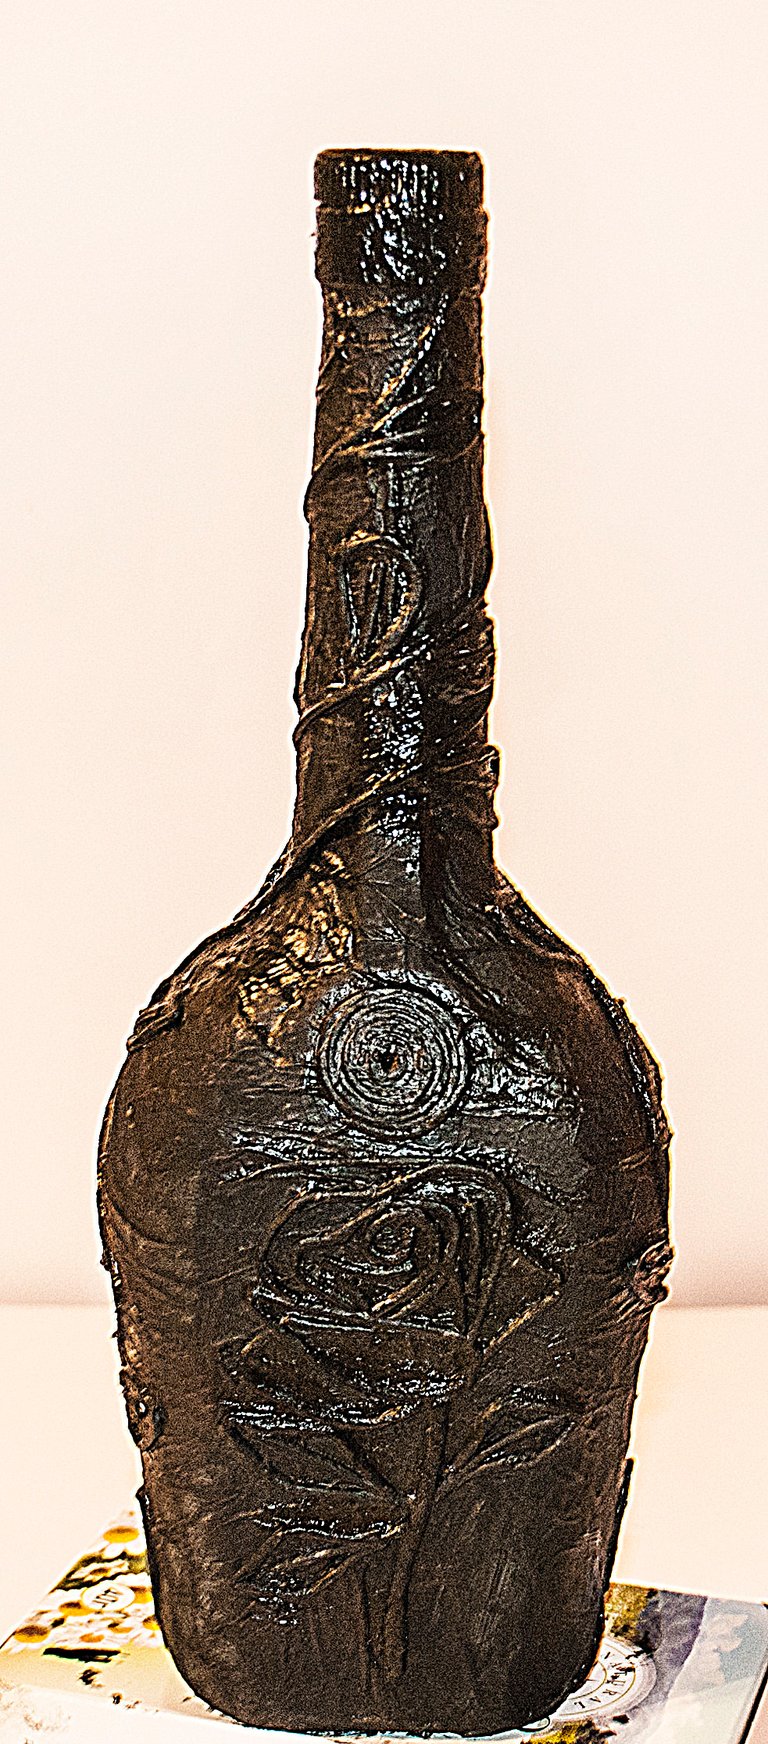
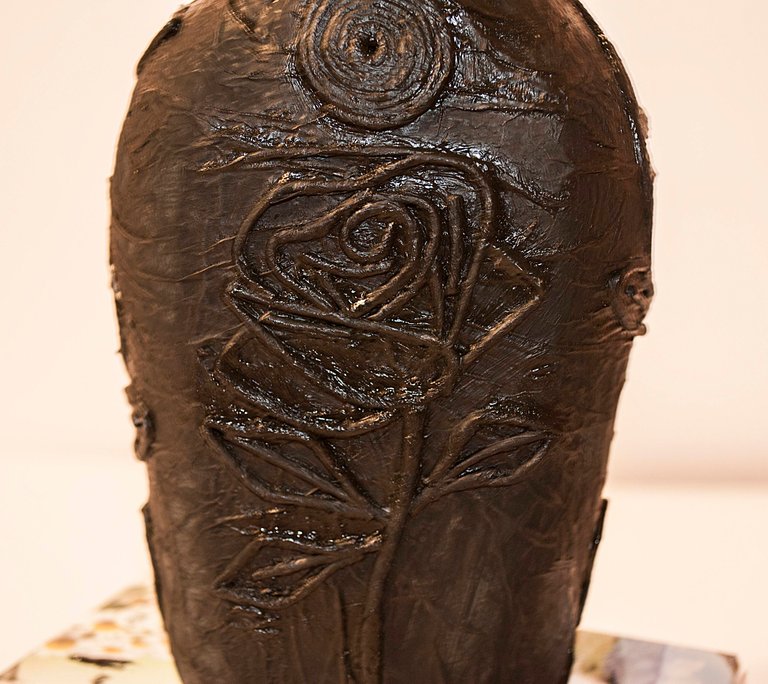
Then I take acrylic paint "gold" and dip the sponge into it. I remove excess paint and light movements, as if dipping water, I go through the whole bottle. It is important to remember that you should not put a lot of paint on a sponge, you need it to be simply impregnated with it and that's it.
We leave again to dry up.
.jpg)
And the last stage. All open with acrylic lacquer. And it's ready.
.jpg)
.jpg)
.jpg)
.jpg)
.jpg)
.jpg)
Good luck to all of you, dear friends!
Nice one
This is creativity
Will tried this
Well detailed tutorials
Just a question:
Are the pictures yours
Can you add a picture of you painting it and also a picture of you removing the excess paint just for identification
You never knew who might want to visit or who might want you to do a product for him/her
Rose downloaded from the Internet and transferred to the bottle with copy paper.
The excess paint is not removed, it is necessary to gently sponge with a sponge.
It is possible to make to order.
Sorry for bad English.
If you have any picture of you during any of the process, why not try to add it. Would look more convincing. People will also trust you. Just an advice
I do not want to convince anyone. And this product I will put on etsy.com. People themselves will see everything.