This tutorial is for advanced beginners
Hello everyone, after a long while I didn't post anything, its time to get back to the routine.
In today's tutorial, I will teach you how to use buttons on Arduino.
I know that some of you are not familiar with Arduino, so I recommend you to go on arduino.cc website and start learning this fantastic language.
ABOUT ARDUINO
" Arduino is an open-source electronics (raised, flat supporting surface) based on easy-to-use hardware and software. Arduino boards can read inputs - light on a sensor, a finger on a button, or a Twitter message - and turn it into an output - activating a motor, turning on an LED, publishing something online. You can tell your board what to do by sending a set of instructions to the microcontroller on the board. To do so you use the Arduino programming language (based on Wiring), and the Arduino Software (IDE), based on Processing. "
information about Arduino, was brought from arduino.cc website
LETS LEARN HOW TO USE BUTTONS ON ARDUINO
Products:
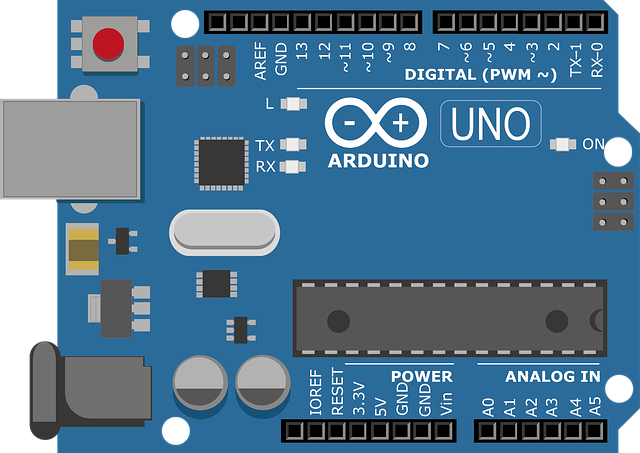
- Arduino Uno board
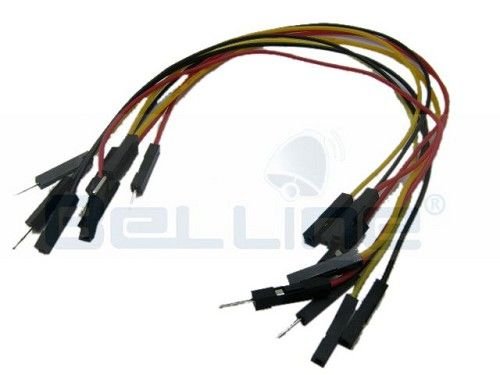
Be aware of the fact that youll need this cable either (must have):

There are several kinds of cables, but in this tutorial I am going to use this one.
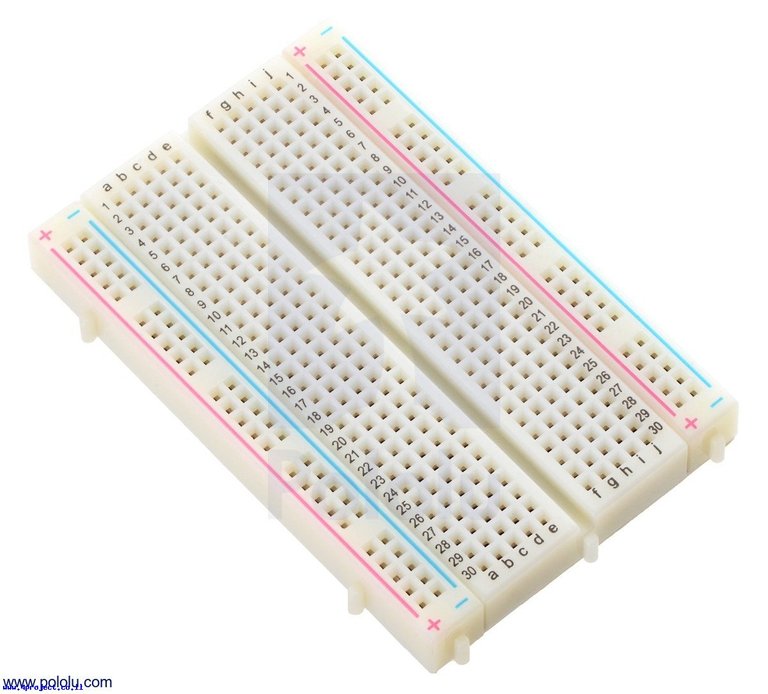
Cabling board
Cables
Button
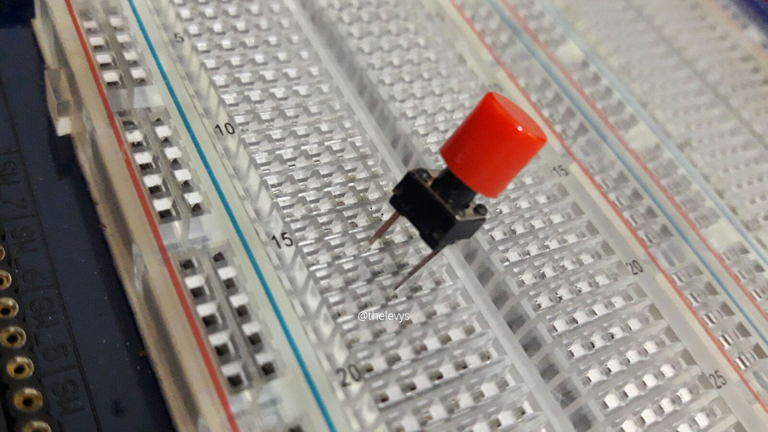
this button has 2 legs, most of the buttons in the market have 4. In this tutorial you'll understand how to wire a button with 2 legs, but it is the same with 4 legs.
- Resistor
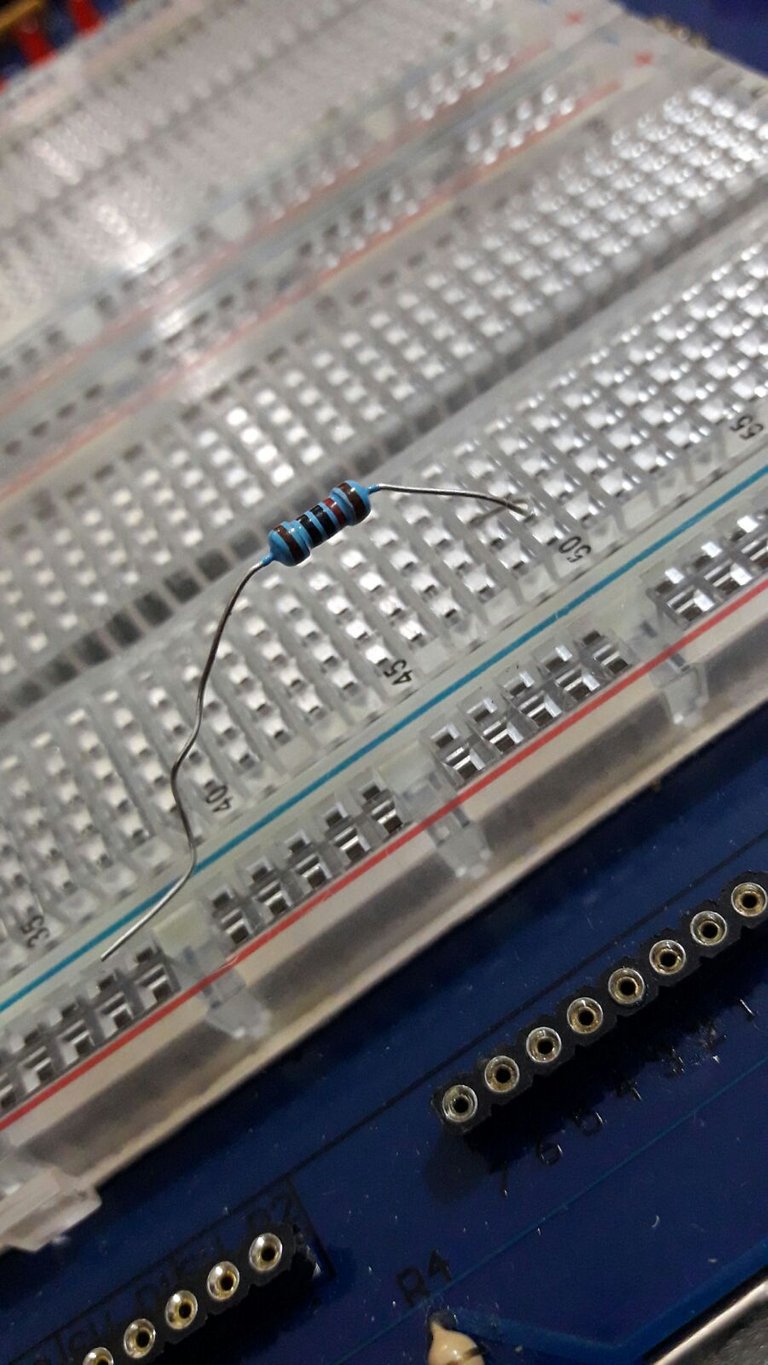
the resistor colors are not matters in THIS VERY TUTORIAL
- Arduino Software (could get from arduino.cc)

OK, SO AFTER WE BROUGHT ALL THESE PRODUCTS
Lets start putting the button in his place
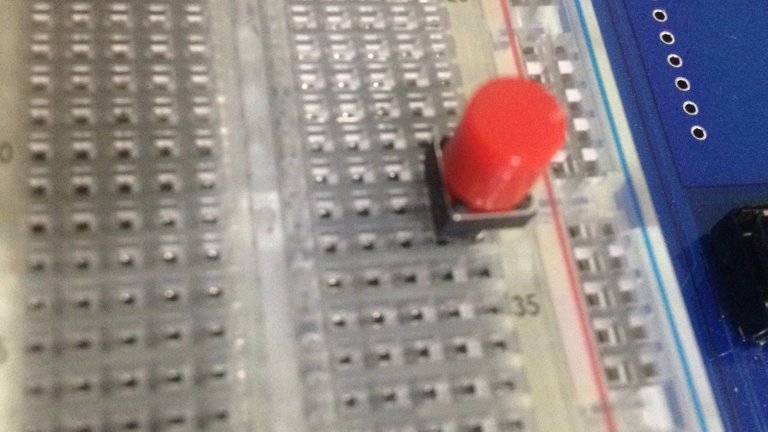
Do not put this two legs on the same row because it will not work.
Now lets cable the cables like so:
red is +, black is -. (Doesnt realy matters, just remember this).

Ok, so the red cable is connected to the 5V (default), place on the Arduino board.
And the black one, is connected to the ground (GND).
Now take your resistor
and put it like so:
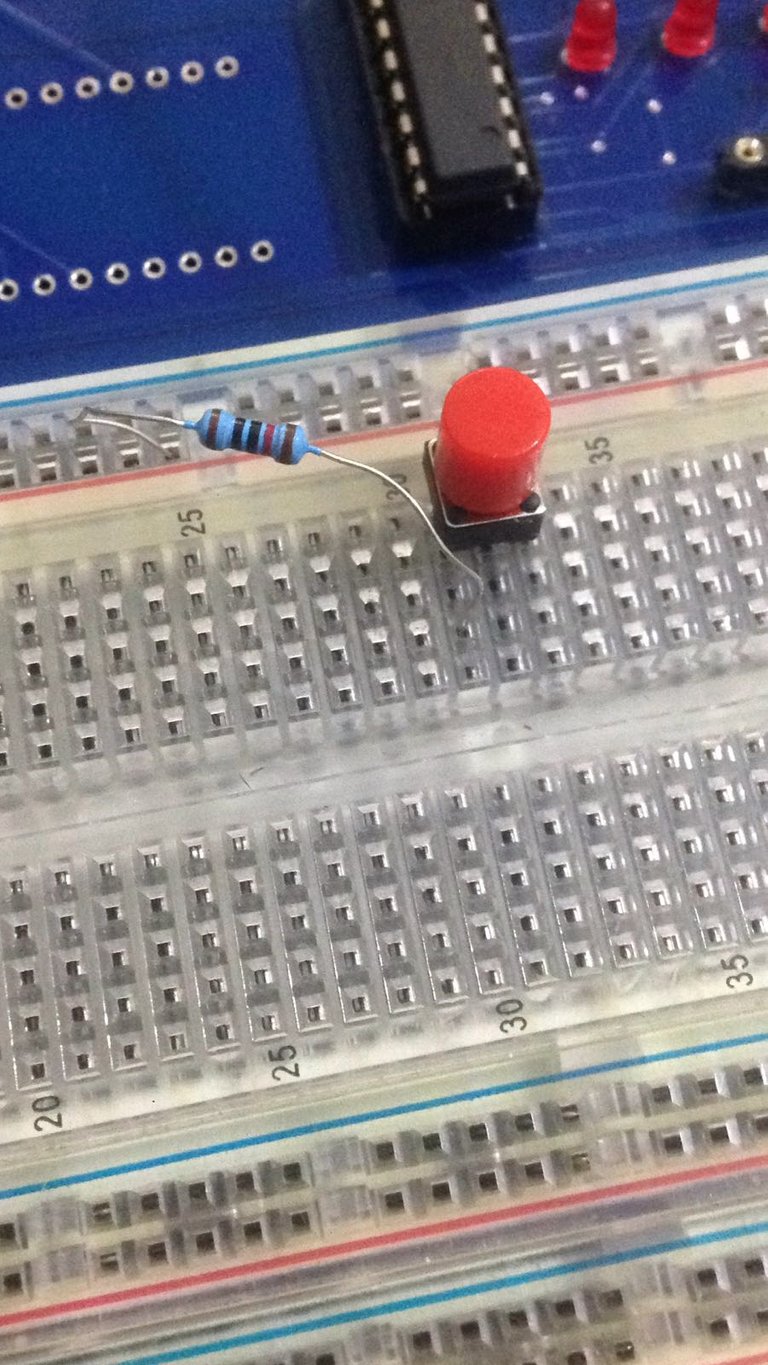
As you can see, your resistor is now connected to the RED row, (+), which means it gets 5Volts.
We connected the resistor to the left leg of the button.
WARNING
Put the bigger leg on the right, and the smaller on the left. And remember it. It is important.
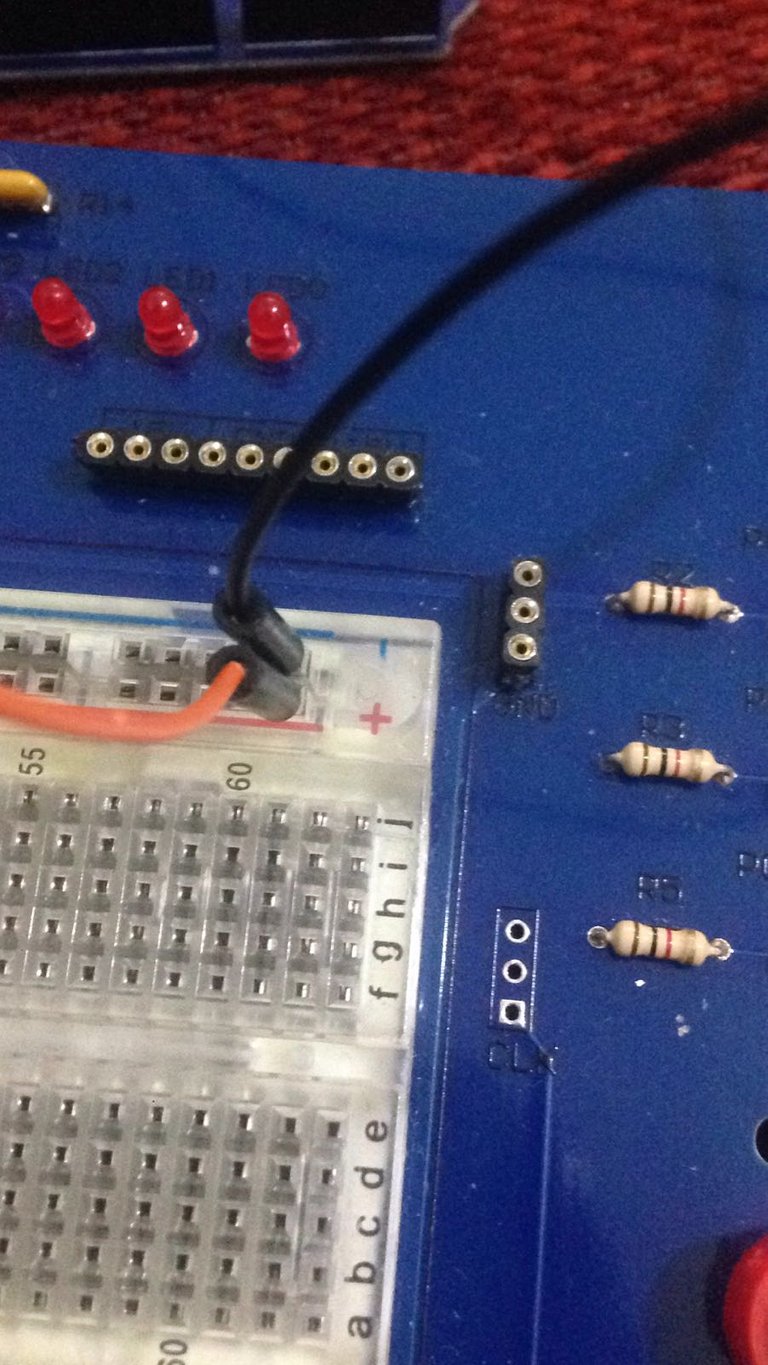
Let's put some cables on !
Put them like so:

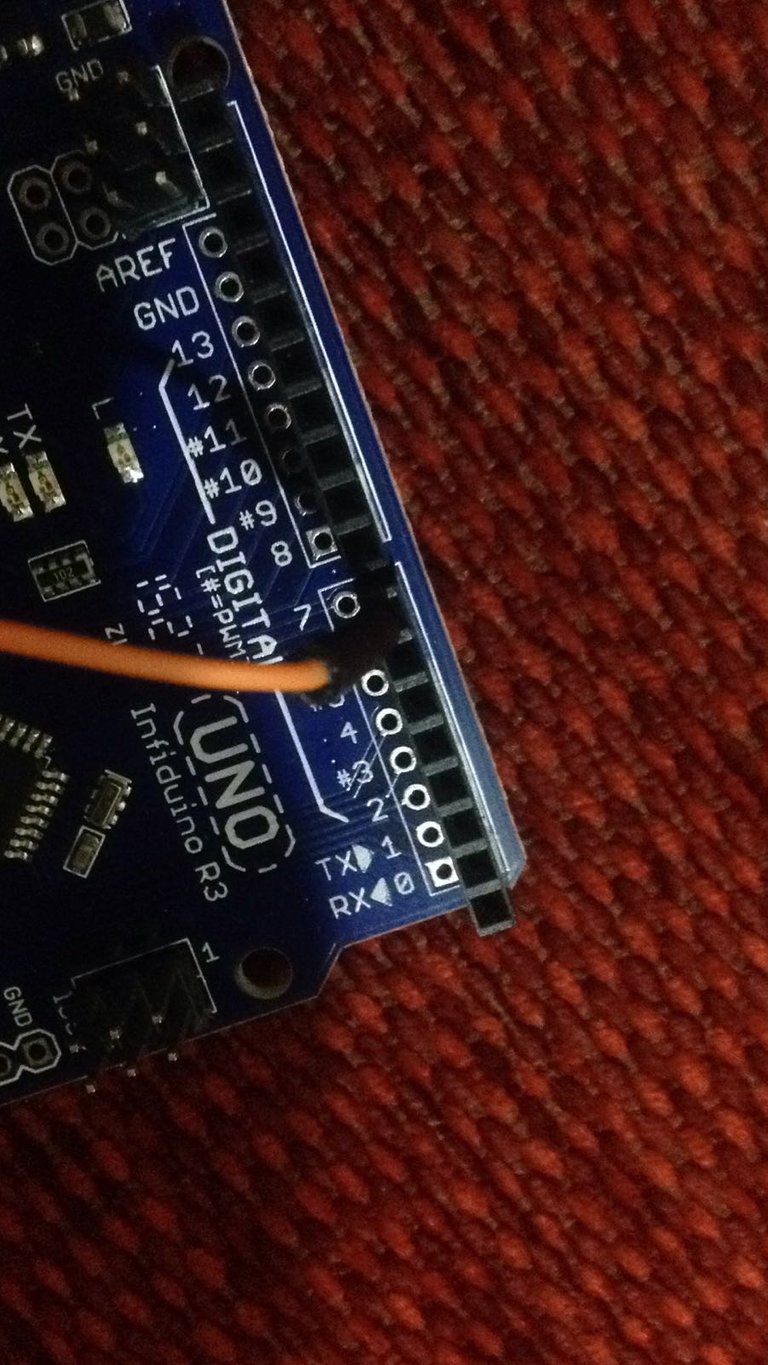
The orange one is connected to 'PORT D', hall number 7.
The blue cable, is connected to the black ROW (-), which means its connected to the ground.
Thats wonderfull! You finally can go and CODE IT.
The coding part is a bit harder, but I will put my own source code here, for you to compare.
I recommend code your own sketch, before continuing.
GOOD! Lets start.
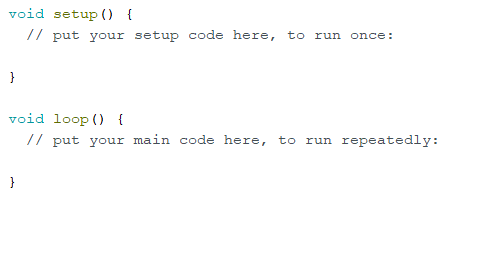
First thing youll see is:
Ok, I recommend first to define the '7' pin as a button.
#define button 7
this line of code comes before every void, function, or integers you wrote.
This line of code is actually defining 7 as button. They are the same thing now.
You will understand later on.
void setup() {
// put your setup code here, to run once:
DDRD = 0xFF;
Serial.begin(9600);
pinMode(button, INPUT);
}
This is your default settings, it will run only 1 time. (We dont need it to run more then that).
The void loop, is going to run reapeatedly (non-stop).
I hope you learned IF-Else statemantes, if you didnt so learn it because it is important for this project.
First of all, we define a new integer.
but = short for a button
void loop() {
// put your main code here, to run repeatedly:
int but = digitalRead(button);
if (but == HIGH) {
Serial.println(" PUSH IT ! JUST DO IT ! ");
} else {
Serial.println(" PLS STOP ! YOU ARE PUSHING TOO HARD. ");
}
}
AND THERE YOU GO!
Why should I use a button? What can I use it for?
Buttons are very important in Arduino. For example, drinking machine, can be also be working by buttons.
Buttons are awesome, how you learned something.
Very nice guide, arduino is an awesome toy :D
Thank you very much for your reply. I really appreciate this.