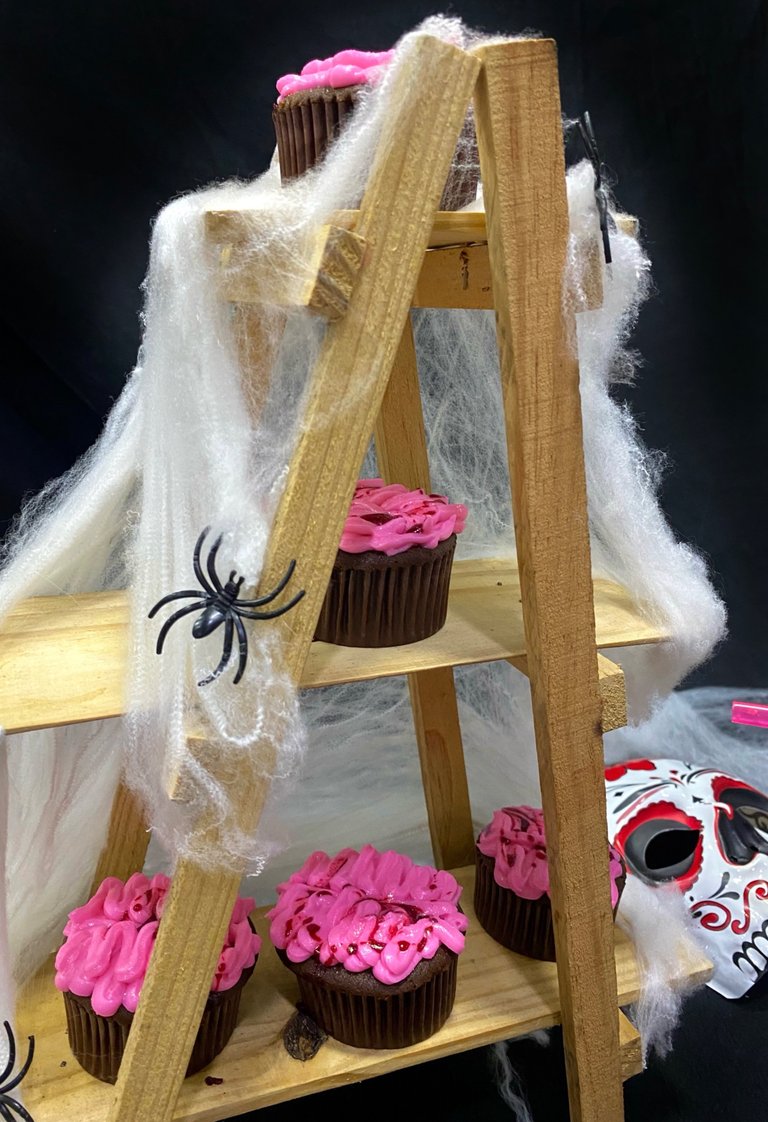
Hola amigos, feliz día! Espero que se encuentren muy bien y que tengan un excelente fin de semana. Aunque el día de Halloween ya pasó y como siempre, llegué tarde jajaja les cuento que hoy tenía una presentación en clase donde la temática era de Halloween así que aproveché que me tocaba preparar una mesa dulce para niños y adultos, así que me decidí por preparar unos cupcakes de cerebro zombie y por supuesto, guardarles la receta para compartir con ustedes, sin más, espero que les guste.
Hello friends, happy day! I hope you are feeling well and have a great weekend. Although Halloween has already passed and as always, I was late hahaha I tell you that today I had a presentation in class where the theme was Halloween so I took advantage that I had to prepare a sweet table for children and adults, so I decided to prepare some zombie brain cupcakes and of course, save the recipe to share with you, without further ado, I hope you like it.
Ingredientes:
- 100g de margarina.
- 100g de Harina repostera.
- 100g de azúcar.
- 2 huevos.
- Cacao.
- Polvo para hornear.
- Esencia de avellana y chocolate.
- Color caramelo.
- Azúcar glass.
- Manteca vegetal.
- Colorantes en gel.
Ingredients:
- 100g margarine.
- 100g of pastry flour.
- 100g of sugar.
- 2 eggs.
- Cocoa.
- Baking powder.
- Hazelnut and chocolate essence.
- Caramel color.
- powdered sugar
- Vegetable shortening.
- Gel coloring.
Preparación
Paso 1️⃣
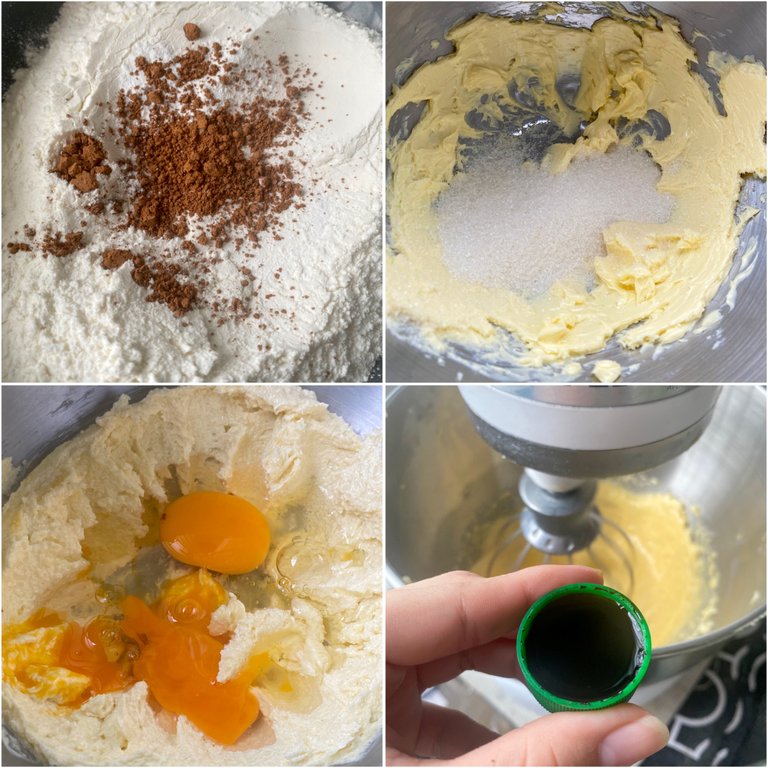
Lo primero que hice fue separar los ingredientes secos, en este caso la harina junto con el polvo para hornear y la cocoa, luego añadí 100g de mantequilla a la batidora para que esta cremara, en este caso, use el accesorio de espátula, luego de esto le iba añadiendo poco a poco el azúcar en manera de lluvia. Una vez ambos ingredientes estuvieran bien cremados procedí a añadir los dos huevos junto con 1 tapita de esencia de avellana y chocolate.
Preparation
Step 1️⃣
The first thing I did was to separate the dry ingredients, in this case the flour along with the baking powder and cocoa, then I added 100g of butter to the mixer so that it would cream, in this case, I used the spatula accessory, after this I added the sugar little by little in a rainy way. Once both ingredients were well creamed I proceeded to add the two eggs along with 1 capful of hazelnut and chocolate essence.
Paso 2️⃣
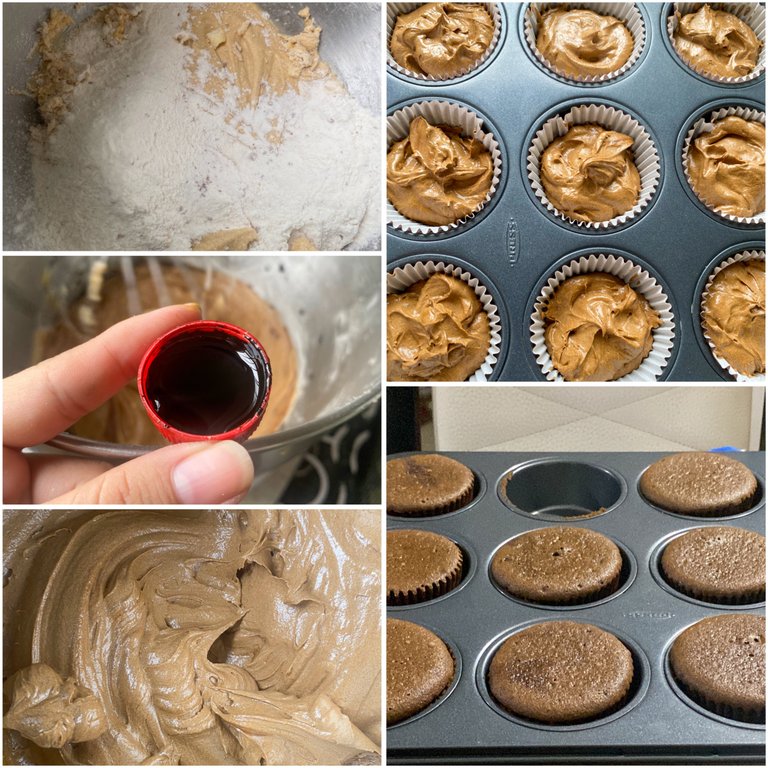
Siguiendo el paso 2, procedí a añadirle los ingredientes secos y en este paso le baje la velocidad a la batidora para que no salieran volando los ingredientes secos, llego un punto donde detuve la batidora para poder limpiar bien los bordes y que todos los ingredientes se integraran bien, luego de un rato le añadí 2 tapitas de color caramelo y una vez la mezcla estuvo lista procedí a llenar los capacillos con esta para así llevar al horno por 30 minutos a 170°.
Step 2️⃣
Following step 2, I proceeded to add the dry ingredients and in this step I lowered the speed of the mixer so that the dry ingredients would not fly out, there came a point where I stopped the mixer to clean the edges well and that all the ingredients were well integrated, after a while I added 2 caramel colored caps and once the mixture was ready I proceeded to fill the capacillos with it to take it to the oven for 30 minutes at 170°.
Paso 3️⃣
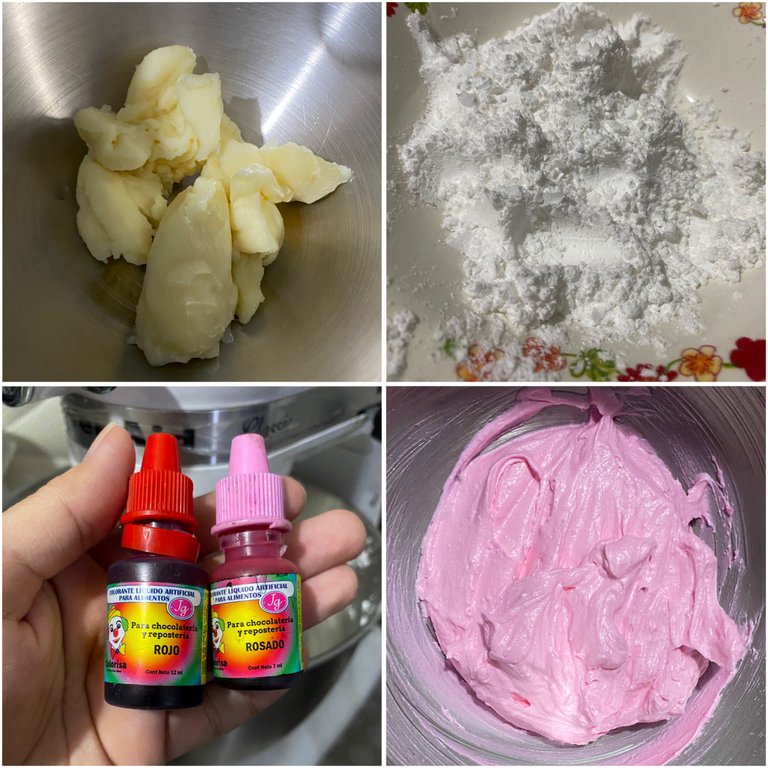
Para la decoración use manteca vegetal y azúcar glass, primero puse la manteca en la batidora donde deje que se cremara muy bien para luego proceder a añadir poco a poco el azúcar glass, lo importante de esta receta es que se use la misma cantidad de ambos ingredientes, en este caso yo utilice 120g de cada uno. Cuando estuvieron bien integrados solo faltaba añadirle color, use un tono rosado ya que la idea era simular que eran unos cerebros.
Step 3️⃣
For the decoration I used vegetable shortening and powdered sugar, first I put the shortening in the mixer where I let it cream very well and then proceed to gradually add the powdered sugar, the important thing in this recipe is to use the same amount of both ingredients, in this case I used 120g of each. When they were well integrated, all that was left was to add color, I used a pink tone since the idea was to simulate that they were brains.
Paso 4️⃣
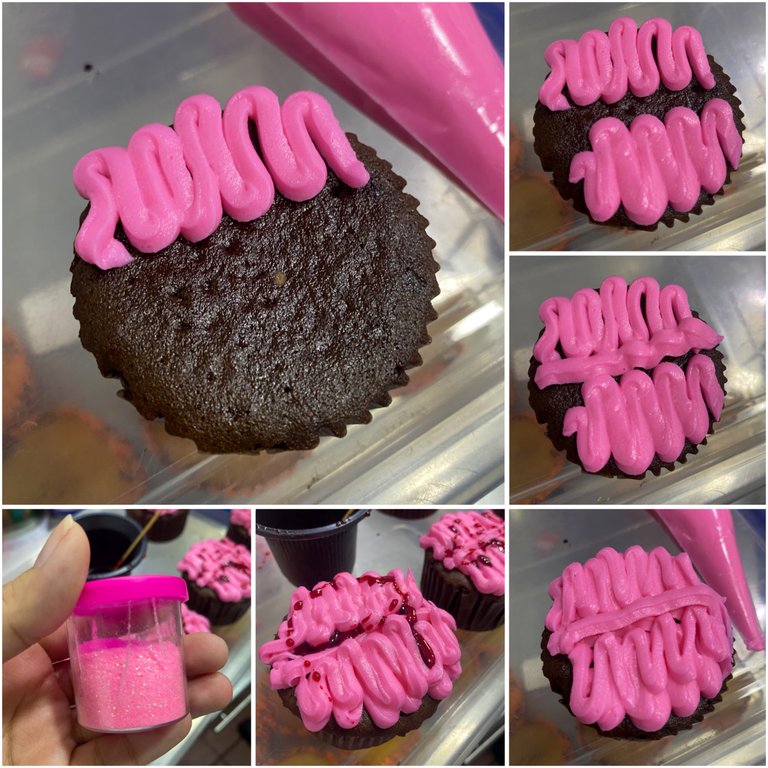
El último paso era decorar los cupcakes, por lo que puse la crema en una manga pastelera y de un lado del cupcake hice una especie de zig zag u ondas y de igual manera del otro lado dejando así un espacio en la mitad para poner una raya, esto lo hice doble, es decir, una capa encima de otra siguiendo el mismo patrón, dibujando final una especie de cerebro, le puse un poco de sangre falsa la cual hice con miel y colorante rojo, le añadí brillantina comestible y listo.
Step 4️⃣
The last step was to decorate the cupcakes, so I put the cream in a piping bag and on one side of the cupcake I made a kind of zig zag or waves and likewise on the other side leaving a space in the middle to put a stripe, I did this double, ie, one layer on top of another following the same pattern, drawing a kind of brain, I put a little fake blood which I did with honey and red dye, I added edible glitter and ready.
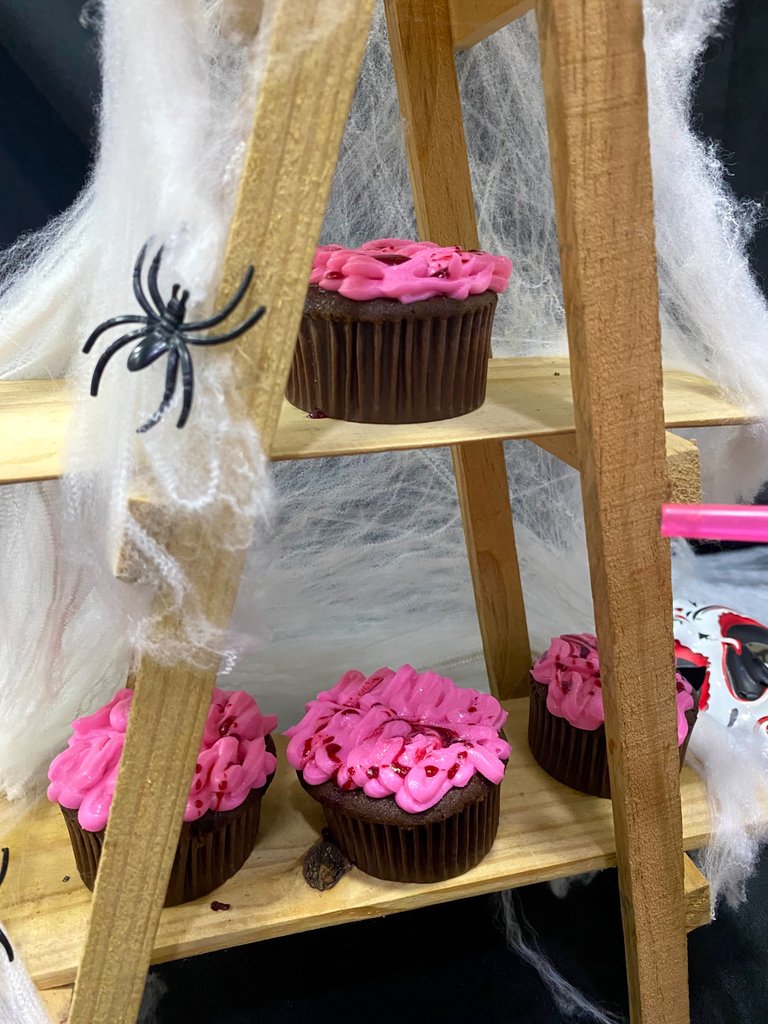
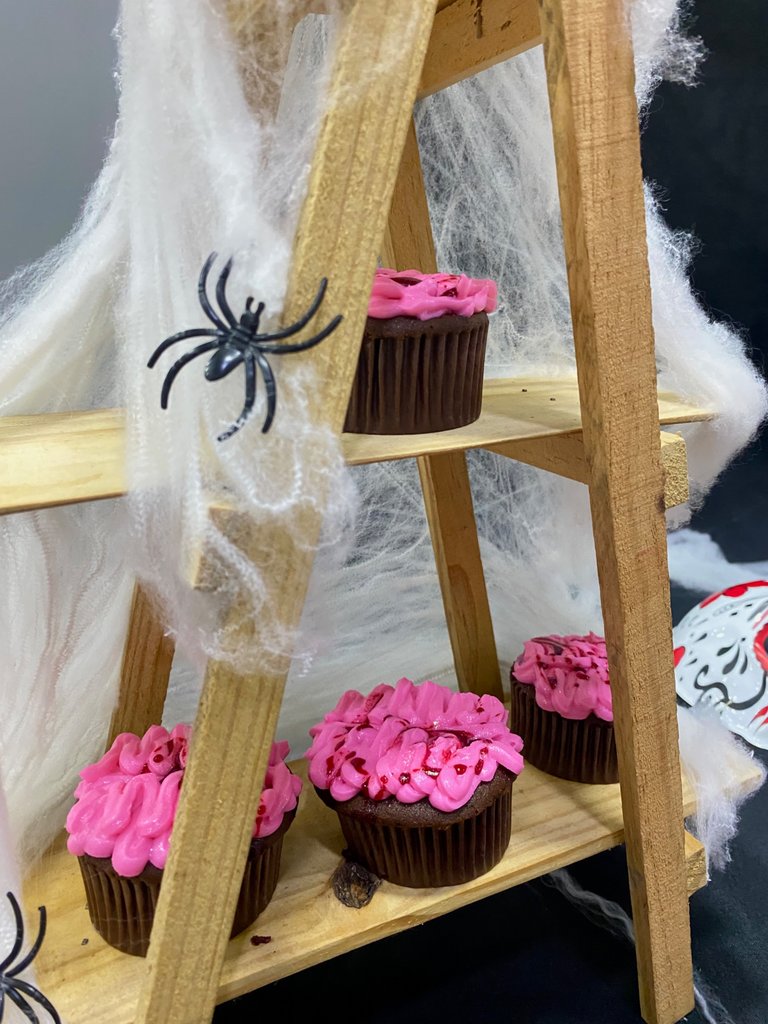
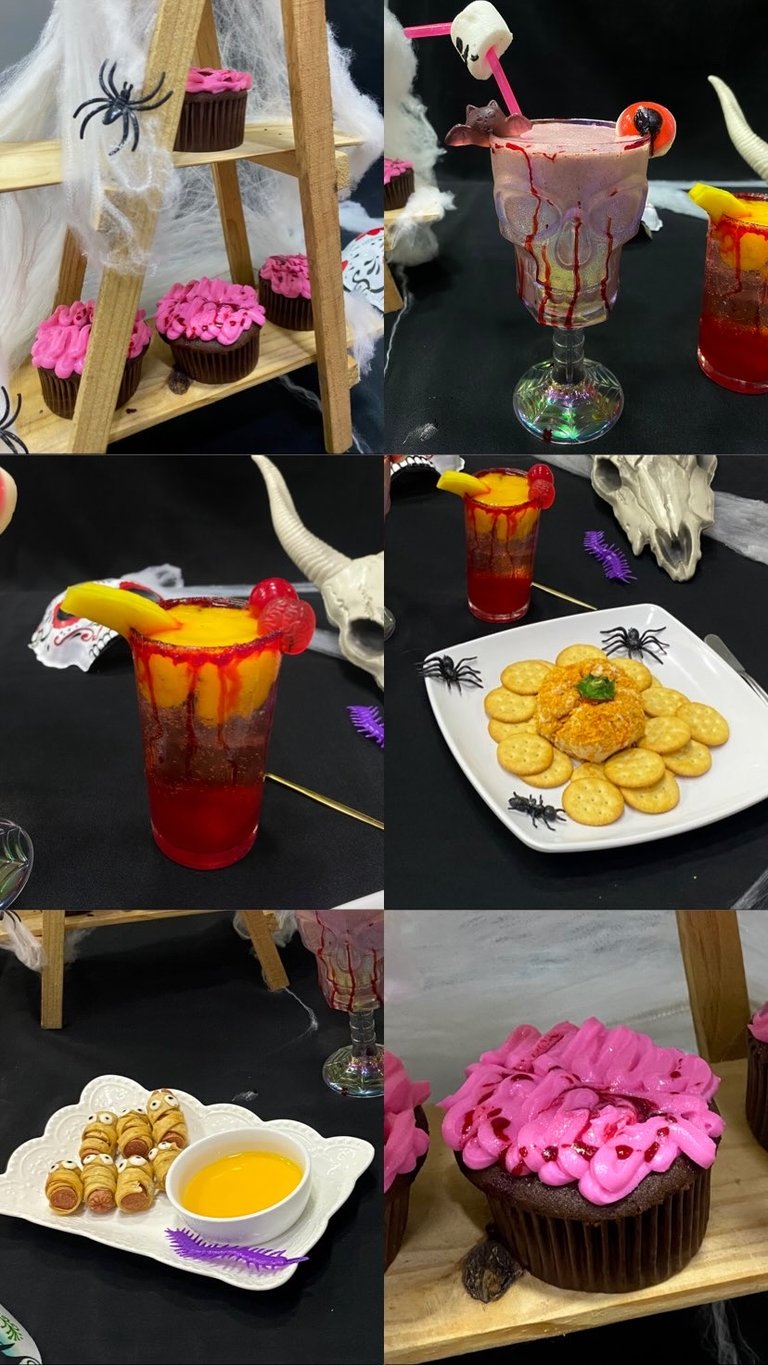
Al final los coloqué sobre una pirámide de madera la cual es especial para este tipo de bocadillos, la decoré con una telaraña para entrar en el mood de Halloween y quedó simplemente hermoso en la mesa dulce. Los cupcakes quedaron deliciosos y a todos gustaron, a la vez me encantó el resultado, aún me queda mejorar un poco para que se vea más realista pero seguro que con la práctica se puede buscar ese resultado. Sin más, espero que les haya gustado amigos, nos leemos en una próxima. Un abrazo ❤️
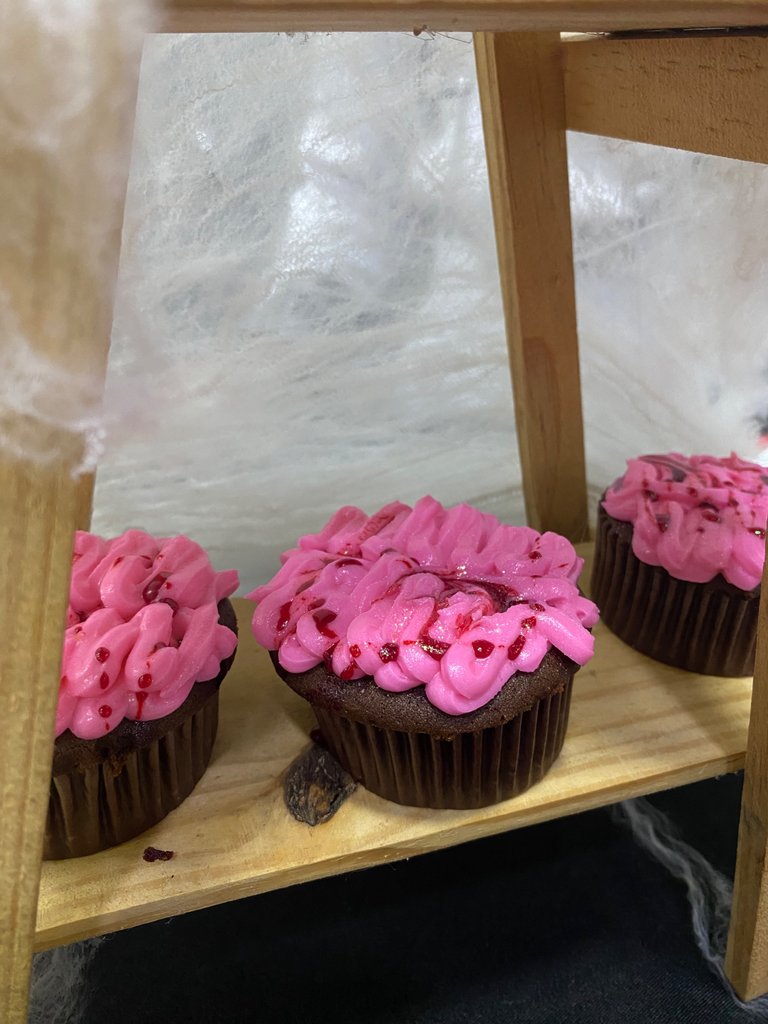
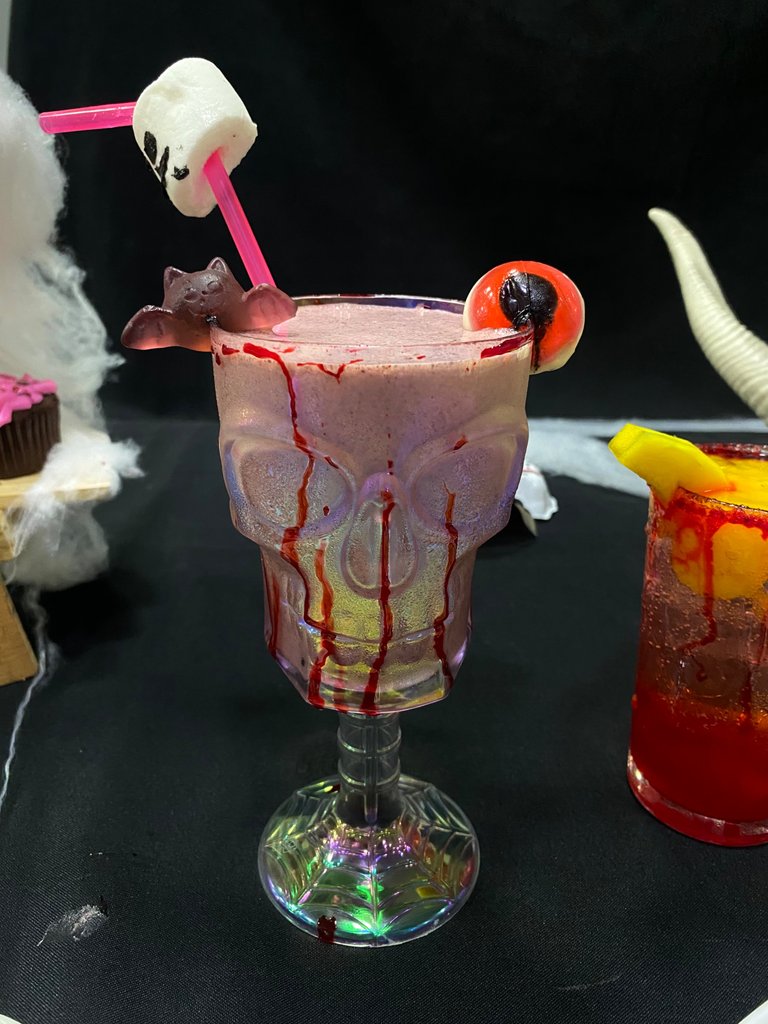
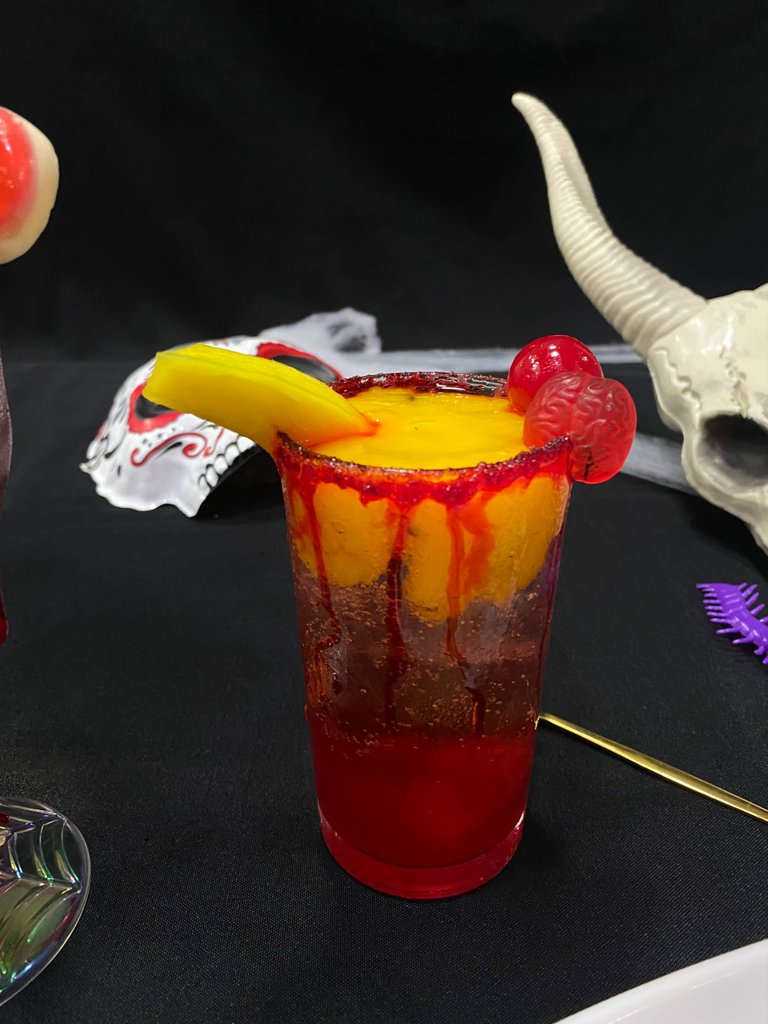
PD. Les comparto en las últimas fotos un poco del trabajo de hoy. Espero les guste!!!
At the end I placed them on a wooden pyramid which is special for this type of snacks, I decorated it with a spider web to get into the Halloween mood and it was simply beautiful on the sweet table. The cupcakes were delicious and everyone liked them, at the same time I loved the result, I still have to improve a little to make it look more realistic but I'm sure that with practice you can look for that result. Without further ado, I hope you liked it friends, see you in the next one. Best regards ❤️
PS. I share with you in the last pictures a little bit of today's work. I hope you like it!
Separador de texto creado por | Text separator
Texto traducido en | Text translated in: Deepl
Imagenes tomadas por mi | Images taken by me
Esto se ve delicioso y delicioso. ¡Gracias por compartir
Gracias a ti por leerme, saludos 💕
De nada.
Wuaooo todo se ve terrorífico y delicioso
Gracias mi Eve 🥰
Todo se ve muy bien preparado, gracias por compartir saludos
Me alegra que te haya gustado. Gracias por leerme, saludos 🤗
Todo quedó increíble, los platillos , la decoración y por supuesto, los cupcakes mi Vane 💕
Gracias mi Valen hermosa 🥹🥹💕
Omg these cupcakes are so creative and I bet super yummy 😋😍😍
Thank youuu so much 😍🥰