Hola, hola mis queridos amigos de Hive ¿Cómo se encuentran hoy sábado? feliz fin semana para todos.
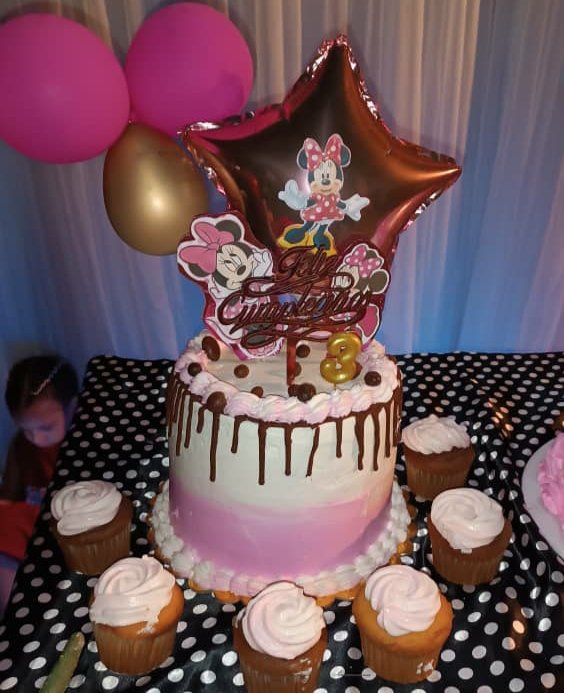
Para hoy quiero compartirles el paso a paso de una hermosa torta o pastel de Minnie Mouse, cubierto de chantillí y relleno de chocolate. El mismo lo hice para la hija de un primo quien cumplió 3 años el pasado tres de marzo.
Este fue un pedido hecho de otra prima que está en el exterior y quiso hacerle ese regalo a los padres de la cumpleañera y por supuesto para ella, Victoria Isabel.

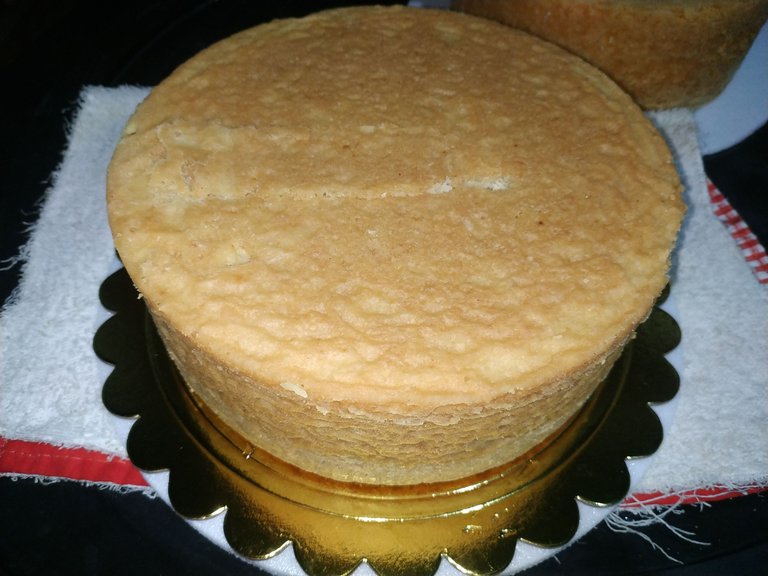
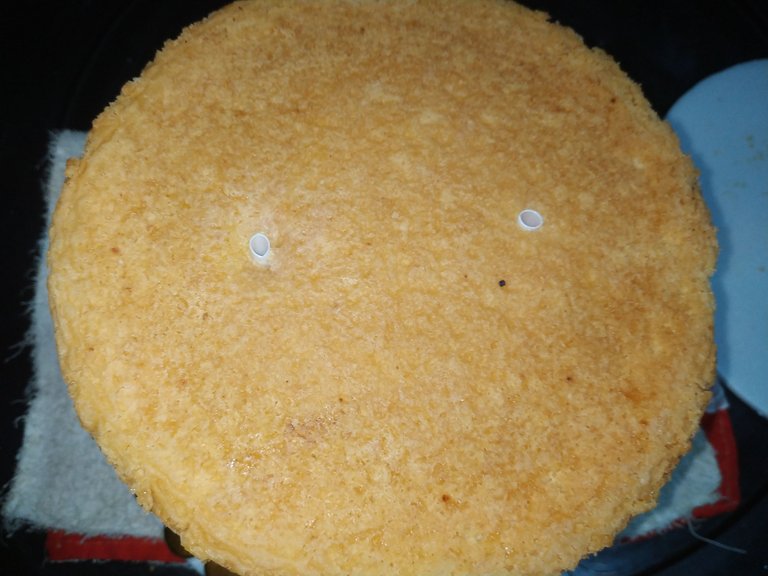
Para comenzar, hice dos bizcochos de 18cm de diámetro por 10 cm de alto, ambos de vainilla y luego de hornear y desmoldar, los dejé reposar de un día para otro para decorar.
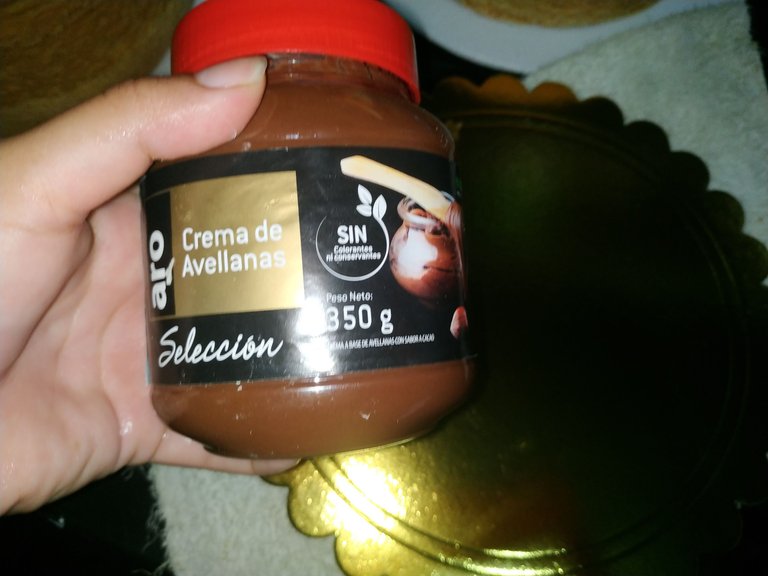
Los arme uno sobre el otro y en el medio se decoró con una deliciosa crema de chocolate y avellanas.
Luego de apilar ambos bizcochos, coloque en ellos dos pitillos o popotes los cuales ayudarán a mantener la estructura y estabilidad del pastel.
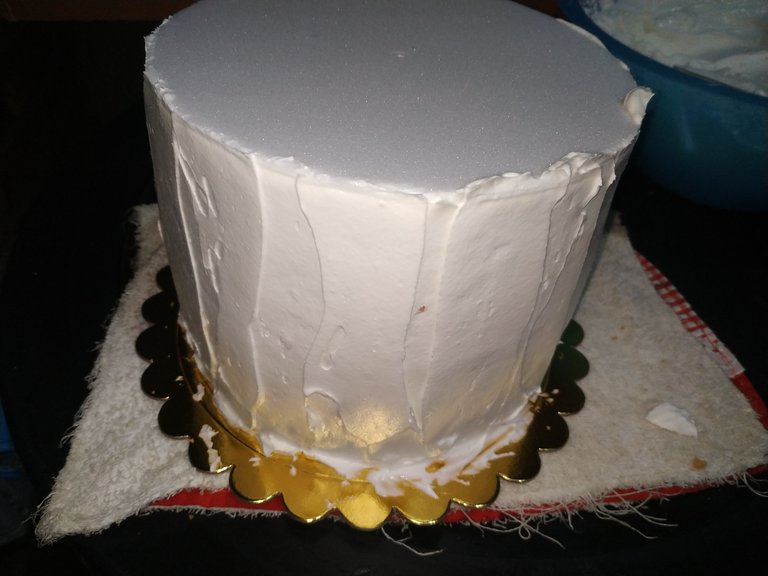
Comenzamos con la decoración del pastel, para ello utilicé chantillí en color blanco y rosado.
Se hizo una primera capa, llamada recoge migas, se trata de una fina capa que luego cubriremos con otra capa un poquito más gruesa y aquí es donde se verá la división de dos colores.
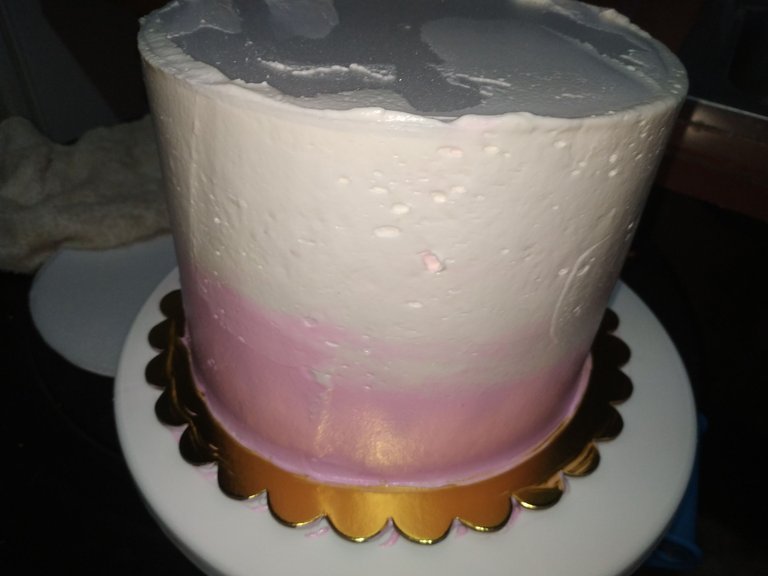
Dejamos en la nevera por unos minutos para enfriar la crema chantillí.
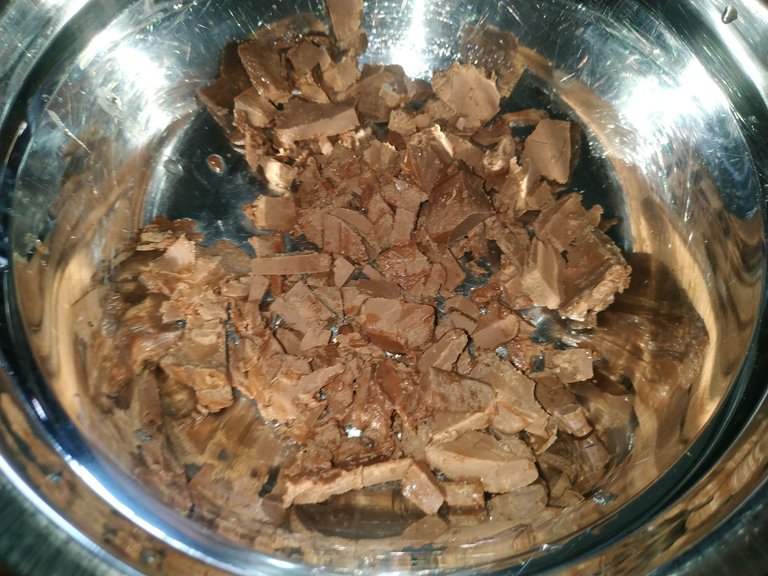
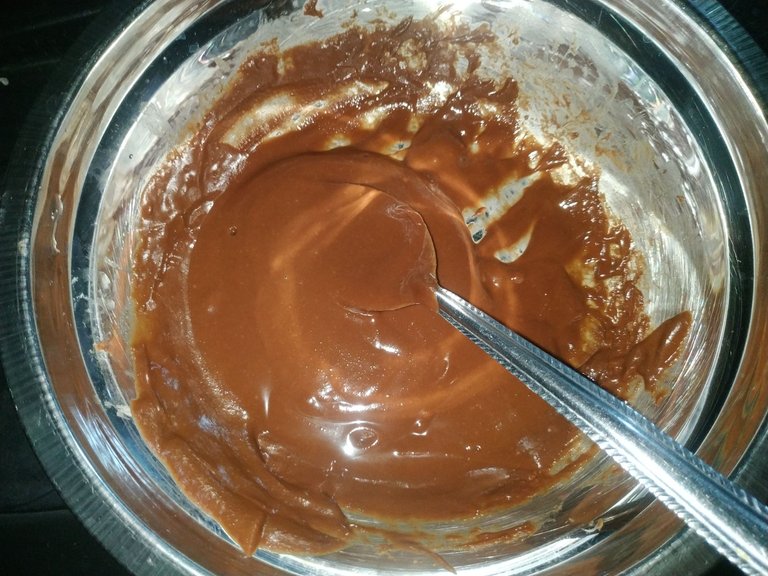
Mientras enfría de nuevo la torta, comencé con el drip de chocolate y para ello corte 100g de chocolate en barra en pequeños trozos y lleve a un recipiente en baño María para derretirlo por completo.
Luego de que estuviera derretido, seguí mezclando para que el chocolate no estuviera tan caliente al agregarlo en la torta.
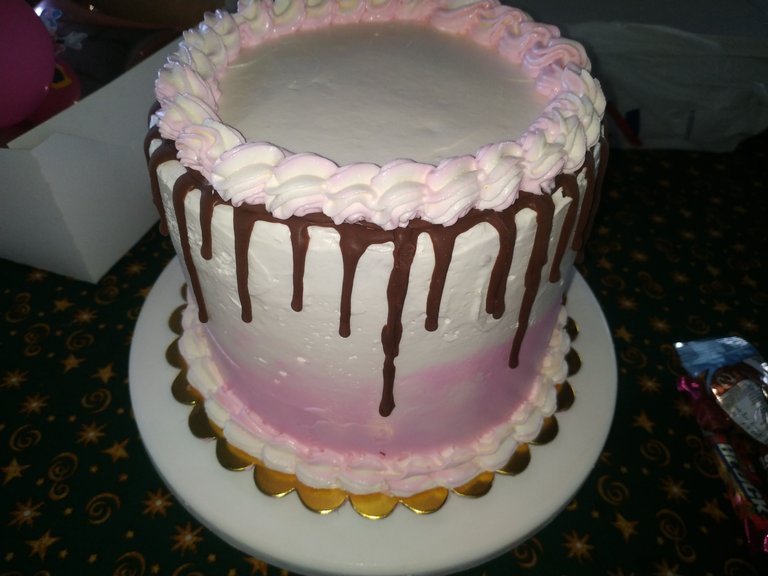
Agregué el chocolate en una manga pastelera y luego comencé a hacer el drip por el contorno de la misma.
Luego de que El drip esté completo, hacemos una decoración en forma de rosetones continuos en color rosa y blanco.
Luego de esto, solo queda decorar con aplicaciones y chocolates, estás las busque poe internet e imprimi en cartulinas.
También agregue unos globos, la vela de cumpleaños y unos chocolates.
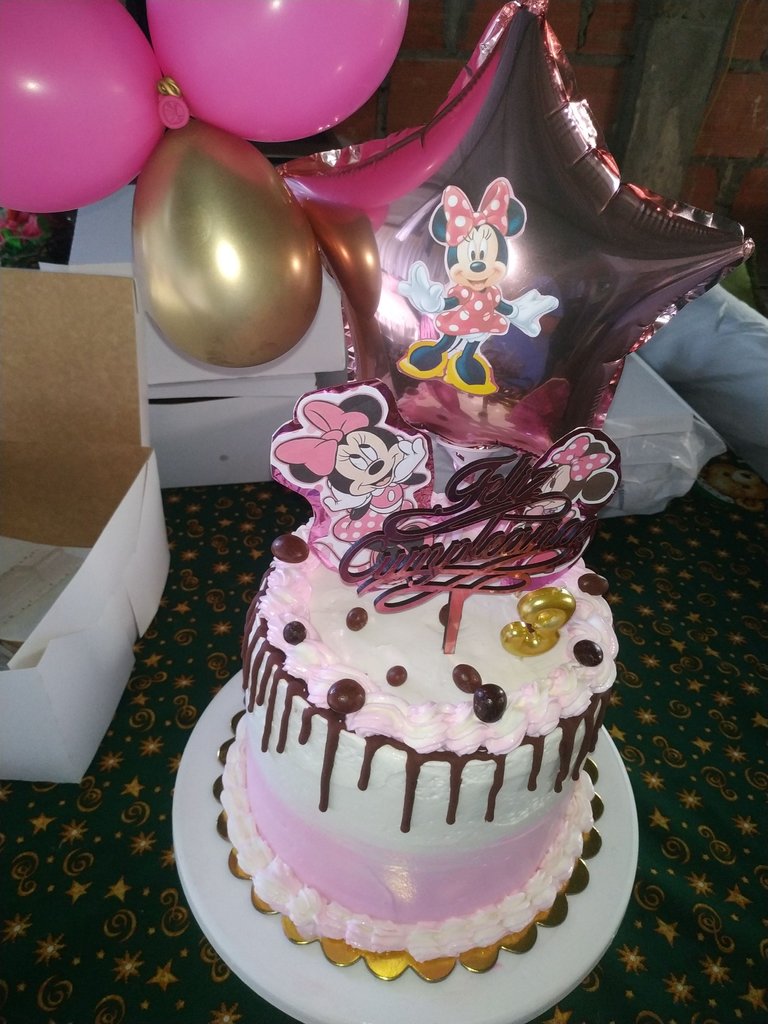
Ya con esto tendremos listo el pastel de Minnie, también queria enseñarles algunos ponquesitos o cupcakes que hice para complementar la torta.

El resultado final me gustó mucho y a los invitados también, siento que quedó muy similar a la foto de referencia que me enviaron para poder hacer el pedido.
Espero les haya gustado mi publicación del día de hoy, y me gustaría poder leer su opinión en los comentarios. Les deseo que tengan un feliz día y noche.
Hello, hello my dear friends of Hive, how are you today, Saturday? happy weekend to all of you.
Today I want to share with you the step by step of a beautiful Minnie Mouse cake, covered with whipped cream and filled with chocolate. I made it for a cousin's daughter who turned 3 years old last March 3rd.
This was a request made by another cousin who is abroad and wanted to make this gift to the parents of the birthday girl and of course for her, Victoria Isabel.
To begin with, I made two 18cm diameter by 10cm high sponge cakes, both vanilla and after baking and unmolding, I let them stand overnight to decorate.
I assembled them one on top of the other and in the middle was decorated with a delicious chocolate and hazelnut cream.
After stacking both cakes, place two straws on them, which will help maintain the structure and stability of the cake.
We started with the decoration of the cake, for this I used white and pink whipped cream.
A first layer was made, called crumb coat, it is a thin layer that we will cover with another layer a little thicker and here is where you will see the division of two colors.
Leave in the refrigerator for a few minutes to cool the whipped cream.
While the cake cooled again, I started with the chocolate drip and for this I cut 100g of chocolate bar in small pieces and took it to a bowl in a double boiler to melt it completely.
After it was melted, I kept mixing so that the chocolate would not be so hot when I added it to the cake.
I added the chocolate in a piping bag and then began to drip around the contour of the cake.
After the drip is complete, we make a decoration in the form of continuous rosettes in pink and white.
After this, all that's left is to decorate with appliqués and chocolates, I looked them up on the internet and printed them on cardboard.
I also added some balloons, the birthday candle and some chocolates.
With this we will have the Minnie cake ready, I also wanted to show you some cupcakes that I made to complement the cake.
I really liked the final result and so did the guests, I feel that it was very similar to the reference photo that they sent me to place the order.
I hope you liked my post today, and I would love to read your opinion in the comments. I wish you a happy day and night.
Fotos tomadas de mi teléfono Xiaomi Redmi Note 6 Pro || Photos taken from my Xiaomi Redmi Note 6 Pro phone.
Fuente del editor de imágenes || Image editor source
Te quedo muy bonita la torta, y me encanta el decorado con chantilly, se ve que te gusta lo que haces.
Hola @aarolita muchas gracias. De verdad me gustan muchos estás decoraciones.
Saludos y feliz domingo
Está precioso!!