Click on the images to view at higher resolution
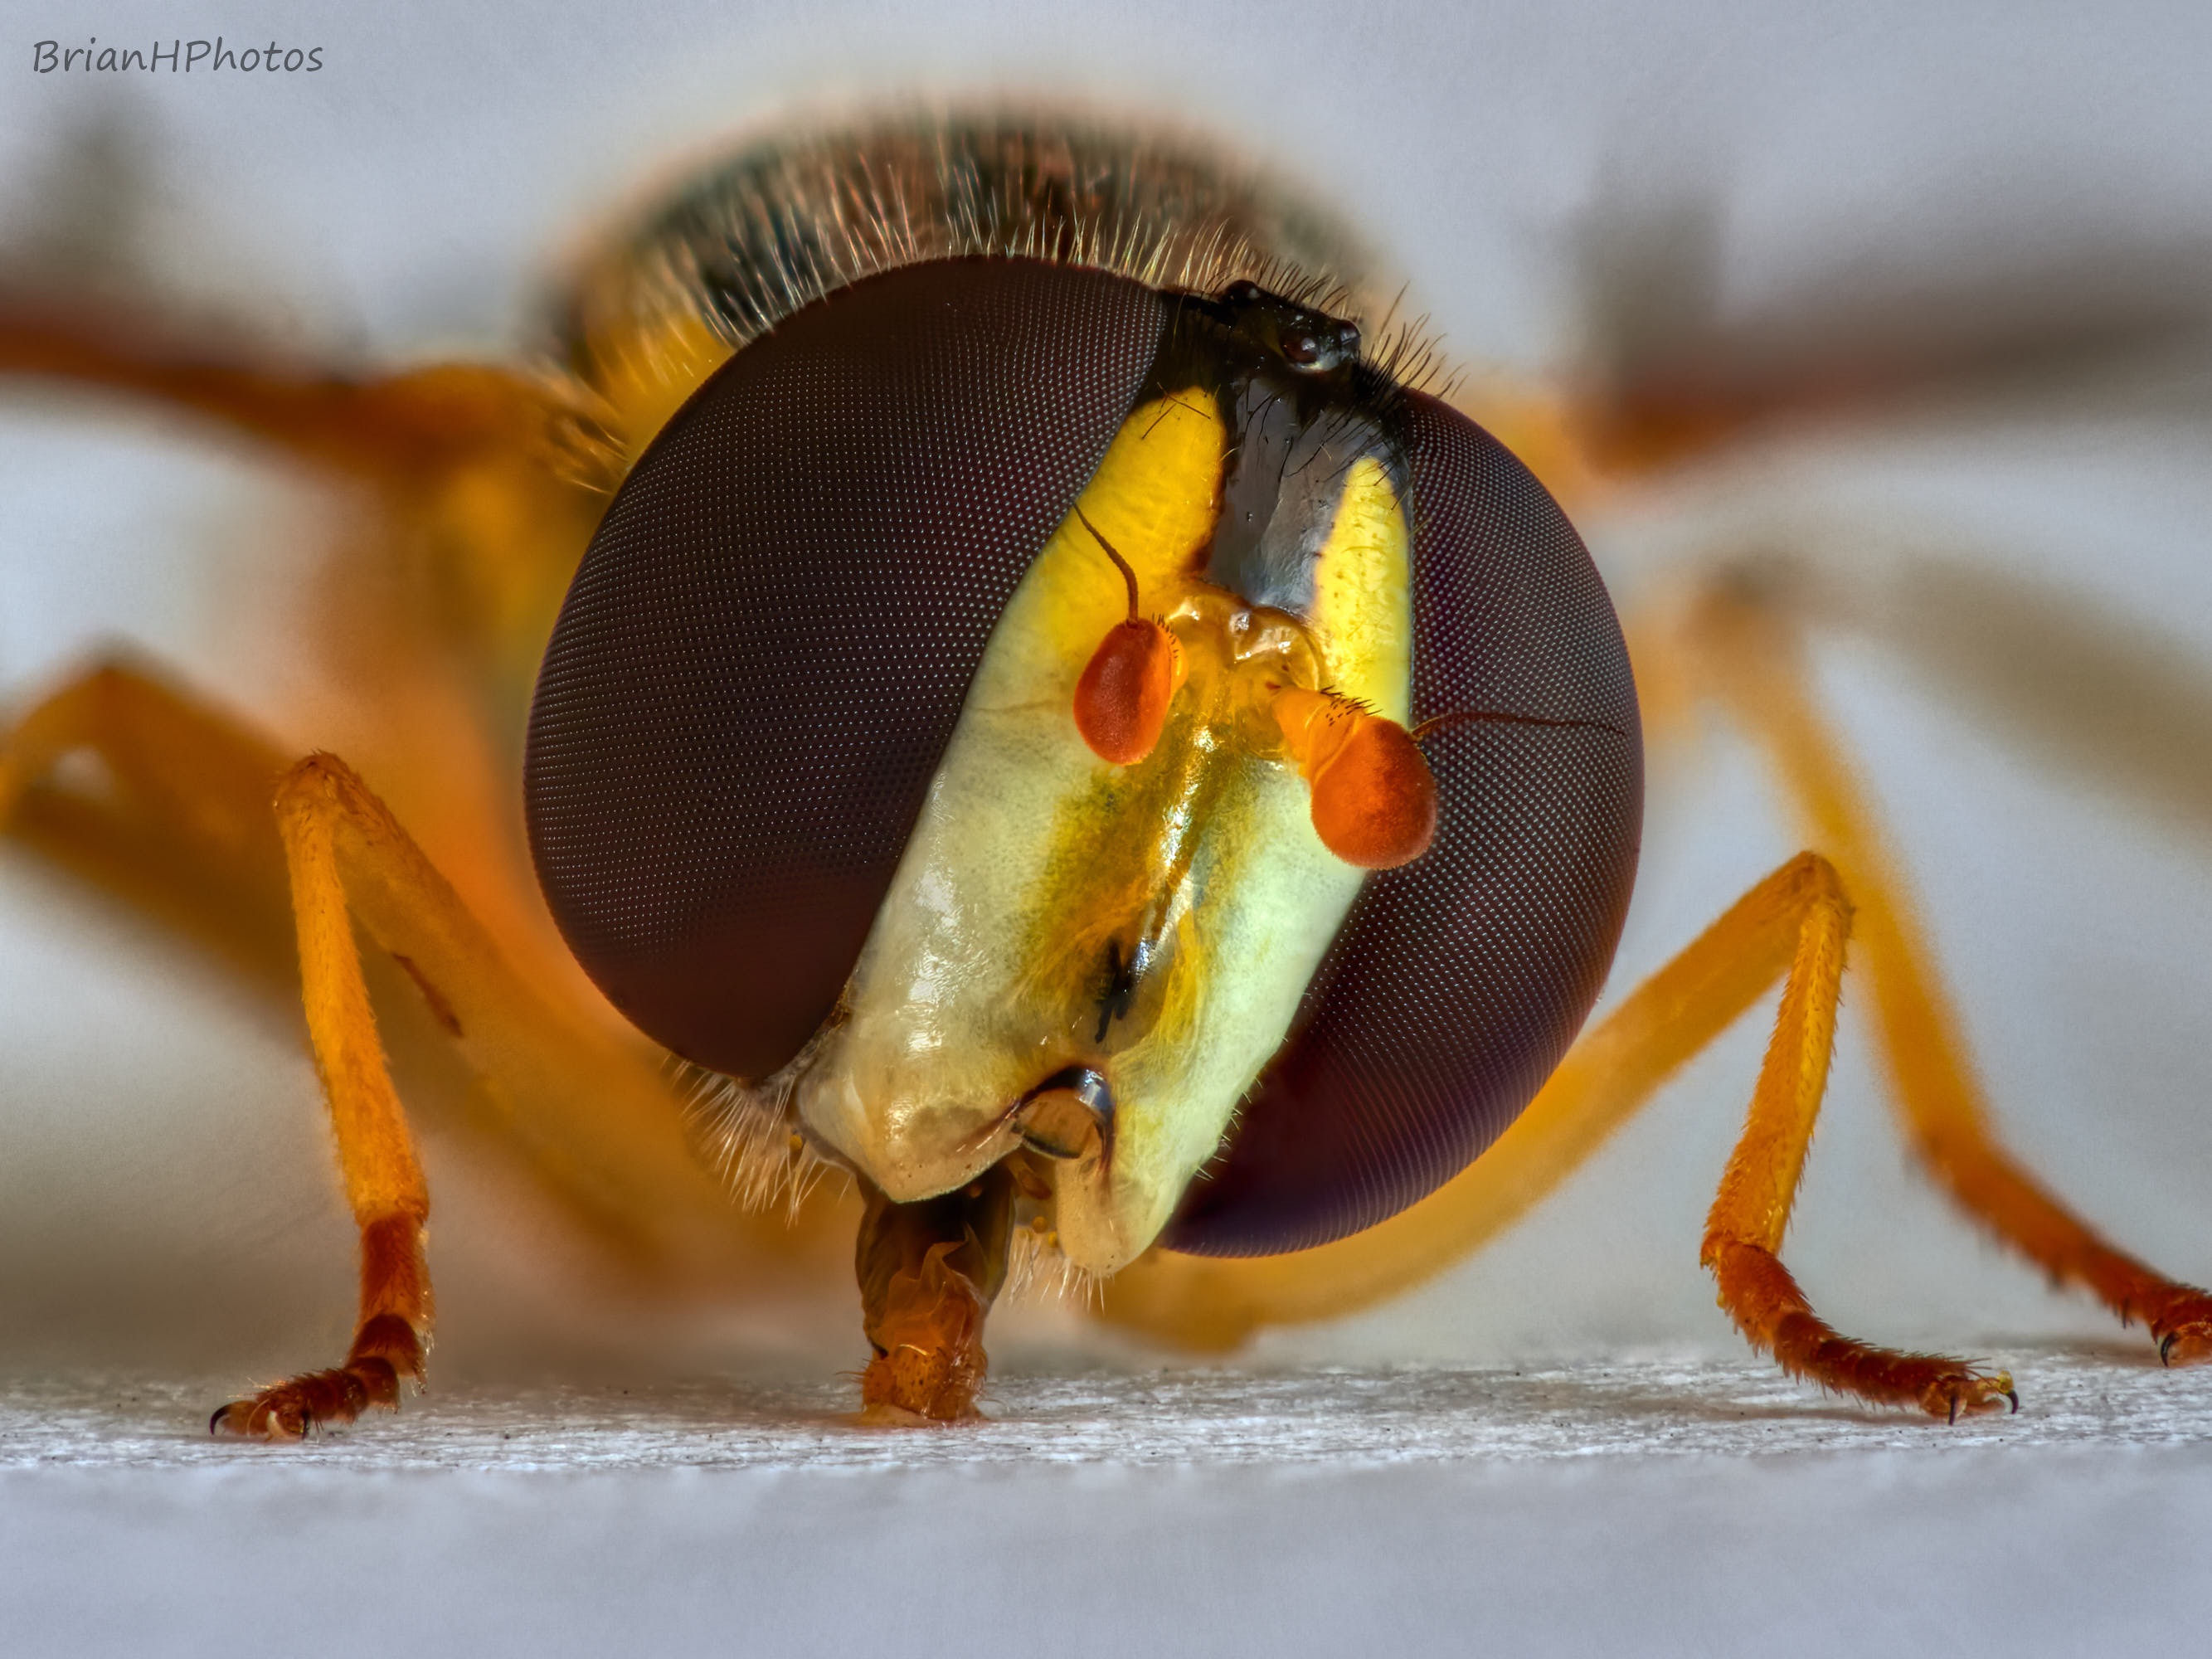
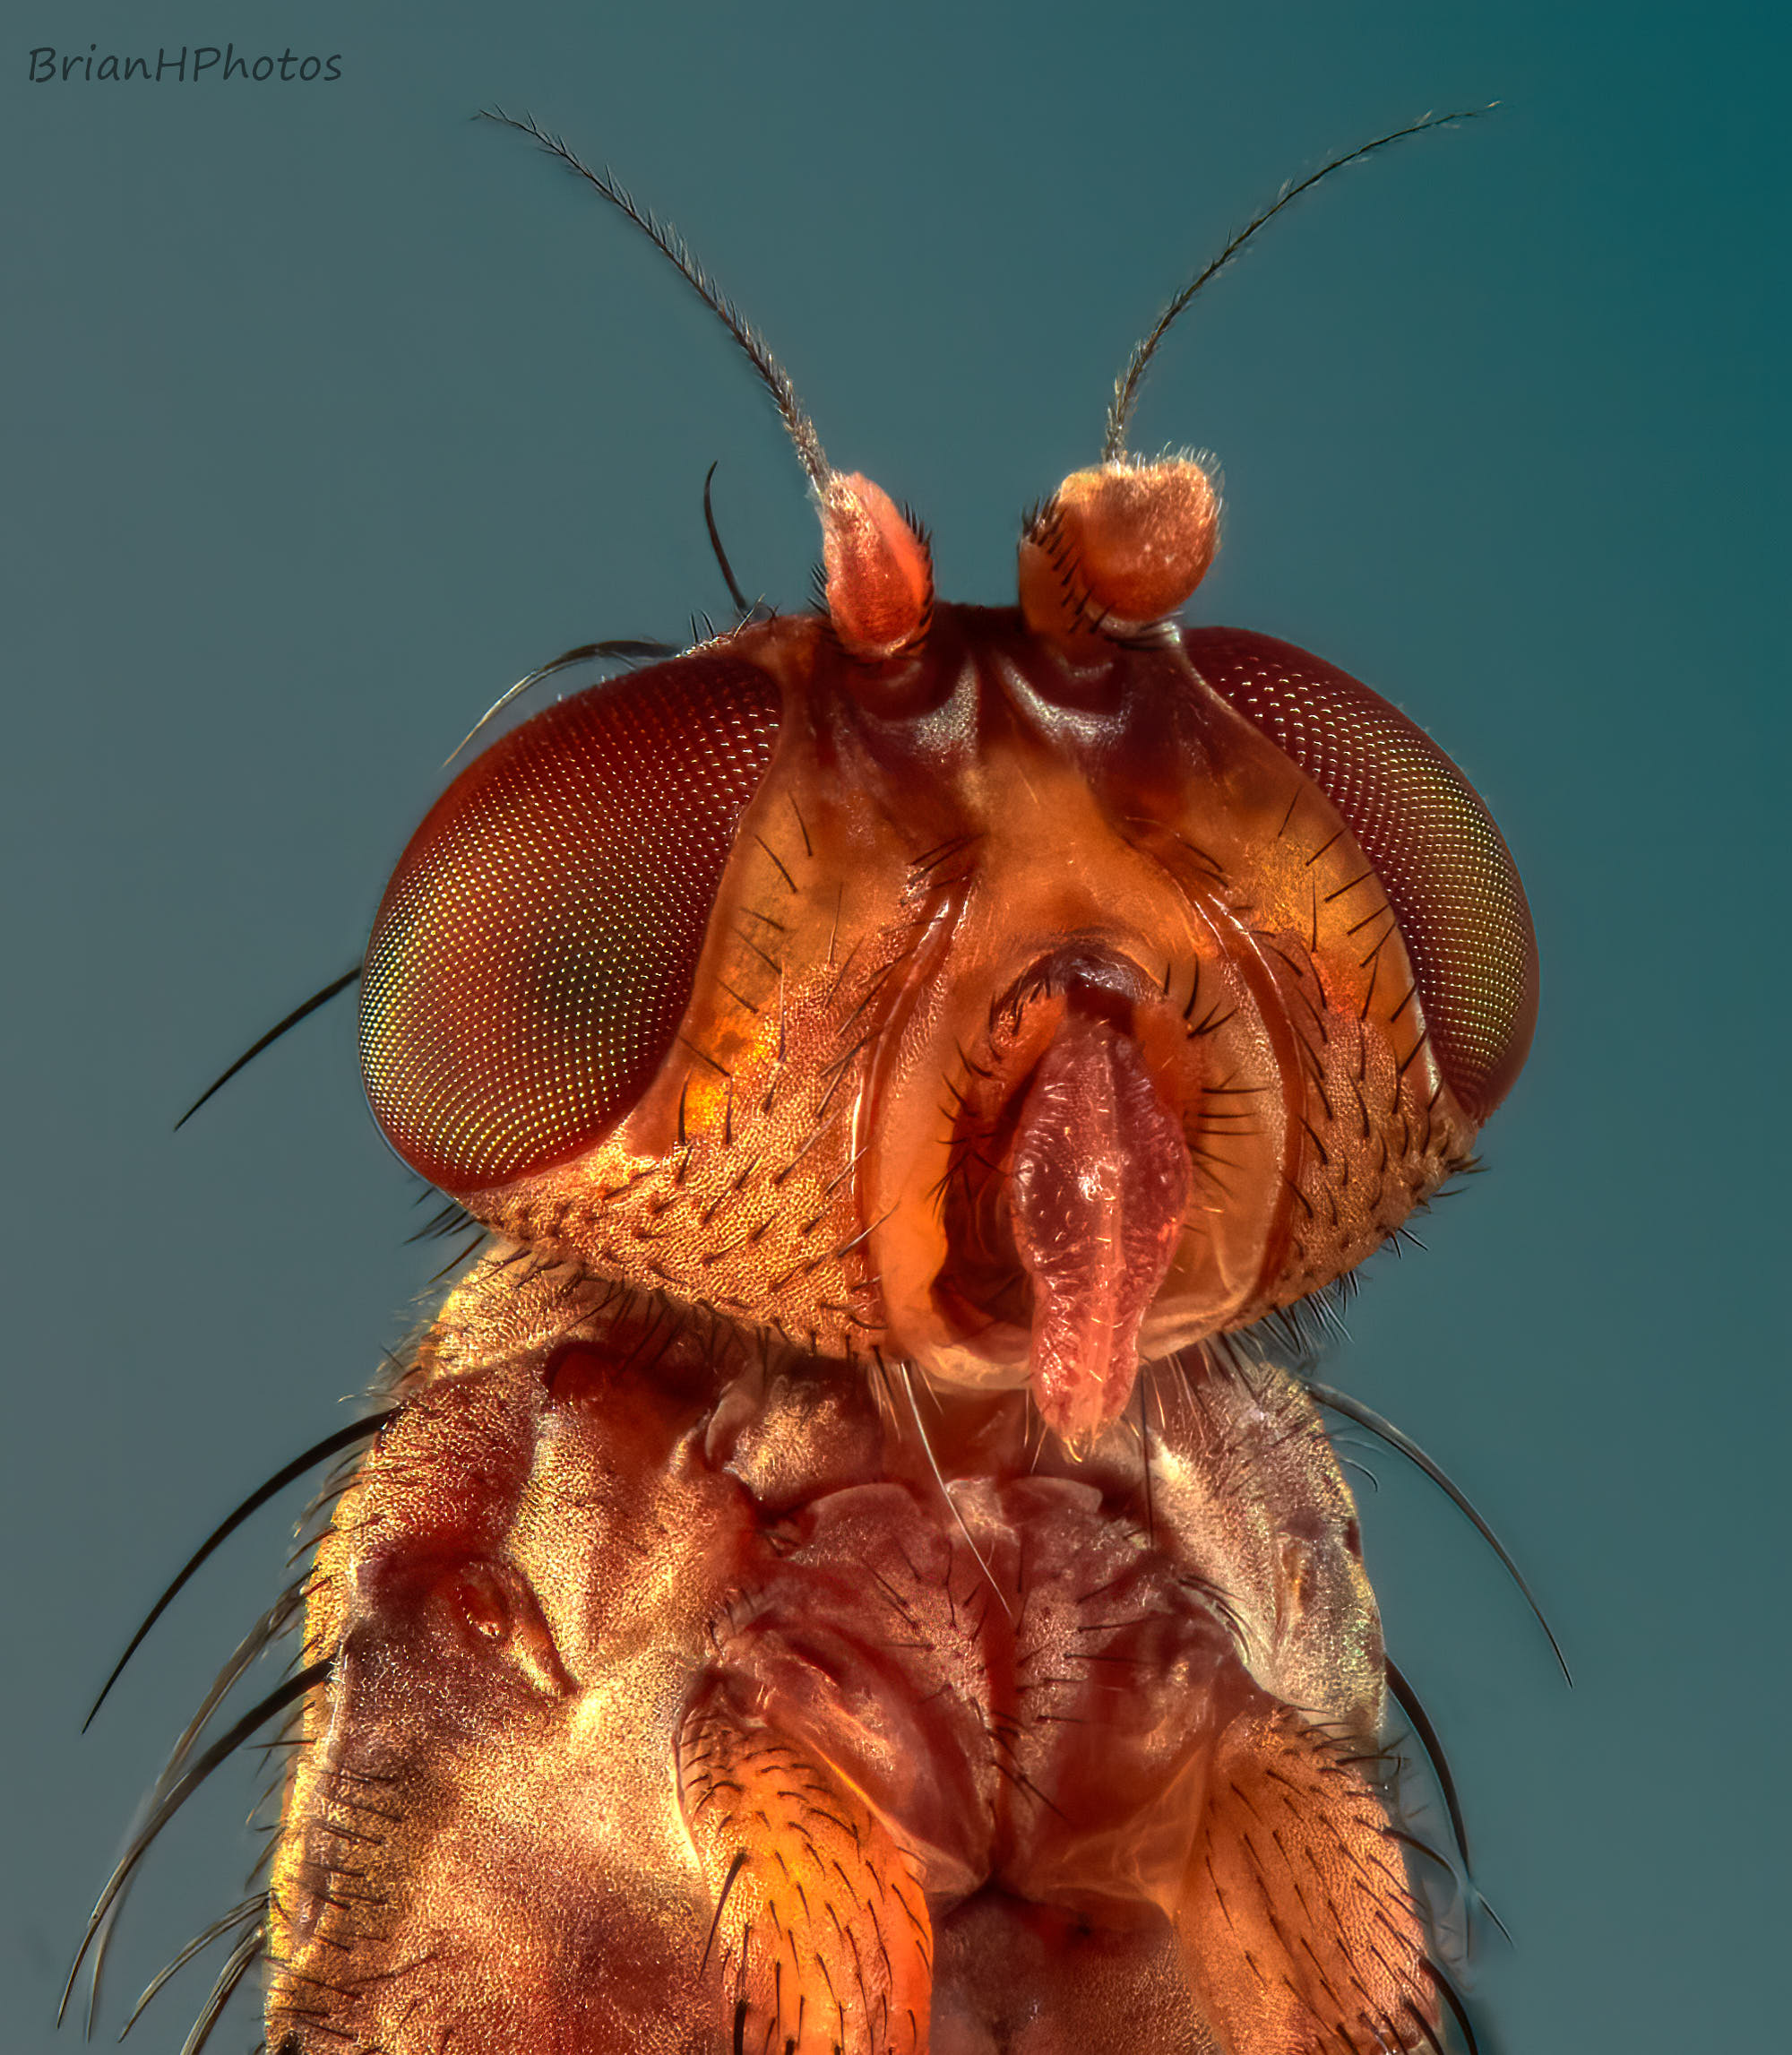
- Main image taken with the Olympus E-M1 III and 60mm macro lens + extension tubes and 2x converter
- Shot at F8, 1/4Sec, ISO200
- Stacked with Zerene Stacker (41 separate shots)
- Edited with Capture One and Aurora HDR
The purpose of this post is to discuss and show you the equipment I use for my focus stacking.
Camera.
I have used Olympus cameras since 2016 and currently use the E-M1 III.
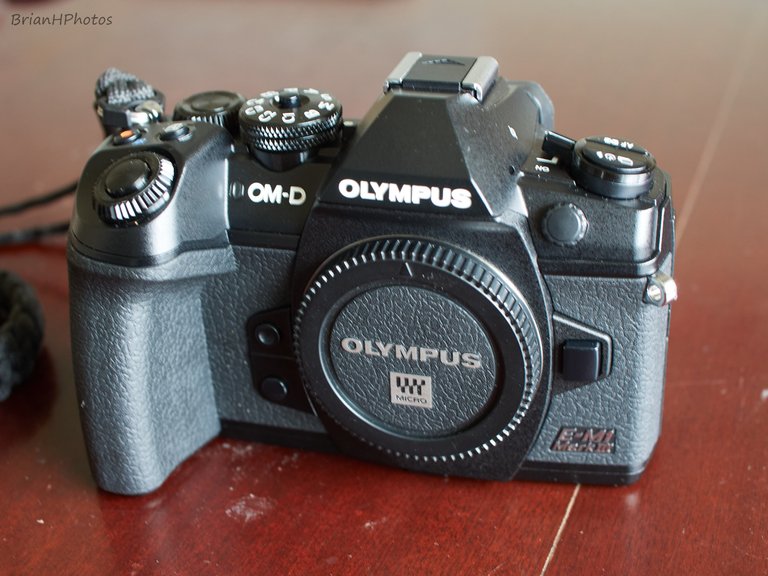
The reason I chose a micro four thirds (MFT) system is because of the two times crop factor that it offers. This means that that a 1:1 macro lens on a MFT camera will have the equivalent magnification of a 2:1 macro lens on a full frame (FF) camera. So MFT cameras will have twice the magnification power compared to FF cameras using the same lens.
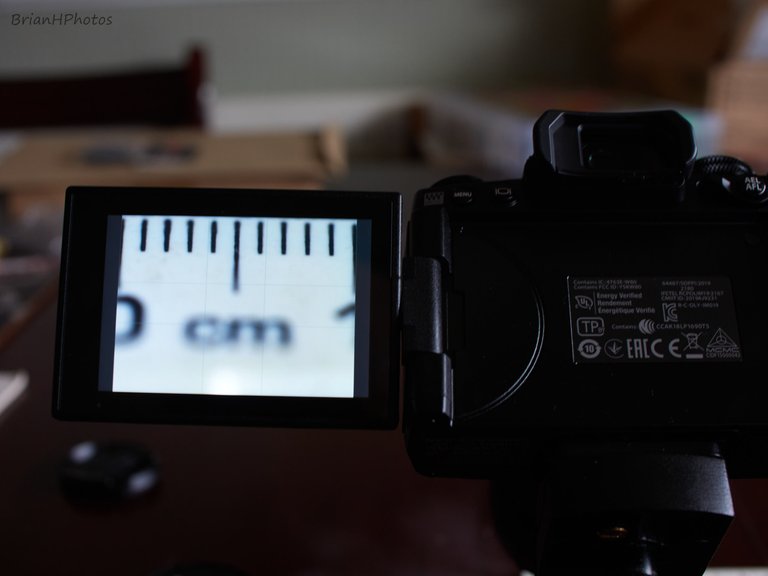
The definition of a 1:1 macro lens is that it will focus the image of a subject with its real life dimensions being the same as that reproduced on the camera sensor. So for example, on FF 1:1 macro, a subject that is 35mm wide will fit exactly within the FF 35mm wide sensor, whereas a subject only 17 mm will fit exactly within the MFT 17 mm wide sensor.
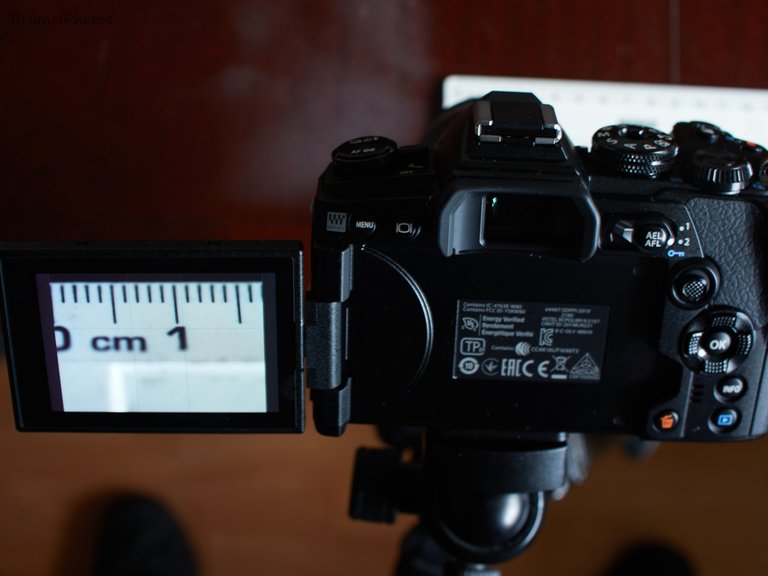
As you can see in the image above my 1:1 macro lens can record 17mm of the ruler across the 17mm sensor
Another reason that I chose the Olympus system is that even in 2016 it offered a focus bracketing feature that is really useful for focus stacking. Many camera manufacturers still don’t have this feature today. It enables you to take a stack of up to 999 shots with one press of the shutter button. The camera will then automatically adjust the focus point between each of the shots, massively reducing the time it takes to shoot a stack of images compared to traditional methods.
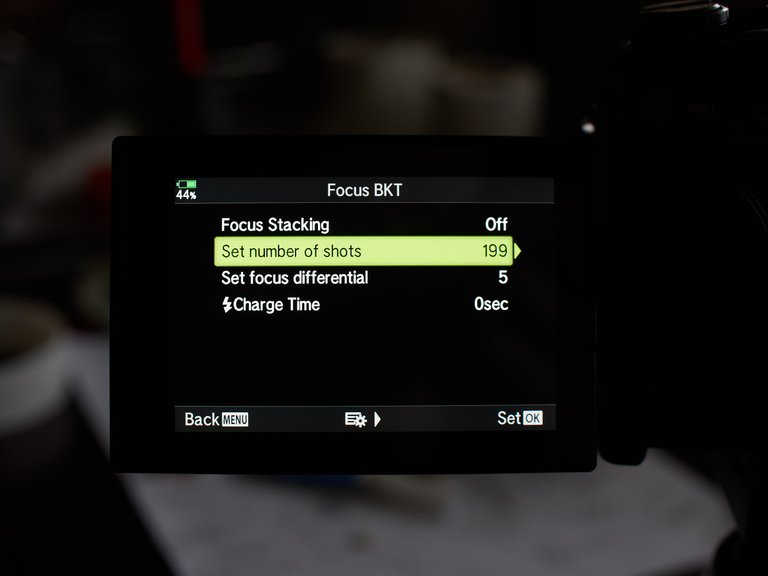
The image above showing the Olympus focus bracketing menu screen
On this basis I would recommend any MFT camera with focus bracketing for focus stacked macro photography. I believe MFT cameras are the sweet spot, offering very good image quality images over smaller sensor cameras and the two times crop factor over FF cameras.
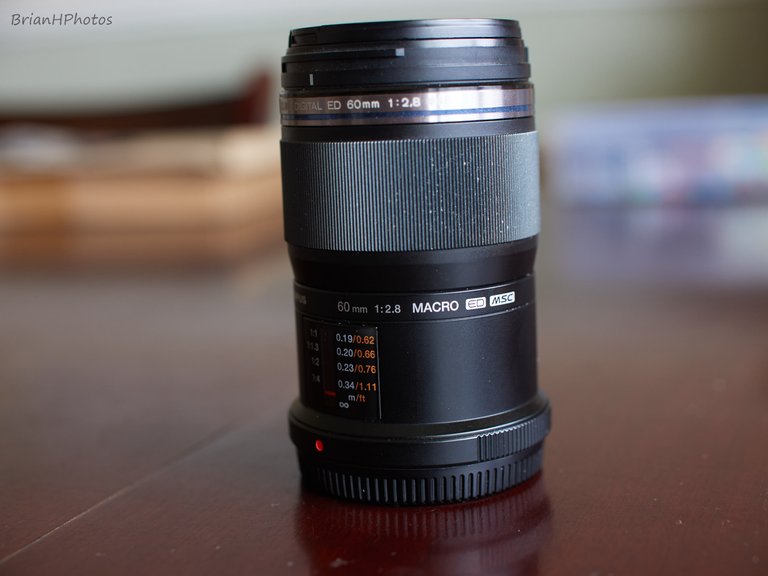
Lens.
I use the Olympus M.Zuiko 60mm F2.8 macro lens which is very sharp and gives me great results, but any autofocus MFT macro lens will work great also, even non Olympus lenses. Please note that manual focus lenses will not work with the focus bracketing feature.
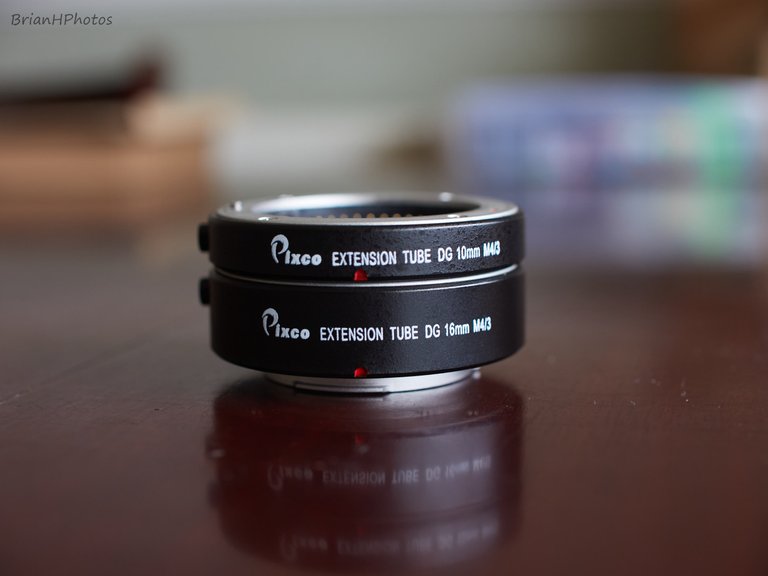
Extesion Tubes.
I wanted more magnification from my macro lens so I recently bought some extension tubes. I decided to go for the Pixco MFT extension tube set, which includes a 10mm and 16mm extension which can be used together or separately, although I always use them attached together. They have the electrical contacts so that I still have use of the focus bracketing feature mentioned above. Extension tubes are very inexpensive way to increase your magnification, think I paid about £20 pounds for the Pixco tubes shown in the image below.
With the extension tubes attached I can record an image only 10mm across as shown in the image below, increasing the magnification to 1.7:1
2X Converter Lens.
I already owned the Olympus 2X converter lens which is normally only compatible with selected Olympus telephoto lenses. This is due to the rear element of the converter lens protruding quite far, which smaller lenses can’t accommodate.
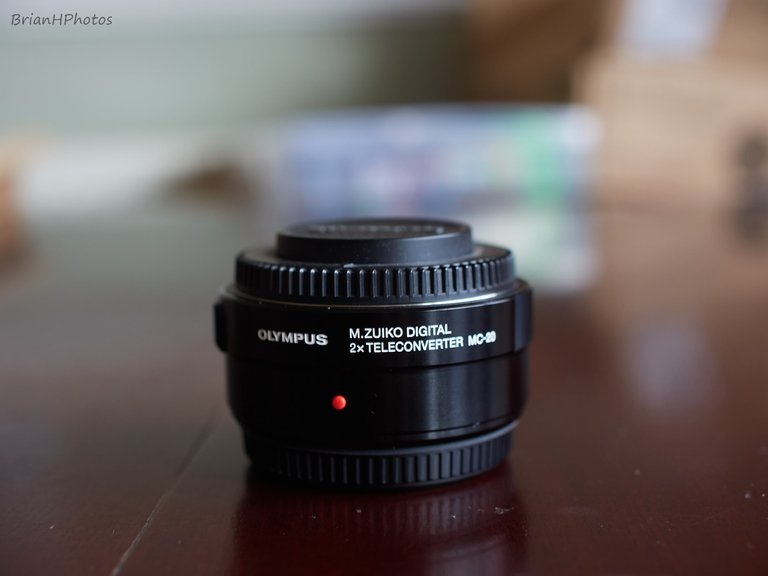
Having recently bought the Pixco extension tubes I realized I could now use the converter lens with my macro lens with the extension tubes attached. This increased my magnification by another factor of 2 so that now I can reproduce a subject just 5mm across.
Note that I did have to file away some of the internal circumference of the tube to accommodate the diameter of the 2X converter lens rear element. If you do this make sure you remove all the filings before connecting to your camera.
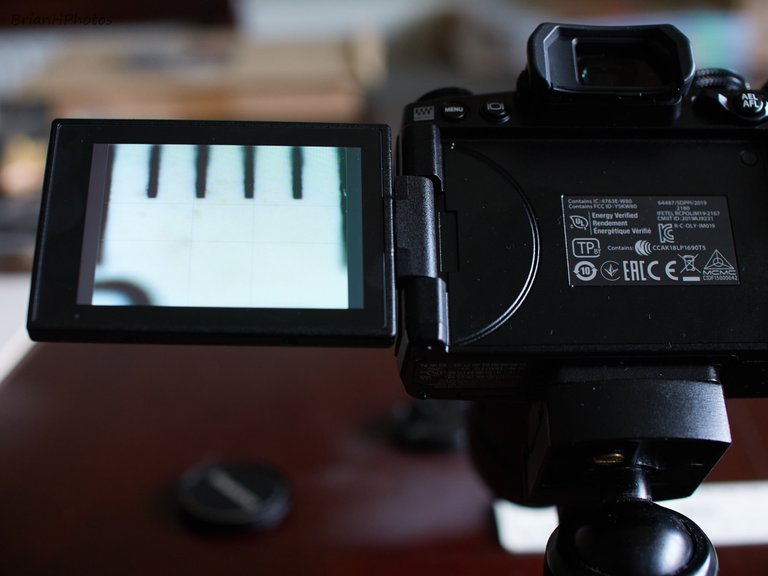
*Image above showing magnification with both extension tubes and 2x converter used with my macro lens, showing 5mm on the ruler. This gives 3.4:1 magnification or 7:1 in FF terms.
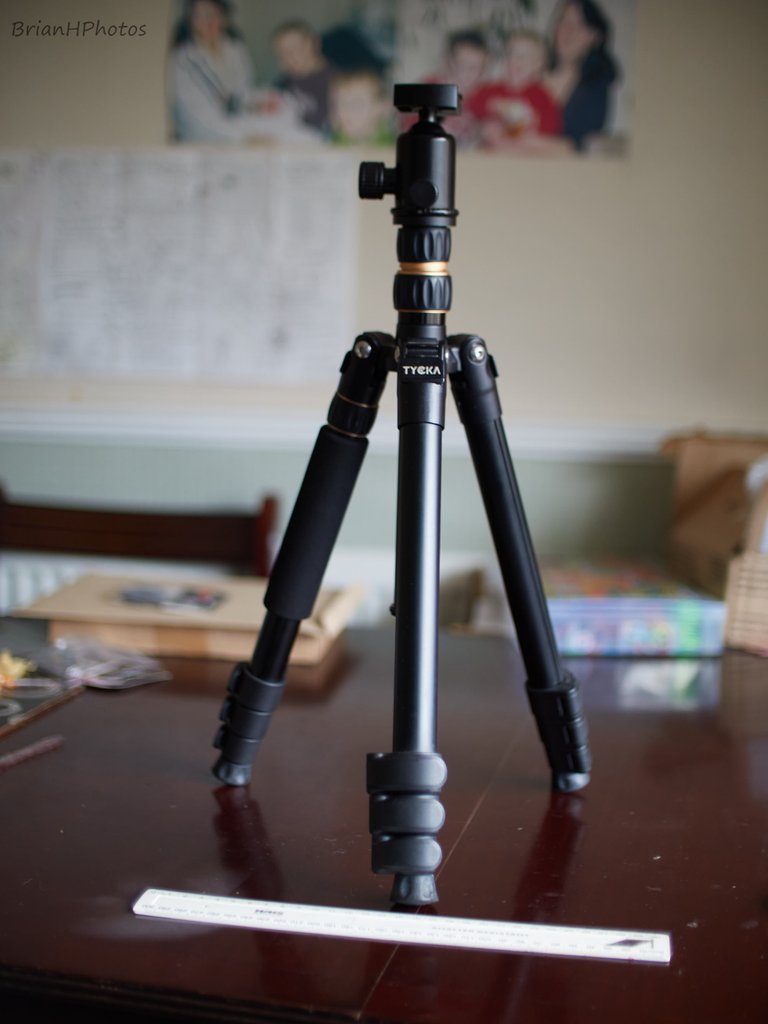
Tripod.
A sturdy, expensive tripod is essential if you are stacking using the traditional method of manually adjusting focus tiny step by step, or using a focus rail.
I’ve found that my super light, inexpensive Tycka tripod is perfectly adequate when using the Olympus focus bracketing feature because you don’t have to touch the camera between shots, as the camera is doing all this for you automatically.
You may want to buy a more expensive head to allow easier fine adjustments when composing your subject. I think this is something I could benefit from, but for now I manage with the one that came with my tripod.
Lighting.
Quite often you will find that when shooting indoors you do not have sufficient light, meaning that you have to use ridiculously slow shutter speeds. I have some inexpensive Neewer 10 Watt LED lights that do the job, allowing me to increase the shutter speed. They are also useful for balancing the light across a subject from the opposite side of natural light coming through a window.

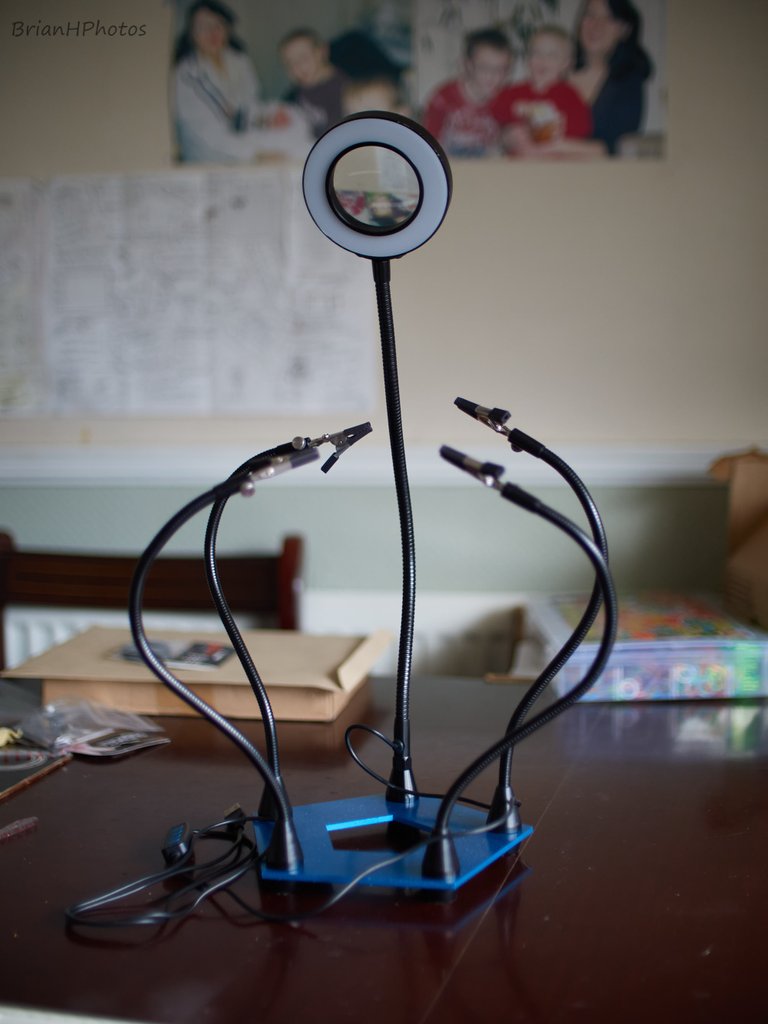
Clamps.
I used to attach my flower subjects to a roll of sticky tape to hold them still which does work but limits you when trying to position your subject.
I now have a device that I use for clamping my subject that has four movable clamps that is very useful for positioning my subject. I can also use one or more of the clamps to position a backdrop if I wish.
The device I use is actually designed for holding circuit boards while soldering them, and also has a movable magnifying glass which I thought might helpful to get a magnified view of my subject to inspect it before shooting. I find the magnifying glass very poor quality and don’t use it but it does have an incorporated circular light which can be used for providing additional overhead lighting.
Software.
I use the following software:-
Focus stacking – Zerene Stacker. Alternatives you could use are Helicon Focus or CombineZP which is free
Editing – Capture One, Aurora HDR and Topaz Denoise . Alternatives are Lightroom and/or Photoshop or any editing software that has good healing and cloning tools.
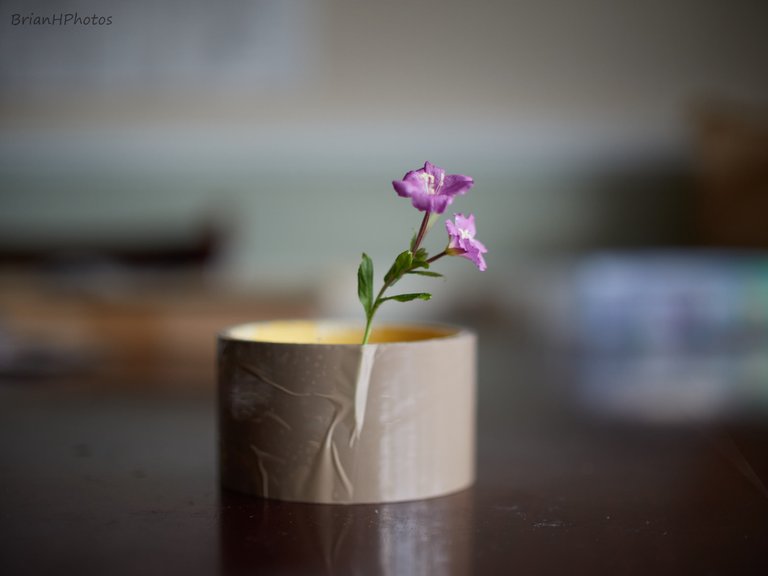
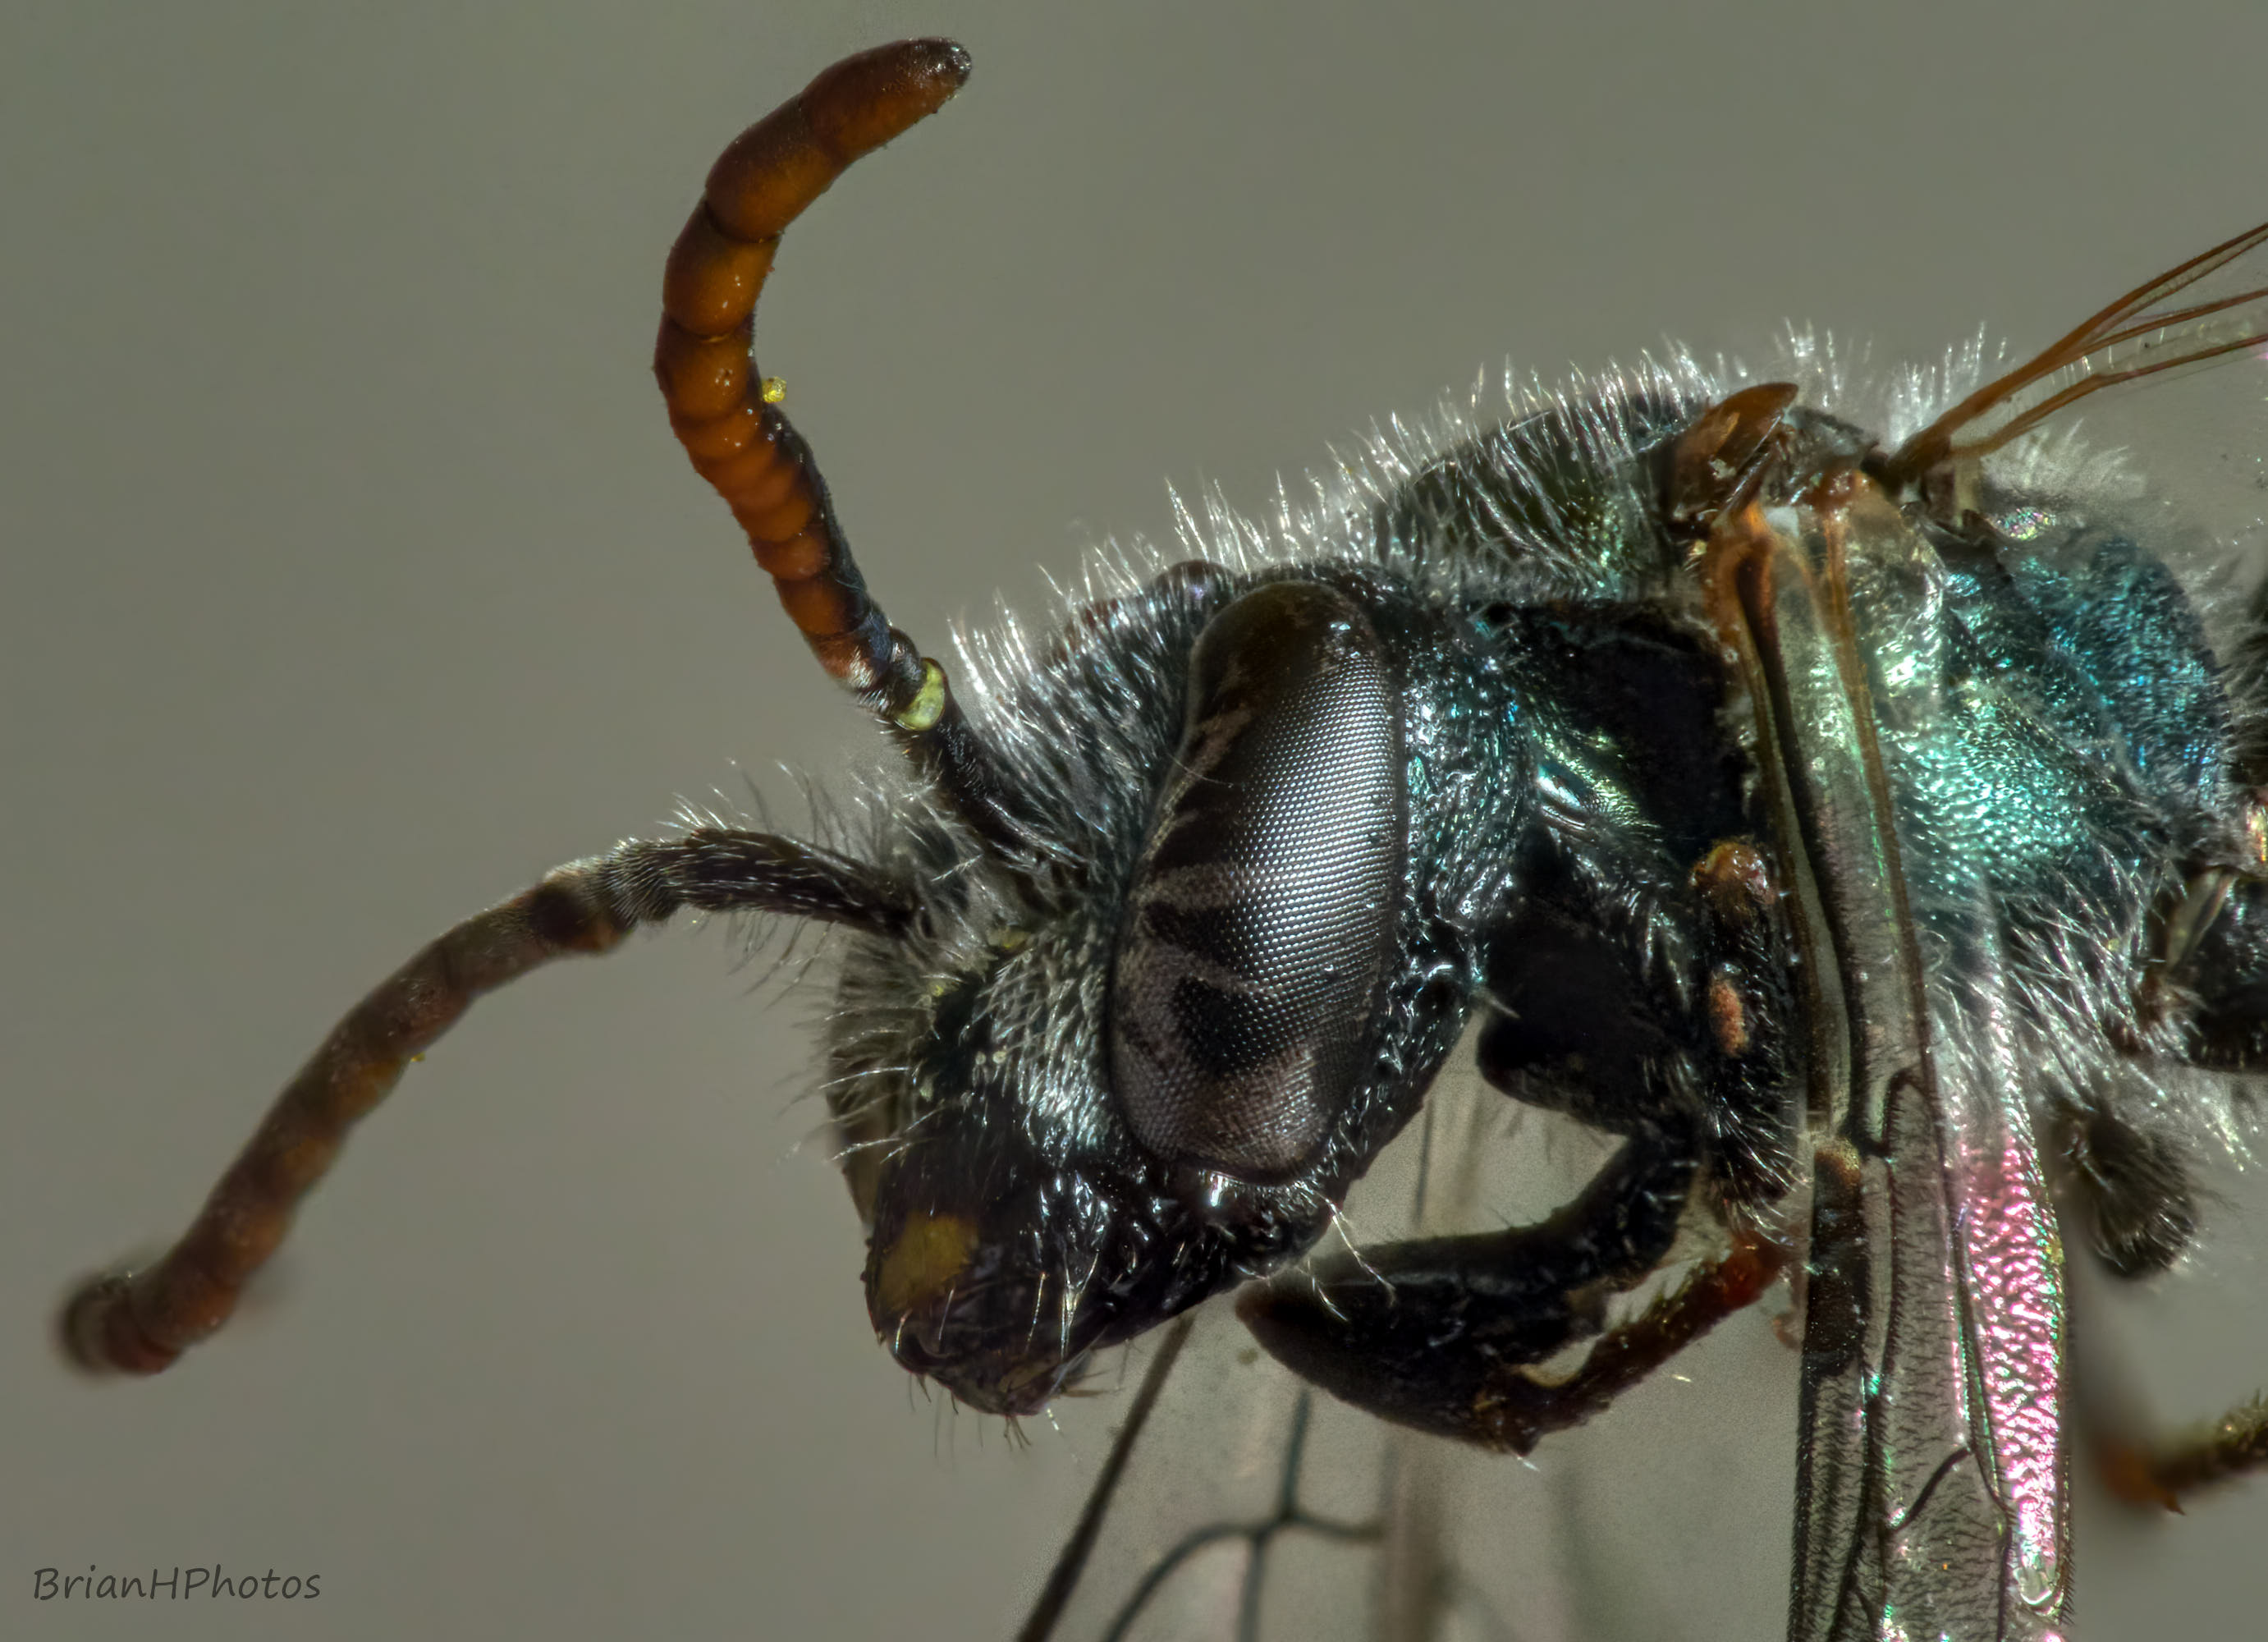
Below are another couple of images that I shot a few weeks ago but stacked earlier today.
Here are links to previous parts to series:-
Part 1 Introduction
Part 2 Preparing Insects
Part 3 Preparing Flowers
Thanks for taking a look at my photography
@brianhphotos.
Thank you brumest
Wow. Mindblowing picture 👌👌 awesome. Thanks for sharing your lens and the sequence of setups 👌
Thank you.