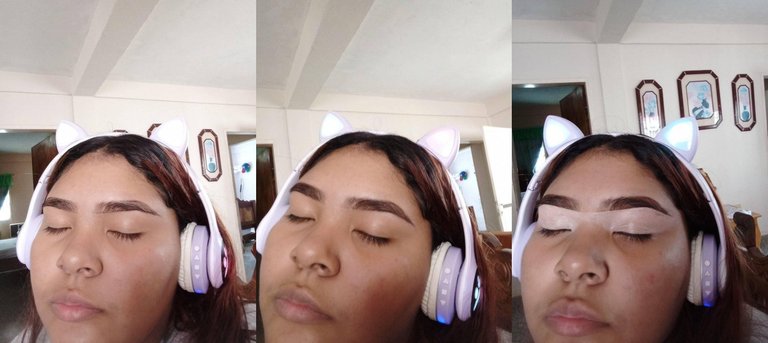
Hello everyone, it is a pleasure to be here again, as I take some time for new learnings and other surprises, I hope that my content is to your liking, without further ado, let's start.
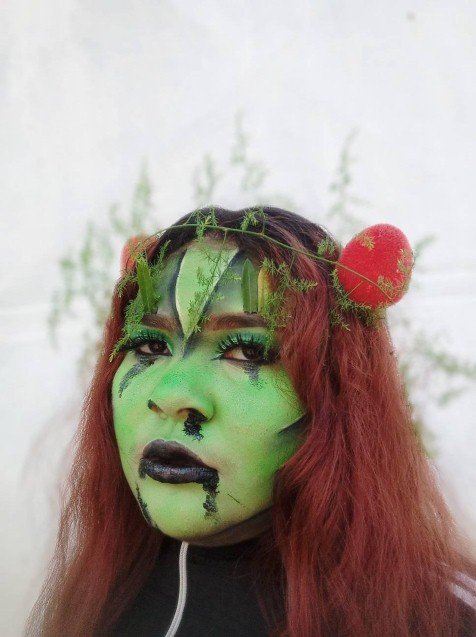
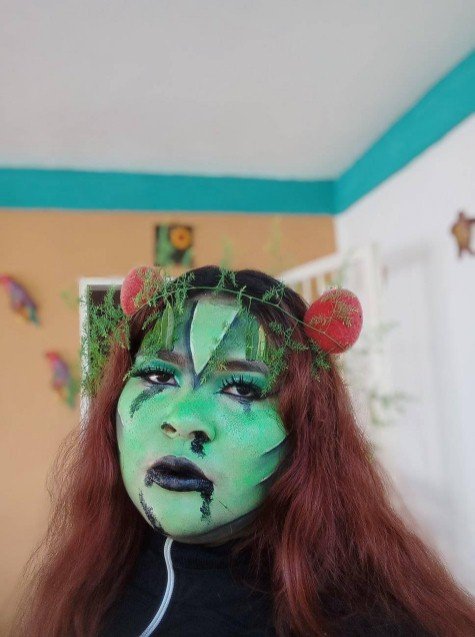
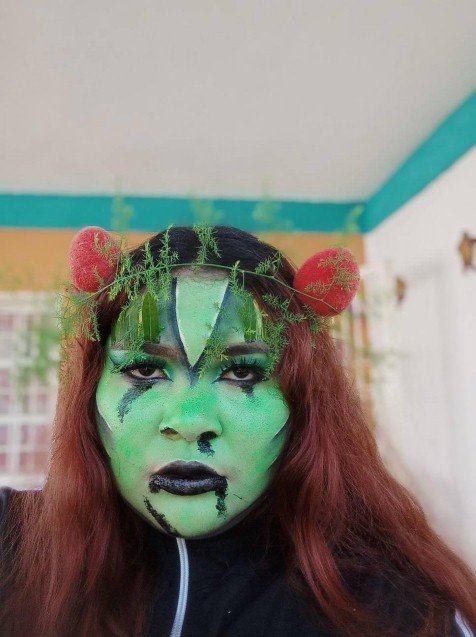
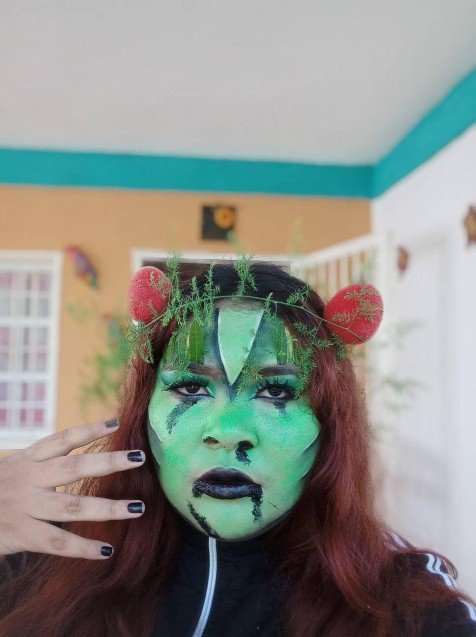
En esta oportunidad, me inspire en la naturaleza llevándolo a un toque más oscuro, y dejando un gran mensaje, “si la naturaleza fuera tratada a como nosotros la tratamos, estuviéramos luchando para sobrevivir”, así que hice volar mi imaginación y aquí les dejo el resultado.
In this opportunity, I was inspired by nature taking it to a darker touch, and leaving a great message, "if nature were treated the way we treat it, we would be fighting to survive", so I let my imagination fly and here I leave you the result.

Para este maquillaje utilice lo siguiente:
For this makeup use the following:
• Sombra de cejas (Eyebrowshadow).
• Corrector(Concealer).
• Sombra de ojos mates y escarchadas (Matte and frostedeyeshadow).
• Base (base).
• Polvo compacto (Compact dust).
• Polvo traslucido (Translucentpowder).
• Delineador (eyerliner).
• Pestañas corridas (eyelashes).
• Pega para pestañas (glue for eyelashes).
El primer paso fue hacer mis cejas, para no hacerlas tan llamativas, con un poco de pomada las delinee y rellene con solo el restante del pincel, así difumino y solo corrijo la parte inferior para poder sellar mejor el color que utilizare.
The first step was to make my eyebrows, so as not to make them so striking, with a little pomade I delineated them and filled them with only the rest of the brush, thus I blend and only correct the lower part to be able to better seal the color that I will use.
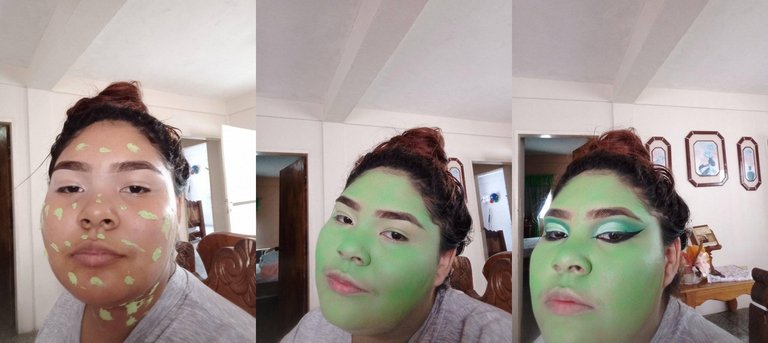
El segundo paso fue un poco más interesante, empiezo con la piel para crear el tono deseado, que en este caso fue el verde, utilizo un poco de pigmento y lo uno con mi base, creando así la base de colores, luego sello todo con una esponjita y aplico el pigmento solo para sellar la piel.
The second step was a little more interesting, I start with the skin to create the desired tone, which in this case was green, I use a little pigment and combine it with my base, thus creating the base of colors, then I seal everything with sponge and apply the pigment just to seal the skin.
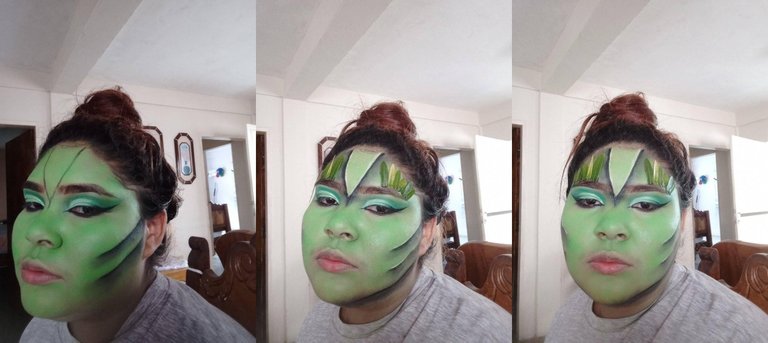
El último paso fue el mejor, empiezo haciendo los ojos, difumino la sombra verde y hago un corte con la misma base del principio, sello con una sombra blanca y hago un delineado para hacerlos resaltar, prosigo con los laterales del rostro con la difuminacion de lo que serían las decoración, creando en todas un degrado y haciéndolas relucir con corrector, hago sangre falsa con vaselina y sombra para los labios y decoración, pego mis pestañas y que empiece la sesión de fotos.
The last step was the best, I start making the eyes, blur the green shadow and make a cut with the same base as the beginning, stamp with a white shadow and make an outline to make them stand out, I continue with the sides of the face with the blurring of what the decorations would be, creating a gradient in all of them and making them shine with concealer, I make fake blood with Vaseline and lip shadow and decoration, I glue my eyelashes and let the photo session begin.
" your eyes reflect endless complex stories.” With kisses and hugs, @ dali13 says goodbye, also sharing my social networks with you, just click on the icons and it will take them directly to my website, bye <3


 |  |  |  |
|---|
Great Post Keep it up. if you haven't get the free hive prize, worth atlast $400 based on your hive profile reputation you should get it ASAP, Maybe few days left for their airdrop. sign in with your hive account to claim it here: Get Free Hive NOW