¡Hola hola bellezas! Este día me animé y decidí hacer un maquillaje y aunque me encanta el color rosa, decidí agregarle un detalle más para hacerlo más bonito, y aunque el resultado fue sensillo ¡Me encantó! Así que espero que a ustedes también le guste.
Hello hello beauties! This day I decided to do a makeup and although I love the color pink, I decided to add one more detail to make it prettier, and although the result was simple, I loved it! So I hope you like it too.

Materiales / Materials:
- Tónico / Toner.
- Jabón facial / Facial soap.
- Primer / Primer.
- Crema hidratante / Moisturizing cream.
- Protector solar / Sunscreen.
- Pomada de cejas / Eyebrow ointment.
- Corrector / Concealer.
- Pigmento fucsia / Fuchsia pigment.
- Pintura Azul / Blue paint.
- Pintura amarilla / Yellow paint.
- Base / Base.
- Contorno / Contour.
- Polvo suelto / Loose powder.
- Rubor / Blush.
- Iluminador / highlighter.
- Beauty blender / Beauty blender.
- Brochas / Brushes
- Brillo labial / Lip gloss.
- Pintura labial rosa / Pink lipstick.
Procedimiento / Procedure:
Paso 1:
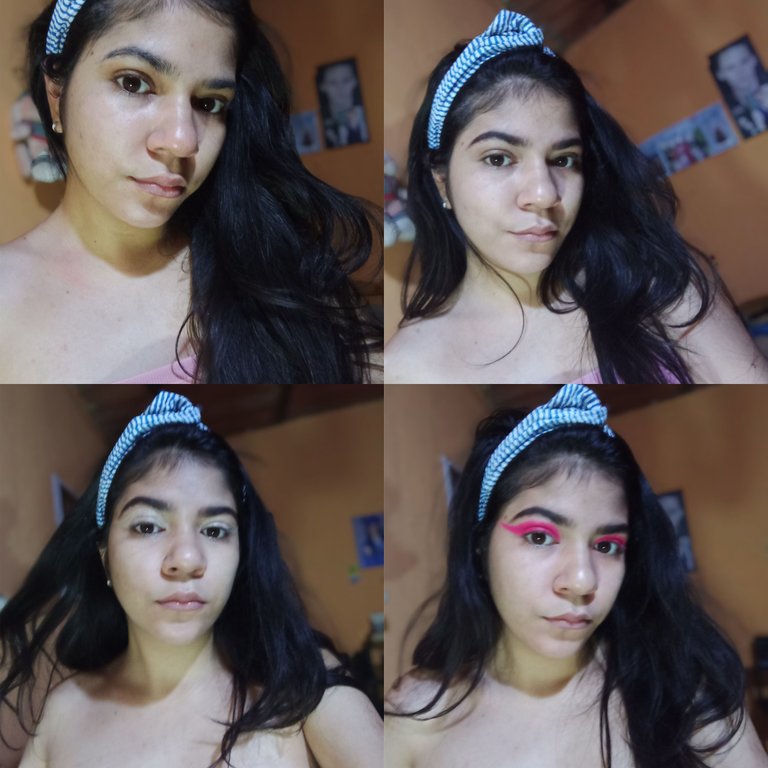
Para preparar mi rostro antes de colocar maquillaje, lo limpie con tónico facial, seguidamente la lave con jabón facial neutro, coloque crema hidratantey protector solar.
Paso 2:
Peine bien mis cejas y dibuje una línea en la arte inferior, luego rellene los espacios y difumine muy bien con un cepillo, seguidamente limpie los bordes con corrector y lo esparcí logrando una mejor forma en las cejas.
Paso 3:
Con una brocha plana coloque corrector en mis párpados creando un cut crease completo en forma de cat eye, lo difumine y lo sellé con pigmento fucsia.
Luego de esto, volví a colocar otra capa de pigmento para lograr un mejor acabado. Agregue sombra brillante al principio de mi ojo, justo desde el lagrimal para aportar un poco más de brillo.
Step 1:
To prepare my face before applying makeup, clean it with facial toner, then wash it with neutral facial soap, apply moisturizer and sunscreen.
Step 2:
Comb my eyebrows well and draw a line on the lower art, then fill in the spaces and blend very well with a brush, then clean the edges with concealer and spread it achieving a better shape on the eyebrows.
Step 3:
With a flat brush I placed concealer on my eyelids creating a full cut crease in the shape of a cat eye, blended it out and sealed it with fuchsia pigment.
After this, I went back and applied another layer of pigment for a better finish. I added shimmer shadow to the beginning of my eye, right from the tear trough to add a little more shimmer.
Paso 4:
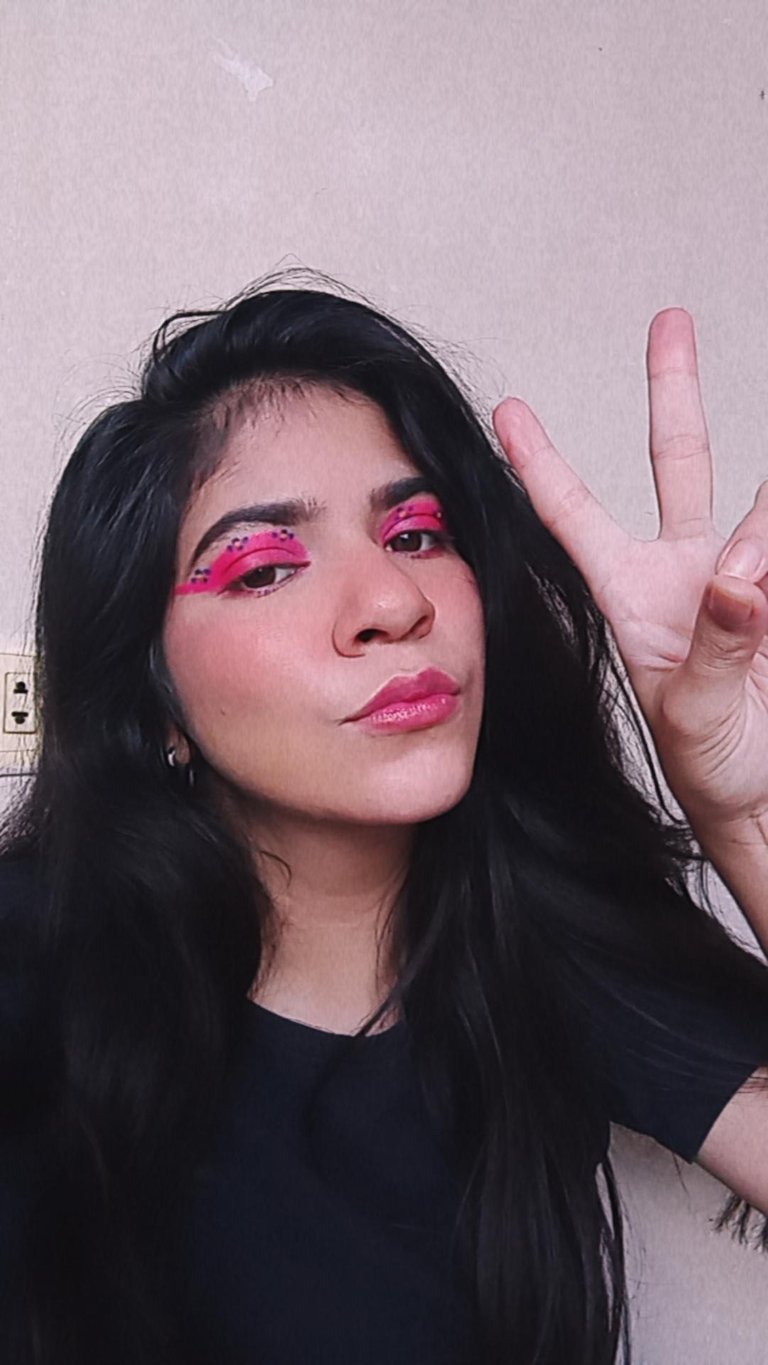
Con un repujador redondo y con una pintura azul, comencé a poner cuatro círculos pequeños que serían los "Pétalos de las flores" luego reforze el color con una segunda capa, este proceso lo realice en mis dos ojos.
Luego de que se secara tome pintura amarilla y le coloque un punto justo en medio de los azules, para así completar las pequeñas flores.
Agregue un poco de pigmento fucsia debajo de mis ojos y también lo difumine.
Paso 5:
Después de limpiar el exceso de pigmento, coloque corrector en mis ojeras y en ciertos lugares de mi rostro para ocultar las imperfecciones, luego agregue base en pequeños puntos y lo esparcí con mi beauty blender.
Paso 6:
Tras esparcir la base, coloque contonor en mis pomulos, justo al punto del hueso de mi oreja, también agregue rubor y lo difumine con el beauty blender.
Sellé todo con polvo suelto, agregue brillo labial y luego labial rosa en mis labios.
¡Y listo! Tenemos un maquillaje sencillo pero muy lindo y creativo.
Step 4:
With a round embosser and with a blue paint, I started to put four small circles that would be the "Petals of the flowers" then I reinforced the color with a second layer, this process I did on my two eyes.
After it dried I took some yellow paint and put a dot right in the middle of the blues to complete the little flowers.
I added some fuchsia pigment under my eyes and blended it in as well.
Step 5:
After wiping off the excess pigment, I placed concealer under my dark circles and in certain places on my face to hide imperfections, then added foundation in small dots and blended it with my beauty blender.
Step 6:
After spreading the foundation, place contour on my cheekbones, just to the point of my ear bone, also add blush and blend it with the beauty blender.
I sealed everything with loose powder, added lip gloss and then pink lipstick on my lips.
And that's it! We have a simple but very cute and creative makeup look.

El resultado / The result:
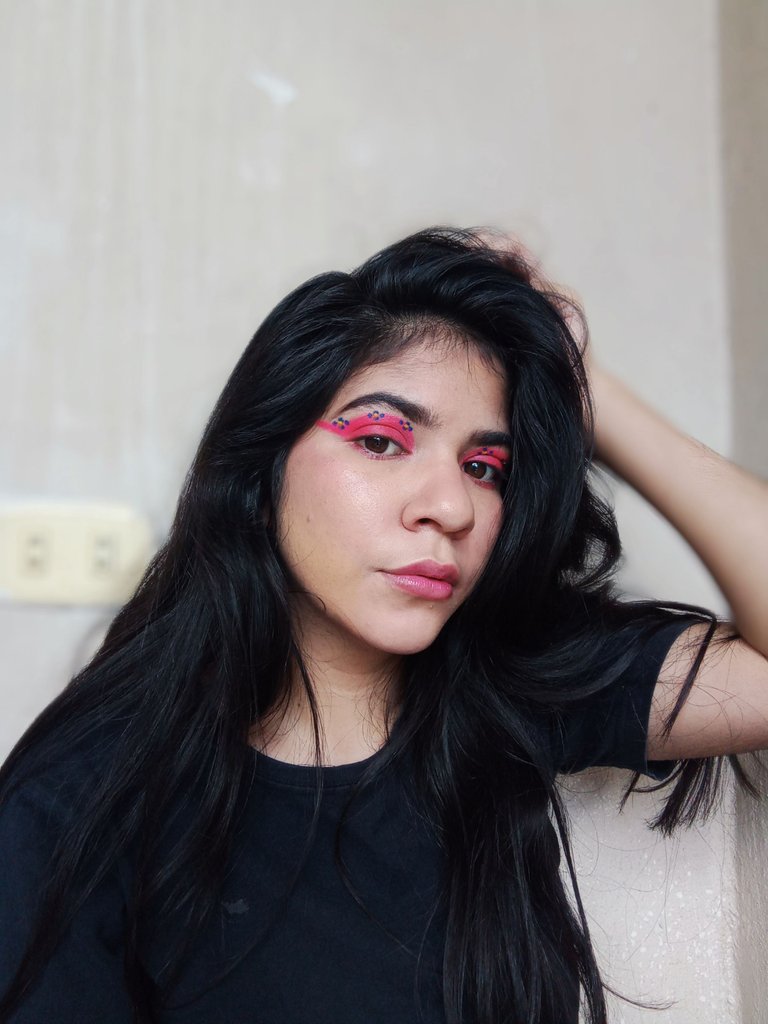

¡Espero que les haya gustado este post! La verdad me encantó el resultado apesar de no s r un maquillaje excesivo, creo que los colores resaltan mucho y quedó genial ¡Muchas gracias por leerme! XOXO.
I hope you liked this post! I really loved the result despite not being an excessive makeup, I think the colors stand out a lot and it looked great Thanks so much for reading! XOXO.
Cover created in: Picsart and Canvas.
Text translated with: DeepL.
Dividers edited with: PicsArt.
All photos of the procedure are my own.