¡Hola querida comunidad Hive!// hello dear hive community! 💖
No he estado tan activa por aquí como pensé que estaría cuando hice mi primer post pero es que he comenzado la universidad está semana y tenía que organizar mi tiempo para todo, ya lo logré!!! Asi que volvimos ✨
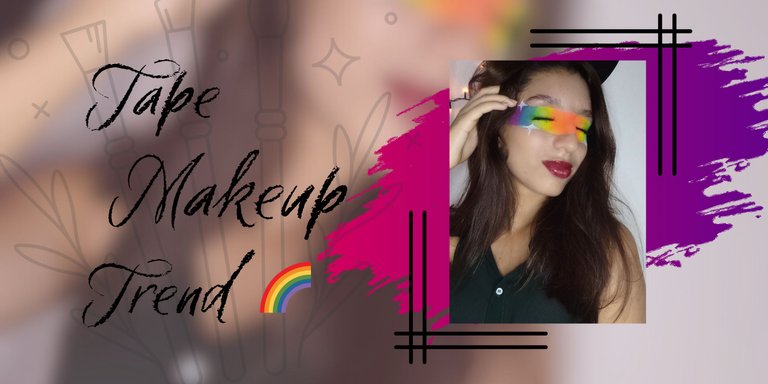
Hoy vengo muy emocionada a mostrarles un maquillaje que he venido queriendo hacer desde hace rato.... 🙃
I have not been as active around here as I thought I would be when I made my first post but I just started college this week and had to organize my time for everything, I got it done!!!! So we're back ✨
Today I come very excited to show you a makeup I've been wanting to do for a while now.... 🙃
Amo involucrar muchos colores en mis maquillajes asi que cuando ví este de una vez le puse el ojo. Es un maquillaje algo sencillo ya que no requería muchos detalles más que saber difuminar las sombras. Tampoco se necesita de muchas cosas para realizarlo solo unas sombras que pigmenten bien ya que eso es lo más importante para que quede con buen acabado.
I love to involve a lot of colors in my makeup so when I saw this one I had my eye on it. It's a simple makeup since it didn't require many details other than knowing how to blend the shadows. You don't need a lot of things to do it either, just some shadows that pigment well, since that's the most important thing to get a good finish.
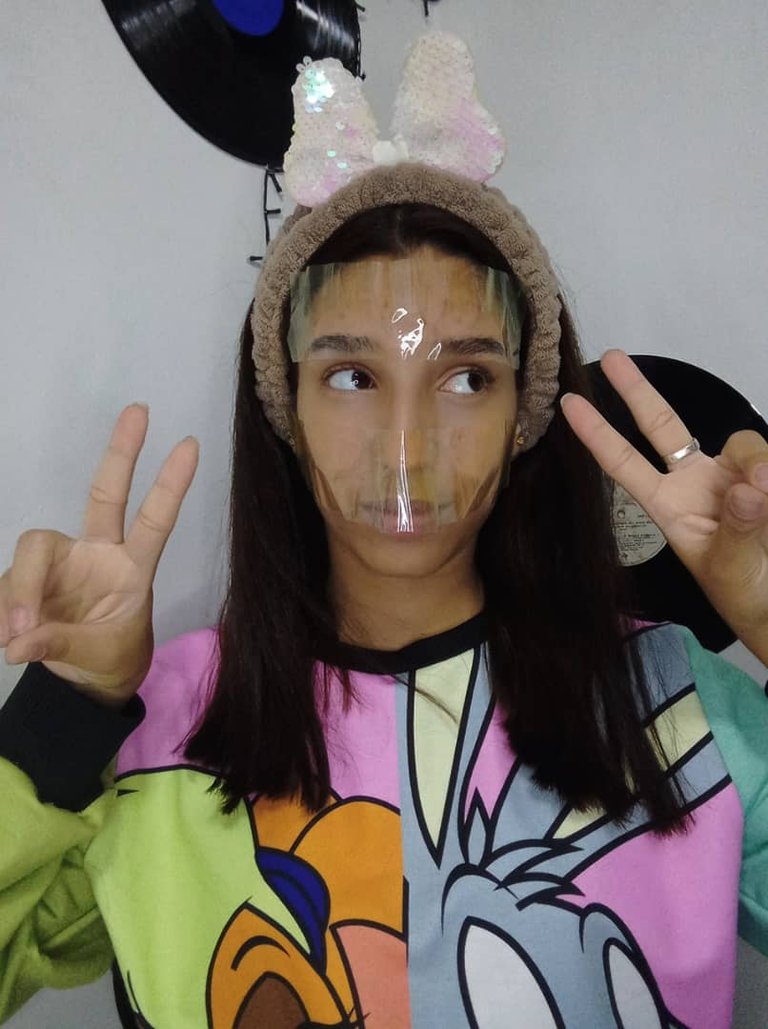
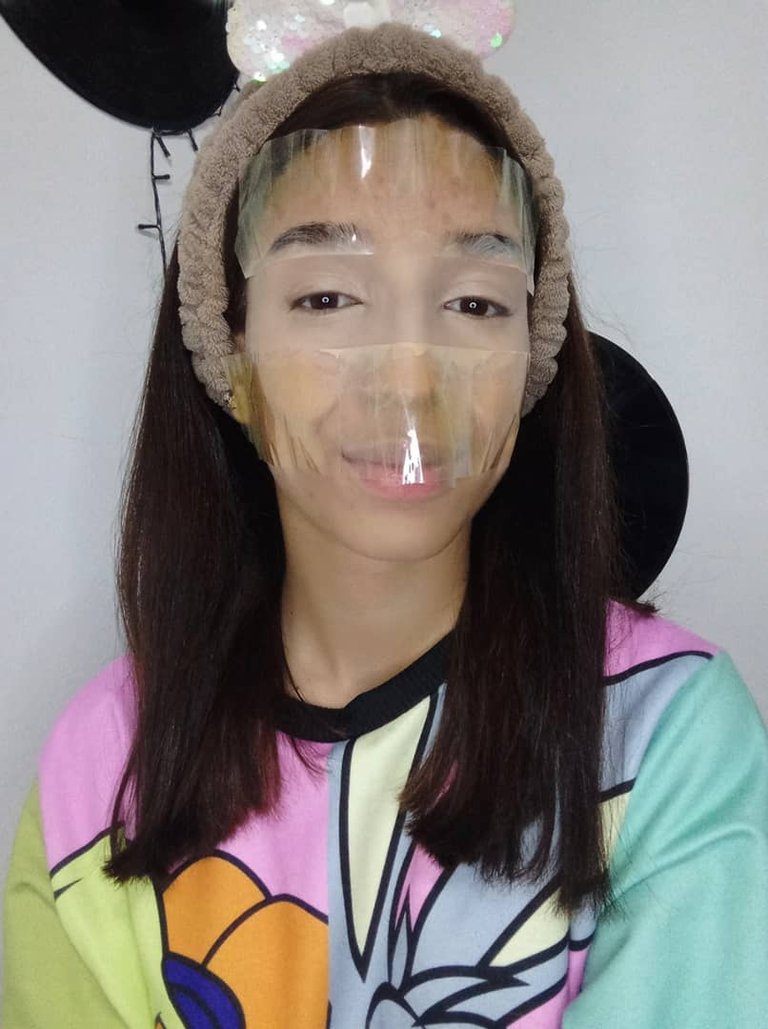
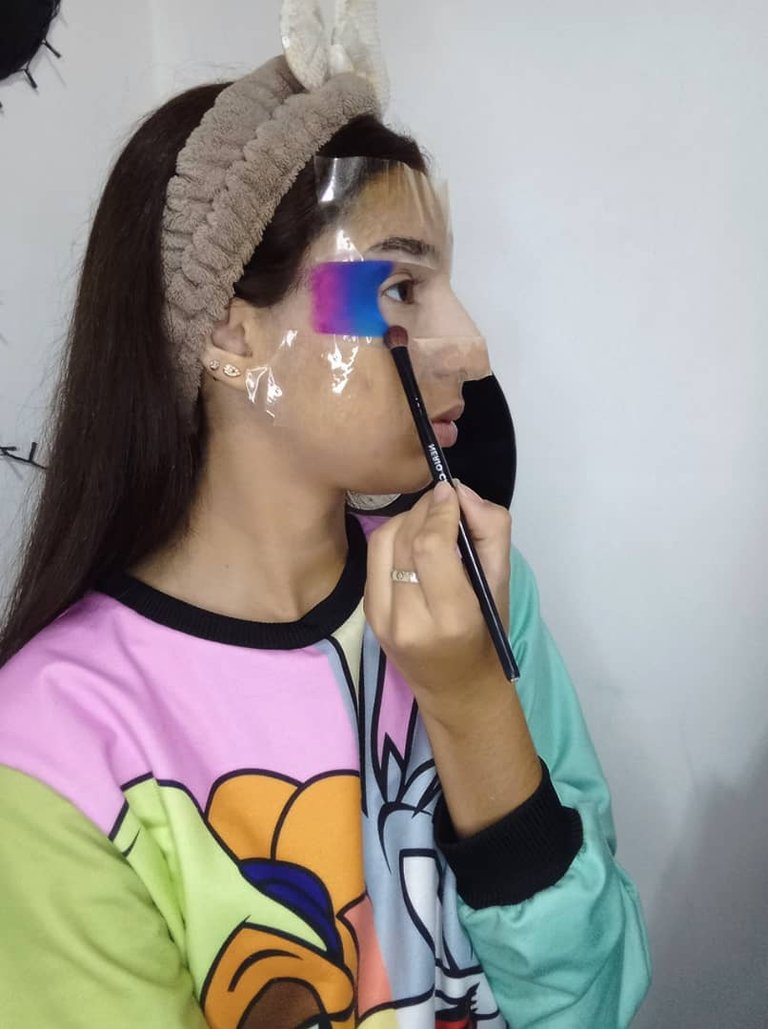
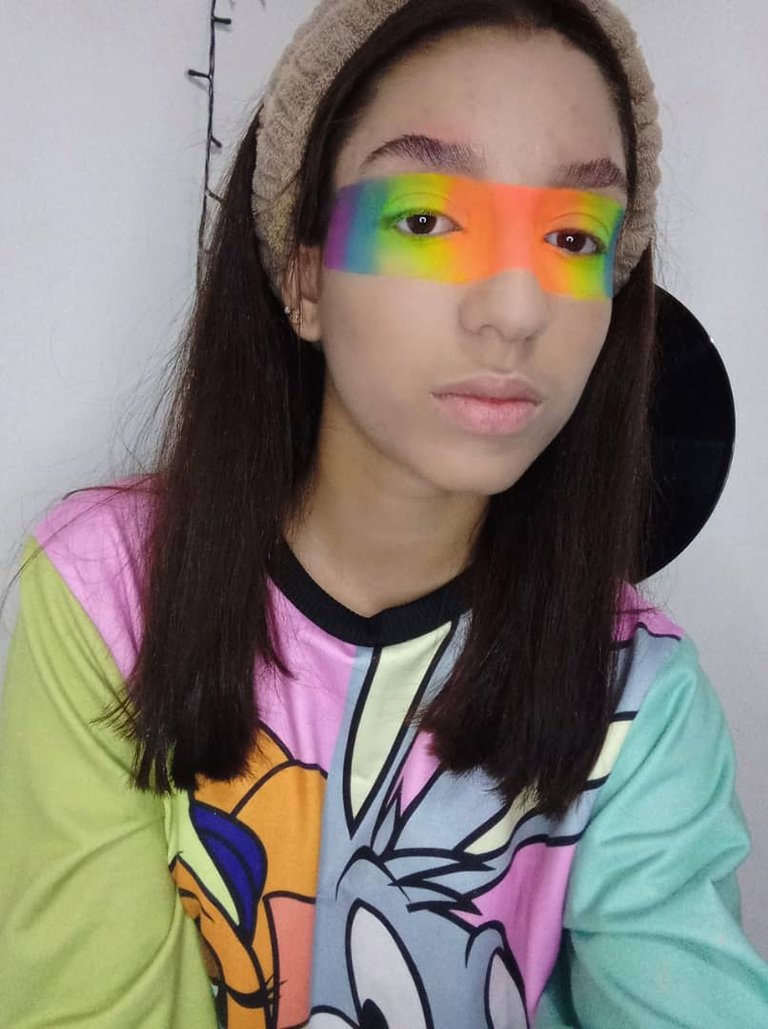
Comenzamos colocando cinta adhesiva para poder hacer el maquillaje un poco más prolijo, colocamos la primera que quede un dedo más abajo de las cejas y la otra como a mitad de la nariz (yo me pase de ordinaria y puse cinta de embalar). Luego nos colocamos el corrector no sin antes haber colocado primer.....
Para este maquillaje yo utilicé unas sombras sueltas ya que lo había visto que lo hacían con ellas, pero cómo mencioné antes se puede realizar con las sombras que normalmente usas.
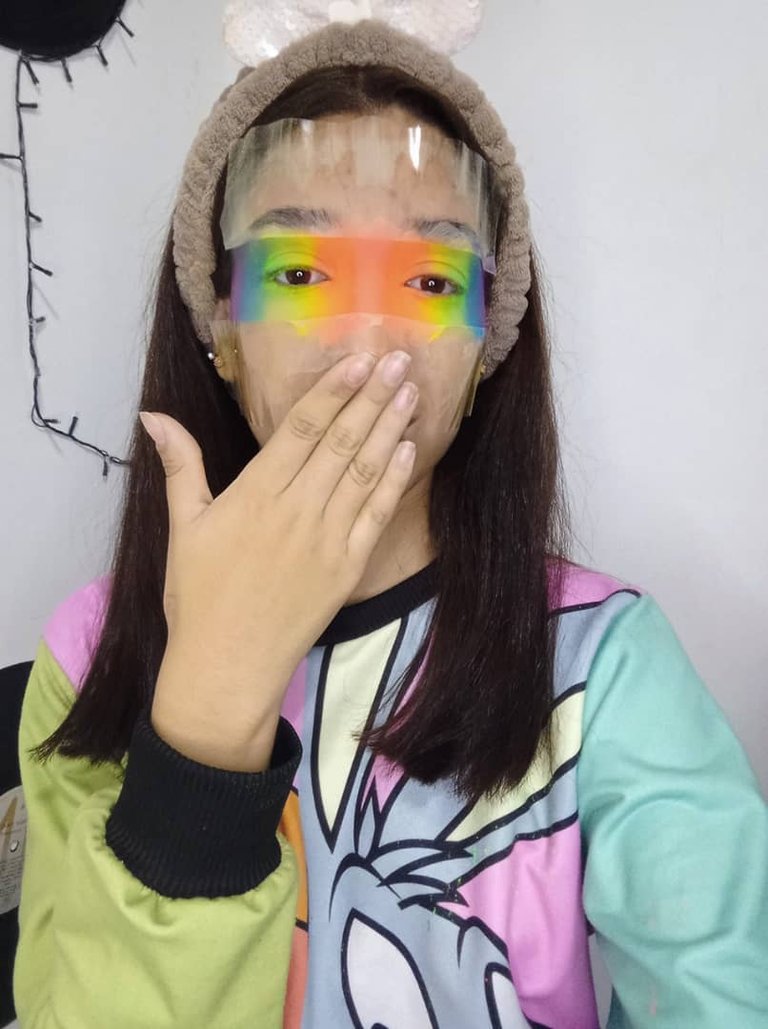
Entonces una vez colocado y difuminado el corrector procedemos a colocar las sombras, empezamos de distal a proximal y comenzamos con la sombra morada (una de mis favoritas) , yo empecé aplicando como dos dedos de grosor para cada color y a medida que iba avanzando lo hacía un poco más angosto. Luego aplicamos la azul, siguiente aplicamos la verde, luego la amarilla y la naranja hasta la zona donde empieza la nariz, una vez allí para culminar apliqué la rosada (que en realidad se ve naranja un poco más claro) justo en la nariz. Con una brocha para difuminar comencé a unir un poco los colores, dejando que se vieran un poco dónde empezaba y dónde terminara el color pero sin que se viera tan marcado.
We start by placing masking tape to make the makeup a little neater, we place the first one a finger below the eyebrows and the other one about halfway down the nose (I went too far and put packing tape). Then we apply the concealer not without first applying primer.....
For this makeup I used some loose shadows because I had seen it done with them, but as I mentioned before it can be done with the shadows you normally use.
Then once the concealer is placed and blurred we proceed to place the shadows, we start from distal to proximal and begin with the purple shadow (one of my favorites), I started applying about two fingers thick for each color and as I went on I made it a little narrower. Then we applied the blue, next we applied the green, then the yellow and the orange up to the area where the nose starts, once there to finish I applied the pink (which actually looks a little lighter orange) right on the nose. With a blending brush I started to blend the colors a little bit, letting you can see a little bit where the color starts and where it ends but without making it look so marked.
 |  |
|---|
 |  |
|---|
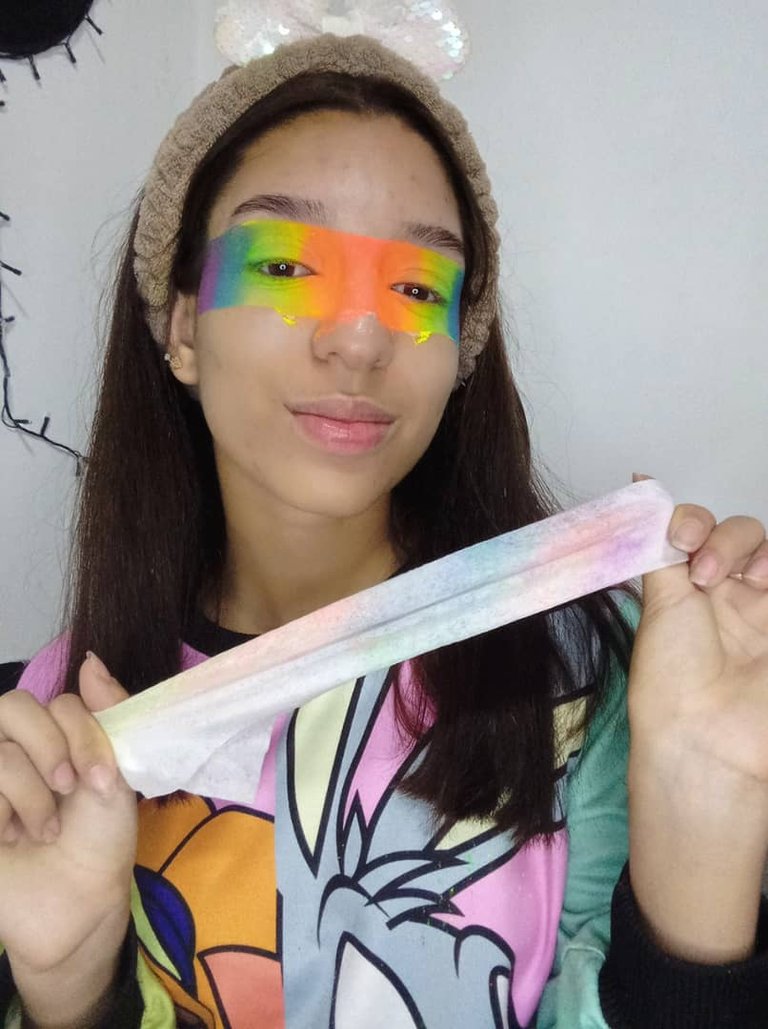
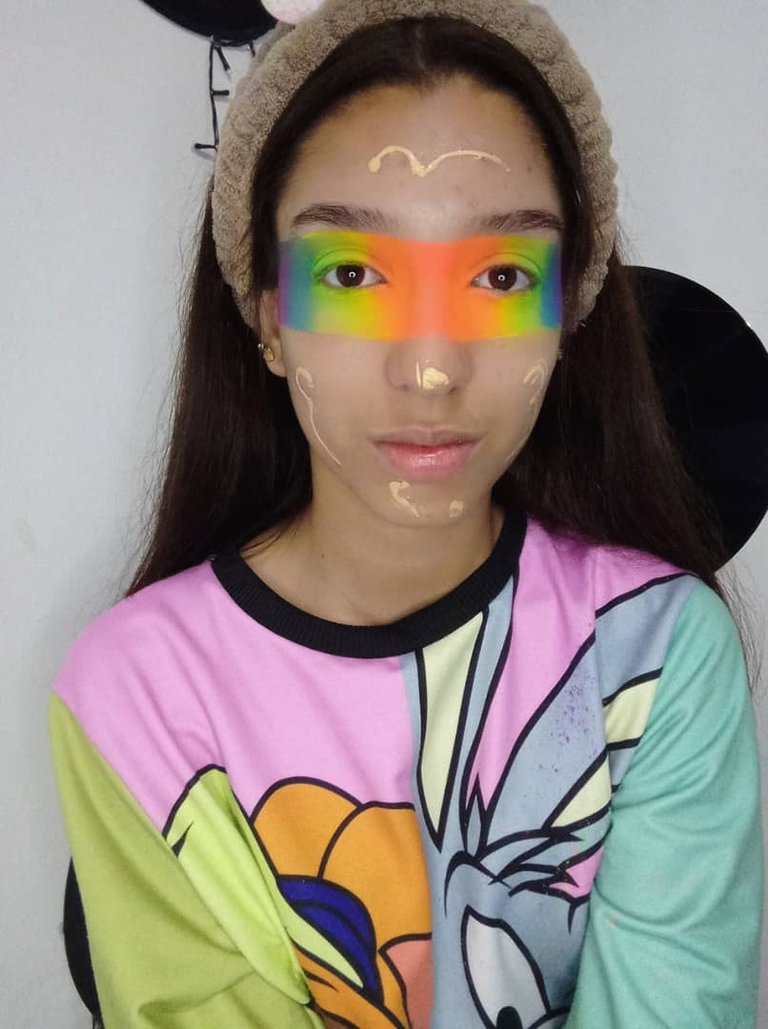
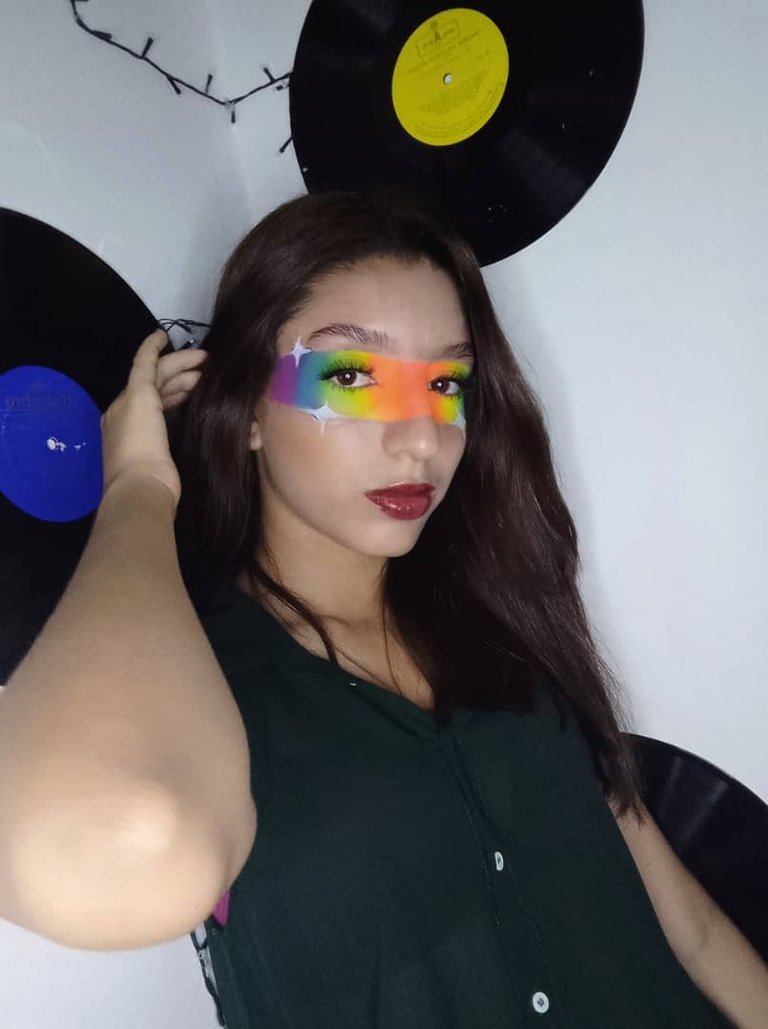
Una vez estaba listo el sombreado procedí a retirar la cinta adhesiva, y con una toallita húmeda limpié las zonas donde se había corrido la sombra y así poder hacerlo lo más limpio posible tanto en la parte inferior como en la superior. Después preparé la piel como lo hago habitualmente con base, corrector dónde se requiera, apliqué un poco de contorno y rubor/blush tanto en lo que se podía apreciar de las mejillas como en la frente.
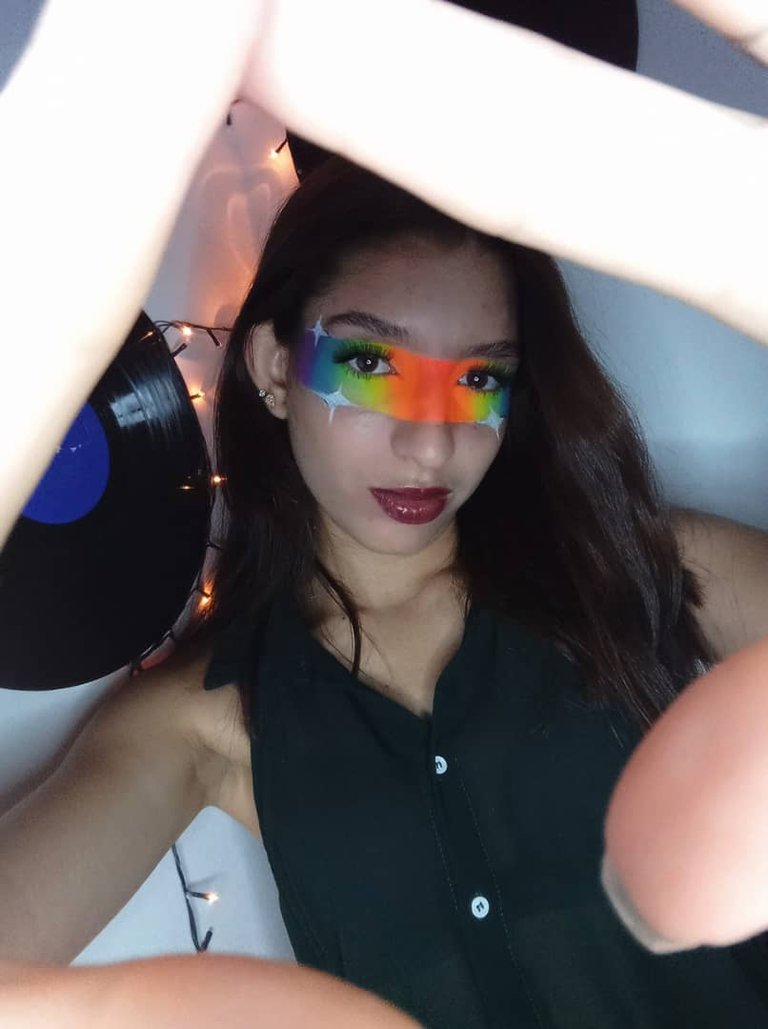
Para darle un poco de detalle al maquillaje le hice unas estrellitas con delineador blanco, yo utilicé uno en crema pero un delineador liquido sería más útil y tendría mejor acabado.
Maquille mis cejas con sombras ya que lo único que hago es rellenar las zonas donde se ven vacías y las peiné con el gel para cejas y así lograr que se vieran laminadas, coloque pestañas postizas no muy grandes, eran con un efecto un poco más natural y no tan saturadas ya que quería que el maquillaje se viera más sutil y que solo resaltaran los colores 🌈.
Once the shading was ready I proceeded to remove the masking tape, and with a wet wipe I cleaned the areas where the shadow had run so I could make it as clean as possible both on the bottom and on the top. Then I prepared the skin as I usually do with foundation, concealer where needed, applied a little contouring and blush on what could be seen on the cheeks and on the forehead.
To give a little detail to the makeup I made some stars with white eyeliner, I used a cream eyeliner but a liquid eyeliner would be more useful and would have a better finish.I made up my eyebrows with shadows since the only thing I do is fill in the areas where they look empty and I combed them with eyebrow gel to make them look laminated, I placed false eyelashes not too big, they were with a more natural effect and not so saturated since I wanted the makeup to look more subtle and only highlight the colors 🌈.
 |  |  |  |
|---|
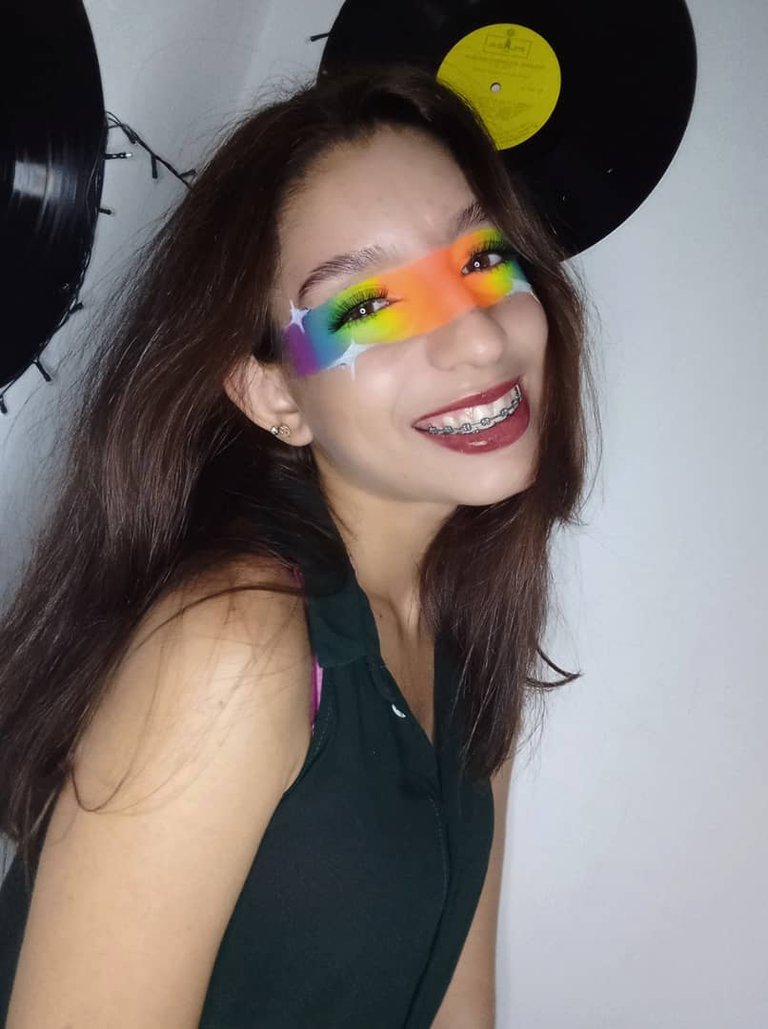
Llegó la parte donde tengo una relación amor/odio, las fotos jajajaja. A veces me pasa que el maquillaje quedó muy lindo pero en las fotos no se logra apreciar y eso me desanima y simplemente termino desechando el maquillaje cosa que me pone muy molesta y triste a la vez. Pero también es cierto que cuando estoy lo suficientemente inspirada pueden salir fotos increíbles donde se aprecie y transmita exactamente lo que quiero y eso me hace divertirme en el proceso fotográfico siempre acompañada de buena música que anime.
 |  |
|---|
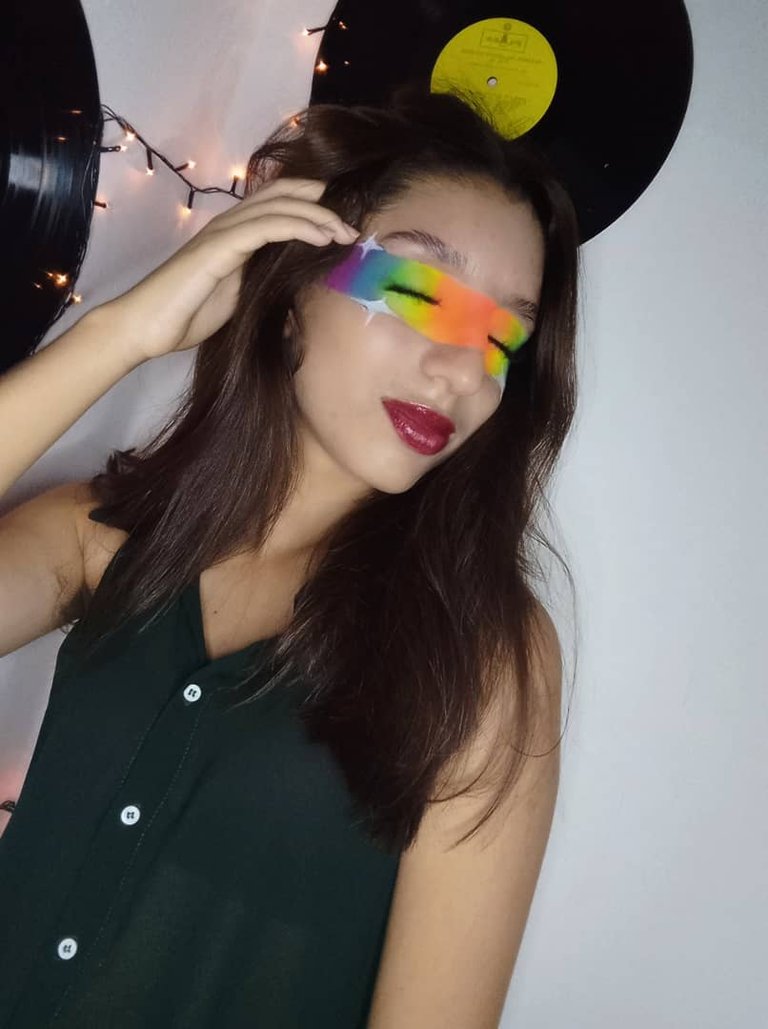
Y listo, es un maquillaje que no requiere de mucho, es súper sencillo pero definitivamente llama la atención y eso es lo que lo hace tan magnífico.
Espero les guste mi maquillaje tanto como me gustó a mi y si tienen alguna recomendación me sería muy útil.... Hasta pronto 🤗
Here comes the part where I have a love/hate relationship, the photos hahahaha. Sometimes it happens to me that the makeup is very nice but in the photos it is not appreciated and that discourages me and I just end up discarding the makeup which makes me very upset and sad at the same time. But it's also true that when I'm inspired enough I can get amazing pictures where you can appreciate and transmit exactly what I want and that makes me have fun in the photographic process always accompanied by good music that encourages.
And that's it, it's a makeup that doesn't require much, it's super simple but it definitely catches the eye and that's what makes it so gorgeous.
I hope you like my makeup as much as I liked it and if you have any recommendations it would be very helpful.... See you soon 🤗
you did great on your first post, then now, I like your cheerful presentation 😊
Thank you!!! The truth is that I was super nervous about this post jajajaja.... I didn't know if it was going to be good enough, but in the end I really liked it and how nice that you liked it too.💖
Congratulations @milabarrios! You have completed the following achievement on the Hive blockchain And have been rewarded with New badge(s)
Your next target is to reach 700 upvotes.
You can view your badges on your board and compare yourself to others in the Ranking
If you no longer want to receive notifications, reply to this comment with the word
STOP