Hola querida comunidad Hive ❤️ // Hi dear community Hive ❤️
Hoy les mostraré un maquillaje que sinceramente para mí es sumamente espectacular 💚.
A penas ví este maquillaje me enamoré y sabes que va a ser un buen maquillaje cuando te da la inspiración justo a media noche 😅. Este es el tipo de maquillajes que me suben el autoestima y mi ánimo cuando estoy en esos días de bajones y dónde siento que las cosas no están fluyendo como deberían así que espero que si lo realizas te haga sentir lo mismo que me hizo sentir a mi 💟.
Today I will show you a makeup that honestly for me is extremely spectacular 💚.
As soon as I saw this makeup I fell in love and you know it's going to be a good makeup when you get the inspiration right in the middle of the night 😅. This is the kind of makeup that boosts my self-esteem and my mood when I'm in those down days and where I feel like things aren't flowing the way they should so I hope if you do it it will make you feel the same way it made me feel 💟
Comenzamos realizando los ojos, como ya he mencionado en post anteriores me gusta comenzar primero por allí ya que siempre caen partículas de las sombras y eso tiende a dañar la preparación de la piel.
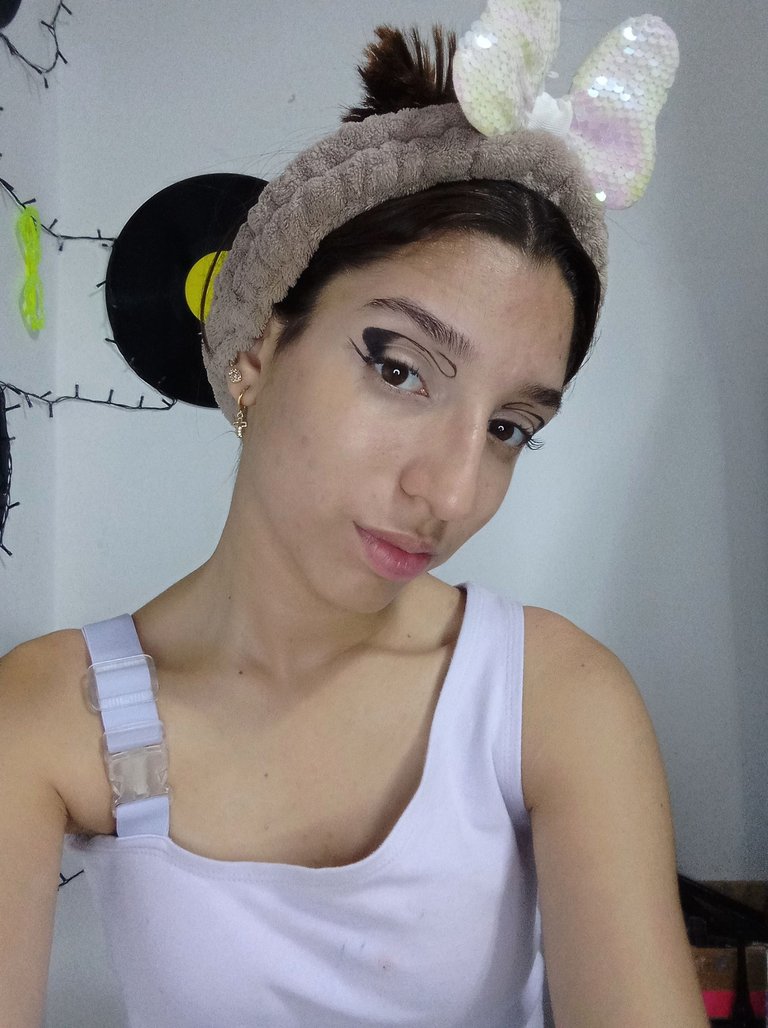
Iniciamos haciendo la forma con un delineador negro, esto nos ayudará a realizar mejor el trabajo de sombras y así quedará algo más prolijo. Una vez tengamos el delineado en ambos ojos vamos a empezar a rellenar y lo hacemos desde distal a proximal.
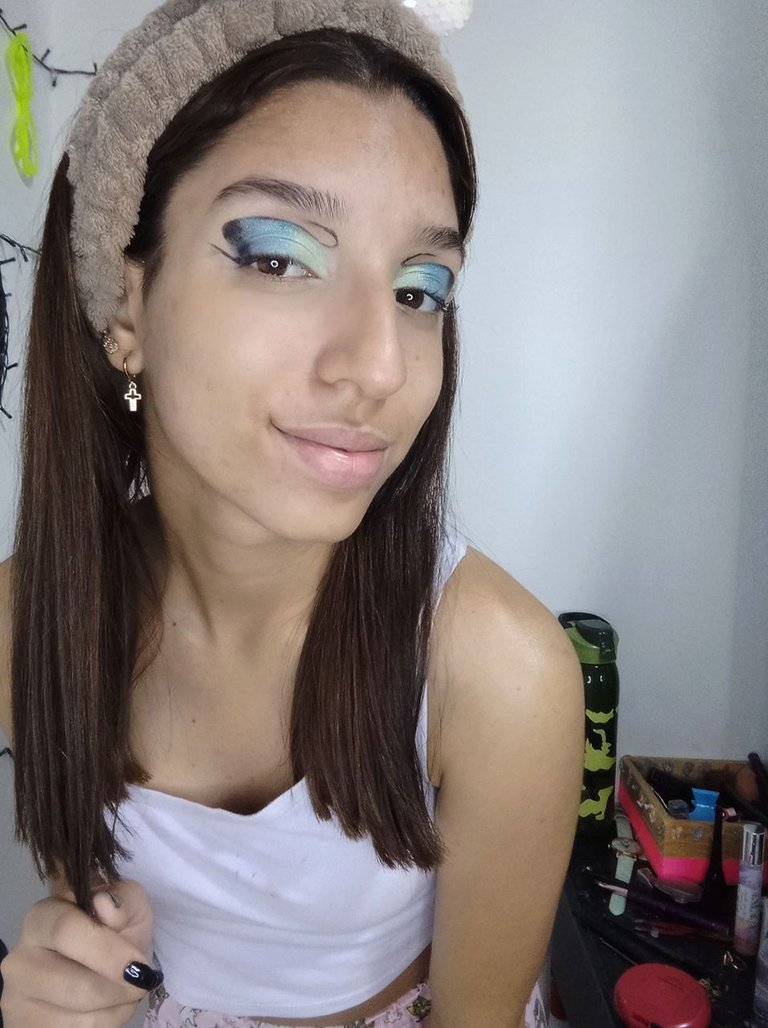
Cómo siempre aplicamos corrector antes de las sombras y con un delineador en gel o en pomada vamos a rellenar ese círculo pero un poco nada más, es solo para que la sombra negra que aplicaremos más adelante pigmente mejor y quede ese efecto ahumado. Siguiente a eso aplicaremos una sombra metalizada azul justo en el medio (este maquillaje es muy cargado así que todas las sombras que usaremos tendrán brillo a excepción de la negra) esa será nuestra sombra de transición así que la uniremos un poco con la pomada negra de manera que se vaya difuminando, y por último aplicaremos una sombra verde claro que llegue hasta el lagrimal.
We start with the eyes, as I have mentioned in previous posts I like to start there first as the shadow particles always fall and that tends to damage the skin preparation.
We start by making the shape with a black eyeliner, this will help us to do a better job with the shadows and it will look neater. Once we have the eyeliner on both eyes we will start to fill in and we do it from distal to proximal.As always we apply concealer before the shadows and with a gel or ointment eyeliner we are going to fill in the circle but just a little bit, it is only so that the black shadow that we will apply later will pigment better and we will get that smoky effect. After that we will apply a metallic blue shadow right in the middle (this makeup is very heavy so all the shadows we will use will have shine except for the black one) that will be our transition shadow so we will join it a little with the black pomade so that it blends, and finally we will apply a light green shadow that reaches the tear trough.
 |  |  |
|---|
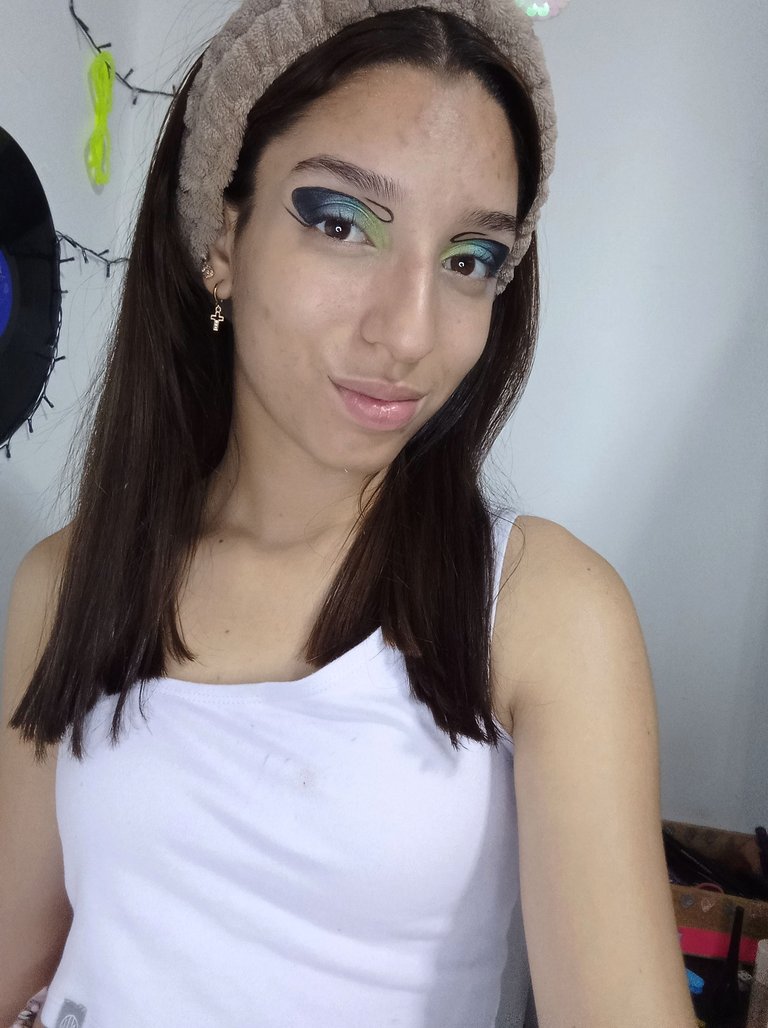
Al principio se verá como desordenado pero hay que confiar en el proceso y estas sombra que agregamos era como para delimitar y hacer una base, así que vamos a volver a colocar las mismas sombras en el mismo orden y ahora sí vamos a difuminar muy bien de manera que todo se una armoniosamente, y al final para sellar la pomada aplicaremos sombra negra que la llevaremos un poco más allá de donde habíamos llevado la pomada para que se una perfectamente al siguiente color.
Una vez terminadas las sombras vamos a perfeccionar ese delineado que hicimos inicialmente, lo aremos más grueso y más marcado, trazando cada línea con perfección y sumo cuidado para que se vea un trabajo limpio. Luego de eso limpiamos las partículas de sombras que cayeron cerca de la zona para que no se vea desordenado.
At first it will look messy but you have to trust the process and this shadow we added was to delimit and make a base, so we are going to put the same shadows in the same order and now we are going to blend very well so that everything joins harmoniously, and at the end to seal the pomade we will apply black shadow that we will take it a little further from where we had taken the pomade so that it joins perfectly to the next color.
Once the shadows are finished we are going to perfect the outline we did initially, we will make it thicker and more marked, tracing each line with perfection and extreme care so that it looks a clean job. After that we clean the shadow particles that fell near the area so it doesn't look messy.
 |  |
|---|
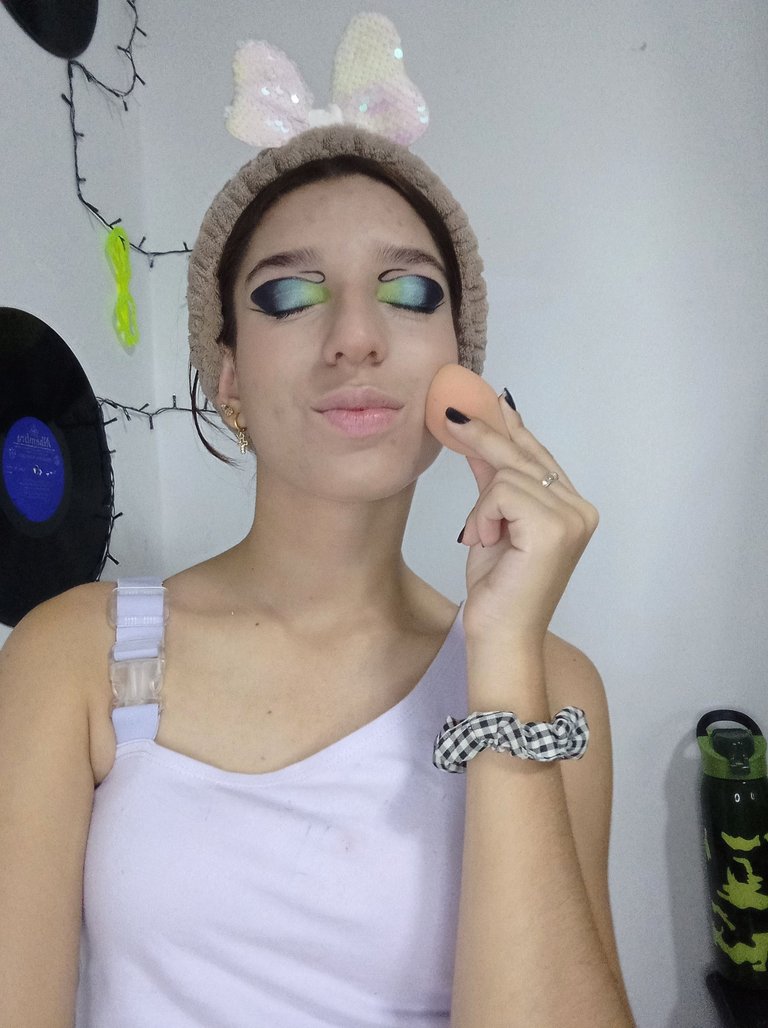
Pasamos a preparar la piel, así que primero limpiamos el rostro muy bien, hidratamos y colocamos primer para sellar los poros. Aplicamos base y corrector, como he mencionado antes yo no soy de ponerme tantos productos para preparar la piel así que solo sello con polvo y me agrego contorno y rubor/blush.
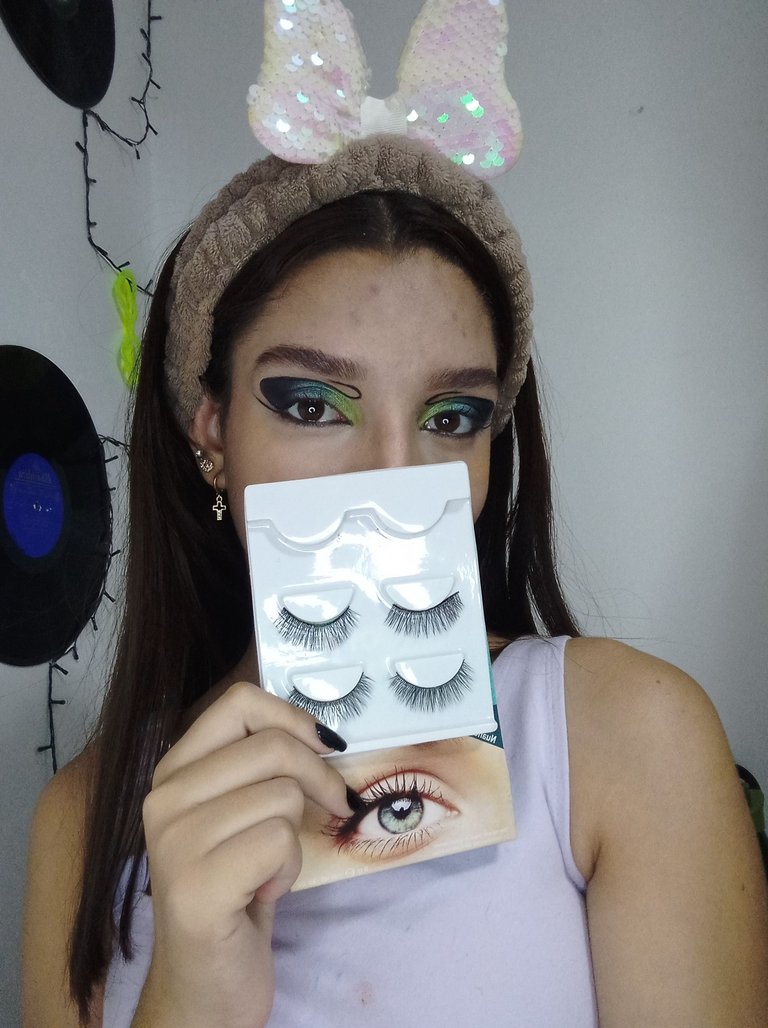
Pasamos a una parte del maquillaje que me agrada mucho, más cejas y pestañas.... Peinamos nuestras cejas, rellenamos los espacios vacíos con sombra y volvemos a peinar con un gel para cejas. Con las pestañas pues las rizamos y aplicamos máscara de pestañas y luego aplicamos pestañas postizas, pueden ser muy dramáticas o más reservadas, sinceramente vas quedan bien pero para no recargar tanto el maquillaje yo decidí colocar unas más sencillas para que se pudiera apreciar mejor el maquillaje.
We move on to prepare the skin, so first we cleanse the face very well, moisturize and apply primer to seal the pores. We apply foundation and concealer, as I mentioned before I'm not one to apply so many products to prepare the skin so I just seal with powder and add contour and blush.
We move on to a part of the makeup that I really like, more brows and lashes..... We combed our brows, filled in the gaps with shadow and combed again with an eyebrow gel. With the eyelashes we curl them and apply mascara and then we apply false eyelashes, they can be very dramatic or more reserved, honestly you look good but to not overload the makeup so much I decided to put some simpler ones so that the makeup could be better appreciated.
 |  |  |
|---|
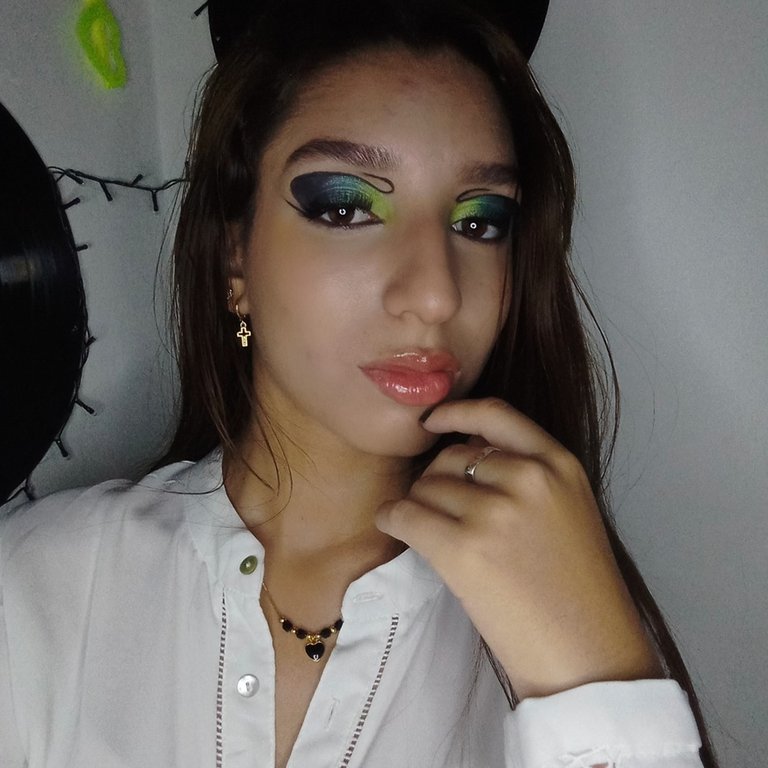
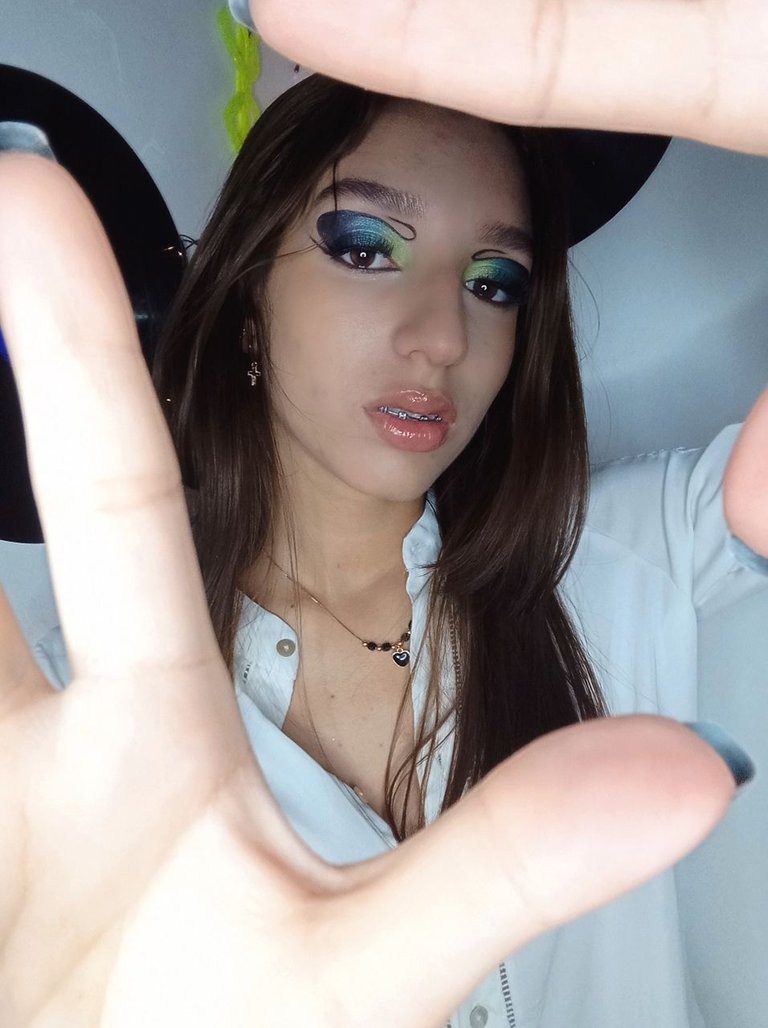
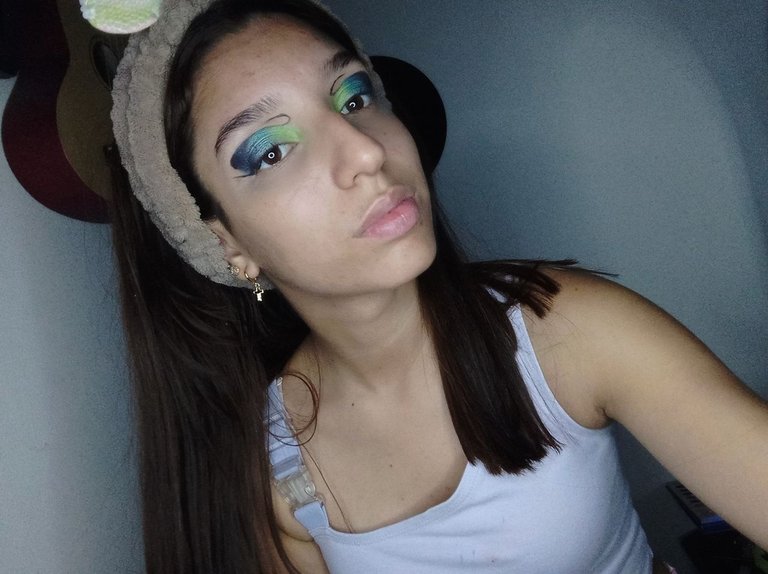
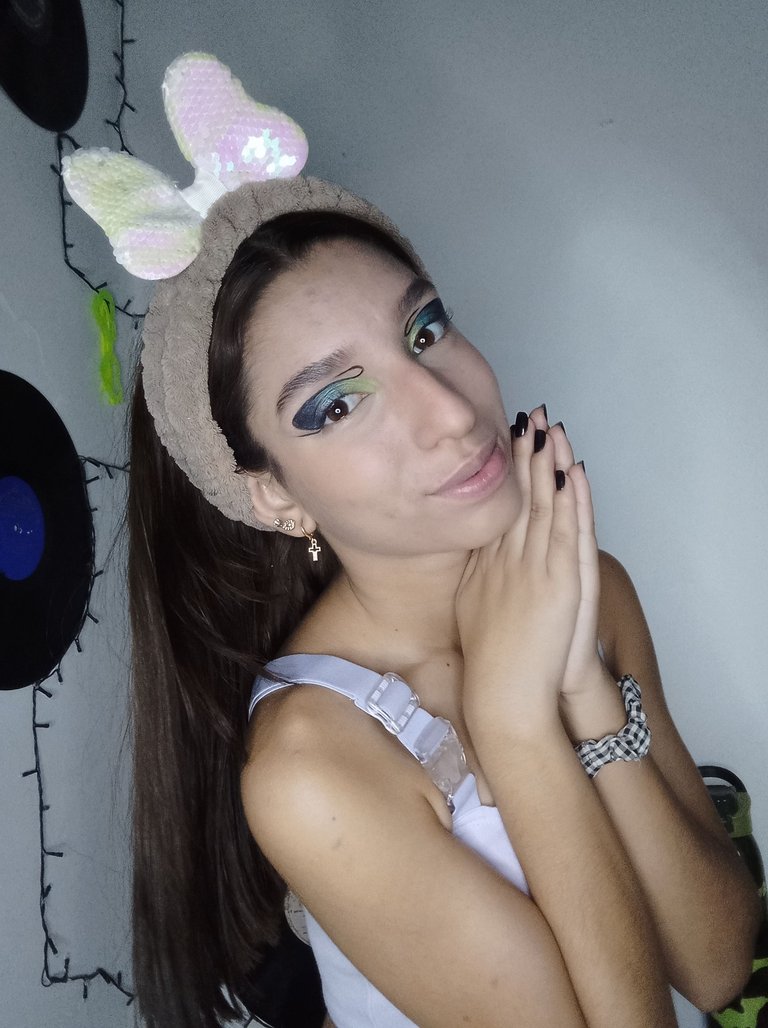
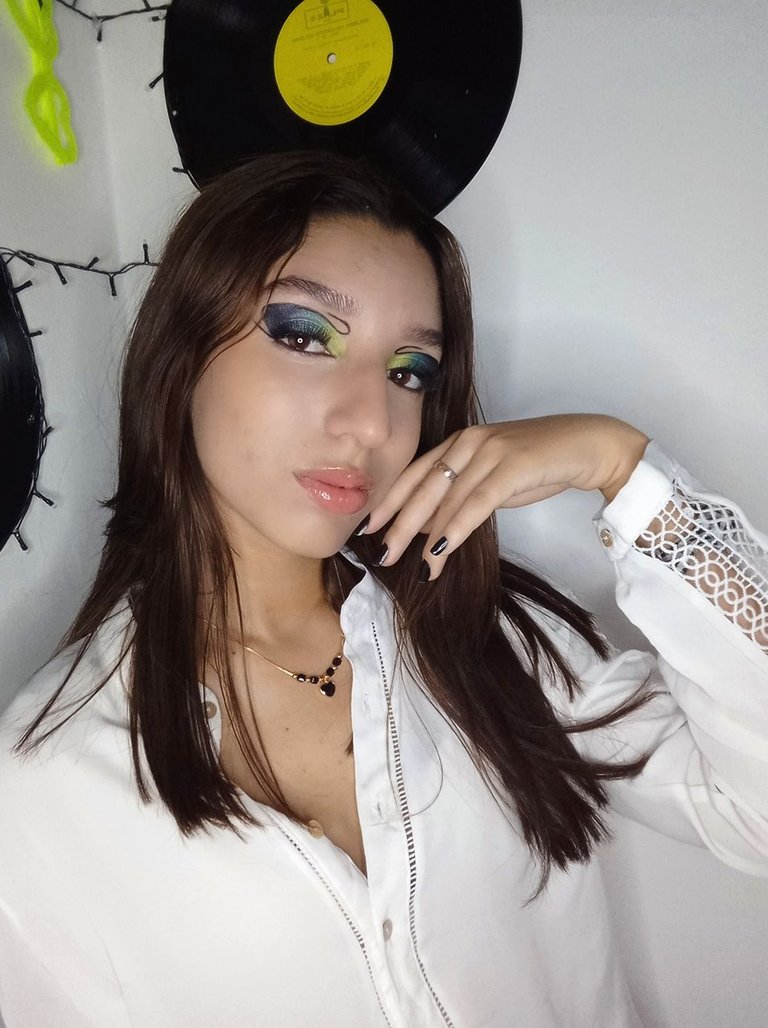
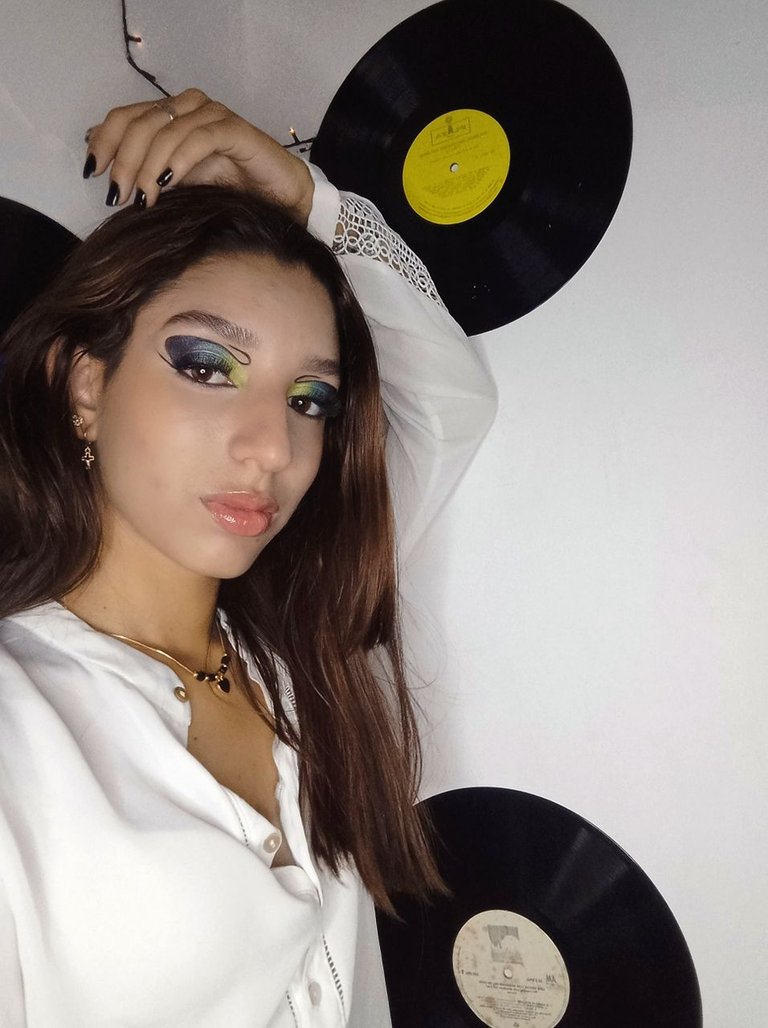
Para los labios use un color muy claro, un color nude y aplique gloss de manera que los labios se vieran delicados pero no pasaran desapercibidos.
Con este maquillaje tienes que enfocarte en obtener una buena difuminación de los colores, puedes jugar con los colores hacerlo en tonos dorados, seguir con diferentes tonalidades de azules o unir incluso más colores, pero el color negro es el que le dará la base a todo y le dará el toque para que tu mirada se vea impactante.
Gracias por leer mi post, nos vemos en el próximo ❤️
For the lips I used a very light color, a nude color and applied gloss so that the lips looked delicate but not unnoticed.
With this makeup you have to focus on getting a good blending of colors, you can play with the colors do it in golden tones, continue with different shades of blue or even join more colors, but the black color is the one that will give the base to everything and will give the touch to make your look look stunning.
Thanks for reading my post, see you in the next one.
❤️
 |  |
|---|