Hola queridos Hivers!
Hello dear Hivers!
Hoy les quiero compartir este maquillaje, hecho para complementar un atuendo de bruja que me puse recientemente para una sesión de fotos.
Today I want to share with you this makeup, made to complement a witch outfit I wore recently for a photo shoot.
Por supuesto, déjenme contarles paso a paso cómo lo hice.
Of course, let me tell you step by step how I did it.

Procedimiento paso a paso
Step-by-step procedure
01.- Limpié mi carita
01.- I washed my face
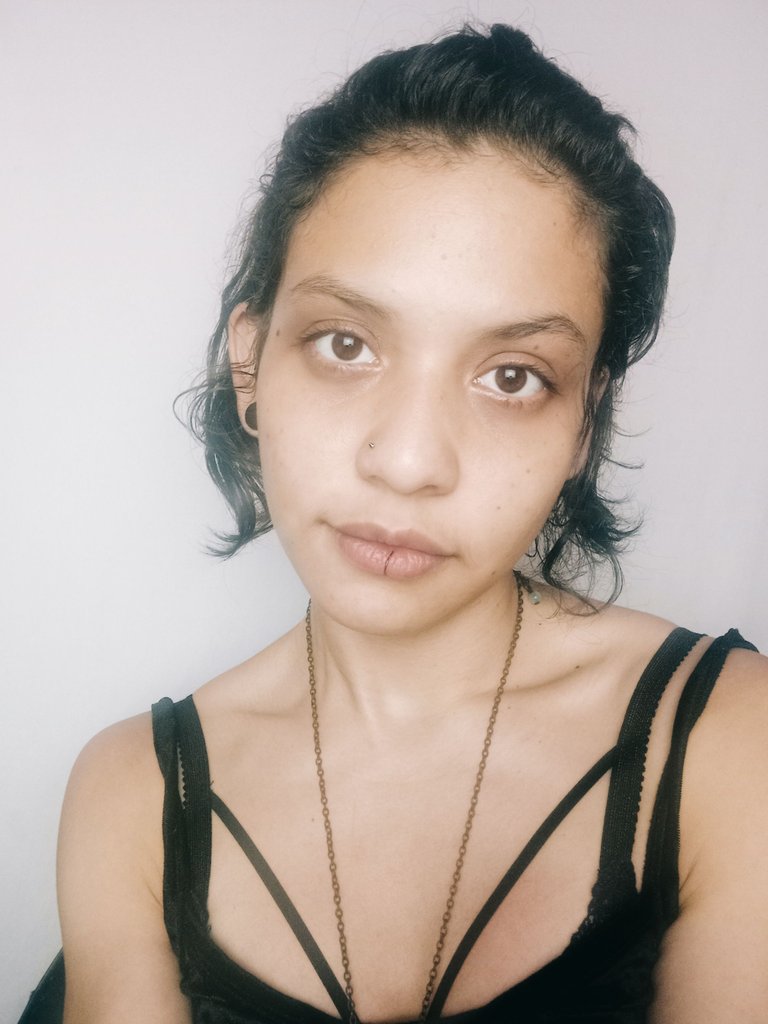
Es importante lavar bien la cara antes de maquillar, para que los cosméticos no se mezclen con la grasita de la piel o residuos del ambiente que puedan desmejorar el resultado.
It is important to wash the face well before applying make-up, so that cosmetics does not mix with the skin's grease or residues from the environment, which could spoil the result.
02.- Apliqué base y talco de bebé
02.- I applied foundation and baby powder
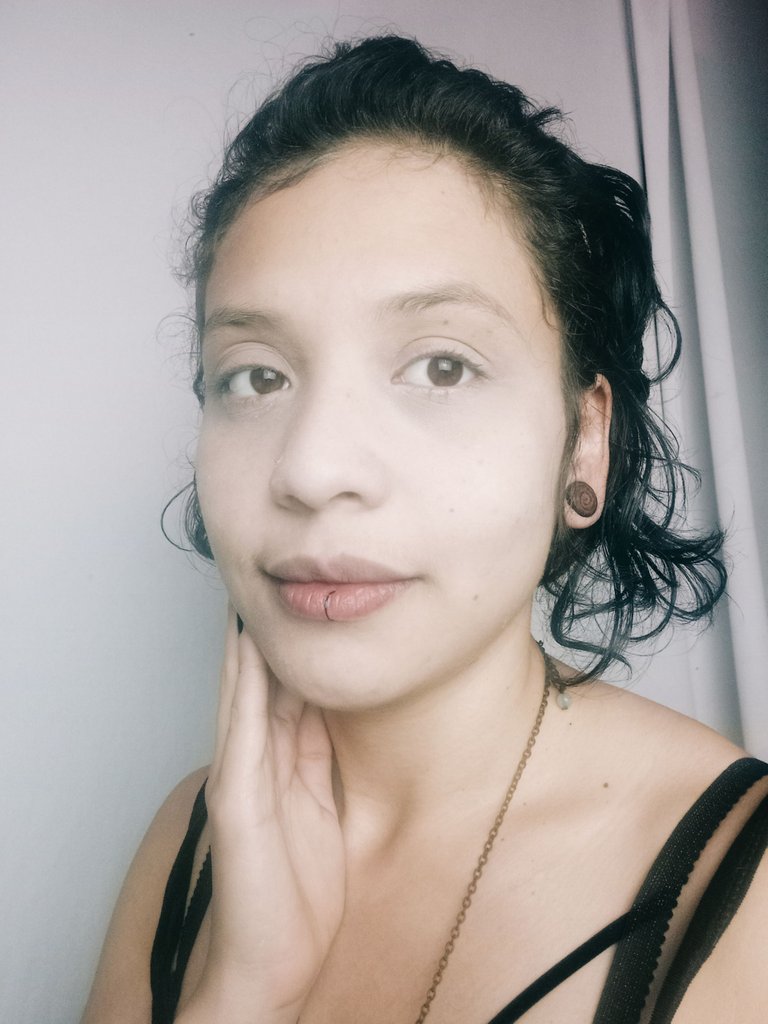
Como se trata de un maquillaje de fantasía estilo gótico, pues queremos la cara bien pálida!!
Por esto, luego de echar la base, en vez de cubrir con mi polvo compacto común, elegí cubrir con talco de bebé, para disminuir un par de tonos de color de piel.
Since this is a gothic style fantasy make-up, we want a very pale face!
So, after applying the foundation, instead of covering with my regular pressed powder, I chose to cover with baby powder, to tone down a couple of skin tones.
03.- Apliqué sombra blanca y roja
03.- I applied white and red ayeshadow
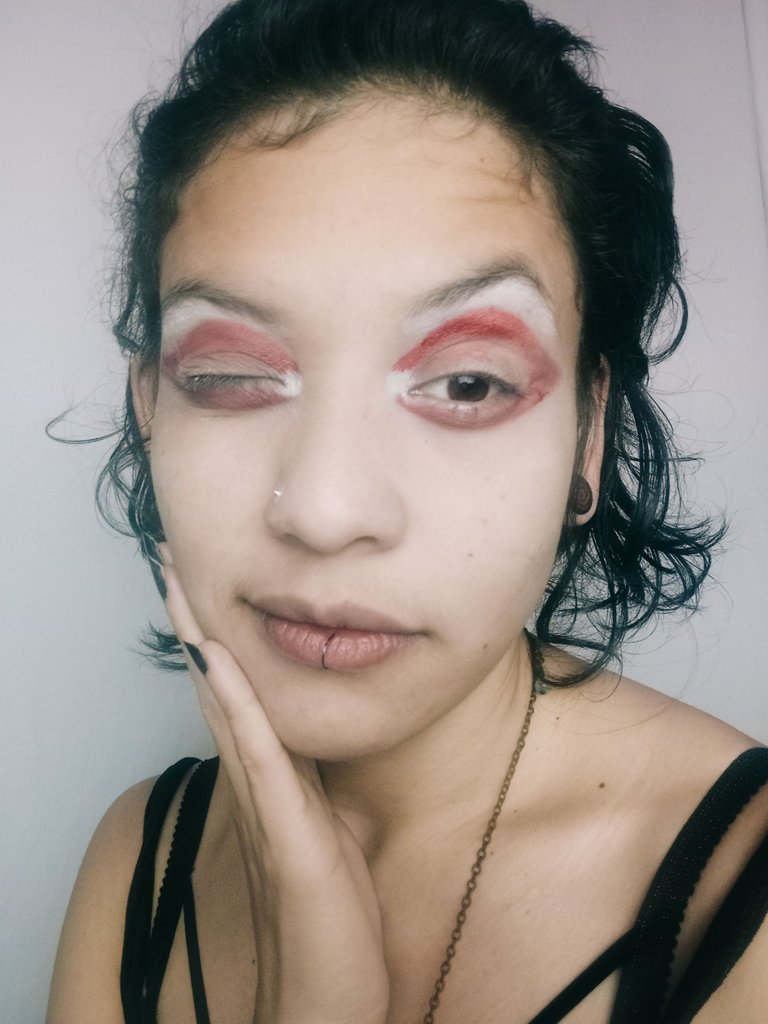
Primero la sombra blanca, debajo de las cejas y en las comisuras internas de los ojos (lagrimales).
Segundo la sombra roja, por encima del párpado, alrededor de todo el ojo, por arriba y por abajo. Simulo la misma forma del ojo pero extendida hasta que quede paralela a la ceja.
First the white shadow, under the eyebrows and at the inner corners of the eyes (tear troughs).
Second the red shadow, above the eyelid, all around the eye, above and below. I simulate the same shape of the eye but extended until it is parallel to the eyebrow.
04.- Difuminé y apliqué sombra negra
04.- I blended and applied black shadow
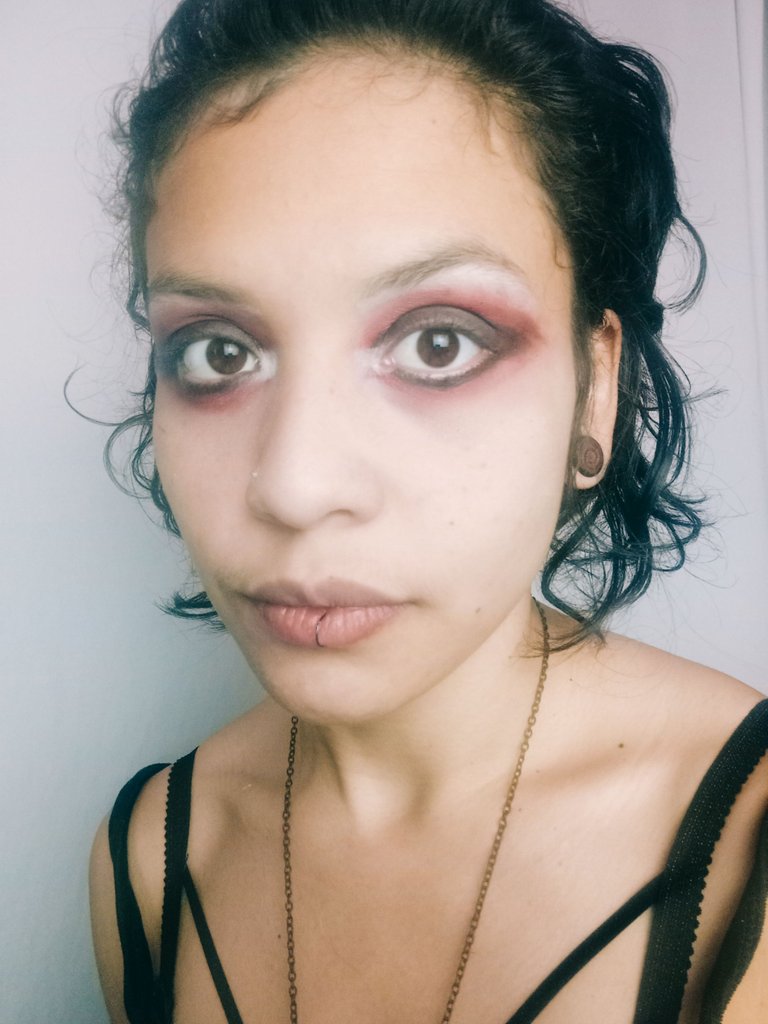
Difuminé la sombra roja y la blanca para que la transición fuese un poco más sutil.
Apliqué sombra negra en el párpado superior e inferior.
I blended the red and white shadows to make the transition a little more subtle.
I applied black shadow on the upper and lower eyelid.
05.- Apliqué delineador y sombra negra en las cejas
05.- I applied eyeliner and black shadow on the eyebrows
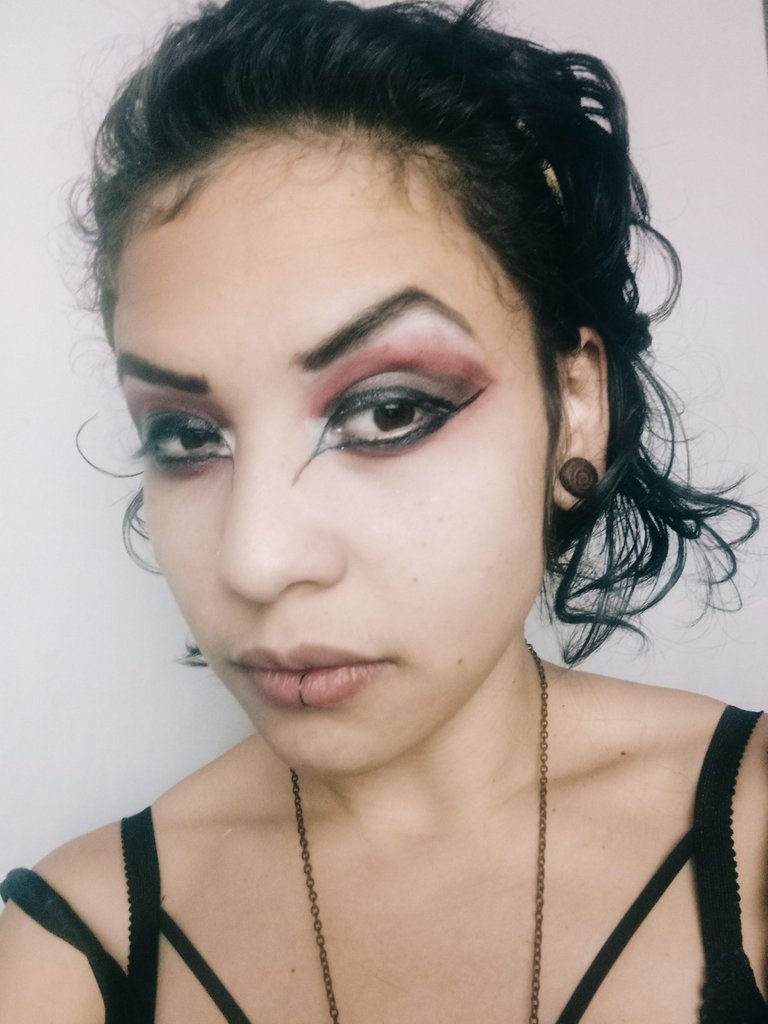
Nuevamente considerando que mi personaje debe dar una apariencia malévola, escogí un delineado bien pronunciado.
La línea de mi delineado se extiende hacia abajo hasta tocar la nariz (parte interna) y hacia arriba hasta el final de la sombra roja (parte externa).
Las cejas debían quedar bien oscuritas también, así que las remarqué con bastante sombra negra.
Again considering that my character must give a wicked look, I chose a well pronounced eyeliner.
The line of my eyeliner extends down to touch the nose (inner part) and up to the end of the red shadow (outer part).The eyebrows had to be very dark too, so I accentuated them with a lot of black shadow.
06.- Dibujé 4 puntos negros y una estrella invertida
06.- I drew 4 black dots and an inverted star.
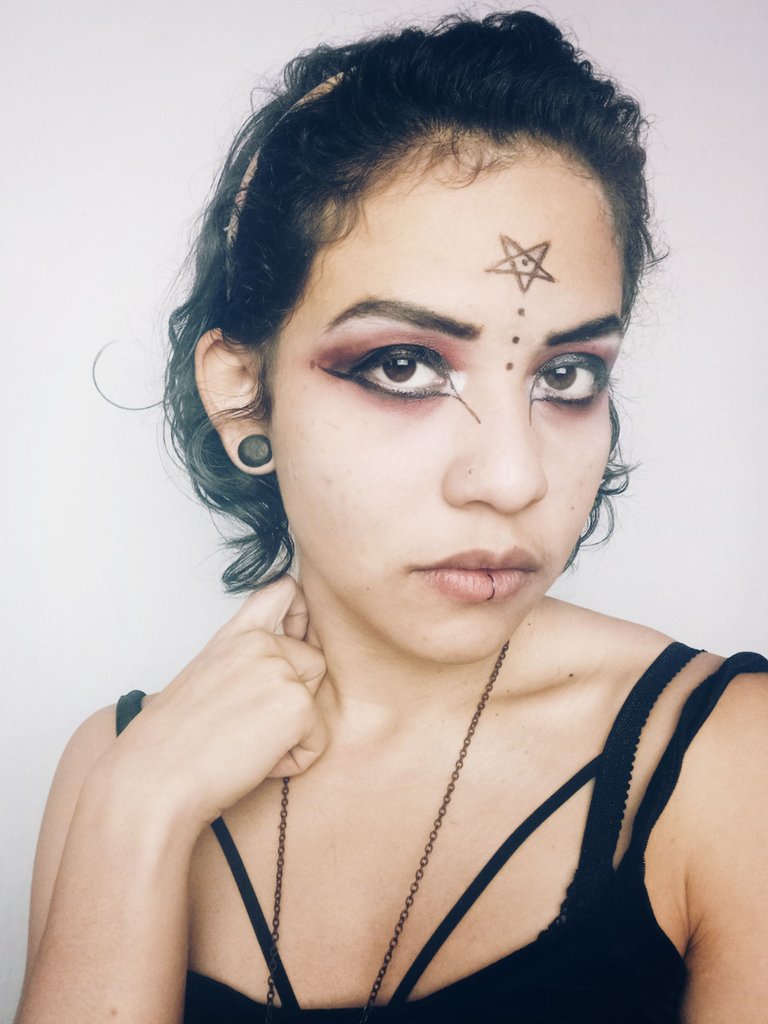
Esto lo hice con el mismo delineador negro.
Primero le pedí a mi pareja que me marcara un puntito en el centro de la frente, para que todo quedara bien simétrico.
Alrededor de ese puntito dibujé la estrella (pentagrama), y después hice los otros tres puntitos hacia abajo.
I did this with the same black eyeliner.
First I asked my partner to draw a dot in the center of my forehead, so that everything would be symmetrical.Around that dot I drew the star (pentagram), and then I drew the other three dots downwards.
07.- Apliqué pintura de labios negra y roja
07.- I applied black and red lipstick
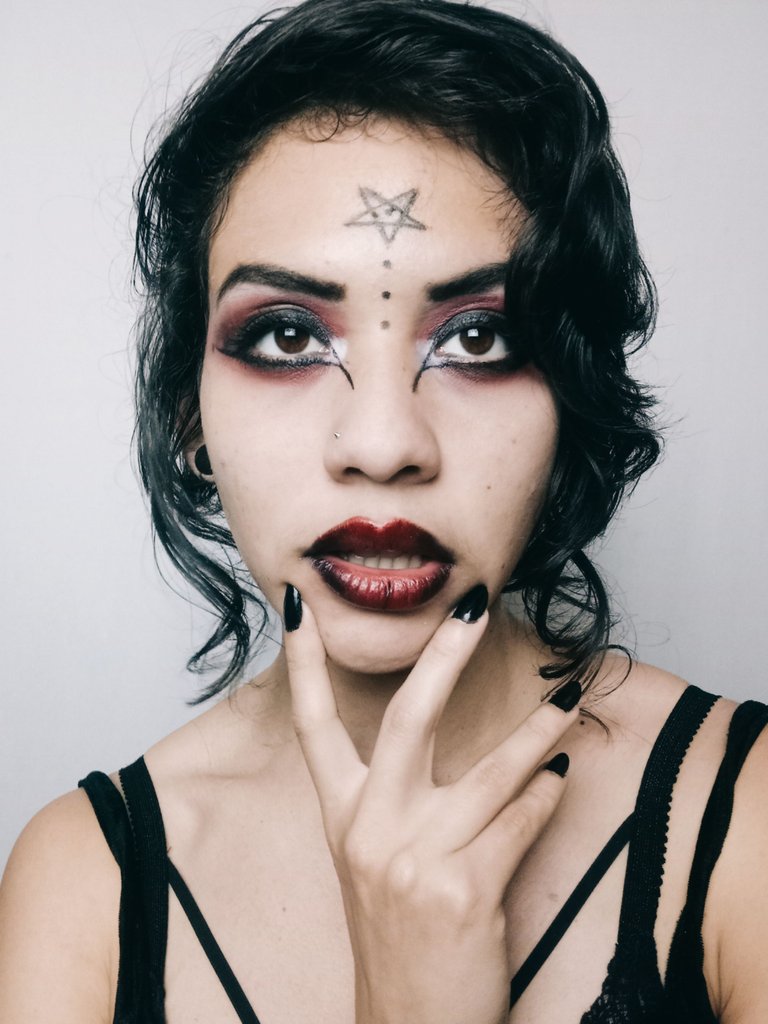
Primero la pintura negra en las comisuras de los labios.
Después la pintura roja en el centro y difuminé un poco para hacer más suave la transición.
Si tienes delineador rojo para labios puedes repasar los bordes para dar volumen, yo no tenía en este caso :(
First the black lipstick on the corners of the lips.
Then the red lipstick in the center and I blended a little to make the transition smoother.If you have red lip liner you can go over the edges to give volume, I didn't have any in this case :(
¡Eso es todo!
That's it!
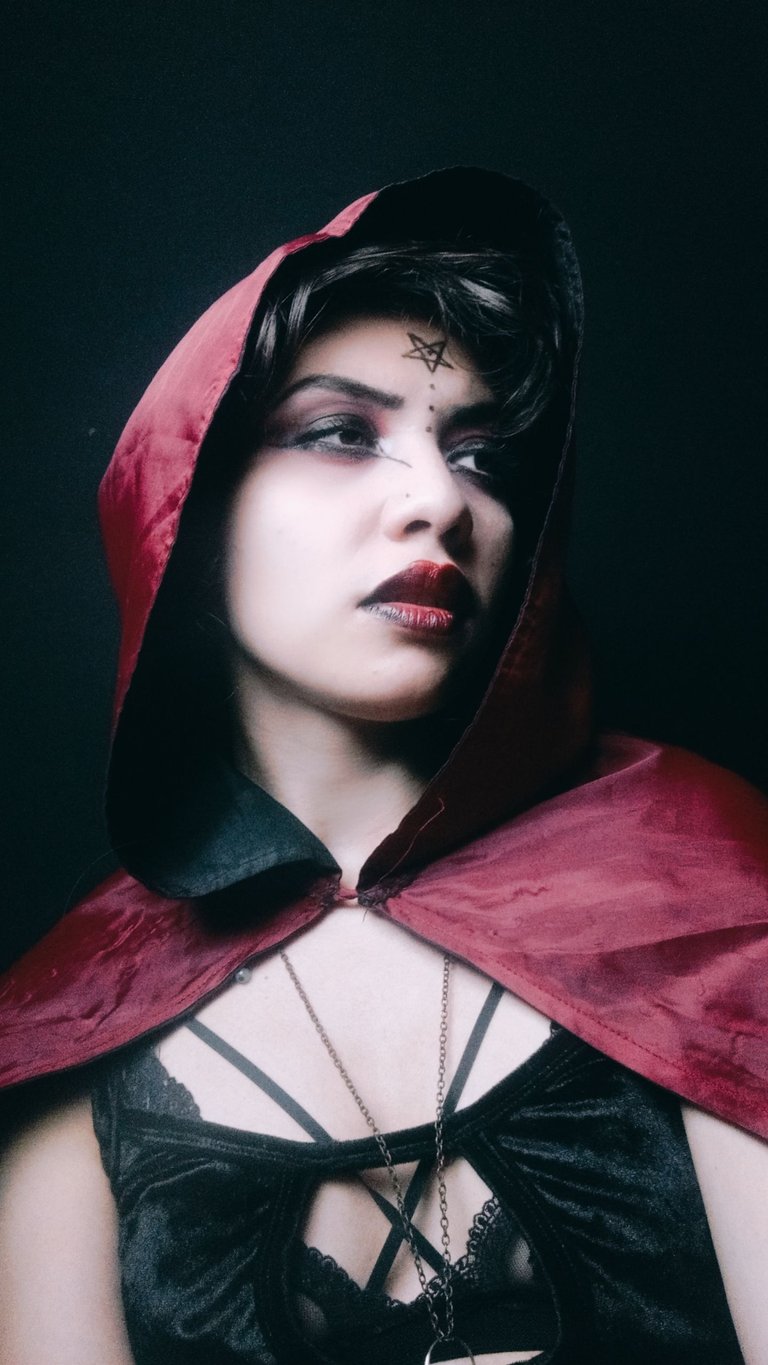
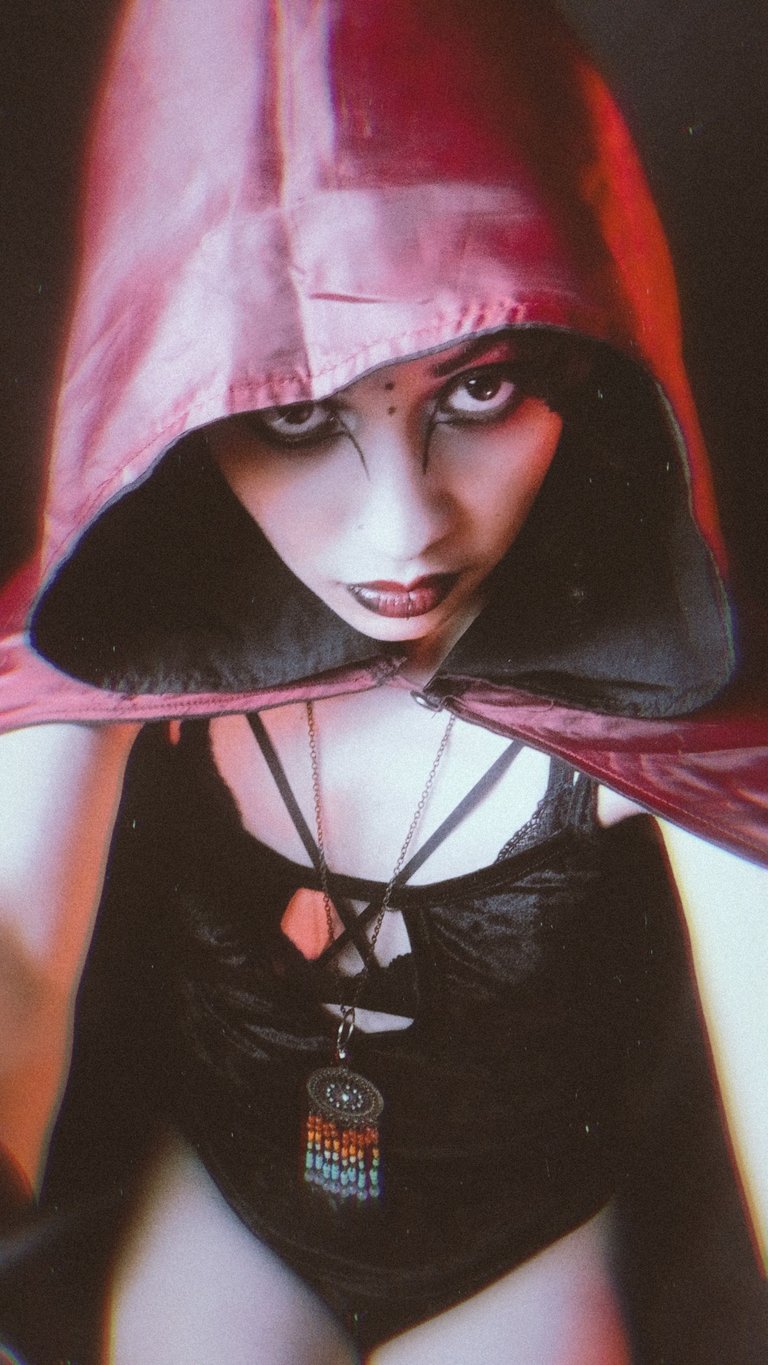
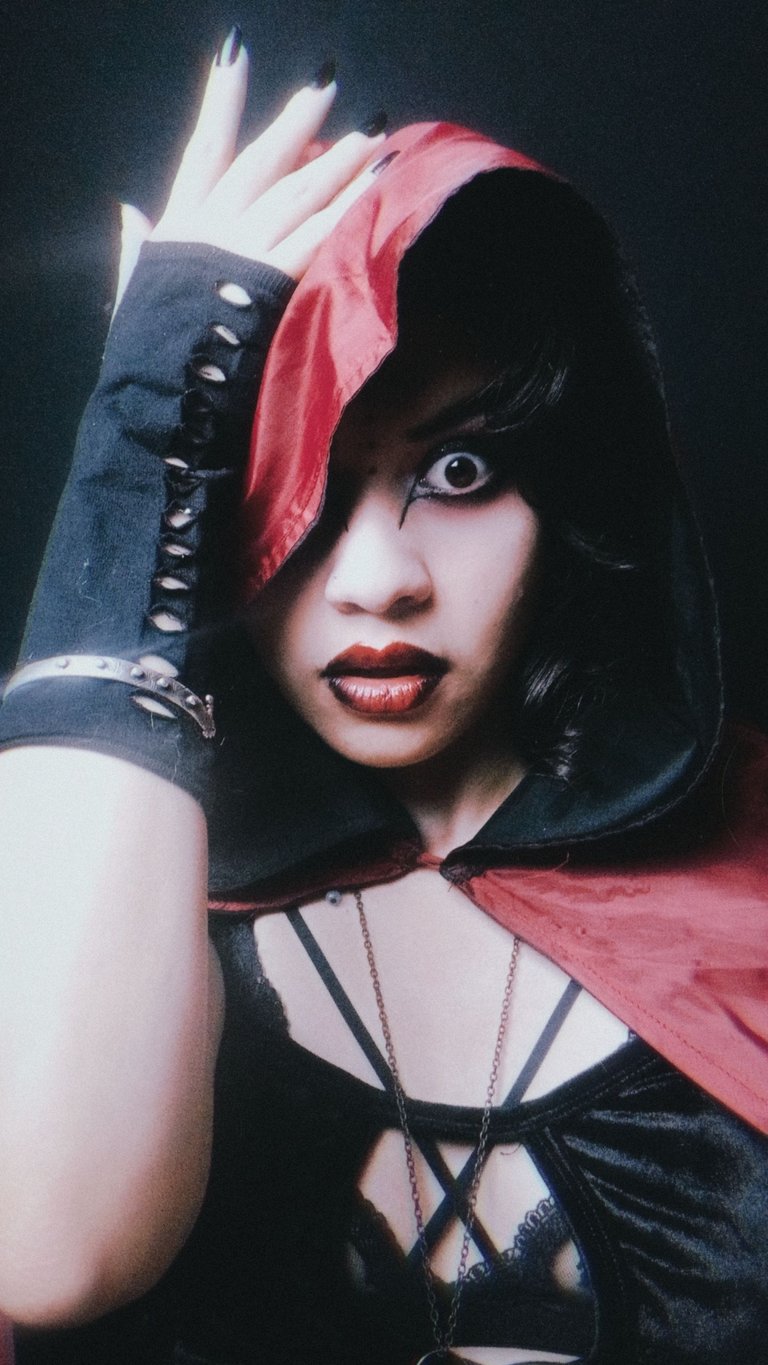
Les muestro ahora unas fotos del maquillaje terminado con el resto de la ropa de brujita.
Now I'll show you some pictures of the finished makeup with the rest of the witch's outfit.
Selfies!

¡Espero que les haya gustado! Muchas gracias por leer :)
I hope you liked it! Thank you very much for reading :)

Créditos // Copyrights
Cover made with Adobe Photoshop
- Witch's house wallpaper: Image by Anja🤗#helpinghands #solidarity#stays healthy🙏 from Pixabay
- Makeup vector: Vector de Banner creado por pikisuperstar - www.freepik.es
Gif made in Ezgif
Translated with the help of my trustworthy DeepL
Congratulations @nioberojas! You have completed the following achievement on the Hive blockchain and have been rewarded with new badge(s) :
Your next payout target is 500 HP.
The unit is Hive Power equivalent because your rewards can be split into HP and HBD
You can view your badges on your board and compare yourself to others in the Ranking
If you no longer want to receive notifications, reply to this comment with the word
STOPSupport the HiveBuzz project. Vote for our proposal!
Brutal me encantó 😁😁😁😁😁
Gracias Brenda!! ❤️
¡Muy bien hecho! Amo la pintura en tus labios. Mezclaste tan bien. ¡Buenas fotos amiga! 😍
Muchísimas gracias, Cyn! 😍❤️ Realmente hice mi mejor esfuerzo, lo que sé de maquillaje ha sido por tutoriales de Youtube jajaja
Creo que hiciste un gran trabajo, especialmente si aprendiste a maquillarte en YouTube. Eso es increíble. ¡Amo a cualquiera que se esfuerce por aprender por sí mismo las cosas que quiere aprender!❤️
@nioberojas Magnífico, me encanta ❤️
Muchas gracias Naty!! Un cálido abrazo por tu comentario ❤️ :D