
Six years ago, for no apparent reason, I wanted to do a zombie makeup for Christmas. I remember at the time I was very excited about tutorials for FX makeup and this was very impromptu, with no professional materials.
Hace 6 años, por ninguna razón aparente, quise realizar el maquillaje de un zombie para navidad. Recuerdo que en aquel momento estaba muy entusiasmada con tutoriales para maquillajes FX y esto fue muy improvisado, sin materiales profesionales.
Materials to use:
✨ Liquid school glue.
✨ Toilet paper
✨ Red acrylic paint.
✨ Blue acrylic paint
✨ Black shadow
Materiales a usar:
✨ Pega escolar líquida
✨ Papel toilette
✨ Pintura acrílica roja
✨ Pintura acrílica azul
✨ Sombra negra
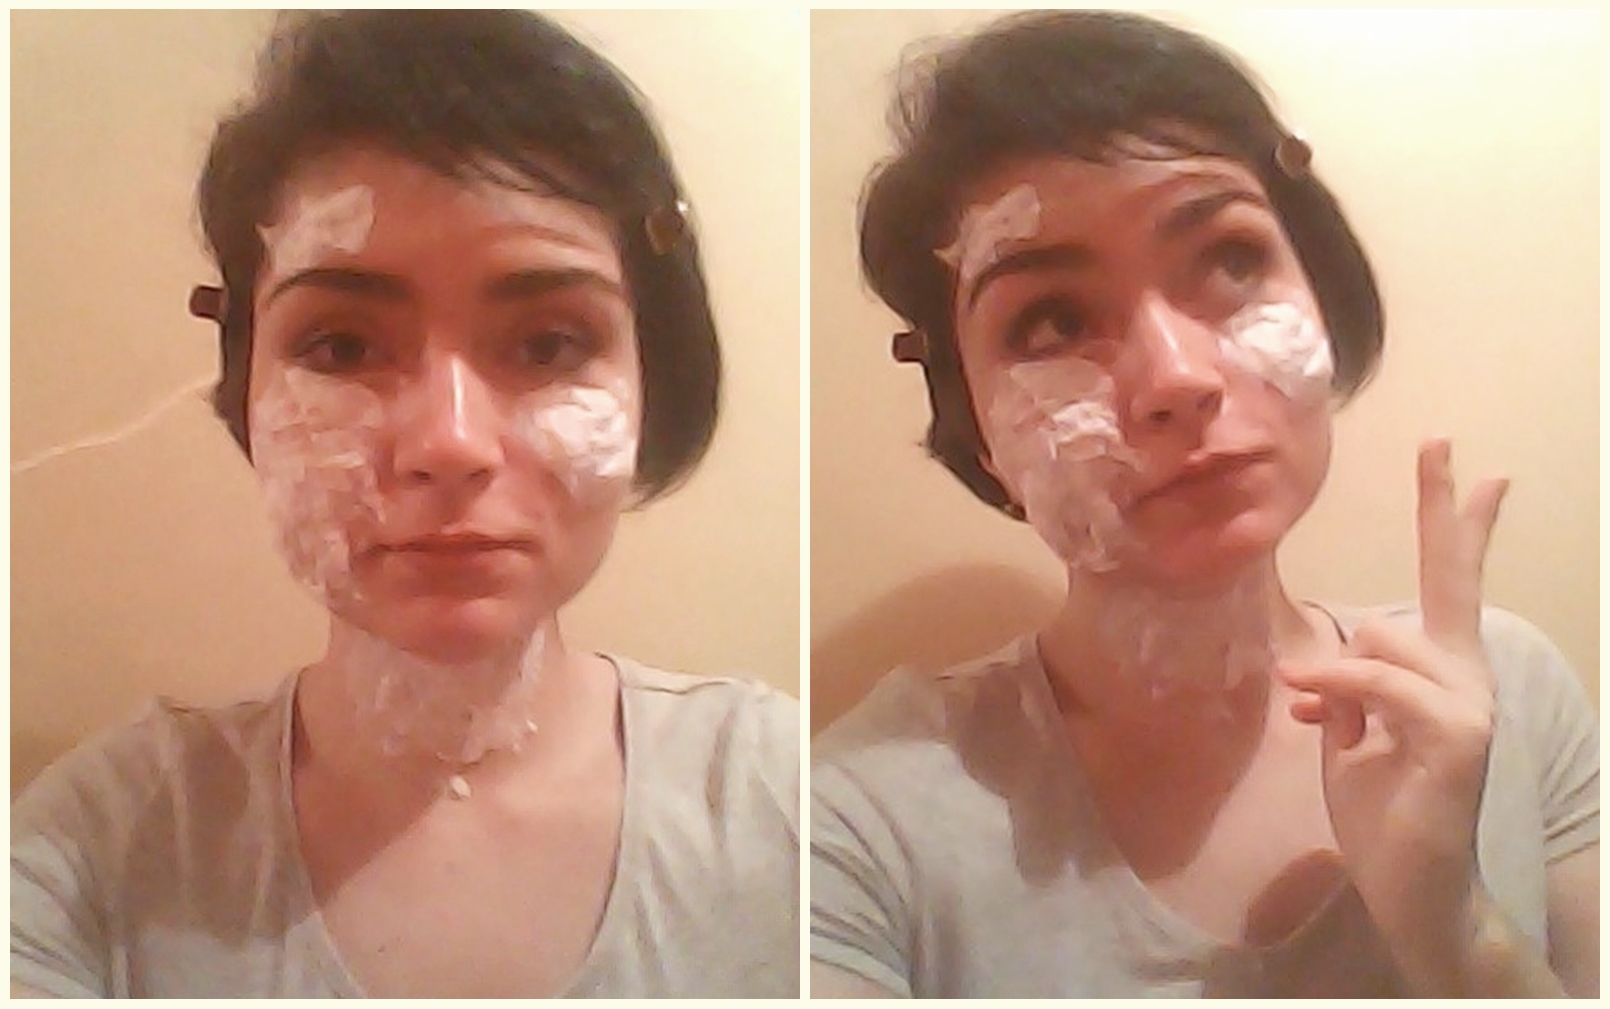
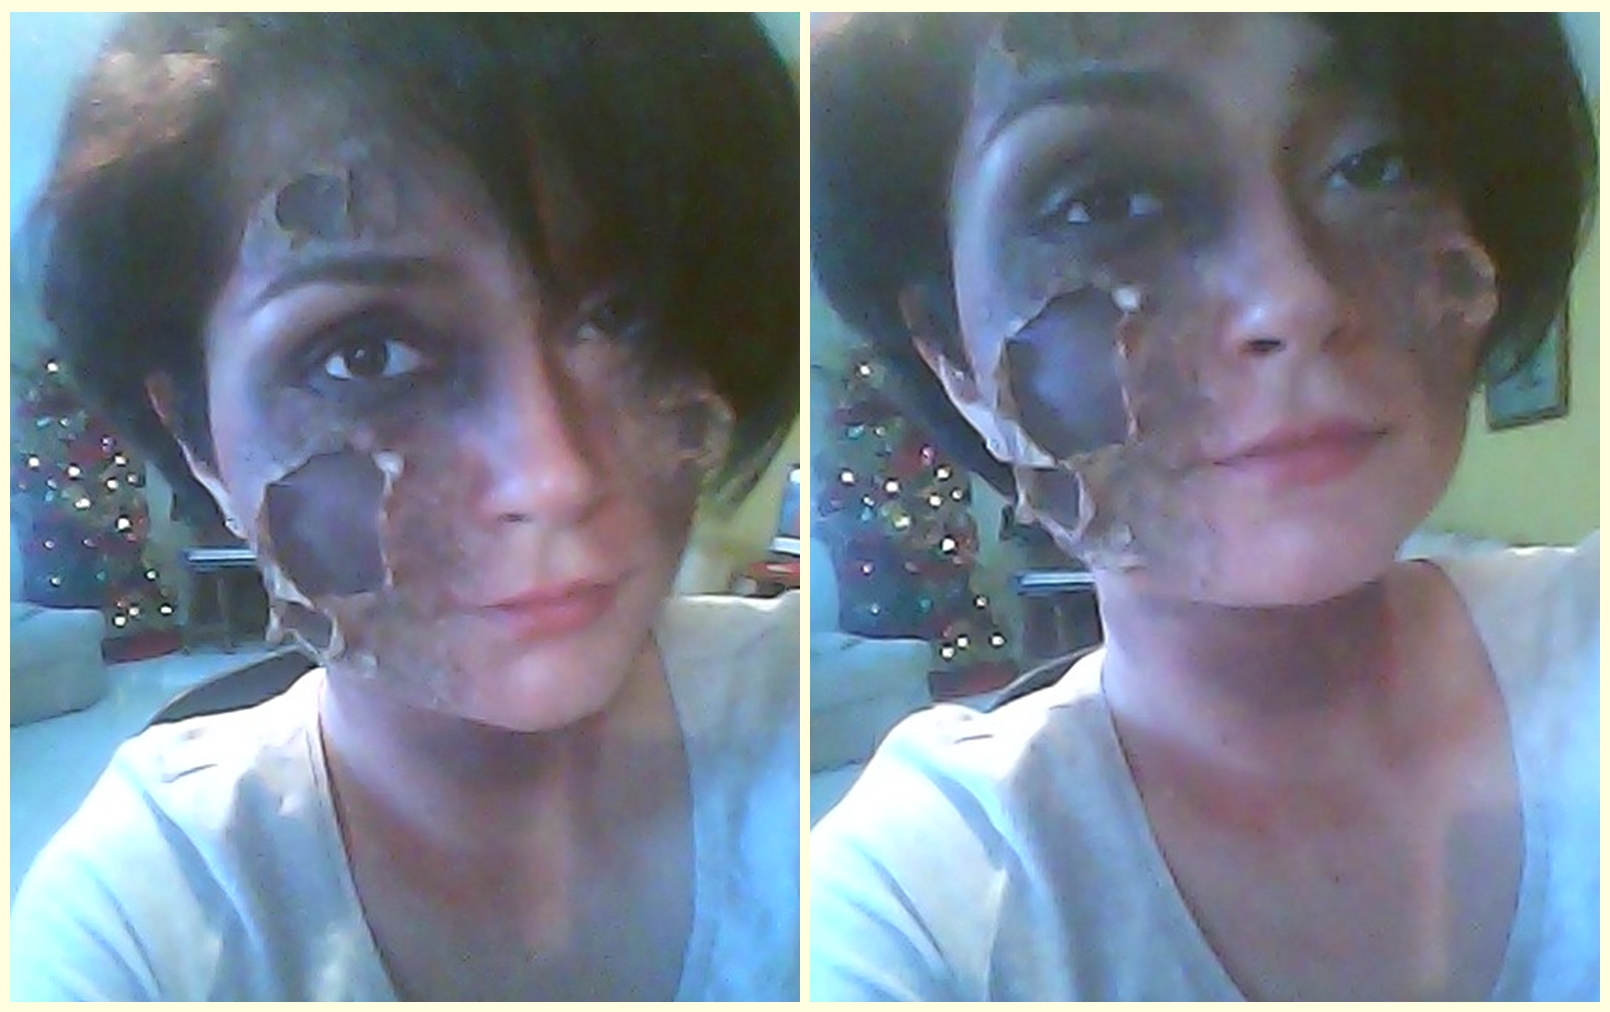
My idea was to recreate the look of burn wounds and dead skin, so let's start with a couple of layers of toilet paper by applying it to the face, dampening it with liquid school glue, on the part of the face/neck where you want the wounds.
Mi idea era recrear el look de heridas por quemaduras y piel muerta, así que empecemos con un par de capas de papel sanitario aplicándolo en el rostro, humedeciéndolo con pega escolar líquida, en la parte del rostro/cuello donde desees las heridas.
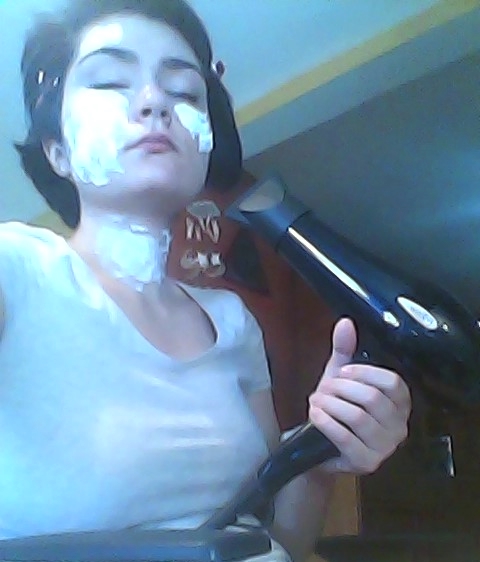
With the help of a hair dryer, I applied cold air to speed up the drying process. It should not be dried completely.
Con la ayuda de una secadora de cabello, apliqué aire frío para acelerar el proceso de secado. No se debe secar completamente.
While the paper is slightly damp, tear it into different shapes to create the wounds of your choice. I used tweezers for help.
Estando el papel ligeramente húmedo, romper en distintas formas para crear las heridas a tu preferencia. Yo me ayudé con pinzas saca-cejas.
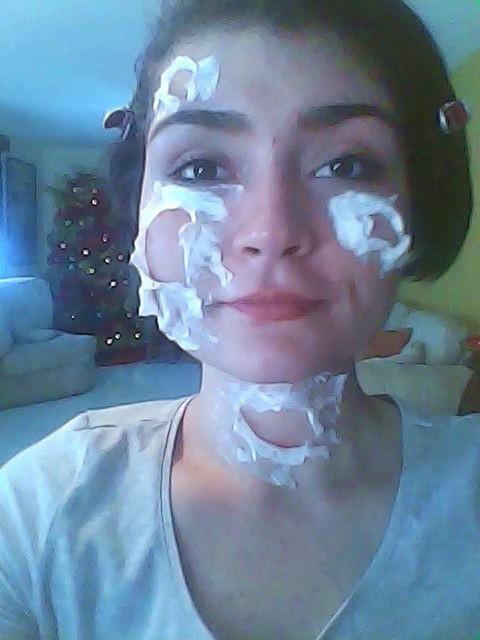
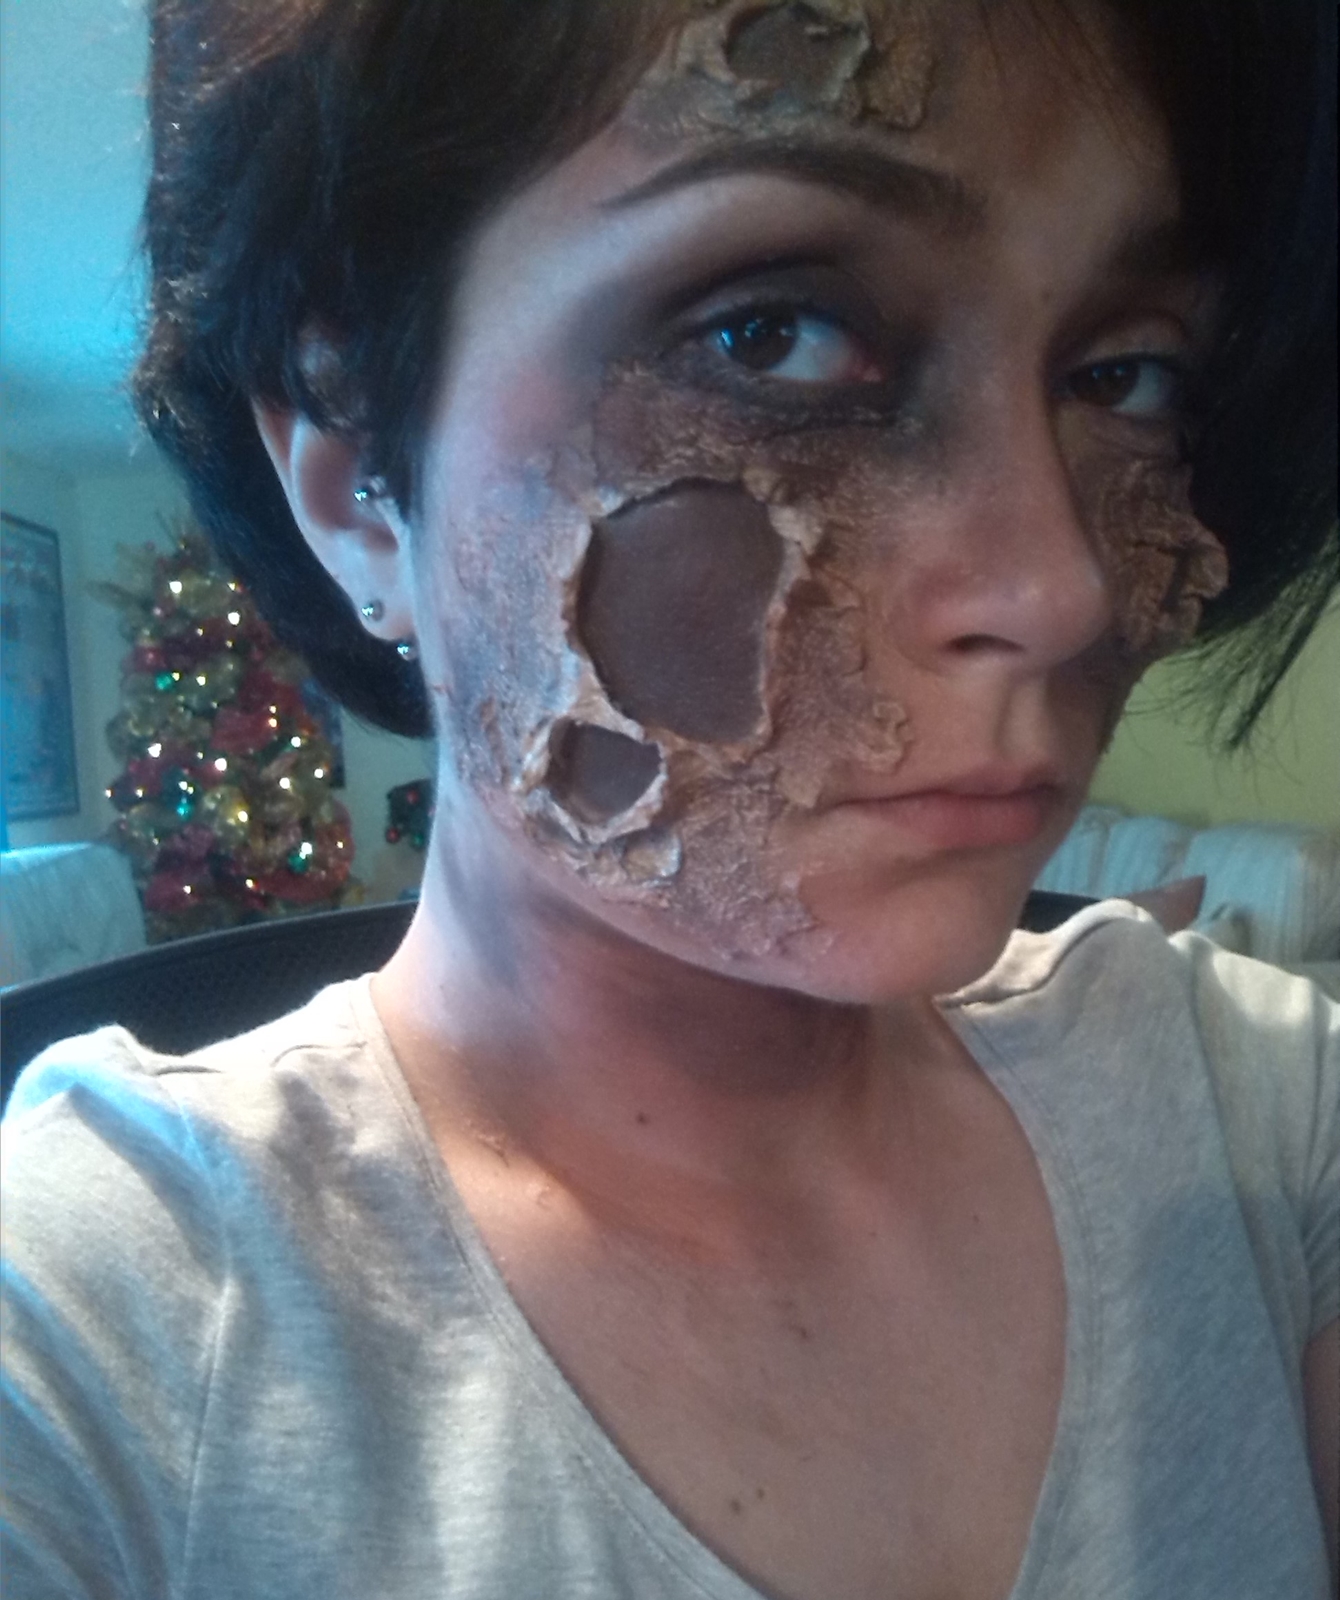
With the help of the hair dryer, you can dry completely with cold air.
Apply foundation on the "dead skin".
Apply orange shadow on the edges of the "dead skin".
Apply dark shadow inside the wounds.
Con la ayuda de la secadora de cabello, puedes secar completamente con aire frío.
Aplicar base en “la piel muerta”.
Aplicar sombra naranja en los bordes de la “piel muerta”.
Aplicar sombra oscura dentro de las heridas.
Apply dark shadow in the middle of the face, to give a smokey/burnt effect. Glam style according to your preference.
You could do eyeliner if you prefer.
Aplicar sombra oscura en la mitad del rostro, para dar un efecto smokey/quemado. Estilo glam según tu preferencia.
Podrías hacerte un delineado de ojos, si lo prefieres.
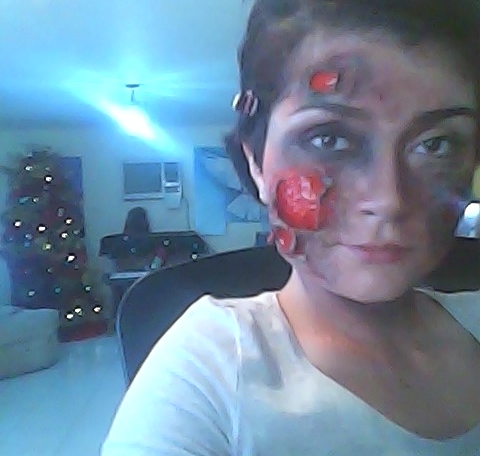
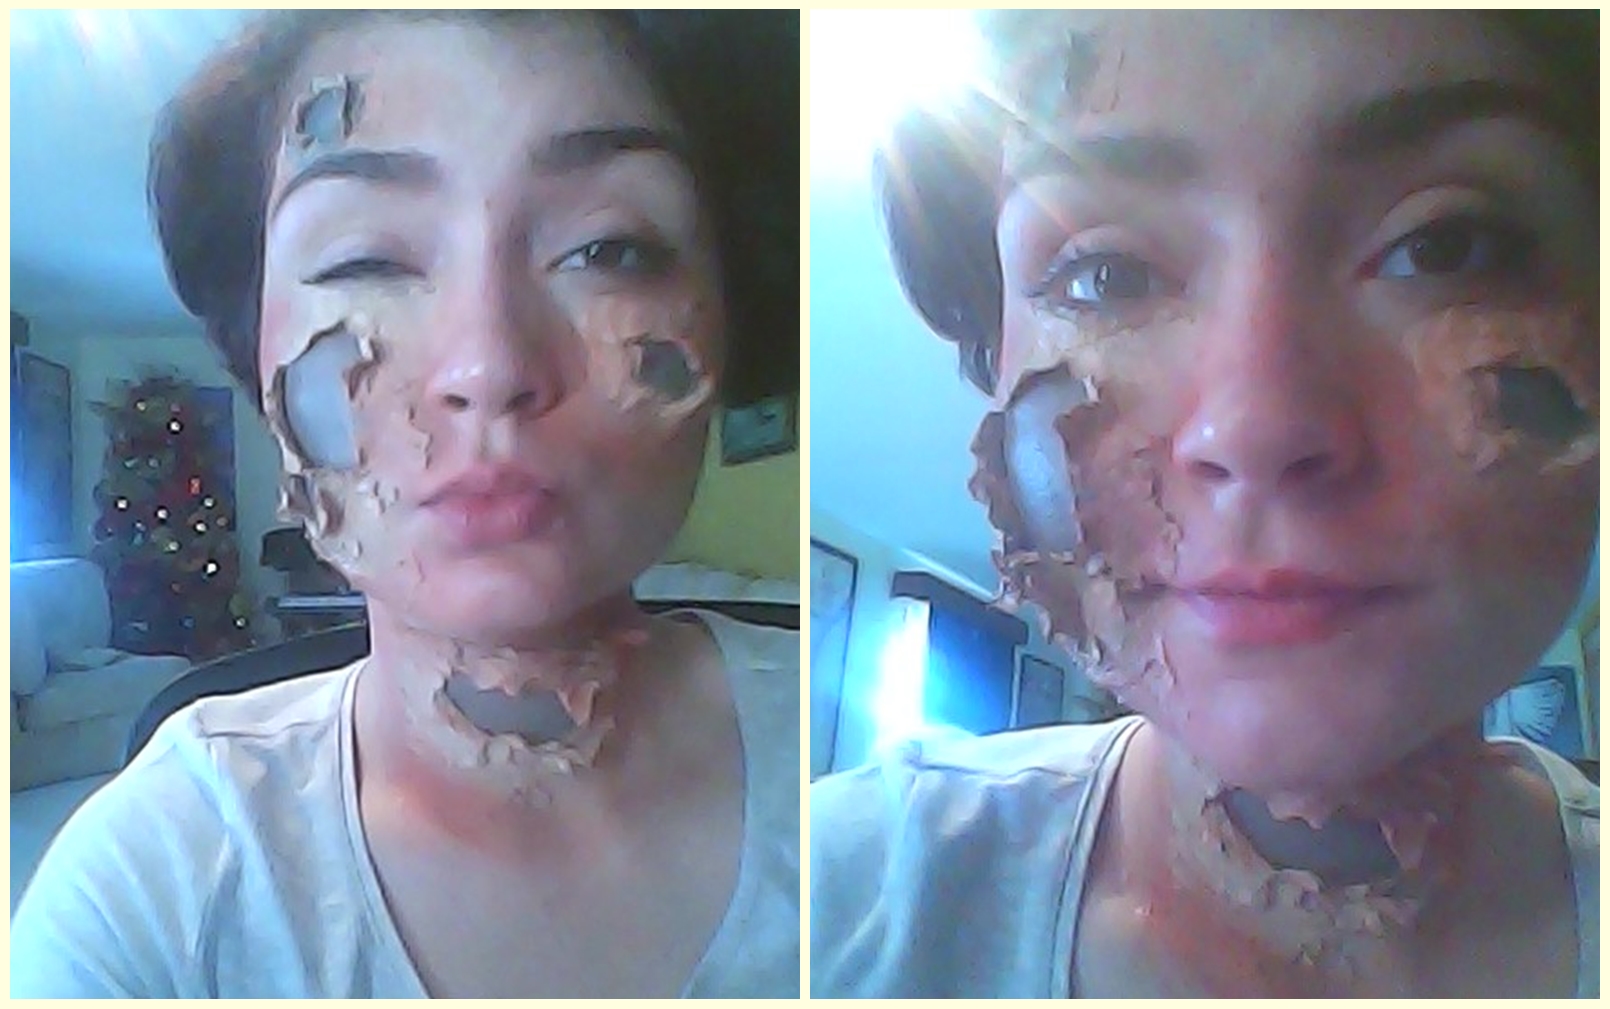
This is when I start to have more fun: apply red acrylic paint inside the wounds.
You start to notice the change and it looks like muscle.
Acá es cuando empiezo a divertirme más: aplica pintura acrílica roja dentro de las heridas.
Se empieza a notar el cambio y parece músculo.
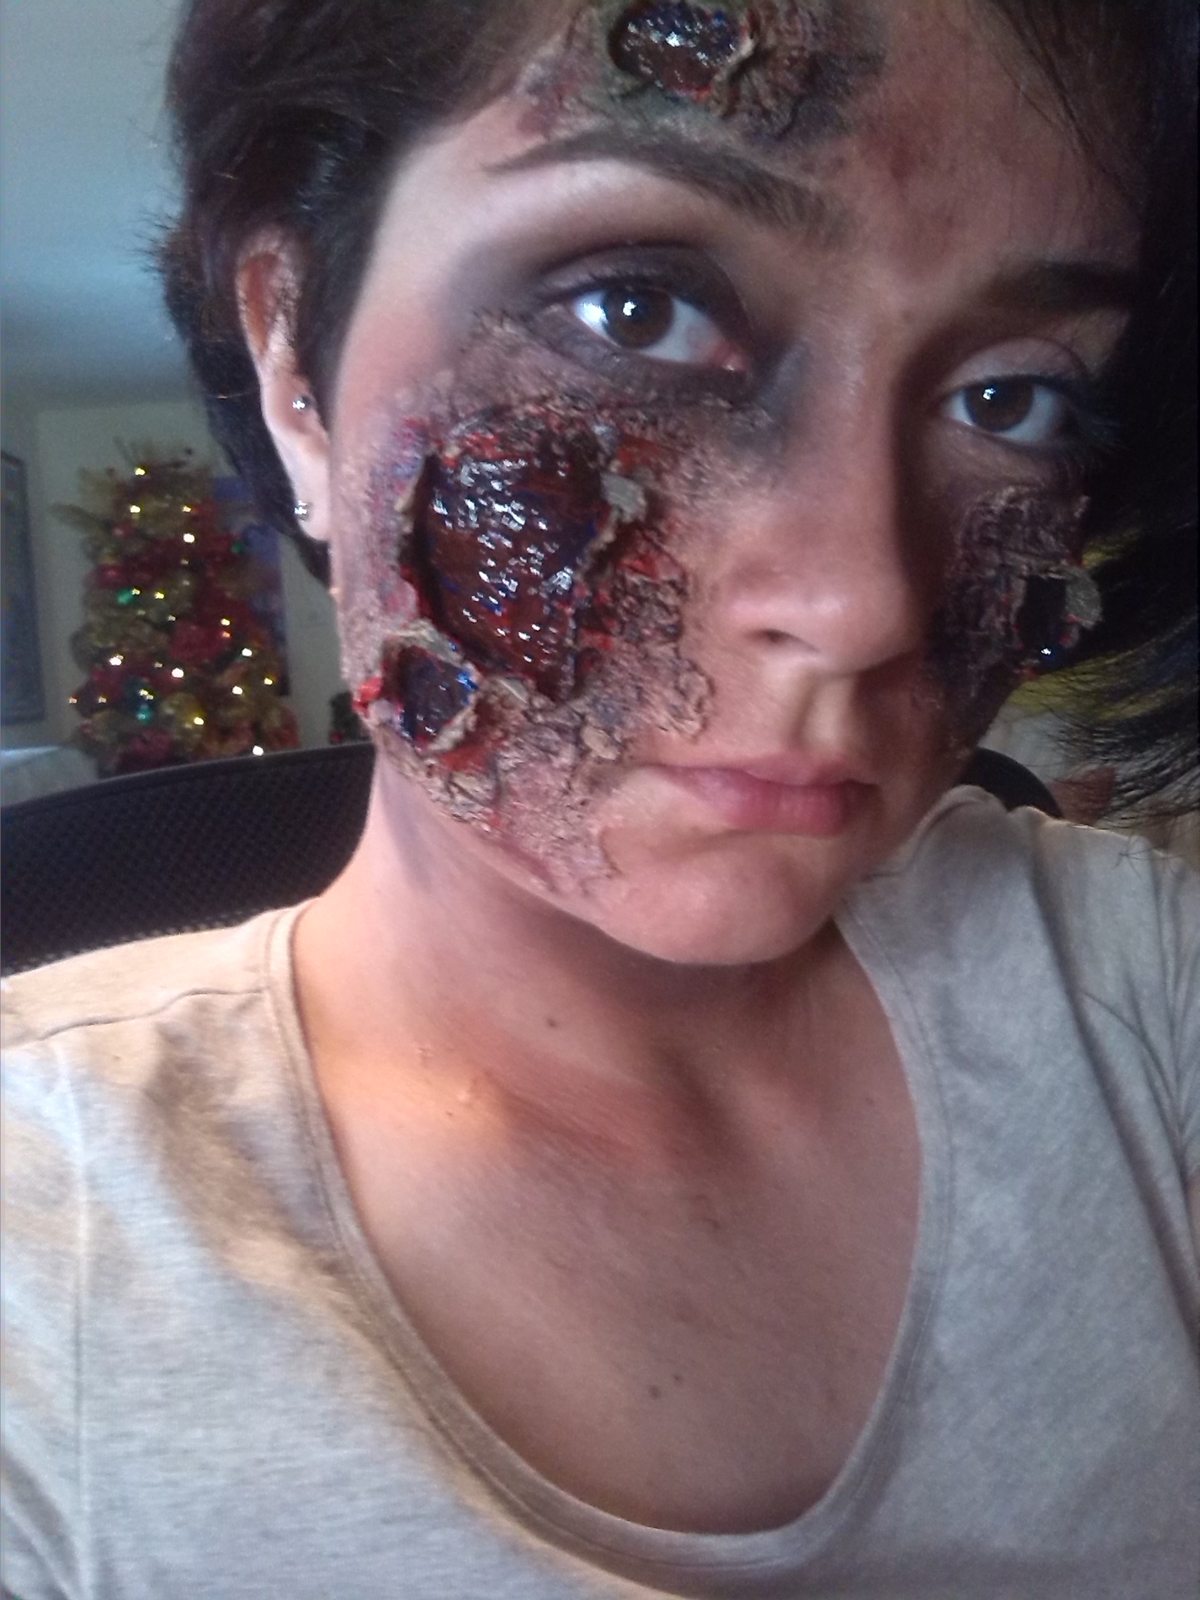
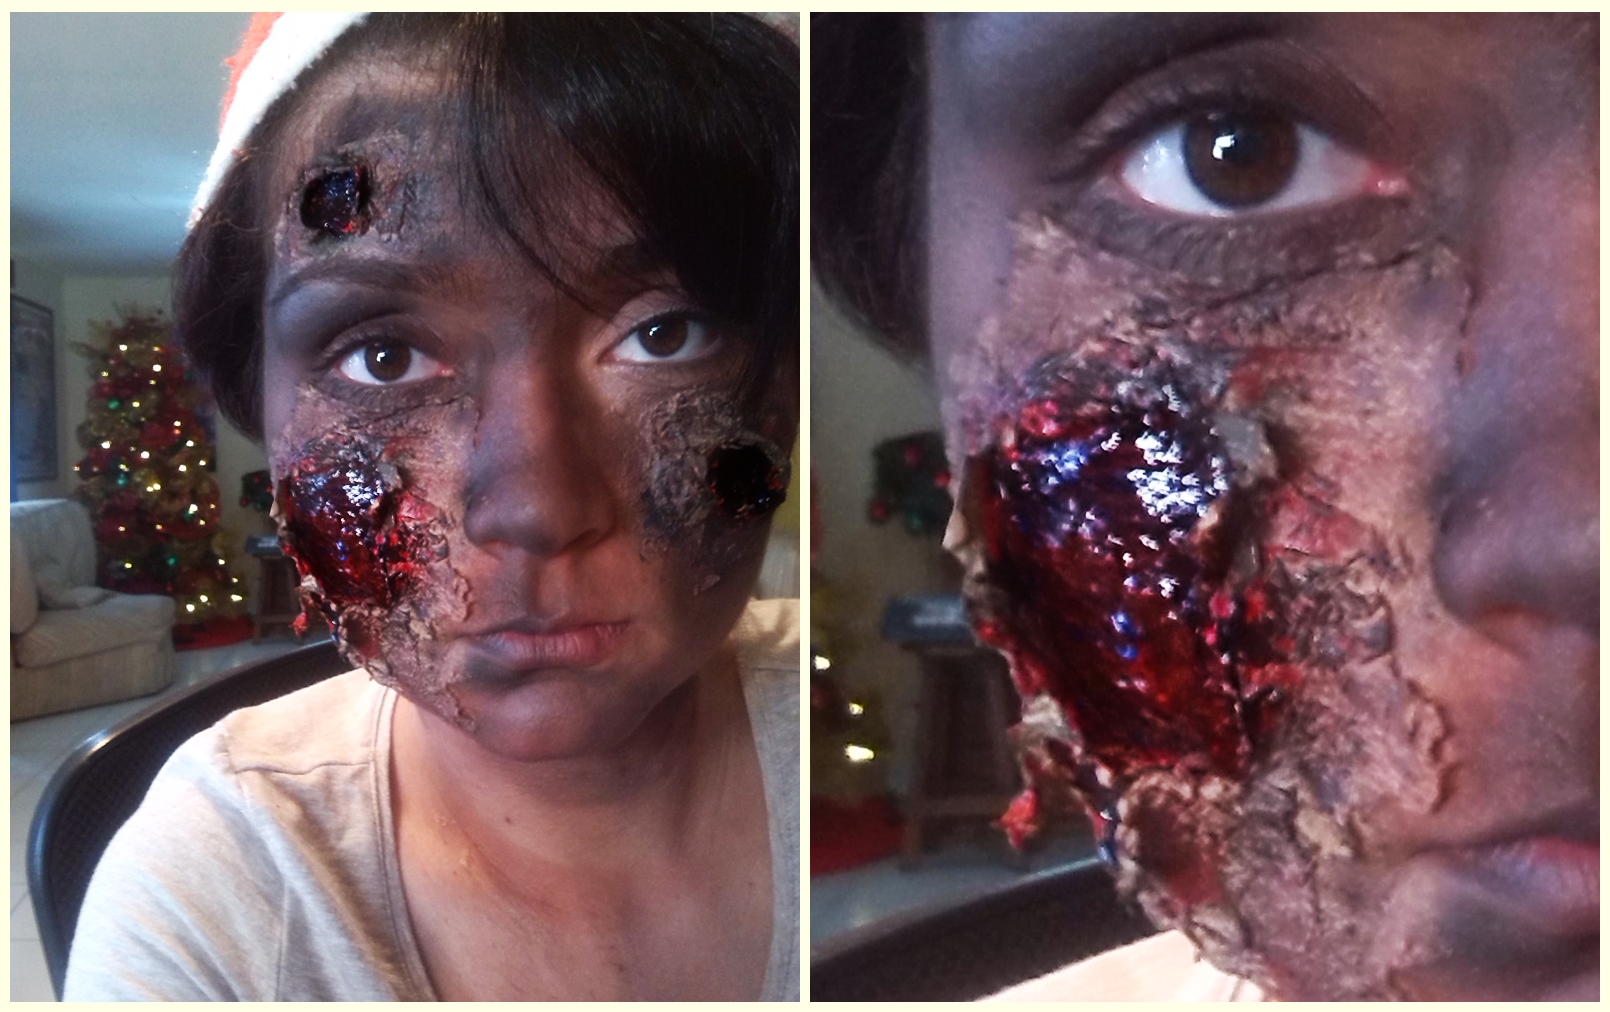
For better effect, apply touches of blue acrylic paint. It makes quite a noticeable change.
It starts to look realistic and gross 😁
Para dar mejor efecto, aplicamos toques de pintura acrílica azul. Hace un cambio bastante notorio.
Empieza a verse realista y asqueroso 😁
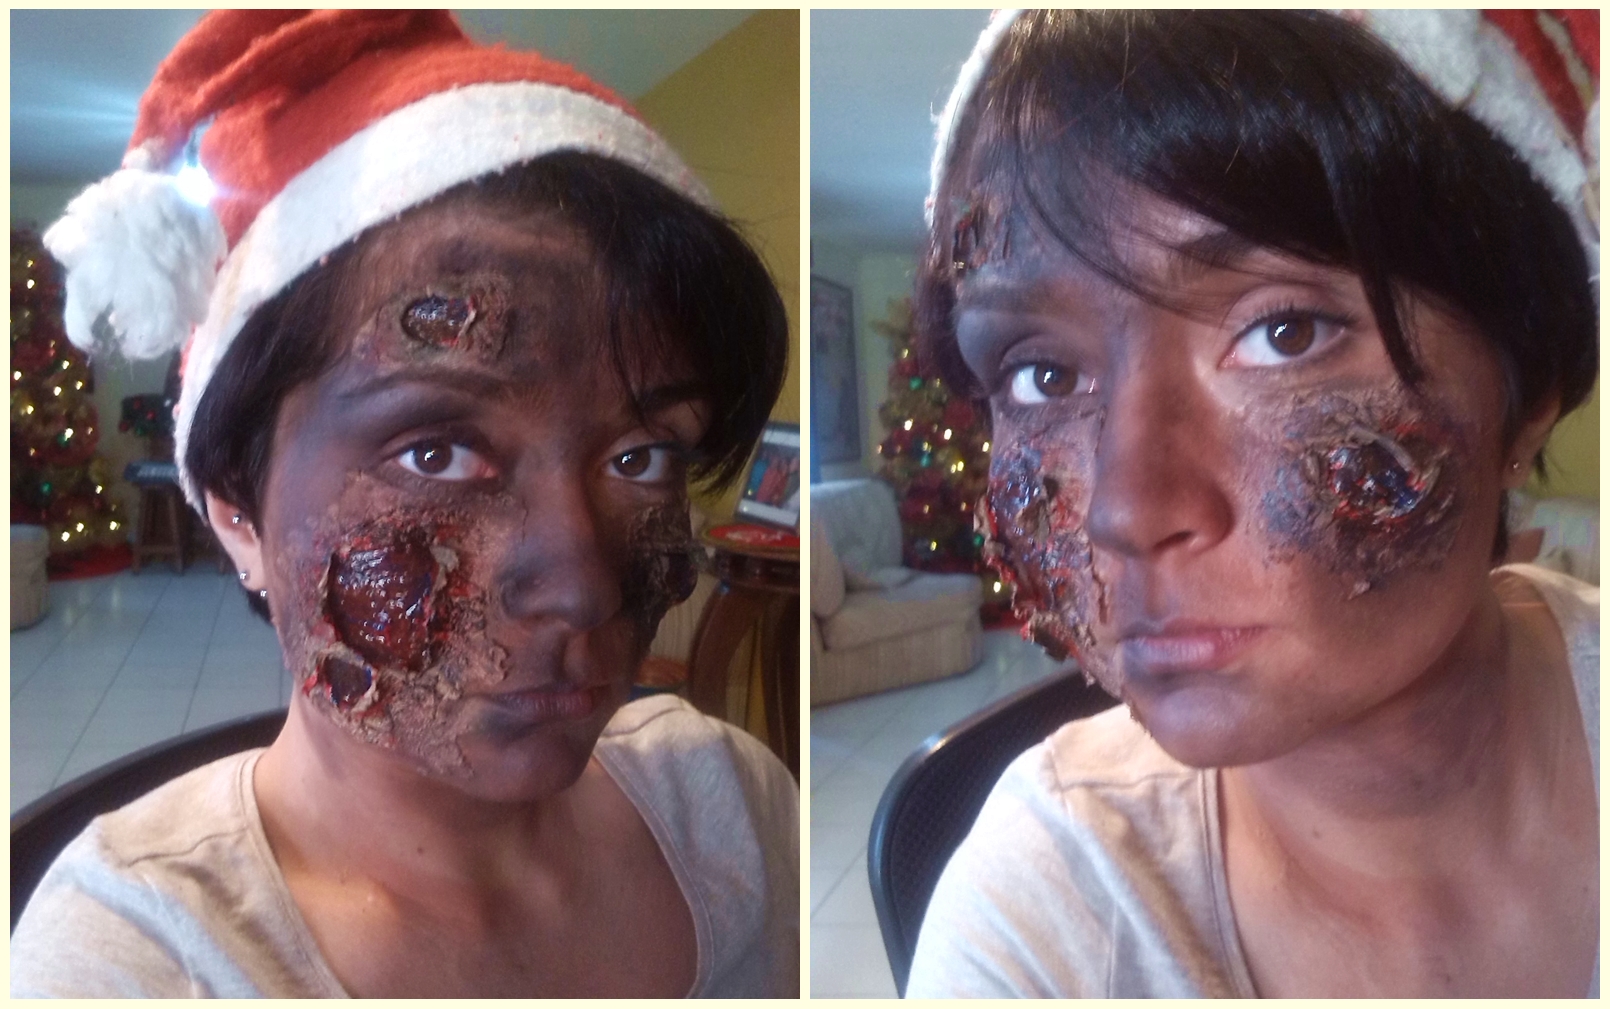
And this is the final look 🤩 Of course, don't forget to put on your Santa hat for the Christmas vibe 🎄
Y este es el look final 🤩 Por supuesto, no olvides colocarte el gorro de Santa para la vibra navideña 🎄

I hope you liked this mini tutorial. I had a lot of fun doing it back in the day. Being 2015, I didn't have a good quality camera phone, so these are the best pictures I could take.
Thanks for reading me and with this post I make my debut on Make Up Power 💄✨
Espero que les haya gustado este mini tutorial. Yo me divertí muchísimo haciéndolo en aquella época. Siendo el 2015, no tenía un teléfono con cámara de buena calidad, así que estas son las mejores fotos que pude hacer.
Gracias por leerme y con este post hago mi debut en Make Up Power 💄✨
➡️ Photos: original and of my own.
➡️ Image Design: Picsart.
➡️ Translation: DeepL Translator.
➡️ Fotos: originales y de mi autoría.
➡️ Diseño de imagen: Picsart.
➡️ Traducción: DeepL Translator.
Congratulations @ojosdecanela! You have completed the following achievement on the Hive blockchain and have been rewarded with new badge(s):
Your next target is to reach 30 posts.
You can view your badges on your board and compare yourself to others in the Ranking
If you no longer want to receive notifications, reply to this comment with the word
STOPTo support your work, I also upvoted your post!
Check out the last post from @hivebuzz:
Support the HiveBuzz project. Vote for our proposal!
@tipu curate
Thank you, guys, so much ✨ @tipu @fsc69
Upvoted 👌 (Mana: 3/83) Liquid rewards.