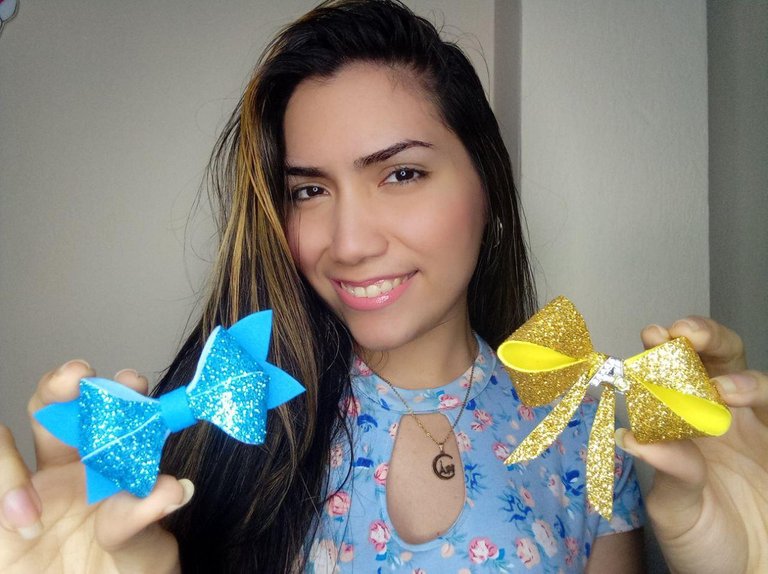
Hola queridos amigos de Hive❤️ una nueva semana comienza y una nueva idea se me ocurrió para compartirles en esta linda comunidad de @Aliento disfrutando hacer lo que me apasiona...las manualidades!, un proyecto que se me ocurrió bien podría usarse para regalar como un lindo adorno para el cabello de las niñas consentidas y luzcan coquetas, como accesorio decorativo para alguna carpeta o cuaderno, o un hermoso adorno colgante para algún rincón del hogar, por ejemplo el árbol de navidad. Como les adelanto en el título es una manualidad además de hermosa y llamativa, súper sencillo de realizar en muy poquitos pasos y materiales, espero se diviertan y se animen a realizarlo y ahora si manos a la obra!
Hello dear friends of Hive❤️ a new week begins and a new idea came to me to share in this beautiful community of @Aliento enjoying doing what I love ... the crafts, a project that I came up with could well be used to give away as a cute hair ornament for spoiled girls and look flirty, as a decorative accessory for a folder or notebook, or a beautiful hanging ornament for any corner of the home, for example the Christmas tree. As I advance in the title is a craft besides beautiful and eye-catching, super simple to perform in very few steps and materials, I hope you have fun and are encouraged to do it and now if hands to work!


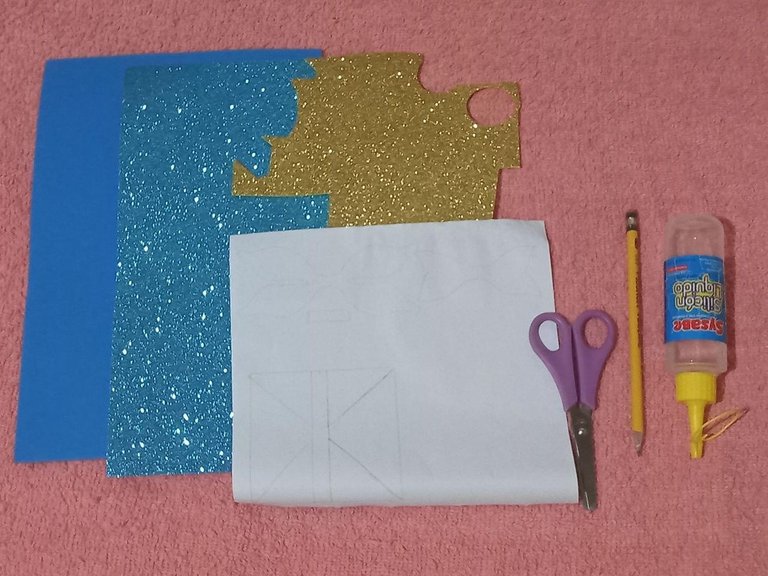
- Goma eva o Foami color azul
- Goma eva o Foami escarchado color azul y dorado
- Patrón del modelo de su preferencia
- Tijera
- Silicón liquido (frio o caliente)
- Lápiz
- Accesorios
- Blue eva rubber or Foami
- Blue and gold colored frosted Foami or eva rubber or Foami
- Pattern of the model of your choice
- Scissors
- Liquid silicon (hot or cold)
- Pencil
- Accessories

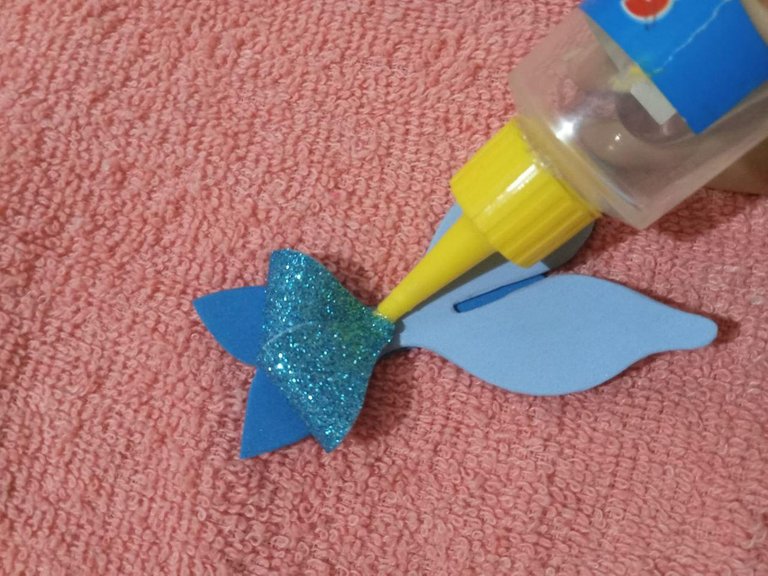
Vamos a comenzar colocando el patrón del modelo del lazo sobre la foami, primero empezaremos con el azul, yo decidí utilizar dos tipos de material, una hoja de foami liso en textura y otra hoja del mismo tono pero escarchada. De esta manera quedara muy hermoso y resaltara mucho más la combinación. Una vez calcado las siluetas de las piezas del modelo en el foami, las recortamos.
Let's start by placing the pattern of the bow model on the foami, first we will start with the blue, I decided to use two types of material, a sheet of smooth textured foami and another sheet of the same tone but frosted. This way it will be very beautiful and the combination will stand out much more. Once the silhouettes of the pieces of the model are traced on the foami, we cut them out.


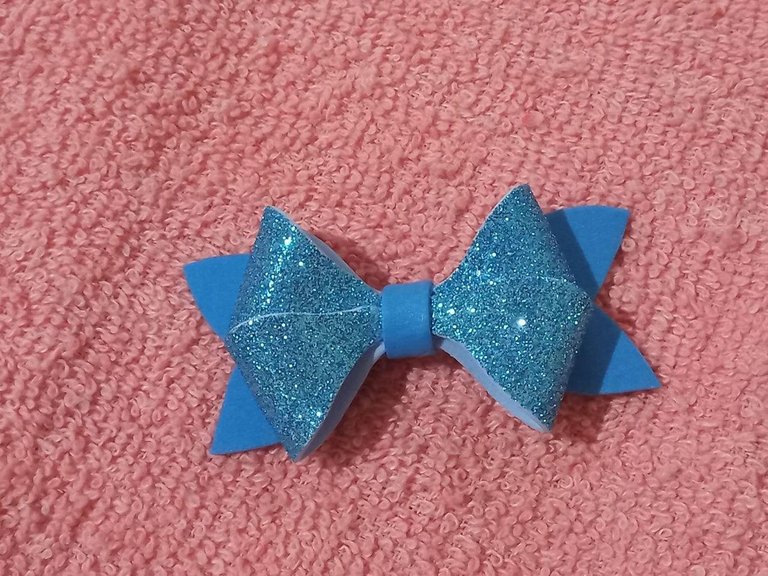
Ya listas las piezas las pegaremos tal como les muestro en la imagen, primero una sobre la otra, luego uniendo los pliegues hacia el centro, y por ultimo tomando una pequeña tira ocultamos la unión pegándola justo en medio, y que el sobrante quede en la parte posterior.
Once the pieces are ready, we glue them as shown in the image, first one on top of the other, then joining the folds towards the center, and finally taking a small strip we hide the union by gluing it right in the middle, and that the excess remains on the back.
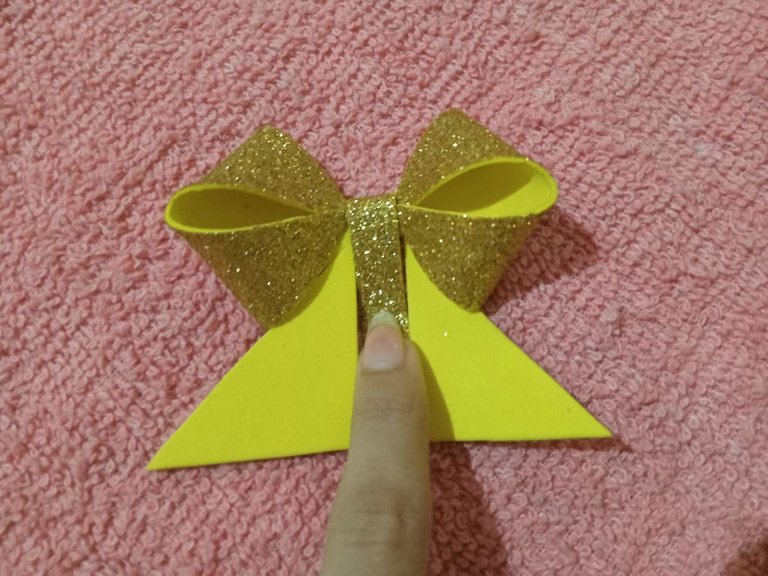
Ahora procedemos a realizar el siguiente modelo de lazo, para ello vamos a tomar, en mi caso, el foami dorado escarchado y dibujaremos sobre él, el contorno del patrón, una vez calcado y bien trazado cada línea procedemos a recortarlo como se los muestro en la imagen final.
Now we proceed to make the following bow model, for this we will take, in my case, the frosted gold foami and draw on it, the outline of the pattern, once traced and well traced each line proceed to cut it as I show you in the final image.


Del mismo modo que hicimos con el primer modelo, vamos a unir cada pliegue, cada esquina del triángulo hacia el centro, luego con la tira superior sobrante, vamos a ocultar la unión anterior pasándola sobre este, y así tenga un lindo acabado, una vez dada la vuelta, la pegamos en la parte posterior y recortamos el resto de la tira. Los triángulos inferiores los vamos a separar y recortar dándoles una linda forma, y los volveremos a unir al lazo justo en medio.
In the same way we did with the first model, we are going to join each fold, each corner of the triangle towards the center, then with the upper excess strip, we are going to hide the previous union passing it over this one, so it has a nice finish, once turned, we glue it on the back and cut the rest of the strip. The lower triangles we are going to separate and trim them giving them a nice shape, and we will reattach them to the loop right in the middle.


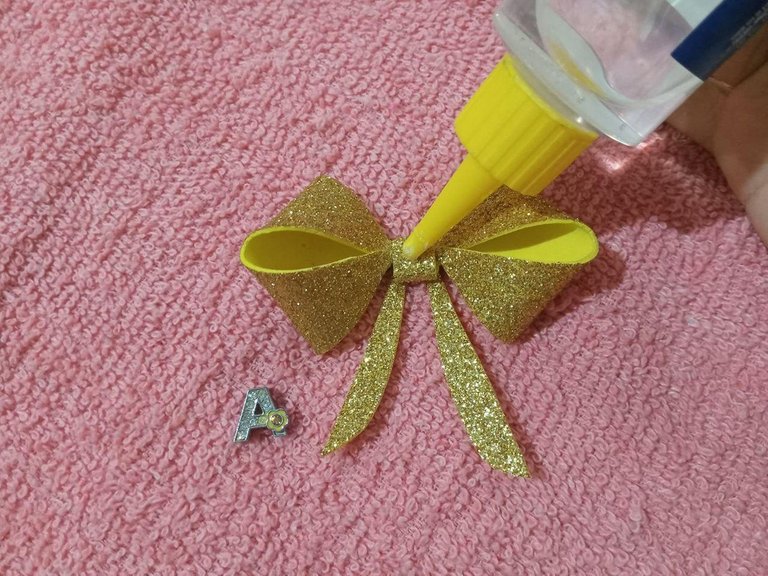
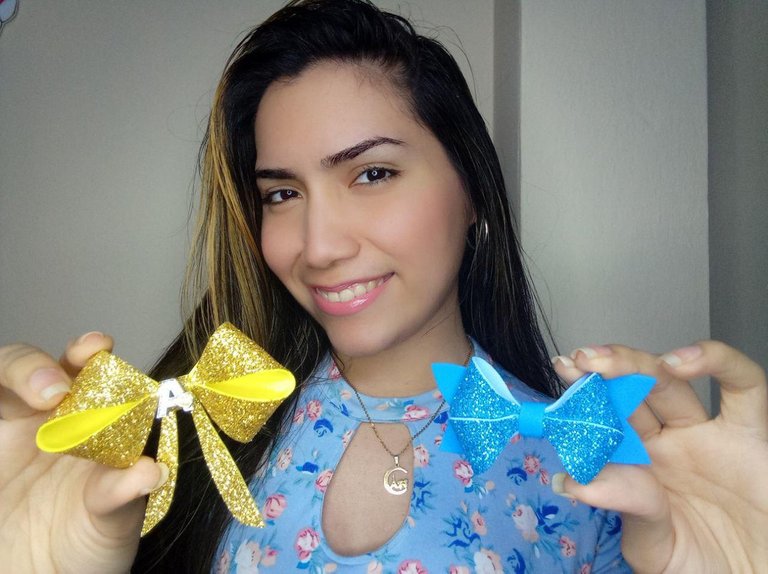
Como detalle extra y para que fuera una regalo personalizado, decidí agregarle una letra inicial decorativa a combinación con el lazo, aplique un poco de silicón en el centro del lazo y coloque el accesorio agregando así un detalle adicional diferente y especial a este proyecto.
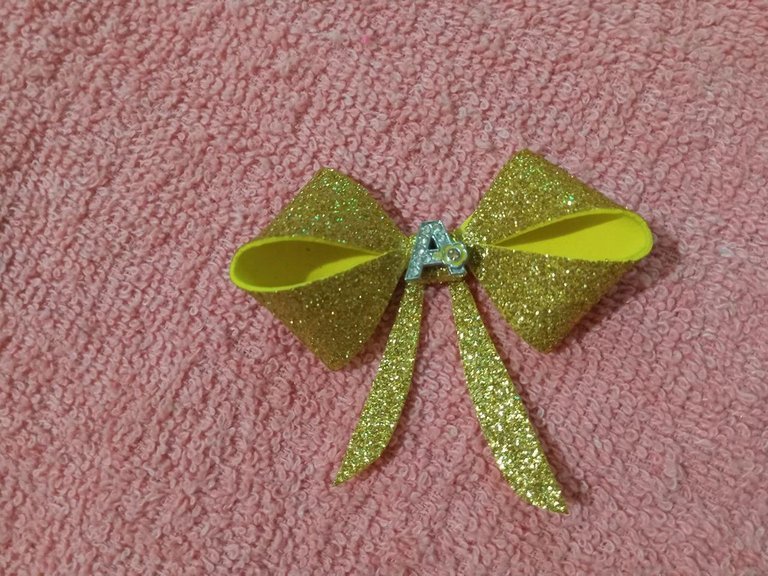
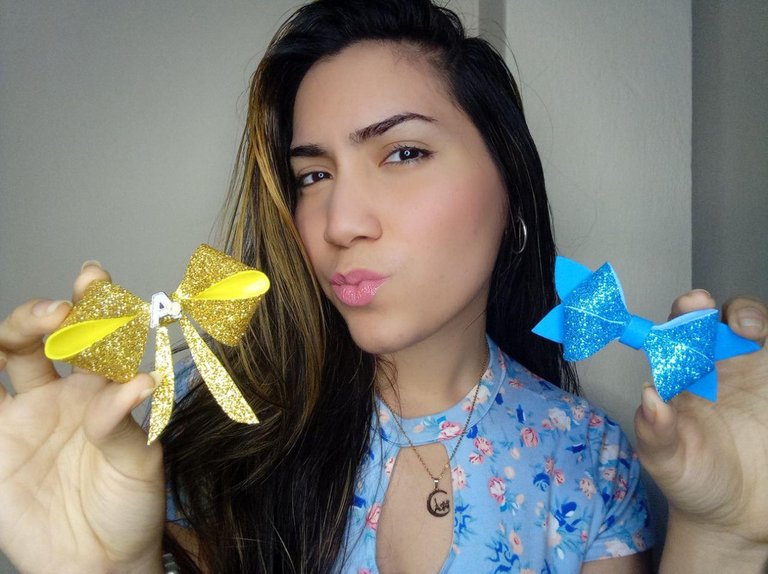
Y listo mis amigos!! Así hemos terminado otra hermosa manualidad para regalar como detalle especial para esas pequeñas princesitas de la casa, o incluso de decoración de algún rincón del hogar como colgante de nuestro árbol de navidad. De verdad es un gran gusto para mí fabricar y crear algo de simples materiales destinados a alguien o algo muy especial. Y eso es lo que verdaderamente me apasiona y me hace sentir muy orgullosa de lo que hago y soy capaz de hacer, y que con simples detalles pueda recrear lindos proyectos con la inspiración que más nos gusta. Espero les haya gustado y se animen a realizarlo en su casa!!💕
And that's it my friends!! so we have finished another beautiful craft to give as a special gift for those little princesses of the house, or even to decorate a corner of the home as a hanging on our Christmas tree. It is really a great pleasure for me to make and create something from simple materials for someone or something very special. And that is what really makes me feel very proud of what I do and what I am able to do, and that with simple details I can recreate beautiful projects with the inspiration that we like the most. I hope you liked it and I encourage you to do it in your home!


Todo el contenido es de mi autoría y las imágenes son de mi propiedad
- All content is my own and images are my property

Edición y Separador|Editing and Separator
App Picmonkey
Traductor|Translator

