Chicken Adventures - Meager Beginnings
Building Our First Incubator
Meager beginnings is likely an overstatement lol.
We've been trying to raise chickens since last year around this time. If you caught this post, you remember that we lost all of our chickens last year and had to start over this year.
Well, last year I built this little incubator. We still use it, for now, so this post will briefly cover the build.
This thing cost us almost nothing. That's why I'm sharing it. I want to show that you can get an incubator going, even on the slimmest income like ours.
First, the Cooler
When we first moved here, 5 years ago, we bought this little cooler.
We were then camping in the back of a truck on an air mattress. The property was empty, just dead grass and massive cracks in the earth (from getting so dry) that would swallow you if not careful.
We got this cooler home, not at all thinking about what color it was, just that it was cheap lol.
Well, its black.
Who the hell makes black coolers? This defeats the purpose of a cooler. (Igloo does) Honestly, even in the shade, this thing just didn't cool right. Ice melted super fast in it so we stopped using it.
Fast forward about 4 years and there it sat, in pieces, un loved, and useless.
Having already bought chickens, and a couple were adults, the light went off!
This useless cooler might work as an incubator and finally do something other than get dirty and take up space.
Finally, I can appreciate the silliest thing I had purchased in years!
I just needed some components to get it going.
The Heater
After combing the internet (by going only to ebay lol), I decided to go with a ptc heater element.
These heating elements are pretty cool because they self regulate. They get to a certain temp then shut off, then turn on again once it cools a little.
I found these little guys on ebay, shipped from China for 3 bucks each. Naturally, I bought a few.
Having essentially no power, we looked for the 12v ones and tried to keep the wattage as low as possible. I got 5w ones and 25w ones.
Now, they say that wattage, but after using them a lot, I've found they go up to just over double their wattage rating.
I tried the 5w heater. On a warm day maybe but it really wasn't hot enough, even for that small cooler, while it was cold. So, we went with the 25w one instead. It's definitely hot enough.
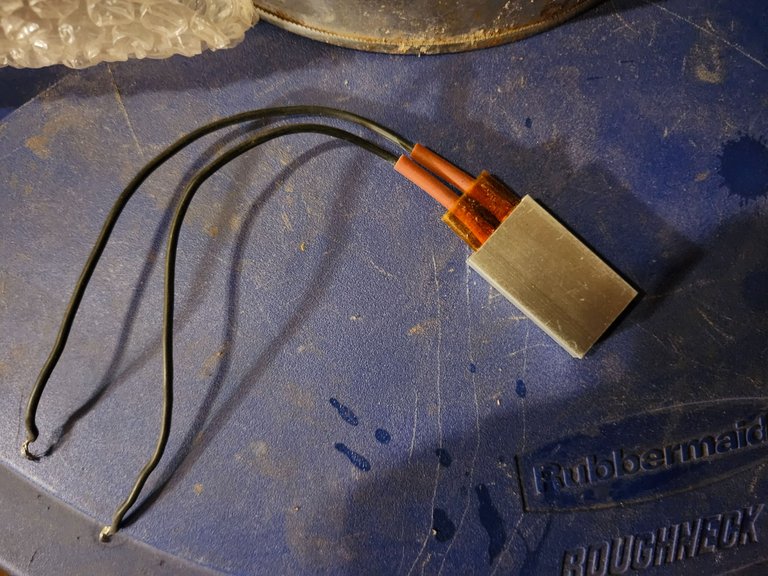
Now I could've stopped with just a heater but my good buddy thermodynamics paid a visit that week and convinced me I needed heat sinks also. So I ordered some small ones.
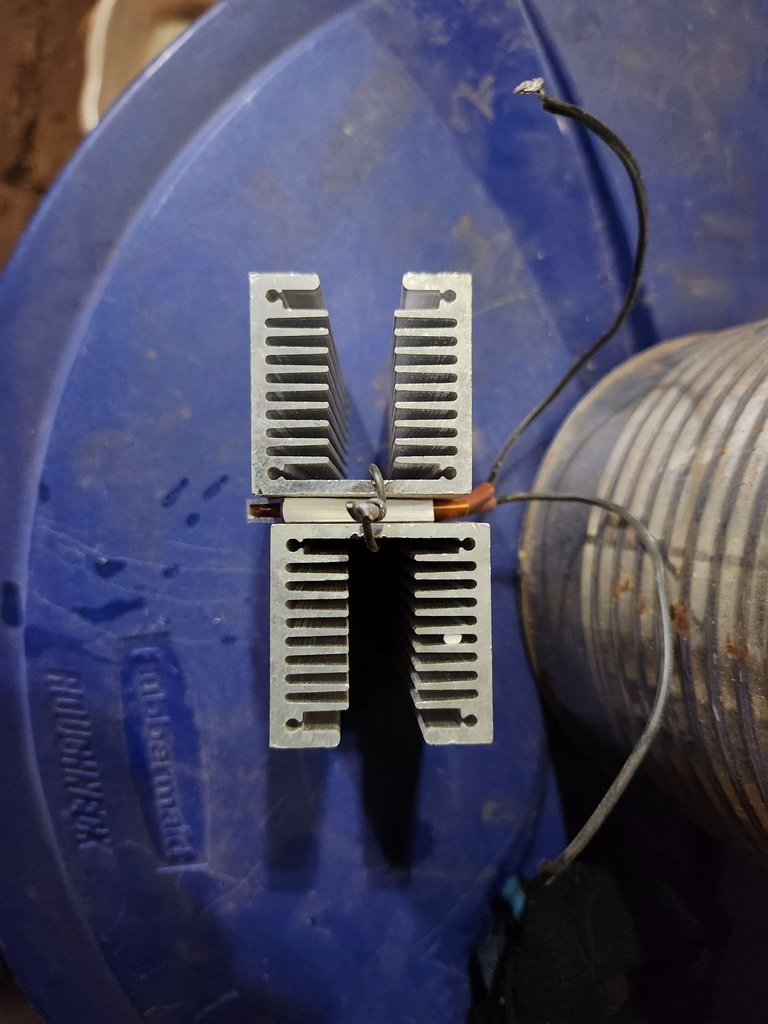
These were only a few bucks each also.
I sandwiched them back to back with my ptc heater between them. Then bent steel wire around the sandwich and twisted it so they all stayed together tightly. This allowed for great thermal conductivity between the heater and the heat sinks.
As you can tell by the picture, I lined everything up perfectly, as I do, and with the upmost precision, created the little heater above.
Perfection.
Now I needed something to control it.
The Thermostat
After searching high and low (on only ebay again), I went with this one:
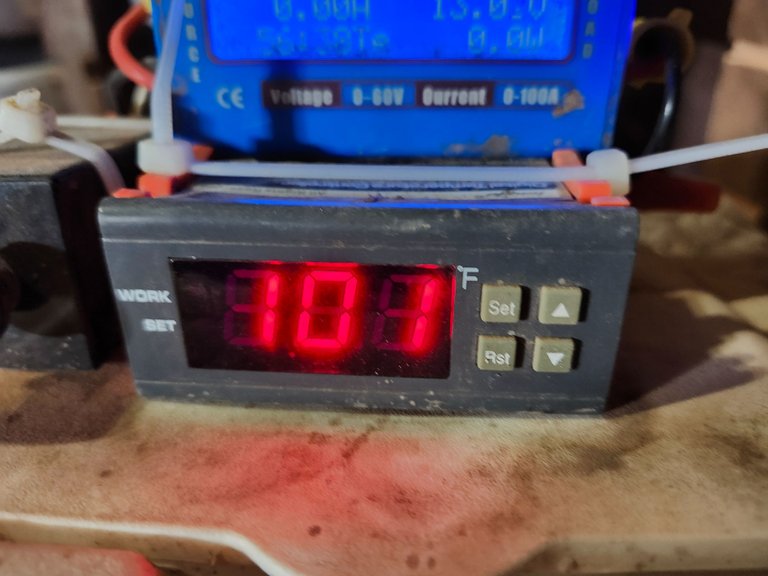
Mostly because it was the cheapest one that read Fahrenheit.
It works pretty good. I had 2, the first one was cheaper but read Celsius. That one died somehow but this one is still kicking.
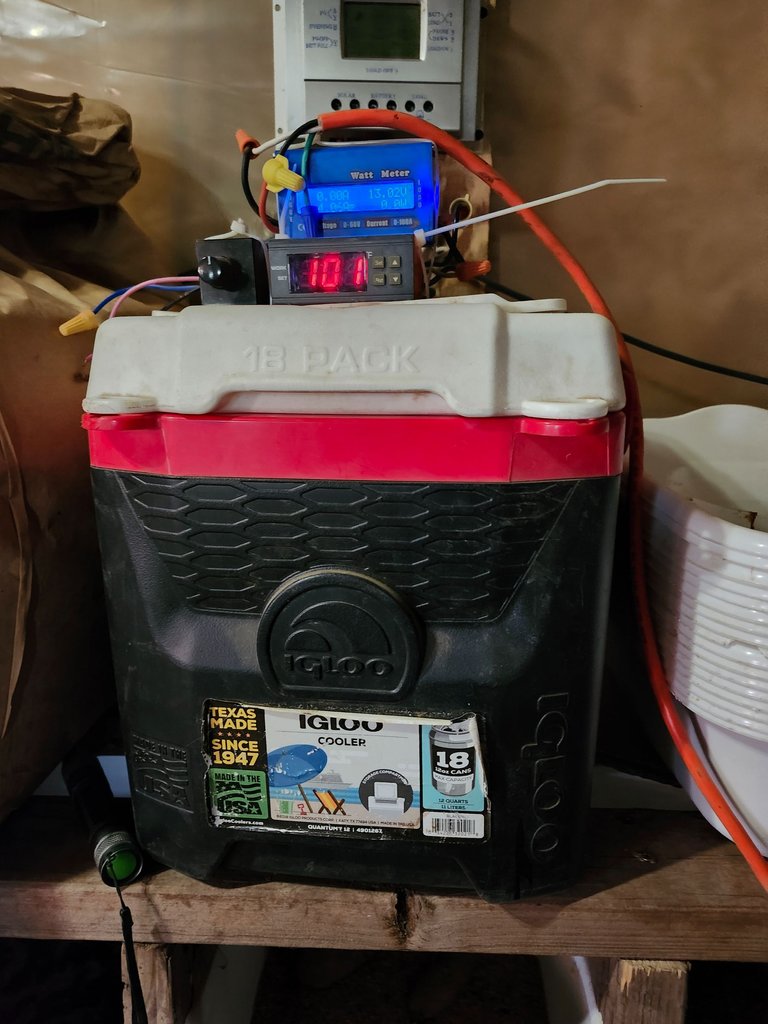
Putting It All Together
In the first picture in this post you'll notice 2 other devices on this incubator. Pay no mind to those, they are just hitchhikers we haven't let out of the vehicle yet.
The blue box is only there so I can measure the electric usage of this unit. The black thing with a nob is a potentiometer. I originally tried to build this as a forced air incubator (with this running a fan) but it was to cold inside our house for that so it does nothing and isn't hooked up, I just haven't removed it yet. Yes, it's been a year, don't judge. Now, I always know where that potentiometer is if I ever need it lol.
Plus, having at least one useless nob makes it feel advanced lol.
Ok, I wired the heater and Thermostat per instructions and drilled a hole for the heater wire to go in. I cut a length of extension cord to give it a power cord. Then set the thermostat to 100 degrees f. Tried it out for a week to be sure it would keep temp.
After trying both size heaters, attempting forced air and still air, biting my nails a couple times, and screaming maybe once, it worked!
It was finally holding temperature.
Now I just needed a place for the eggs to sit.
The Inside
I pulled out all the stops on the inside. Nearly broke the bank.

You can see the heater in the top left. This little guy is supposed to see temps of 220f so I found a top that I had cut off of a tin can and put under it so it didn't melt the plastic. Then surrounded it with scrap blocks of 2x4 and put a piece of 1x4 on top of it so that the screen sat level ish.
I found an old piece of screen laying around from who knows what and grabbed a bamboo stake I had from trying to grow weed and not having enough water.
I split the stake, then broke it to the lengths of the edges of the screen. Finally, I used steel wire to secure the screen to the bamboo. This made it rigid enough to move around and more or less kept the eggs on it and off of the heater.
That's it, a working incubator for almost nothing. I think we have 30 bucks into it, 40 maybe with the cooler cost.
I can fit up to 24 eggs in this. That's stacked once. Yep, I stack eggs on top of other eggs in this little guy (when i have that many eggs).
Where's the Water?
Ok, after watching tons of people online testing the effects of moisture in incubation I decided to test myself.
I found no difference in my hatch rates between having moisture and not having it. So I don't use it.
They say that the extra moisture helps them break the egg easier. That's likely true.
Let's get real though, if they need that help, they are weak.
Do you really want a bunch of weak ass pussy chickens running around? No, you want rough, tough, badass chickens that take no shit.
Ok, actually, I don't care either way. A weak chicken still hatches eggs. However, there just wasn't enough difference in hatch rates for me to justify the use of it. So we do dry hatch.
Does it really work?
Yep.
Works like a charm!
For a relatively small amount of eggs this is perfect. It uses very very little power, so it's great for off grid homesteading.
It's small and can pack away when not in use.
Best of all though, you can use trash to build a lot of it so your cost is low.
You don't have to use a silly black cooler either, you could use a cheap styrofoam one, or any insulated box, and be just fine.
‐------
However, we're starting a hatchery, so this little guy is almost obsolete for us today.
So I've designed a bigger and better model. It's a bit ruthless in its hatch productivity and ugly as hell.
I have a couple mods to complete on it before I'll share it.
Stay tuned for the debut of...
The Incu-Vader.
Thanks for reading.
by Michael David
Co-founder of #thealliance and loyal since before the egg.


Instagram|Facebook|Discord|Telegram

Supporting:
@thealliance|The PIMP District
Personal Projects:
@sneaky-ninja | @the-singularity | @block-soup
Wow, some amazing invention here. And that unloved cooler is now more useful than ever before.
So sorry to hear about the lost chickens and I wish you a fruitful season and better luck in this season.
Thanks for the words of encouragement. I have my fingers crossed that we have a much better year than last. It's nice this cooler finally has a use lol. I'll have to retire it soon, when the bigger incubator is finished
Alright then..will look out for your works