Welcome, Hivers and Homesteaders, to the latest update on this year's gardening! Things have been moving so quickly in the gardens this year, I already feel like I'm falling behind on the blog, so I'm going to try to condense three posts into one here. If you haven't gotten the full story, here is a link to the beginning of my outdoor gardening adventure for 2022.
Shortly after getting the first brassicas in the ground, I finished adding supports to the new vertical frame. I've had some questions about how exactly this is supposed to work, and at this point all I can really say is 'Keep watching'. It's not easy to explain exactly how I'll utilize this to grow my plants upwards, but it should be readily apparent once I have some pictures with things actually growing on it.
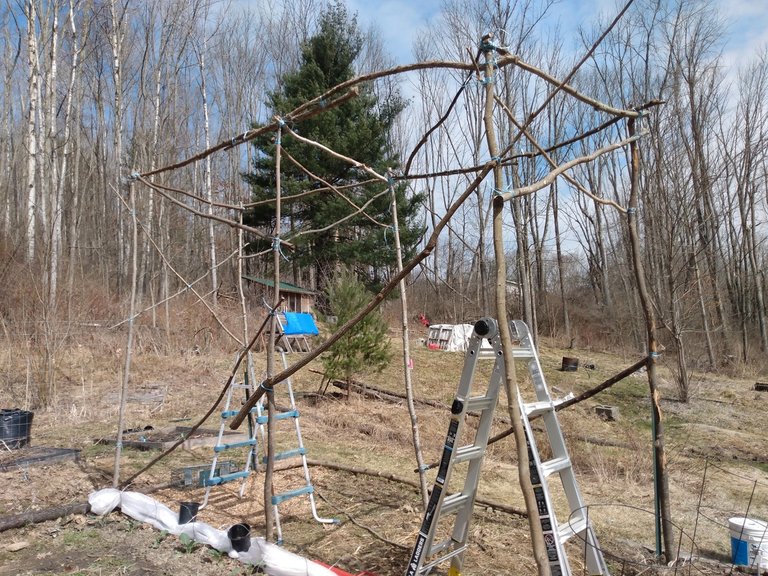
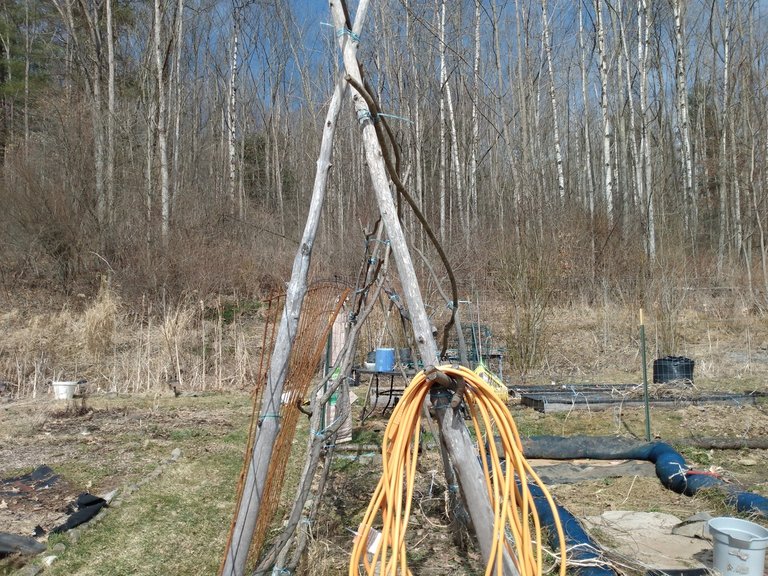
I'm also thinking of adding the extra cross-piece to the tops of the old vertical frame, so that I can walk underneath this one. Last year I had to tend everything underneath this frame from the outside edges, which made it difficult to weed and prune. I may also just grow zucchini under it this year, which shouldn't require as much attention.
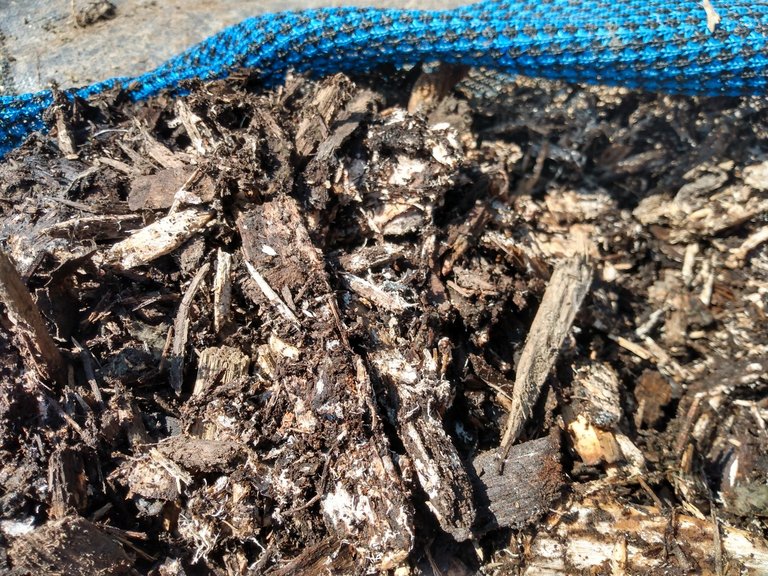
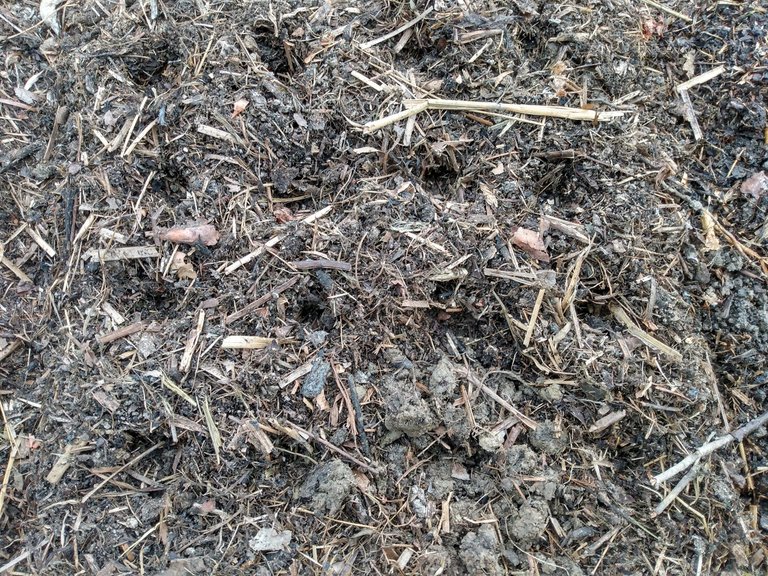
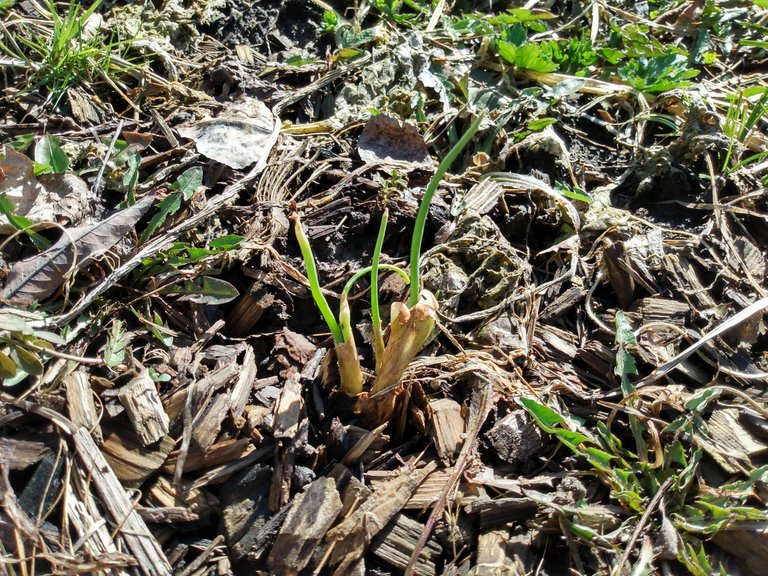
After finishing the frame, I finally got mulch around the brassicas I had already planted. This is the mulch that's inside those blue silt socks I talk about from time to time, and can be seen lying on the ground in the picture above. As you can see, the plants are still looking very healthy after a week outdoors.
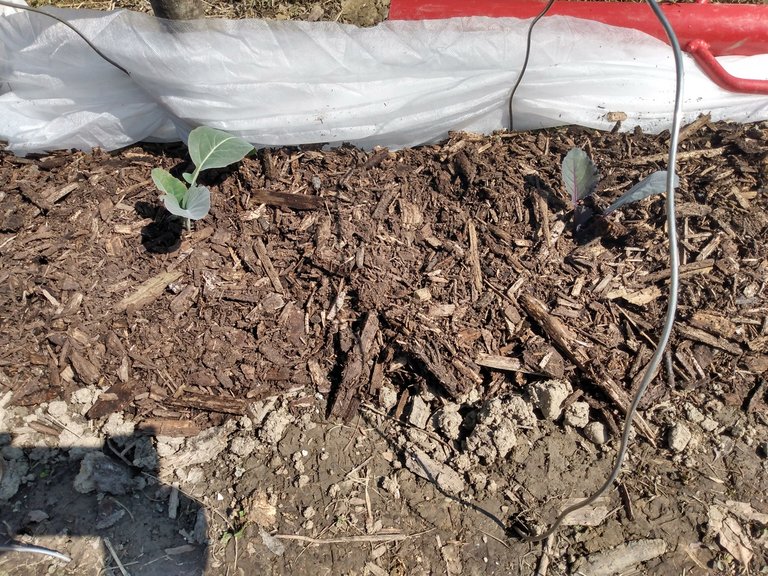
The picture below is the best one I could get to show the 'well' that I make around the plants with the mulch. Covering the stems can damage the plant, so where the plant comes out of the ground, there is almost no mulch coverage. I try to mulch at least 3" deep around the plant. This well provides many benefits: it helps channel water to the roots, it prevents weed growth, and it helps retain heat and moisture in the soil.
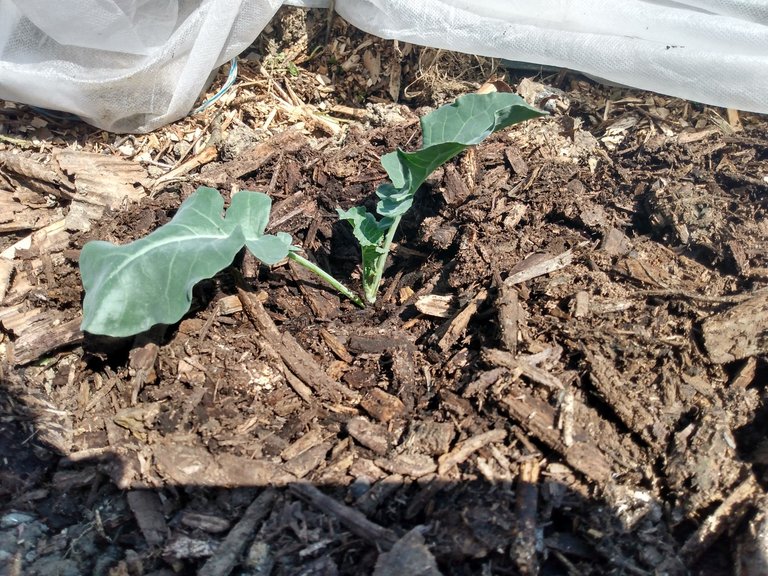
This mulch also has an abundance of mycorrhizae, which is the white stuff you can see in the picture below. Mycorrhizae is basically mushroom roots, and it forms a symbiotic relationship with plant roots that allow both organisms to access nutrients that they cannot get alone. Many people add it to their soil to improve overall soil health, but it can be prohibitively expensive in stores. I've found that it grows quite readily in decomposing wood chips, which is why I've been switching to 100% wood mulch.
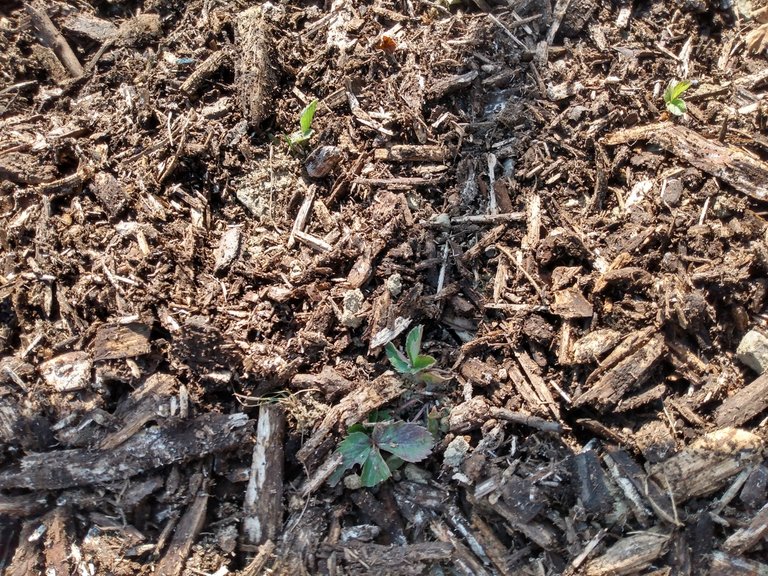
I had to mulch the strawberries lightly, because most of them are still too small to make a decent well around. I'll add more as they grow through the year. I've been growing strawberries here for about 10 years, but we've never really had a harvest of them. Last year was best year yet for strawberries, and it was only enough for us to each have a few every other day or so. Fresh strawberries are certainly a great thing to have, but it would be nice to get enough one of these years to make some jam.
We had a week of daytime highs in the 60's, so I decided it was also time to get some seeds in the ground. Peas, beets, and radishes can all be direct sown right now, though they tend to take some extra time to germinate. I put a line of pea seeds next to the first brassicas, on the inside of the frame. Hopefully, these will be the first things that get to climb up it!
I had room to plant 10 each of four different types of peas. Hedge Witch has been making tags so we can mark what everything is, but the ones for peas weren't done yet, so I just put the package under these rocks that I used to separate the different types. The print on most seed packs will hold up pretty well if left under a rock... it's the sunlight that ruins them.
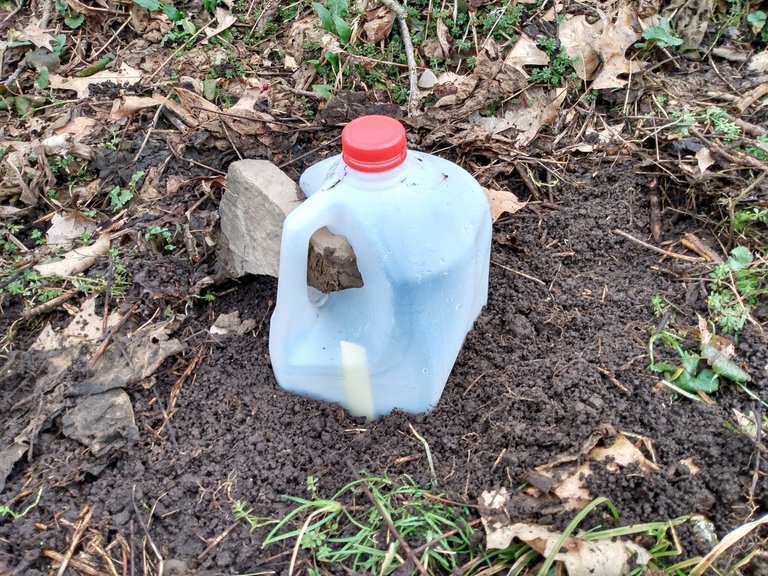
I also wanted to try a new idea I had seen for starting seeds outdoors. The milk jug in the pic below has the bottom cut off from it, so it can be used as a little greenhouse. I'm trying this with some seeds that need to be cold stratified, because I've not had much luck with refrigerating such seeds in the past. If you're unfamiliar with the term... these seeds need to cycle through cold temperatures before they will germinate. I'm hoping the milk jug will protect them from really cold temps (it is 14°F as I write this!) and birds, while still allowing them to get as cold as they need to for germination. It's also a great way of remembering exactly where I put those seeds in!
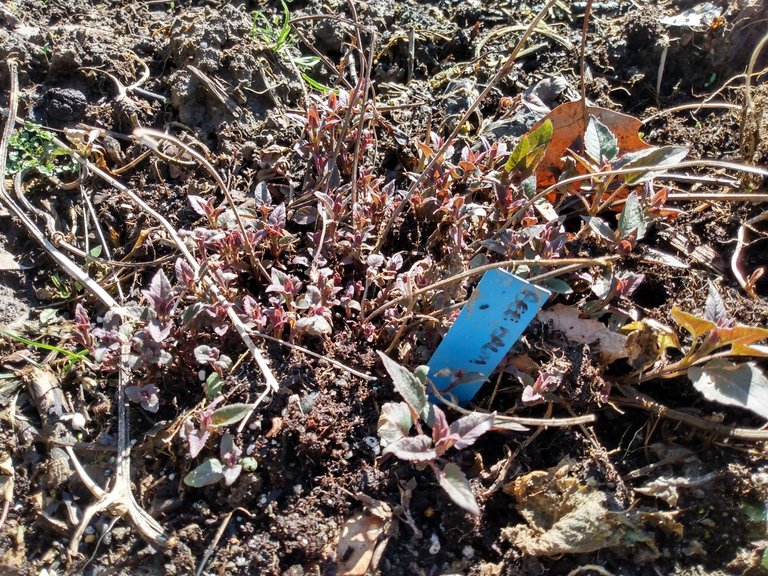
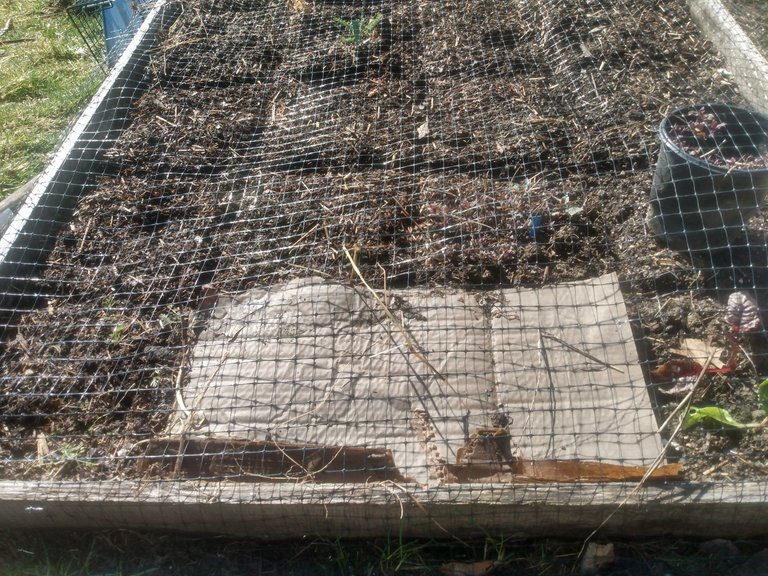
Radishes did really well in the new garlic boxes last spring, so I thought I would try it again this year. Both the garlic and the onion boxes still needed to be weeded, and the garlic box needed a few extra inches of growing medium. The common sorrel in the picture below is one of our very prevalent local weeds, and can be irrationally stubborn to pull. Since I'm pulling difficult weeds when I would like to be fishing for a lot of the year, I've started calling it 'yard-fishing', and someday it will get its own post.

Some of the 'weeds' in the garlic bed are new things that Hedge Witch planted last year, like this bee balm that spread well beyond its boundaries. I was a little surprised that it came back this year, since it looked like it just died after being transplanted last summer. The extra that I pull out will get moved to other parts of the property, and I think I'll leave the main portion of this one where it is.
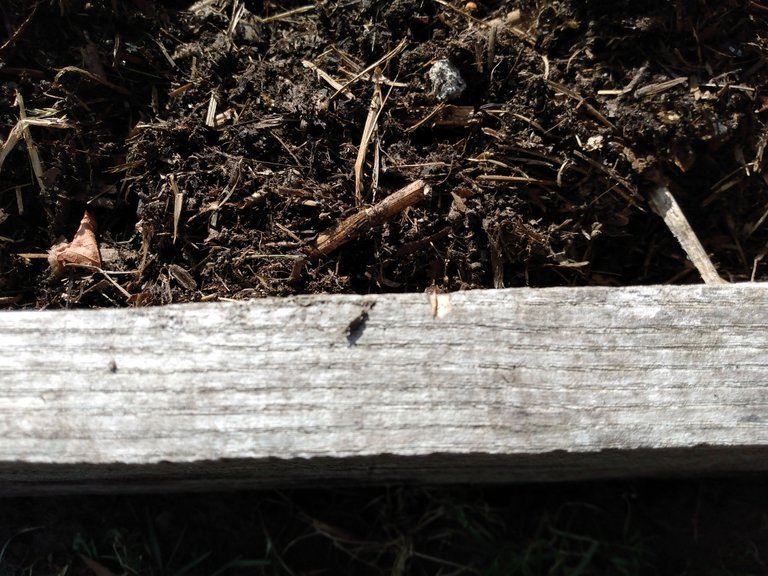
Our garden boxes are all loosely based on the Square Foot Gardening method developed by Mel Bartholomew. I used to mark the squares out with twine or weed trimmer line, but I've found that the chickens like pecking at those as if they were worms. This year, I'm just cutting some inconspicuous notches into the wood at one foot intervals, and I'll use those to make marks in the soil.
I'm pretty good at eyeballing a straight line, so I just press the marks into the soil with the edge of my hand. By starting out in the middle of the bed, and working back towards my marks, I'm able to get the whole bed divided into squares pretty quickly.

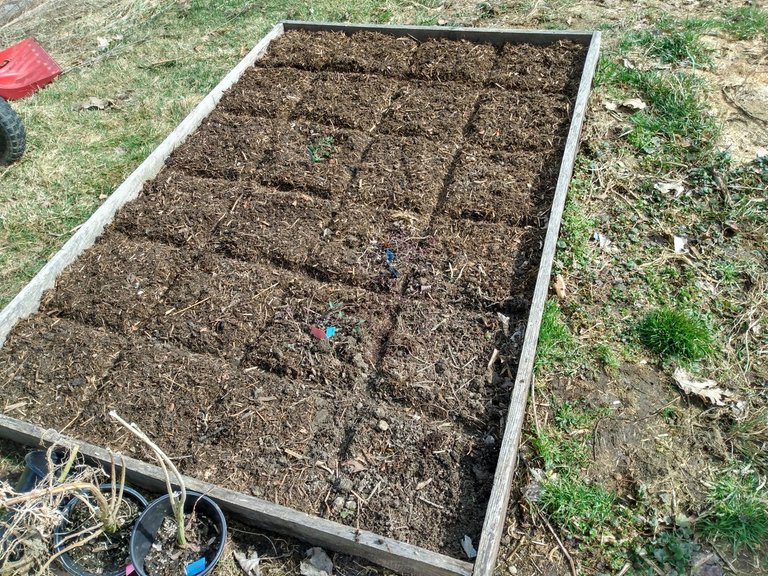
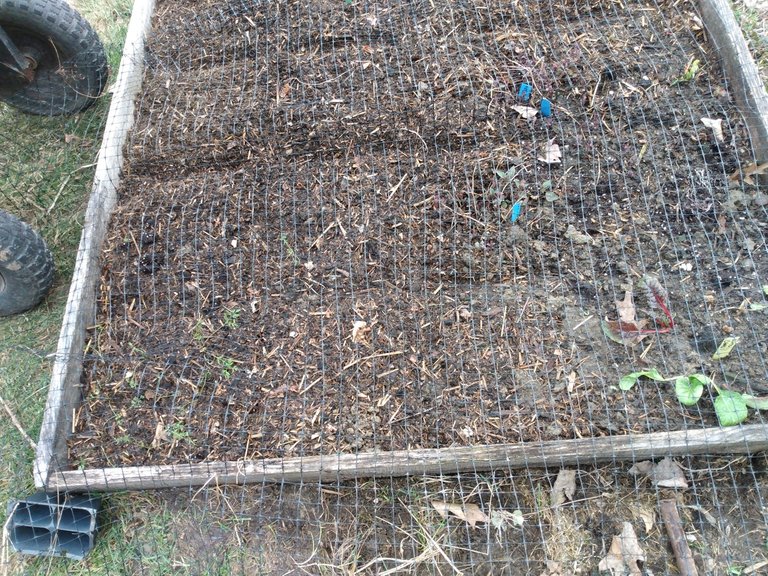
Below you can see the whole bed ready for planting. I added about 3" of aged compost to bring my growing medium back up to the top of the bed. The little green spot toward the upper left of the bed is the bee balm that I kept. The area where you see the tags in the lower right area is yarrow that also came back from last year.
I seeded two of the squares, one with radishes and one with beets. Theoretically, I can grow 36 (6 x 6 at 2" spacing) radishes in 1 square foot of space, but I've found that they do much better if I keep it down to 16. Beets are supposed to be able to grow 16 in a square, I've had better luck with 9. The radishes are seeds I gathered from last year, the beets are a mixed packet that we've had for a while now. The picture below shows the radish square with the holes poked in it for the seeds.
Along with the seeds, I also moved the swiss chard and some of the carrots that we had started about a month ago. I covered the whole thing with netting to keep the birds and squirrels out. This probably wouldn't have been enough of a deterrent to keep our chickens out, but I still haven't replaced them yet.
The carrots were very much alive, but still hadn't developed many roots. This made them difficult to transplant, and honestly, if half of them survive I'll be pretty happy. Carrots are difficult to kill, but I've never tried transplanting them out like this before.
The onion bed looked like a weedy mess, and those looks did not deceive. I spent a whole day pulling dandelion and sorrel weeds out of this bed. The dandelions were more of a 'harvest', I ended up with around 3 lbs. of dandelion root that Hedge Witch will dry and use in her various ointments and concoctions.
Several of the onions wintered over, which was a pleasant surprise. Last year was too wet for them, and the bed became overgrown with weeds even before we left for South Carolina, and I thought all of the onions had died and rotted. The ones that came back all look like they could be split and replanted, and the seedlings seem to be doing well so far this year, so we have high hopes for our first real onion harvest this fall! Onion soup is a favorite of mine, and we use it as base stock for several recipes, so it would be nice to get some of our own canned up.
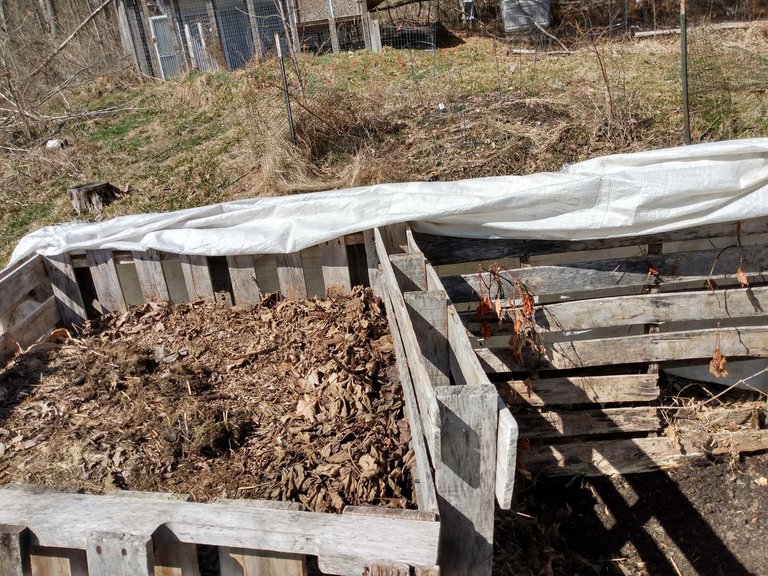
Our compost pile also didn't get filled properly last year, but we usually have much more than we need, so it shouldn't be a problem for us. I emptied the bin on the right to fill up the garlic bed. Later, I'll move the stuff on the left into the bin on the right (to 'turn' it). This will leave behind some good compost in the bin on the left, and that will get added to the gardens throughout the year. I have enough pallets now to add a third bin, which I'll use for composting experiments.
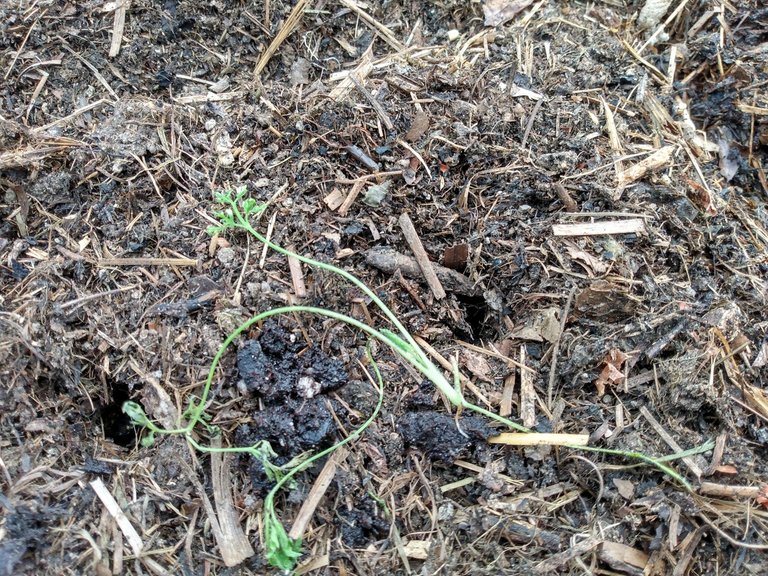
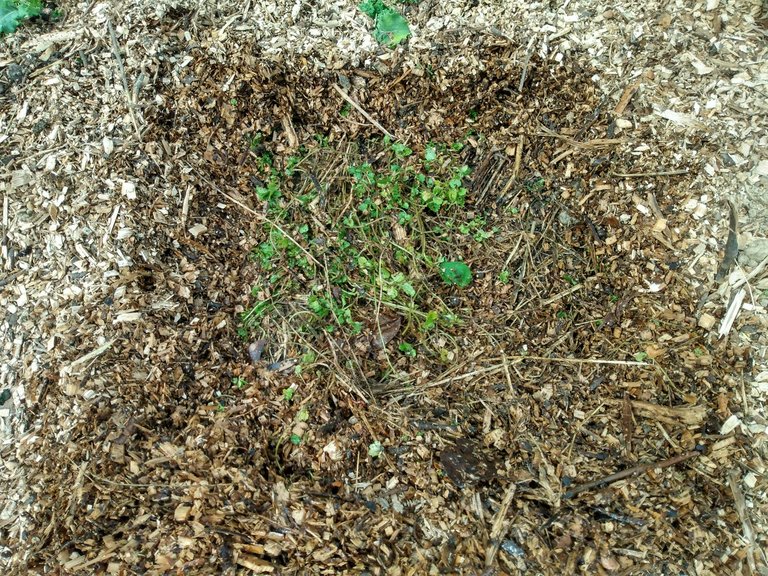
I also wanted to plant some more things under the vertical frame, and discovered that the ground violets which are so prevalent around here have been growing right underneath the wood chips. I should find out if this stuff has any nutritional value, because it will grow in sub-zero temperatures, apparently without any sunlight. All the green you see in the picture below has been under those wood chips for almost 5 months.
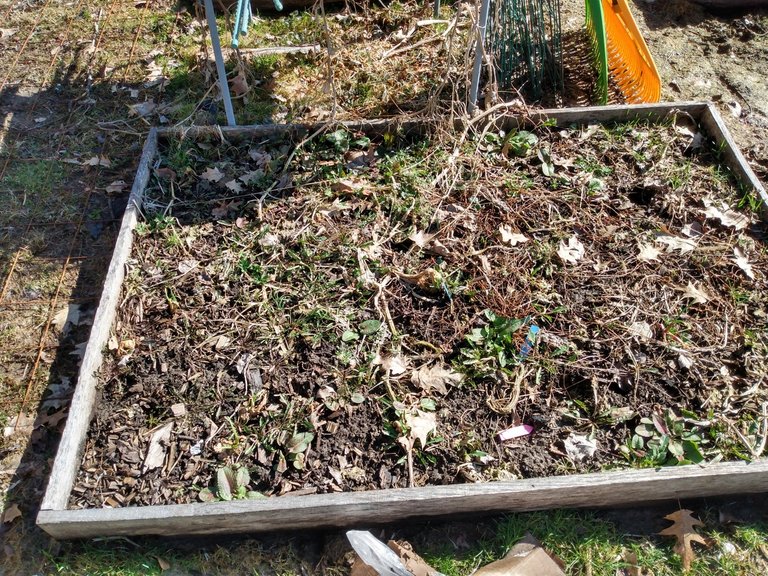
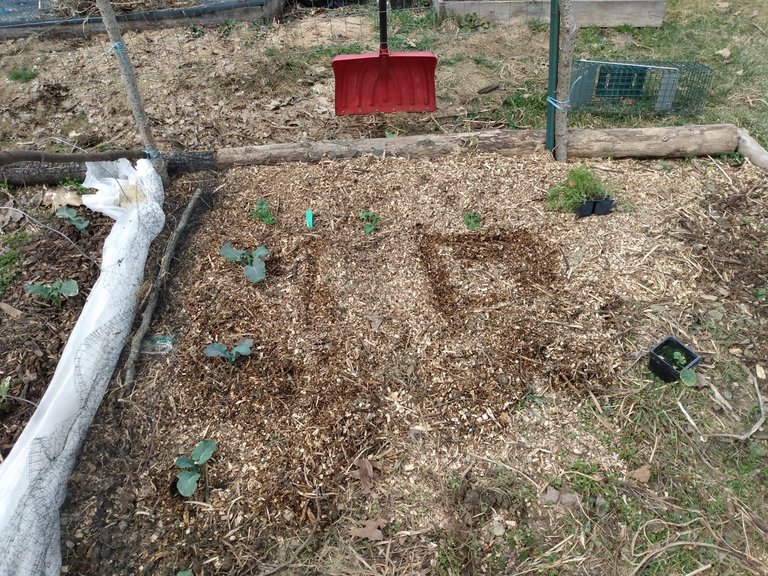
I got the weeds pulled, and sketched out some squares for my new plantings. I put some more carrots, kale, and broccoli in this space. I left room behind the kale for beans and cucumbers, which we'll try growing on the fence along the back of this garden. I'll leave the center spaces unplanted, so I have a path to walk in and out.
I also added some kale to the empty spaces in the onion bed, once I had it all cleaned out. I'll probably start some radish and beet seeds as well in this bed, once the temps come back up in a couple days. I want to do a better job with succession planting this year, especially with the radishes, which only take about 4 weeks from planting to harvest, and grow 8 months of the year.

Something I wanted to try this year to help outdoor seeds germinate was to cover them with a layer of cardboard. This should help hold in heat and moisture, but I don't know if it will do enough to help at all. I'm a little worried that I'll forget about it, and the seeds will sprout underneath and get 'leggy'. I guess I just need to remember to check it every day!
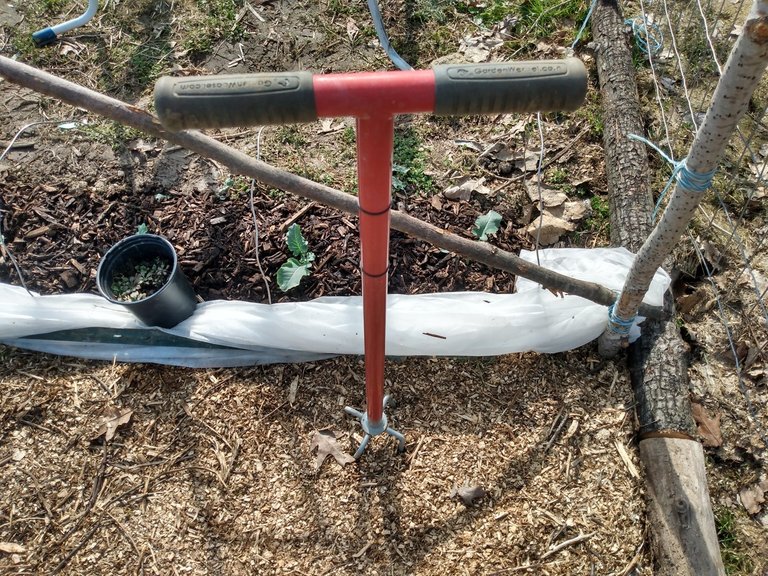
All the extra things outdoors means more covers, since we still have nights (and days!) getting into the low teens. Most of the plants I have out now will survive these temperatures, but it will seriously slow down their growth. The wire mesh panel you see below is made for reinforcing concrete slabs, but I grabbed a couple from work to use as gardening material. I plan to use them to make arches over the walkways that we can grow squash and other viney plants on. It occurred to me that they were the perfect size to make a 'cold frame' cover over the onion and garlic beds.
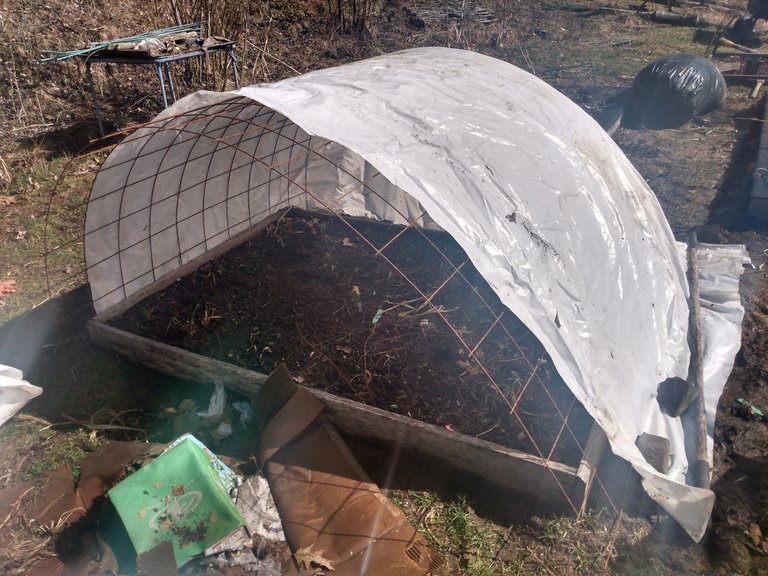
I've been collecting plastic like this at work for years. We use it to cover large piles of topsoil, or concrete that we pour on rainy days, or anything else that needs to be kept dry. Normally, it goes to the dump when we're done with it, but if I'm the one picking things up, I'll usually roll it back up and bring it home. The stuff we get for work is a little sturdier than the plastic you might normally get to cover your windows, or the plastic drop cloths they sell for painters.
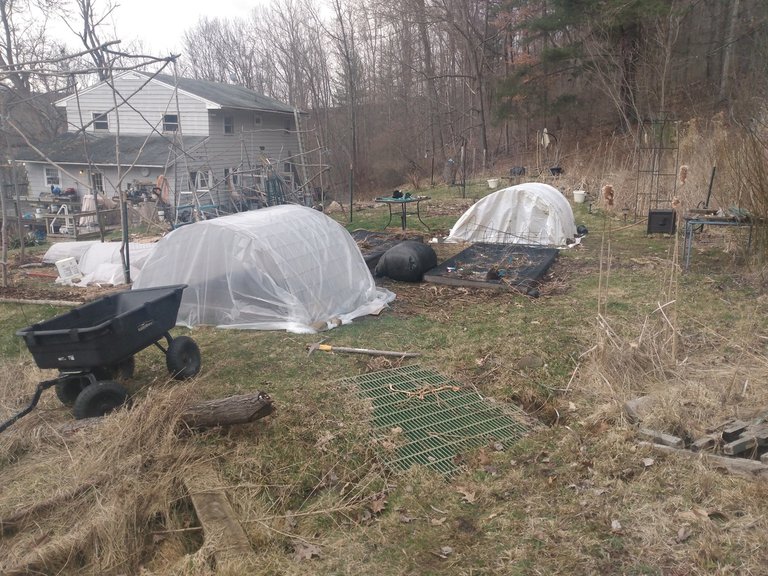
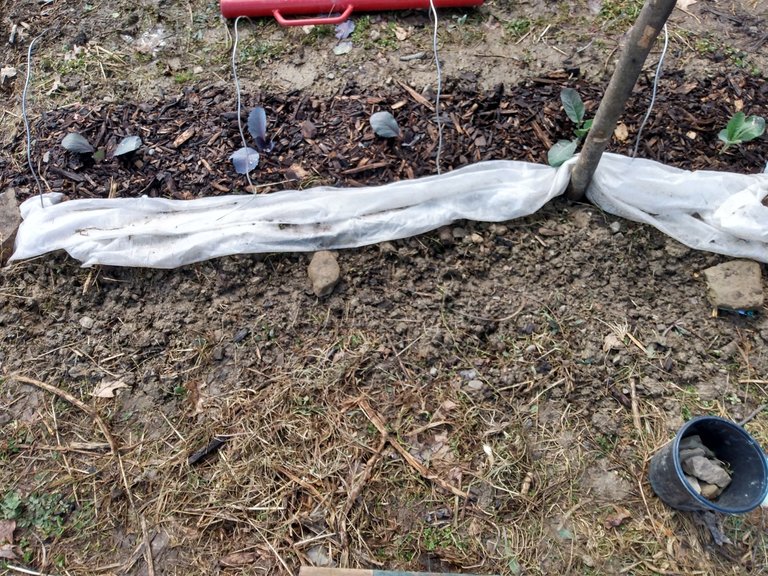
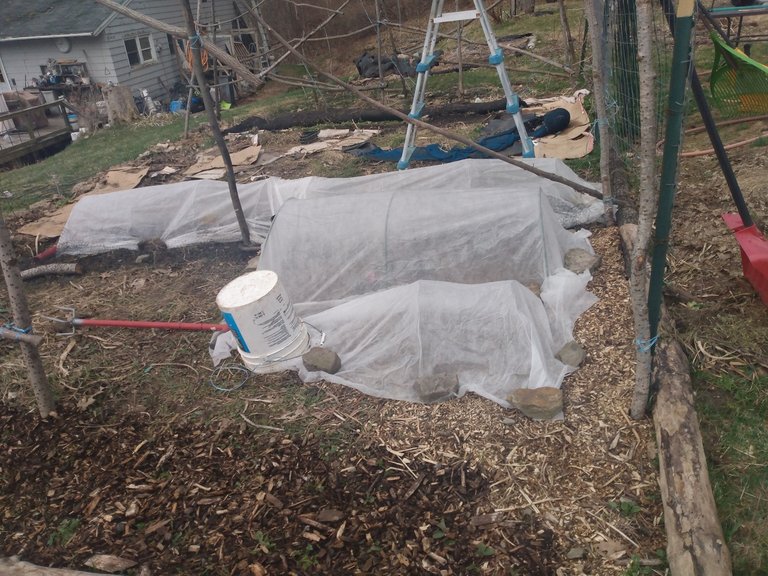
I used more of the standard row covers on the new stuff in the garden. These were all pieces that I already had cut from last year, so I still haven't had to get into our other package yet. I will have to purchase or make more hoops to lay the fabric over, I've used almost all of them that I had already.
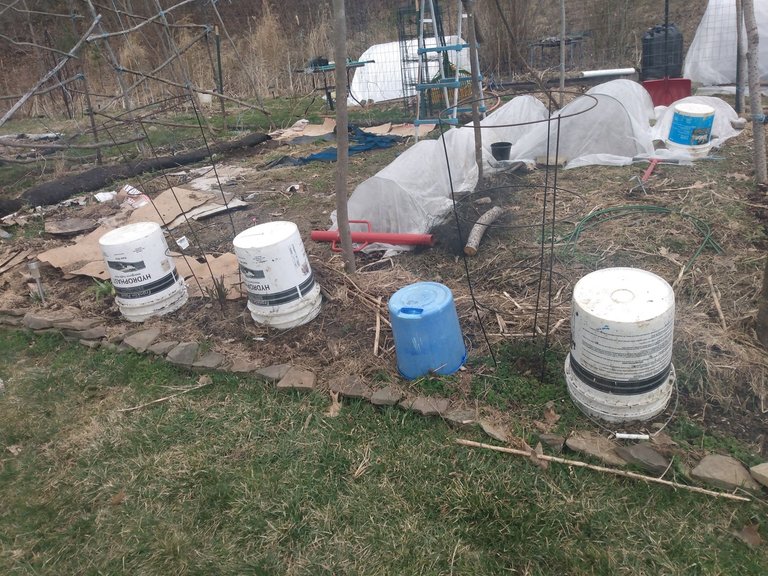
Cleaning up the driveway freed up several dozen 5 gallon pails that I've collected from work, and these also make good plant covers. The ones in the picture below are set out to cover the allium flowers that have sprouted already. These will probably be just fine in the cold, but it's not that much extra work to play it safe and cover them with the buckets. I've had several years where the tips would freeze on early flowers, and it really hurt their growing season.
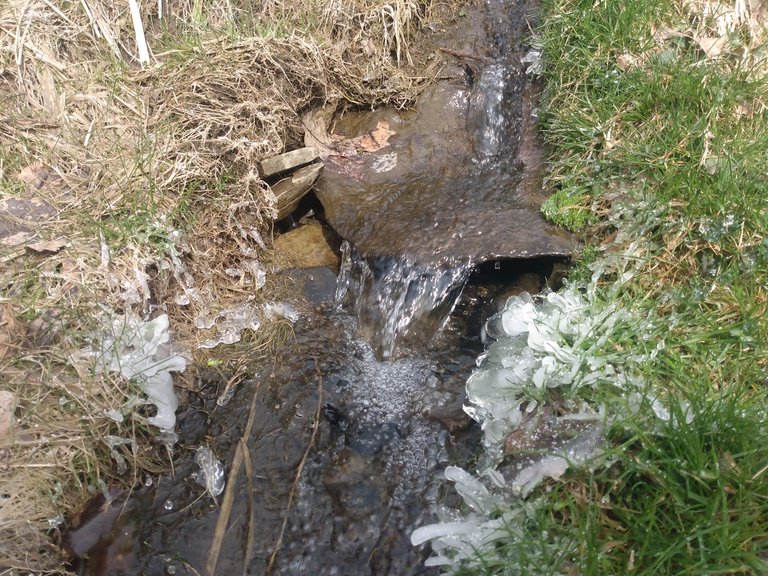
The waterfall is still running way too fast to freeze, but it had a nice collection of ice around it this morning. So far the covers seem to be working well for everything, though I had to put some more weight on my plastic covers last night to keep them from blowing away. It's not that difficult to manage... until the winds start blowing over 30mph!
Well, that was a monster of a post, and I feel relieved to be reaching the end of it. If you actually managed to stay with me this far... I'm impressed! I wish I had time to make a trophy, or some NFT badges to share with you guys! Not everyone can make it to the end of a 2400 word gardening post, you definitely deserve to be rewarded!
Thanks so much for reading, hope to see you all back! Coming soon... some personalized graphics, a 2 cylinder engine rebuild, and the return of ArborVilla chickens!
Lots of seeds NEED light to germinate well, so I'm wondering about the cardboard... You've got a lot of stuff in the ground already even with such cold temps. I found plants did far better the more space they could have. You've found this also by reducing the number of plants in a square. I wish I had your source of plastic! My husband would also bring home discarded materials from his work. That's how we built the woodshed!