Hello Hiveians
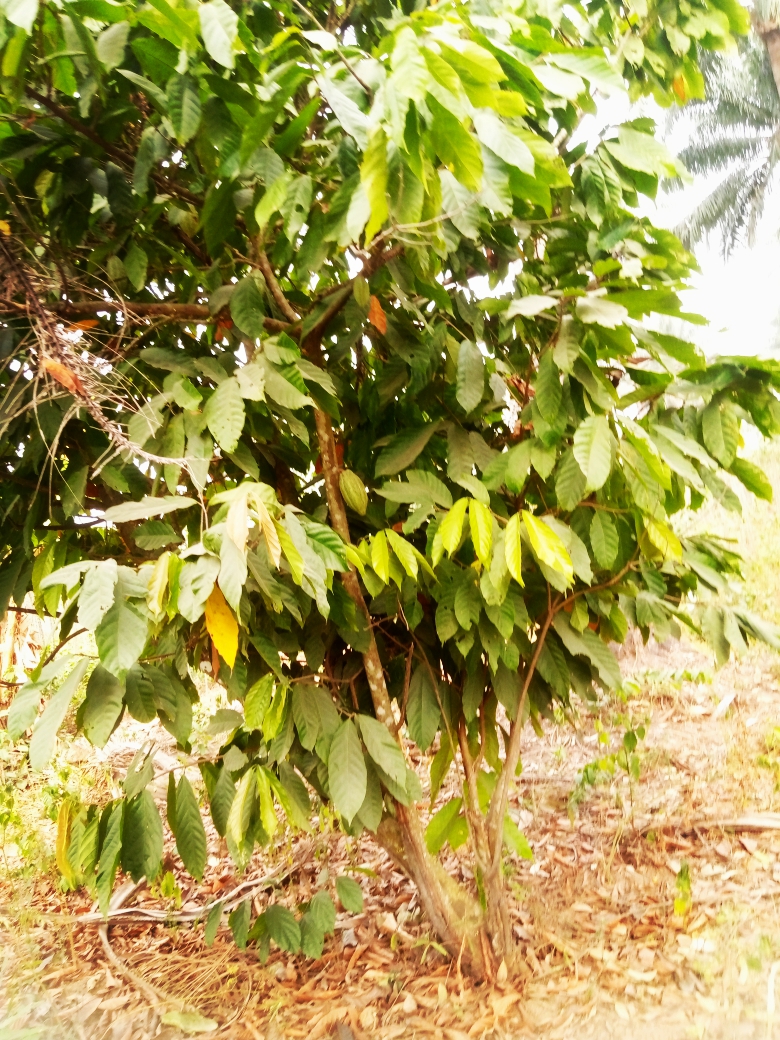
Cocoa is basically the most important ingredient when it comes to production of chocolate. Growing up I have always wondered how cocoa is grown and produced and then processed into chocolate and chocolate products not until few months back when I saw an actual cocoa tree
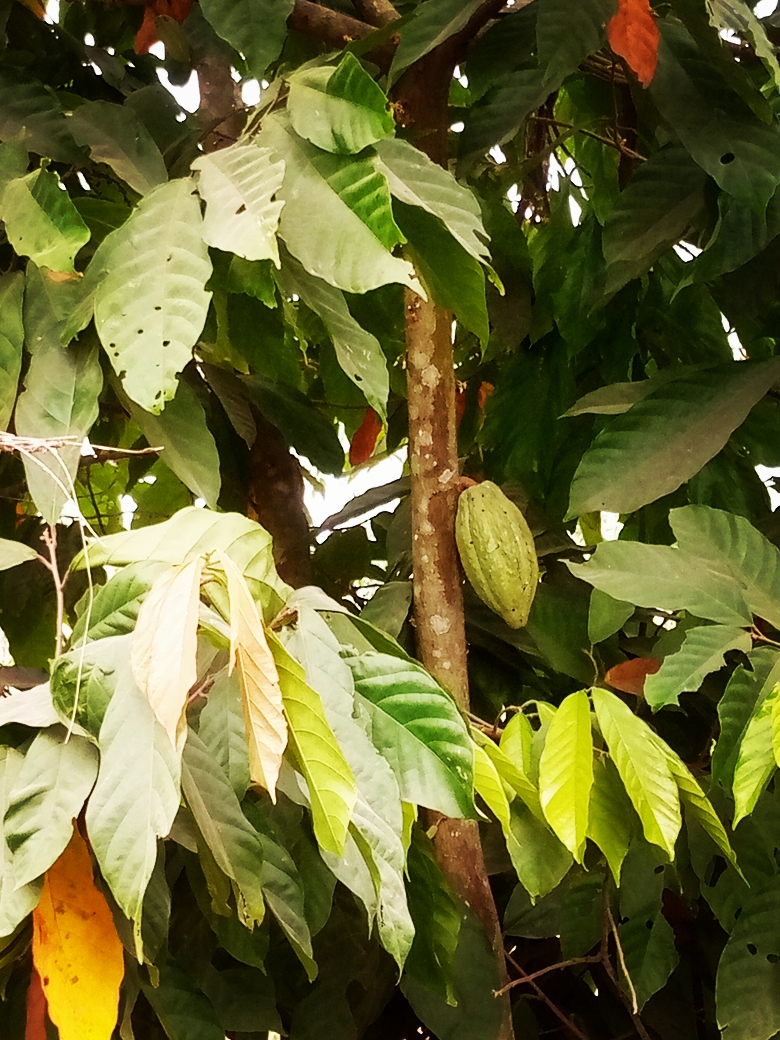
Here is the post I made about seeing a cocoa tree for the first time:-
https://hive.blog/hive-150280/@zion-francis/cocoa-agricultural-produce-that-felt-like-a-myth-childhood-disbelief-and-curiosity
As rainy season is approaching, farming activities are beginning to take center stage. From this year onward the focus will be more on the planting of cash crops as a form of long term investment on my own part. One of such cash crops is cocoa
I have decided to nurse cocoa seeds to plant in the farm
Here are the stages and processes I have followed so far:
Materials needed:
- cocoa seed
- A suitable land
- Mulching materials
- Water
- polythene pot
STAGE 1: LAND PREPARATION
The first thing I needed to do was to locate a suitable land space for the planting of the seeds. There are some criterias to looks at when it comes to land location and preparation. Firstly, since it's dry season, the land has to be located close to easily accessible water source as the plants enough water to grow and survive. Once these criterias are met, then the land is cleared and beds are made for the planting.
STAGE 2 : PLANTING
After the clearing and preparation of land, the cocoa seeds are planted on the already made seed bed wit little space between the seeds.
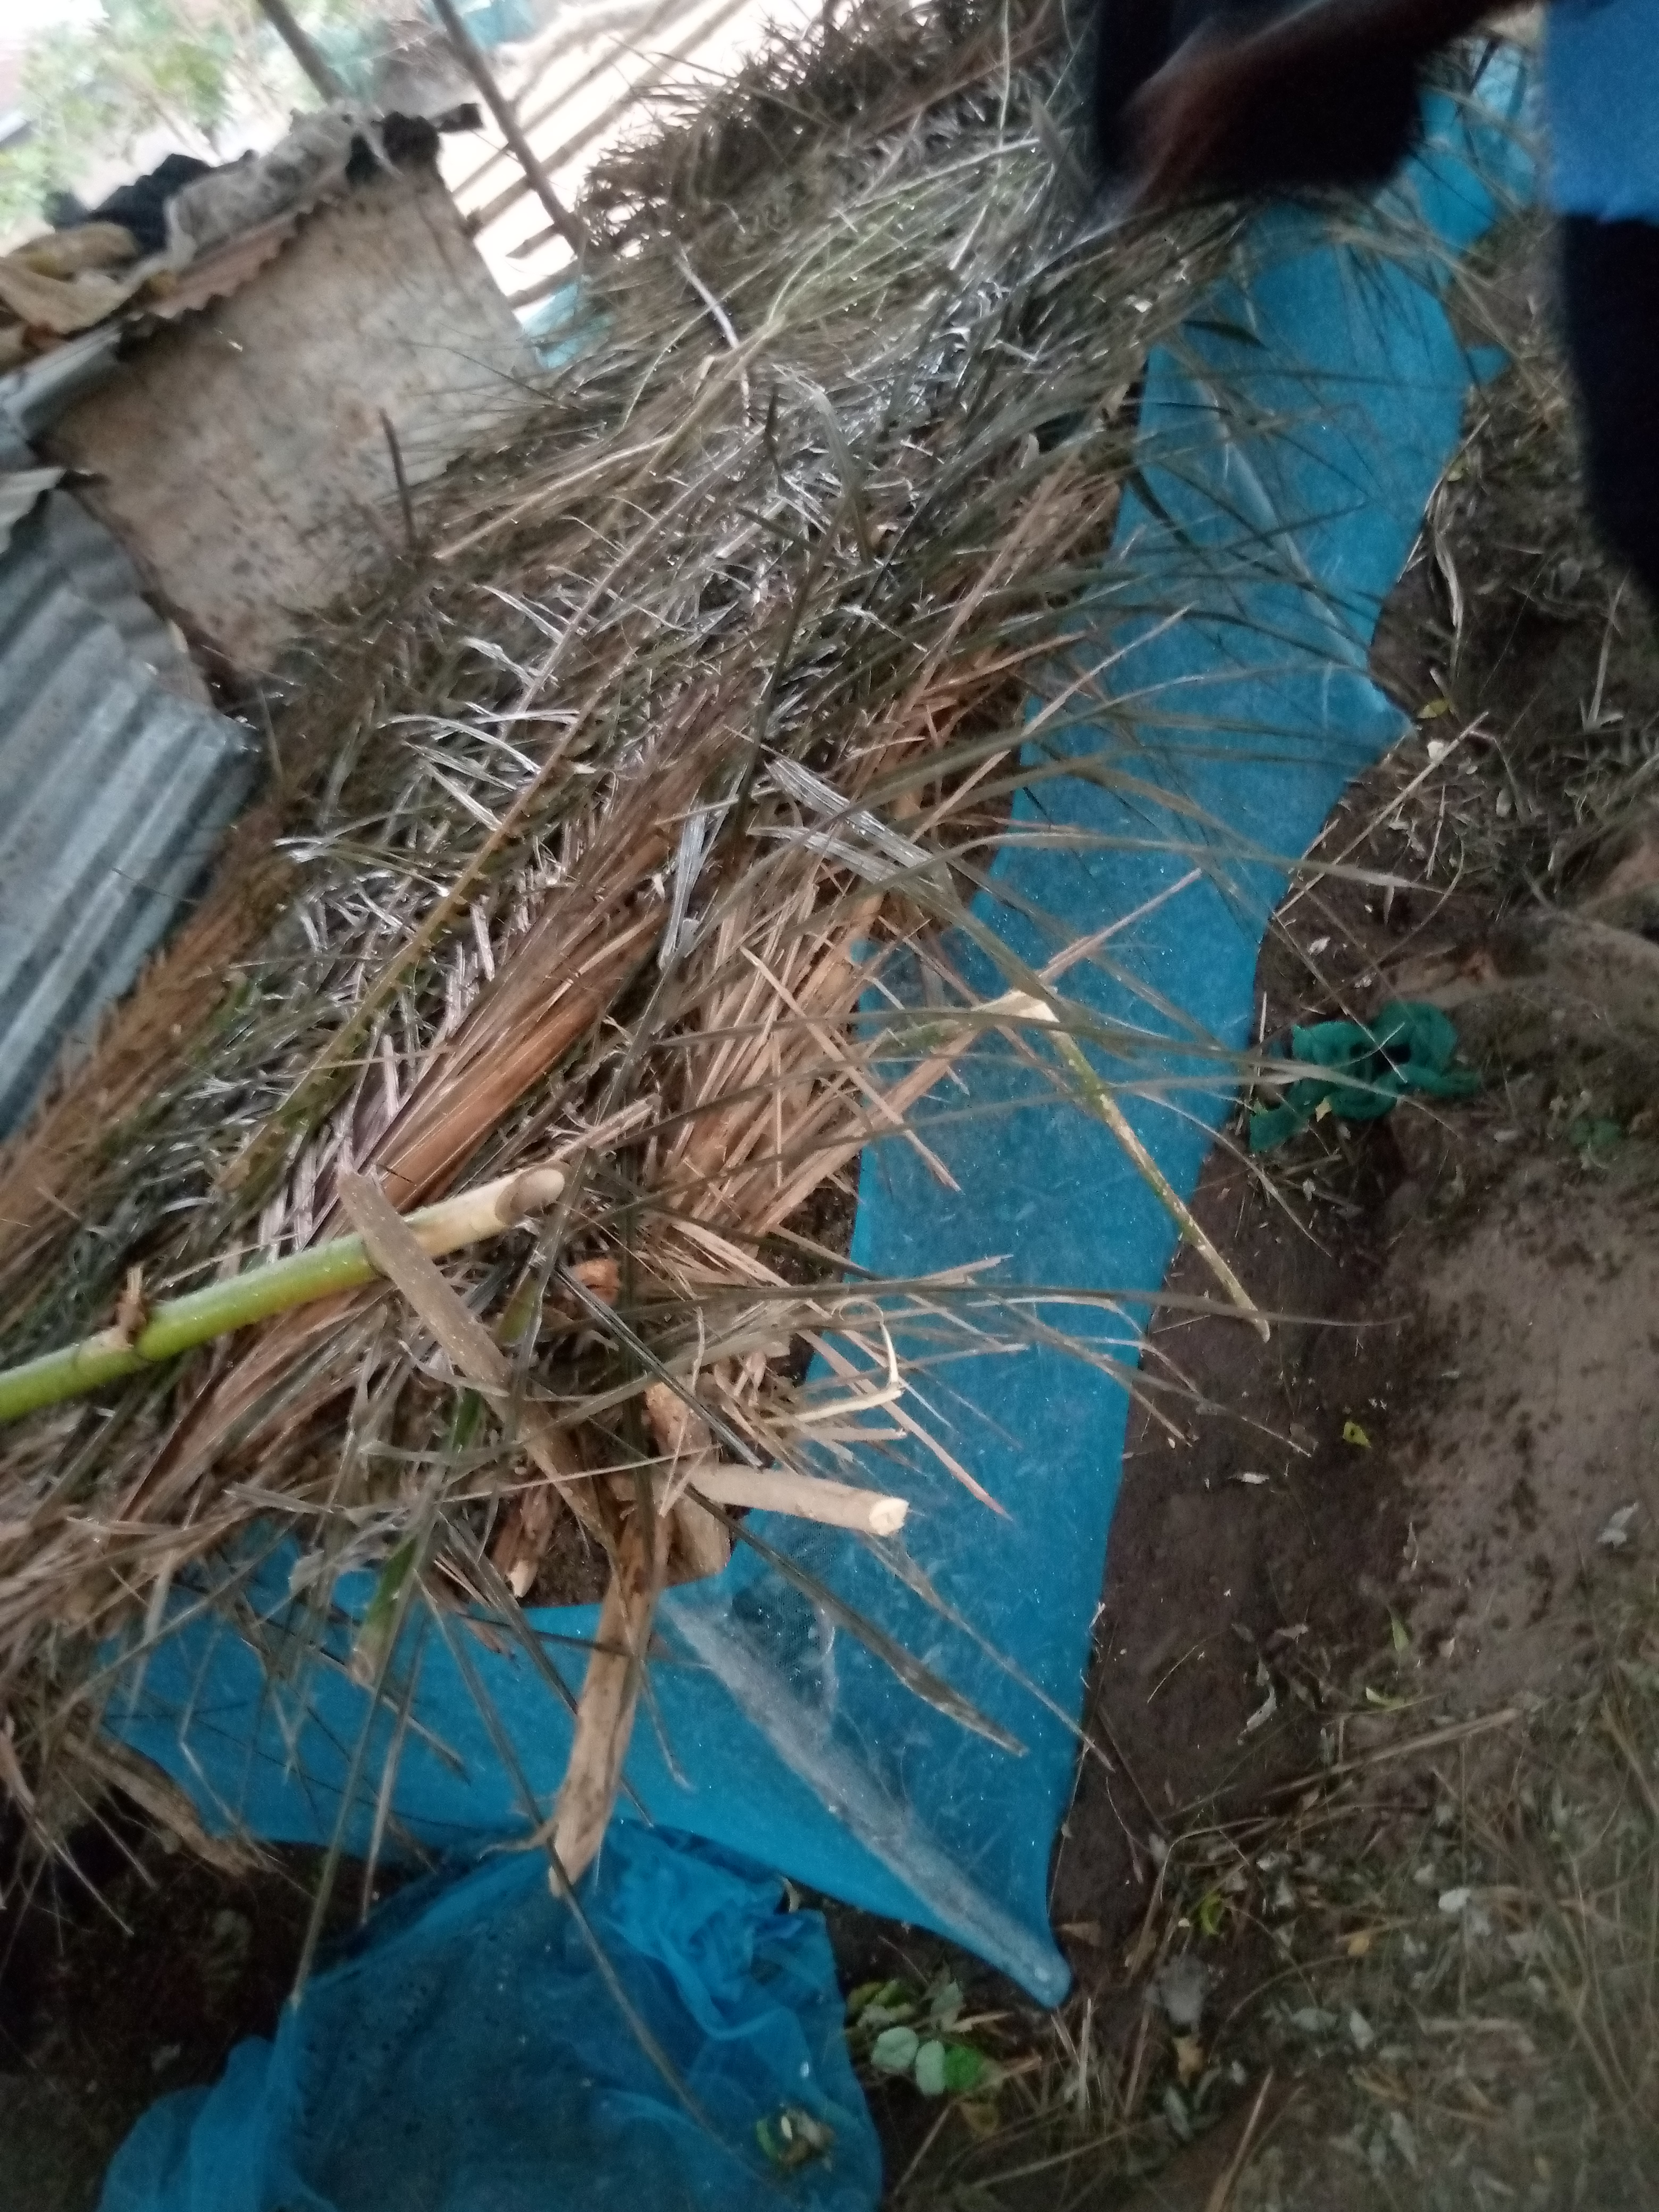
STAGE 3 MULCHING
Mulching is done mainly due to hot weather conditions as cocoa tends to thrive more in a cool environment. Mulching tends to reduce the rate of evaporation thereby preserving water for the growth of the seeds. I used two different mulching material as it is dry season presently. Saw dust is one and the other is palm leaves.

NOTE
After planting and mulching, protective nets can be used so as to prevent pest and animal infestation
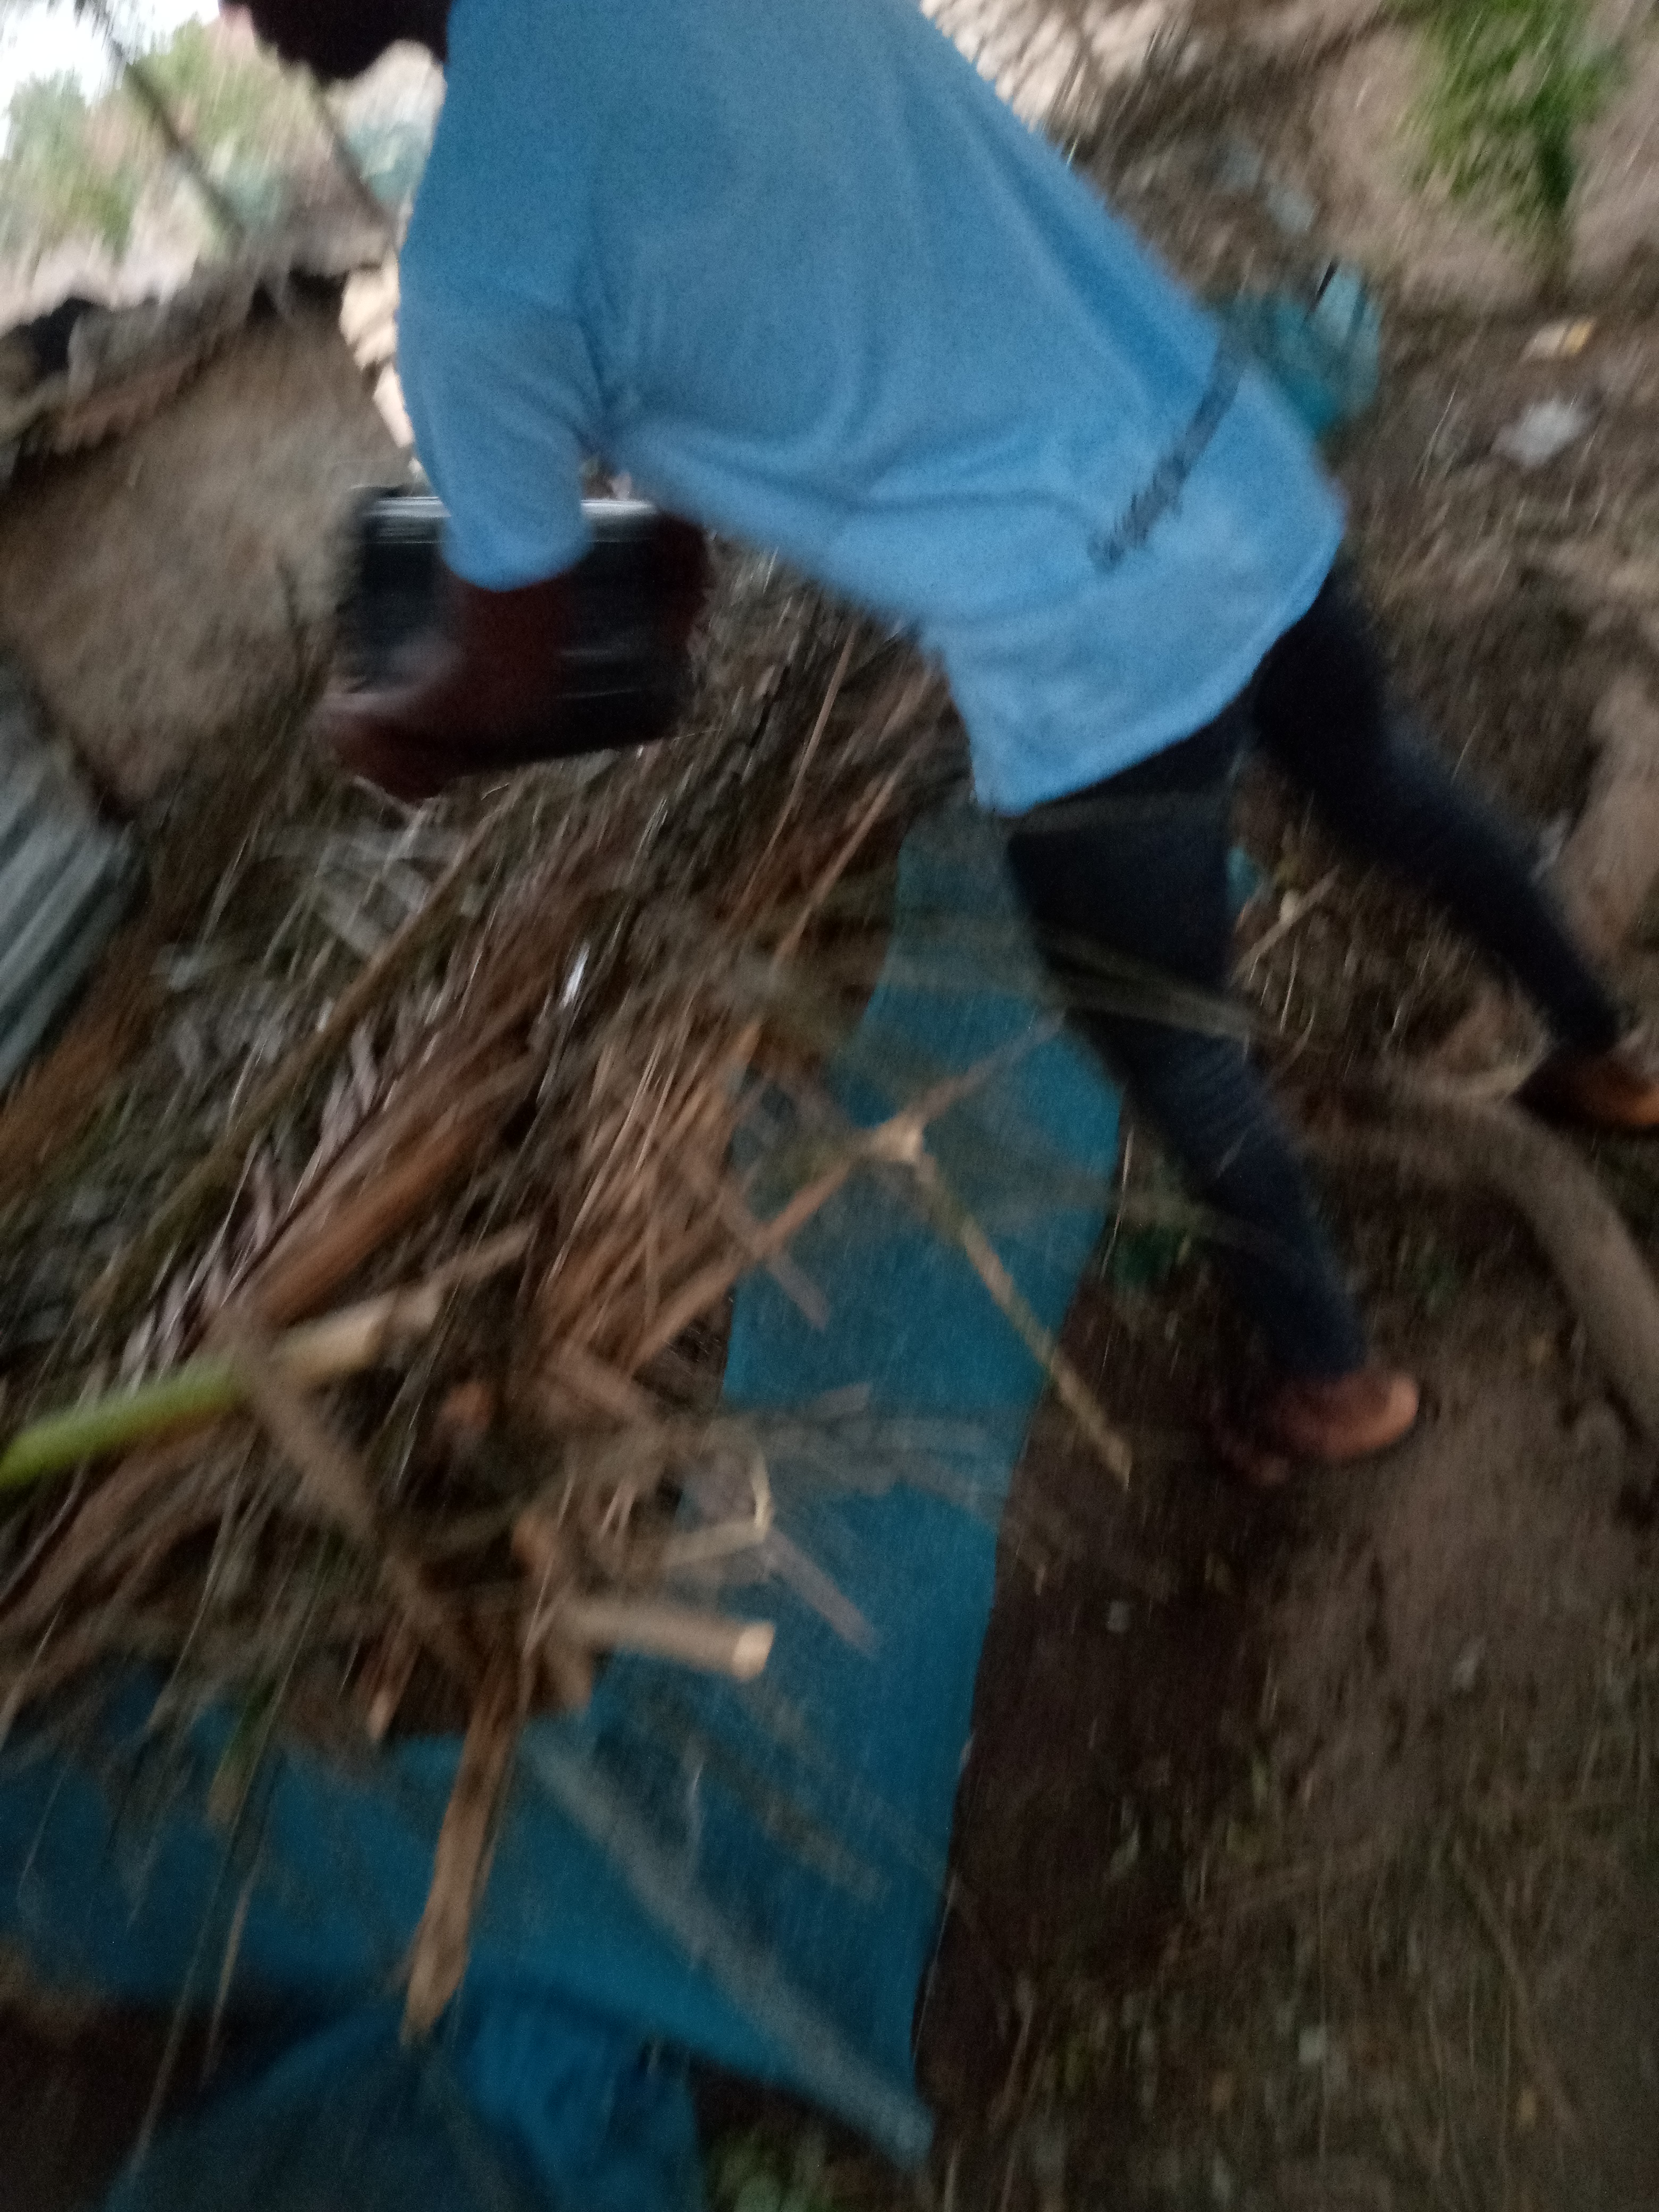
STAGE 4 WETTING
After the planting, a regime of constant wetting of the beds is in place. What I do is wet everyday twice a day. I wet very early in the morning and then towards evening time
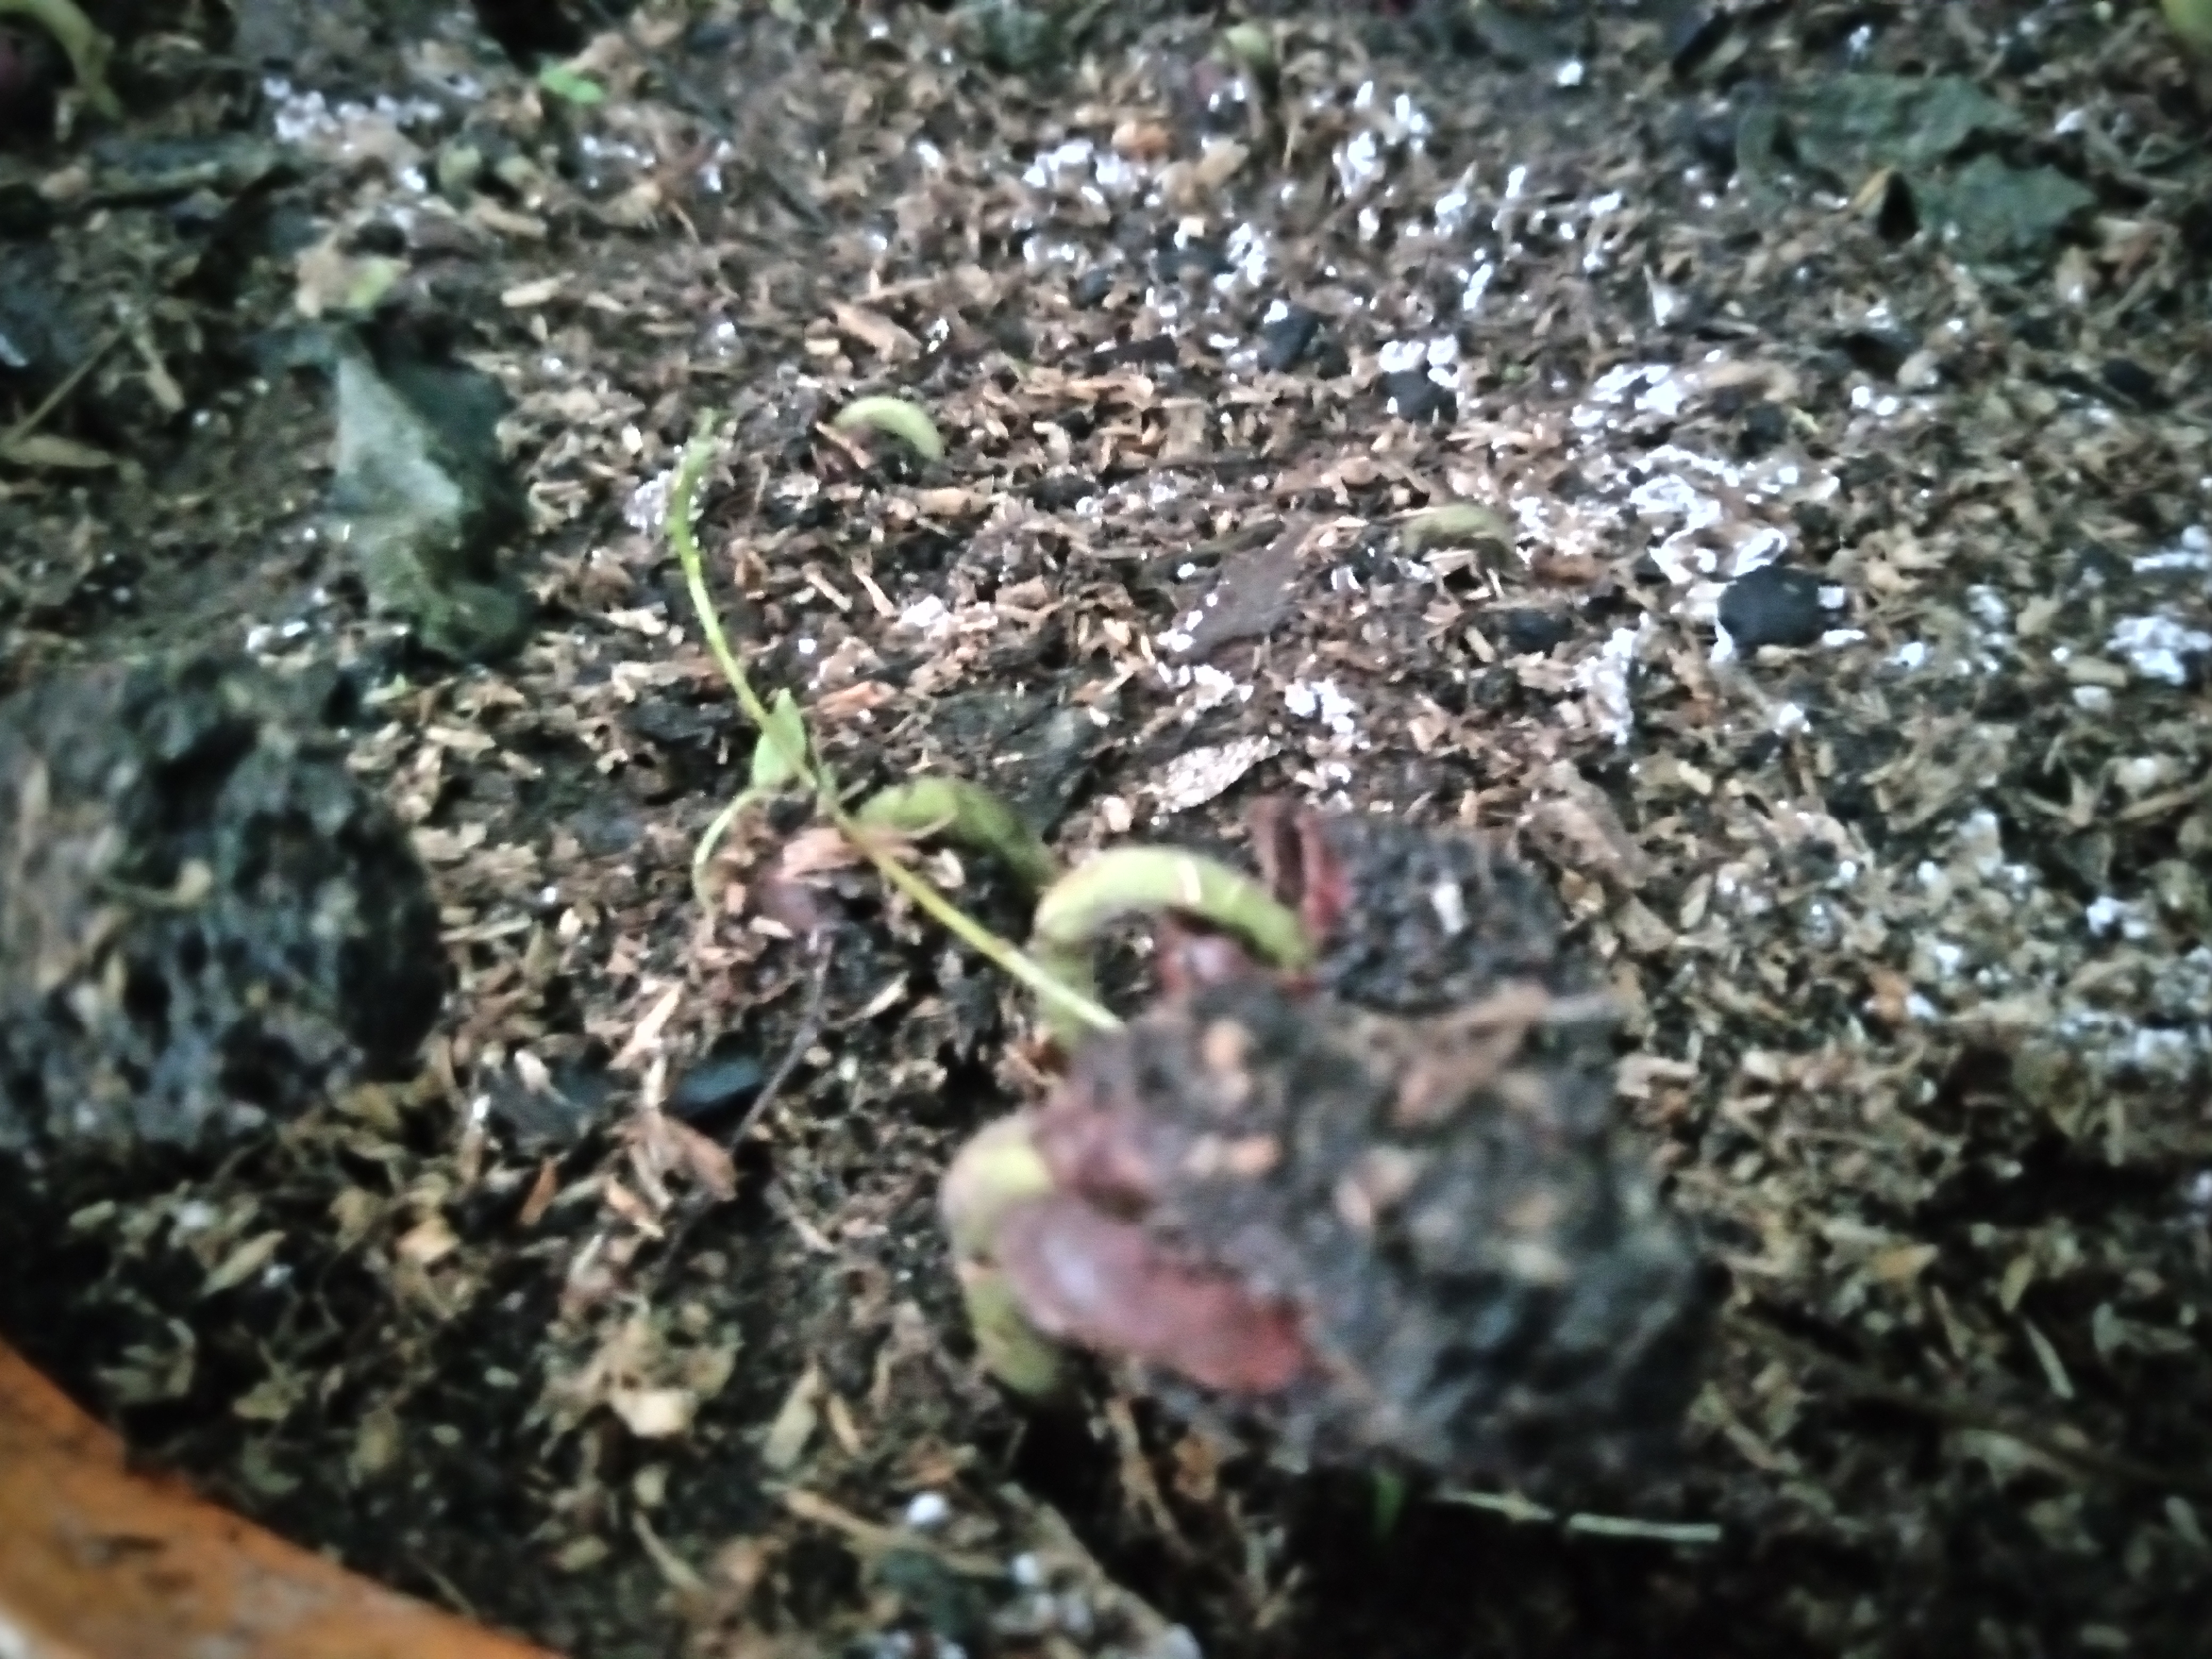
Presently the seeds are shooting out already and in some few weeks time it will be time for me to transfer them into a polythene pot

They are sprouting well and good so far
All of these was done in my backyard😀
Hopefully in a few weeks time I will be transferring them into a polythene pot and this post will be updated
Thank you all for viewing my post❤️❤️