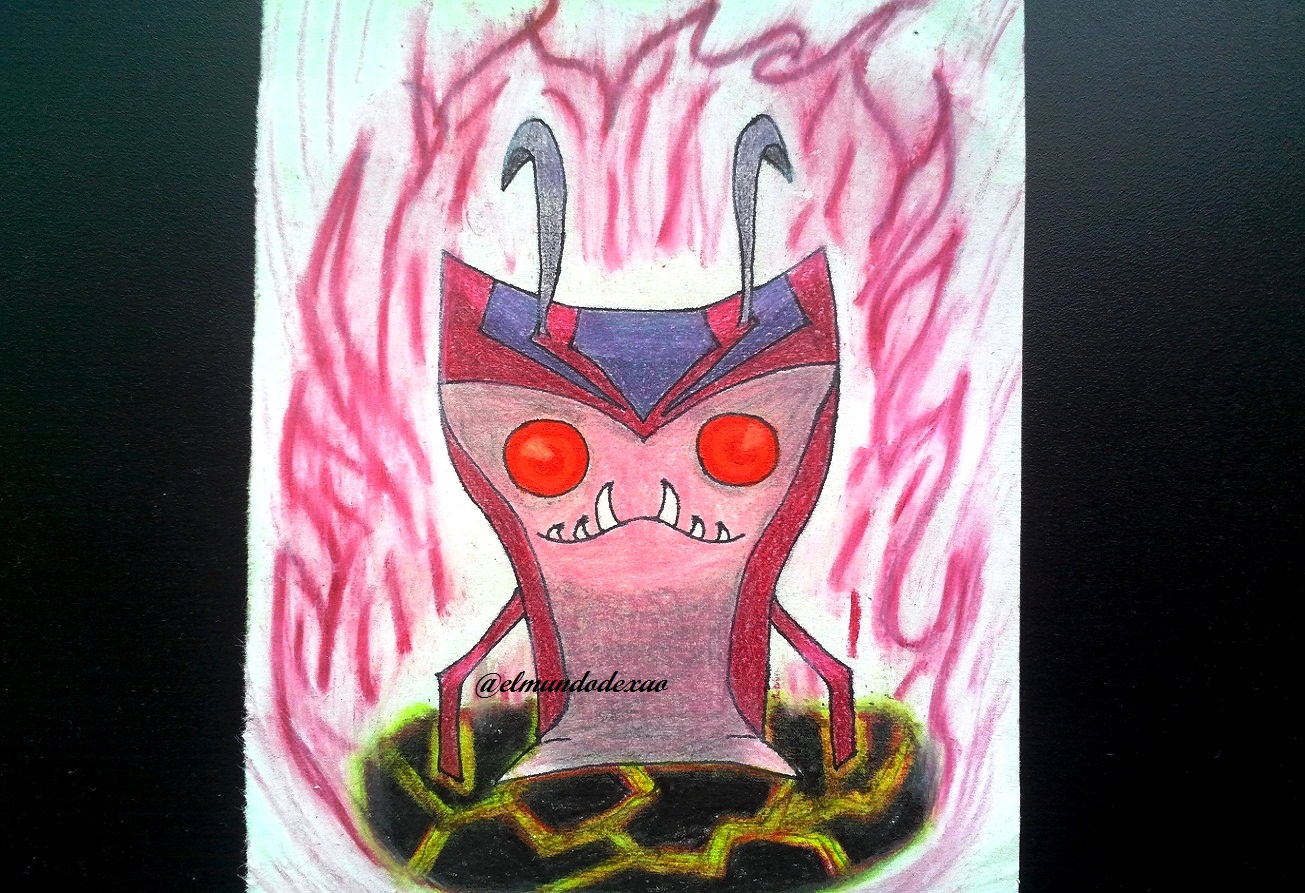
Hello Alien Art Hive community, I hope you have a good start of the week; today I will show you my new drawing of evil slugs from the animated series Bajoterra, this time it is the Grimmstone slug.
Here are the materials used: 52 g white bond paper, 0.5 mechanical pencil, 0.5 marker, eraser and colors (Variety of brands).
Before I continue, I will tell you that part of my learning is developed with videos or images searched on the Internet, so at the end I will leave you the link I used on this occasion.
Let's start with the step by step drawing:
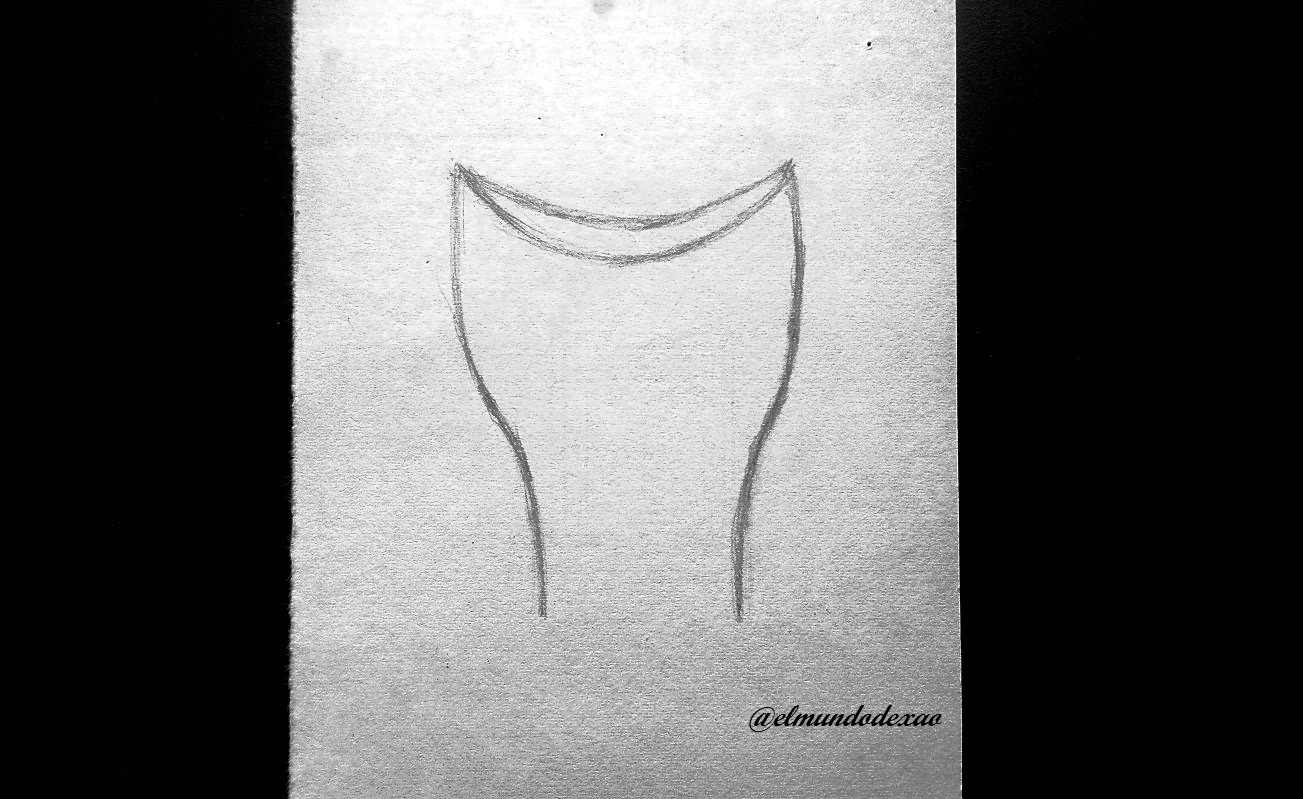
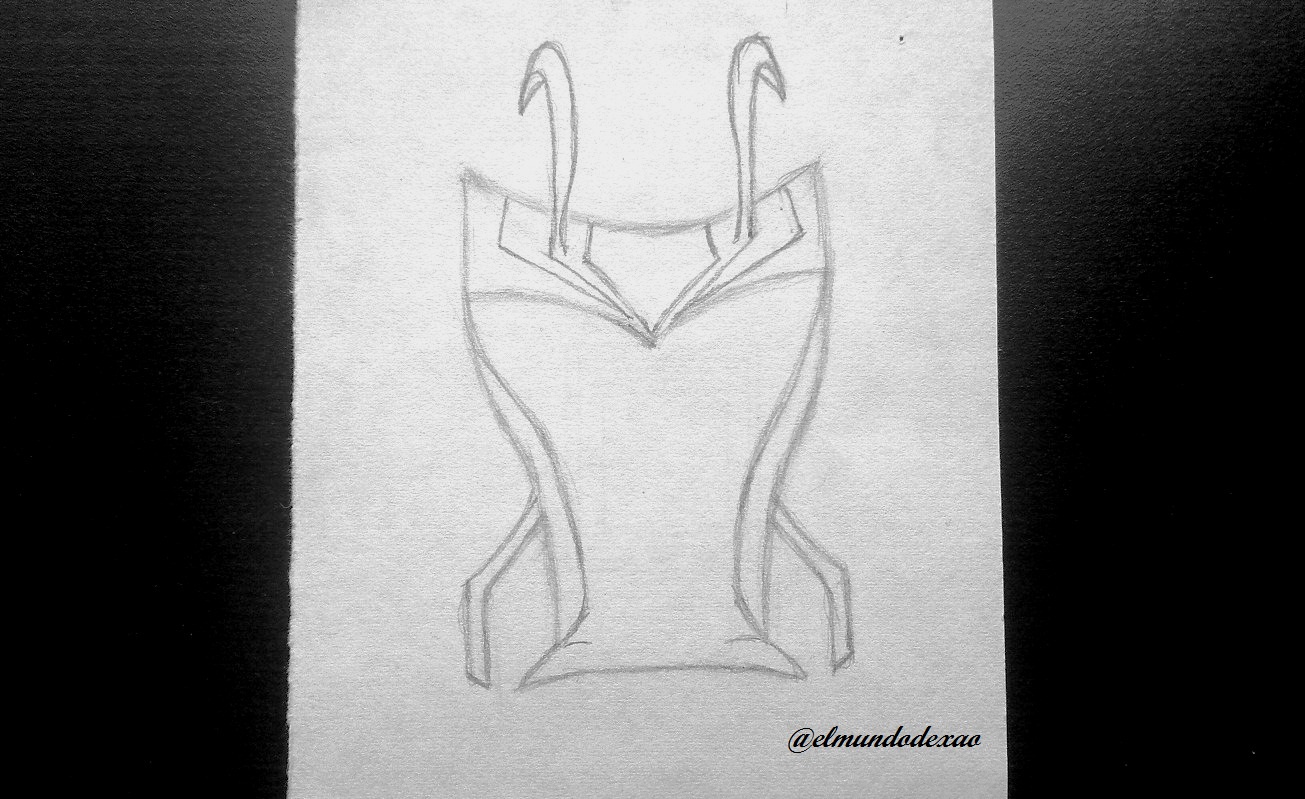
Step # 01: Well I am going to start with the tracing or definition of the head, which will look like a cup or something similar; as you can see the curved line above I had made it very low, then I traced another from the same points but less arched; even so my doubt increased and I was not sure how it would look better so I had to continue to the base and add some strokes to place the arms; finished the silhouette was easier to decide which of the arched lines I could leave, then I erased the one below.
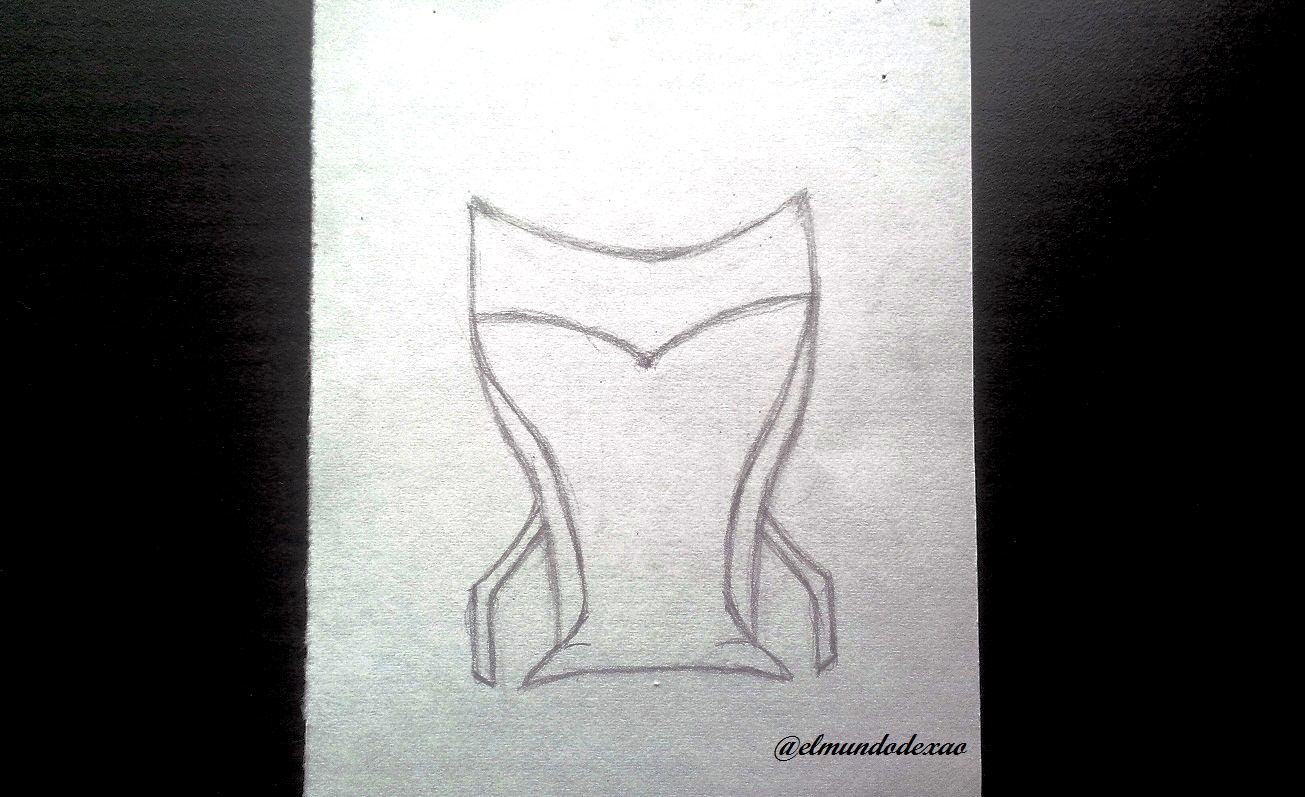
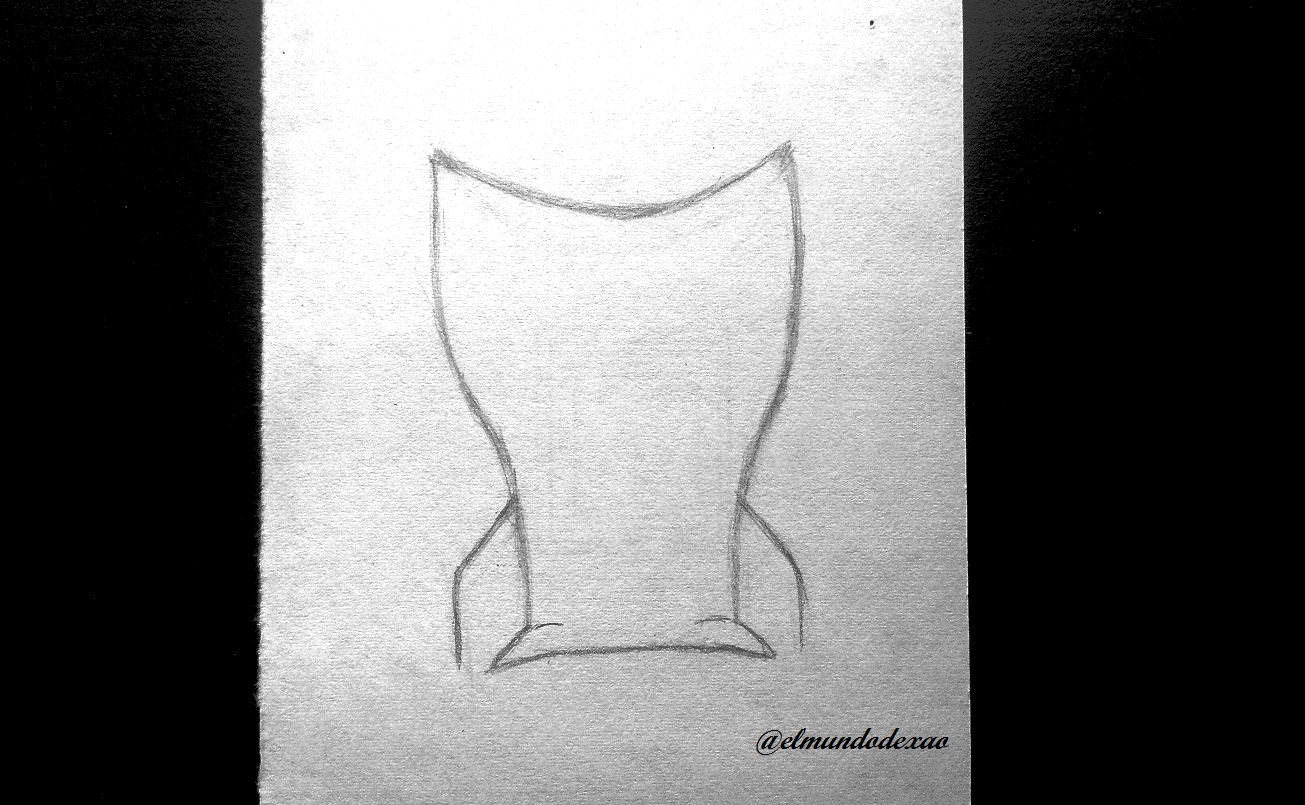 Step # 02: Already with the strokes I made for the arms, I just have to finish defining them and ready, now I will draw the lateral stripes that will serve to differentiate the belly and the face from the rest of the body. The easy thing here is that I only have to be guided by the ones that are ready and if you pay attention and try to just observe the internal lines you will see that it looks like a cup as I mentioned; in the part of the head I draw two arched lines in such a way that they join in the center, this should look like the head is flat and a little bit curved.
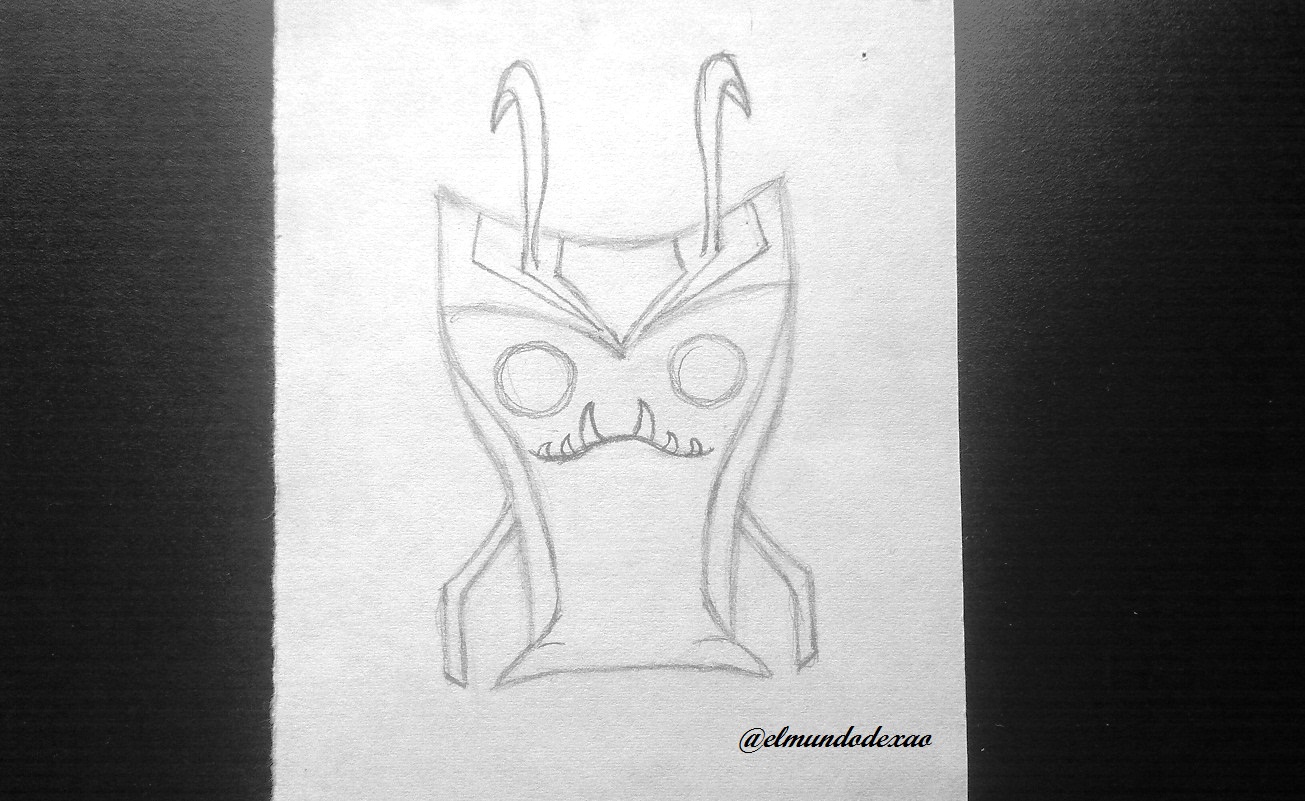
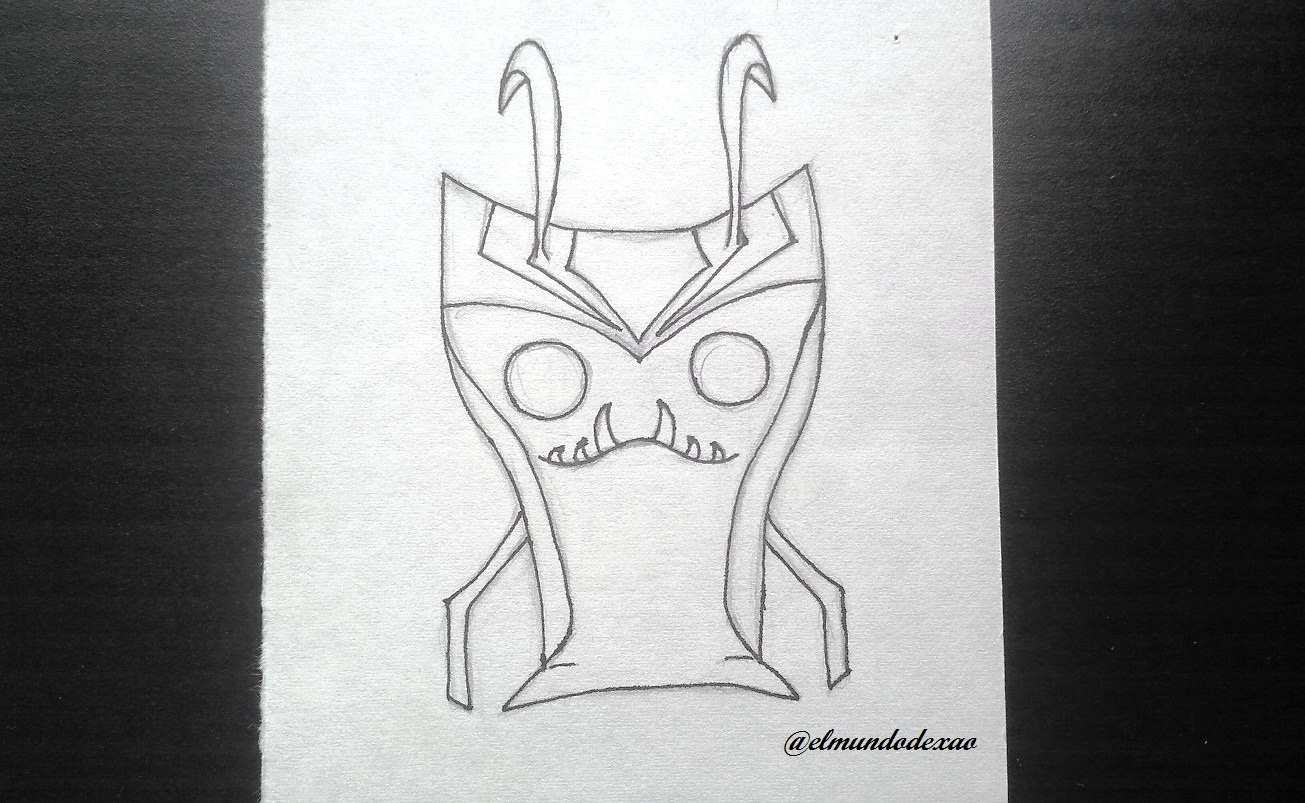
 Step # 03: In this part is where you start to notice what I told you; the head should look flat and curved and the striping I'm doing should help to give it that look, I also take the opportunity to draw the horns that are similar to hooks pointing backwards. For the eyes I will only need to make a couple of circles and for the mouth I will draw a wavy line to give it a terrifying look, without forgetting the fangs, which will be arched towards the center.
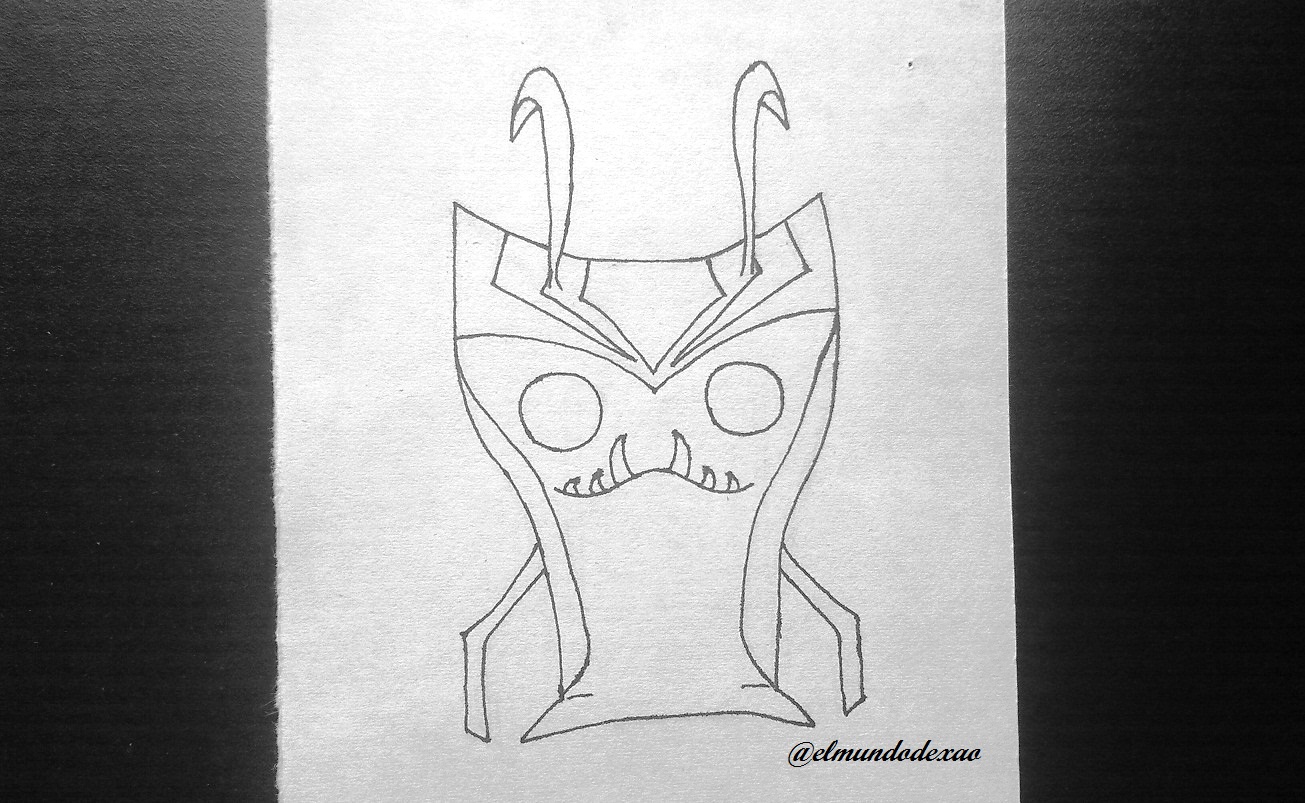
 Step # 04: As always the inking can not be missing as it greatly improves the outline of our drawing; you have to be very careful and remember, or better to check how far each line goes because on several occasions I have gone beyond the point where it ends. For example of the three lines of the head, the ones that go to the sides have a point, that is to say, they should not touch any of the others, but with all this graphite it is easy to make a mistake. Once the inking is finished, I proceed to erase and clean up to see if any detail is missing.
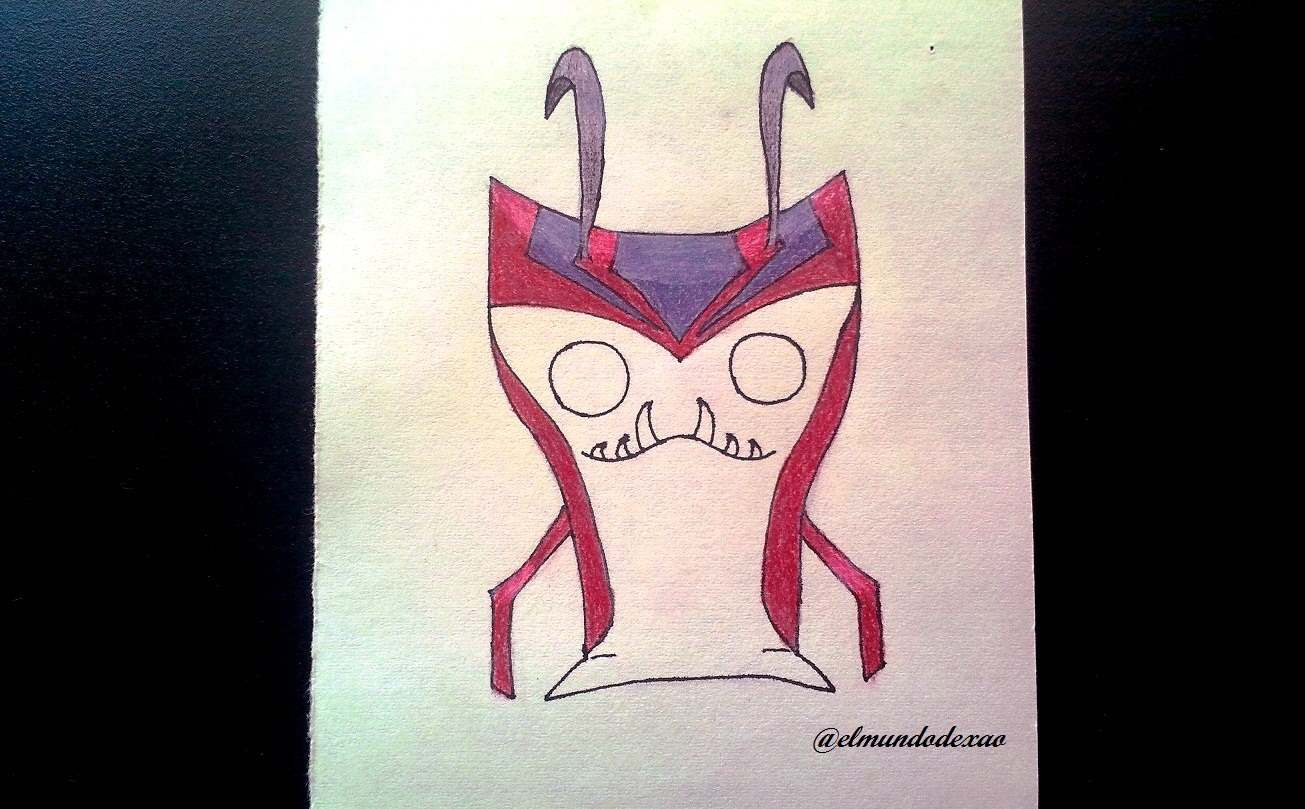
 Step # 05: I begin to color and I will do it for the horns with a little purple and black; for the stripes on the head I will use a bluish gray, for what is left of the head I will use a carmine as well as on the sides and arms. For the flat part of the head I will use a little white to lighten the two colors that I had already placed.
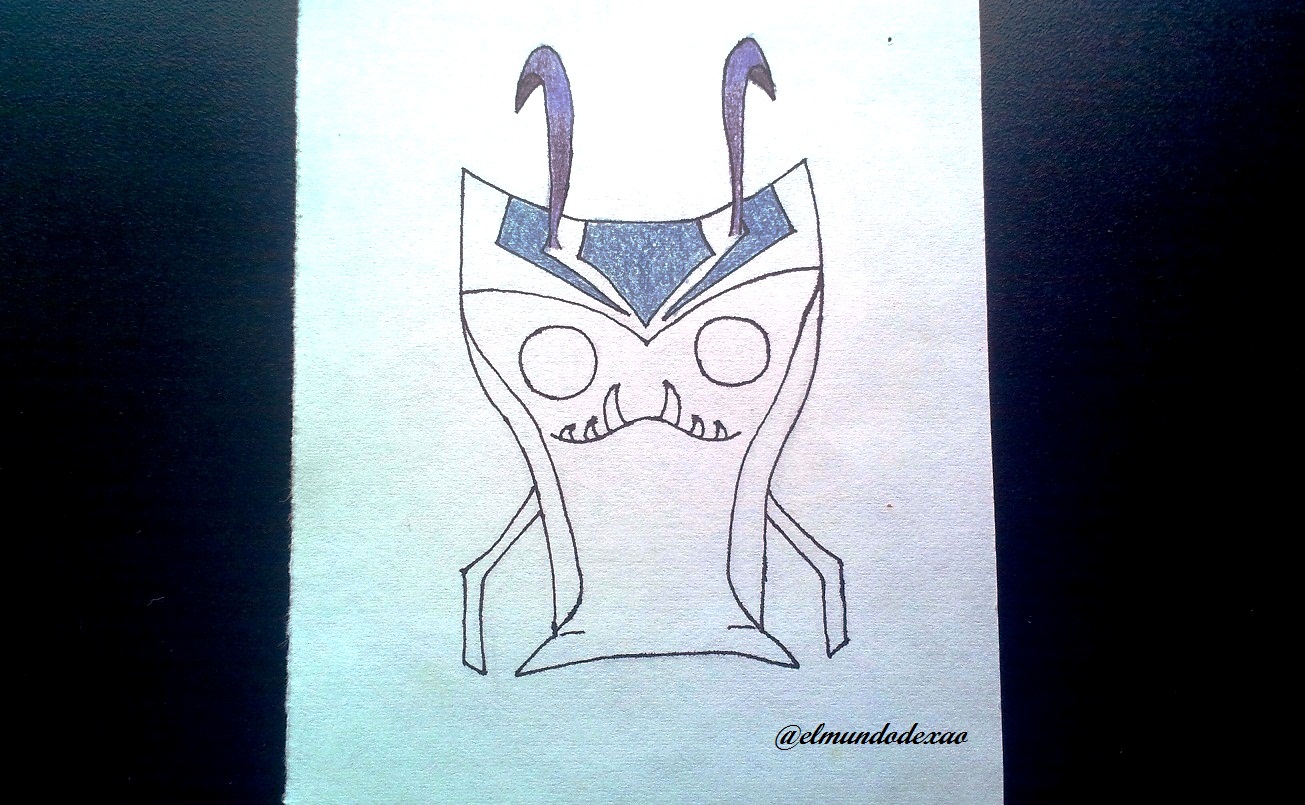
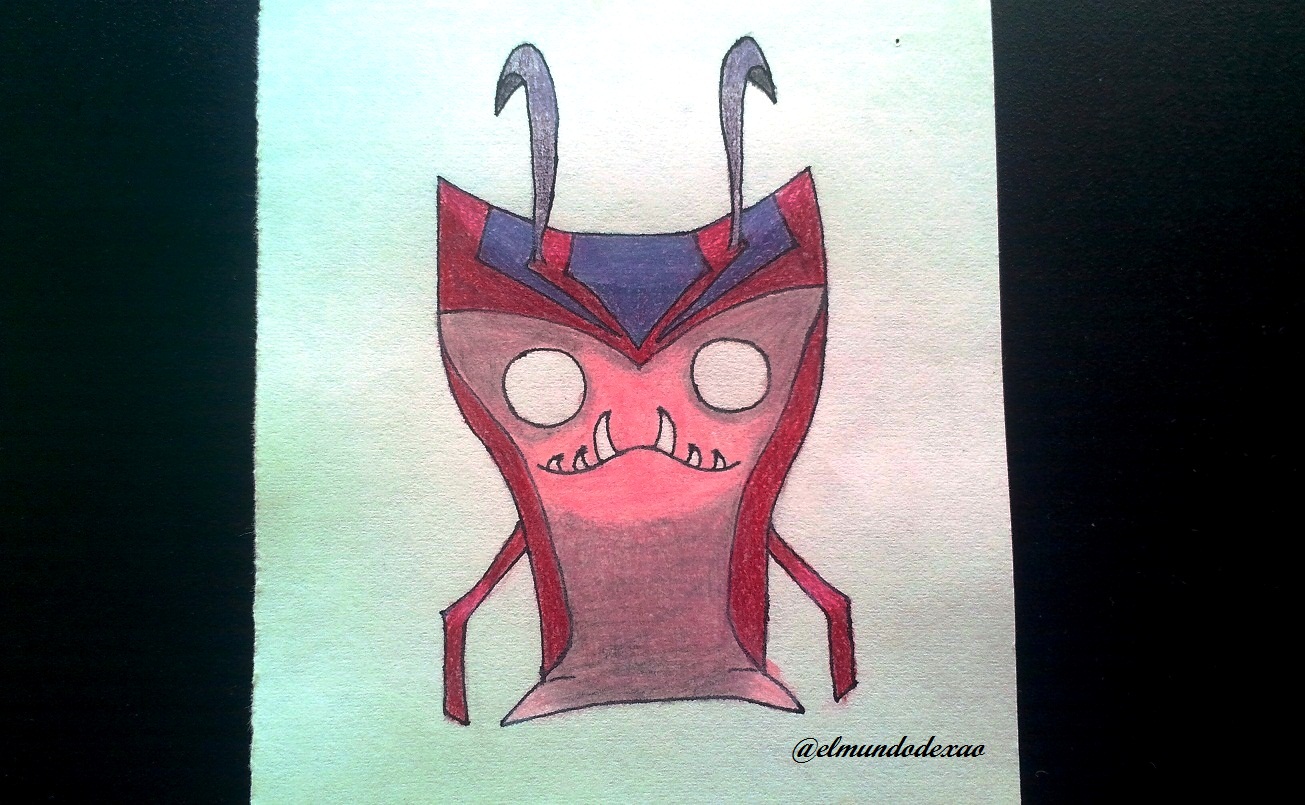
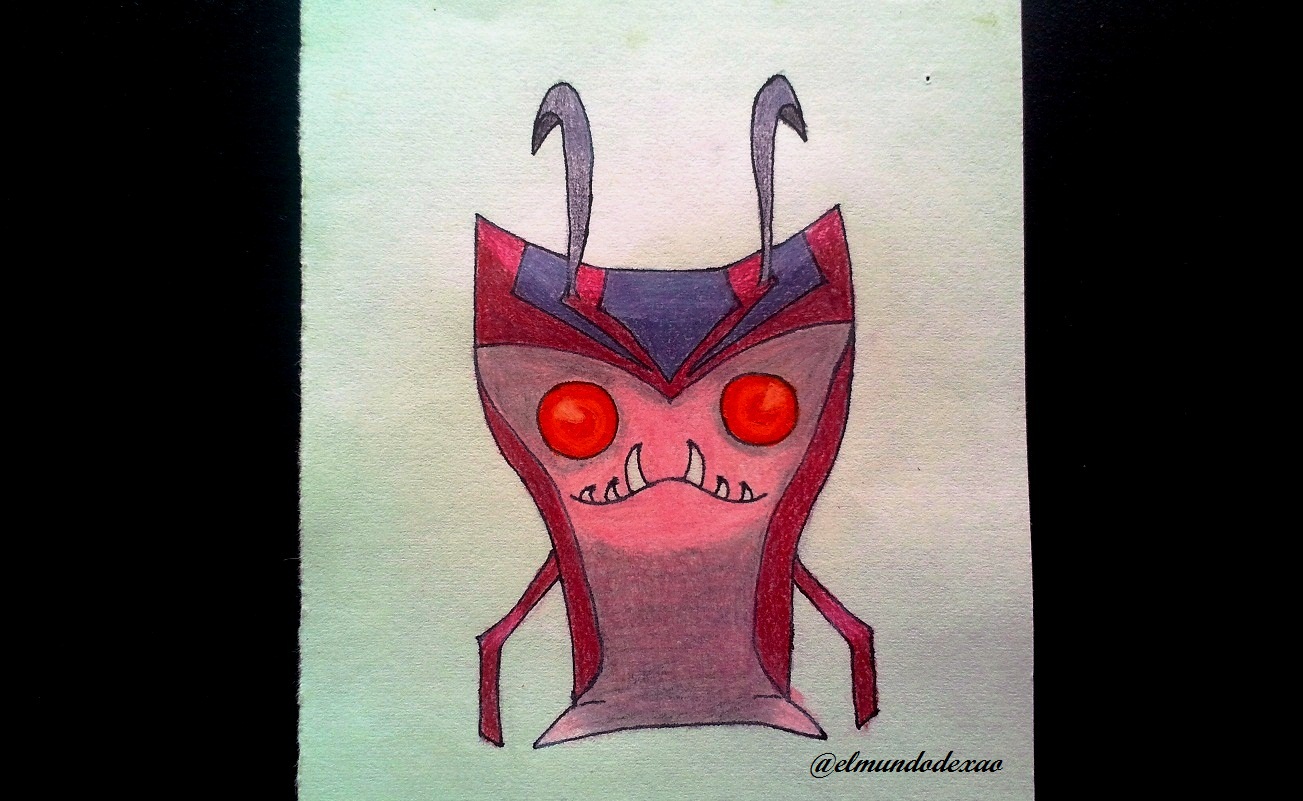
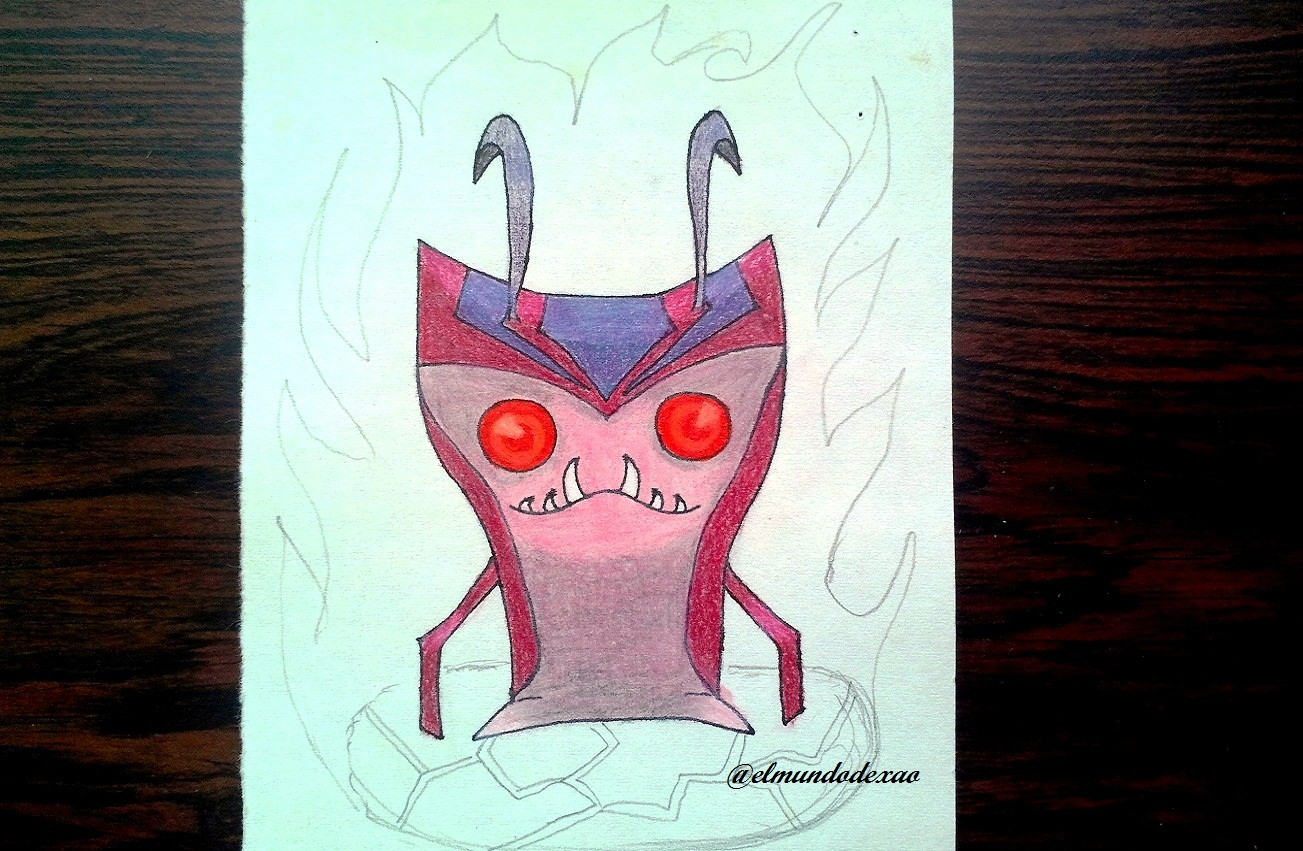
 Step # 06: For the face and the belly I will use a pink color and then with a light gray I proceed to define the darker parts; to finish I use a red color in the eyes and define the pupils making a ring with the white color, which is barely noticeable. With that I would finish the slug.
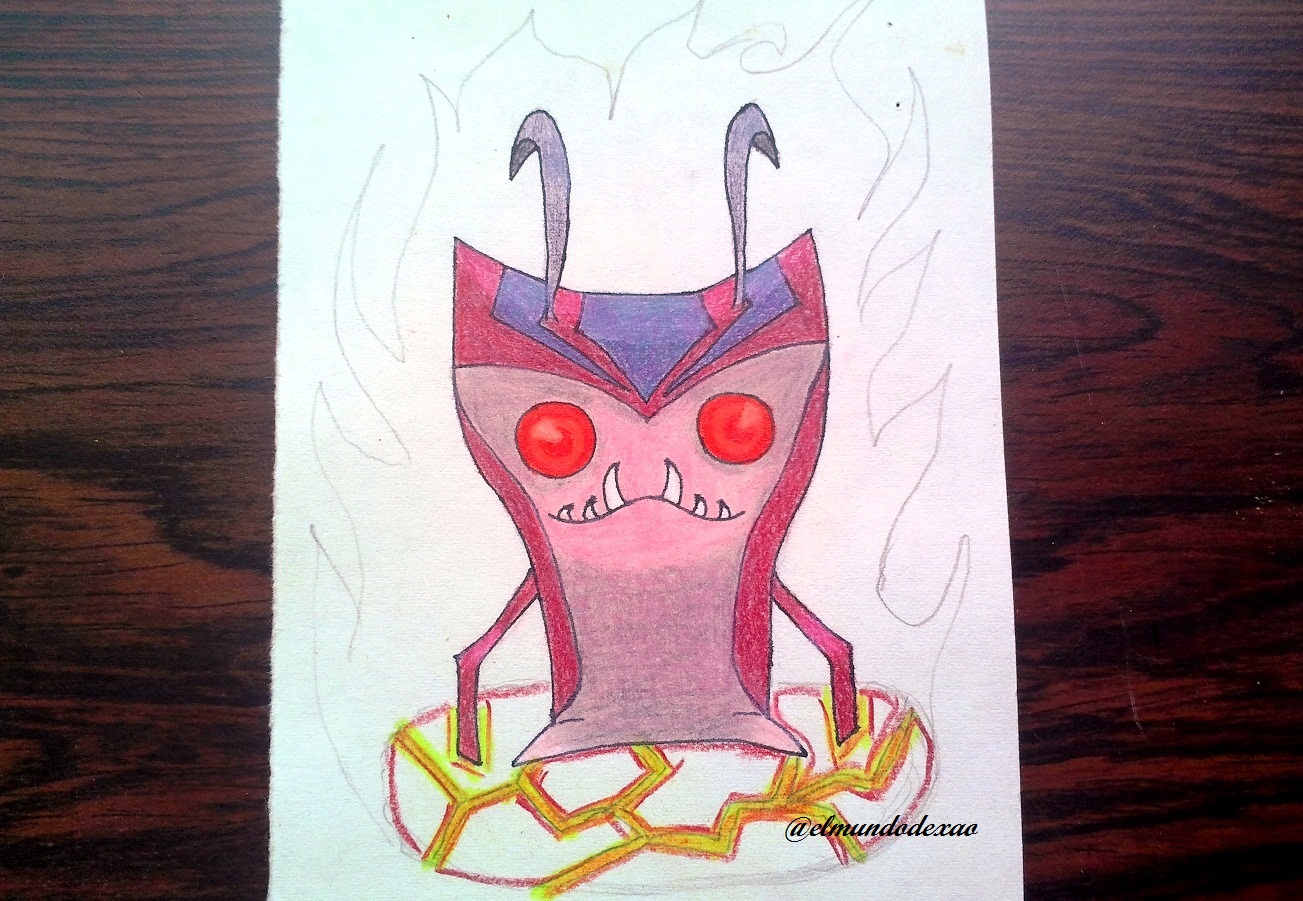
 Step # 07: Once the drawing is finished I will create an environment and for this character I have decided to make a cracked floor surrounded by a flame of red fire. After drawing it I color the cracks yellow and add a little bit of carmine.
 Step # 08: I will use the black color for each fragment of the ground and the flame will be carmine; only coloring the border and some internal strokes and then I will use the white color to blur all the flame. This is the end of this publication; I say goodbye wishing you a nice morning, afternoon or evening depending on your location.
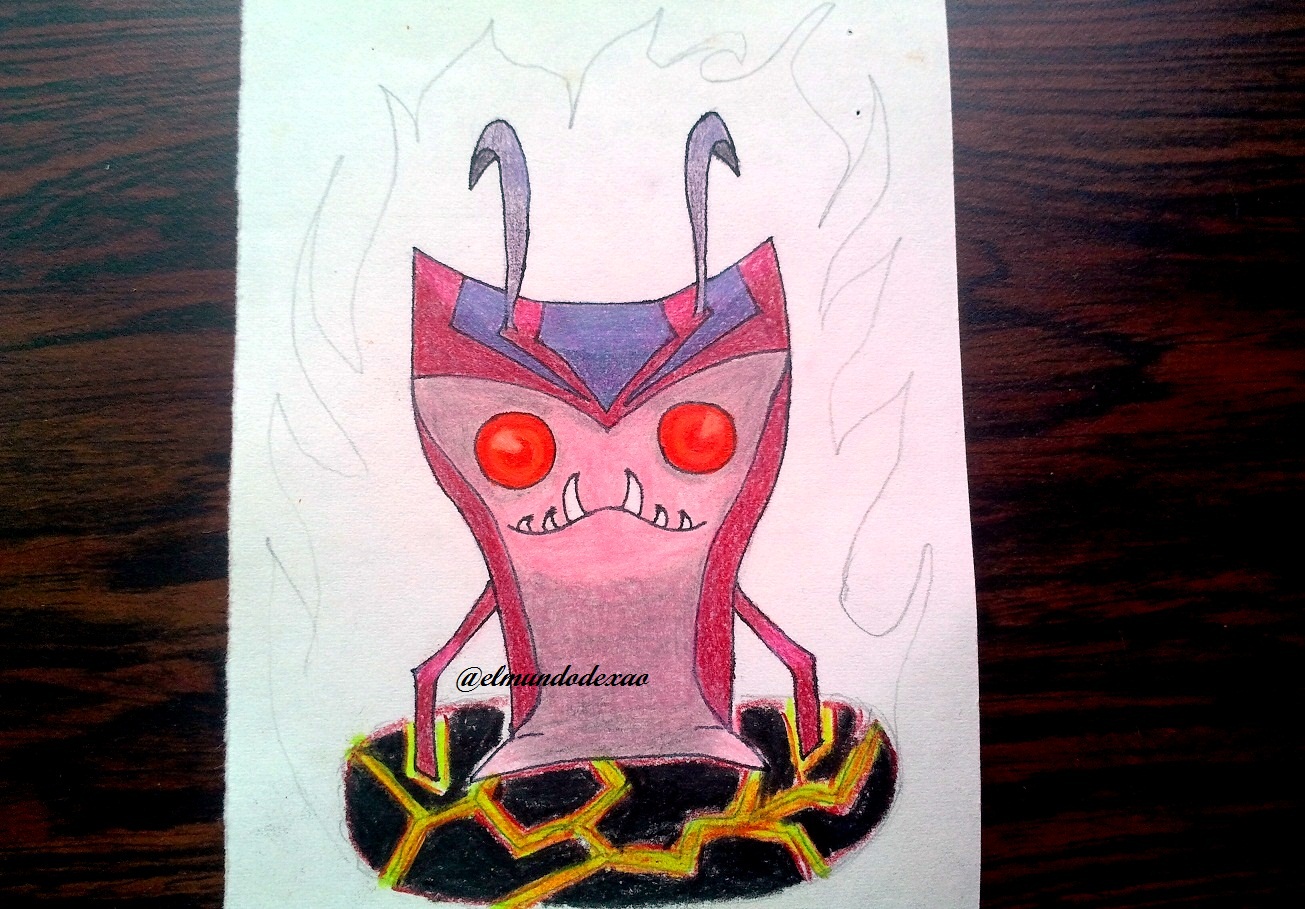
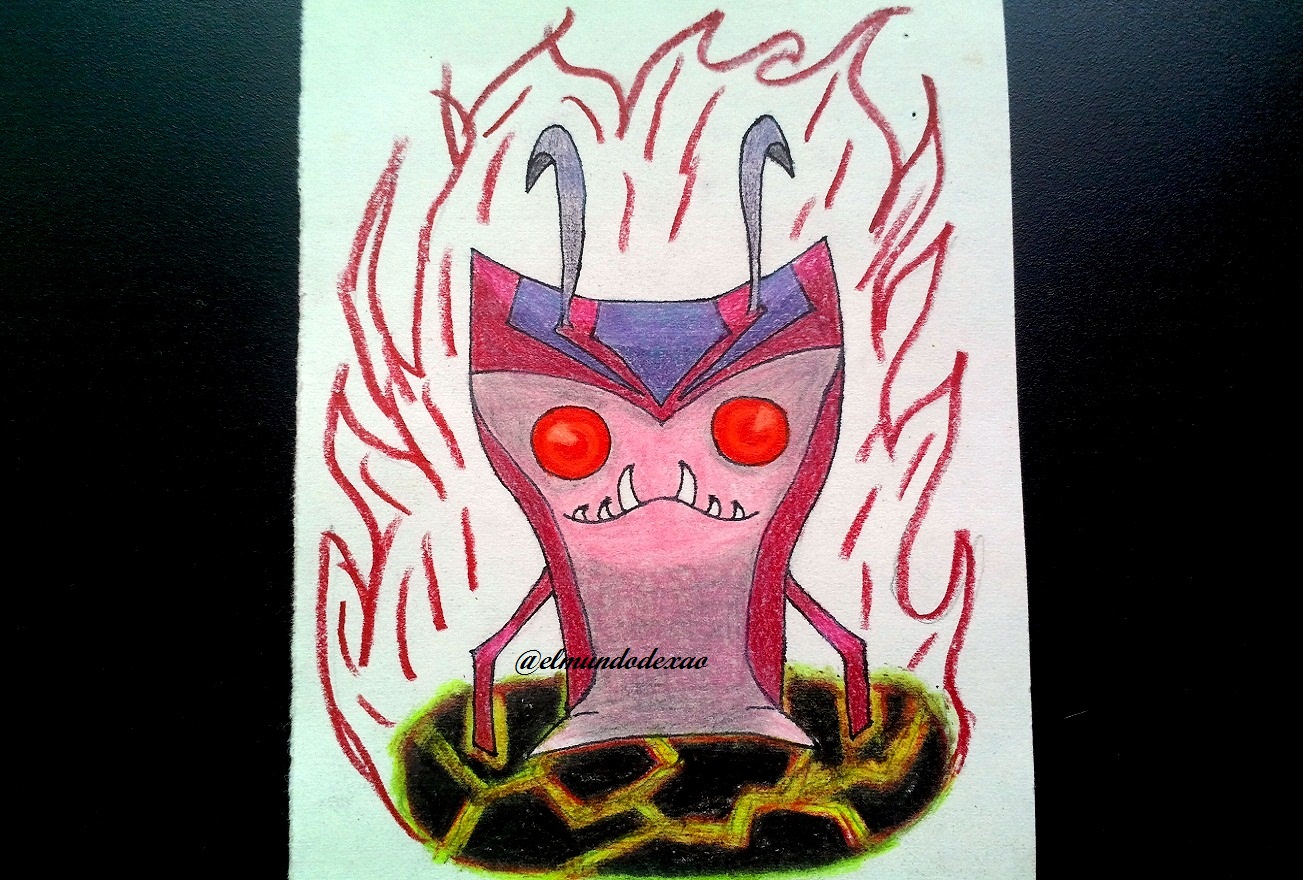
Photo Source: Own photos captured with a Síragon camera.
Modified size: With the Paint Program.
Thanks for visiting my Blog… AH! Don't forget to vote, reblogear, and comment.
Translated with:

www.DeepL.com/Translator (free version)

Dibujando la Babosa Grimmstone de Bajoterra.
Hola comunidad de Alien Art Hive, espero tengan un buen inicio de semana; hoy les mostrare mi nuevo dibujo de babosas malvadas de la serie animada bajoterra, para esta ocasión se trata de la babosa Grimmstone.
A continuación menciono los materiales utilizados: Papel bond blanco de 52 g, portaminas 0.5, rotulador de 0.5, borrador y colores (Variedad de marcas).
Antes de continuar les comento que parte de mi aprendizaje lo desarrollo con vídeos o imágenes buscadas en Internet por lo que al final les dejare el enlace que use en esta ocasión.
Comencemos con el paso a paso del dibujo:
Paso # 01: Bueno voy a comenzar con el trazado o definición de la cabeza, la cual tendrá el aspecto de una copa o algo parecido; como podrán observar la línea curva de arriba la había hecho muy abajo, luego trace otra desde los mismos puntos pero menos arqueada; aun así mi dudad aumento y no estaba segura de cómo quedaría mejor por lo que tuve que continuar hasta la base y agregarle unos trazos para ubicar los brazos; terminada la silueta fue más fácil decidir cuál de las líneas arqueadas podía dejar, entonces borre la que estaba abajo.
Paso # 02: Ya con los trazos que hice para los brazos, solo tengo que terminar de definirlos y listo, ahora dibujare las rayas laterales que servirán para diferenciar la panza y la cara del resto del cuerpo. Lo fácil aquí es que solo tengo que guiarme por las que ya están listas y si le ponen atención y tratan de solo observar las líneas internas verán que si se parece a una copa como les había mencionado; en la parte de la cabeza trazo dos líneas arqueadas de tal forma que se unan en el centro, esto debería verse como que la cabeza es chata y un poco curva.
Paso # 03: En esta parte es donde comienza a notarse lo que les comente; la cabeza debe verse chata y curva y el rayado que estoy haciendo debería ayudar a darle ese aspecto, también aprovecho y dibujo los cuernos que son semejantes a unos ganchos que apuntan para atrás. Para los ojos solo necesitare hacer un par de círculos y para la boca trazare una línea ondulada que logre darle un aspecto aterrador, sin olvidar los colmillos, los cuales estarán arqueados hacia el centro.
Paso # 04: Como siempre el entintado no puede faltar ya que mejora notablemente el trazado de nuestro dibujo; hay que tener mucho cuidado y recordar, o mejor revisar hasta donde llega cada línea ya que en varias ocasiones me he pasado del punto donde termina. Por ejemplo de las tres rayas de la cabeza, las que van a los lados tienen una punta, es decir, no deben tocar ninguna de las otras, pero con todo este grafito es fácil equivocarse. Una vez terminado el entintado procedo a borrar y limpiar para poder apreciar si falta algún detalle.
Paso # 05: Comienzo a colorear y lo hare por los cuernos con un poco de morado y negro; para las rayas en la cabeza utilizare un gris azulado, para lo que falta de la cabeza utilizare un carmín al igual en los lados y brazos. Para la parte chata de la cabeza utilizo un poco de blanco para aclarar los dos colores que ya había colocado.
Paso # 06: Para la cara y la panza utilizare un color rosado y luego con un gris claro procedo a definir las partes más oscuras; para terminar utilizo un color rojo en los ojos y defino las pupilas haciendo un aro con el color blanco, que apenas se note. Con eso daría por terminada la babosa.
Paso # 07: Una vez terminado el dibujo me dedicare a crear un entorno y para este personaje he decidido hacer un piso agrietado rodeado de una flama de fuego rojo. Luego de dibujarlo coloreo las grietas de amarillo y agrego un poco de carmín.
Paso # 08: Usare el color negro para cada fragmento del suelo y la flama será carmín; solo coloreando el borde y algunos trazos internos y luego utilizare el color blanco para difuminar toda la flama. Así doy por terminada esta publicación; me despido deseándoles una linda mañana, tarde o noche según sea su localización.
Fuente de Fotos: Propias capturadas con una cámara Síragon.
Modificado el tamaño: Con el Programa Paint.
Gracias por visitar mi Blog… ¡AH! No se olvide de votar, rebloguear y comentar.
@tipu curate
Upvoted 👌 (Mana: 10/50) Liquid rewards.
Hi @magicmonk, thanks for reading me and supporting my post.

I wish you a great day.