Hello friends...
Welcome to my blog I hope you are having a great time; This is my first participation in this Splinterlands art contest; I've only been playing for a few weeks but I haven't bought the book yet since I decided to learn a little more about the game; Mycelestial Infantry is one of the standard cards that come in the game and it belongs to the rare earth element type. It has a special ability which is "Shield" which reduces the damage of melee and ranged attacks; it has seven life; three shield; one speed; three melee attack and I like to use it when my opponent has several cards with melee and ranged attacks; so I can avoid as much damage as possible.
Next I mention the materials used: white bond paper, pencil # 2, 0.5 marker, eraser and colors (Variety of brands).
Before continuing I remind you that at the end I will leave you the link I used on this occasion.
Let's start with the step by step drawing:
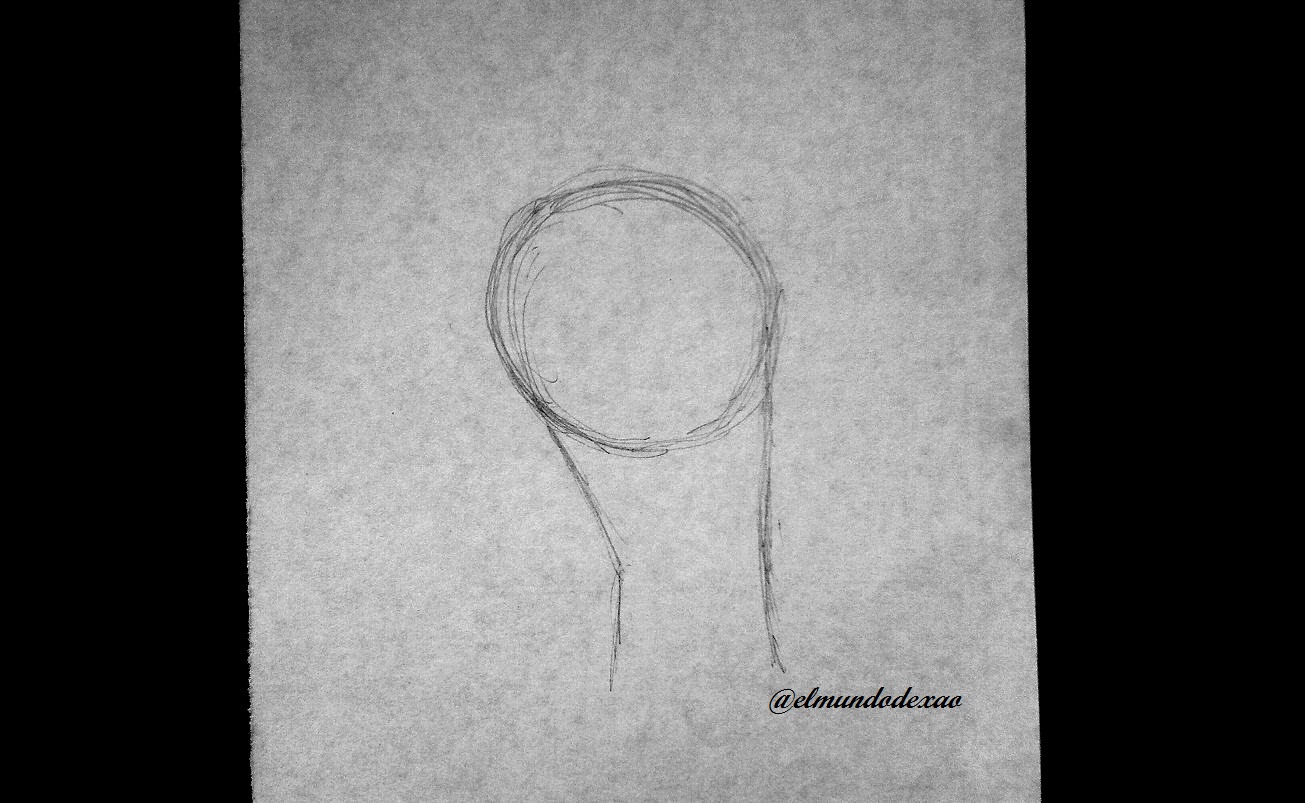
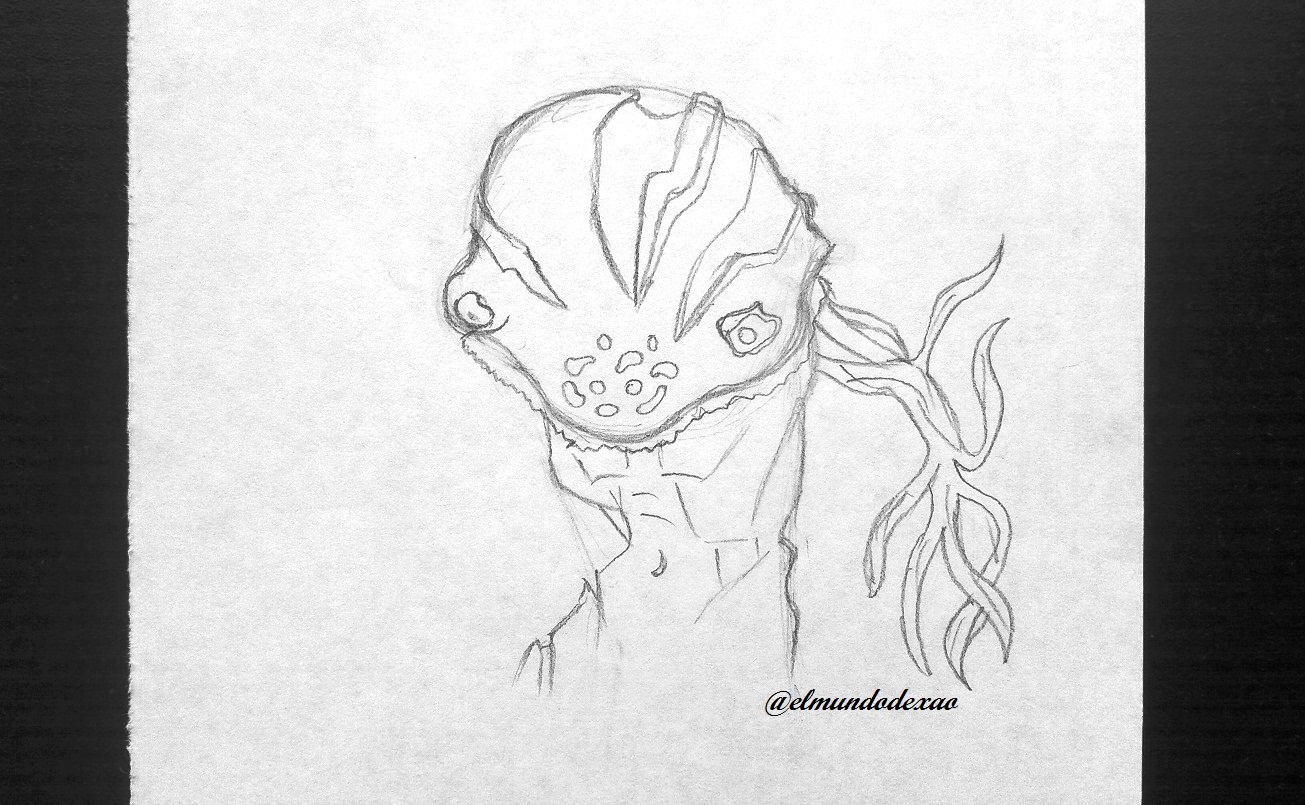
Step # 01: To start I draw a circle to determine the size and position of the head and then I draw a couple of vertical lines which will help me to orient myself in the dimensions of the body; once the silhouette is ready I can begin to shape it and I will do it by the features of the face since it is somewhat complicated due to the large cheekbones and that reptilian aspect or something like that. As for the torso it should have a slim but strong and fibrous appearance.
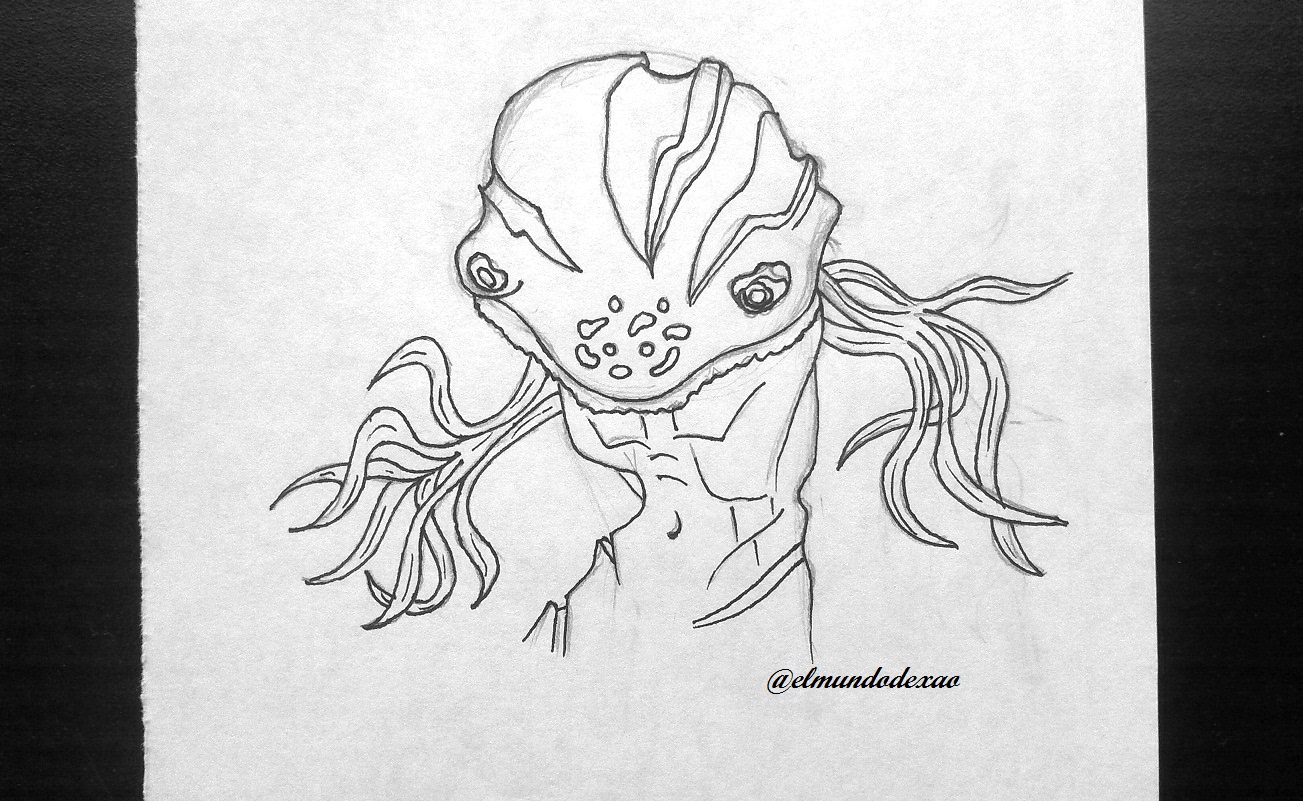
 Step # 02: Now I will define the features of the face such as his eyes, scars and spots and I will add that kind of beard that gives him an unpleasant touch; to continue I dedicate myself to the arms that would be something like tentacles but that have the appearance of moving algae; what I mean is that it seems that they are underwater.
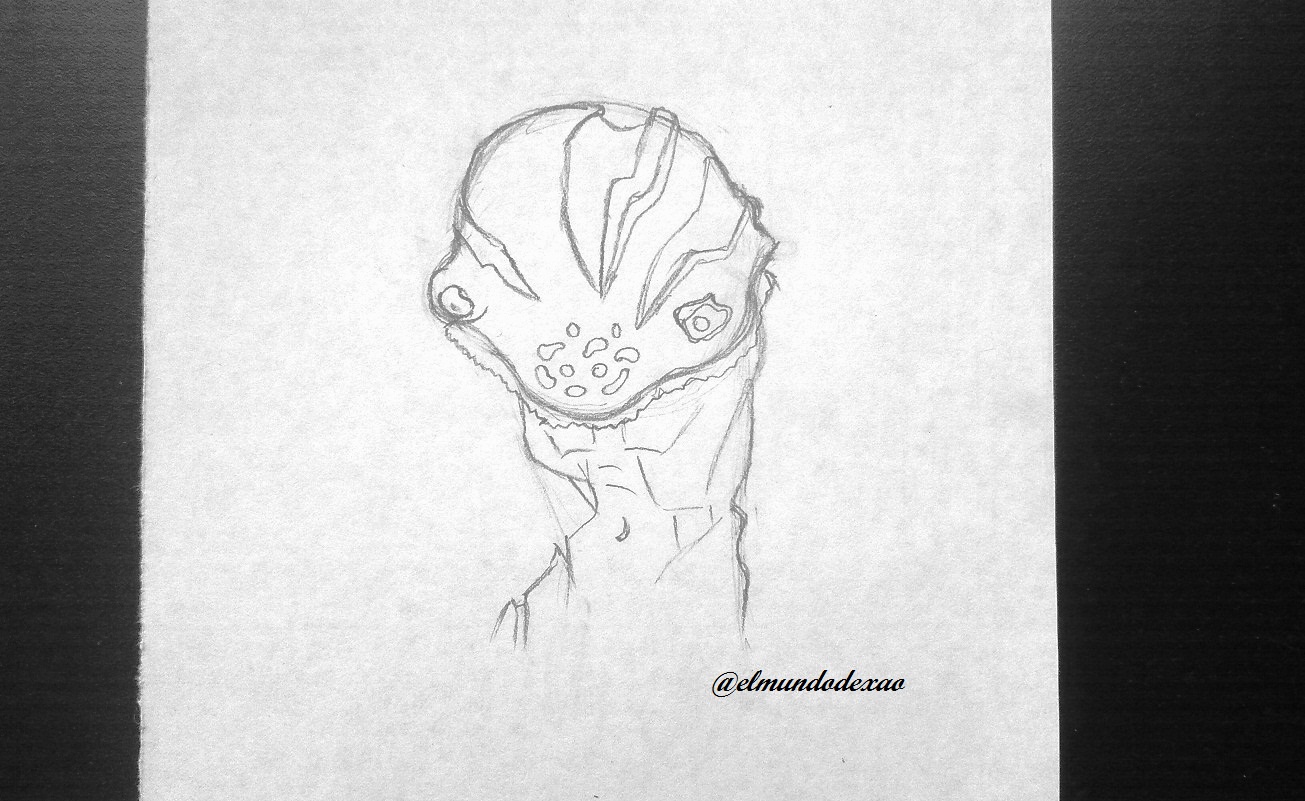
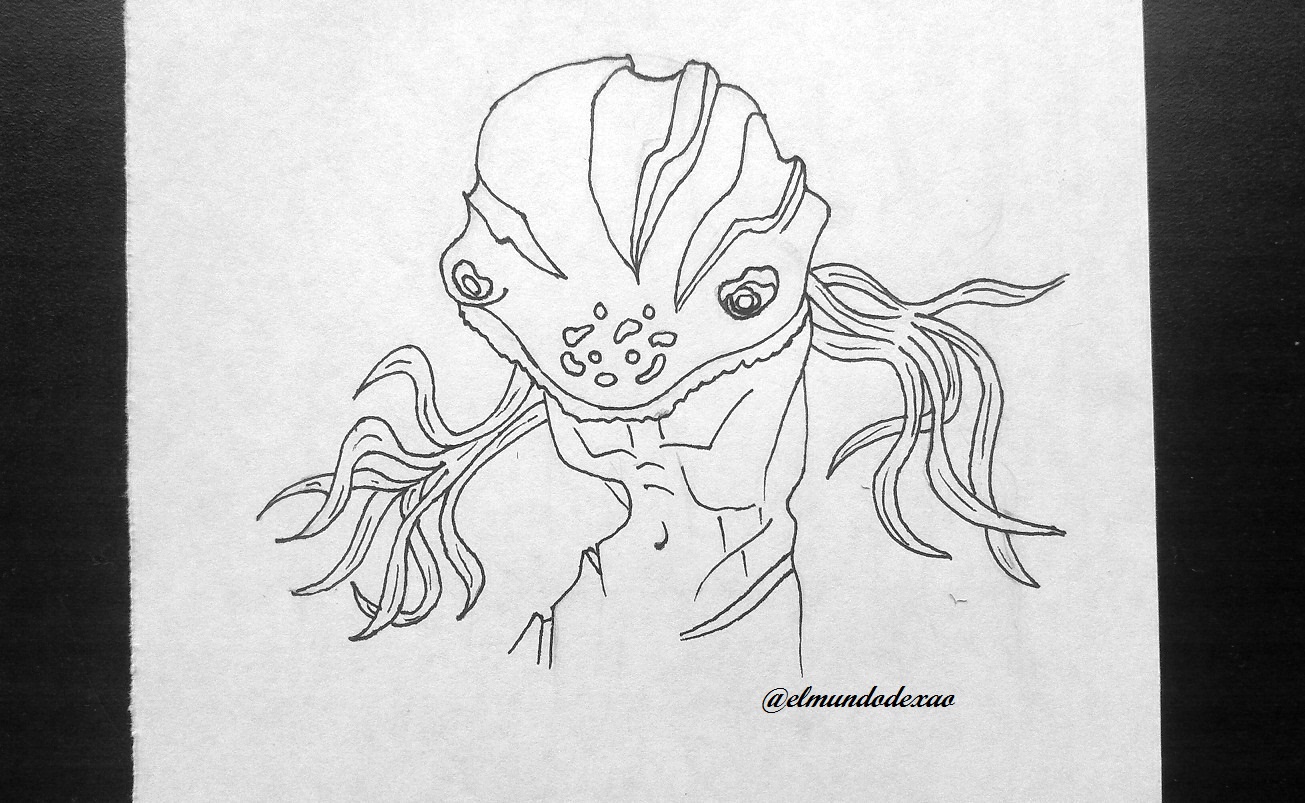
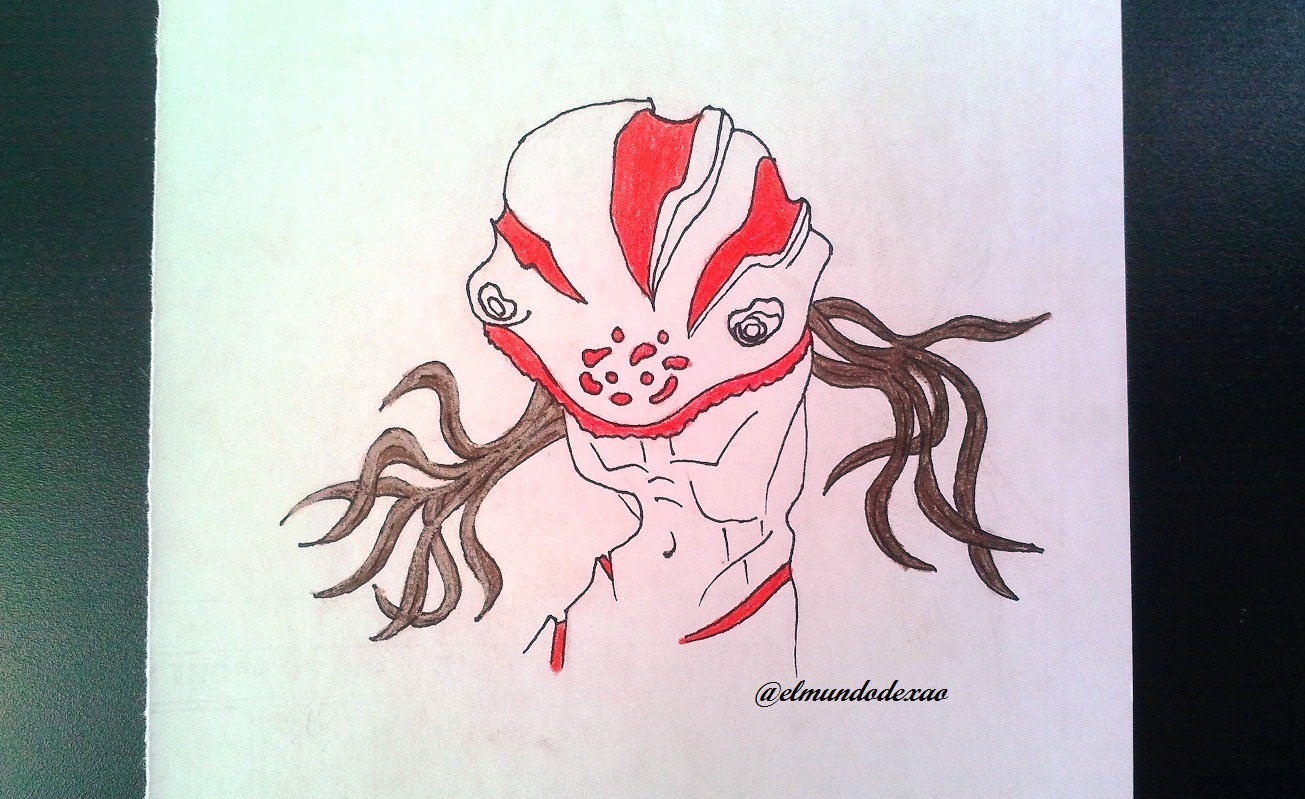
 Step # 03: Once the drawing is finished, I highlight it with the marker pen to add and improve some details and then erase all the graphite to achieve a better finish.
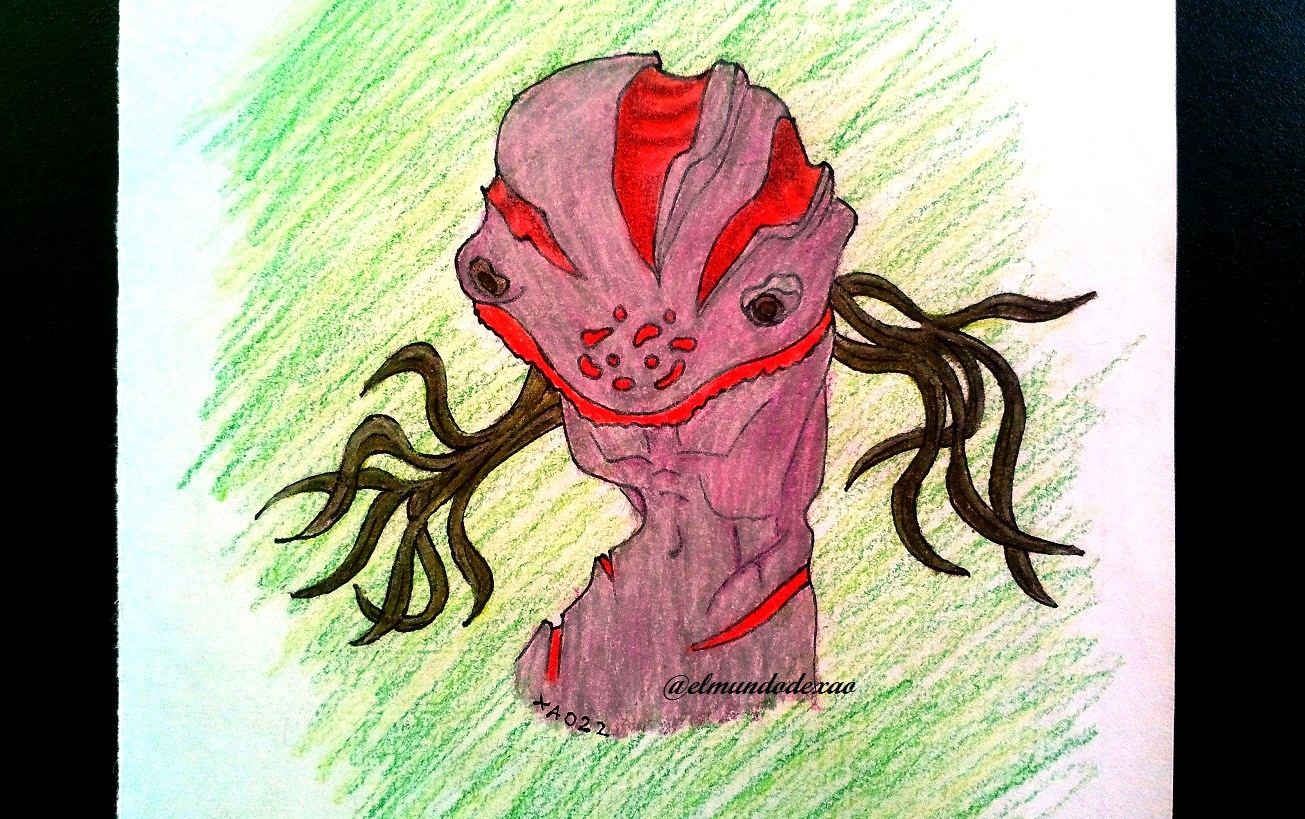
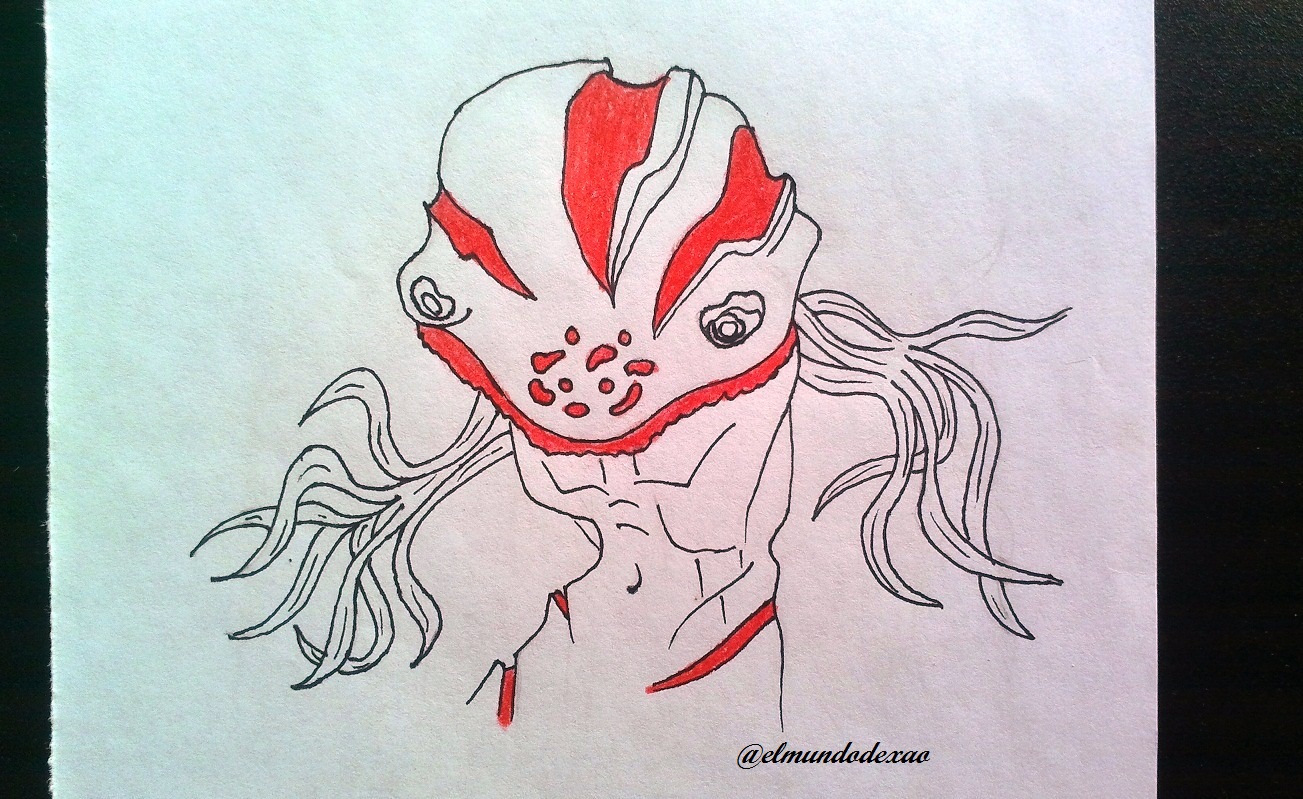
 Step # 04: Coloring is the next step and I will start with a red tone for the beard, scars and spots; as for the tentacles, I will apply a brown color and then a white color to lighten it.
 Step # 05: For the rest of the body I use a purple color trying to leave a light tone and only in some parts I leave it darker and then I apply a gray color on top.
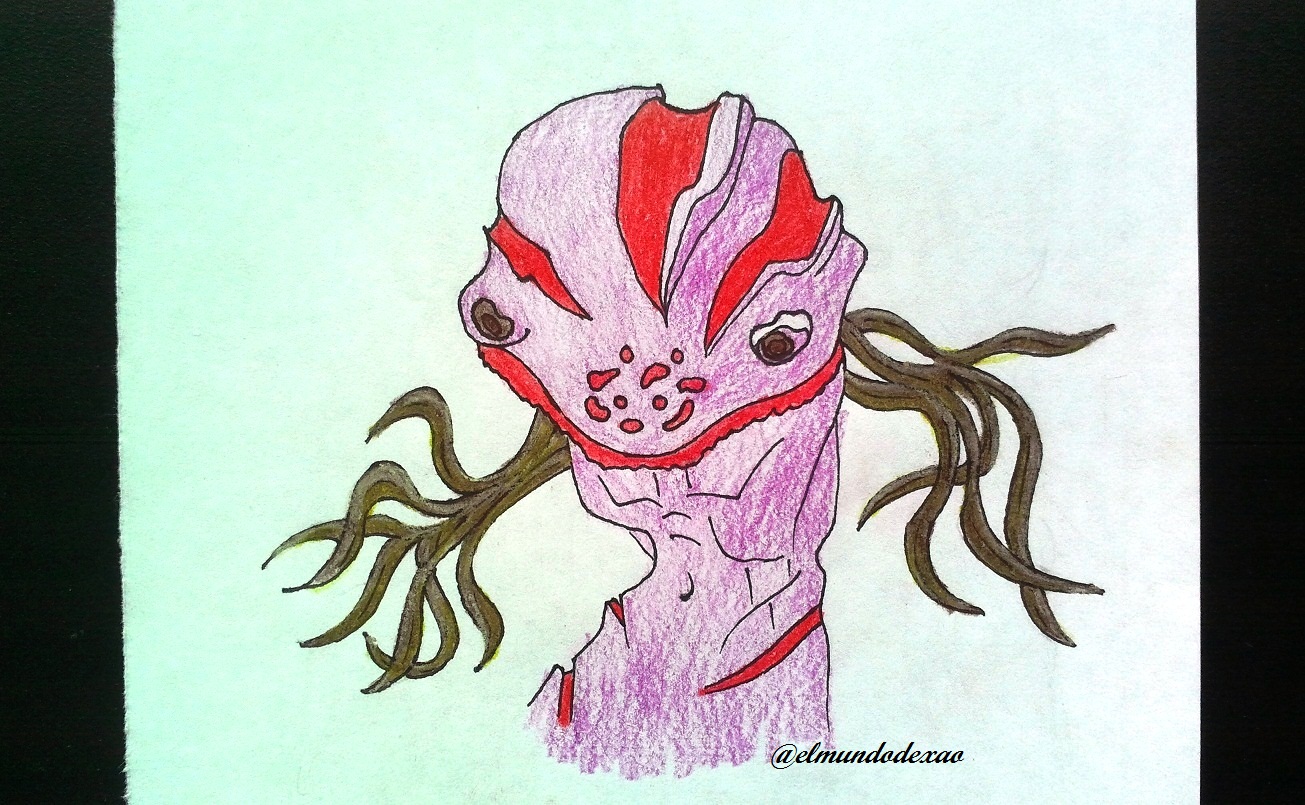
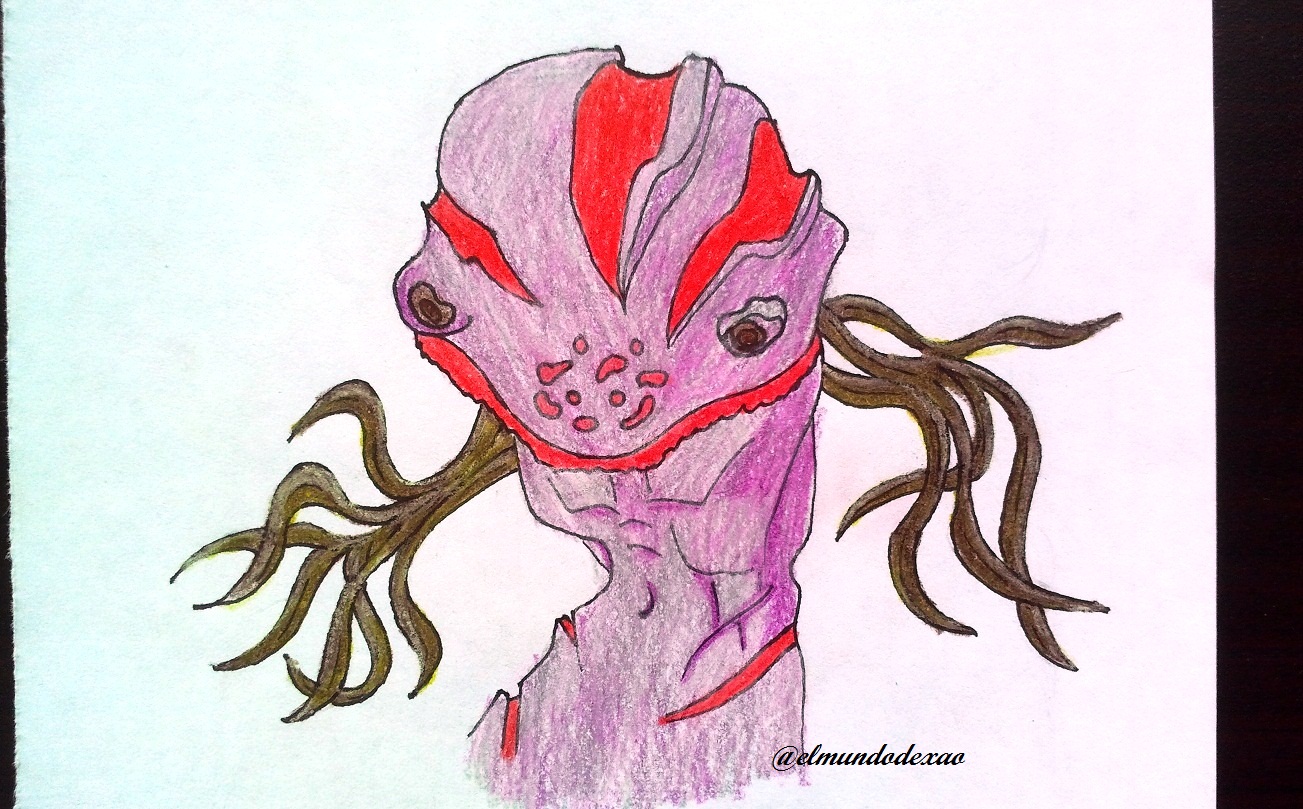 For the background I used green and yellow colors. Well friends, I hope you enjoyed this tutorial and I thank you for reading it, I hope you have a nice morning, afternoon or evening depending on your location.
Photo Source: Own photos captured with a Síragon camera.
Modified size: With the Paint Program.
Thanks for visiting my Blog… AH! Don't forget to vote, reblogear, and comment.
Translated with:

www.DeepL.com/Translator (free version)

Hola amigos…
Bienvenidos a mi blog espero la estén pasando muy bien; Esta es mi primera participación en este concurso de arte de Splinterlands; apenas llevo unas pocas semanas jugando pero aún no he comprado el libro ya que decidí aprender un poco más sobre el juego; Infantería Micélica es una de las cartas estándar que vienen en el juego y pertenece al elemento tierra tipo rara. Tiene una habilidad especial que es “Escudo” el cual reduce el daño de ataques de cuerpo a cuerpo y a distancia; posee siete de vida; tres de escudo; uno de velocidad; tres de ataque cuerpo a cuerpo y me gusta usarla cuando mi contrincante posee varias cartas con ataques cuerpo a cuerpo y a distancia; así puedo evitar la mayor cantidad de daño que pueda ocasionarme.
A continuación menciono los materiales utilizados: Papel bond blanco, lápiz # 2, rotulador de 0.5, borrador y colores (Variedad de marcas).
Antes de continuar les recuerdo que al final les dejare el enlace que use en esta ocasión.
Comencemos con el paso a paso del dibujo:
Paso # 01: Para iniciar dibujo un círculo y así determinar el tamaño y la posición de la cabeza y luego trazo un par de líneas verticales las cuales me servirán para orientarme en las dimensiones del cuerpo; una vez lista la silueta puedo comenzar a darle forma y lo hare por las facciones de la cara ya que esta un tanto complicado debido a los grandes pómulos y ese aspecto de reptil o algo por el estilo. En cuanto al torso debe tener una apariencia delgada pero fuerte y fibrosa.
Paso # 02: Ahora definiré los rasgos de la cara como sus ojos, cicatrices y manchas además le coloco esa especie de barba que le da un toque desagradable; para continuar me dedico a los brazos que vendrían siendo algo como tentáculos pero que tienen una apariencia de algas en movimiento; a lo que me refiero es que parece que estuviesen debajo del agua.
Paso # 03: Una vez terminado el dibujo lo remarco con el rotulador aprovechando para agregar y mejorar algunos detalles y luego borro todo el grafito para lograr un mejor acabado.
Paso # 04: Darle color es el siguiente paso y comenzare con un tono rojo para la barba, cicatrices y manchas; en cuento a los tentáculos les coloco un color marrón y después le paso un color blanco para aclararlo.
Paso # 05: Para el resto del cuerpo utilizo un color morado tratando de dejar un tono claro y solo en algunas partes lo dejo más oscuro y luego le aplico un color gris por encima.
Para el fondo utilice colores verde y amarillo. Bueno amigos así doy por terminada esta publicación espero hayan disfrutado este tutorial me despido agradeciéndoles por leerme, espero tengan una linda mañana, tarde o noche según sea su localización.
Fuente de Fotos: Propias capturadas con una cámara Síragon.
Modificado el tamaño: Con el Programa Paint.
Gracias por visitar mi Blog… ¡AH! No se olvide de votar, rebloguear y comentar.
@tipu curate
Upvoted 👌 (Mana: 30/50) Liquid rewards.
Hi @magicmonk; thanks for reading and supporting me I wish you a great day.
