Hello friends...
☺☺☺
Welcome to my blog friends, I wish you a happy start of the week. Today I want to share with you a kawaii art of a very cute little donkey; I will also show you a new technique I learned to improve the presentation of my drawings.
Here are the materials used: white paper, graphite pencil 2, 0.5 marker, eraser and colors (Variety of brands).
Before I continue I remind you that at the end I will leave you the link that I used in this occasion.
Let's start with the step by step drawing:
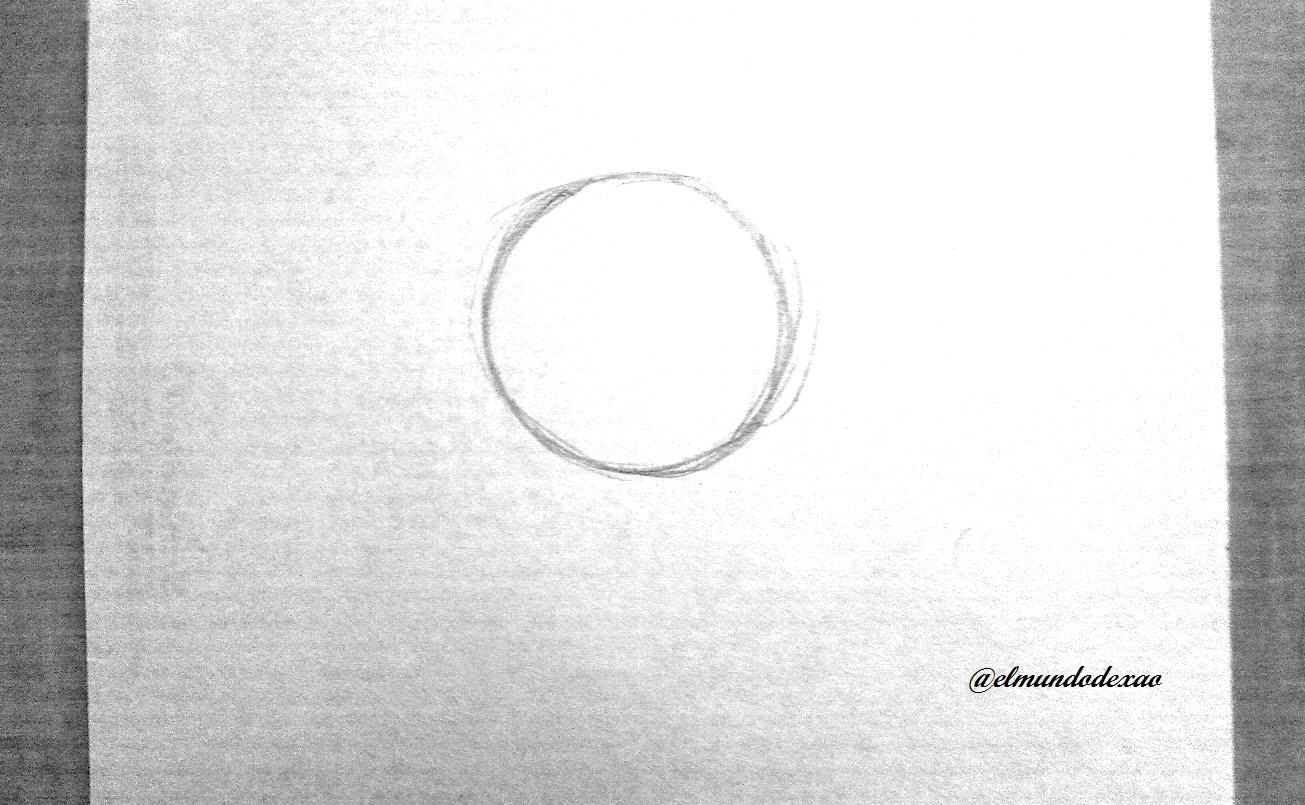
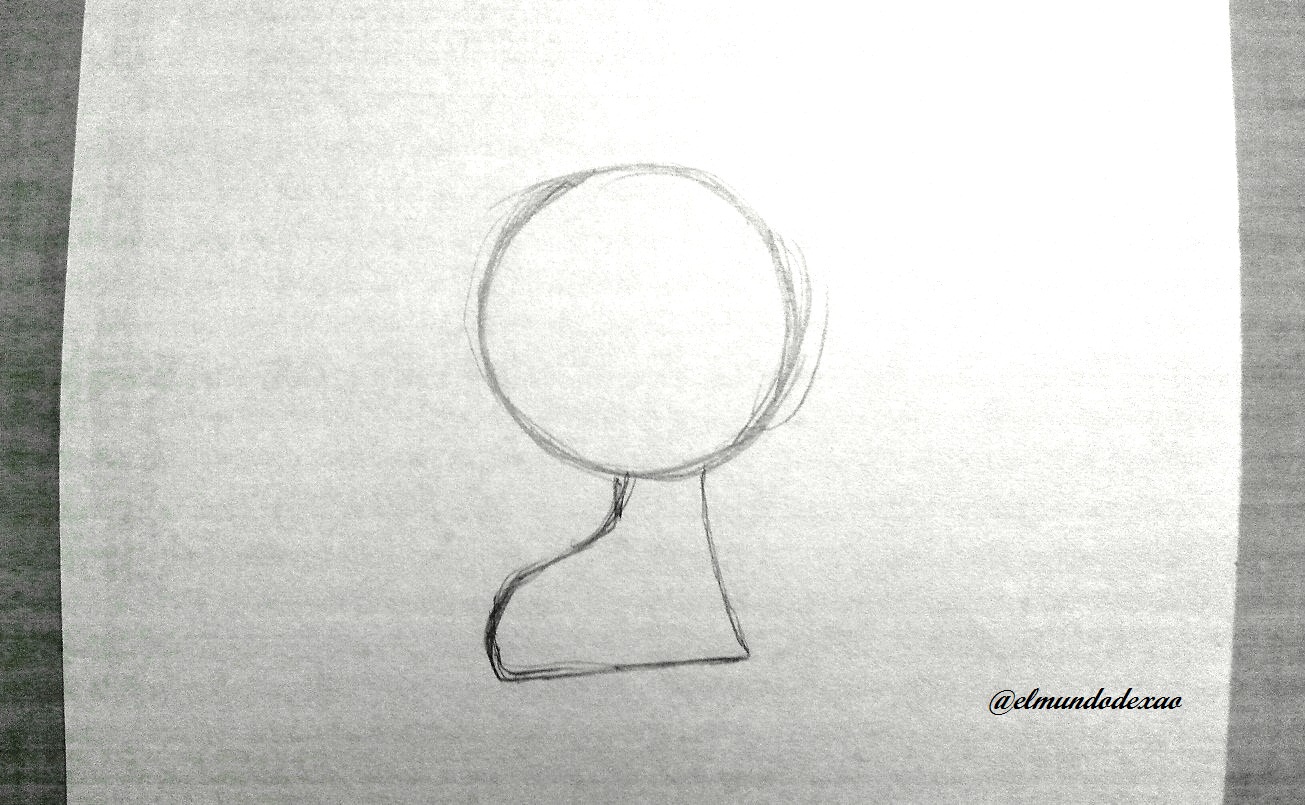
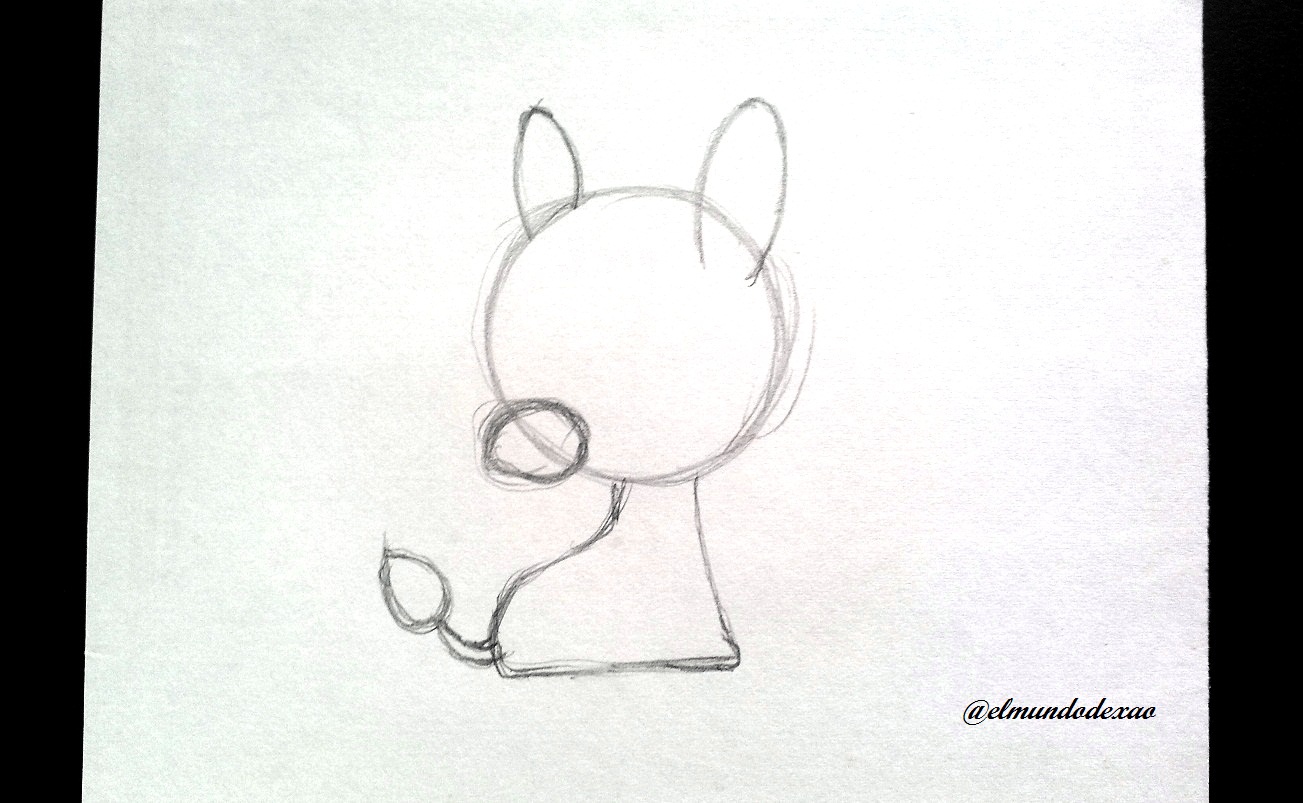
Step # 01: As usual I start drawing a circle to define the head, always taking into account that it should be a little big with respect to the body; and this I define by making a figure similar to a boot pointing to the left.
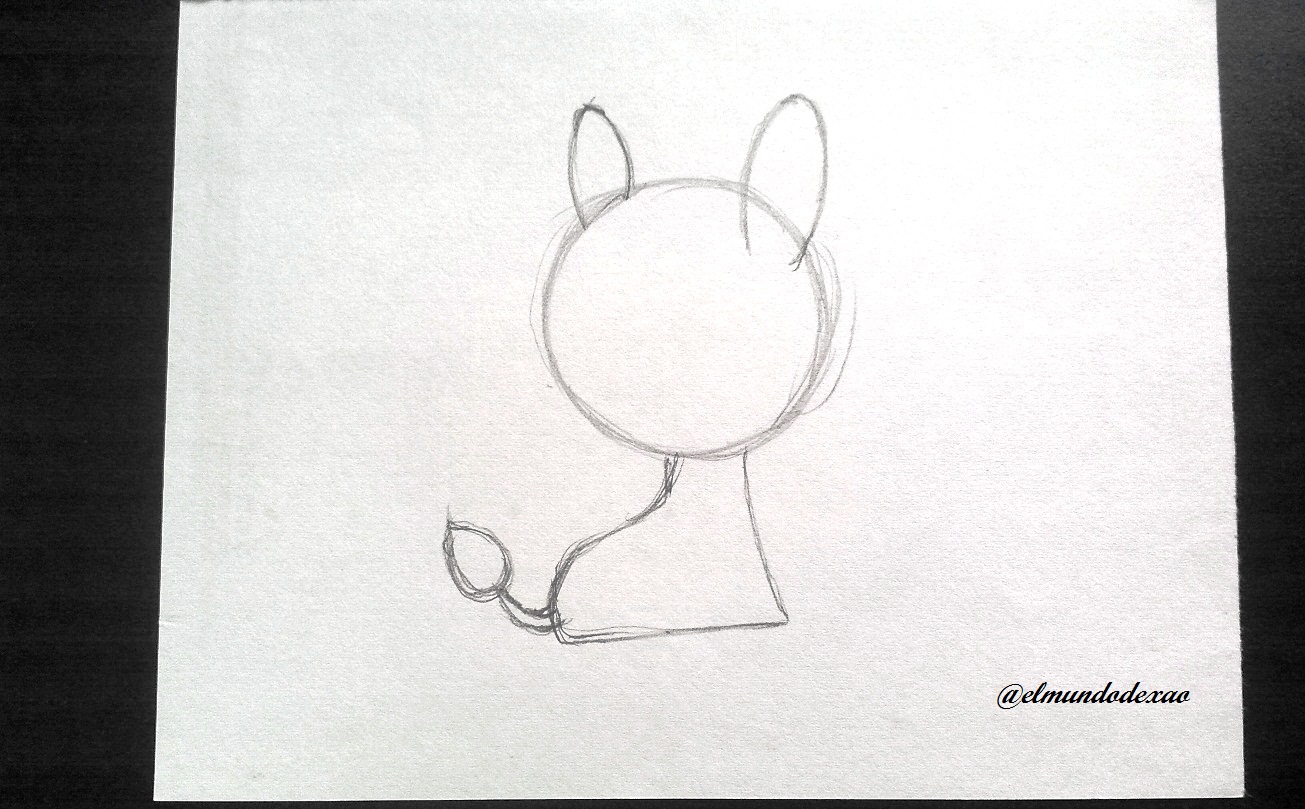
 Step # 02: I draw the ears and the tail; for the ears I draw two elongated ovals, the one on the right goes below the line of the circle since it is the one we see on this side and the other ear I leave it up to the circle so it can be seen that it goes on the other side; as for the tail I make it short and at the tip I place a figure similar to a drop of water. To locate where the snout will go I make a small oval below and to the left of the head.
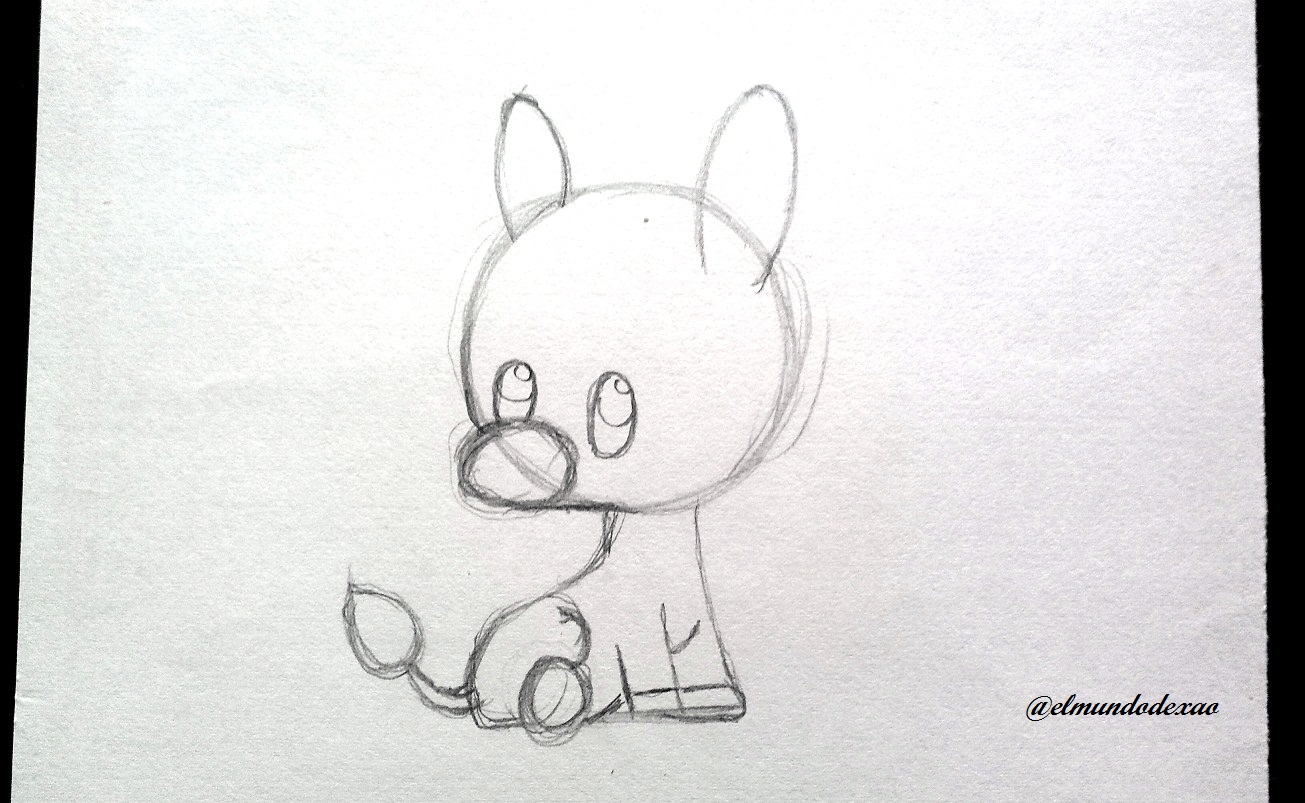
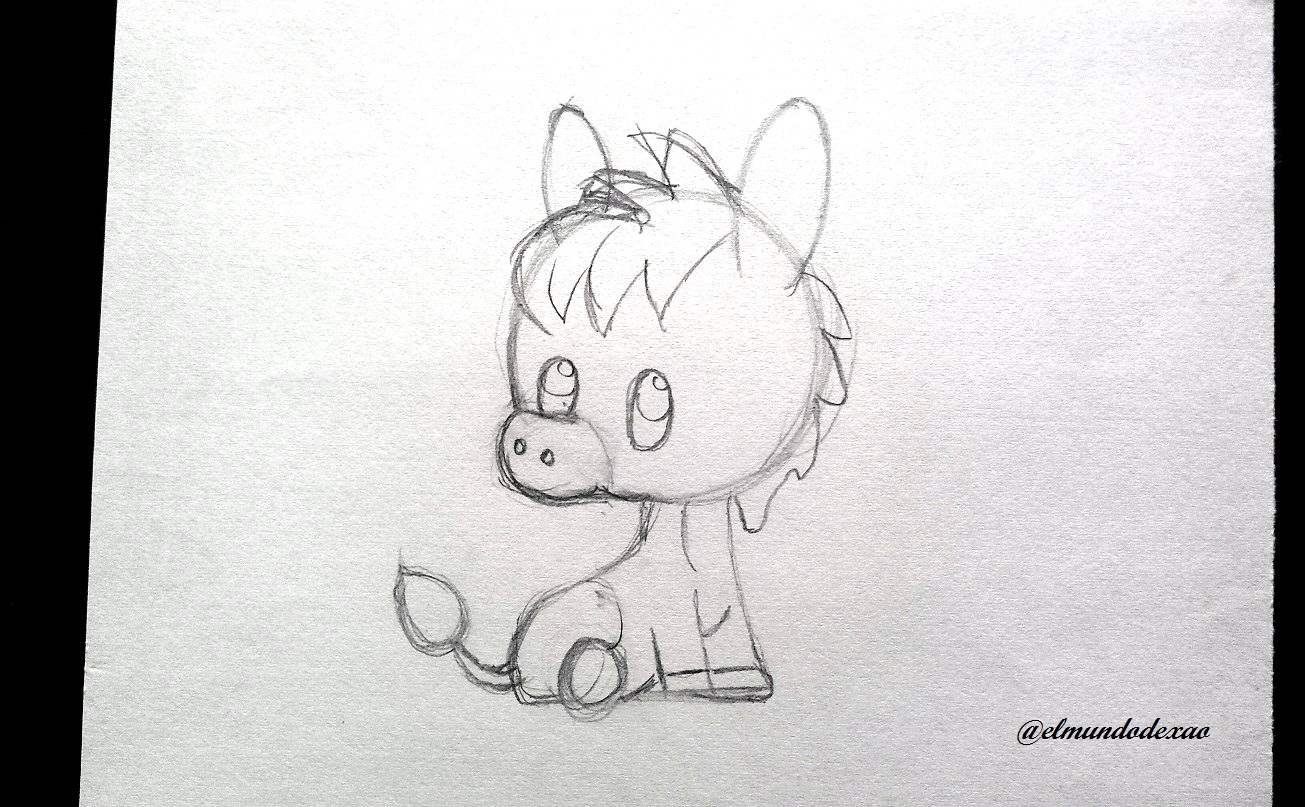
 Step # 03: Now I am going to define the legs, for the front legs a couple of vertical lines will be enough and for the back leg that is in sight I will make a circle that will be one of the hooves and another arched line for the thigh. Then I will draw the mane, which will occupy the top and the back of the head.
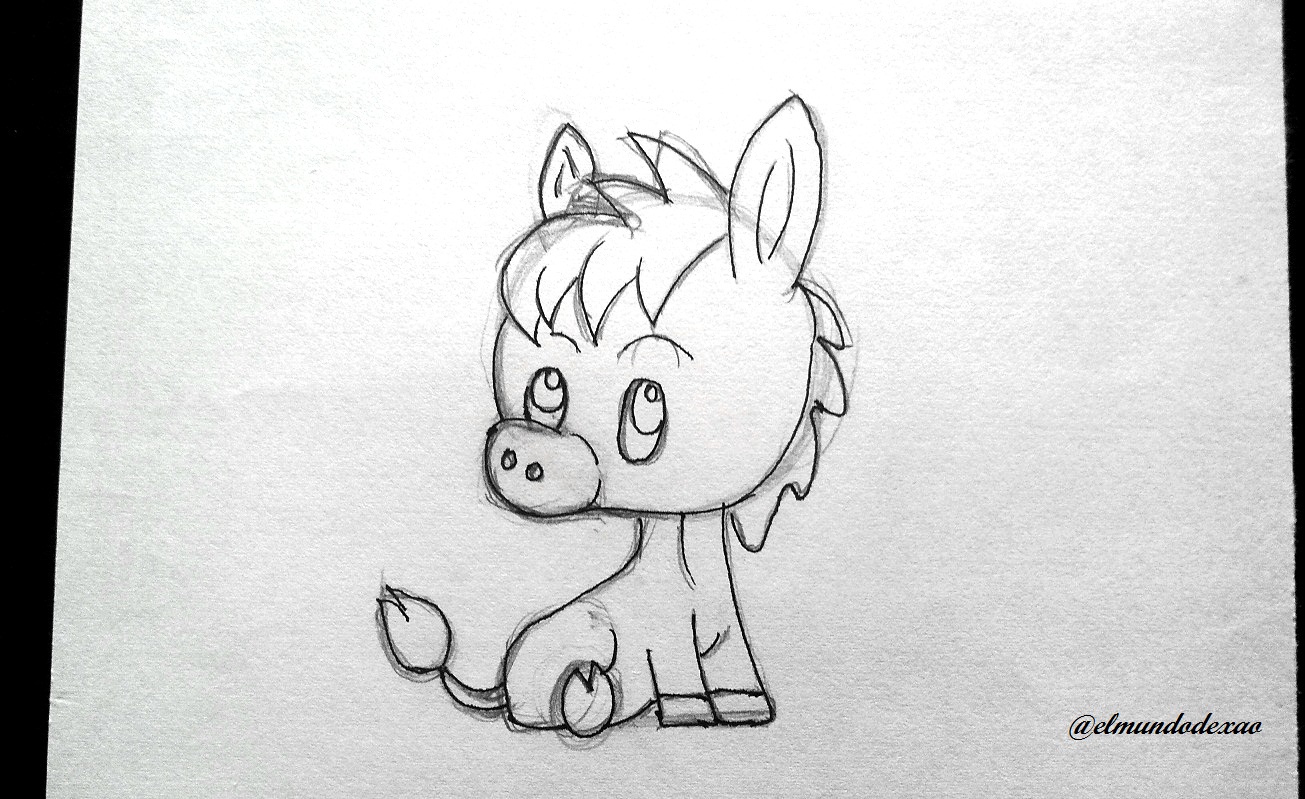
 Step # 04: Once the sketch is finished I proceed to ink it so I can detect if any detail is missing, I erase all the graphite and ready you can see how our burrito has turned out.
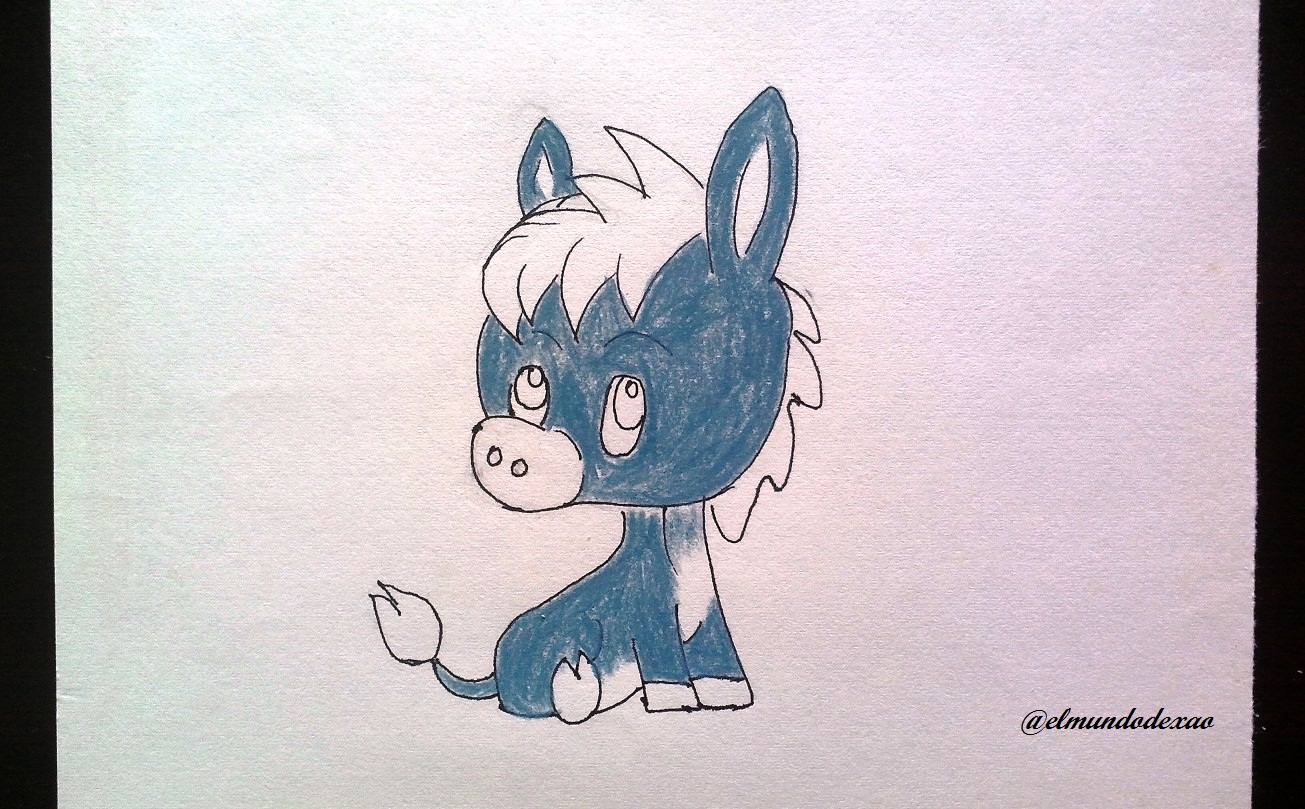
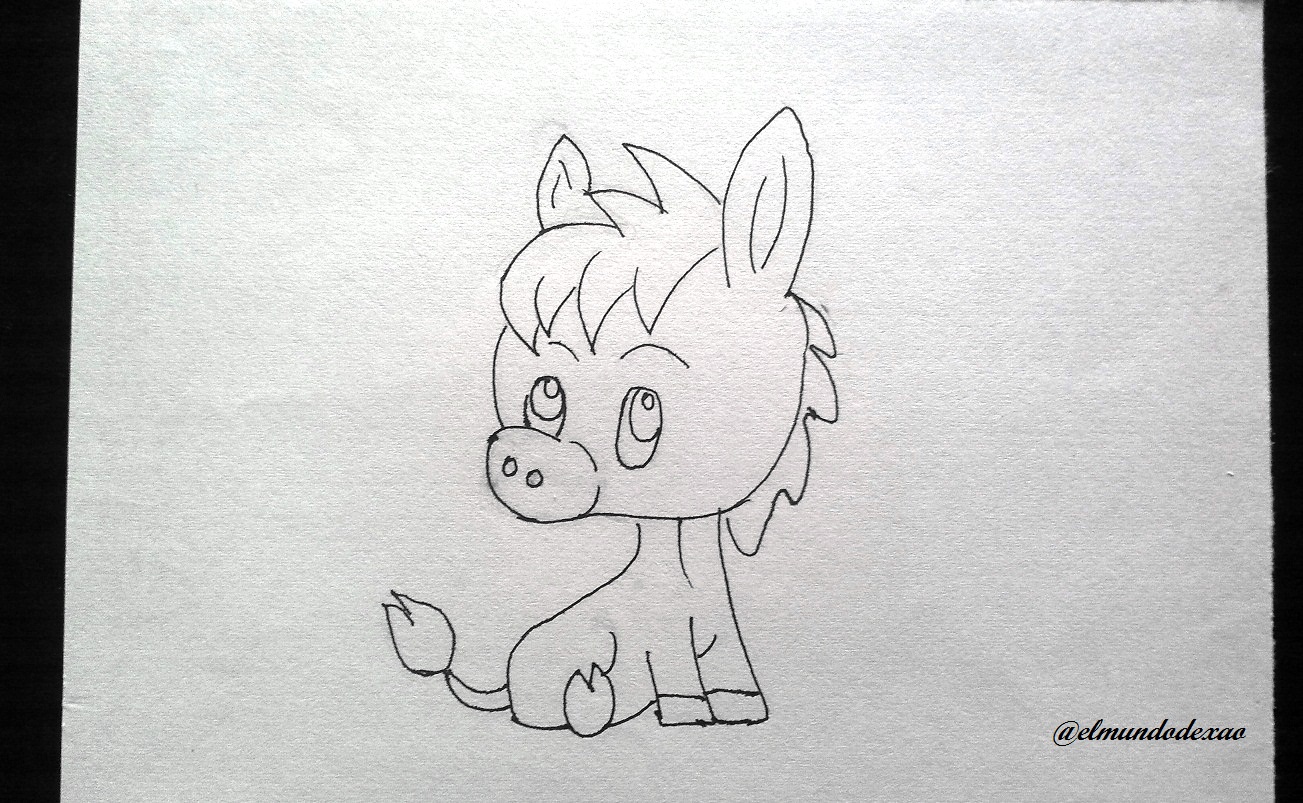 Step # 05: Give color; I start using dark gray and place a first layer, then I add a light gray; the belly and chest I lighten it a little more using white color. For the mane, the tip of the tail and part of the muzzle I use an ochre.
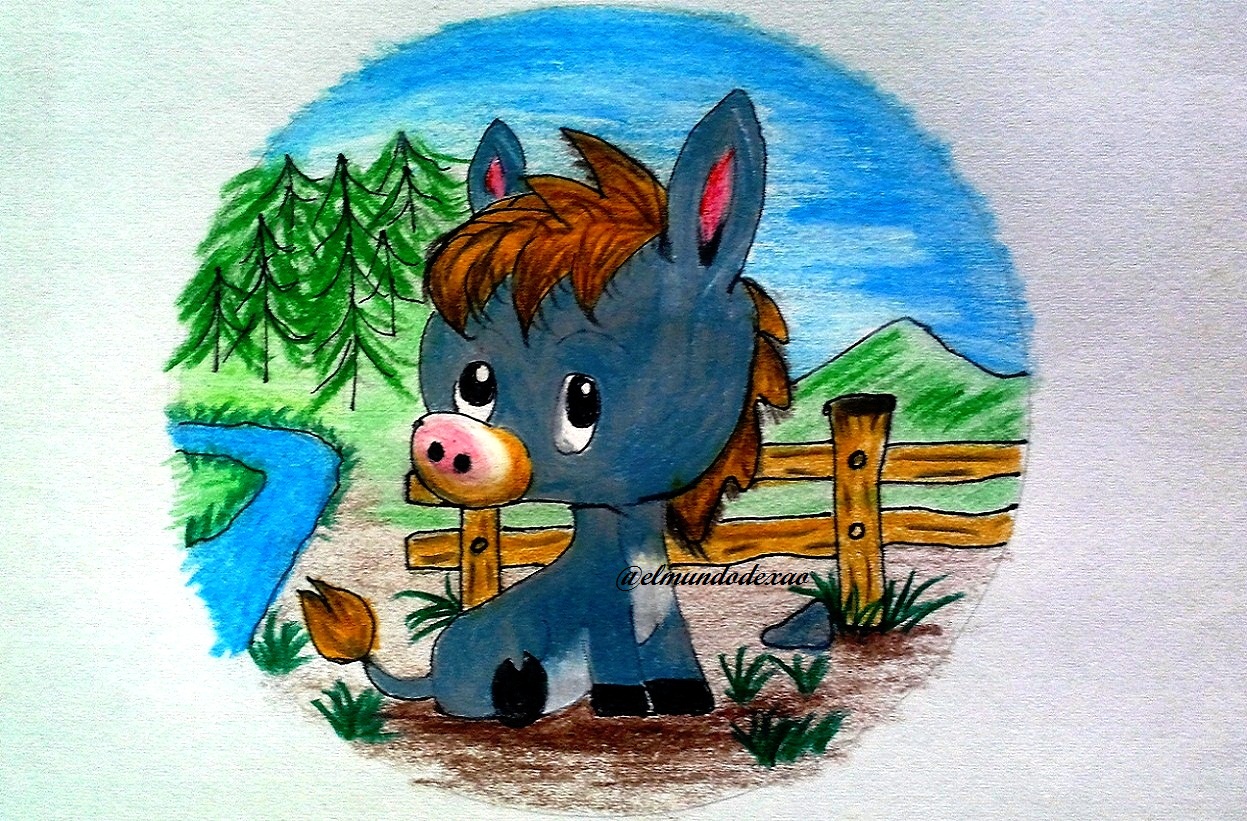
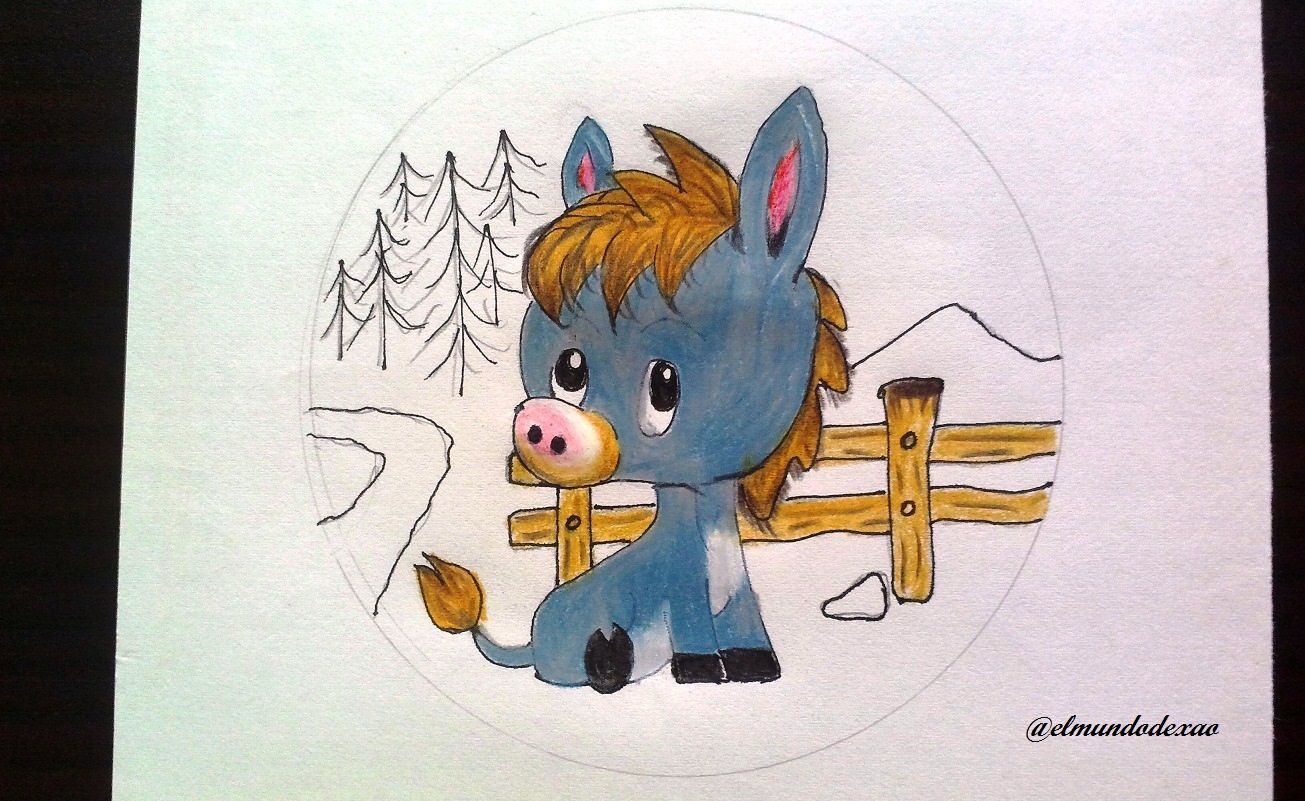
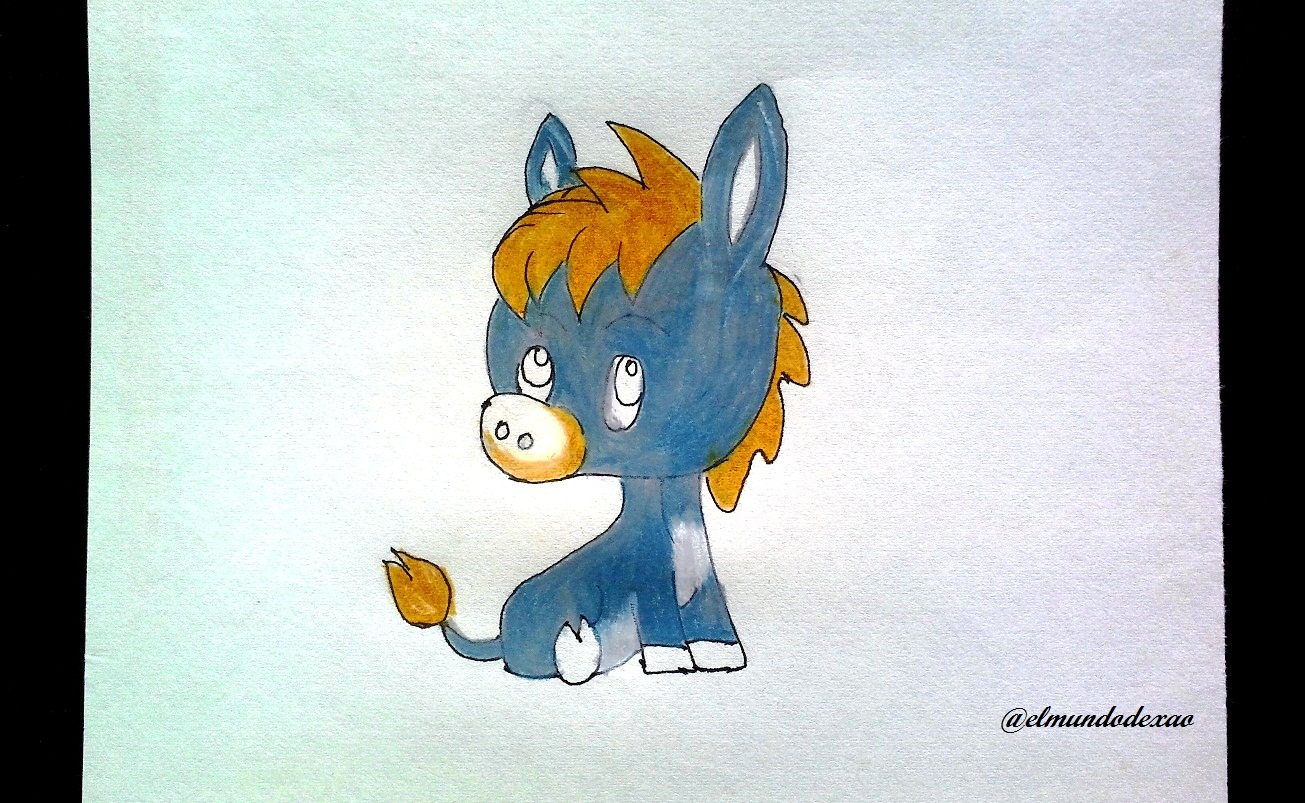 Step # 06: With a dark brown color I finish painting the mane; to give it a tousled look, for the inner part of the ears I will give it a pinkish tone and I will use black for the eyelashes, the pupil of the eyes and other details. And the new thing I learned and I plan to use it from now on, is to take the compass and draw a circle around the drawing and define the environment only within that circle. In this case the environment I chose will be something very much in keeping with our four-legged friend; a wooden fence and a mountain in the distance and on the other side some trees with a stream.
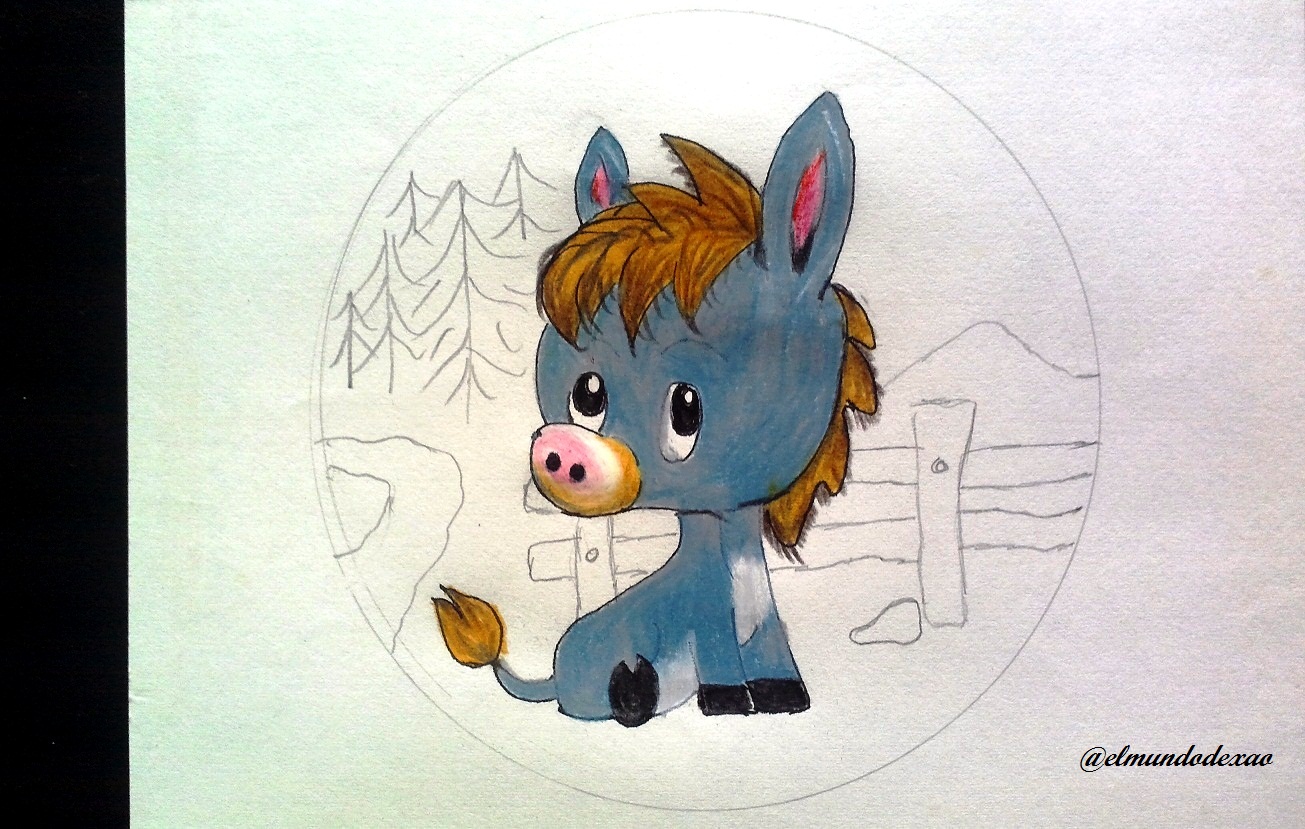
 Step # 07: For the wood of the fence I used an ochre color with brown stripes, for the mountains and the trees two shades of green, for the sky a light blue accentuating it more in some parts and to finish with a dark green I make some grasses around our protagonist. I say goodbye wishing you a happy day, afternoon or evening depending on your location.
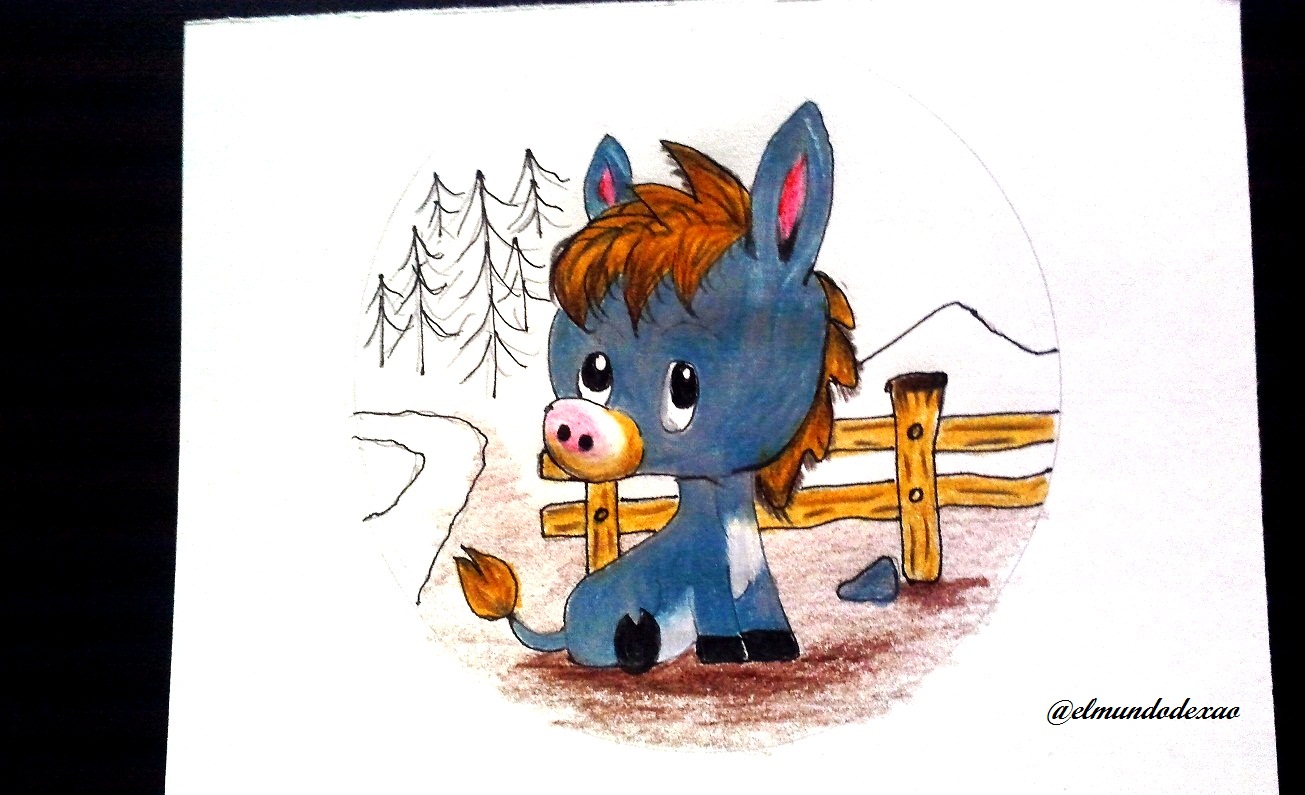
Photo Source: Own photos captured with a Síragon camera.
Modified size: With the Paint Program.
Thanks for visiting my Blog… AH! Don't forget to vote, reblogear, and comment.
Translated with:

www.DeepL.com/Translator (free version)

Arte Kawaii “Dibujando Un Burro”.
Hola amigos…
☺☺☺
Bienvenidos a mi blog amigos, le deseo un feliz inicio de semana. Hoy quiero compartirles un arte kawaii de un pequeño burro muy tierno; Además les mostrare una nueva técnica que aprendí para mejorar la presentación de mis dibujos.
A continuación menciono los materiales utilizados: Papel blanco, lápiz de grafito 2, rotulador de 0.5, borrador y colores (Variedad de marcas).
Antes de continuar les recuerdo que al final les dejare el enlace que use en esta ocasión.
Comencemos con el paso a paso del dibujo:
Paso # 01: Como es habitual comienzo dibujando un circulo para definir la cabeza, siempre tomando en cuenta que debe quedar un poco grande con respecto al cuerpo; y este lo defino haciendo una figura parecida a una bota apuntando hacia la izquierda.
Paso # 02: Dibujo las orejas y la cola; para las orejas trazo dos óvalos alargados, el de la derecha pasa más debajo de la línea del circulo ya que es la vemos de este lado y la otra oreja la dejo hasta el circulo para que se aprecie que va del otro lado; en cuanto a la cola la hago corta y en la punta le coloco una figura semejante a una gota de agua. Para ubicar donde ira el hocico hago un pequeño ovalo abajo y a la izquierda de la cabeza.
Paso # 03: Ahora voy a definir las patas, para las delanteras bastara con un par de líneas verticales y para la pata trasera que está a la vista haré un circulo que será una de las pesuñas y otra línea arqueada para el muslo. Luego dibujare la crin, que ocupara la parte de arriba y detrás de la cabeza.
Paso # 04: Una vez terminado el boceto procedo a entintarlo y así poder detectar si falta algún detalle, borro todo el grafito y listo pueden apreciar como ha quedado nuestro burrito.
Paso # 05: Darle color; comienzo utilizando gris oscuro y coloco una primera capa, luego agrego un gris claro; la barriga y el pecho lo aclaro un poco más utilizando el color blanco. Para la crin, la punta de la cola y parte del hocico utilizo un ocre.
Paso # 06: Con un color marrón oscuro termino de pintar la crin; para darle un aspecto despeinado, para la parte interna de las orejas le daré un tono rosado y utilizare el negro para las pesuñas, la pupila de los ojos además de otros detalles. Y lo nuevo que aprendí y pienso usarlo de aquí en adelante, es tomar el compás y trazar un círculo alrededor del dibujo y así definir el entorno solo dentro de ese círculo. En este caso el entorno que escogí será algo muy acorde con nuestro amigo cuadrúpedo; una cerca de madera y una montaña a lo lejos y del otro lado unos árboles con un riachuelo.
Paso # 07: Para la madera de la cerca utilice un color ocre con una rayas marrones, para las montaña y los arboles dos tonos de verde, para el cielo un azul claro acentuándolo más en algunas partes y para terminar con un verde oscuro hago algunas hierbas alrededor de nuestro protagonista. Me despido deseándoles un feliz día, tarde o noche según sea su ubicación.
Fuente de Fotos: Propias capturadas con una cámara Síragon.
Modificado el tamaño: Con el Programa Paint.
Gracias por visitar mi Blog… ¡AH! No se olvide de votar, rebloguear y comentar.
Me causan mucha ternura tus dibujos, Mundo.
Hola amigo @lecumberre, gracias por su comentario ya que me llena de entusiasmo para seguir mejorando.