Hello friends Hivers… ☺
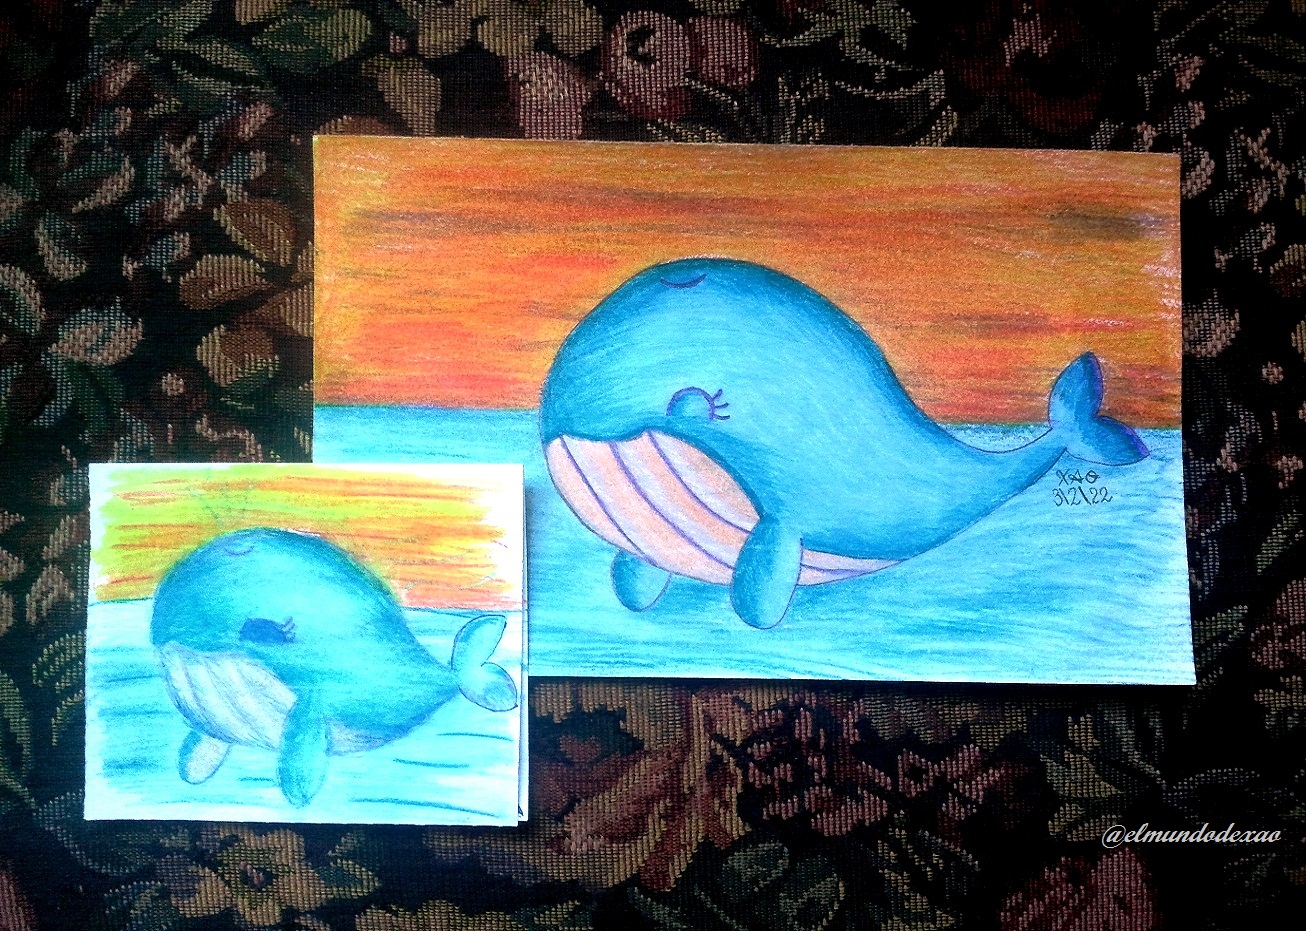
Today I will show you a new kawaii art, this time it is a whale. Here are the materials used: white paper, pencil, eraser, colors.
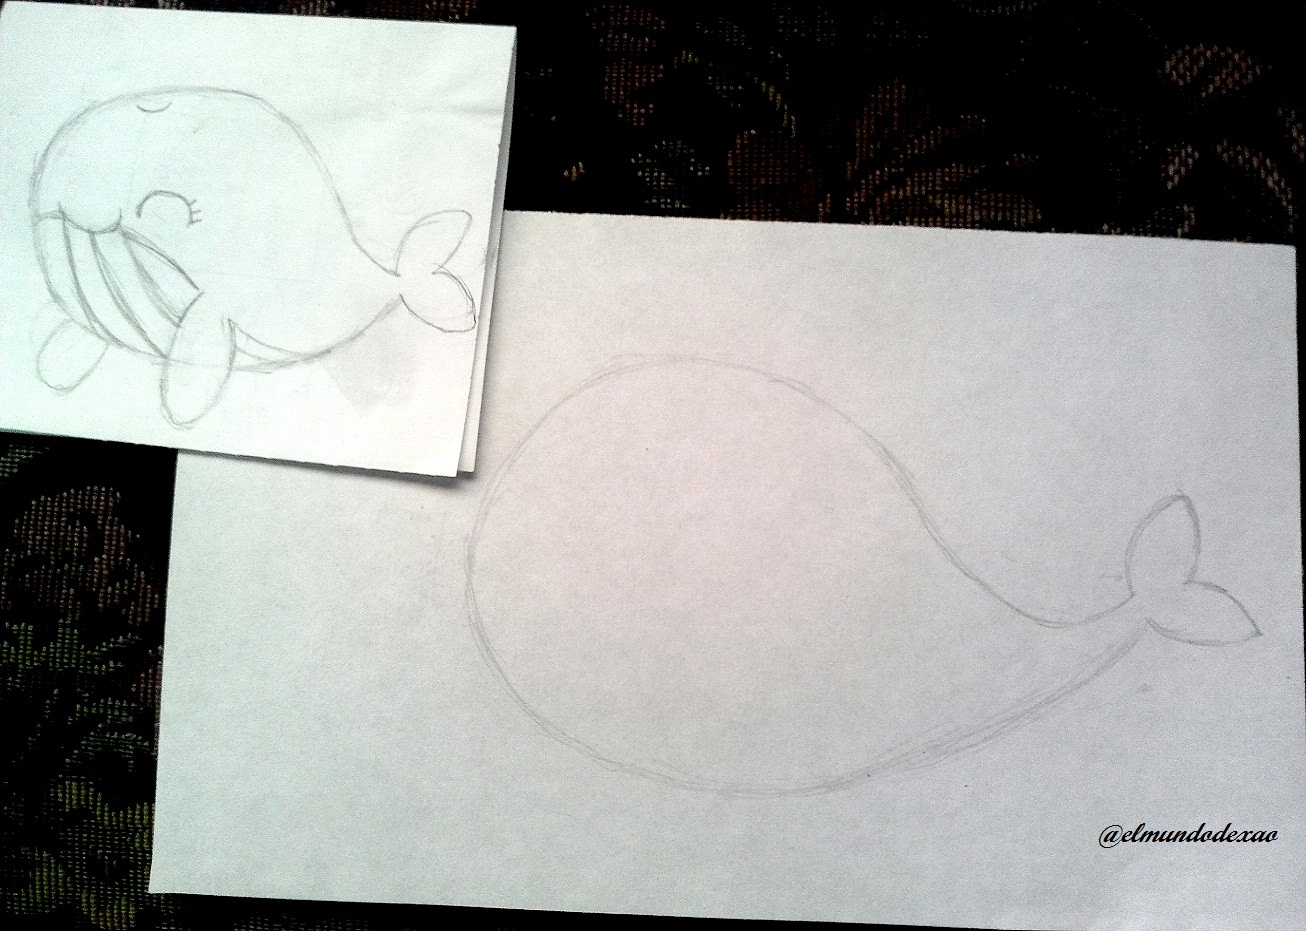
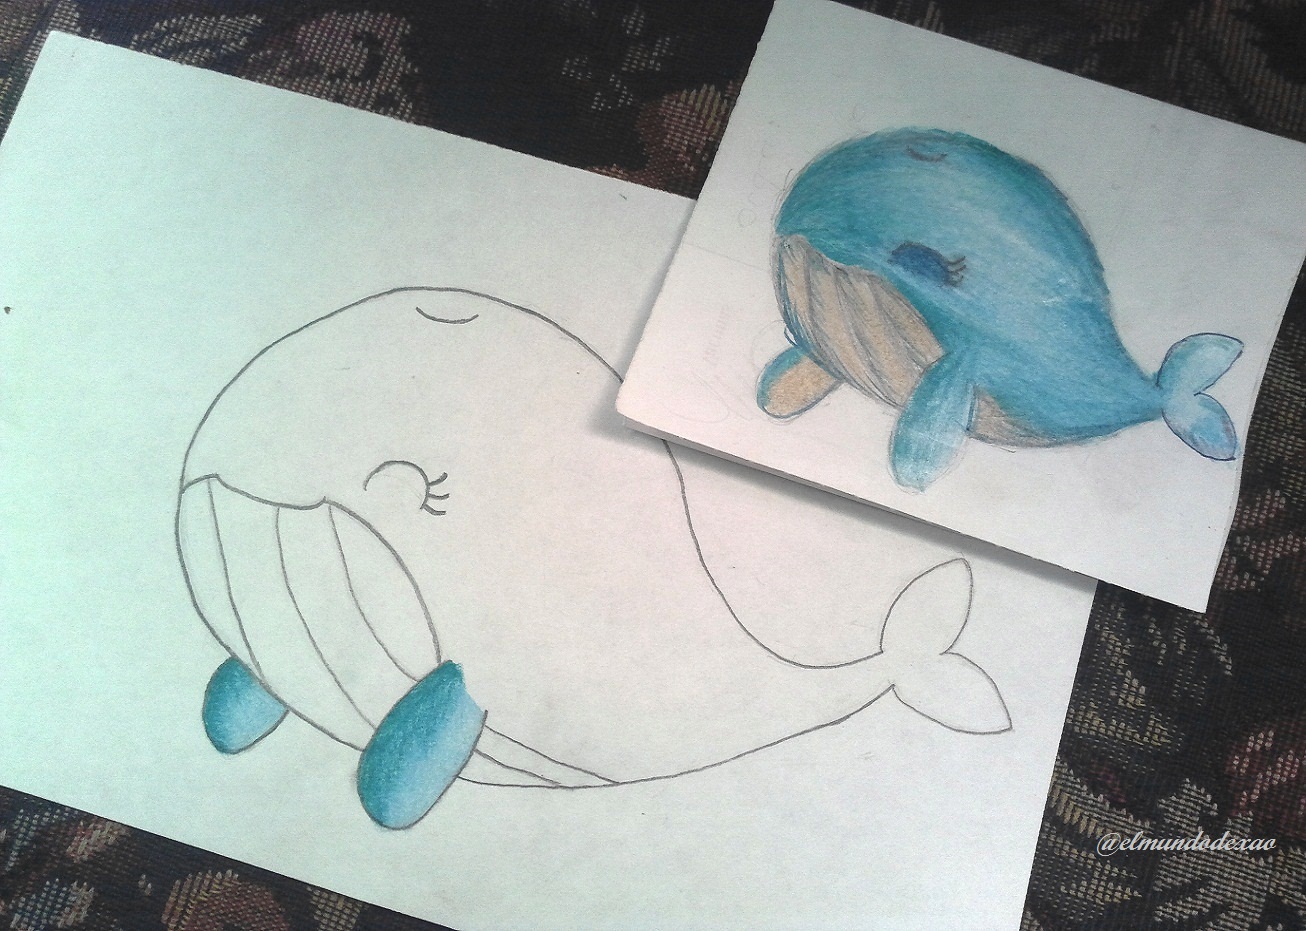
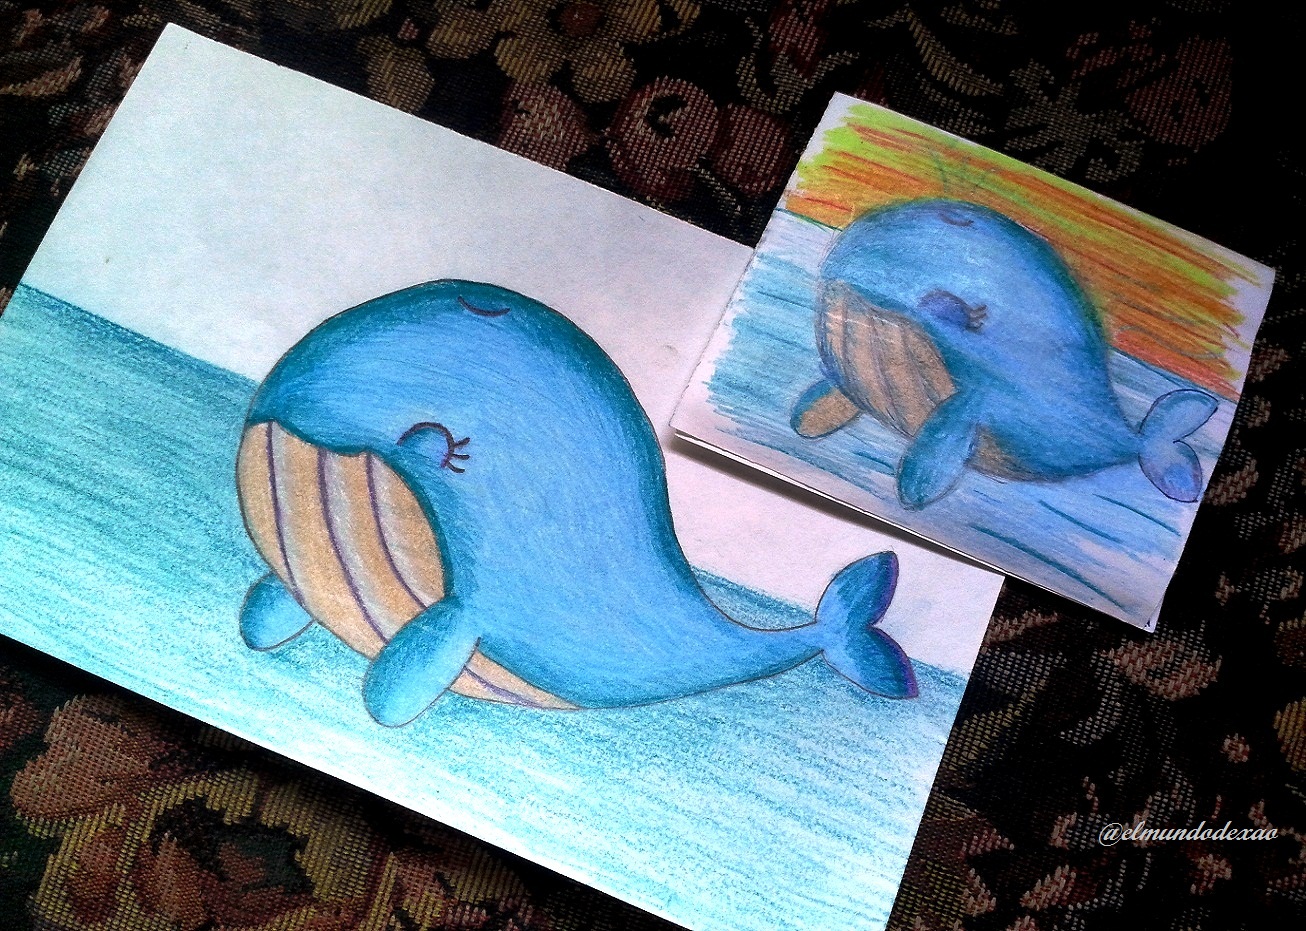
 Now I will work with a new method, first I create a small sketch to test shapes and colors.
 Once the small sketch is defined, I start working with the big one and I can be more sure of each stroke as well as the color combinations.
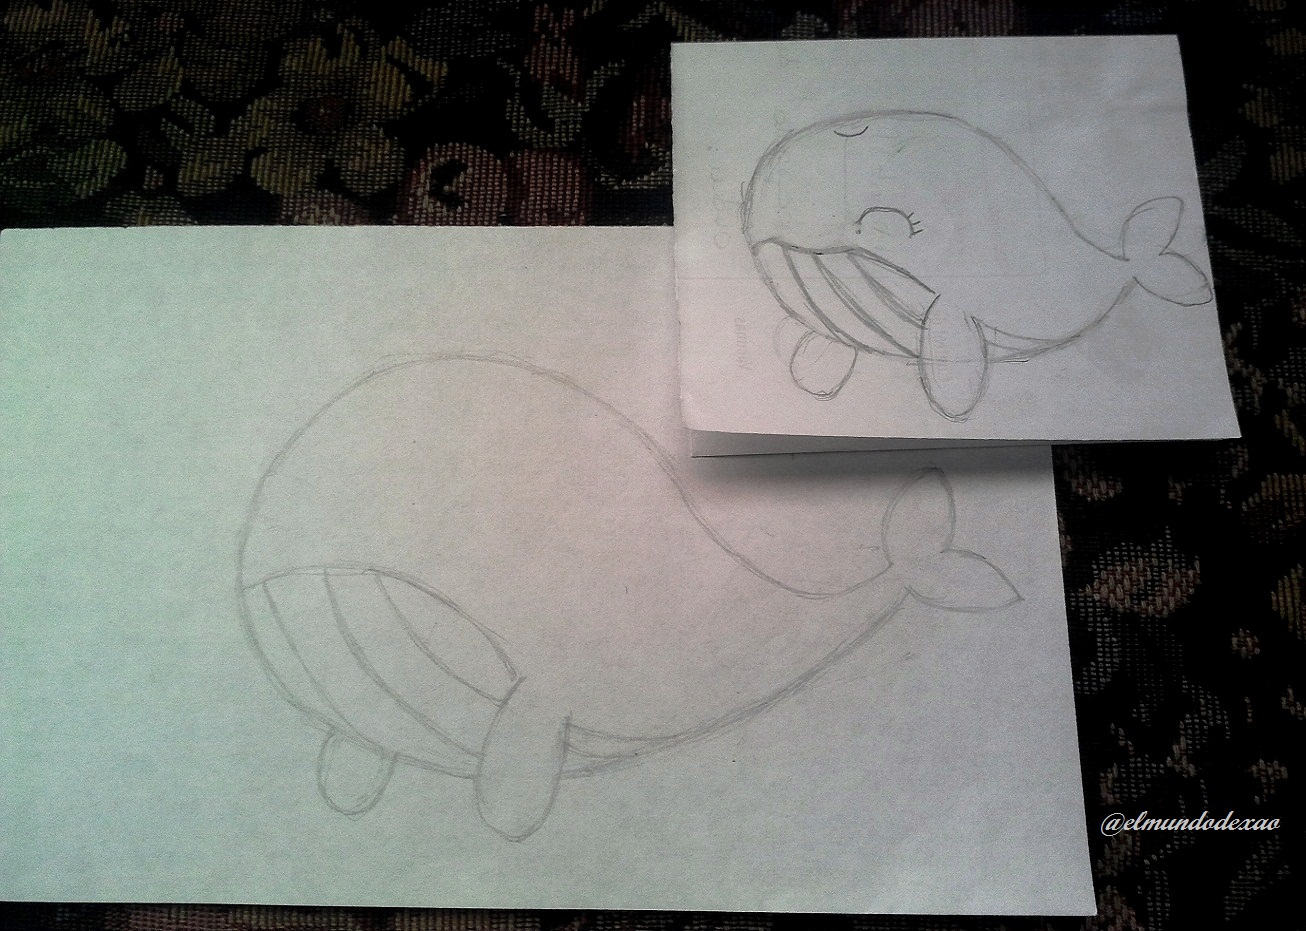
 It's great to draw with this technique because when I do the second sketch I make each stroke with more confidence.
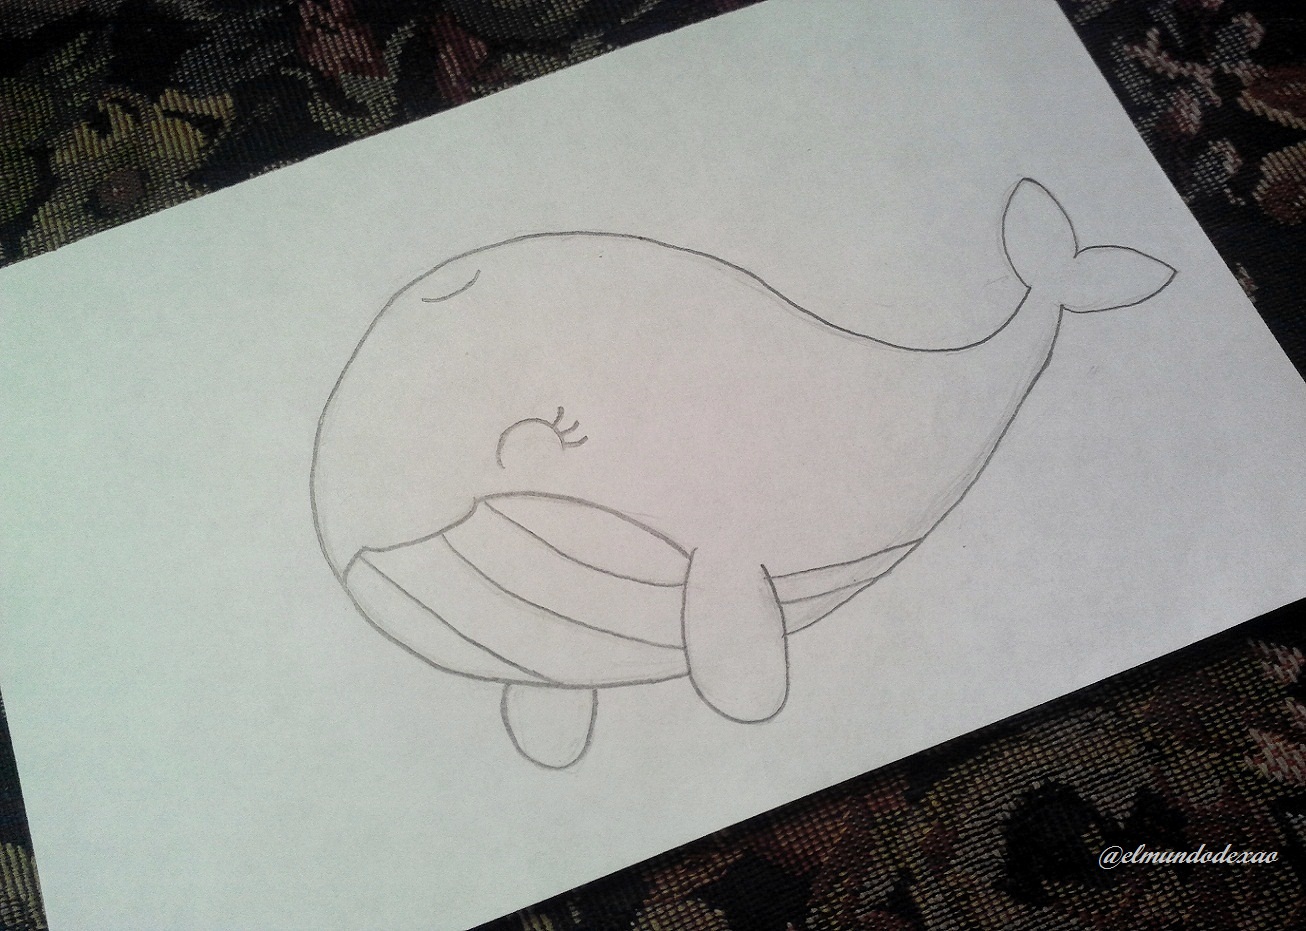
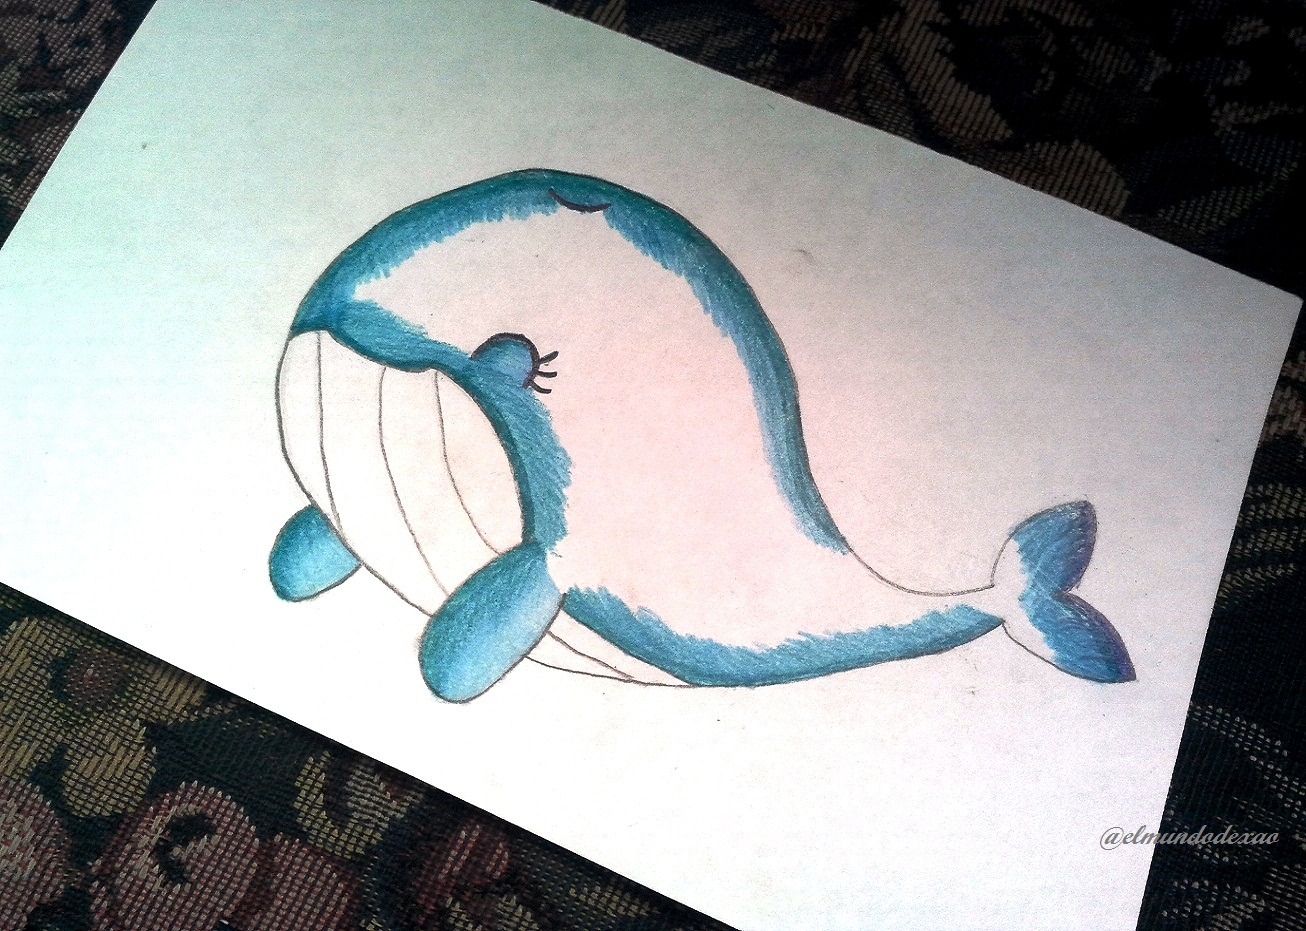
 As usual, I highlight the sketch and erase all the excess strokes.
 I begin to give it the darker shades which are also new to me and you can see in the small sketch that I have already done several tests to learn how to blur.
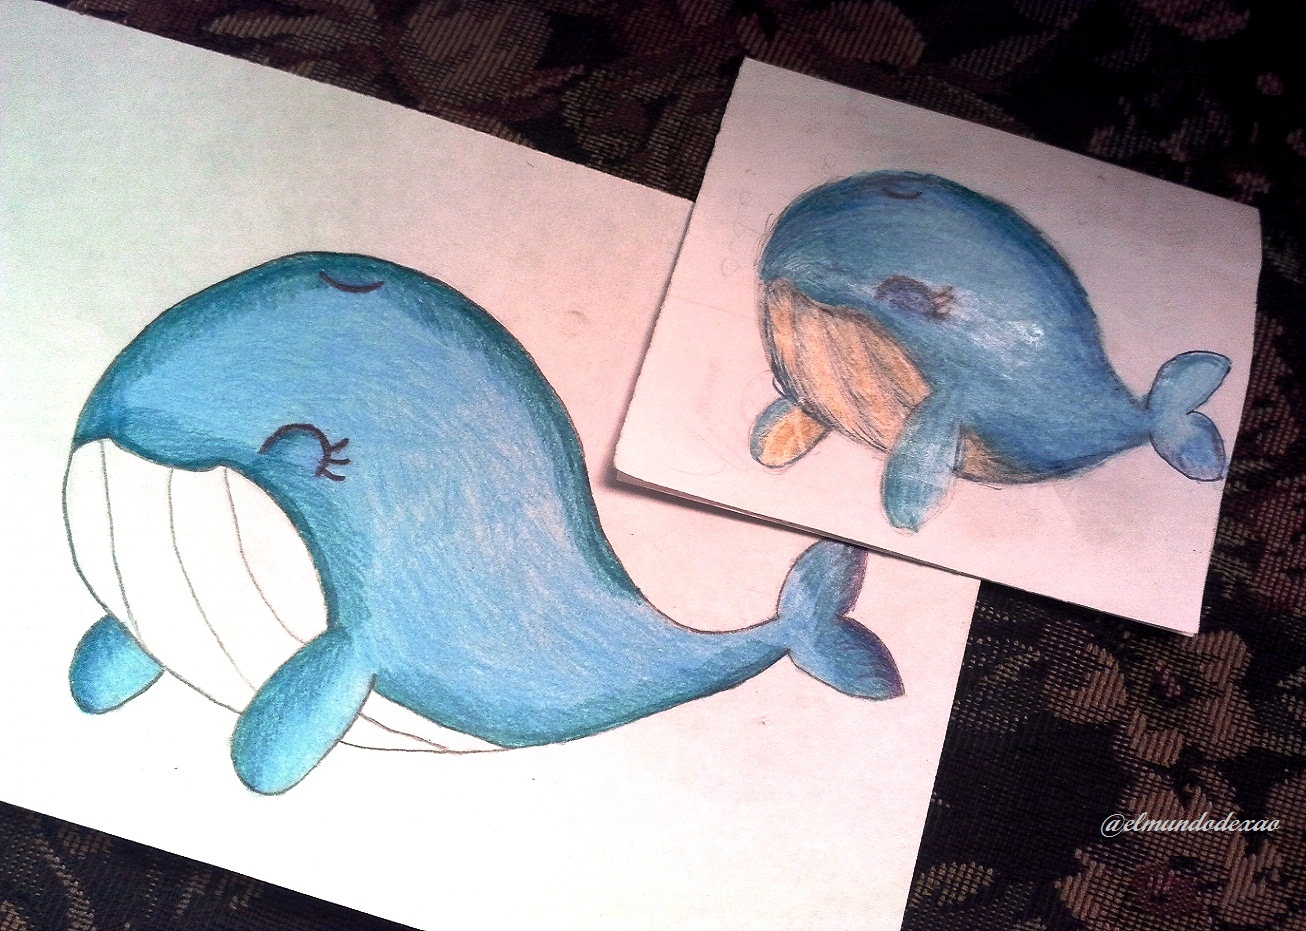
 It is very nice to see the progress I have made in this new drawing.
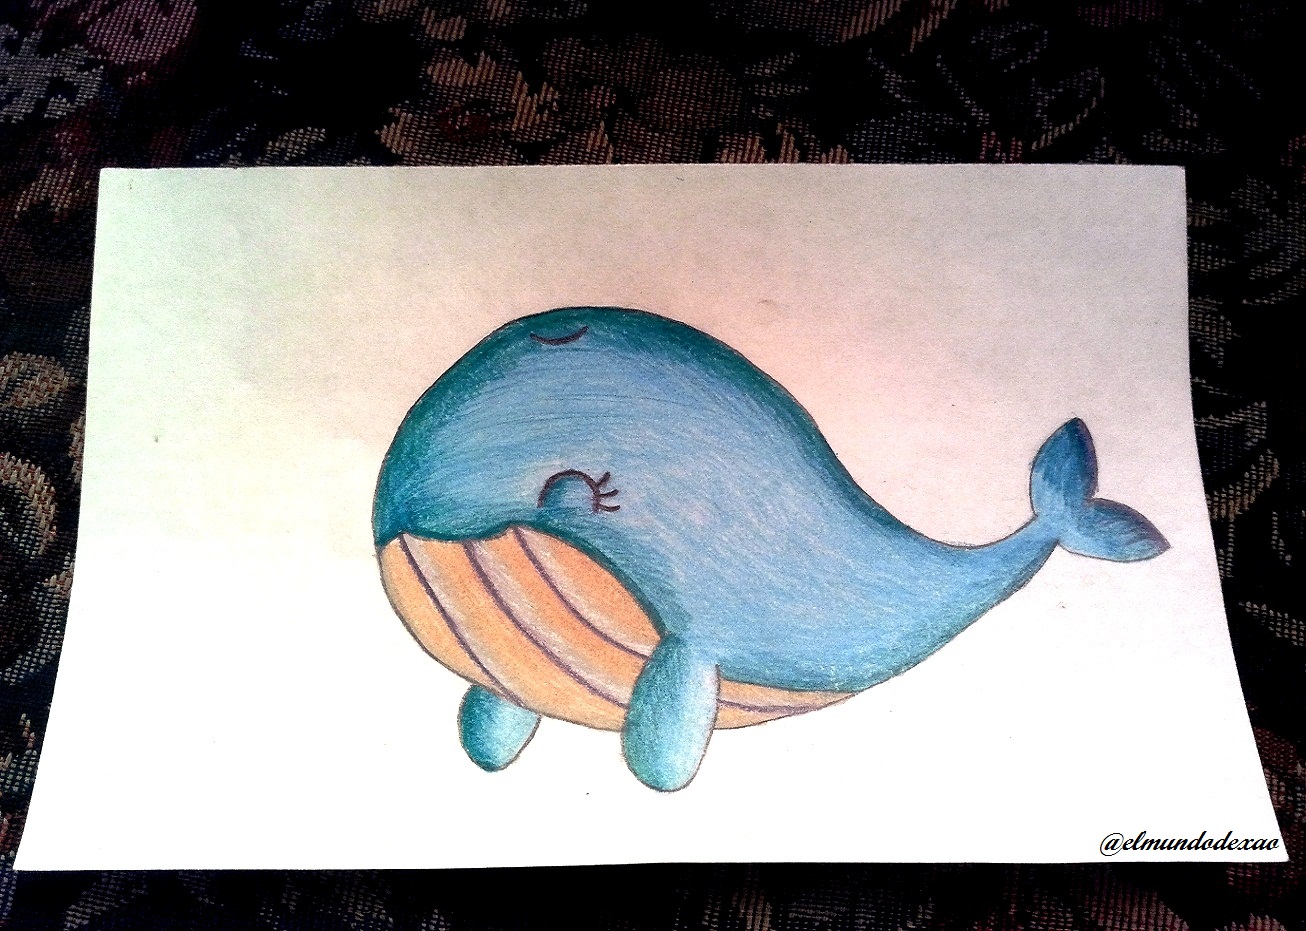 Up to this point the drawing is ready, but I also have to start improving the background and I wanted to make it as close to its habitat as possible.
 Of course, for the moment it will only be a few shades of what is intrinsic in the nature of the drawing.
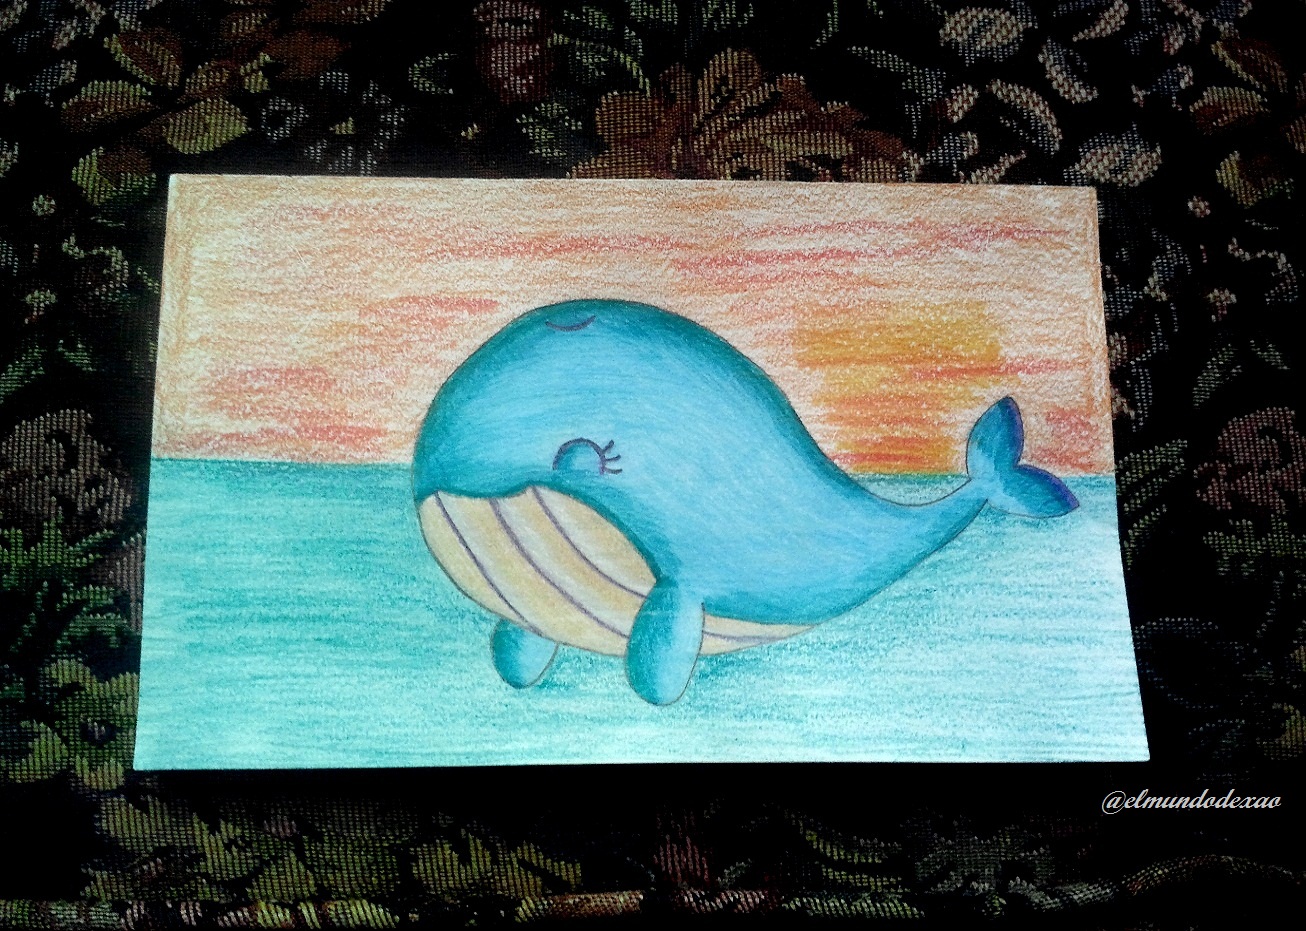
Photo Source: Own photos captured with a Síragon camera.
Modified size: With the Paint Program.
Thanks for visiting my Blog… AH! Don't forget to vote, reblogear, and comment.
Translated with:


Hola amigos Hivers… ☺
Hoy les mostrare un nuevo arte kawaii, en esta ocasión se trata de una ballena. A continuación menciono los materiales utilizados: Papel blanco, lápiz, borrador, colores.
Ahora trabajare con un nuevo método, primero creo un boceto pequeño para ir haciendo pruebas de formas y colores.
Una vez definido el pequeño boceto comienzo a trabajar con el grande y podré estar más segura de cada trazo además de las combinaciones de colores.
Es genial dibujar con esta técnica ya que al hacer el segundo boceto hago cada trazo con más confianza.
Como ya es costumbre remarco el boceto y borro todos los trazos sobrantes.
Comienzo a darle las tonalidades más oscuras lo cual también es nuevo para mí y pueden apreciar en el pequeño boceto que ya hice varias pruebas para aprender a difuminar.
Es muy agradable ver como se notan los avances que he logrado en este nuevo dibujo.
Hasta este punto el dibujo está listo, pero también debo comenzar a mejorar el fondo y quise hacerle lo más parecido a su habitad.
Por supuesto que por el momento solo serán algunas tonalidades de lo que esta intrínseco en la naturaleza del dibujo.
Fuente de Fotos: Propias capturadas con una cámara Síragon.
Modificado el tamaño: Con el Programa Paint.
Gracias por visitar mi Blog… ¡AH! No se olvide de votar, rebloguear y comentar.
Hola @elmundodexao esa es una buena técnica para no pasar tanto trabajo borrando y hasta dañando un dibujo.
Gracias por pasar y comentar. Feliz día.Hola @sekhet esa es la idea ya que en ocasiones me imagino algo y después de aplicarlo me doy cuenta que no quedo como esperaba.
Sinceramente me impresionan lo bello que están tus dibujos @elmundodexao te felicito.
La dedicación siempre da sus frutos. Te ha quedado muy bonito tu dibujo.
Gracias por tomarte tu tiempo y pasar… Te deseo un lindo día.Hola @santoninoatocha y lo mejor es dedicarle tiempo a algo que nos guste mucho.