Everybody loves a tasty, juicy, salty tomato 🍅!
Especially when they are freshly cut, they have the most amazing aroma.. Not to mention that they have all the vitamins and nutritious elements of fresh vegetables. So, why not grow your own plants from your very own tasty tomatoes?
In this post I will show you how you will be able to extract, gather and store your own tomato seeds, getting them ready to be planted next year!!
Prerequisite: The tomato should not be a hybrid. If it is, it will still grow and be green but it cannot produce tomatoes (or they will not be as tasty)
——-
What we will need
- A strainer
- A bowl with fresh water
- A spoon
- A ripe tomato (we choose the best ones out of the plant)
- A clean towel
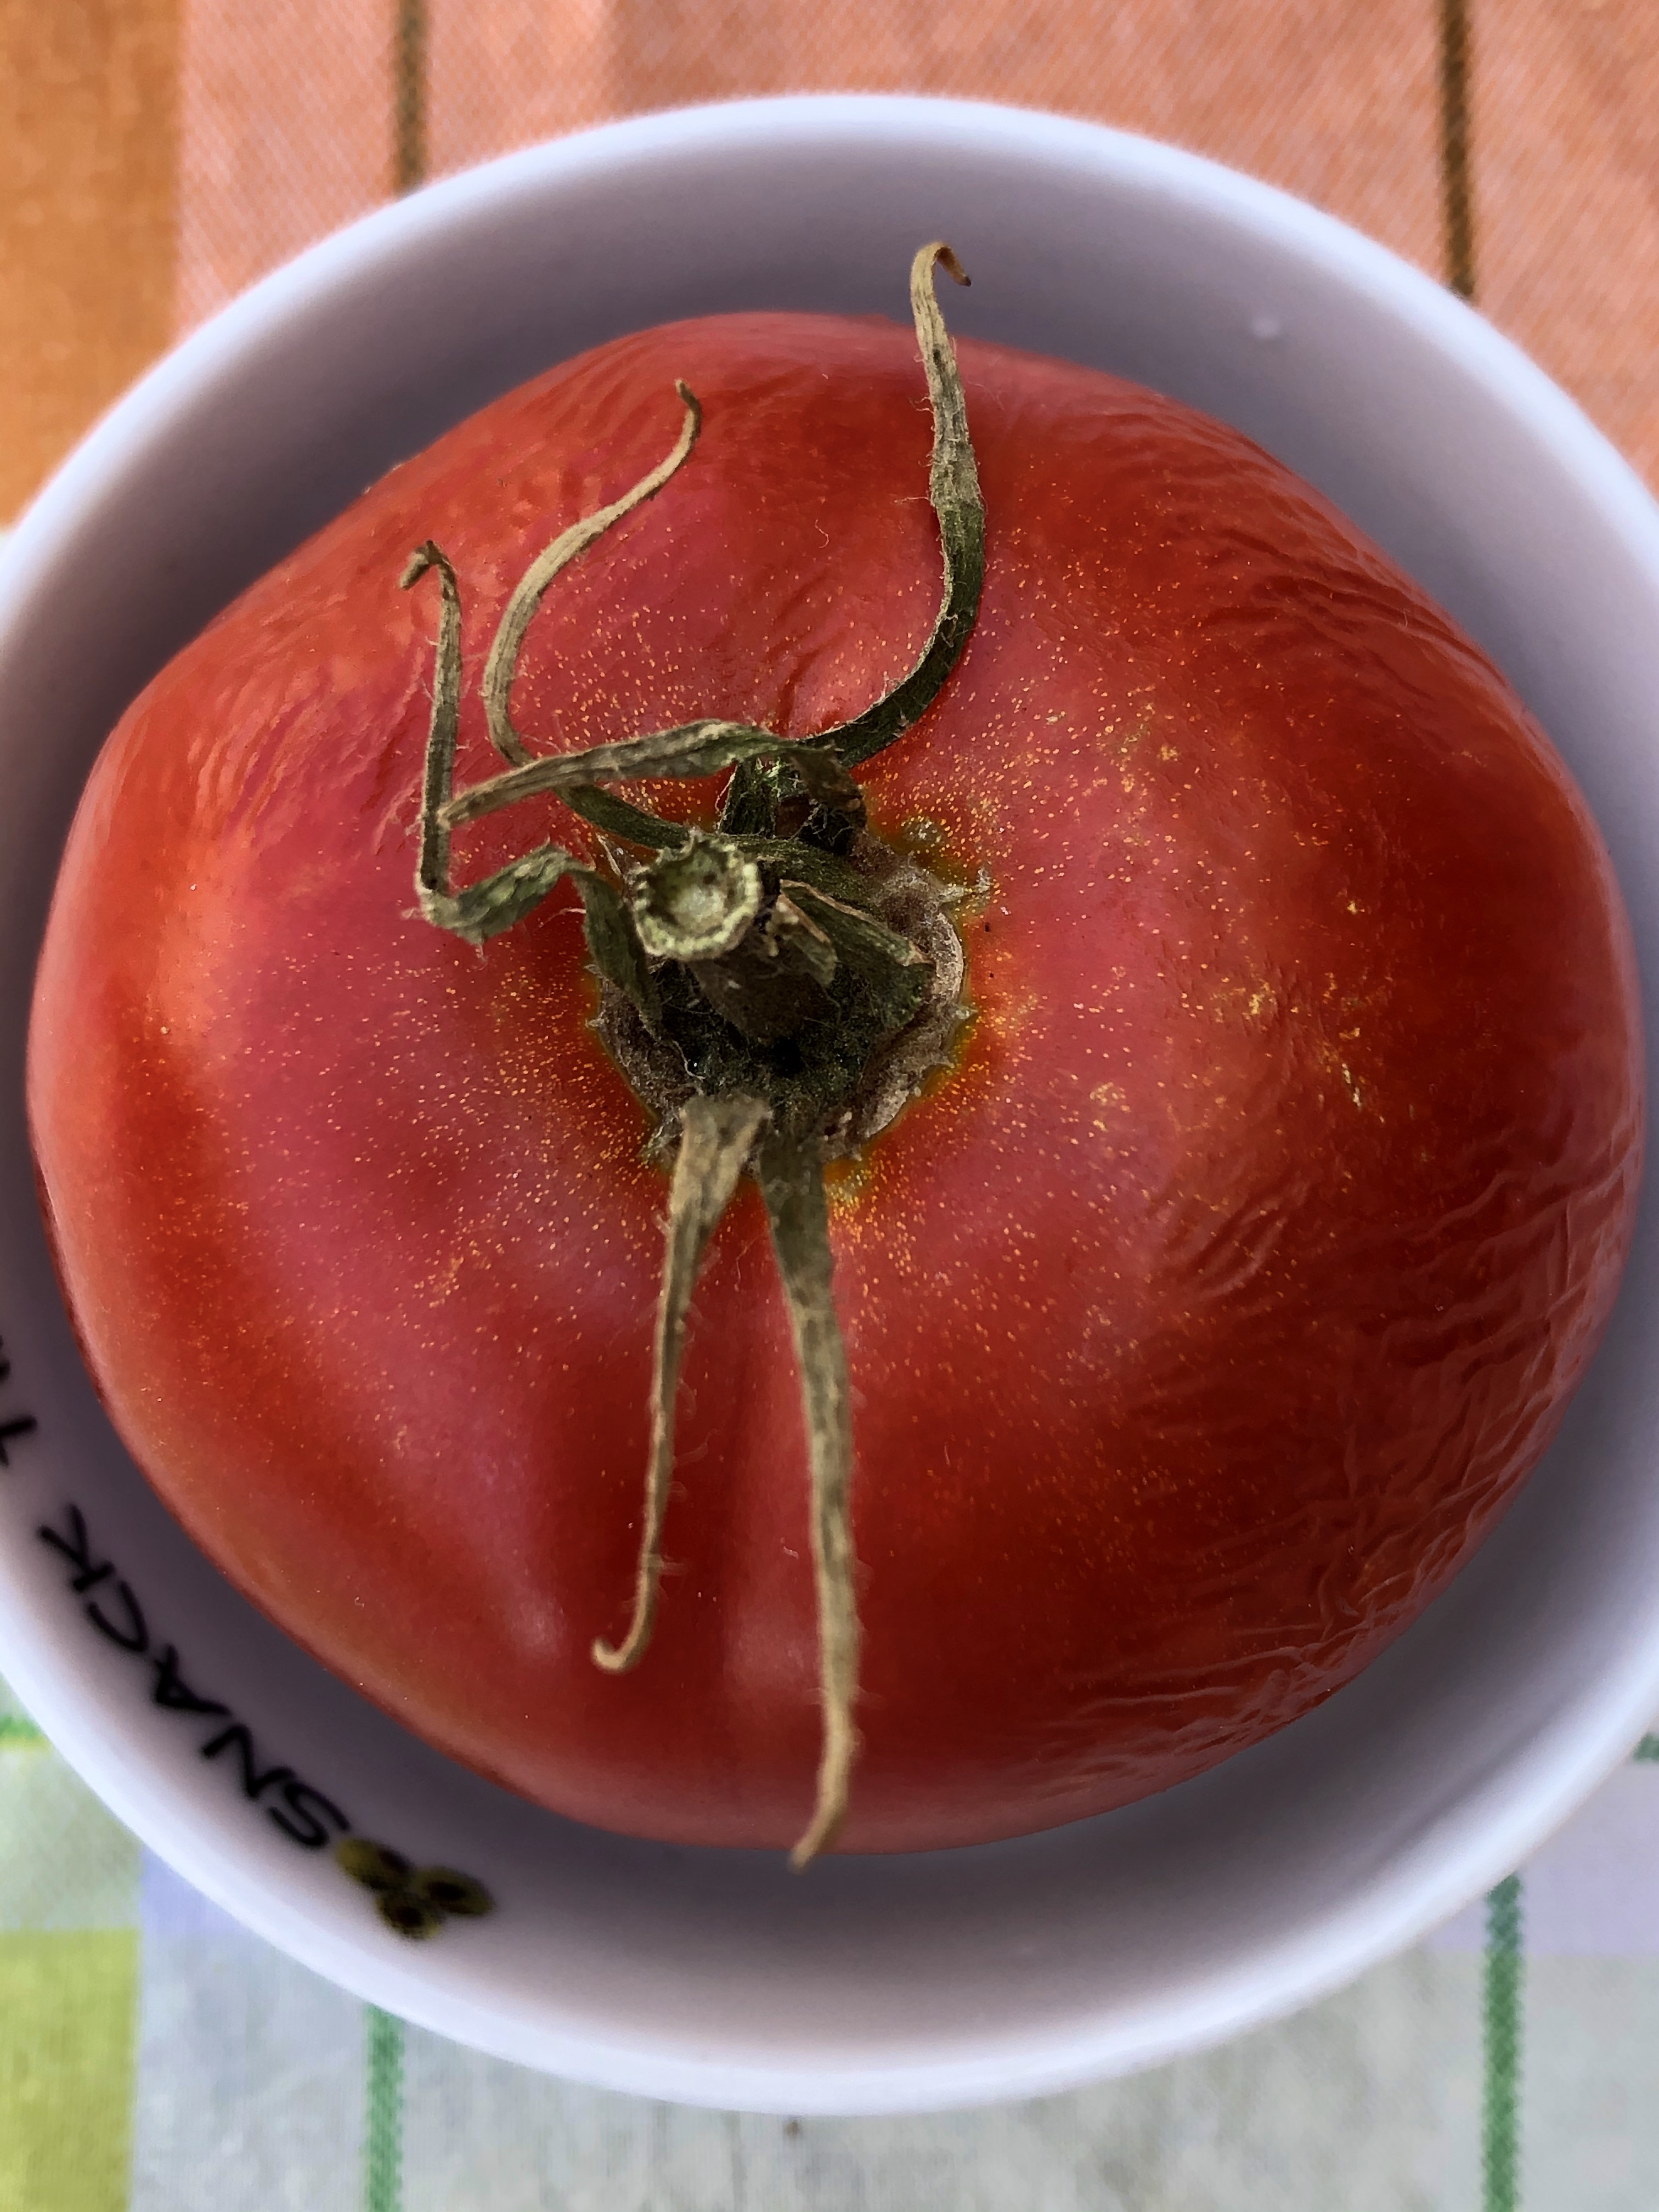
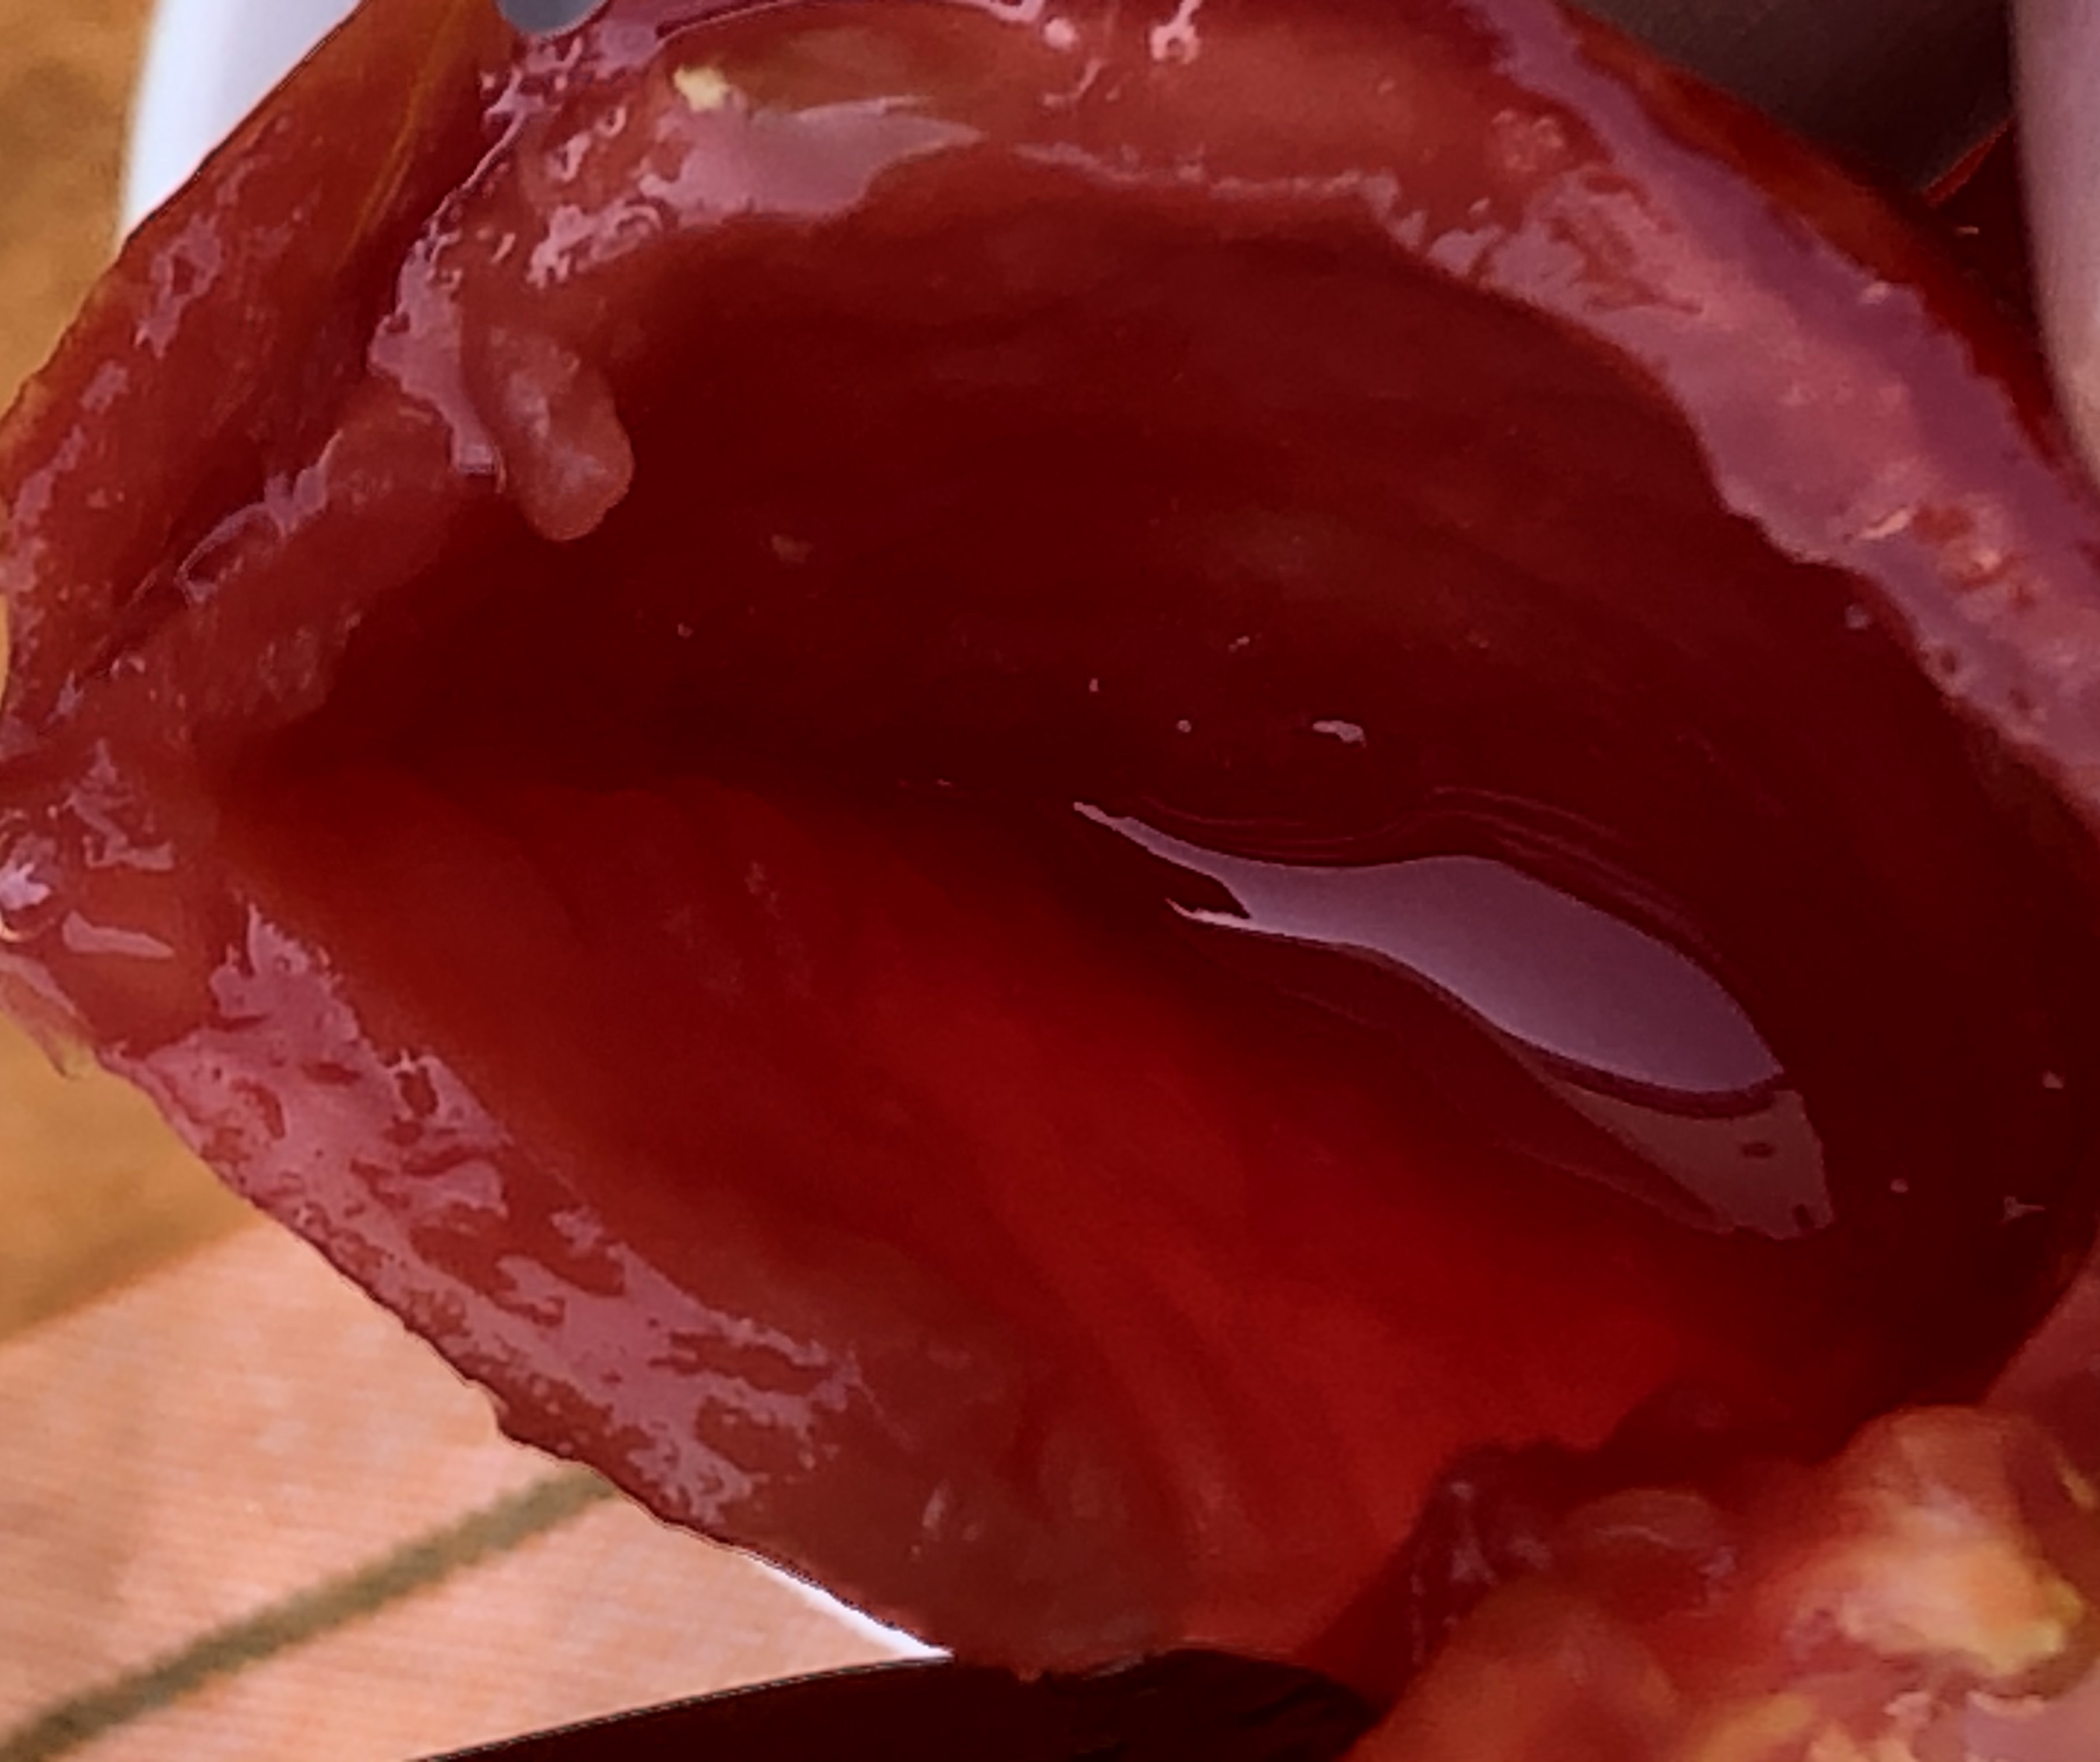
Step 1. We wash the tomato and cut it in 2 or 4 pieces
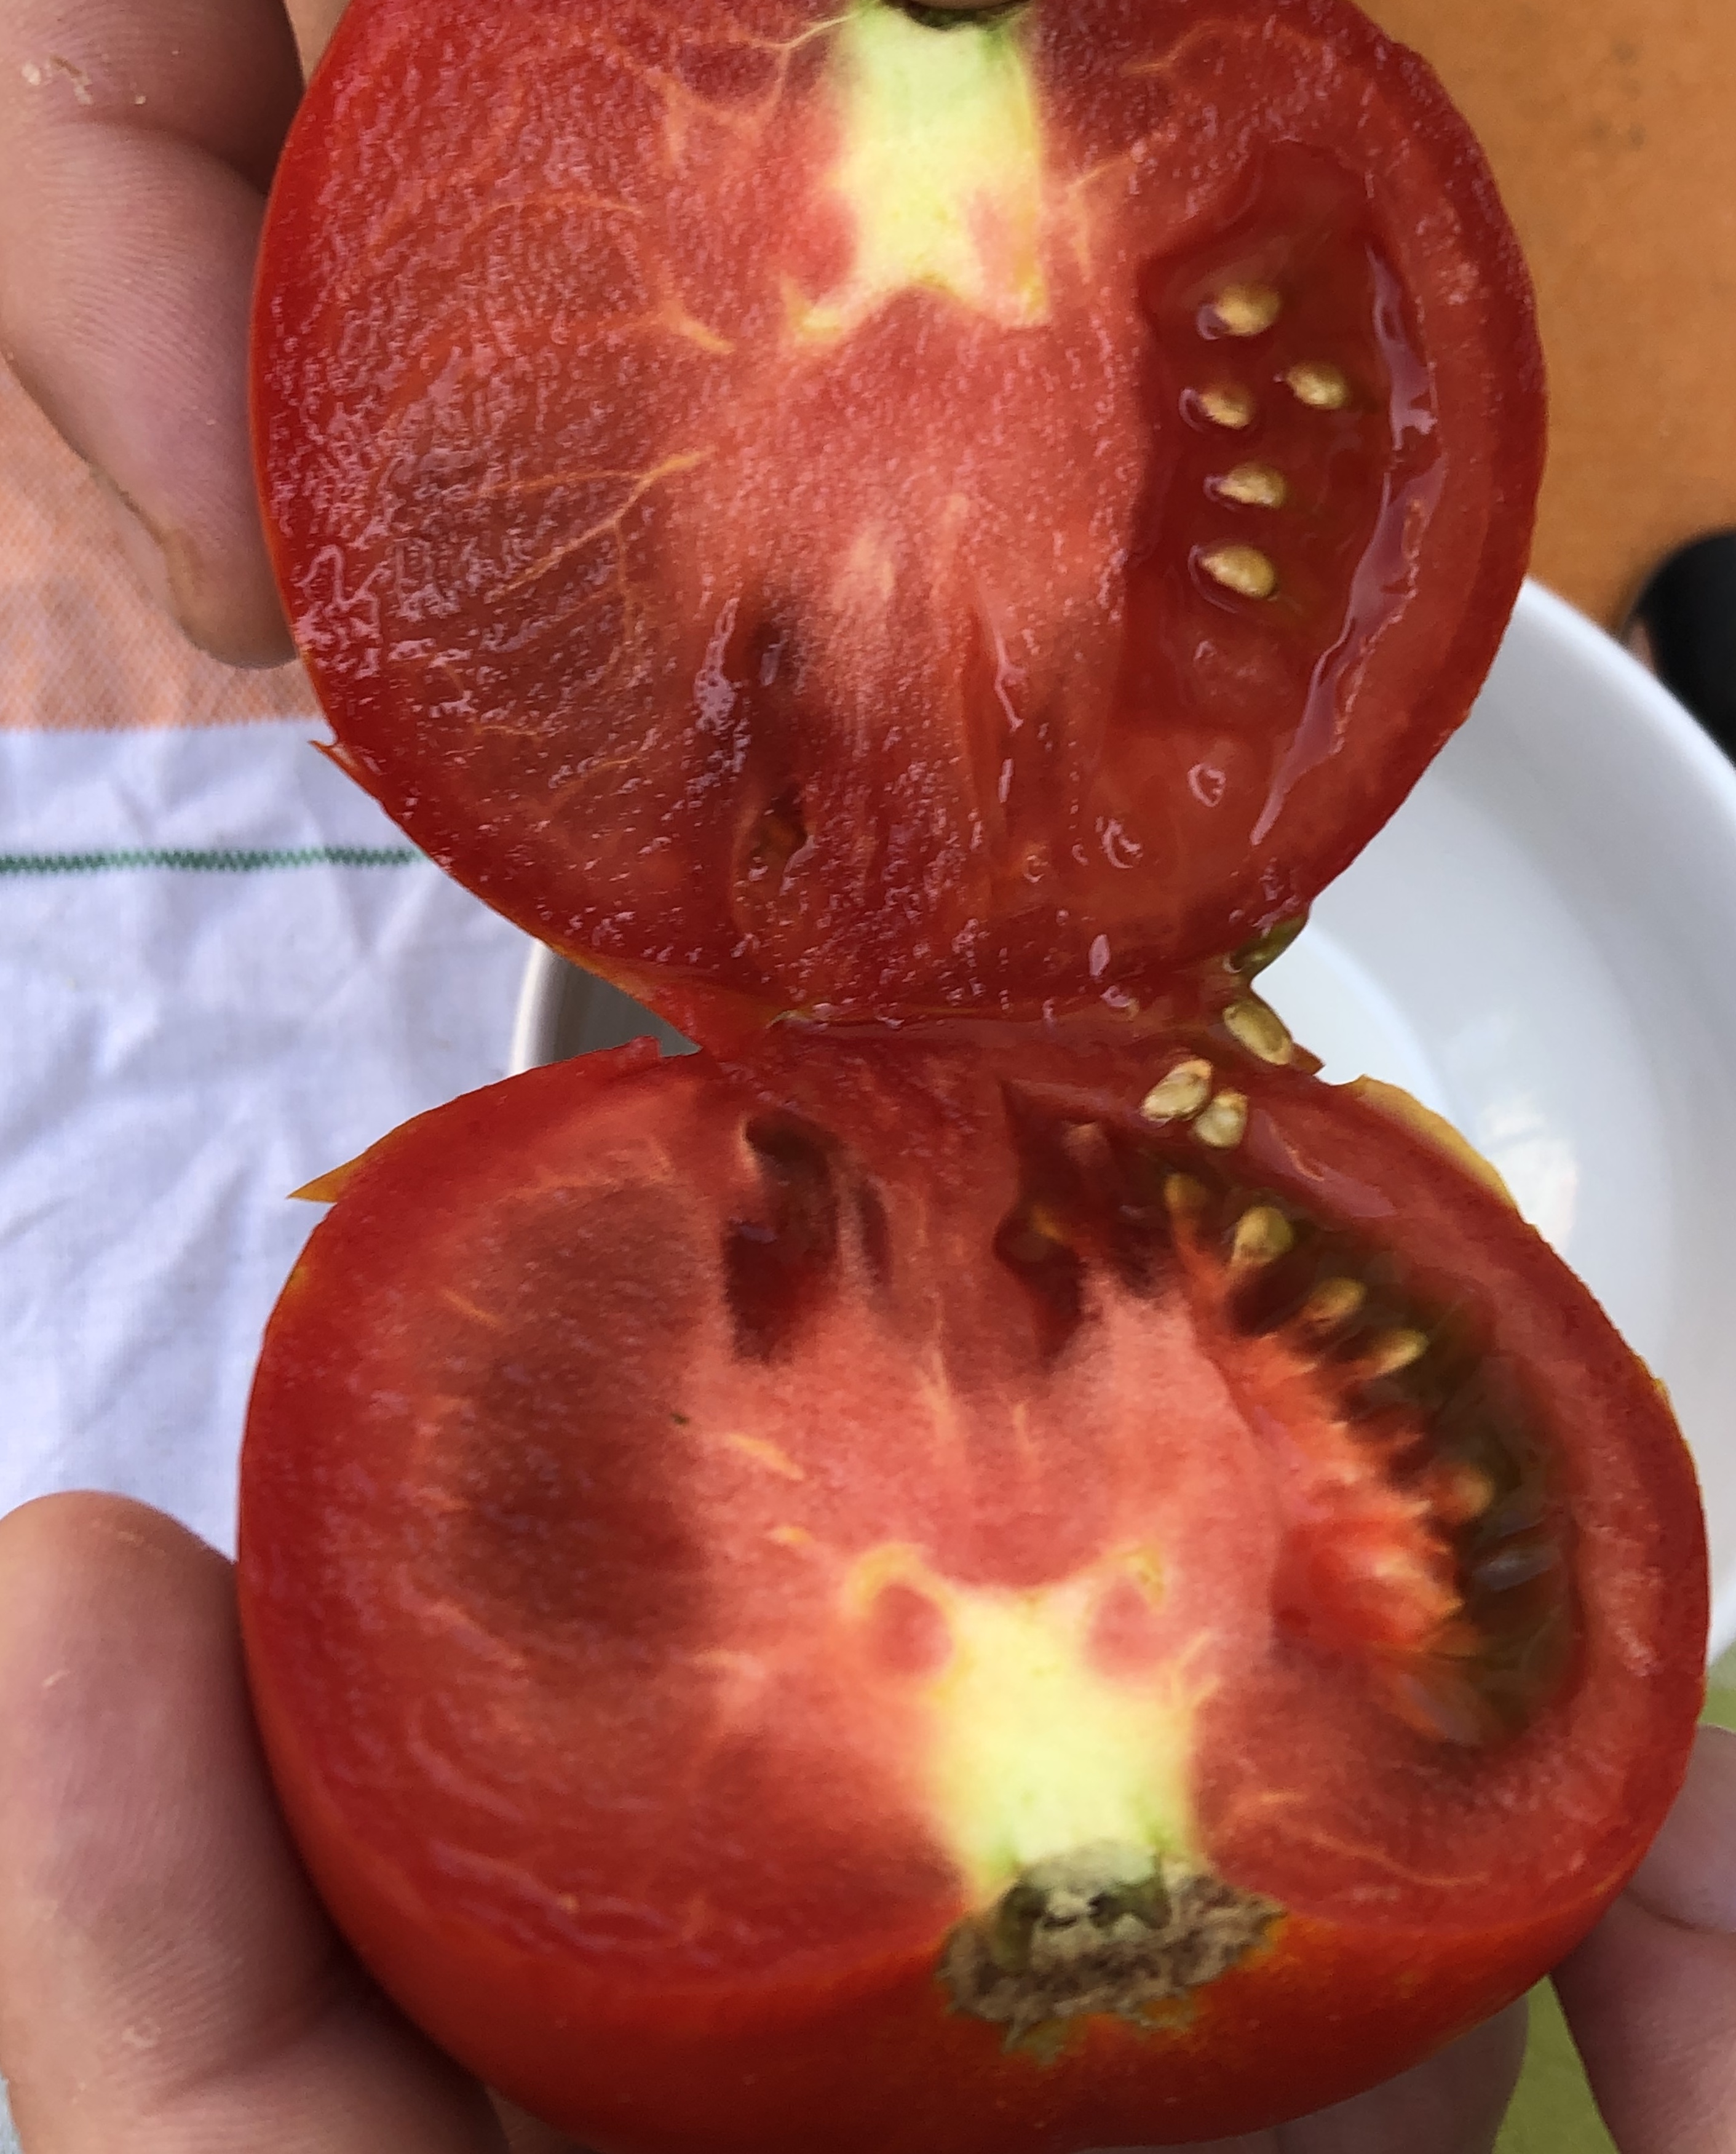
Step 3. With the little spoon we carefully remove the seeds and put them on the strainer
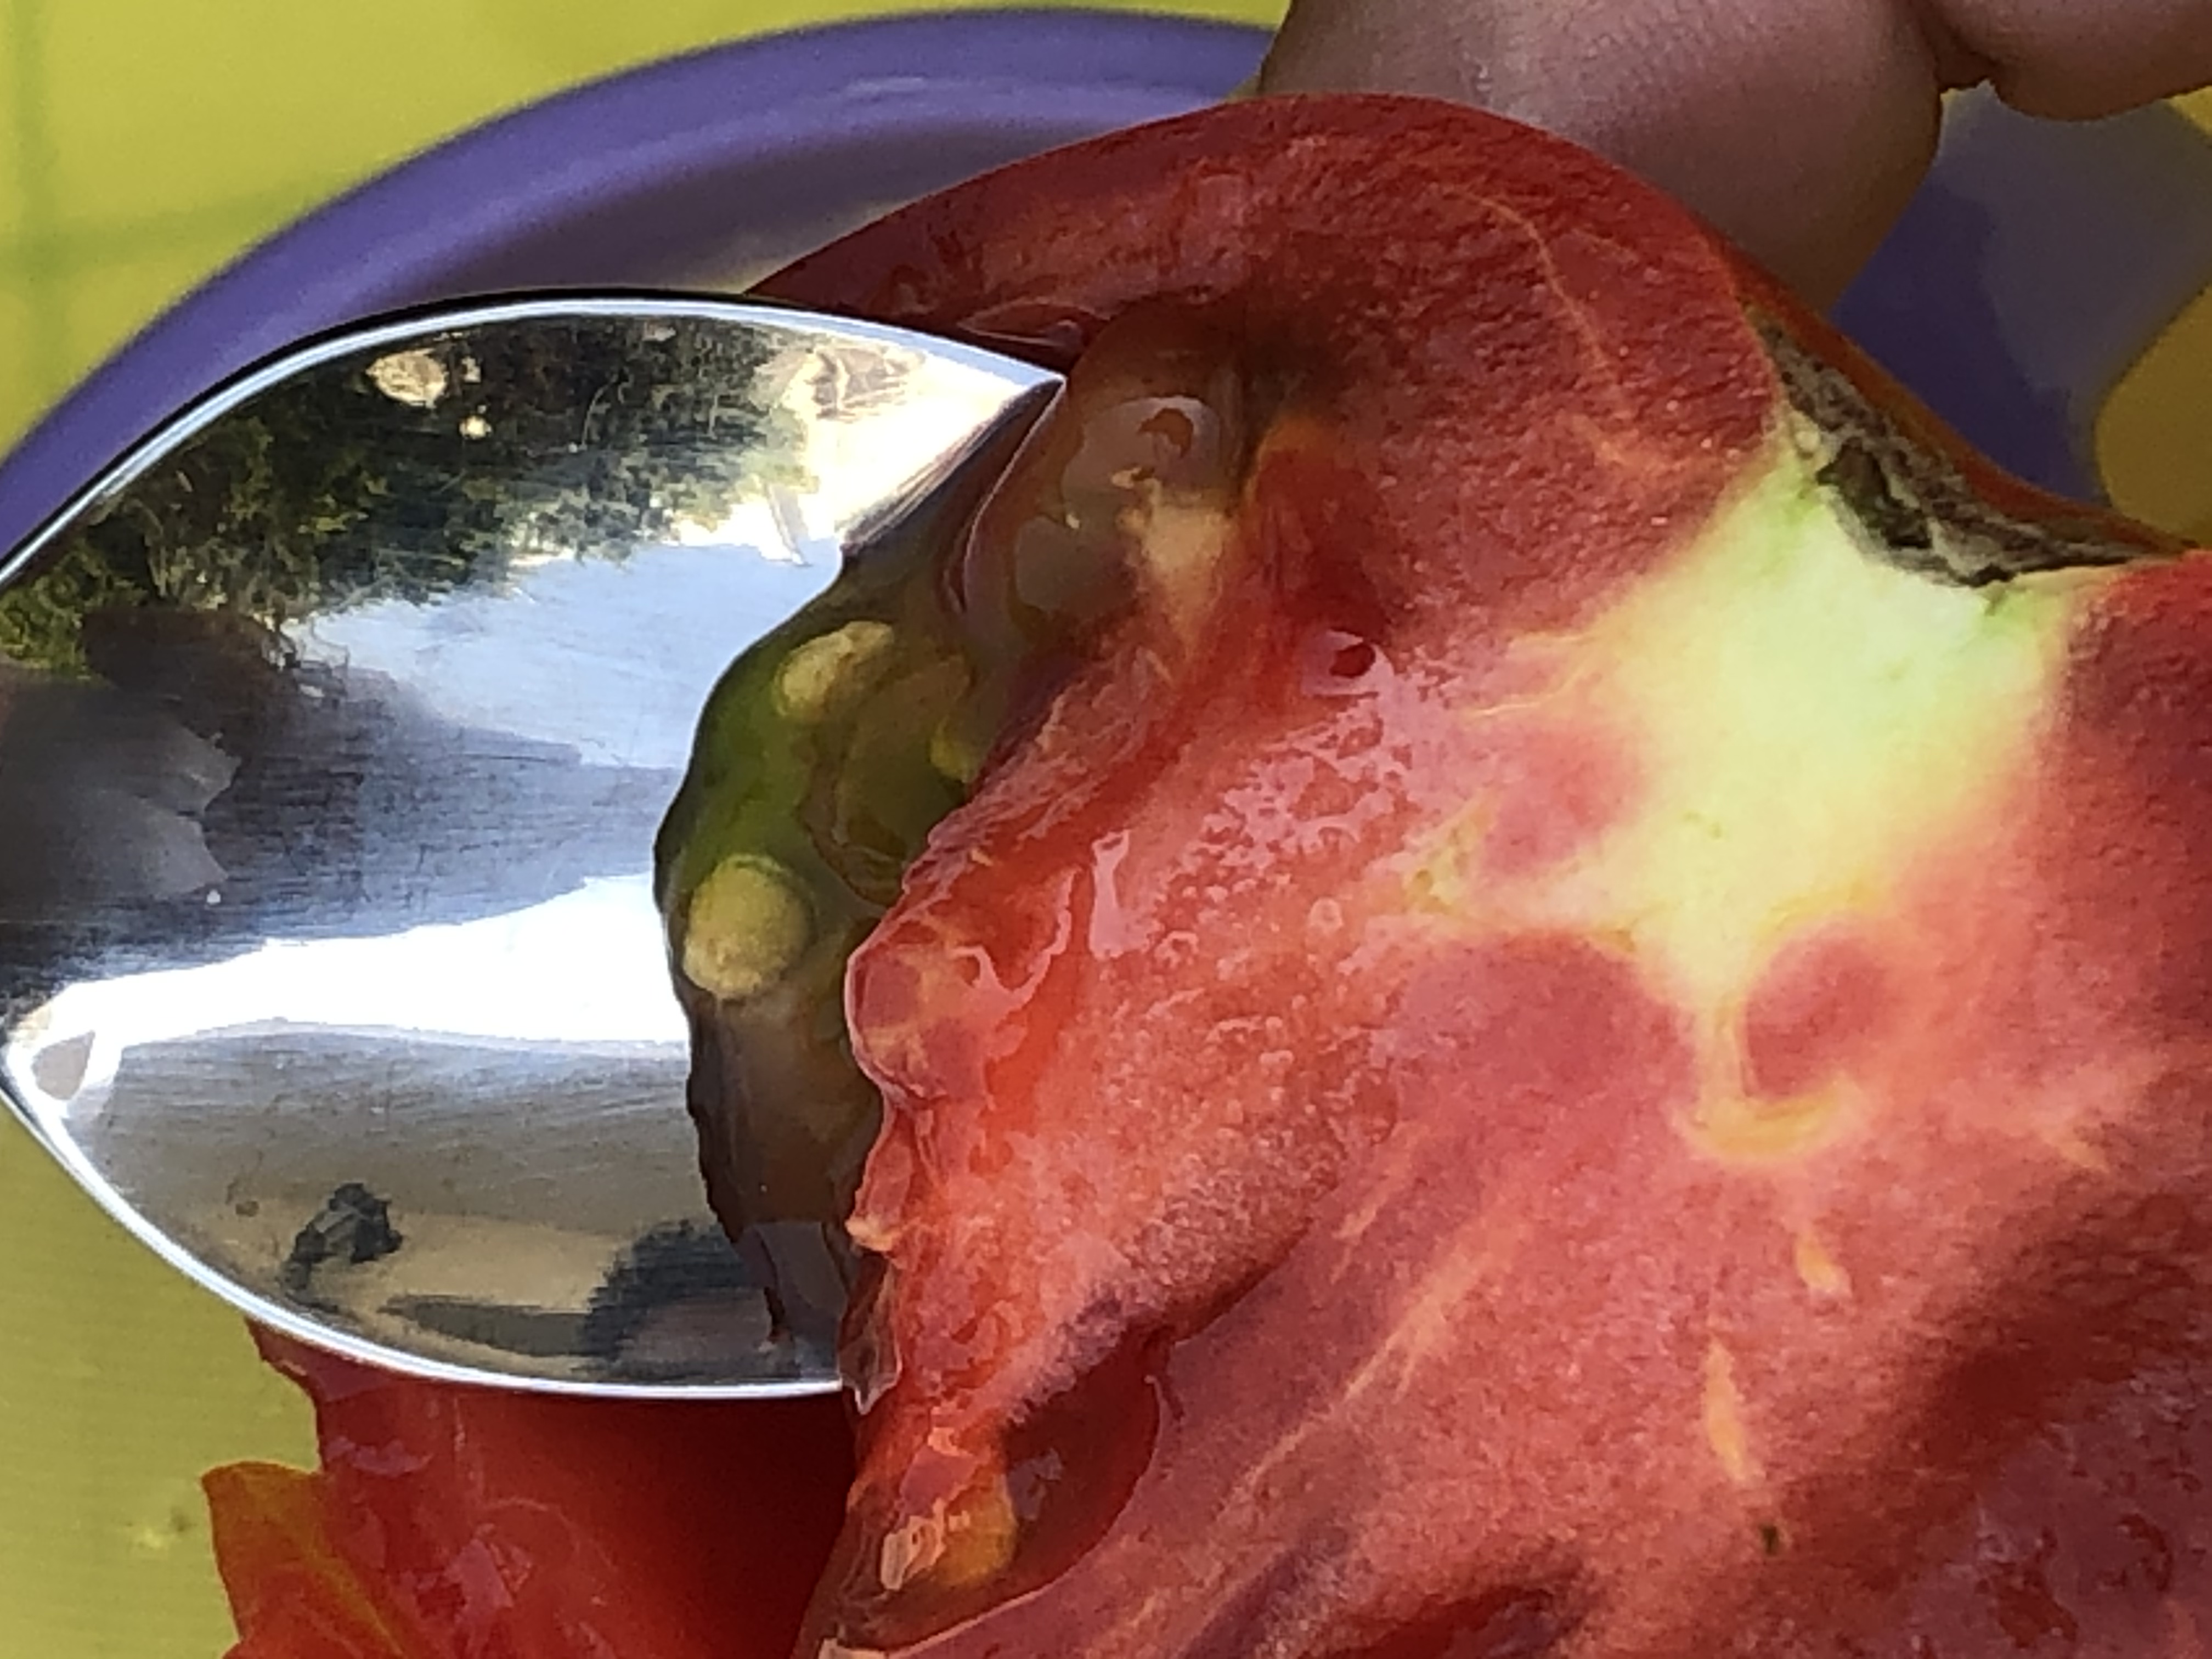
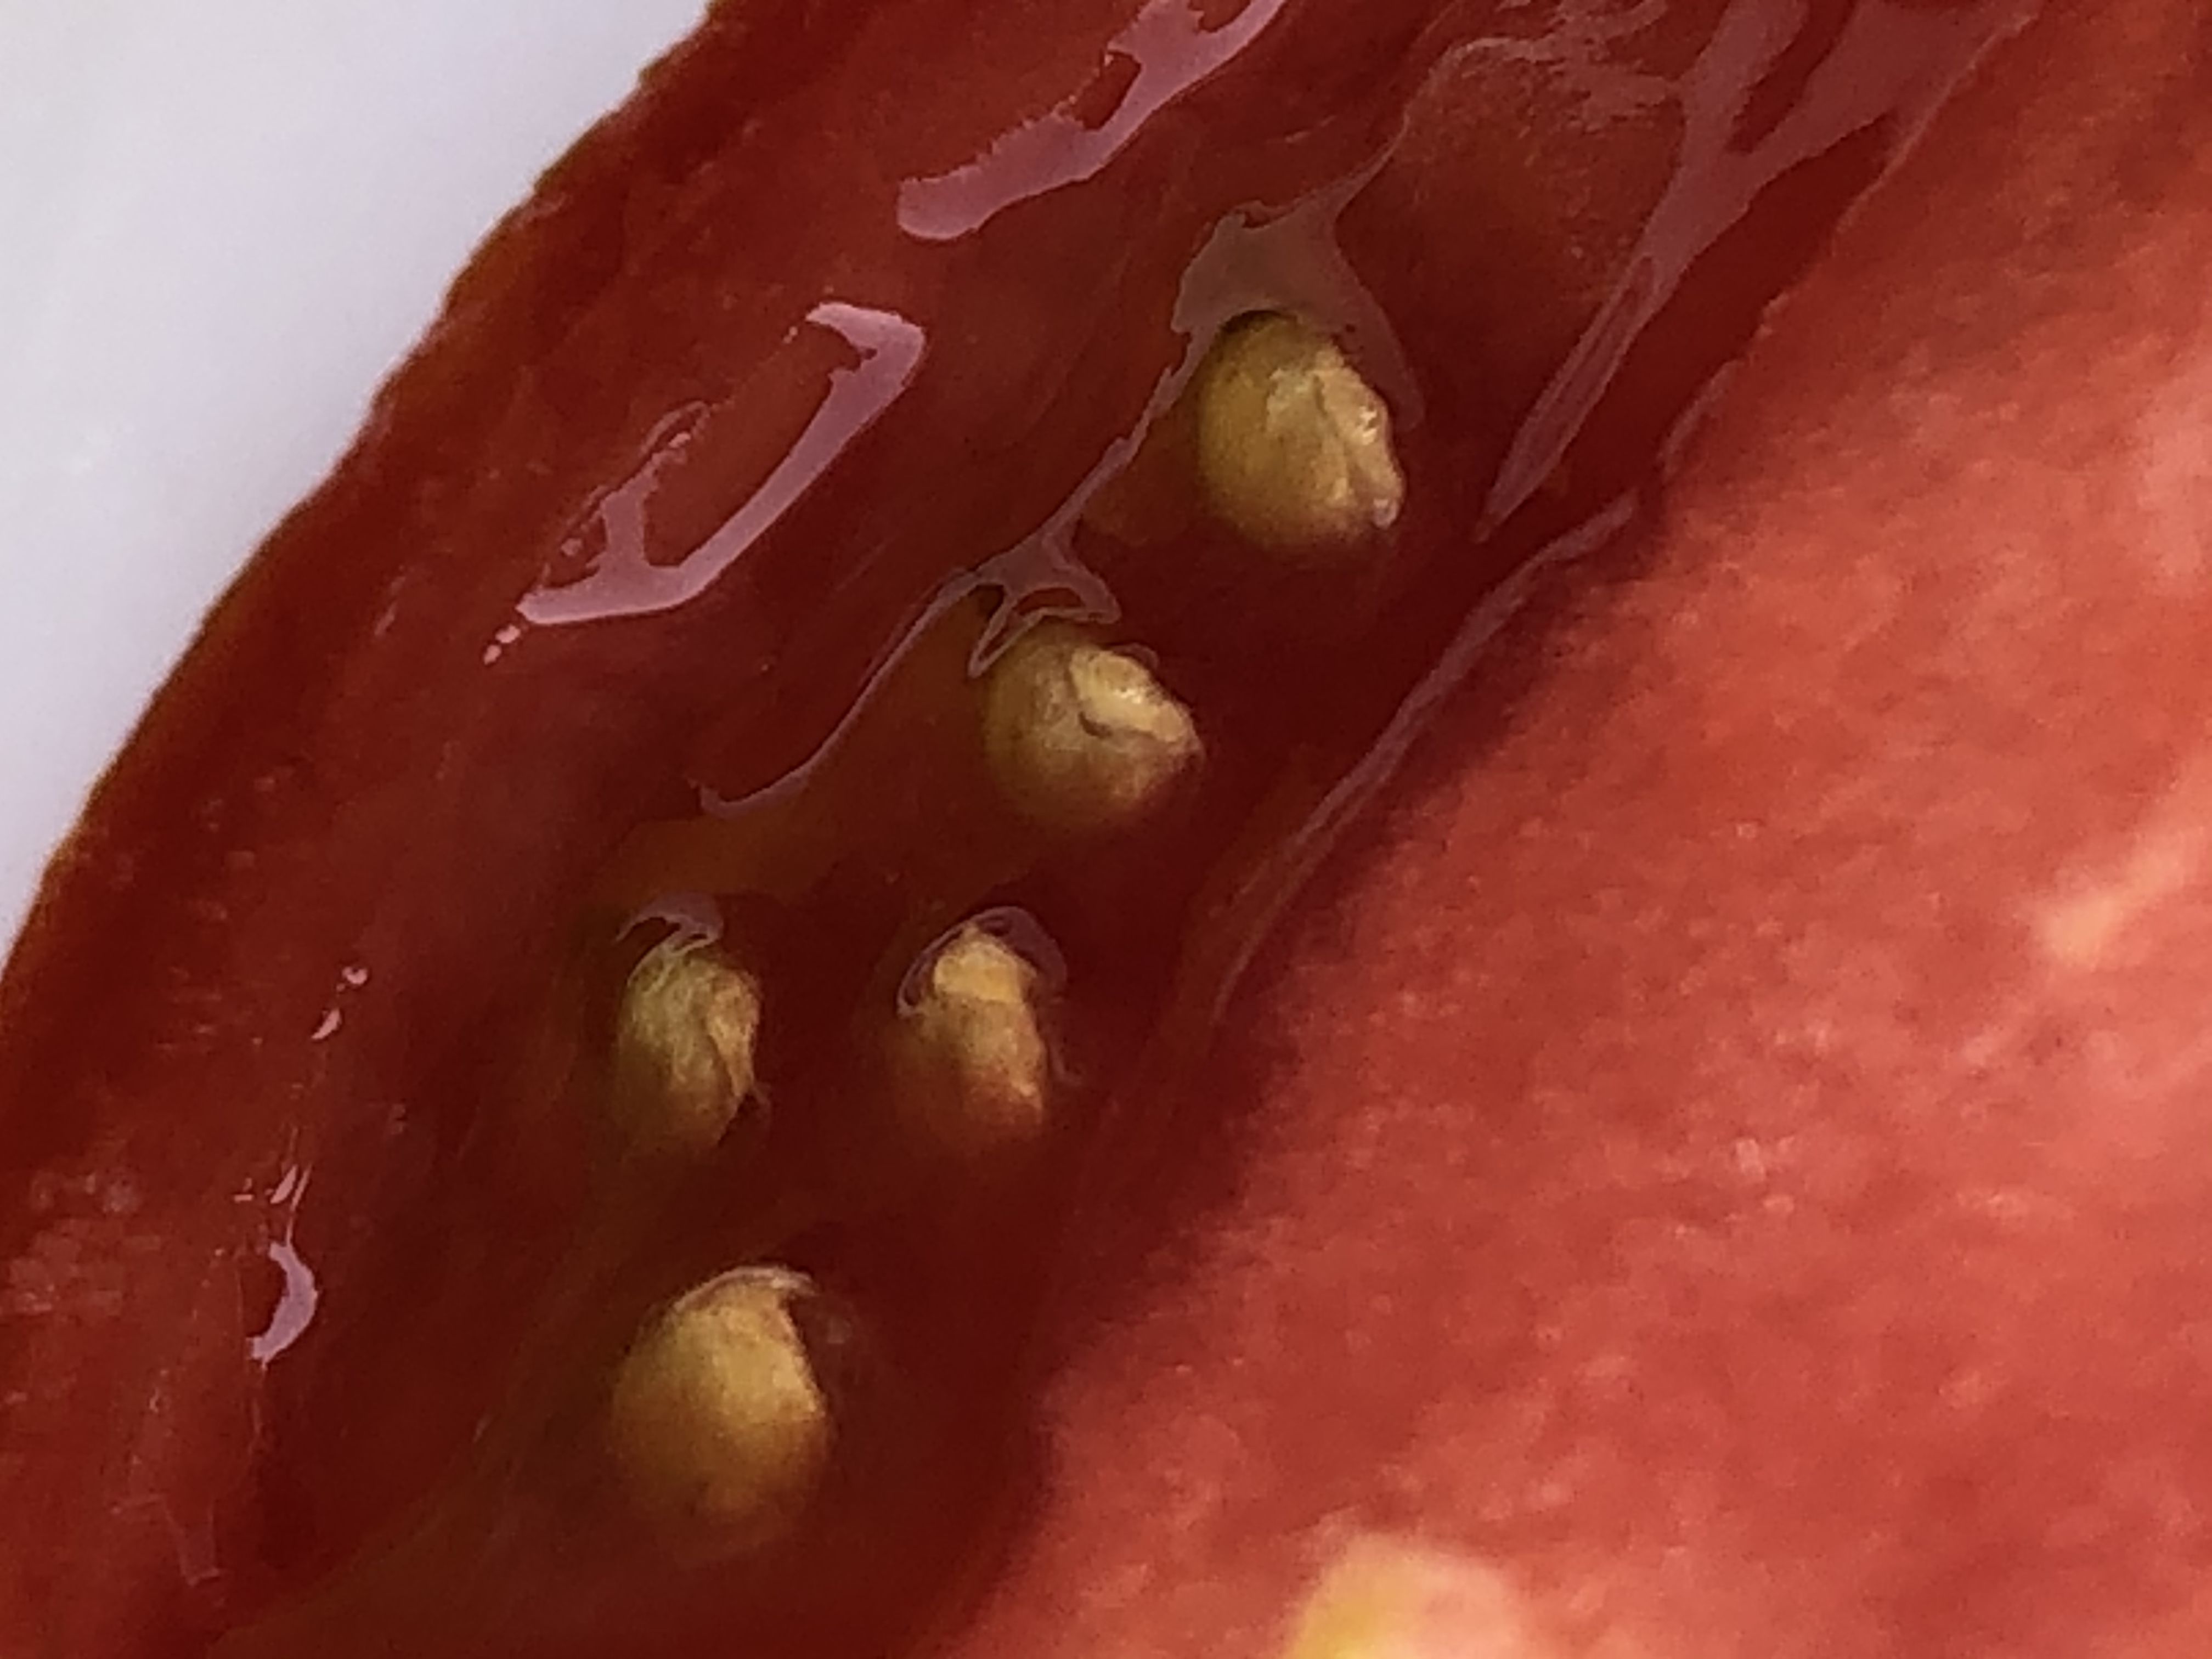
Until none is left on the tomato
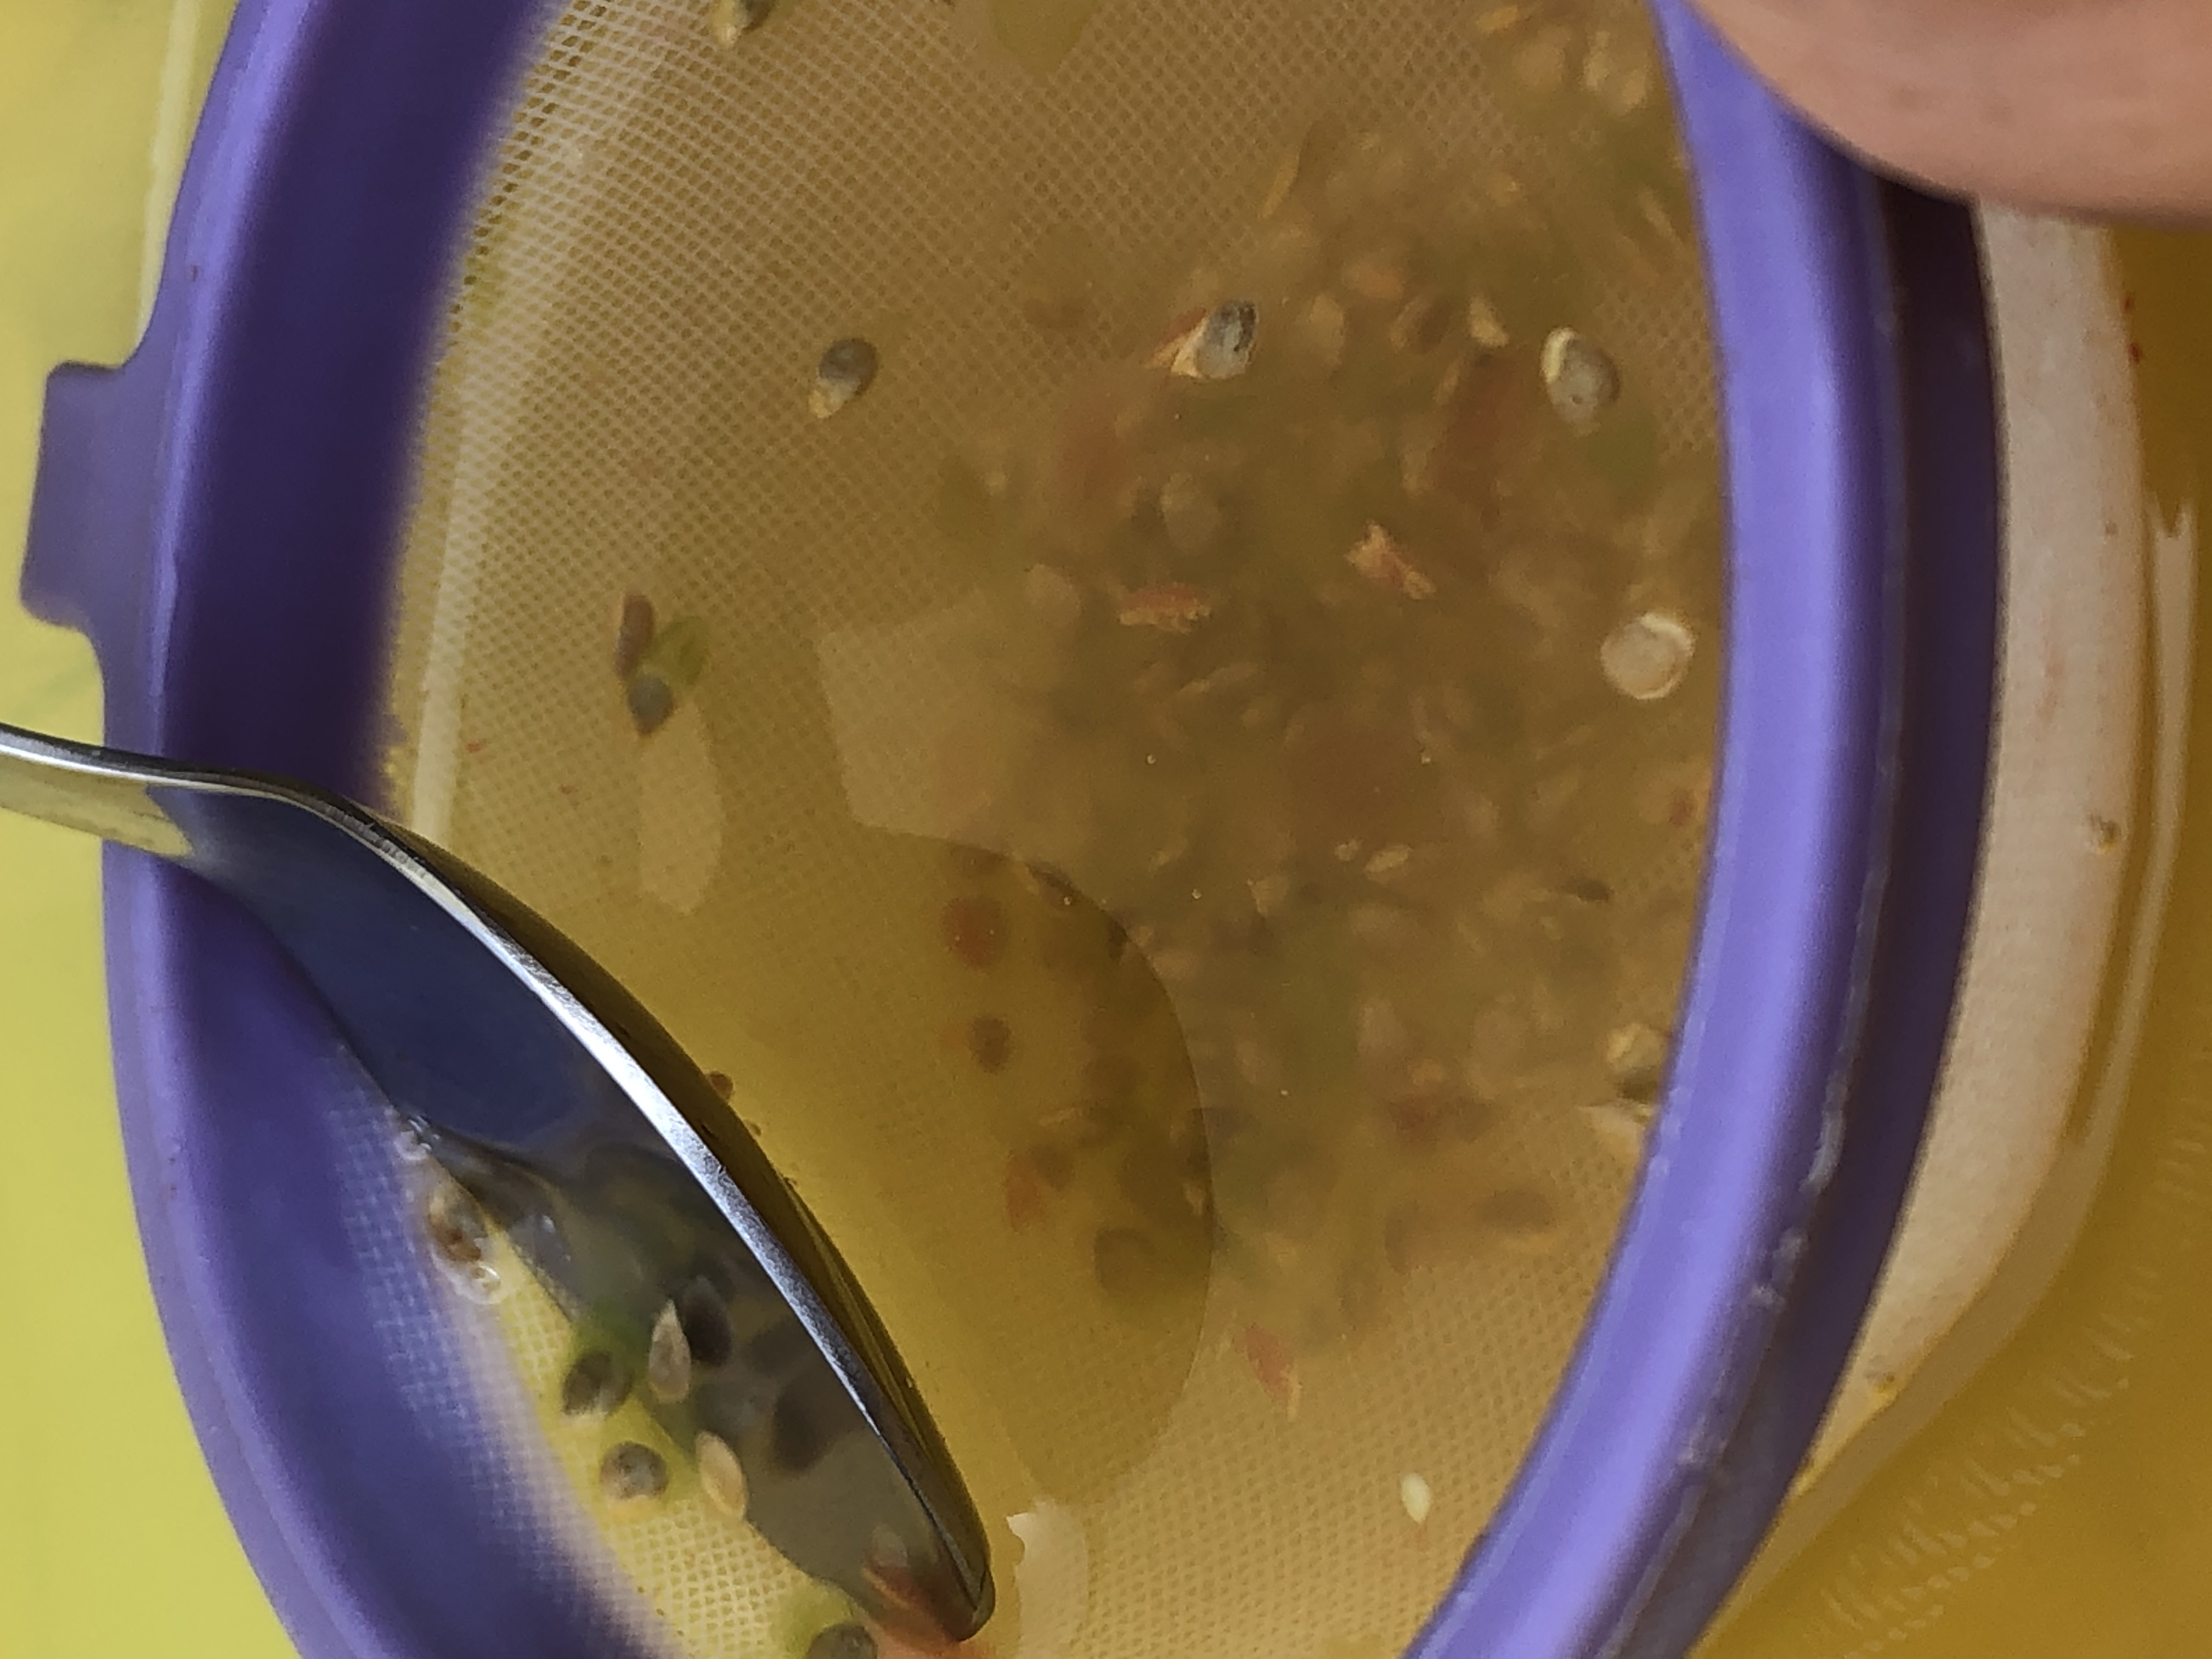
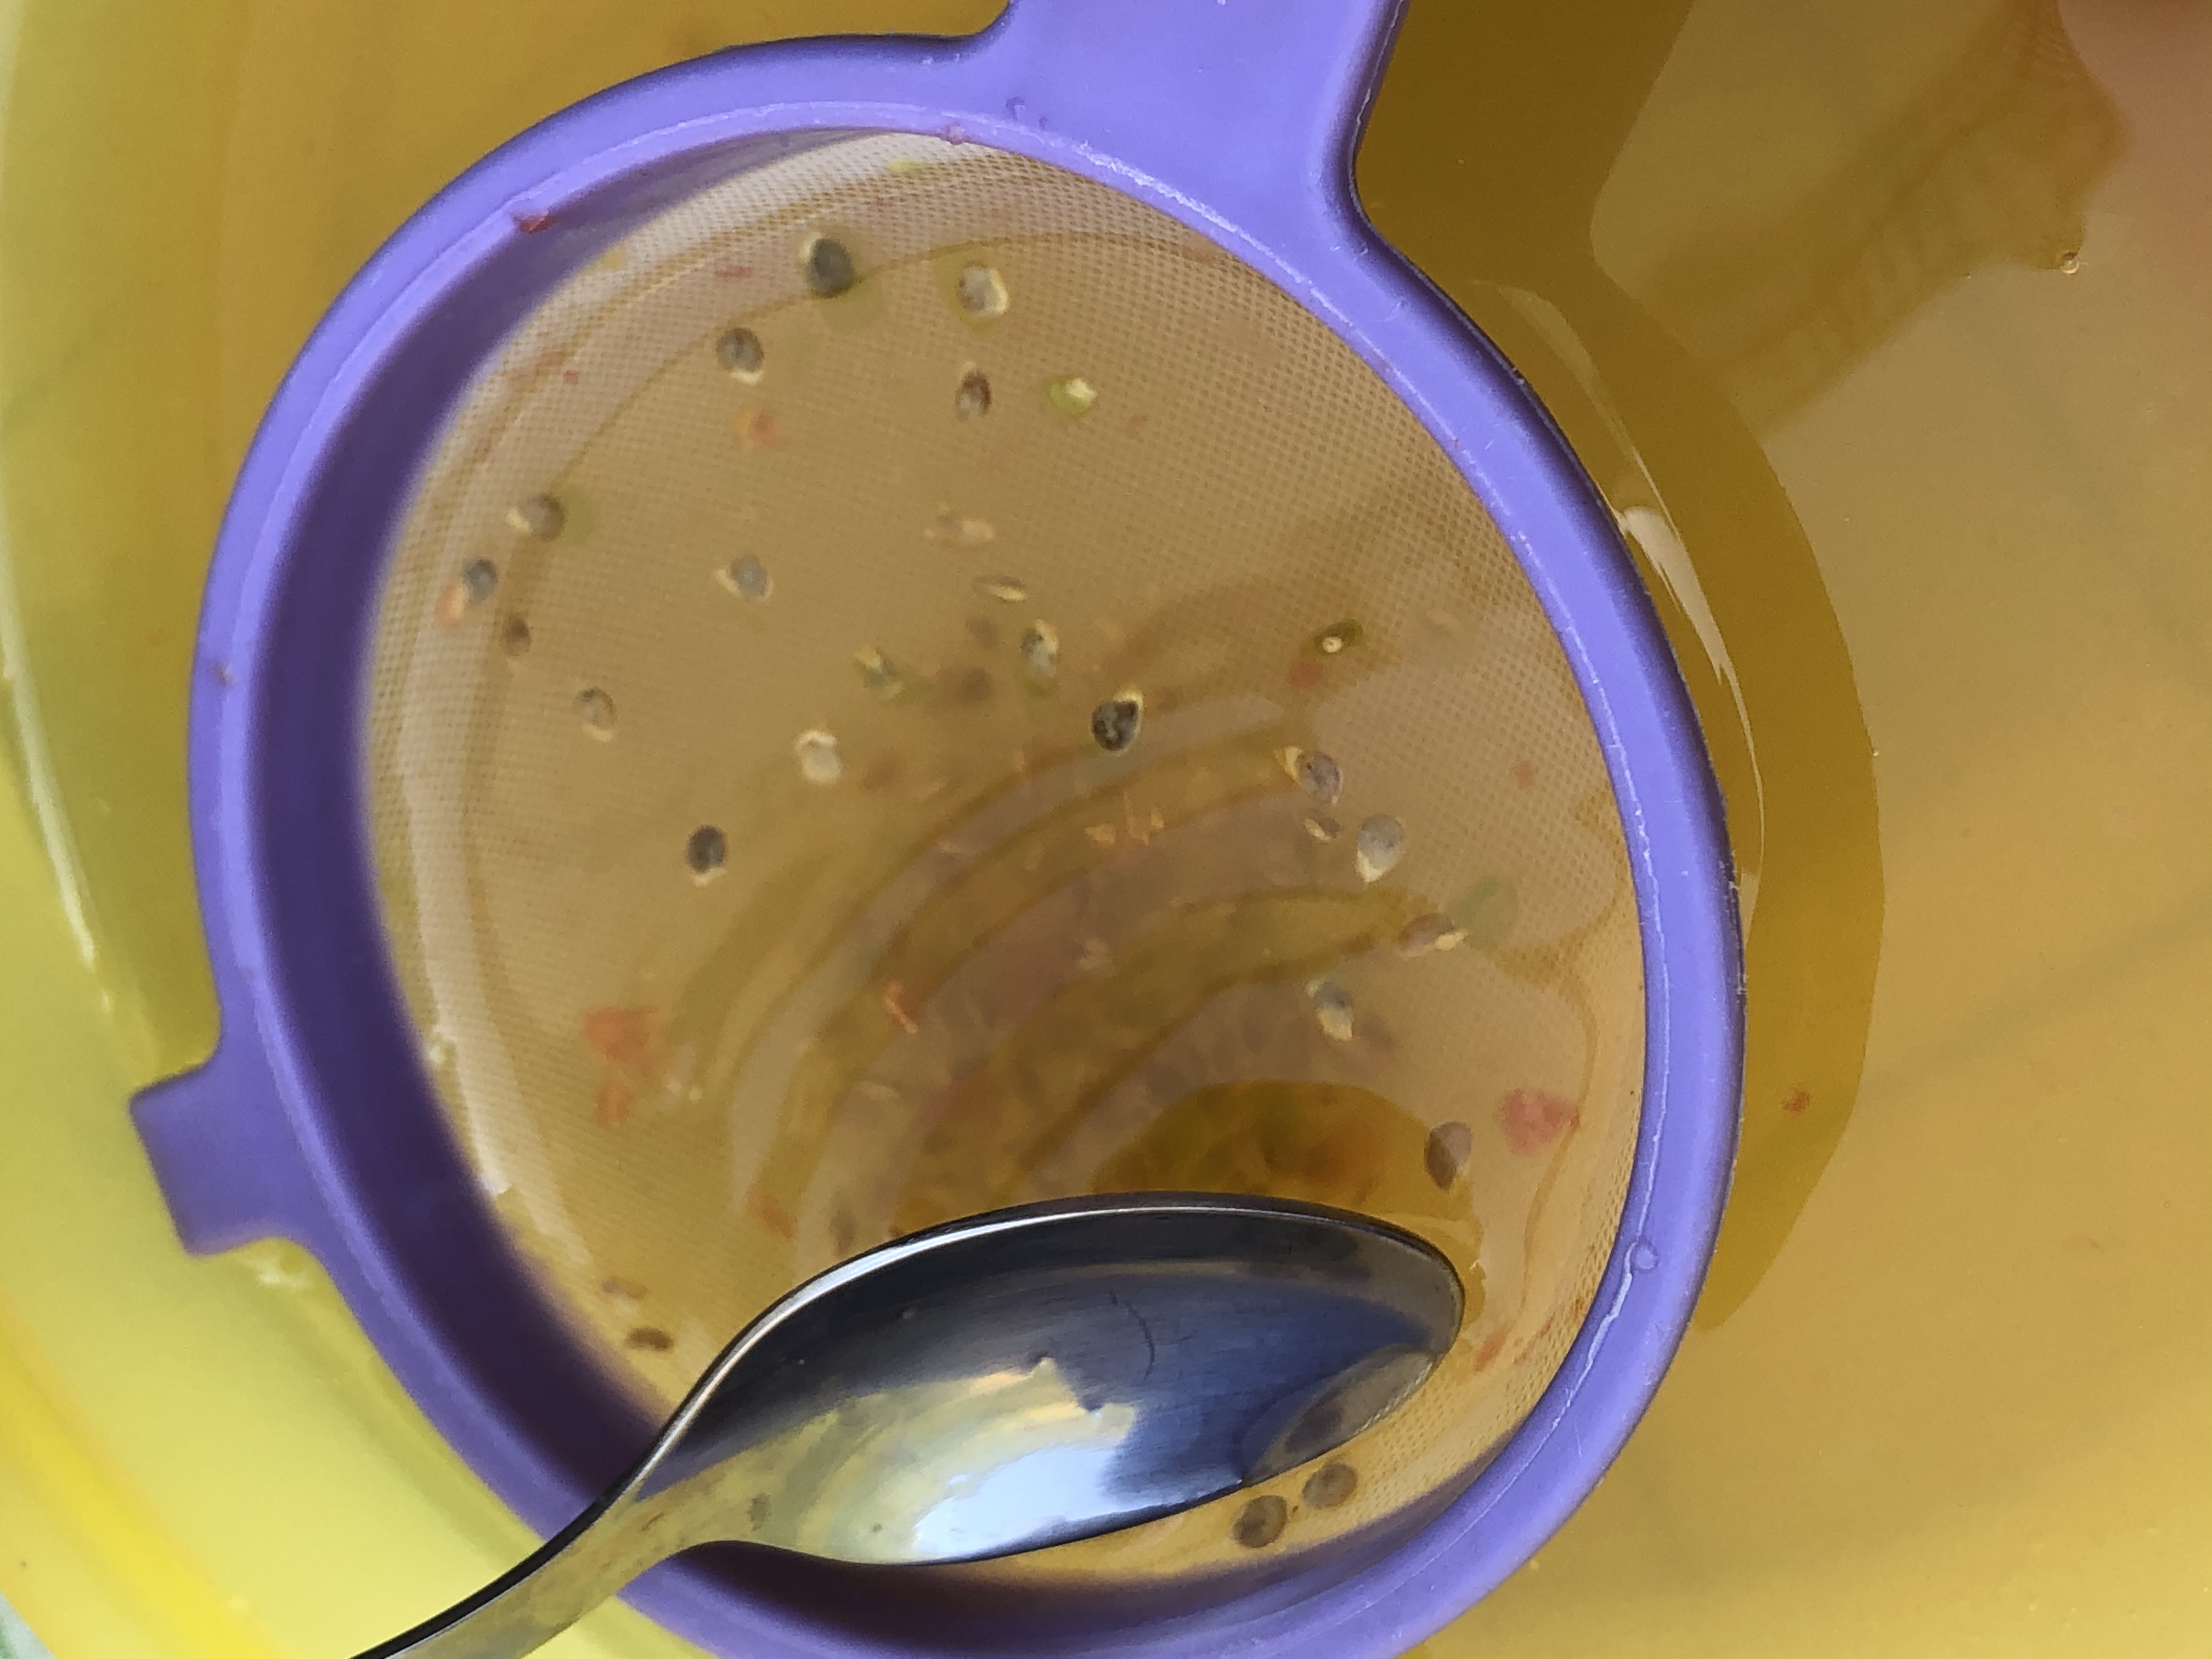
Step 4. We put the strainer that contains the seeds in the water
And we carefully stir the water.
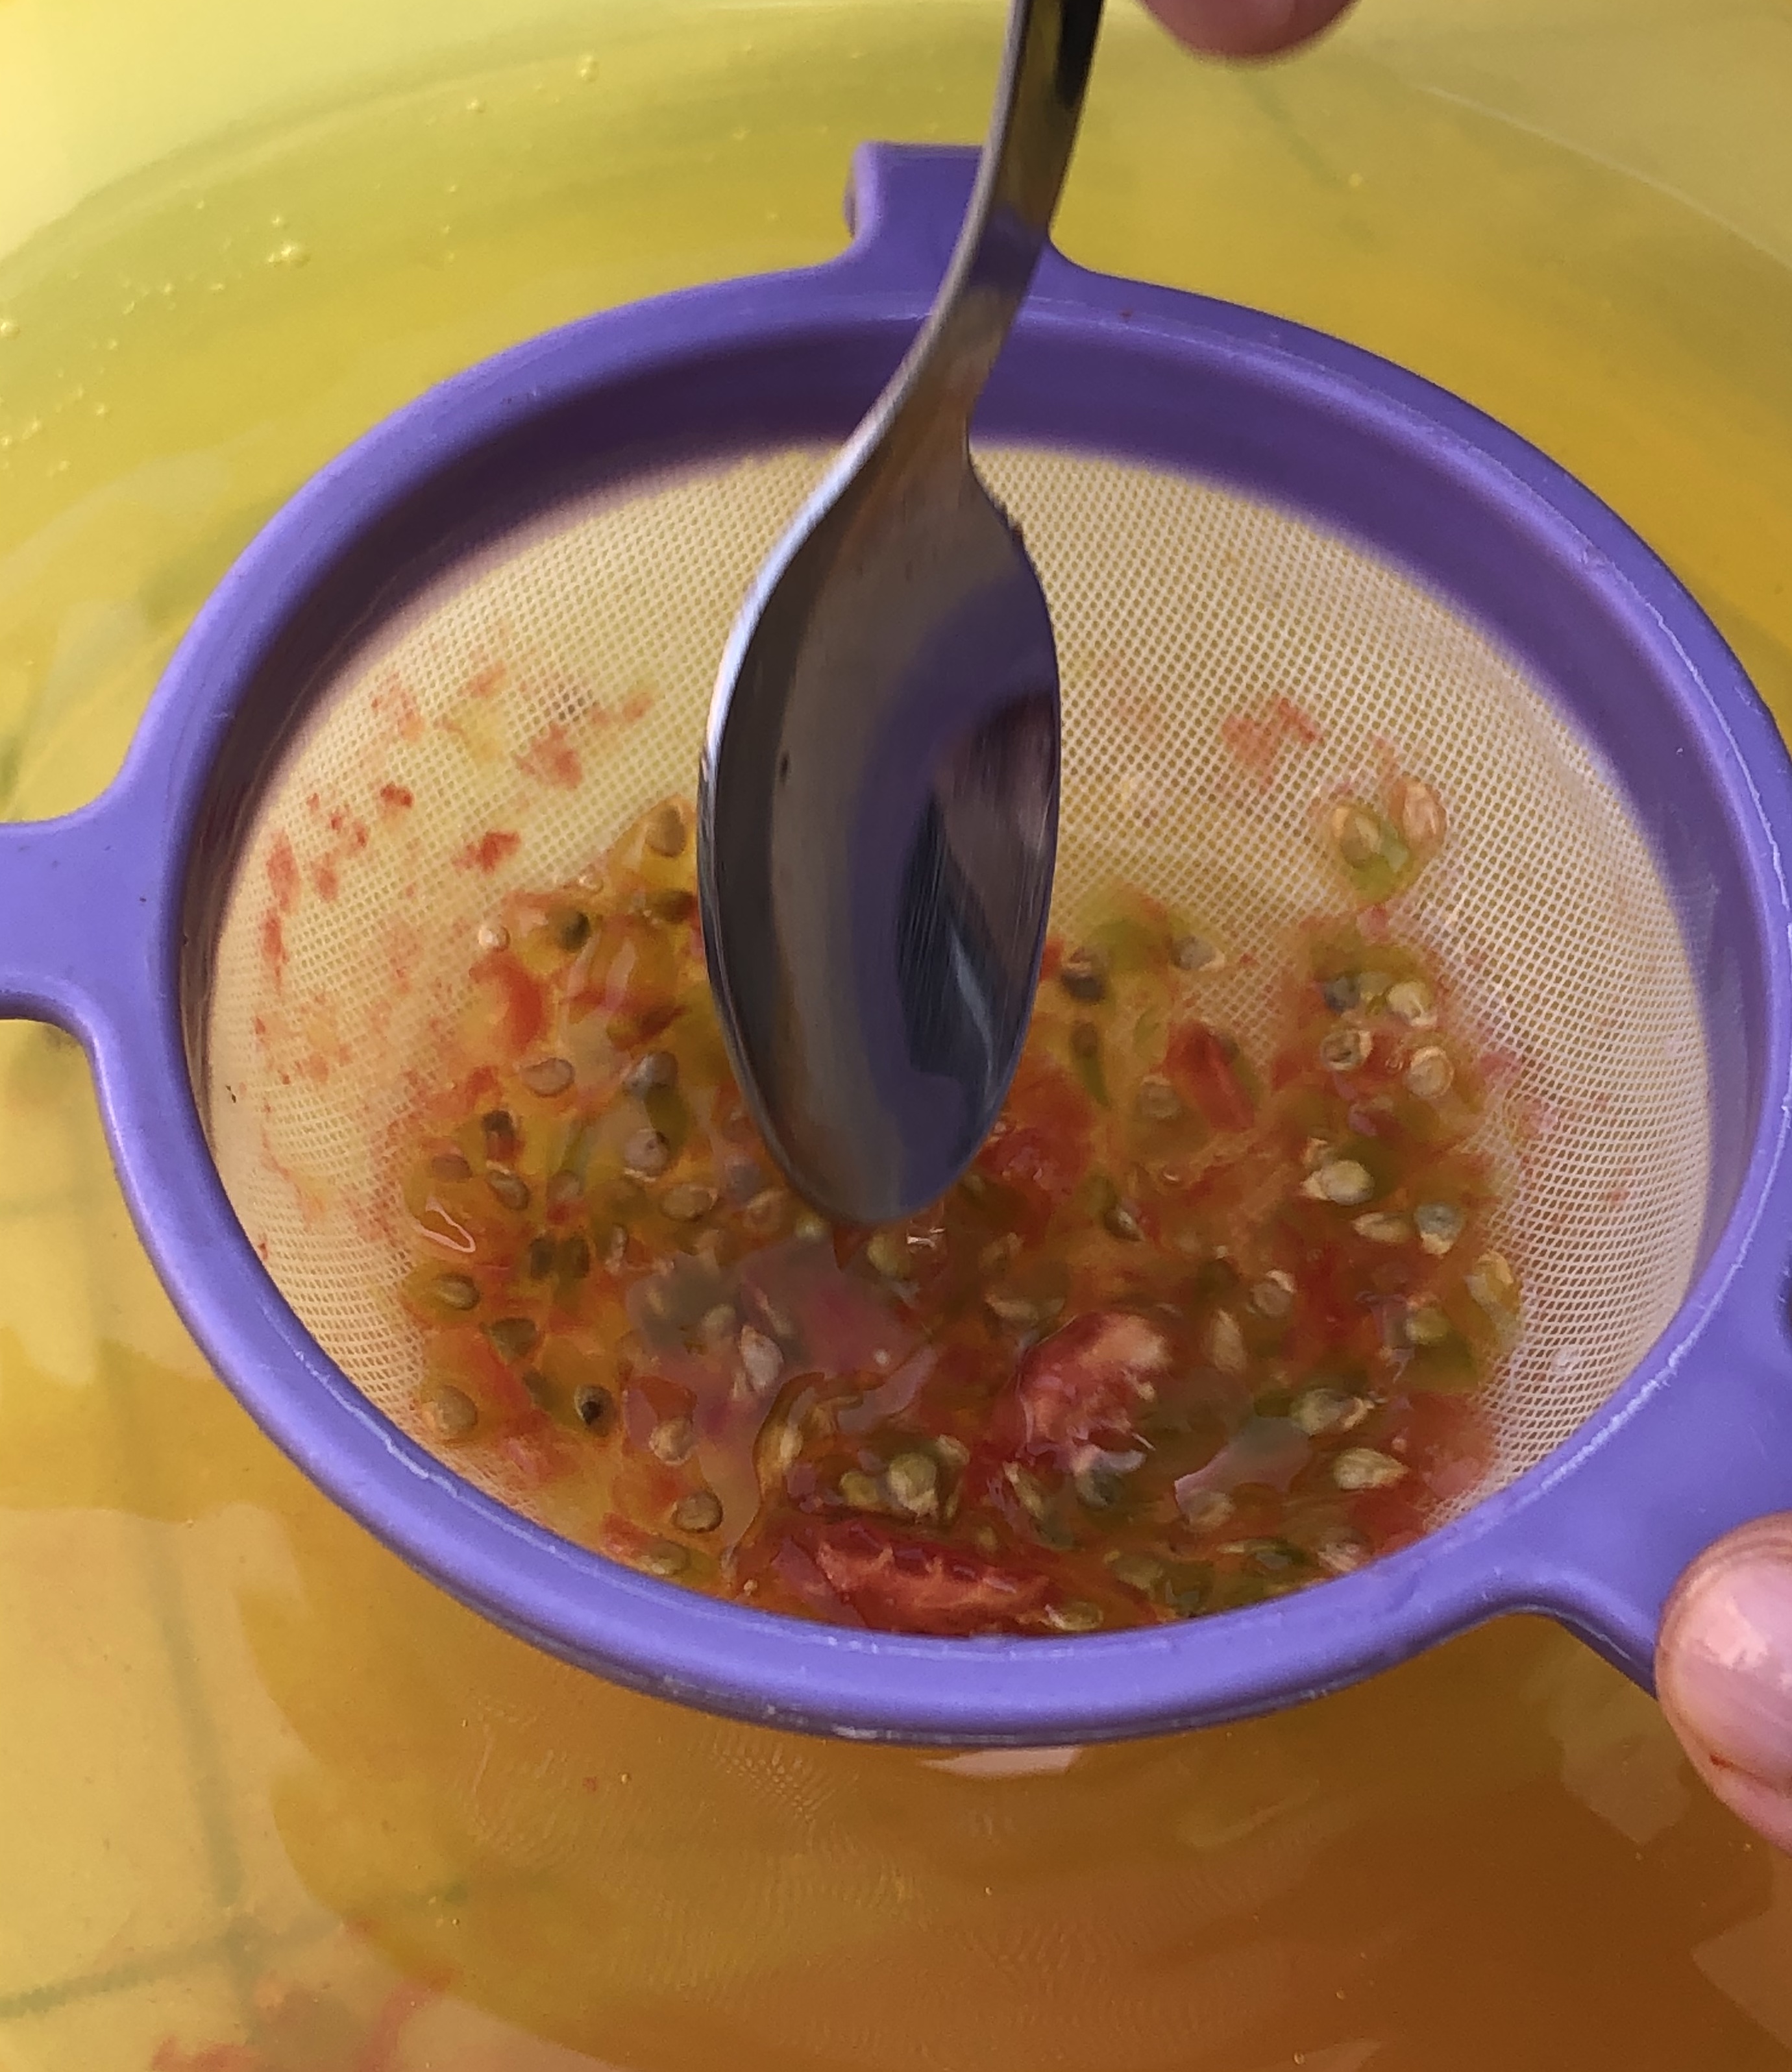
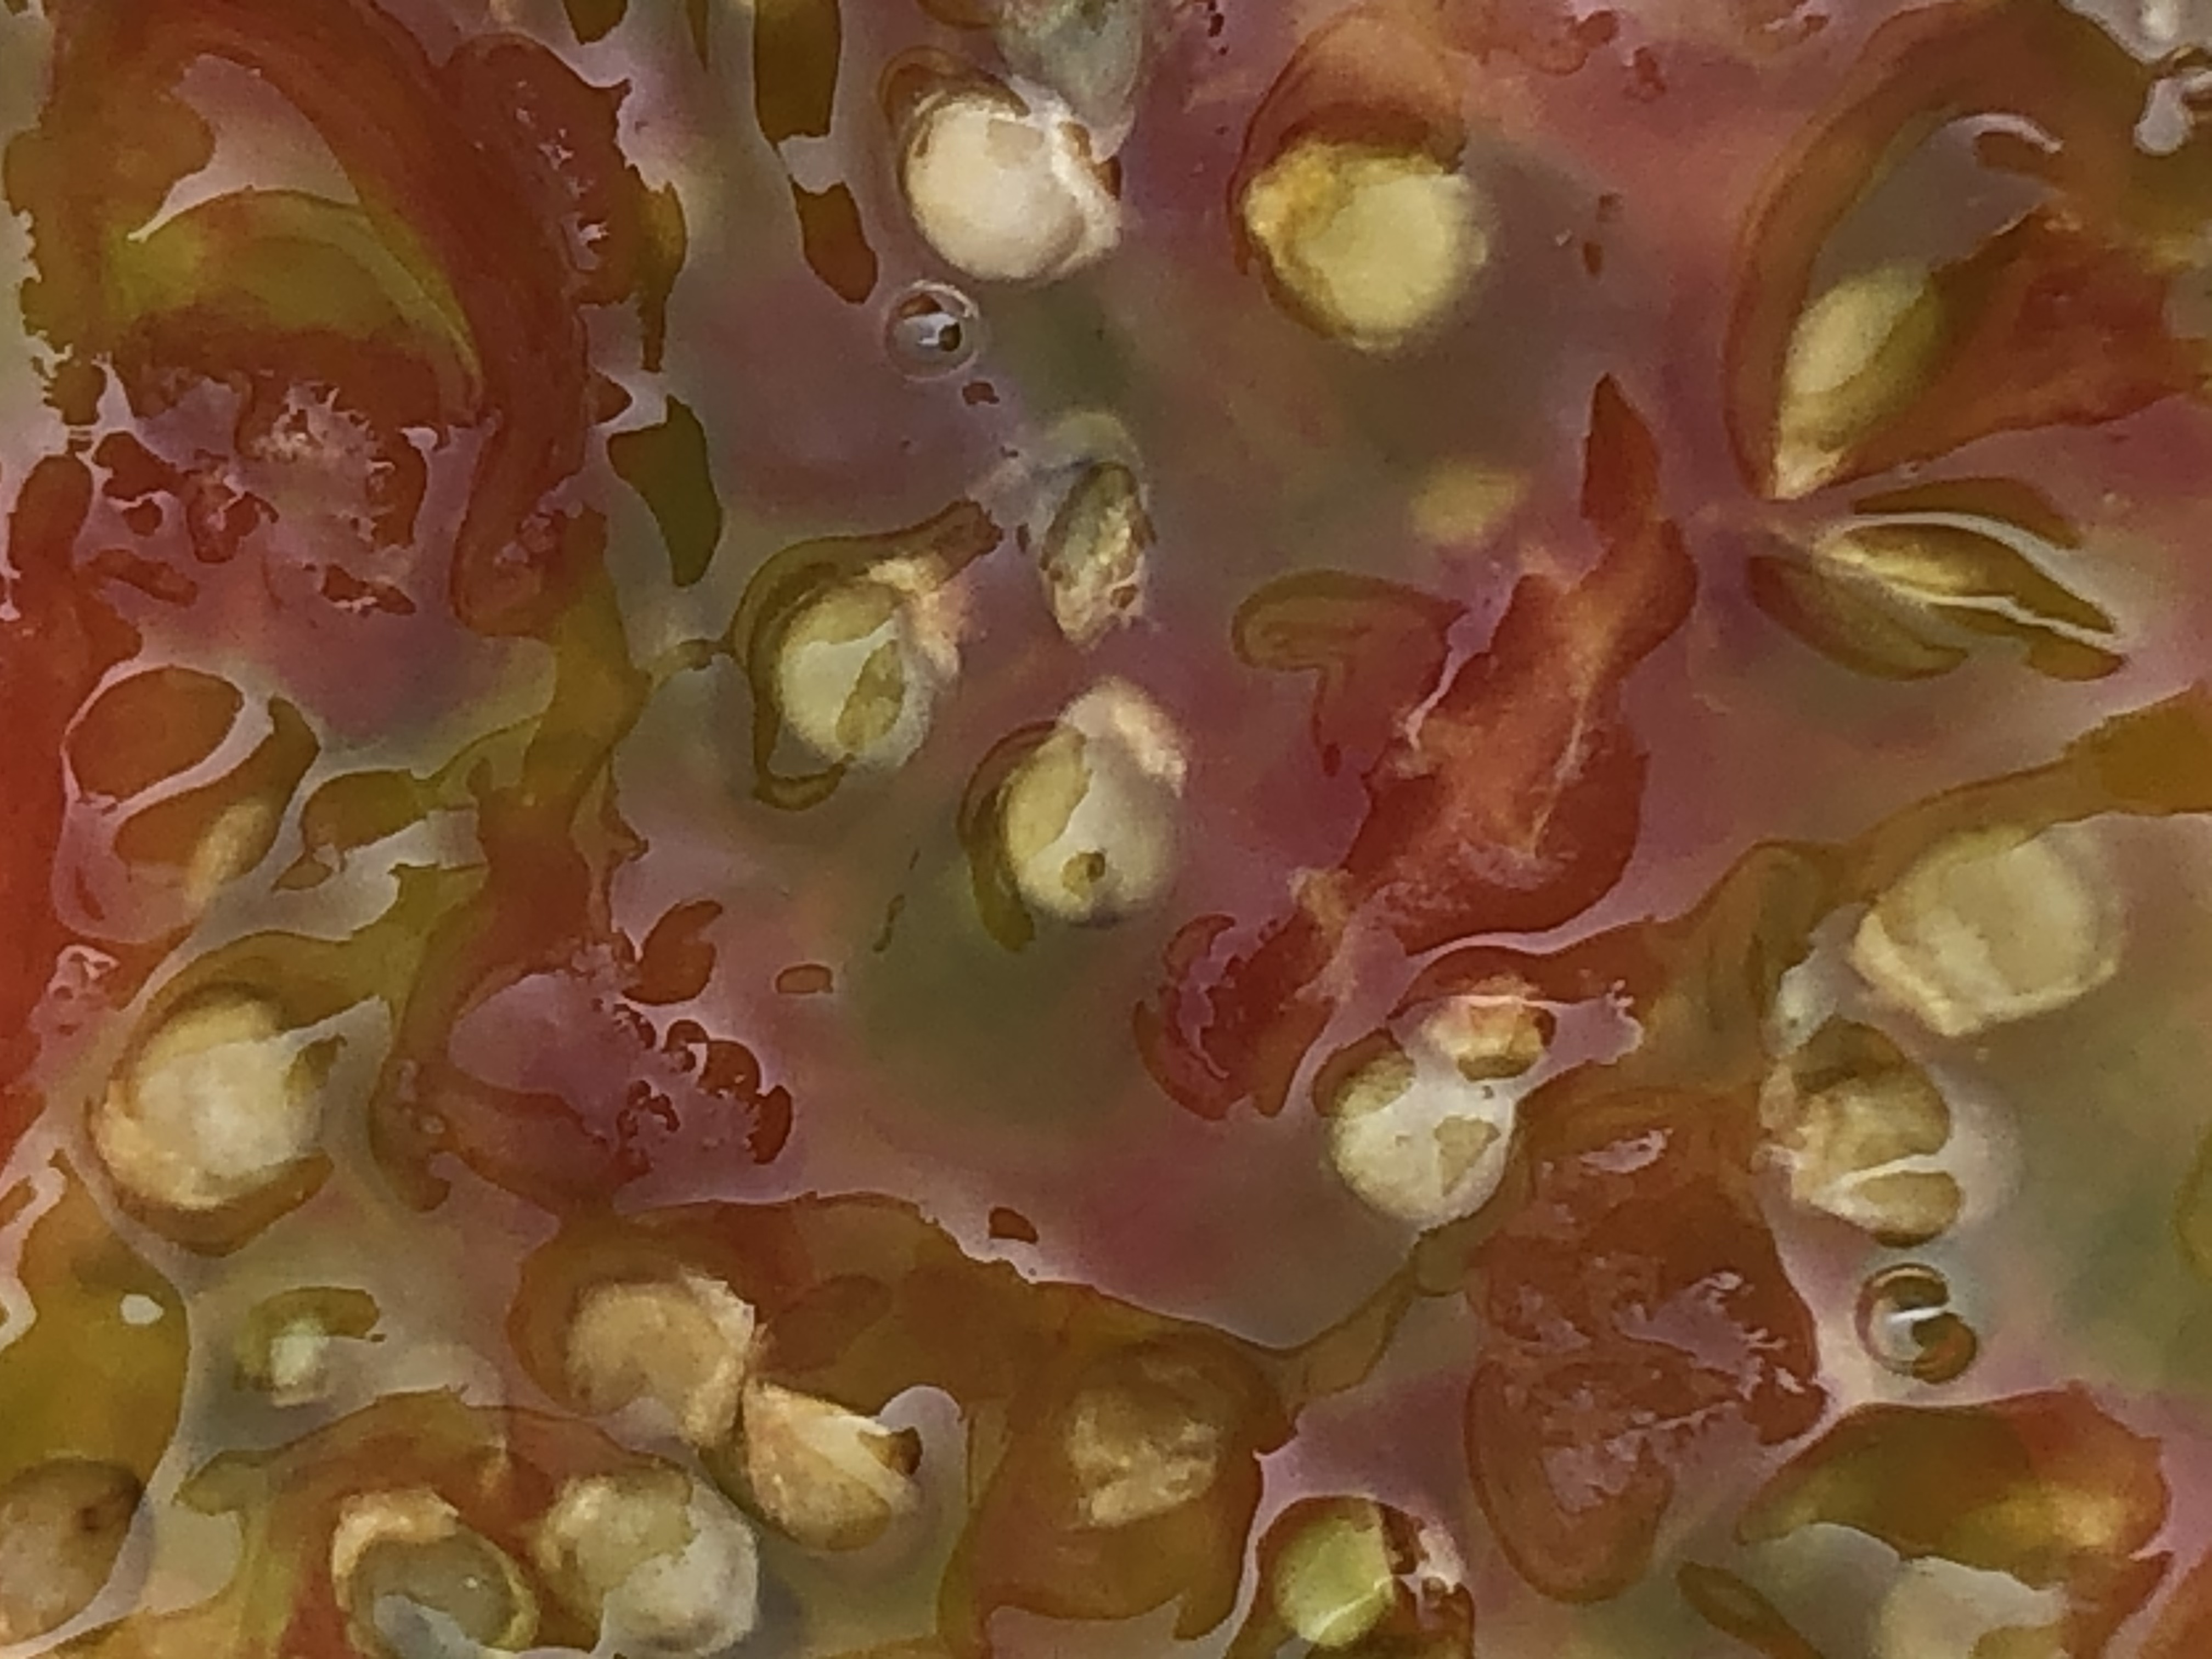
You need to remove the red tomato flesh around the seeds. After a few minutes you will notice that some of the seeds stay on the water surface, while some go down

Step 5. Remove the floating seeds
You need the seeds that go down. The floating ones are “empty” and will not bring any results.
So remove the floating seeds with a spoon
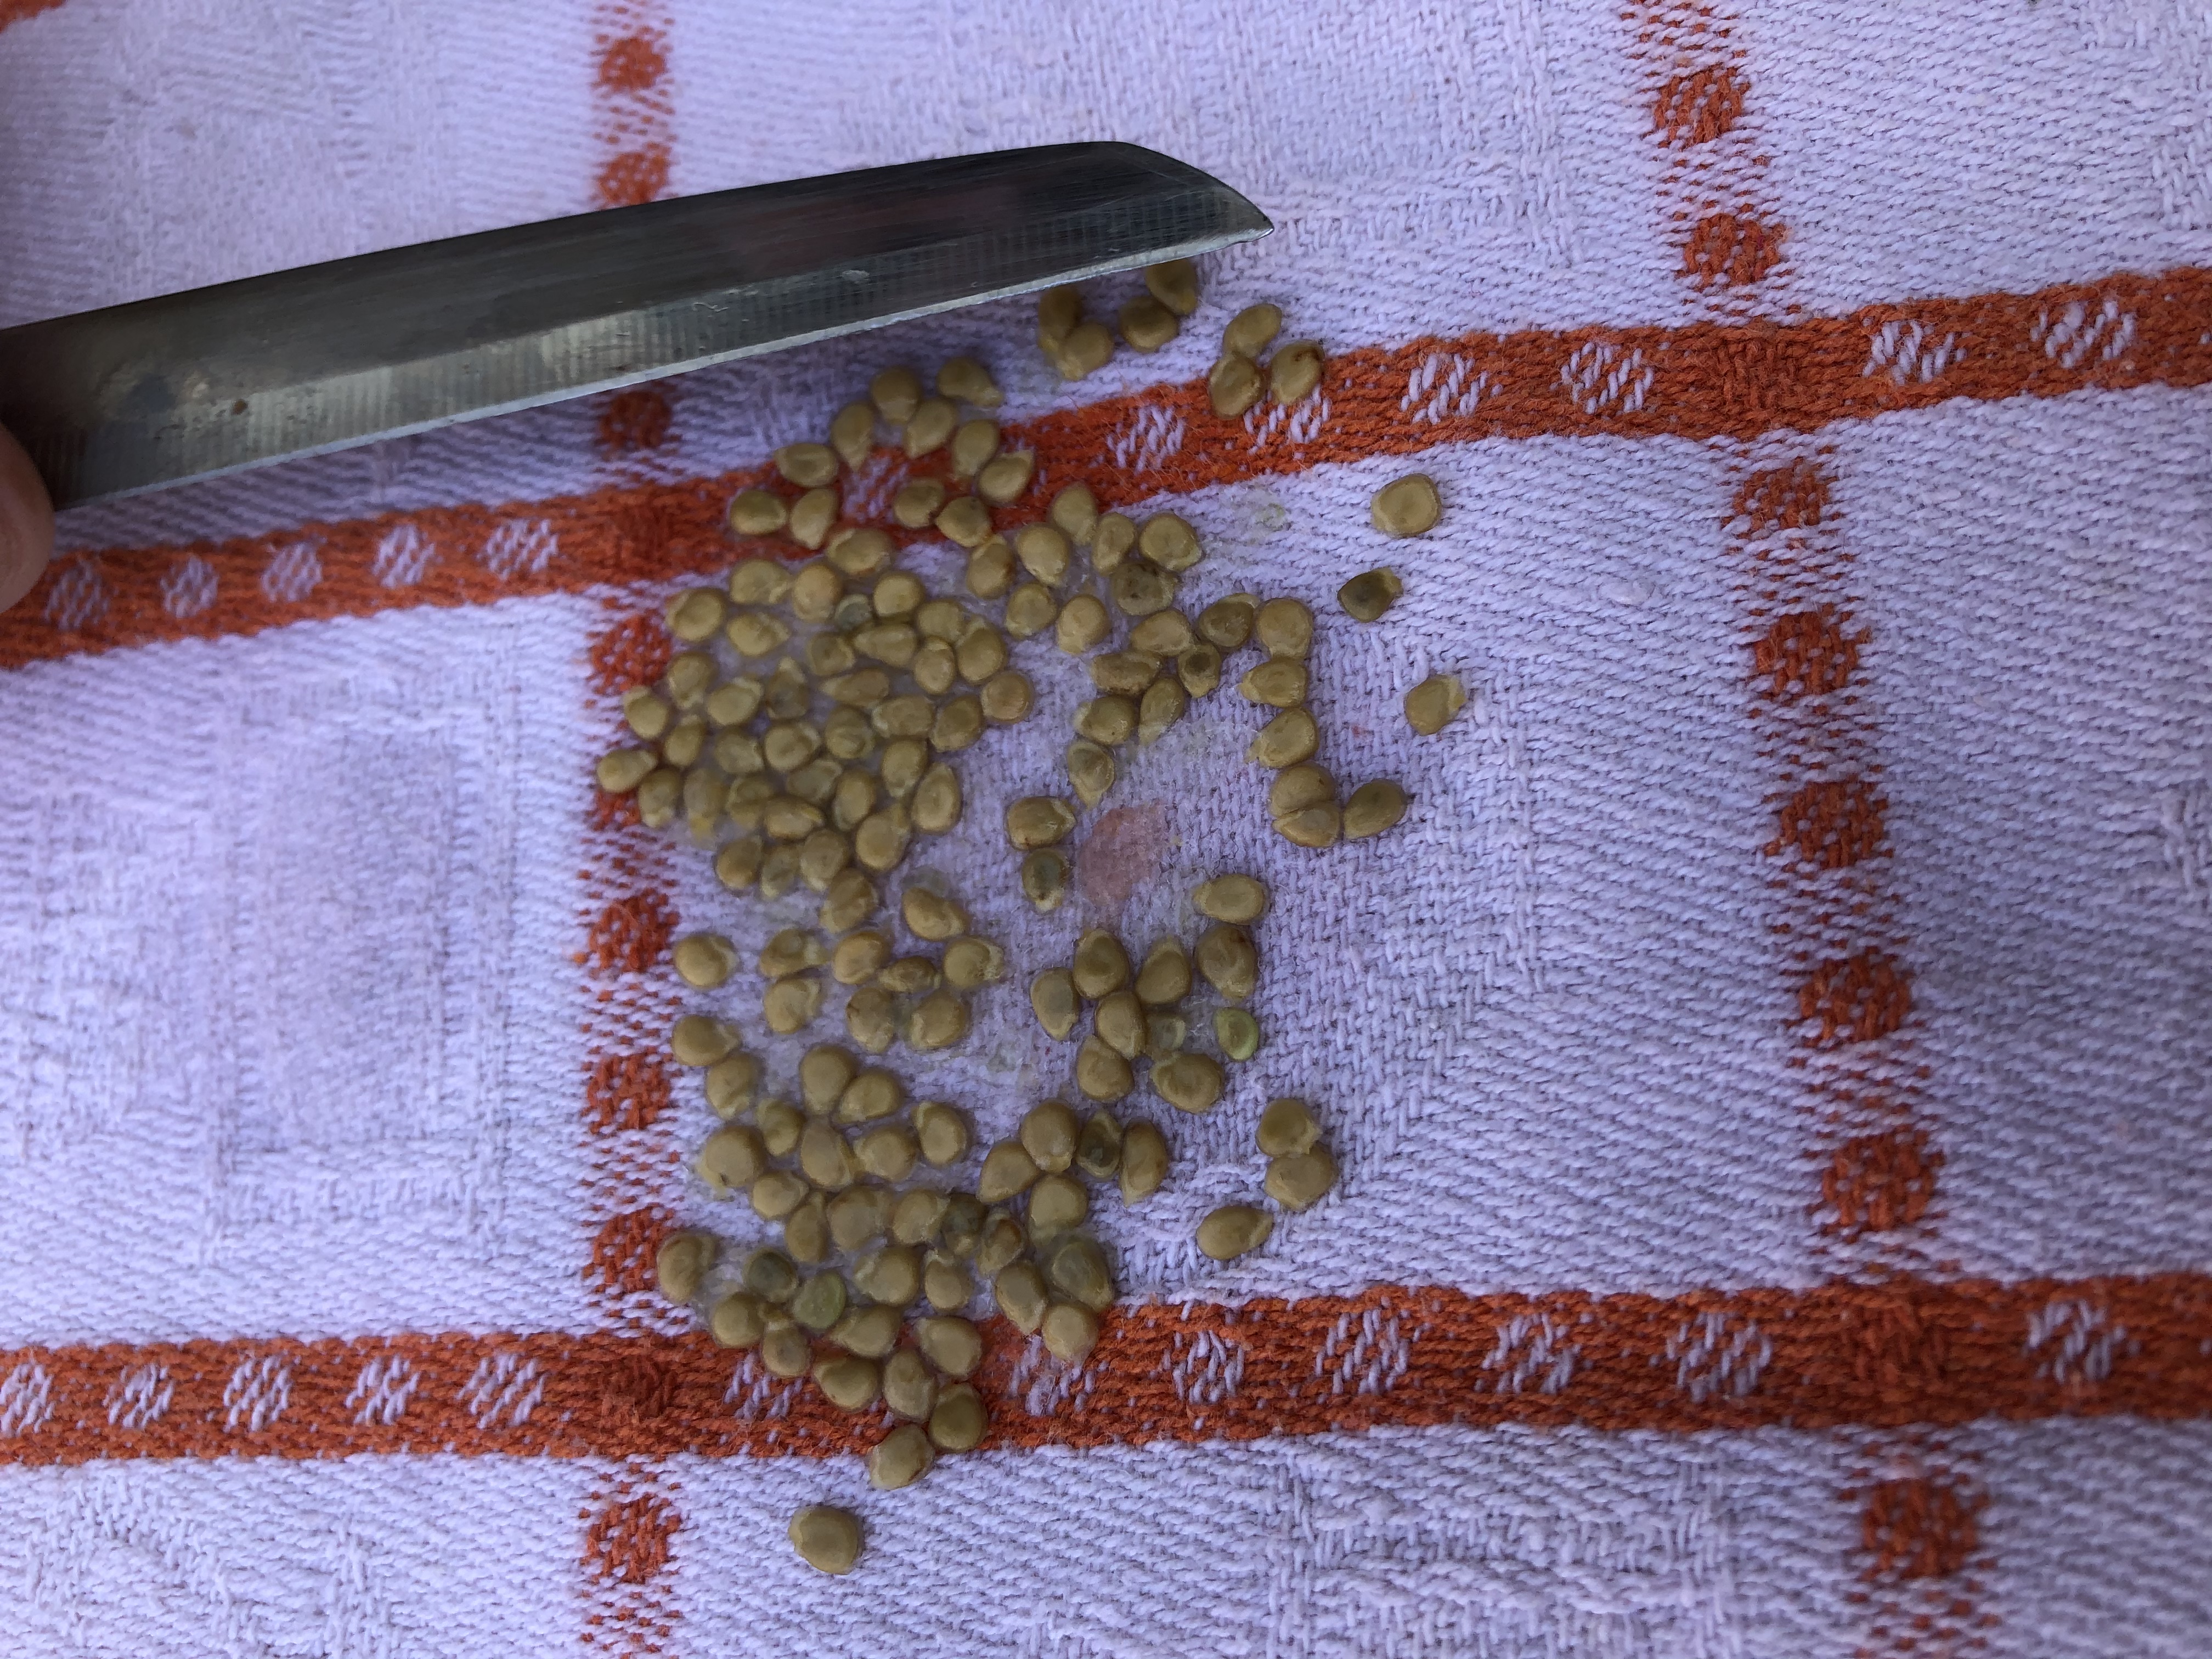
Step 6. Remove the seeds and let them dry
At the end you just need to place the seeds on a clean cloth.
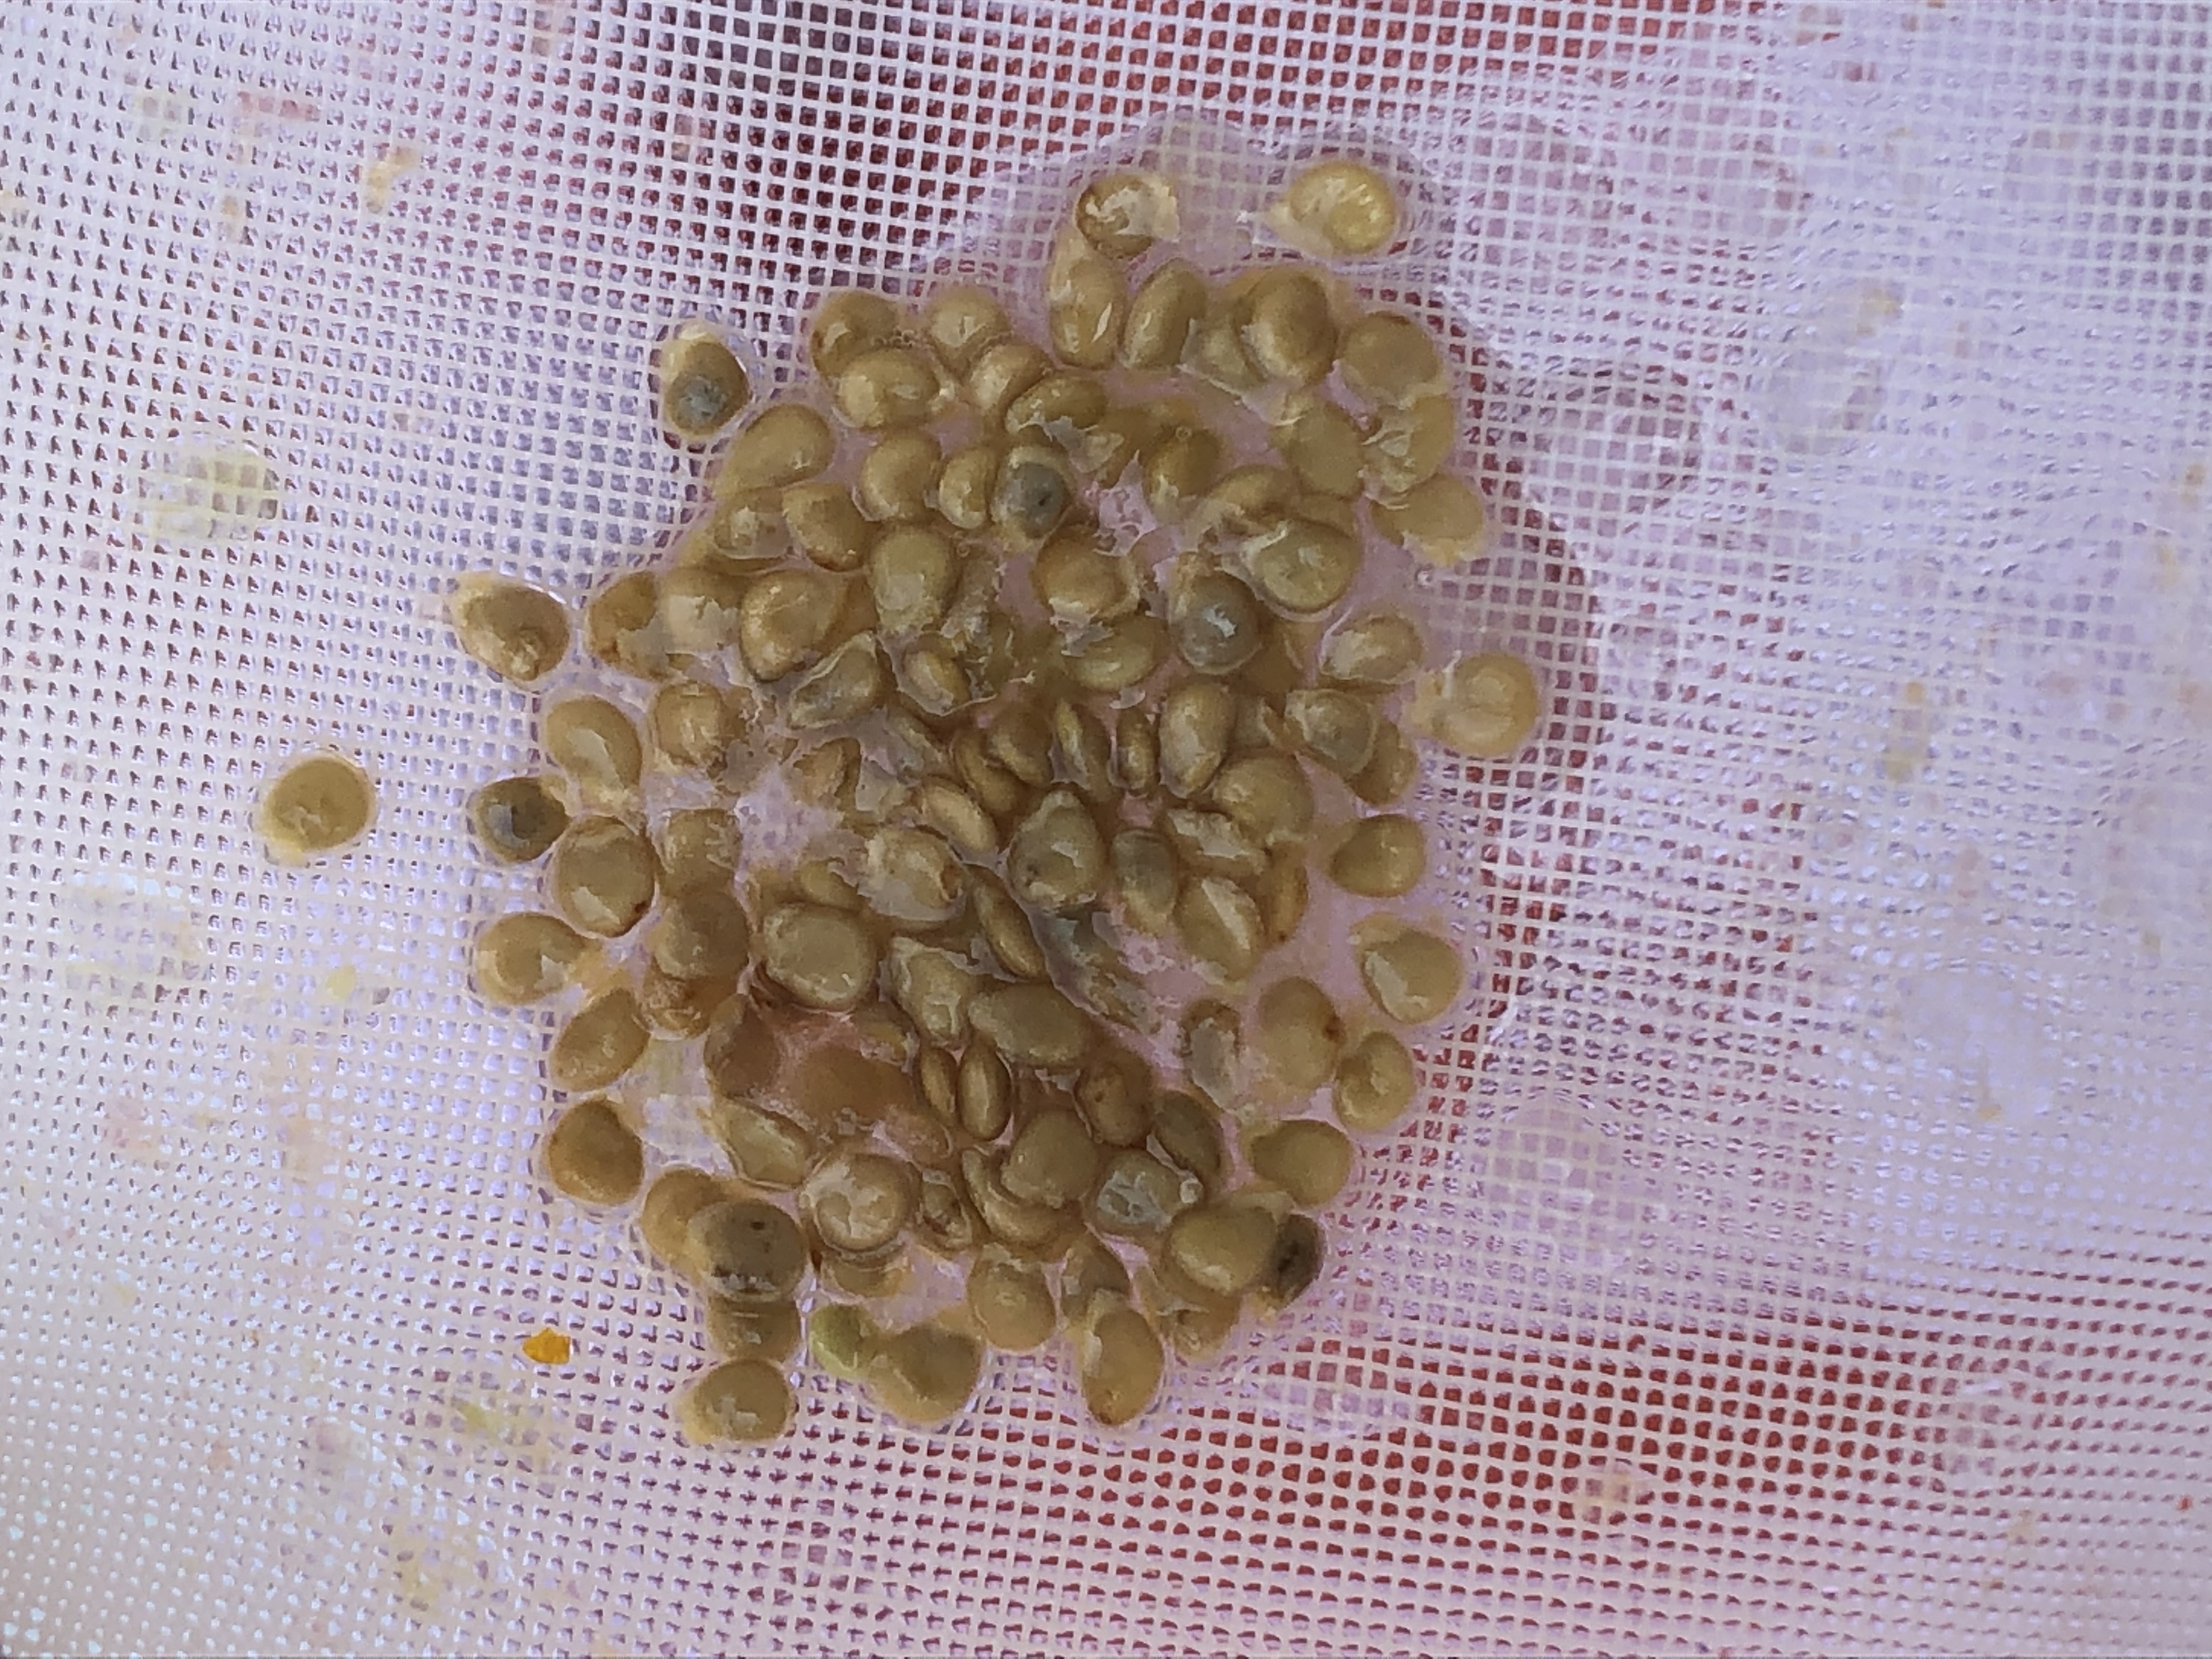
Separate the seeds and let them dry in a safe and clean place. Allow them at least a couple of days time.
Step 6. Storing
We put the seeds in a clean paper and then close them in a small bag.
——
When time has come, use a couple of seeds to make sure that at least one plant will develop.
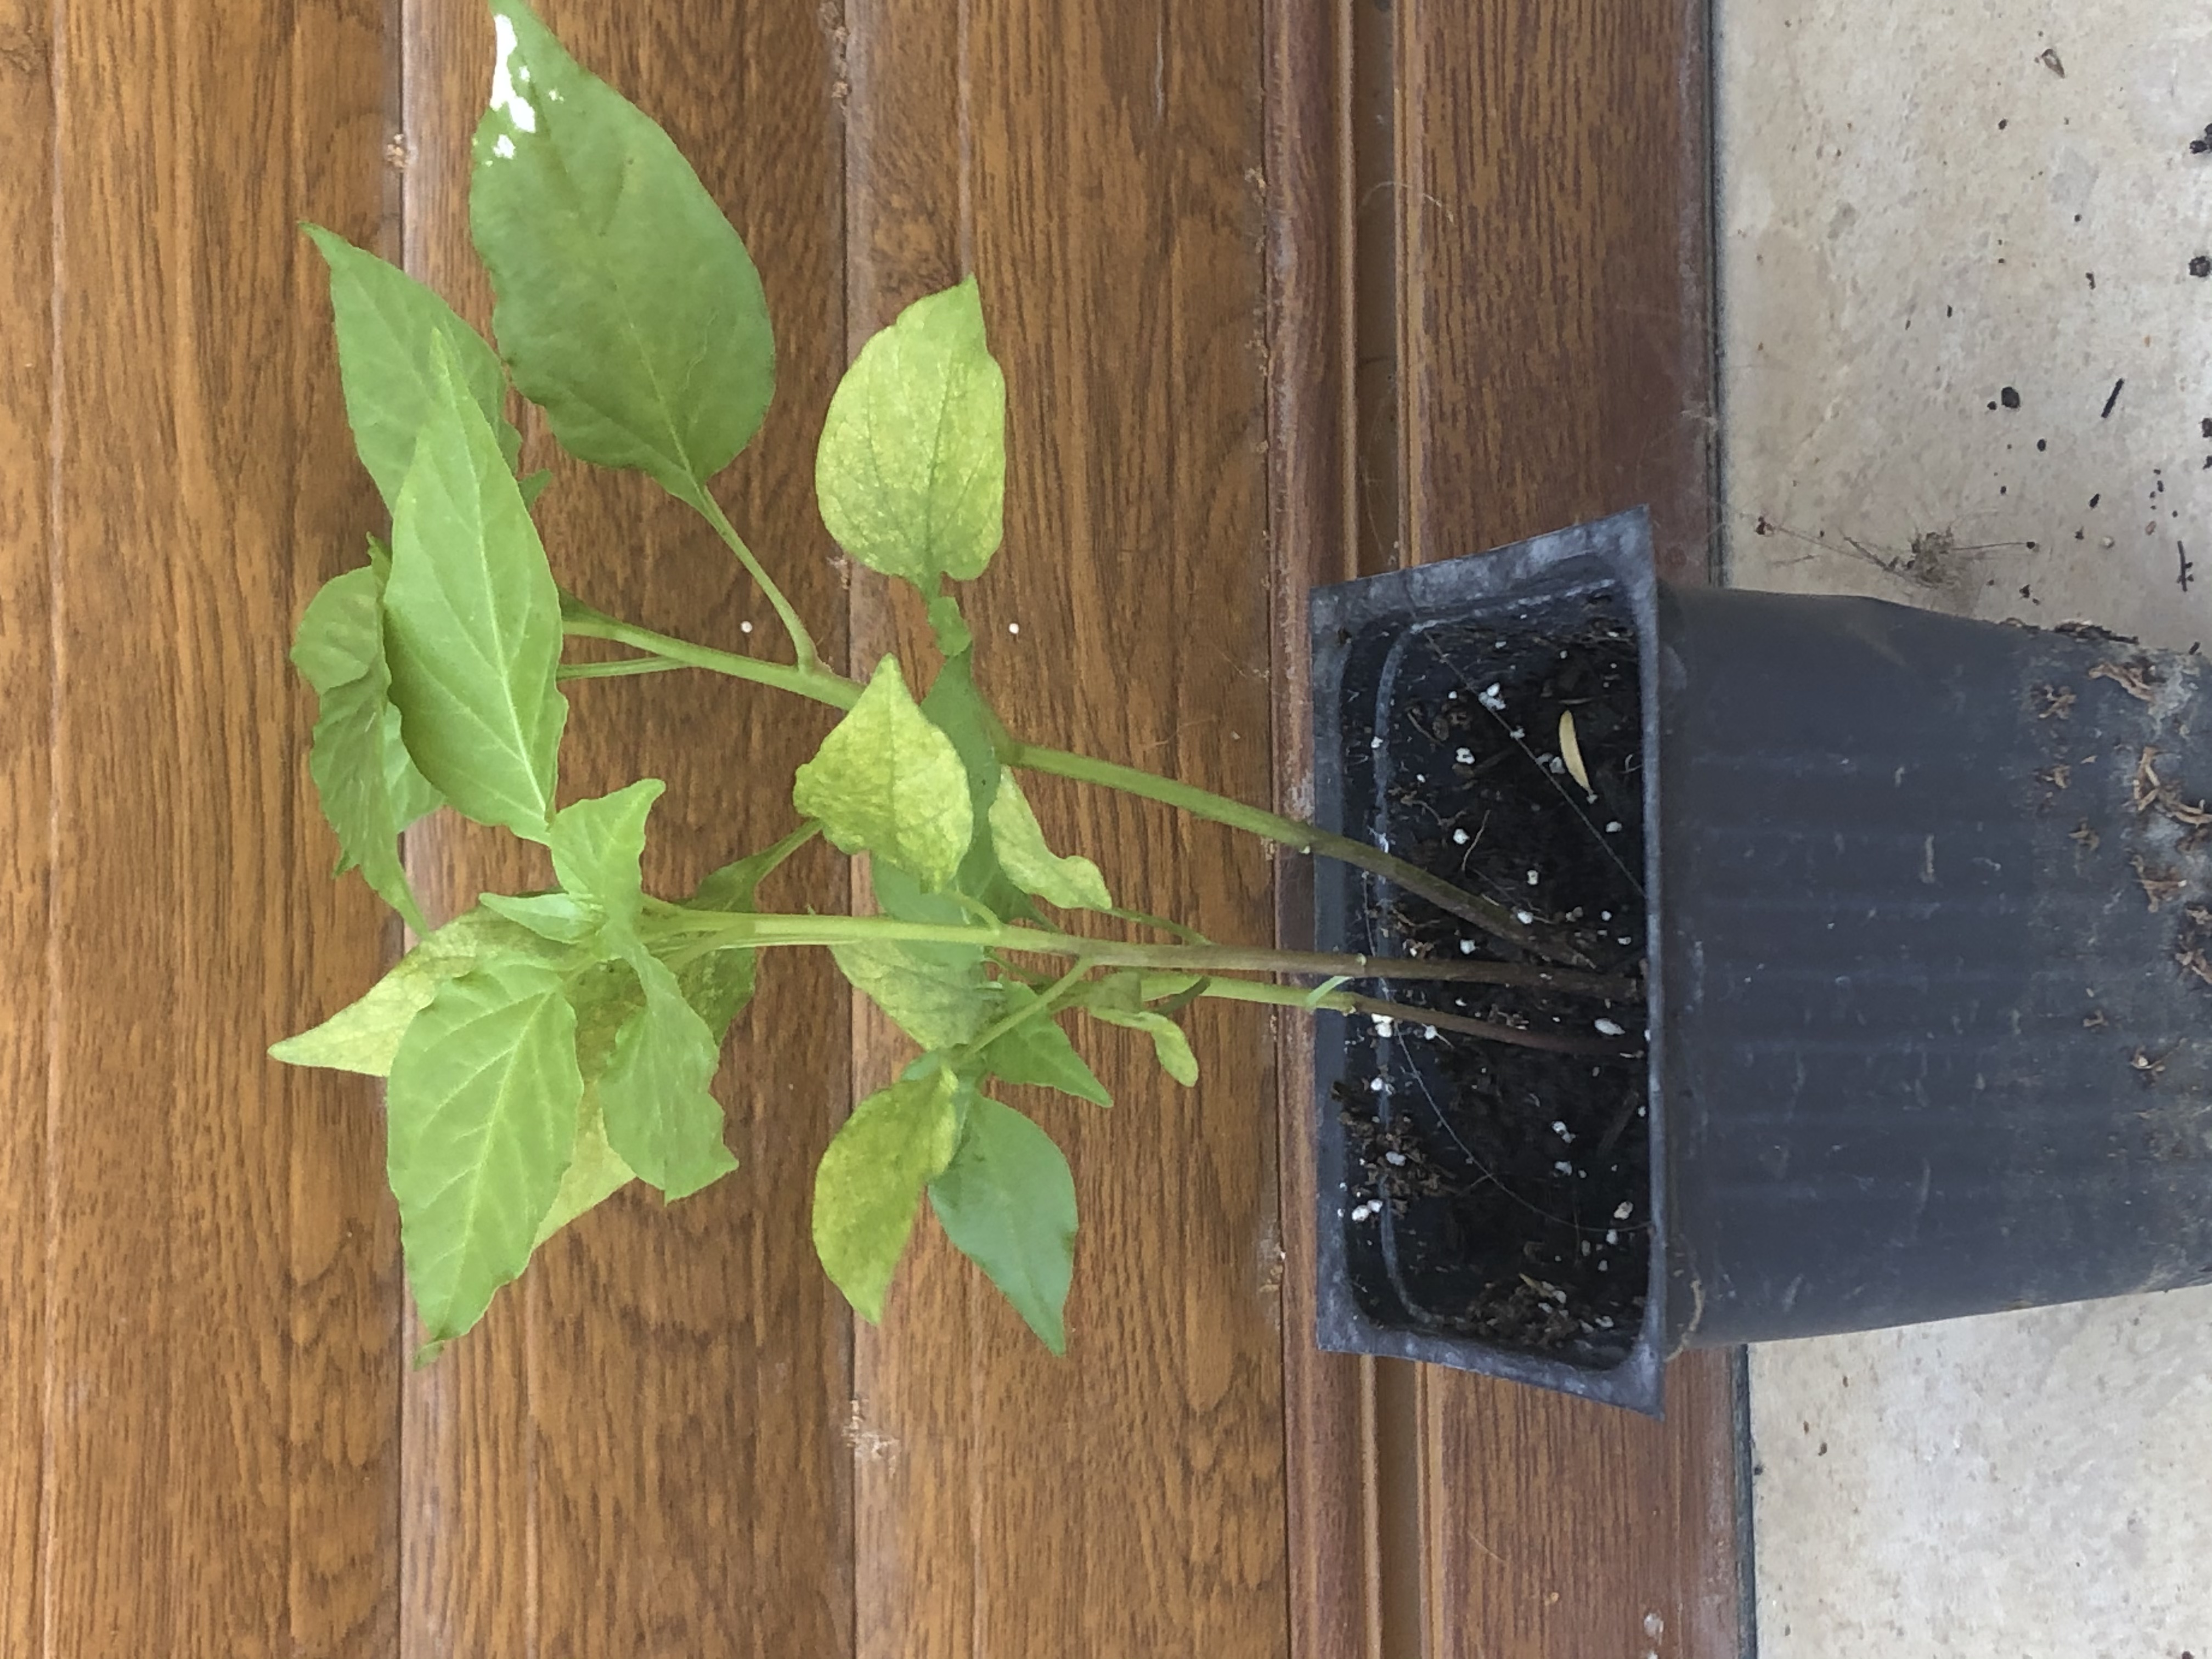
This is a chilly pepper plant (actually 2) that have been planted from 2 seeds
———
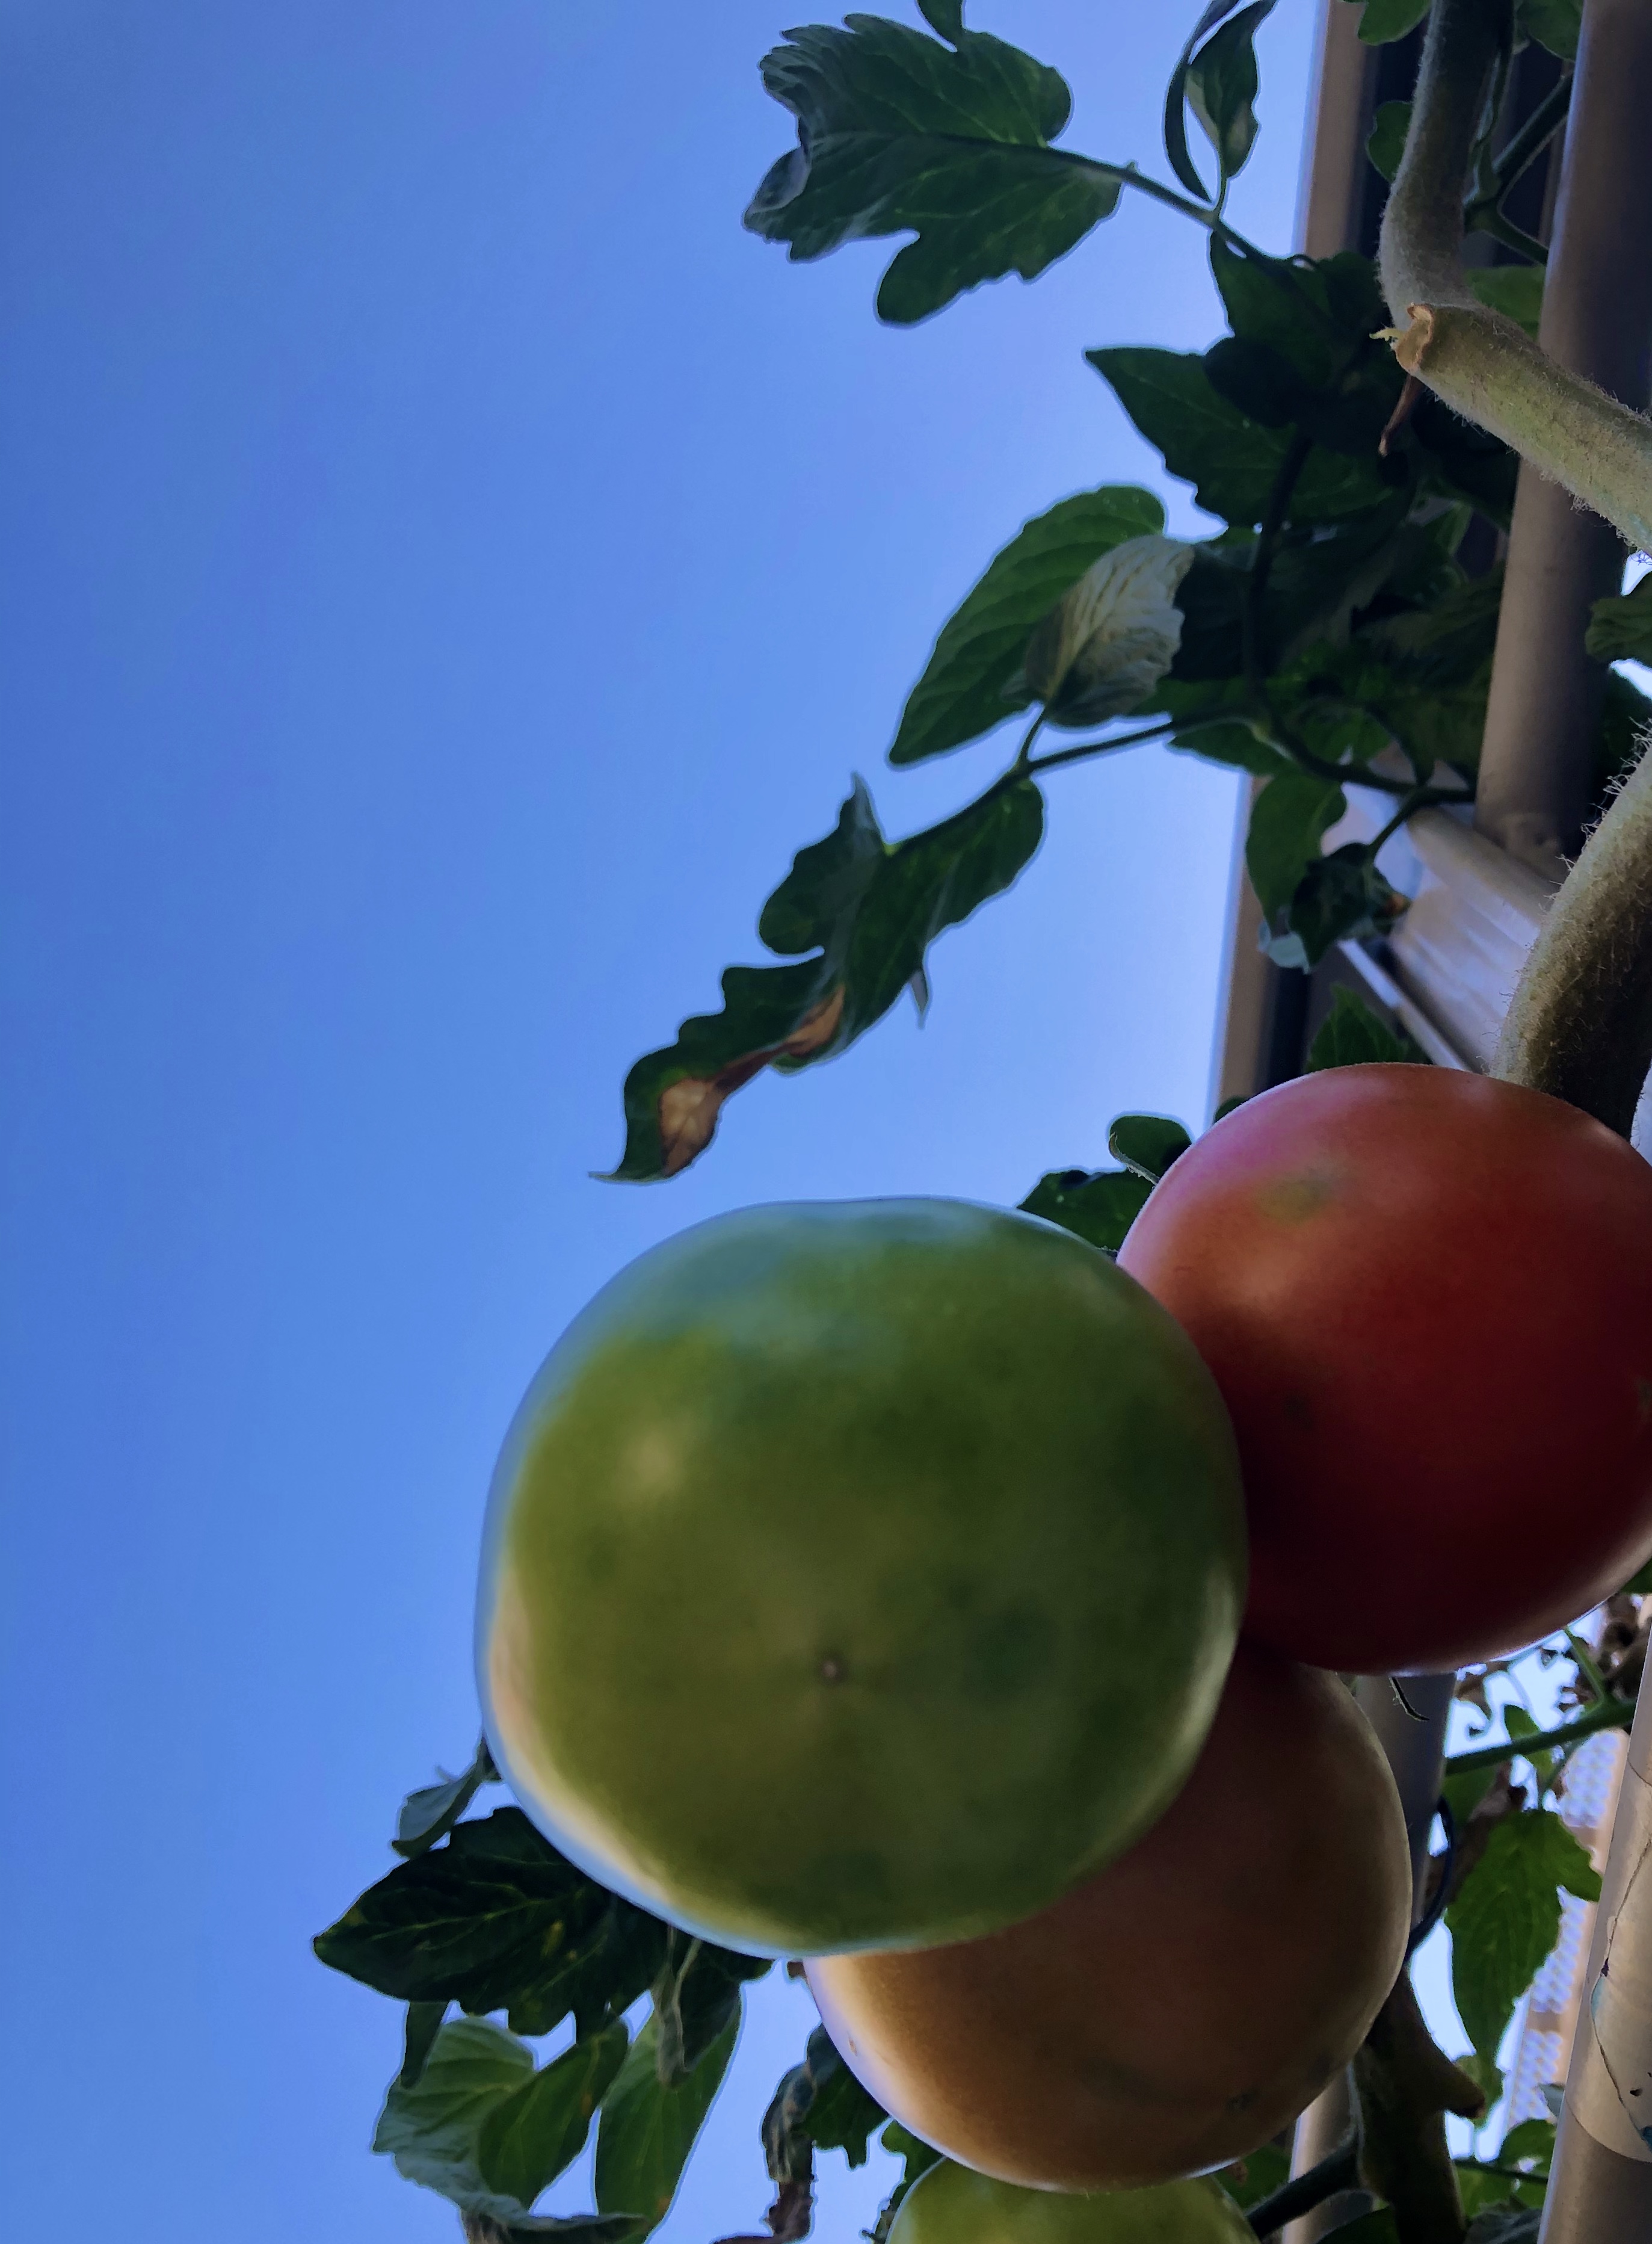
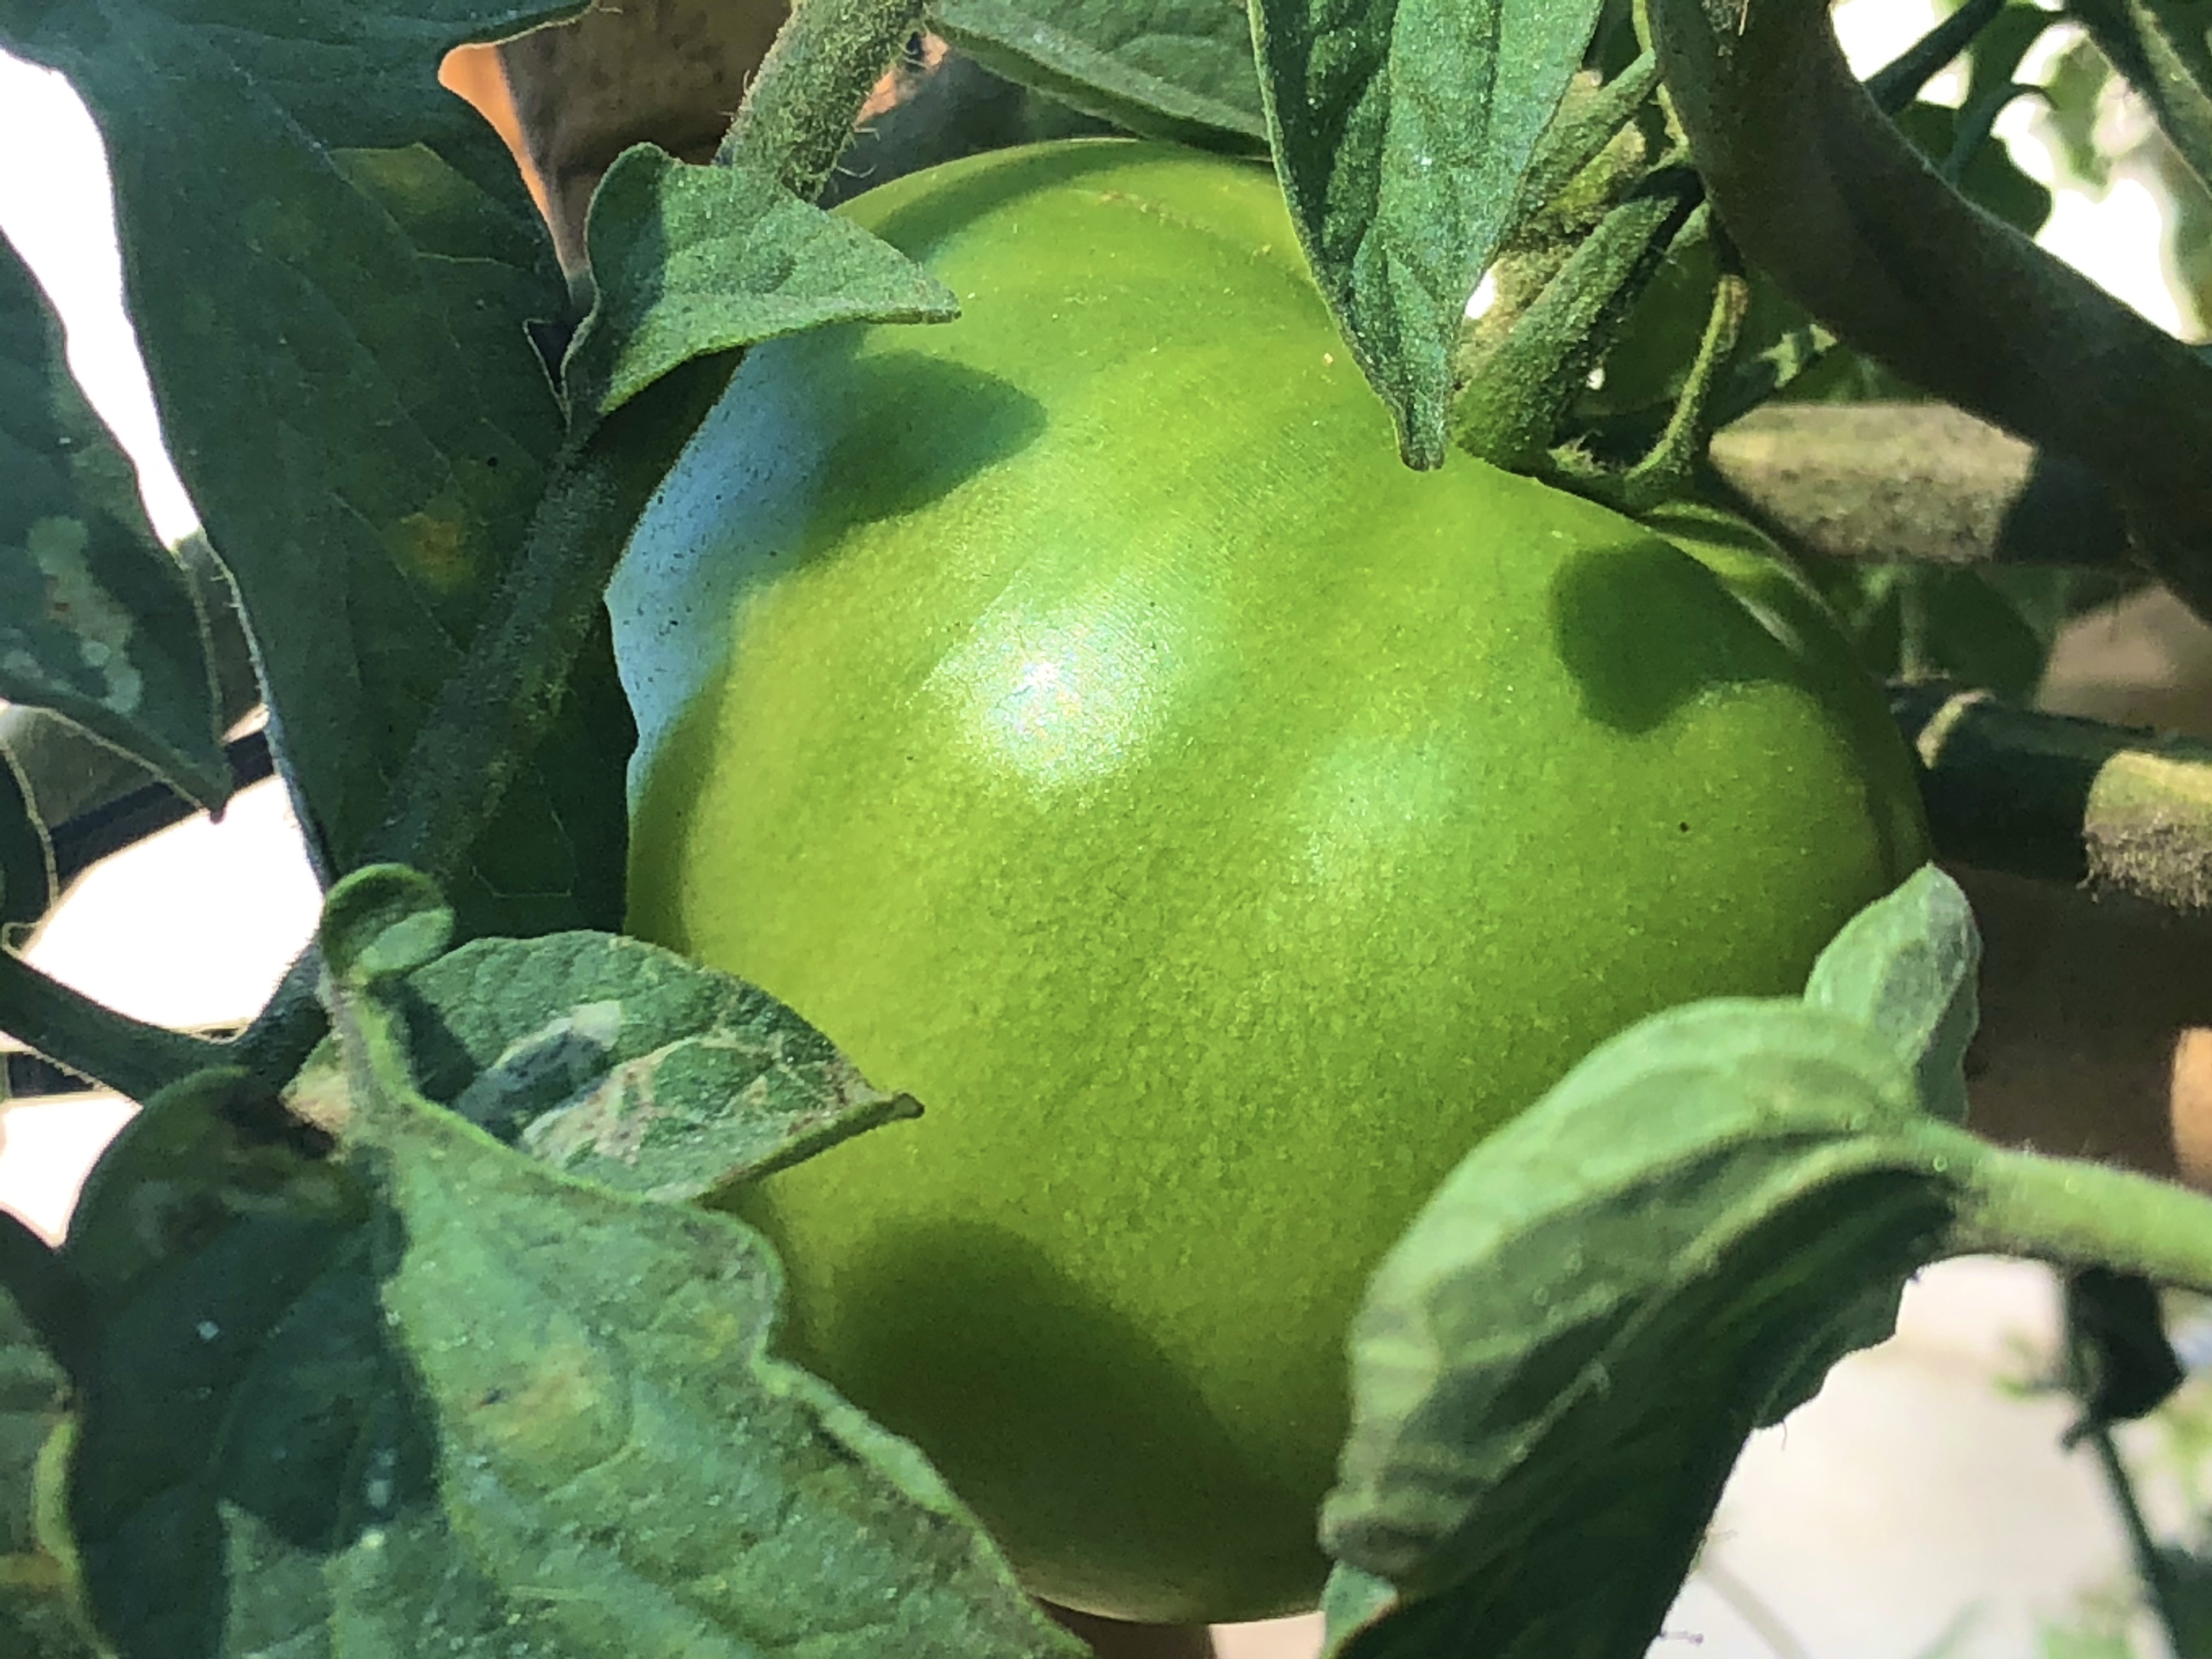
We have found a unique tomato, and so tasty one that we decided, we absolutely need to have seeds and plant more next year.
——
I hope you enjoyed reading my post
Original text and images for hive
As a complexity process I would rate it extremely easy!
It is a natural tutorial, and I just got this important information from you. Thanks a lot my friend. Happy weekend.
I appreciate it.. thanks for coming by!
You are welcome, Katerina.
:-) very nice as it used to be what our old people used to do
Thank you! Yes, i believe that this is the old way :))
That’s awesome :) Very helpfull!
Thank you!