¡Hola queridos usuarios de Hive ✨💕!
Hi dear Hive users ✨💕!
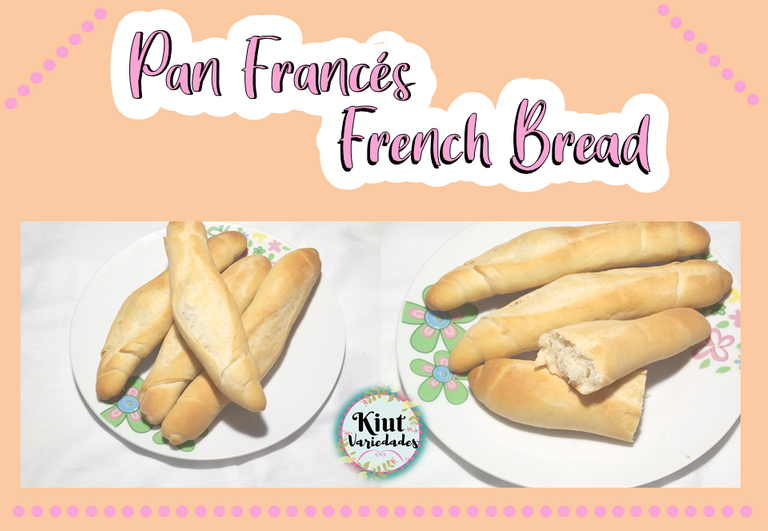
El día de hoy vengo nuevamente con una receta 🤤🤤, y es que en esta ocasión les estaré enseñando a preparar unos deliciosos panes franceses 🥖🥖, ideales para el desayuno o la cena, o básicamente cualquier comida 🤣. Así que sin mucho más que decir, comencemos con la receta 😉.
Today I come again with a recipe 🤤🤤, and this time I will be teaching you how to prepare some delicious French bread 🥖🥖, ideal for breakfast or dinner, or basically any meal 🤣. So without much more to say, let's start with the recipe 😉.

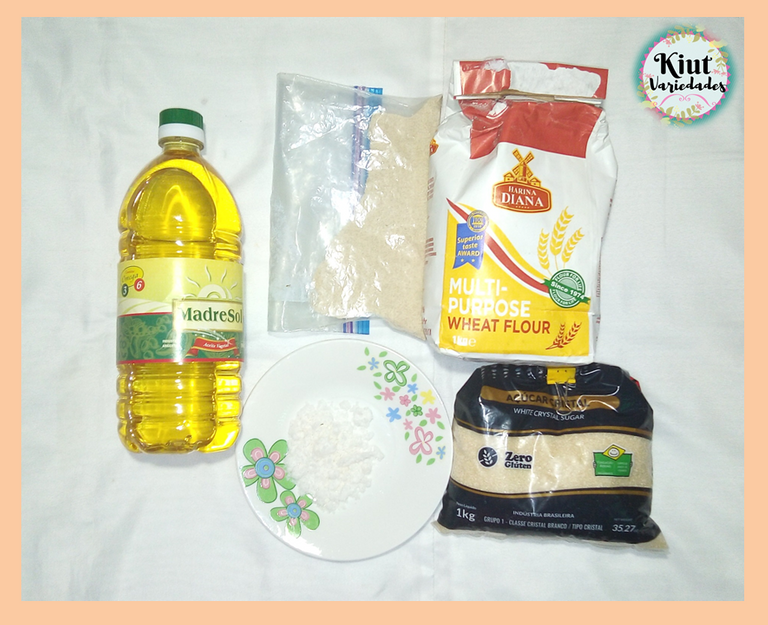
🥖 INGREDIENTES || INGREDIENTS 🥖
- 500g de Harina de Trigo todo uso.
- 10g de levadura seca.
- 15g de sal.
- 15g de azúcar.
- 50ml de aceite.
- 320ml de agua tibia.
- Aproximadamente 50 o 100g extra de harina para amasar.
- 500g of all-purpose wheat flour.
- 10g of dry yeast.
- 15g of salt.
- 15g of sugar.
- 50ml of oil.
- 320ml of warm water.
- Approximately 50 or 100g extra flour for kneading.
🥖 COMENCEMOS LA PREPARACIÓN || LET'S START THE PREPARATION 🥖
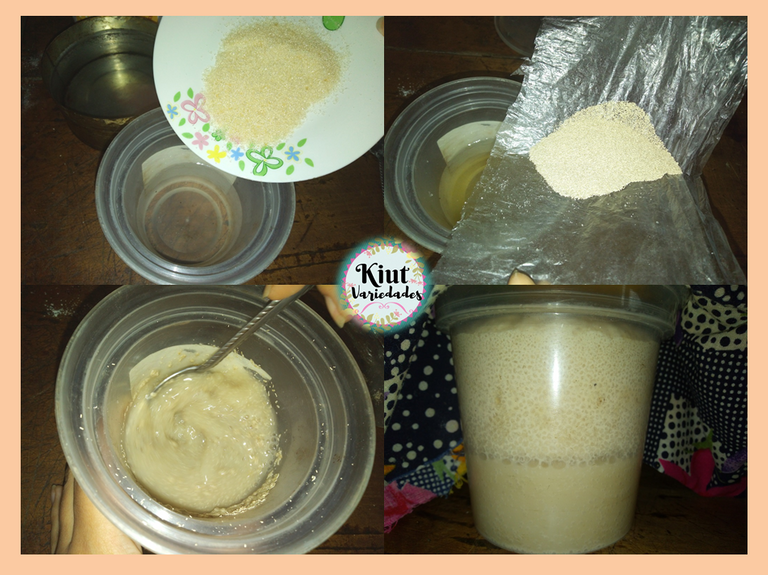
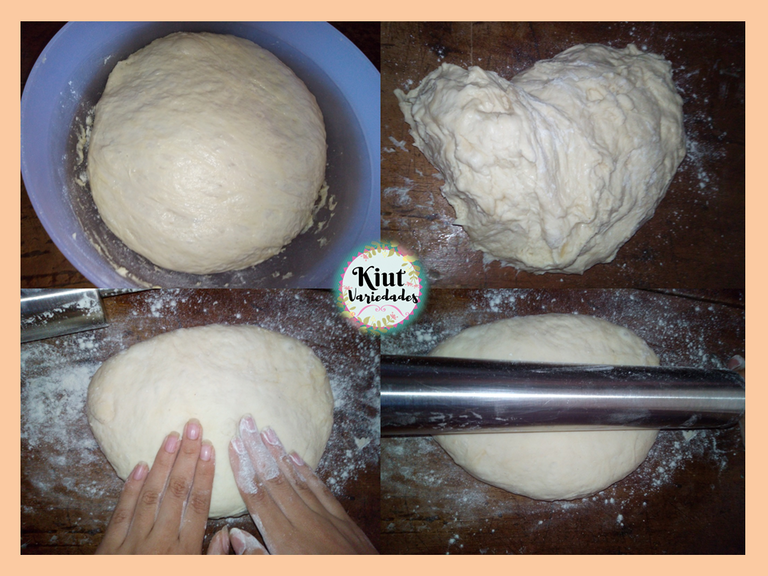
Comenzamos activando la levadura, para ello en un recipiente verteremos un poco del agua y añadiremos el azúcar y la levadura, mezclaremos bien y la llevaremos a reposar a un lugar donde no haya corrientes de aire por aproximadamente 10 minutos. Pasados los 10 minutos, la levadura debe haber doblado su tamaño.
We begin by activating the yeast, for this purpose we will pour some of the water in a container and add the sugar and yeast, mix well and take it to rest in a place where there is no draught for approximately 10 minutes. After 10 minutes, the yeast should have doubled in size.
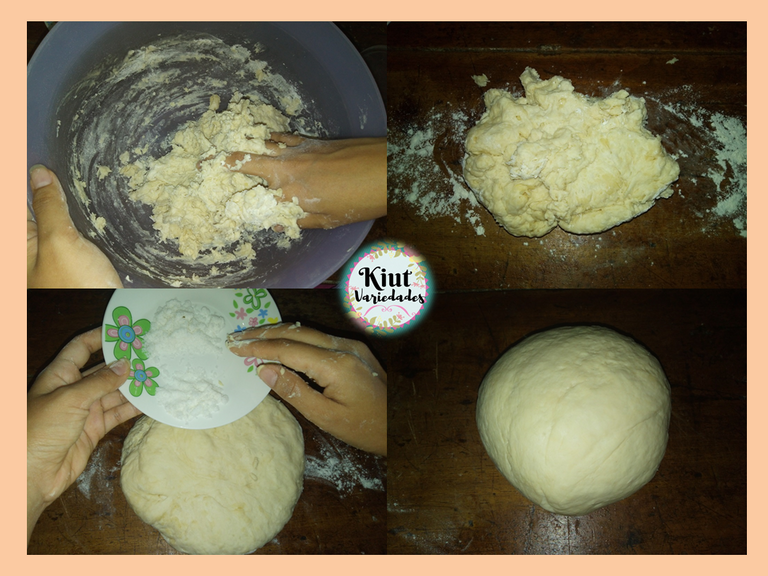
En un bol verteremos la harina y le haremos un orificio en el centro para formar una especie de volcán, allí añadiremos el aceite y la levadura y conforme vayamos amasando agregamos de poco en poco el agua. Dependiendo de tu harina necesitaras más, o menos agua.
In a bowl we will pour the flour and make a hole in the center to form a kind of volcano, there we will add the oil and the yeast and as we knead we add little by little the water. Depending on your flour you will need more, or less water.

Una vez la masa comience a despegarse del bol, entonces nos pasamos a la mesa donde seguiremos amasando un poco más, agregamos la sal (preferiblemente en partes para que se integre mejor), y continuamos amasando por aproximadamente 15 min. Luego llevamos la masa a reposar aproximadamente unas 2 horas.
Once the dough starts to come off the bowl, then we move to the table where we will continue kneading a little more, add the salt (preferably in parts so that it integrates better), and continue kneading for approximately 15 minutes. Then we take the dough to rest for about 2 hours.
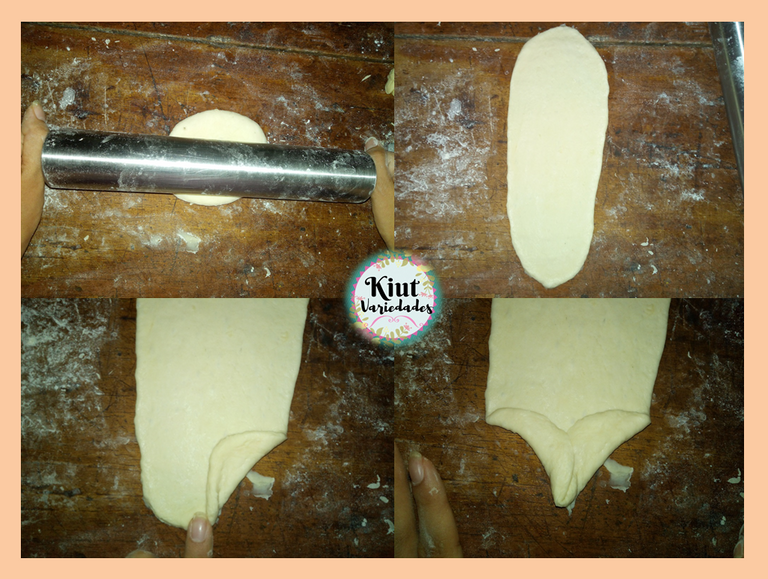
Pasado este tiempo, la masa debe haber duplicado su tamaño y es momento de seguir trabajándola. Con ayuda de un rodillo vamos a estirar la masa y una vez estirada, la vamos a doblar y la volveremos a estirar, este procedimiento lo vamos a repetir unas 3 o 4 veces.
After this time, the dough should have doubled in size and it is time to continue working on it. With the help of a roller we are going to stretch the dough and once stretched, we are going to fold it and stretch it again, this procedure we are going to repeat about 3 or 4 times.
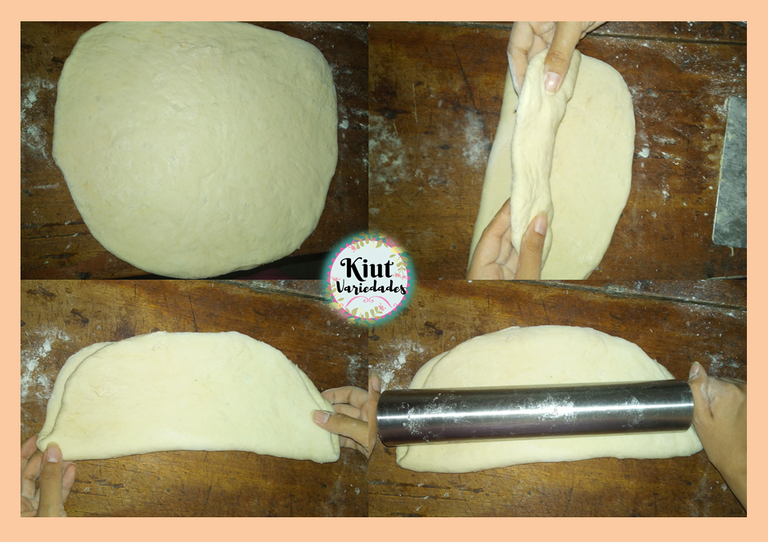
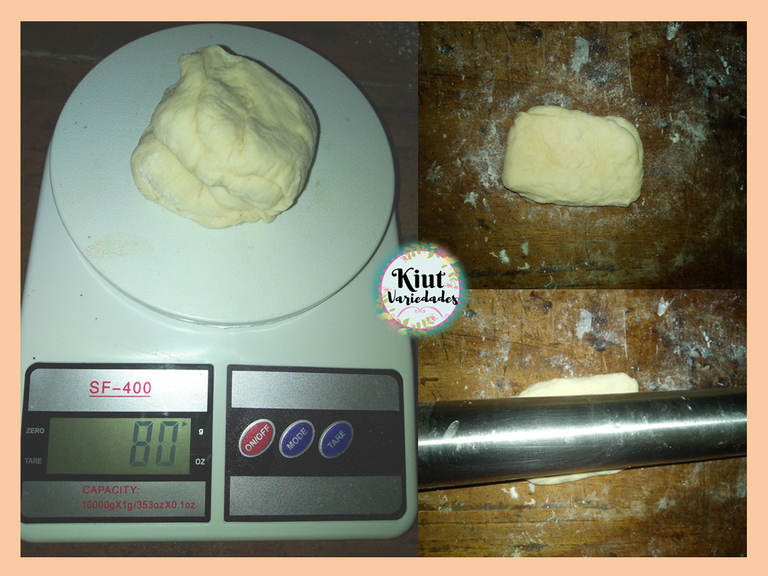
Con la última estirada de la masa, vamos a formar una especie de rollo largo y cortaremos trozos de masa que pesen 80g cada uno, estos trozos de masa los vamos a estirar (con el rodillo o con los dedos) y llevaremos el centro todos sus extremos, de la manera que se muestra en las imágenes, y así formaremos bolitas.
With the last stretch of dough, we will form a kind of long roll and cut pieces of dough that weigh 80g each, these pieces of dough will be stretched (with the roller or with the fingers) and we will take the center all its ends, as shown in the images, and so we will form little balls.
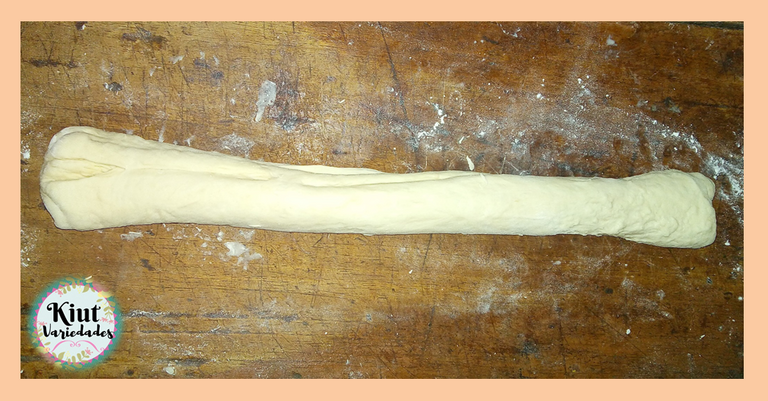

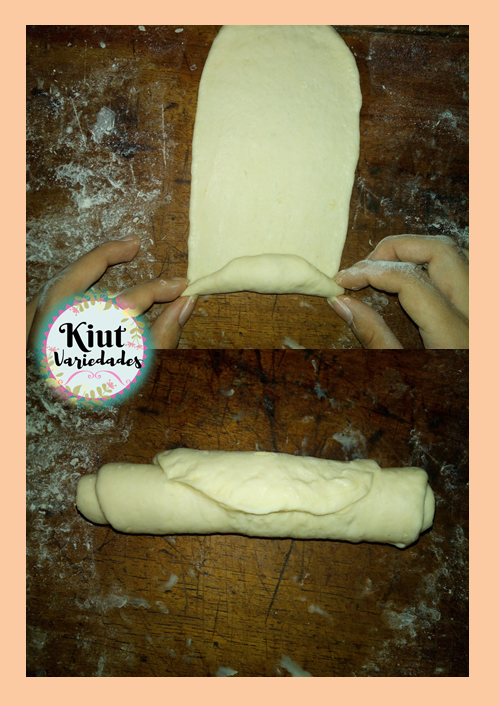
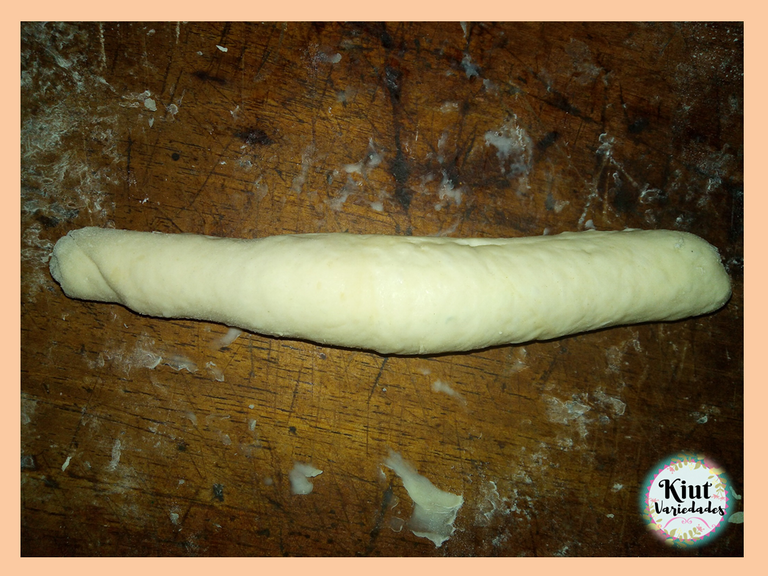
Luego estiraremos estas bolitas, tratando de que queden con una forma medianamente rectangular, en uno de los extremos doblaremos las puntas para formar un triángulo y enrollaremos, luego lo vamos a rodar sobre la mesa para ir estirándolo, es importante que cuando estemos realizando esto trataremos en lo posible que ejercer un poco de presión en las puntas más o en el centro, pues queremos que el centro quede bien esponjoso.
Then we will stretch these balls, trying to get a medium rectangular shape, at one end we will bend the tips to form a triangle and roll it, then we will roll it on the table to stretch it, it is important that when we are doing this we try as much as possible to exert a little pressure on the tips more or in the center, because we want the center to be very spongy.
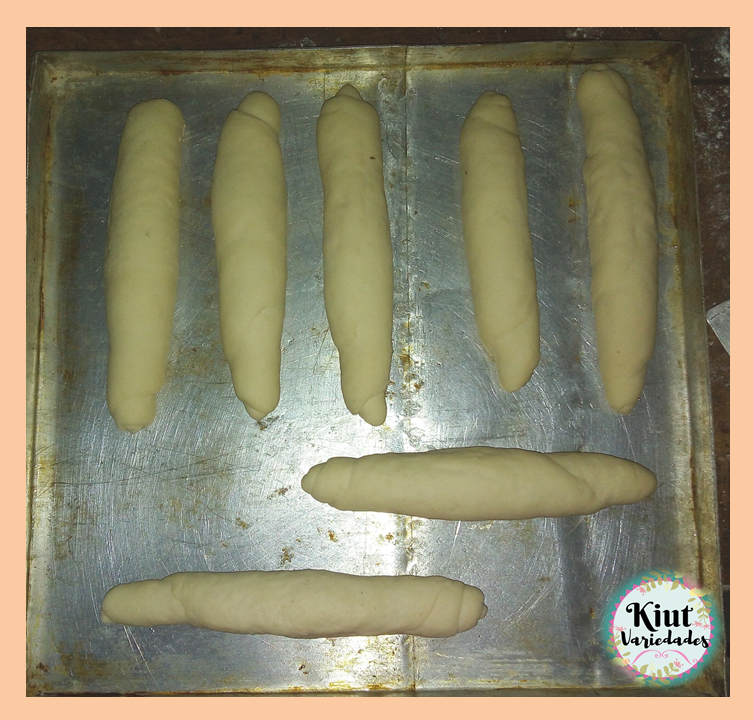
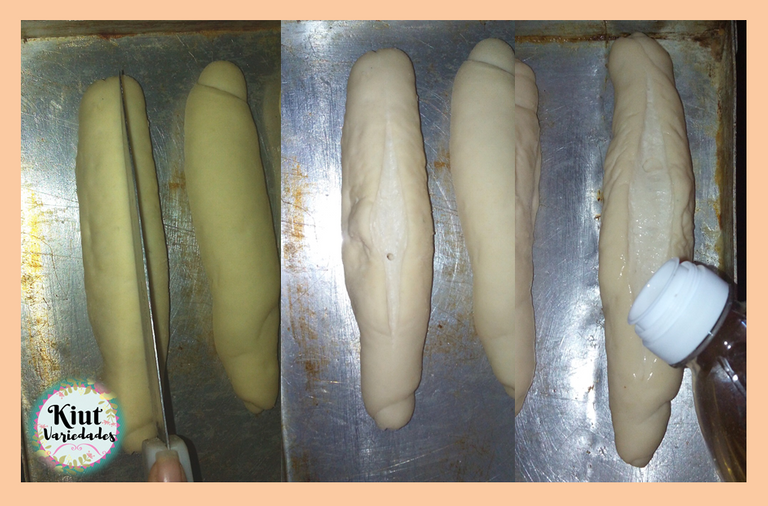
Una vez tengamos nuestros panes listos, los dejaremos reposar unos 20 minutos aproximadamente. Luego de transcurrir este tiempo, le haremos un corte superficial en la parte superior a nuestros panes y los barnizaremos con un poquito de aceite.
Once we have our breads ready, we will let them rest for about 20 minutes. After this time, we will make a superficial cut on the top of our breads and varnish them with a little oil.
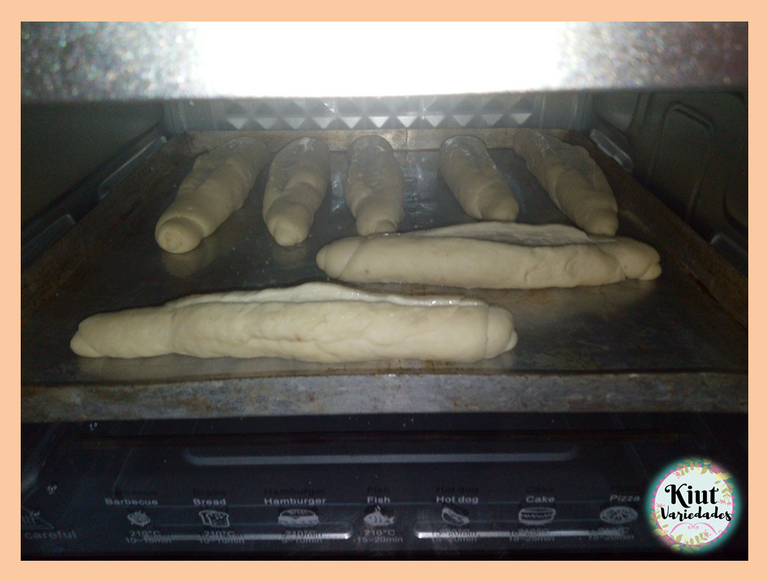
Los llevaremos al horno a 180° C por aproximadamente 20 o 30 minutos, el tiempo puede variar pues cada horno es distinto, así que debes estar pendiente de ellos.
We will take them to the oven at 180° C for approximately 20 or 30 minutes, the time may vary because each oven is different, so you must be aware of them.
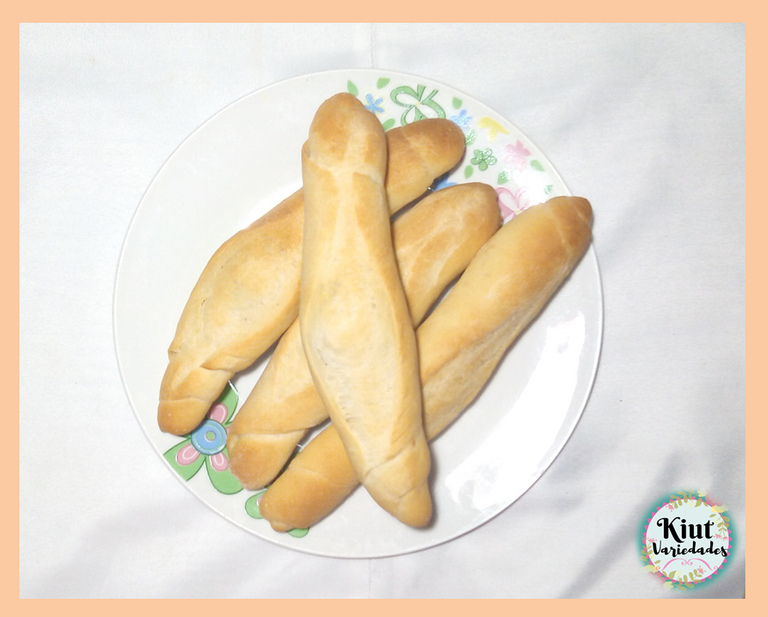

Te invitamos igual que siempre a que intentes esta receta por tu cuenta y nos cuentes en los comentarios 👇 como es tu experiencia.
As always, we invite you to try this recite on your own and tell us in the comments 👇 how is your experience.


Síguenos en todas nuestras redes sociales… || Follow us on all our social networks ...
Facebook:KiutVariedades
Instagram:@Kiut_variedades
Twitter:@Kiut_variedades
Excelente trabajo felicidades
Muchísimas gracias 💕
Amo el pan y el francés es uno de mis favoritos, gracias por la receta
Compartimos ese gusto por el pan francés @yolimarag, me alegra mucho que te haya gustado 💕 muchas gracias por comentar.
Congratulations @kiutvariedades! You have completed the following achievement on the Hive blockchain and have been rewarded with new badge(s) :
You can view your badges on your board and compare yourself to others in the Ranking
If you no longer want to receive notifications, reply to this comment with the word
STOPSe ven realmente deliciosos, gracias por compartirnos la receta.