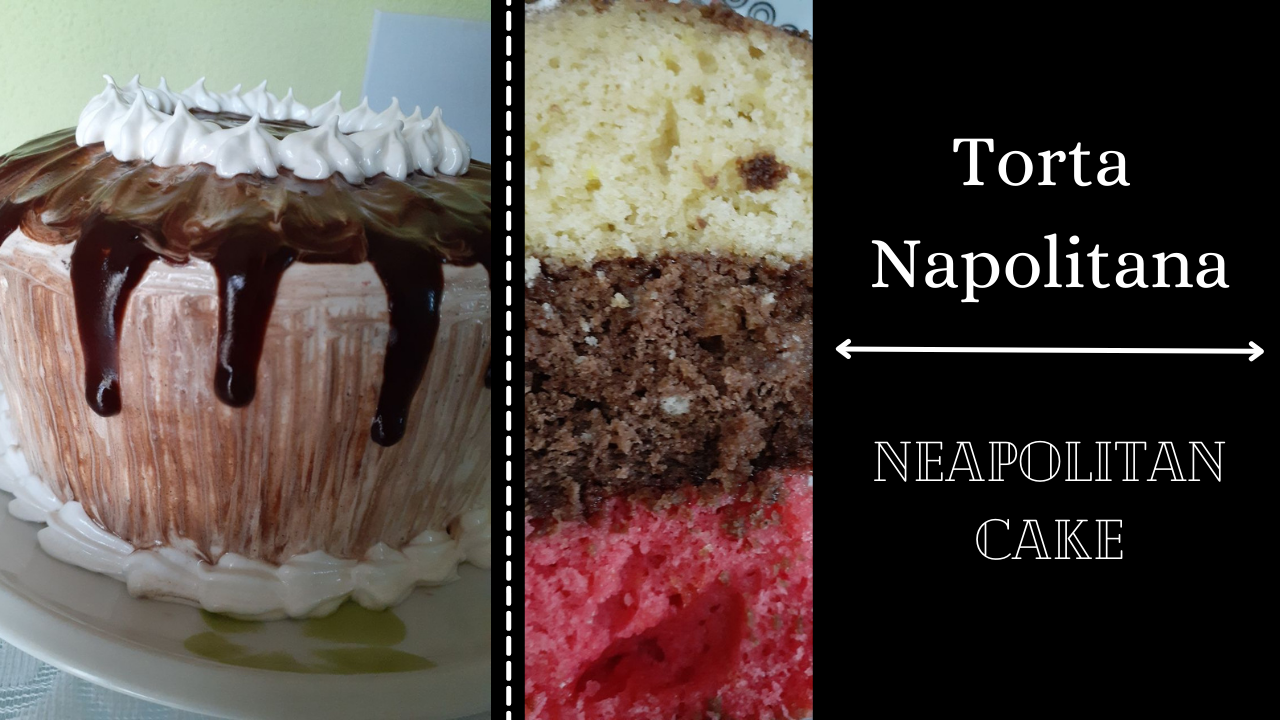
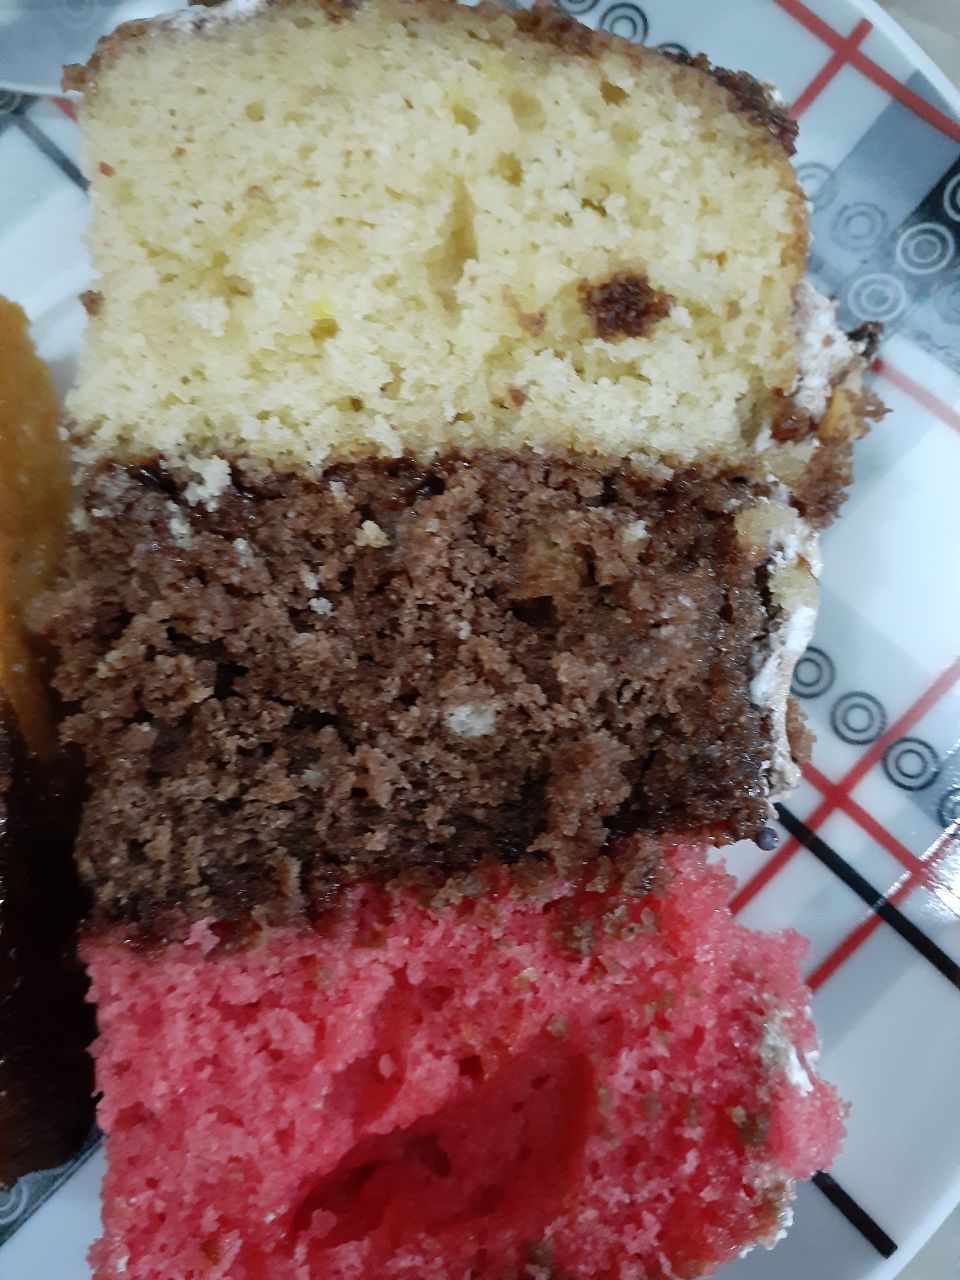
Hola chicos y chicas de Hive que les gusta la cocina, hoy les traigo una torta riquísima de vista y de sabor también! La Torta Napolitana consta de tres capas distintas de tortas. Una capa de vainilla, Una capa de fresa, Una capa de chocolate! 😊❤️
Hi Hive guys and gals who love cooking, today I bring you a cake that is delicious to look at and taste too! The Neapolitan Cake consists of three different layers of cakes. A vanilla layer, A strawberry layer, A chocolate layer! 😊❤️

Las cantidades de ingredientes a utilizar va a depender del molde de su preferencia. En mi caso usé moldes de 12cm de diámetro por 4 cm de alto. Éste tipo de torta es muy versátil porque pueden hacer las tortas por separadas o hacer una torta de vainilla de base y dividirla en tres porciones de aproximadamente 500 grs c/u. Una la dejaremos natural. La que es de fresa le echaremos la esencia de fresa y colorante rojo para afianzar el color y la de chocolate se le agrega el cacao en polvo y la esencia de chocolate.
The amount of ingredients to use will depend on the mold of your preference. In my case I used molds of 12cm diameter by 4 cm high. This type of cake is very versatile because you can make the cakes separately or make a vanilla cake as a base and divide it into three portions of approximately 500 grams each. We will leave one plain. The strawberry one we will add the strawberry essence and red coloring to strengthen the color and the chocolate one we will add the cocoa powder and the chocolate essence.

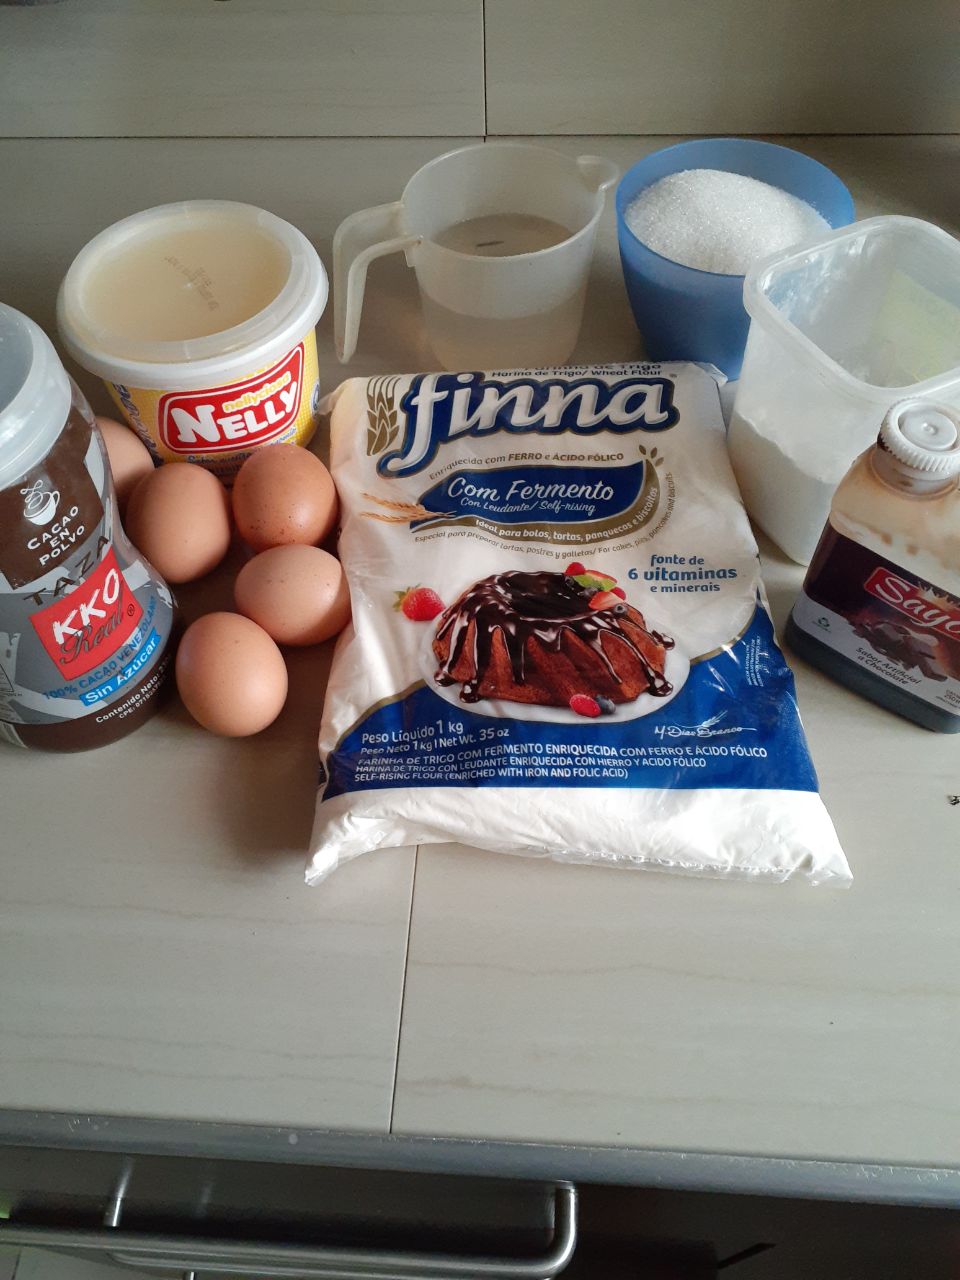
Para la torta de vainilla
3 tazas de harina
2 tazas de azúcar
5 huevos
250 gr de mantequilla
1cdata de vainilla
3 cdtas de polvo de hornear
1 tza de agua filtrada
Partiendo de la torta base de vainilla, para la torta de fresa usaremos:
1 cda de esencia de fresa
1 pizca de colorante comestible rojo
Para la torta de chocolate partiendo de la torta base de vainilla usaremos:
2 cdas de café espresso
3 cdas de cacao
1 cda de esencia de chocolate
Para el falso ganache que servirá para el relleno y decorar
1 tza de agua
200 gr de cacao
2 cdas de fécula de maíz o maicena
150 gr de azúcar
2 cdas de mantequilla
For the vanilla cake.
• 3 cups flour
• 2 cups sugar
• 5 eggs
• 250 gr butter
• 1 tsp vanilla
• 3 tsp baking powder
•1 cup filtered water
Starting from the vanilla base cake, for the strawberry cake we will use:
• 1 tablespoon of strawberry essence
• 1 tablespoon of strawberry essence
• 1 pinch of red edible food coloring
For the chocolate cake, starting from the vanilla cake base, we will use:
• 2 tablespoons of espresso coffee
• 2 tablespoons of espresso coffee
• 3 tablespoons of cocoa
• 1 tablespoon of chocolate essence
For the false ganache that will be used for the filling and decoration
• 1 cup of water
• 1 cup of water
• 200 gr cocoa
• 2 tablespoons of cornstarch or cornstarch
• 150 grams of sugar
• 2 tablespoons butter
Torta de vainilla base / Vanilla cake base:
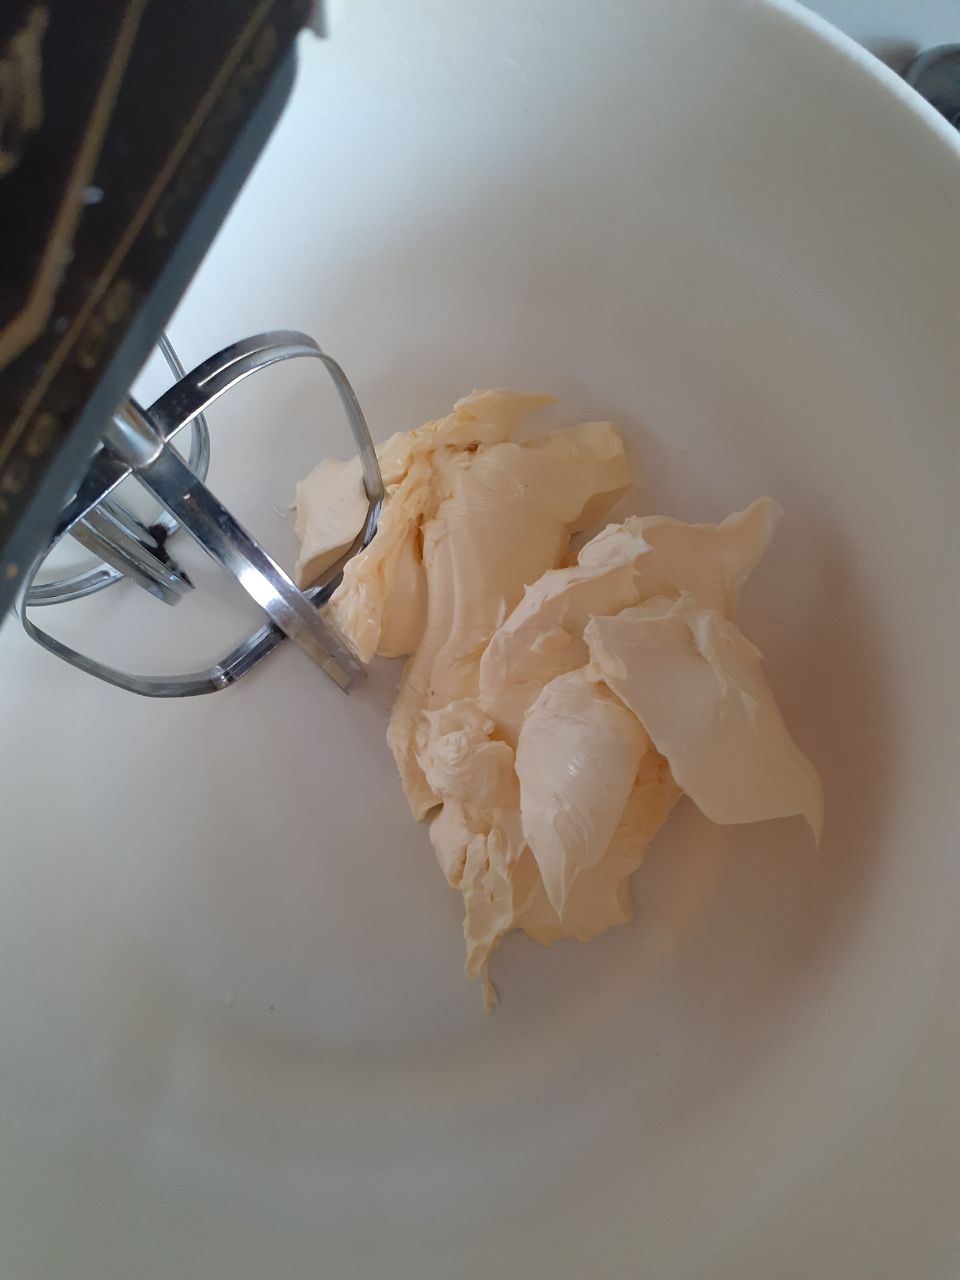
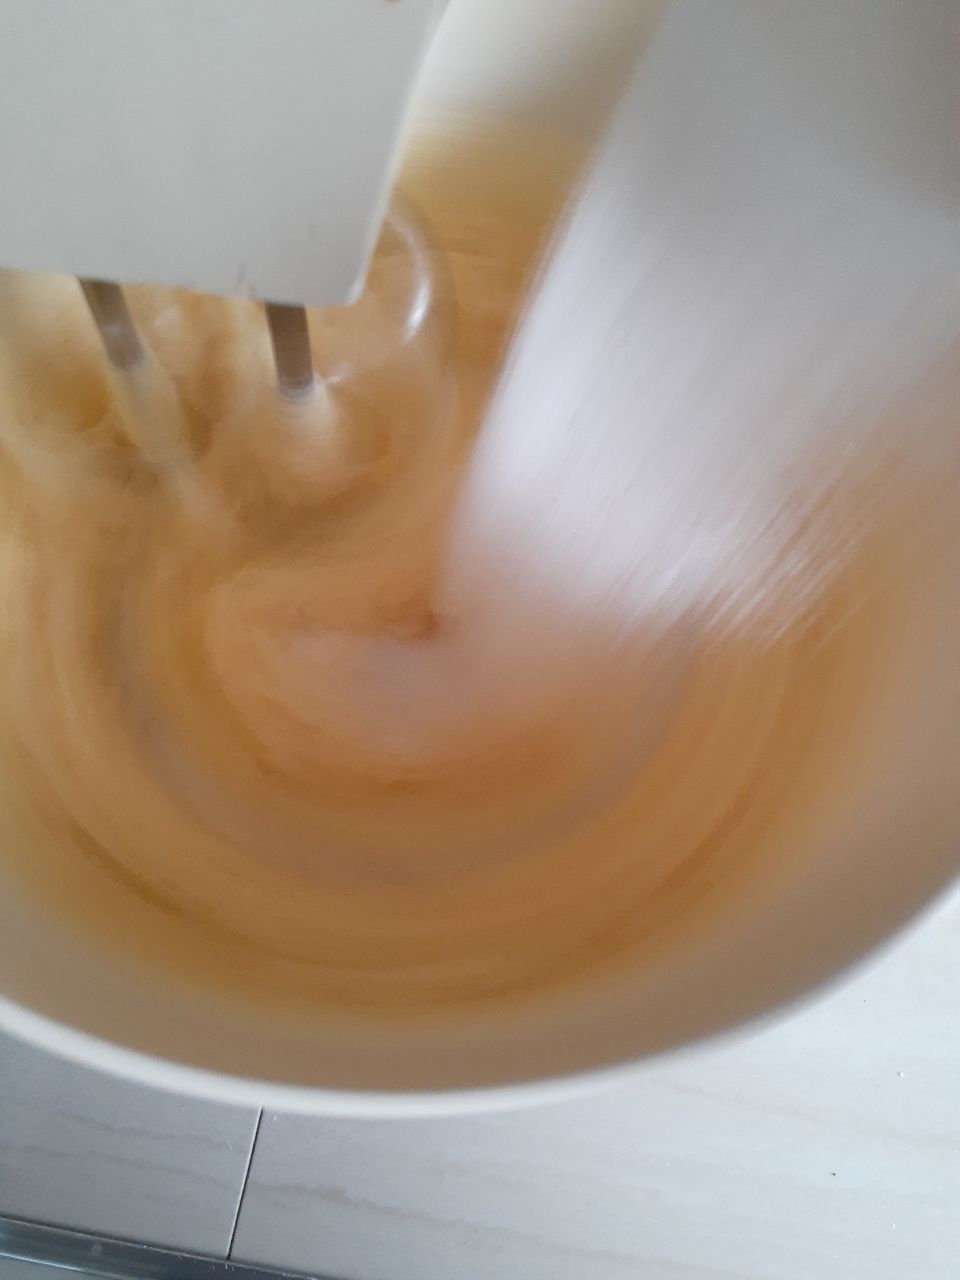
Paso 1. Colocamos en el bowl de la batidora la mantequilla para así cremarla por unos 5 minutos aproximadamente.
Step 1. Place the butter in the mixer bowl and cream it for approximately 5 minutes.
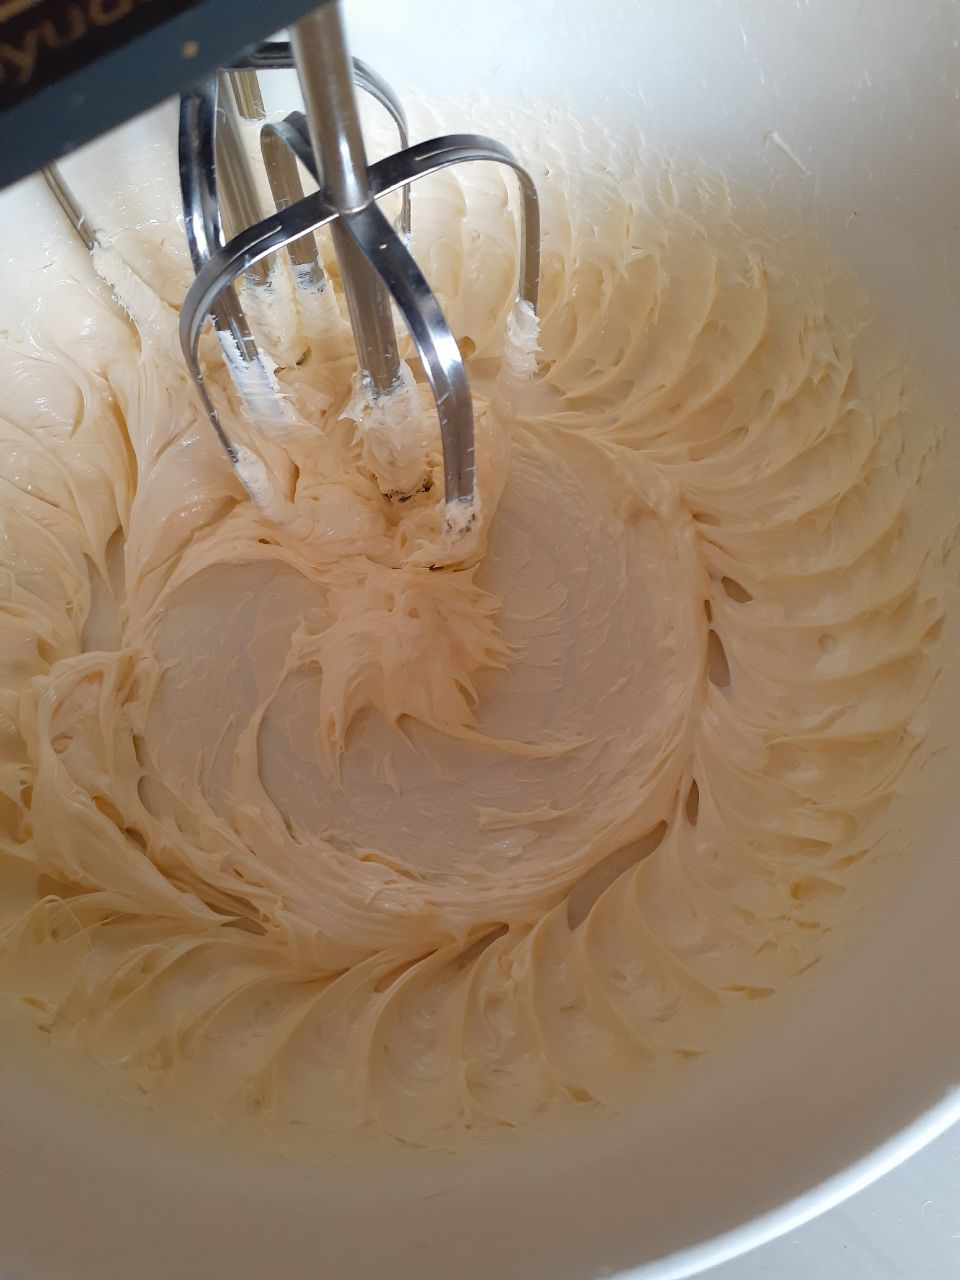
Paso 2. Una vez que esté cremosa se le agrega la azúcar poco a poco mientras seguimos batiendo a velocidad alta.
Step 2. Once it is creamy, add the sugar little by little while continuing to beat at high speed.
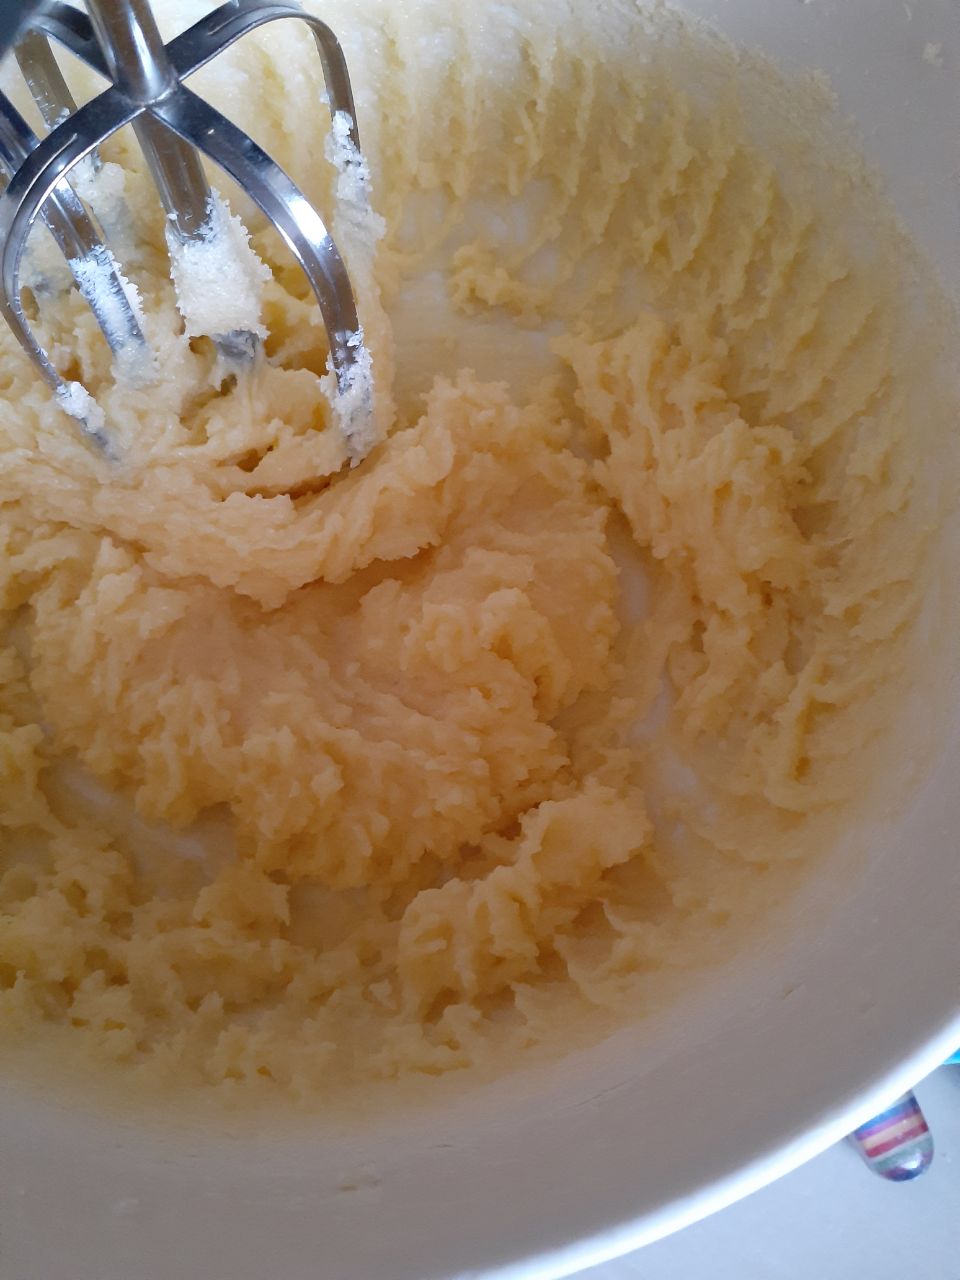
Paso 3. Cuando ya se haya disuelto la azúcar e integrado a la mantequilla formando una crema homogénea bajamos la velocidad a media y le incorporamos uno a uno los huevos y la vainilla y lo batimos unos 5 minutos más.
Step 3. When the sugar has dissolved and integrated with the butter to form a homogeneous cream, lower the speed to medium and add the eggs and vanilla one by one and beat for 5 minutes more.
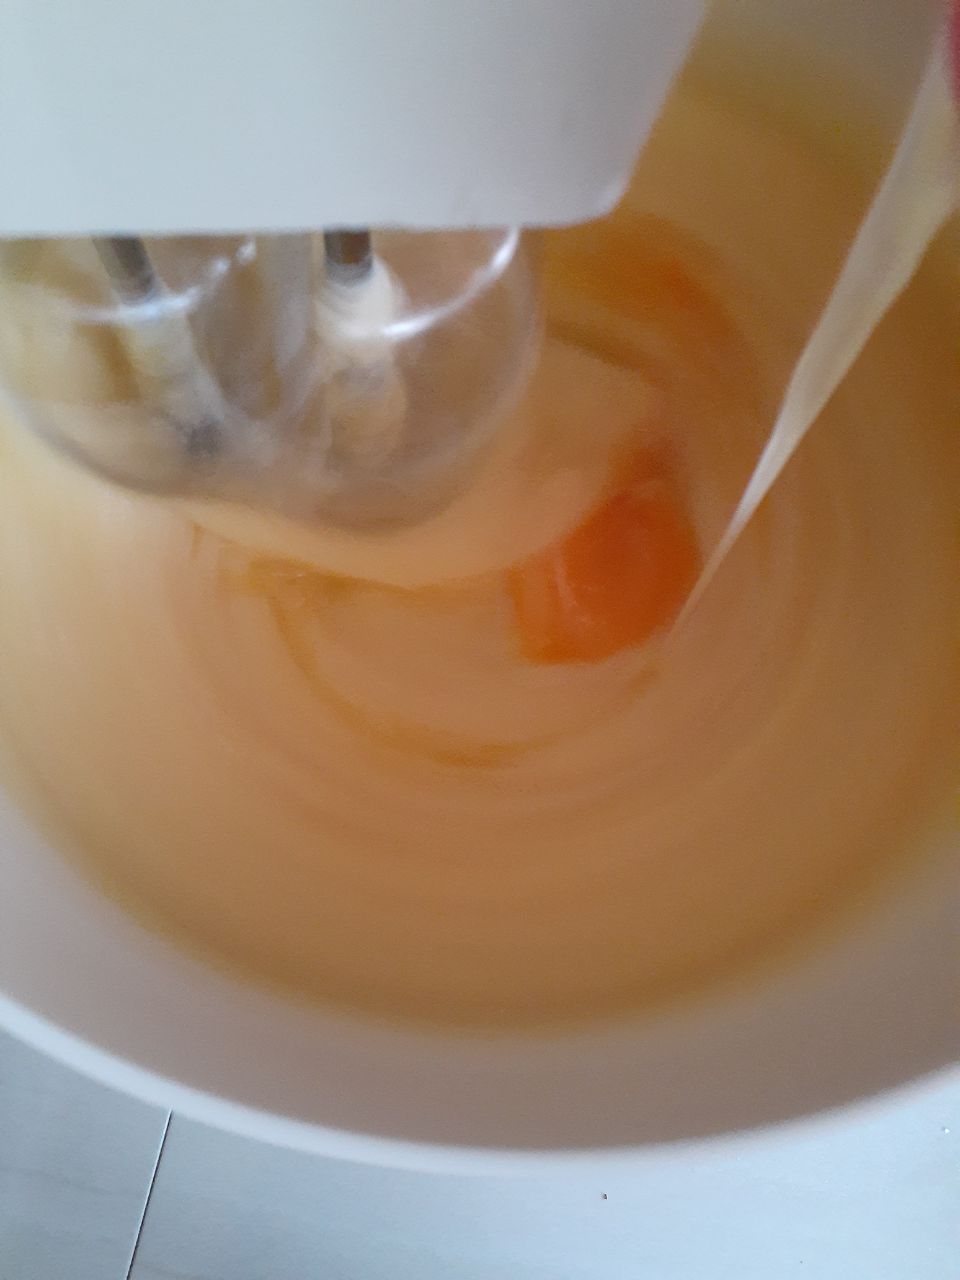
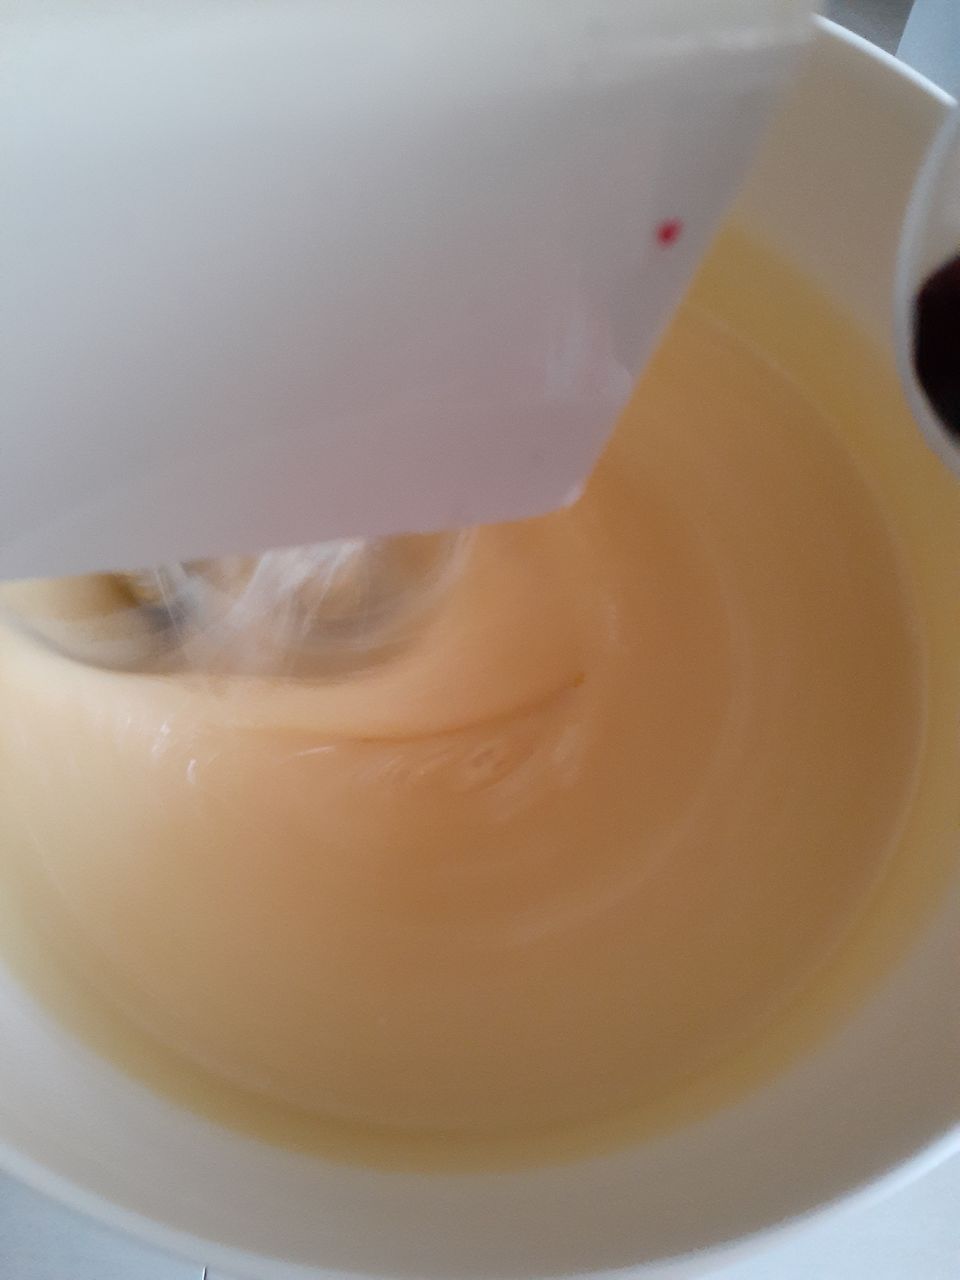
Ésta mezcla quedará algo líquida y se verá como cortada pero no pasa nada, no teman por el aspecto de la mezcla.
This mixture will be somewhat liquid and will look like it has been cut, but that's okay, don't worry about the appearance of the mixture.
Paso 4. Dejamos de batir en la batidora y procedemos a agregarle la harina con el polvo de hornear previamente cernida. La harina se le pone a la mezcla anterior en dos tanda alternando con el líquido a usar. Nota; Pueden usar leche u agua, en mi caso usé agua. No sobre mezclar demasiado para no desarrollar el gluten en su mezcla, sólo es integrar la harina y agua con la crema de mantequilla.
Step 4. Stop beating in the mixer and proceed to add the flour with the baking powder previously sifted. The flour is added to the previous mixture in two batches alternating with the liquid to be used. Note; You can use milk or water, in my case I used water. Do not over mix so as not to develop gluten in your mixture, it is only to integrate the flour and water with the buttercream.
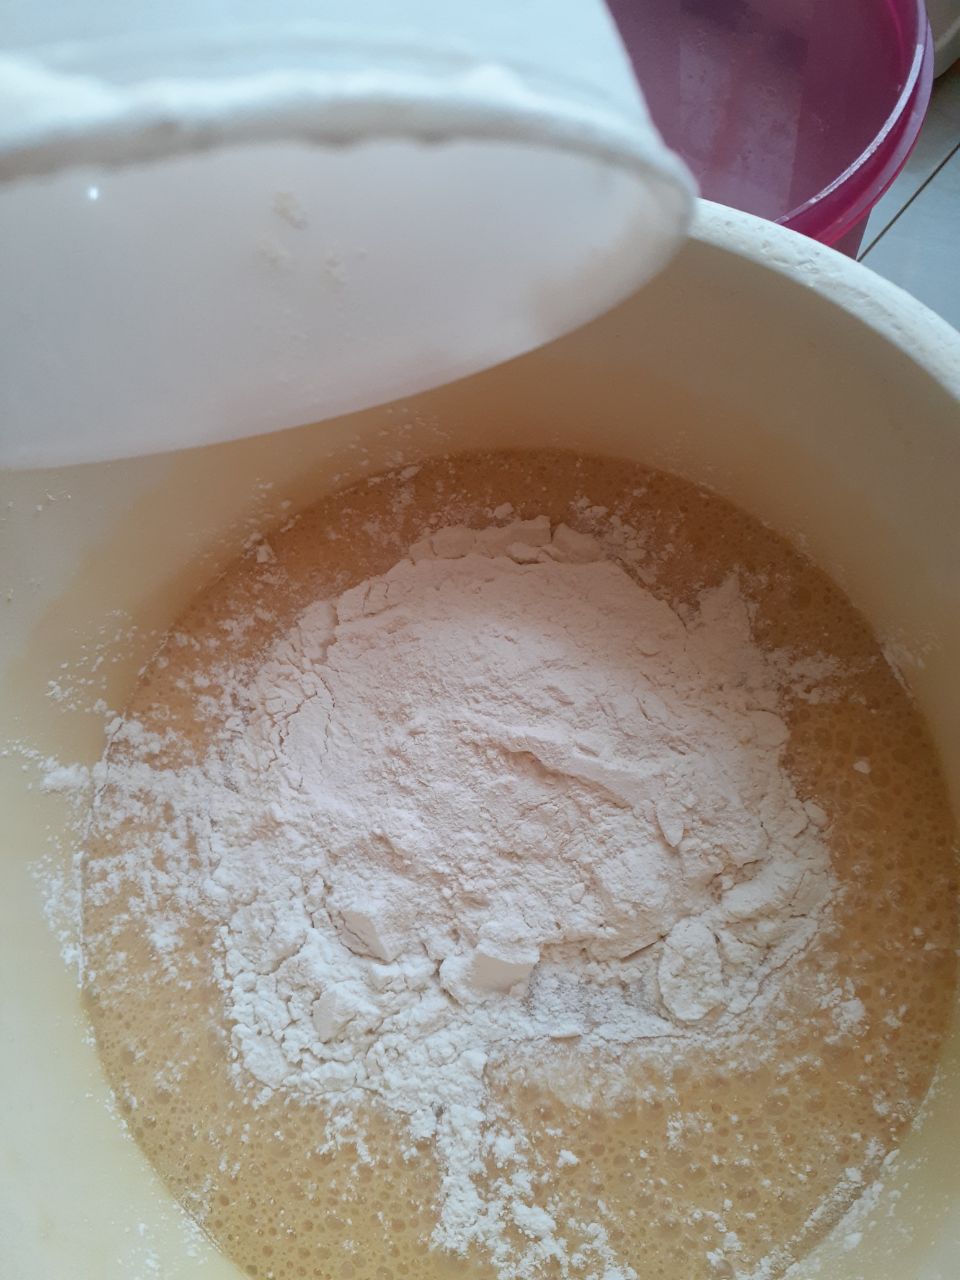
Paso 5. Una vez integrado todo procedemos a dividir la mezcla en tres porciones de 500 grs cada una. La de vainilla va directamente al molde que ya teníamos previamente enmantequillado y enharinado.
Step 5. Once everything is integrated, divide the mixture into three portions of 500 grams each. The vanilla one goes directly into the mold that we had previously buttered and floured.
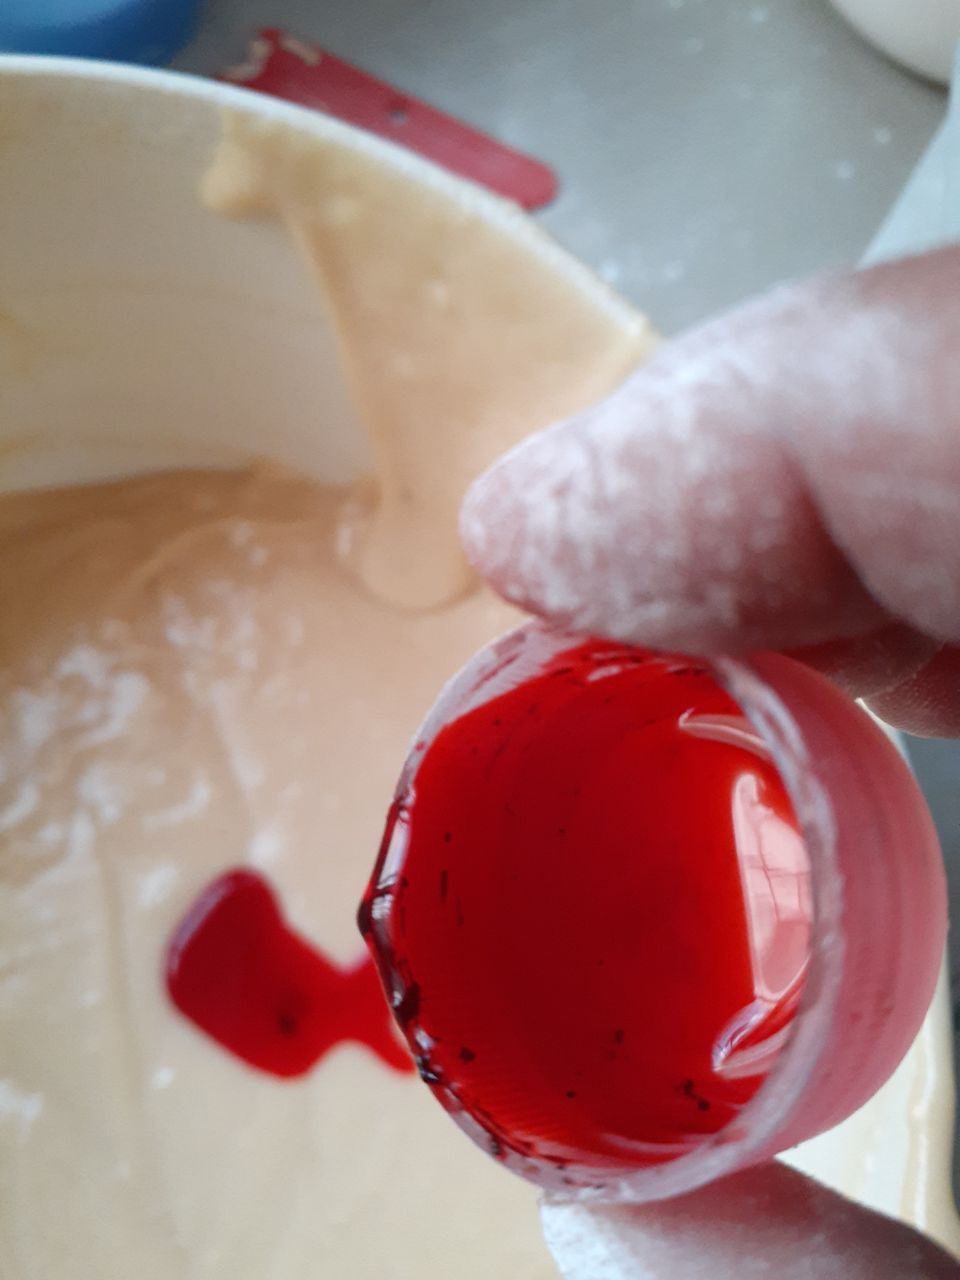
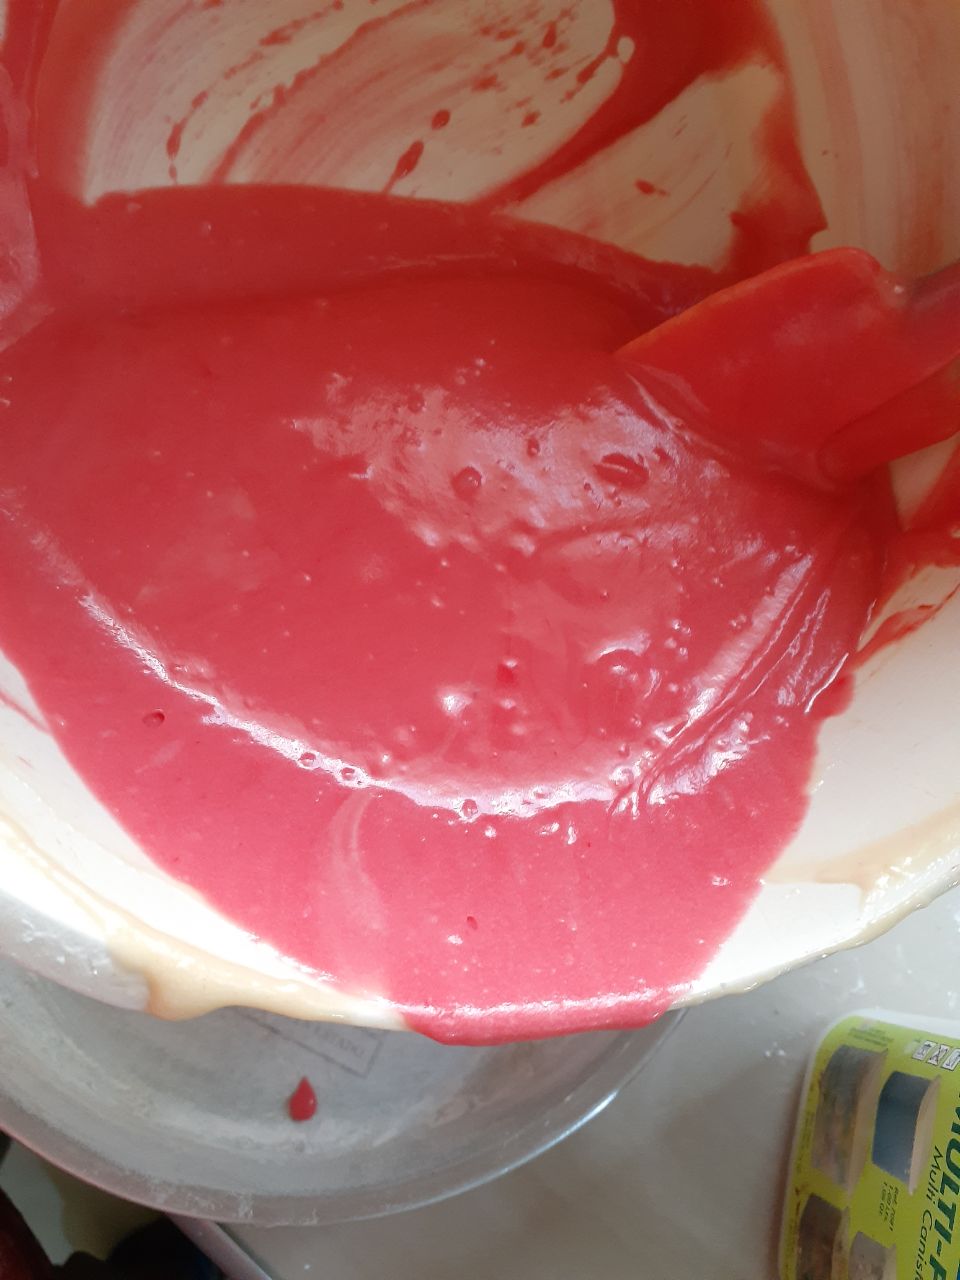
Paso 6. La siguiente porción de mezcla será la de fresa. A la base de vainilla le agregamos la esencia de fresa y la pizca de colorante rojo, la mezclamos en forma envolvente hasta integrar, una vez integrado todo la llevamos al molde que ya tenemos enmantequillado y enharinado.
Step 6. The next portion of the mixture will be the strawberry. To the vanilla base we add the strawberry essence and the pinch of red coloring, we mix it in an enveloping way until integrating, once everything is integrated we take it to the mold that we already have buttered and floured.
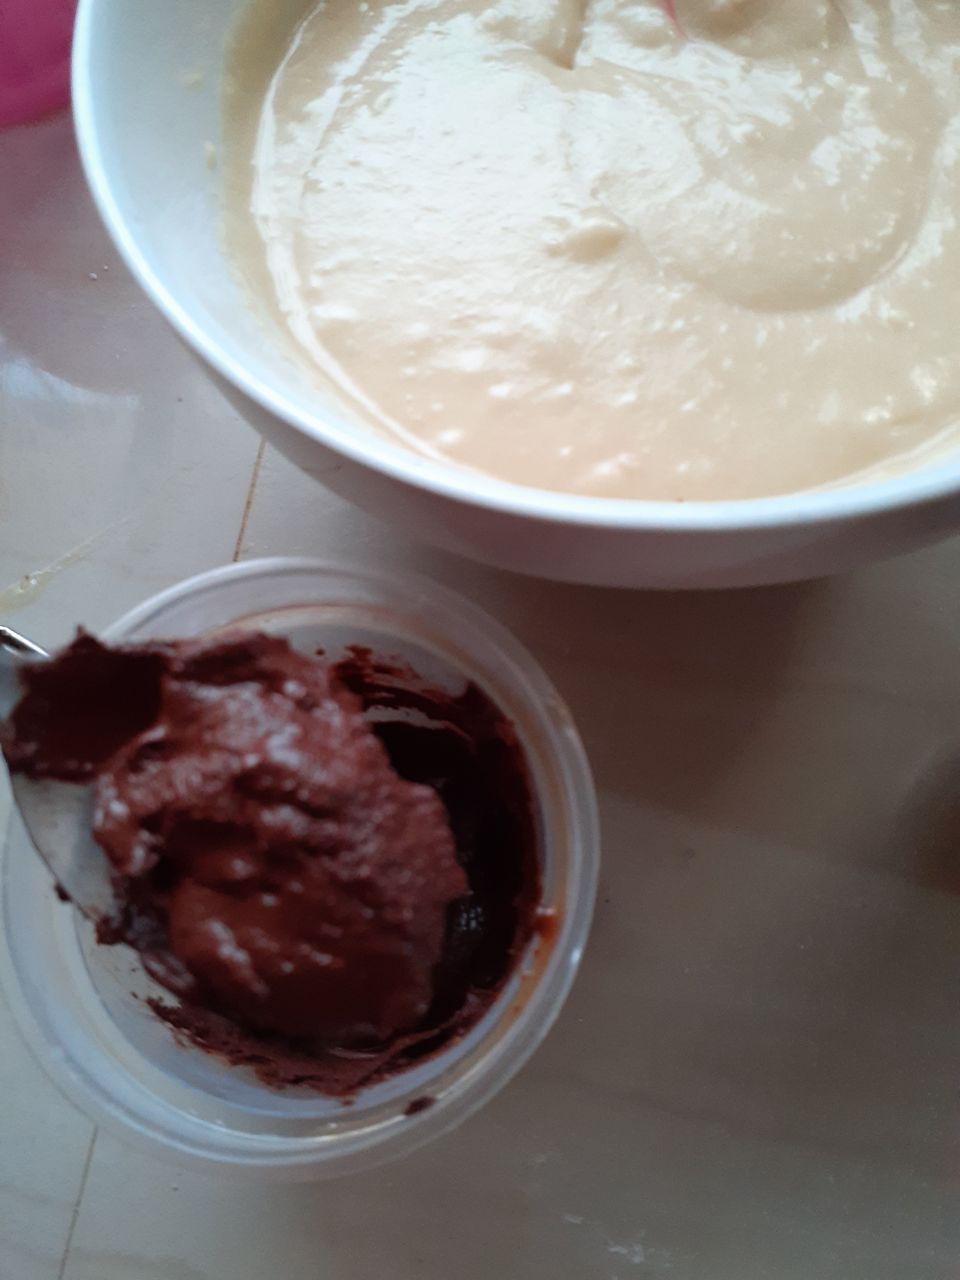
Paso 7. La última porción de mezcla es la de chocolate. En el café agregamos el cacao y formamos una mezcla pastosa y se la añadimos junto con la esencia de chocolates a la base de vainilla que ya teníamos, integramos en forma envolvente. La llevamos al molde que tenemos prepardo.
Step 7. The last portion of the mixture is the chocolate. In the coffee add the cocoa and form a pasty mixture and add it along with the essence of chocolates to the vanilla base that we already had, integrate it in an enveloping way. We take it to the mold we have prepared.
Recuerden no sobrebatir la mezclas
Remember not to overbate the mix.
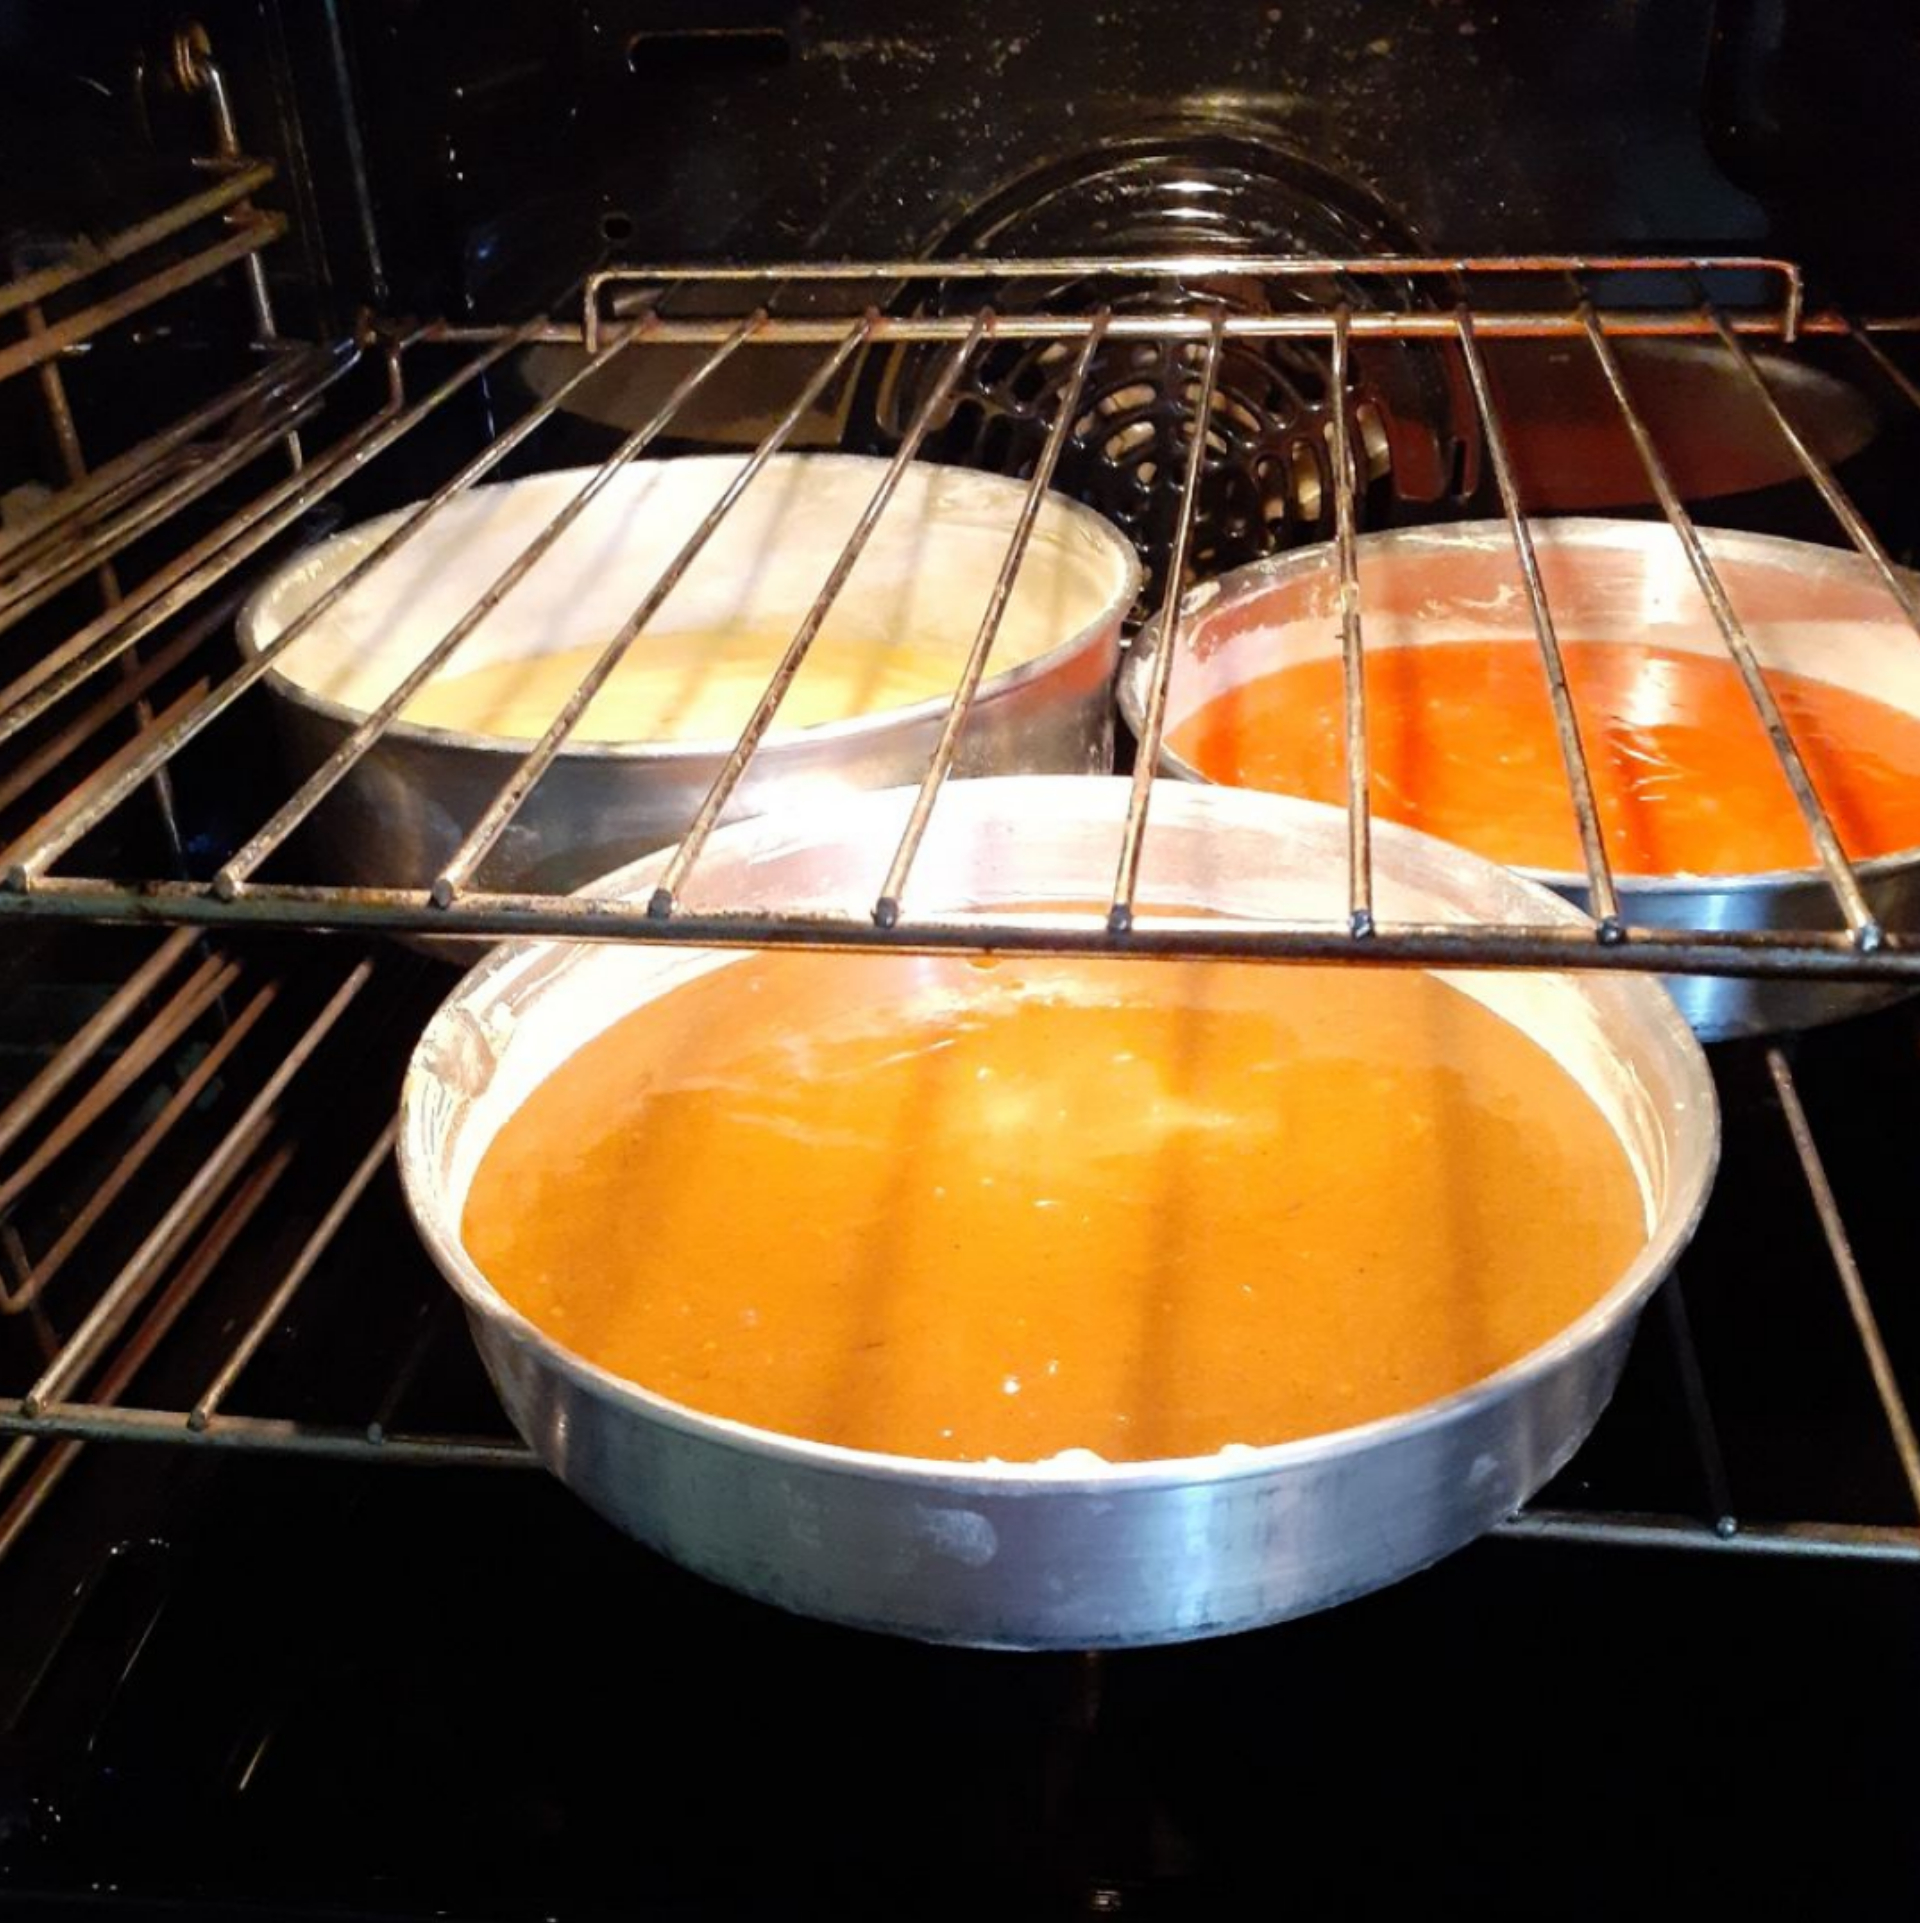
Paso 8. Una vez listas las tres mezclas las llevamos al horno en mi caso por ser tres torteritas pequeñas duraron en el horno 25 minutos a °190C claro, el tiempo de cocción va a depender de su horno o cuando introduzcan un palillo en el centro éste salga limpio.
Step 8. Once the three mixtures are ready, we take them to the oven. In my case, since they are three small torteritas, they lasted in the oven for 25 minutes at 190 ° C of course, the cooking time will depend on your oven or when you insert a toothpick in the center, it will come out clean.

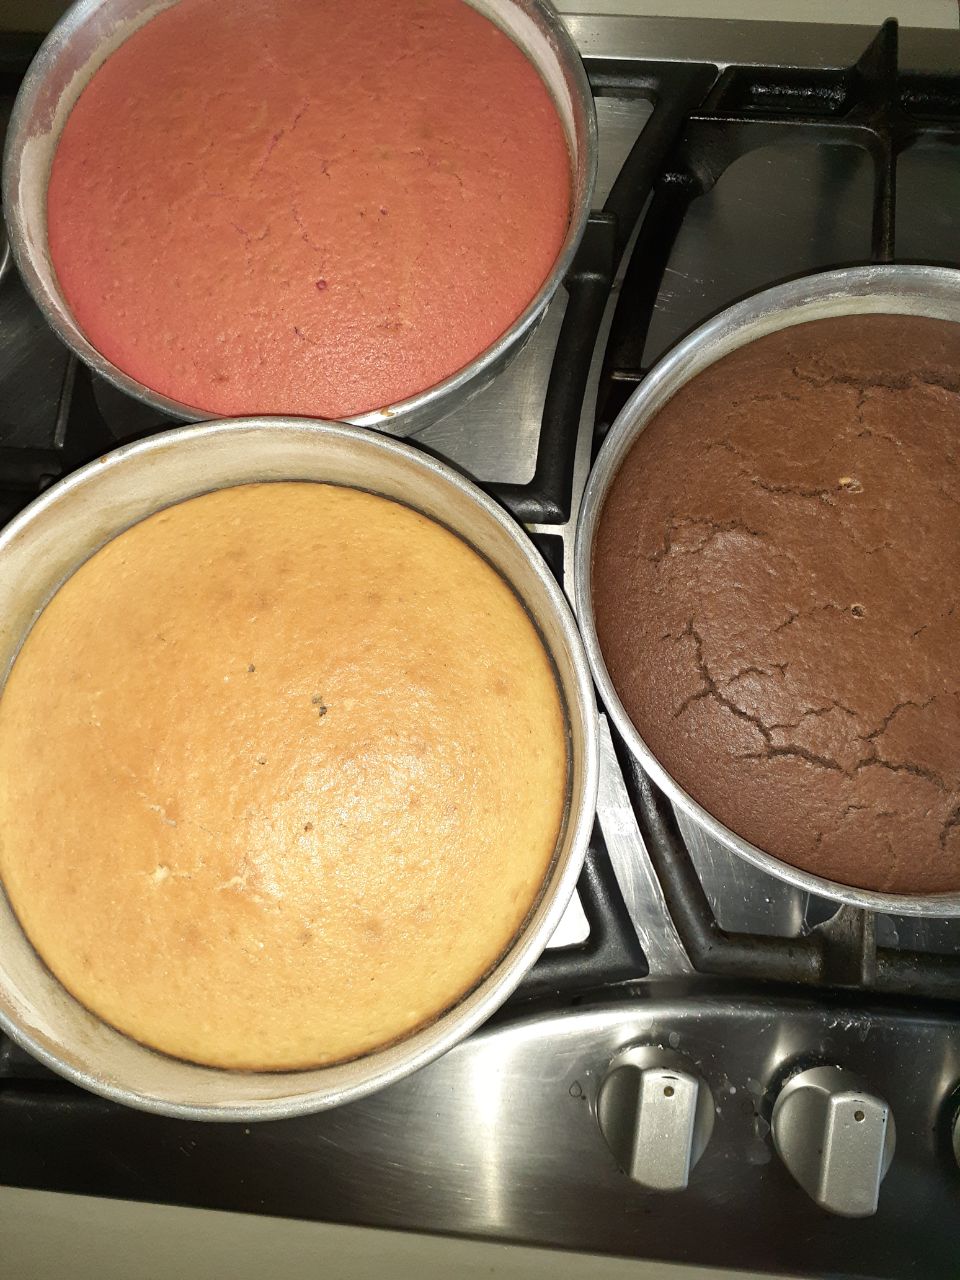
Paso 9. Pasado el tiempo las sacamos del horno y esperamos a que se enfríen un poco para desmoldearlas, ya que si la sacamos caliente, se pueden partir.
Step 9. Once the time is over, take them out of the oven and wait for them to cool a little before unmolding them, since if we take them out hot, they may split.
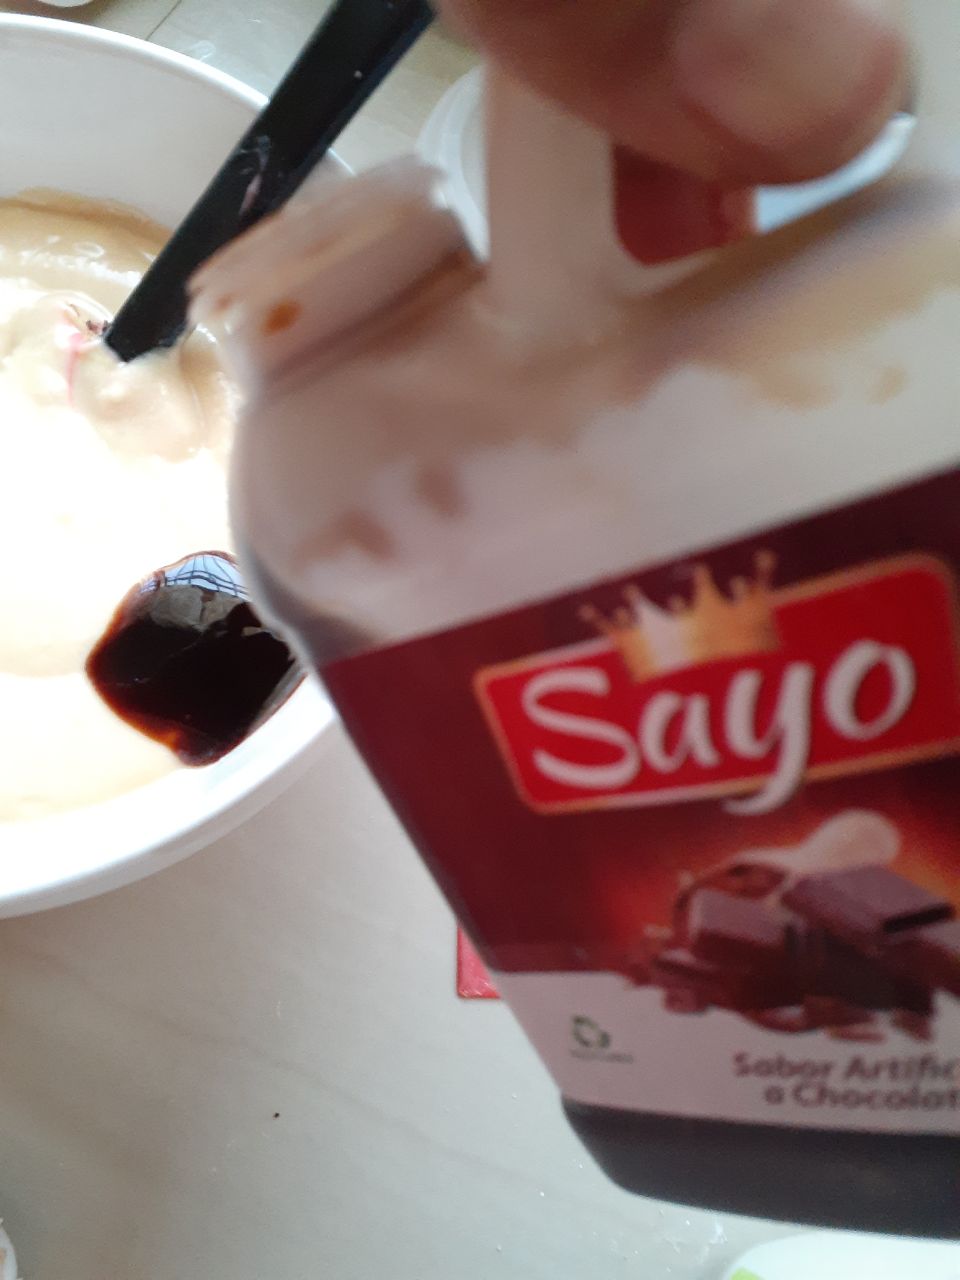
Falso ganache para el relleno y la decoración / False ganache for filling and decoration:
Paso 1. Mezclamos los ingredientes secos que serían, el cacao, la azúcar y la maicena, los ponemos en una ollita y le agregamos el agua, batimos con un batidor hasta integrarlos y llevarlo a fuego medio. Debemos batir constantemente para evitar formar grumos en la mezcla.
Step 1. We mix the dry ingredients that would be, the cocoa, the sugar and the cornstarch, we put them in a pot and add the water, beat with a whisk until they are integrated and take it to medium heat. We must constantly beat to avoid forming lumps in the mixture.
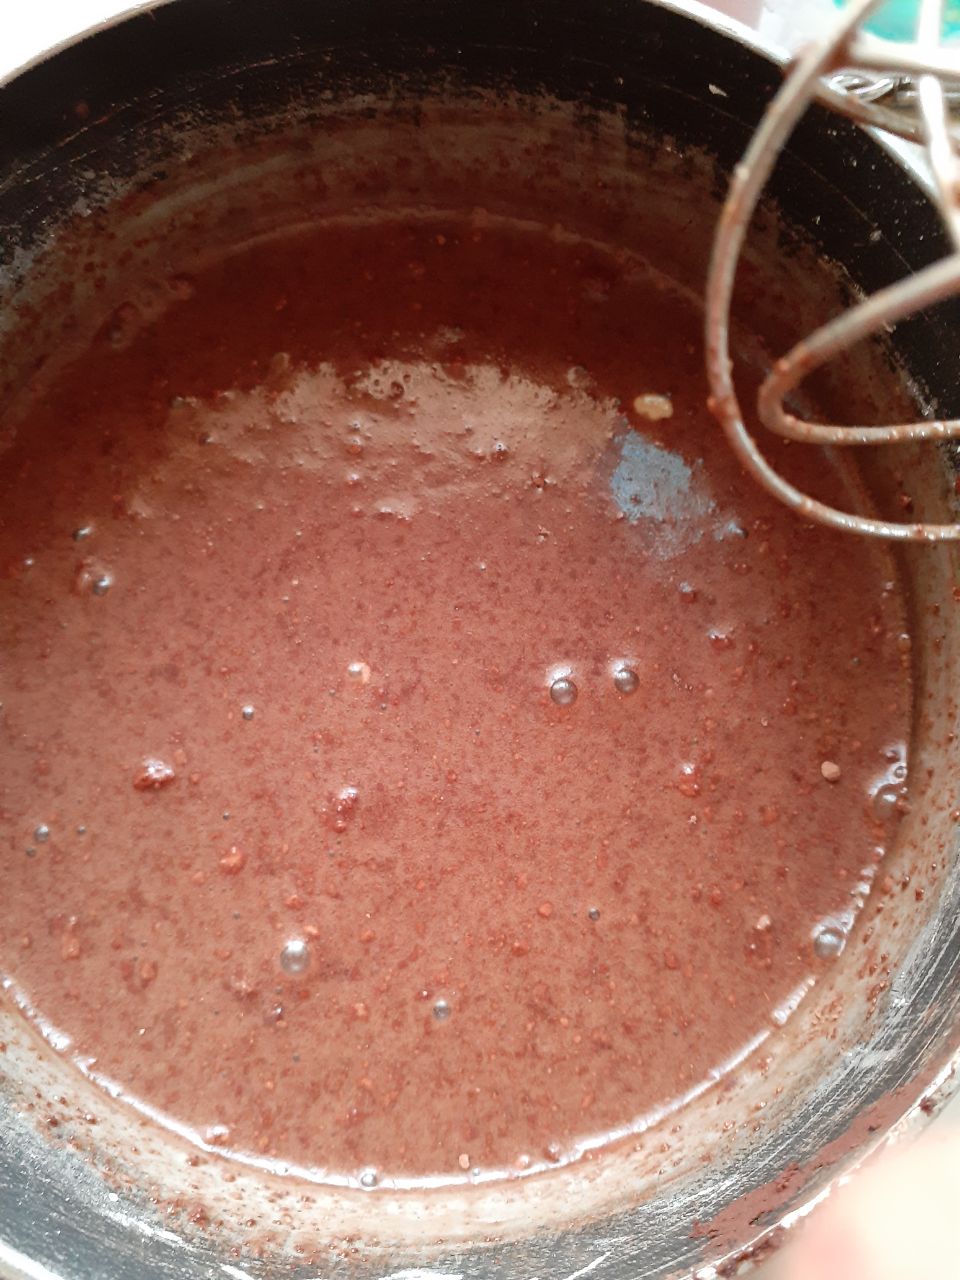
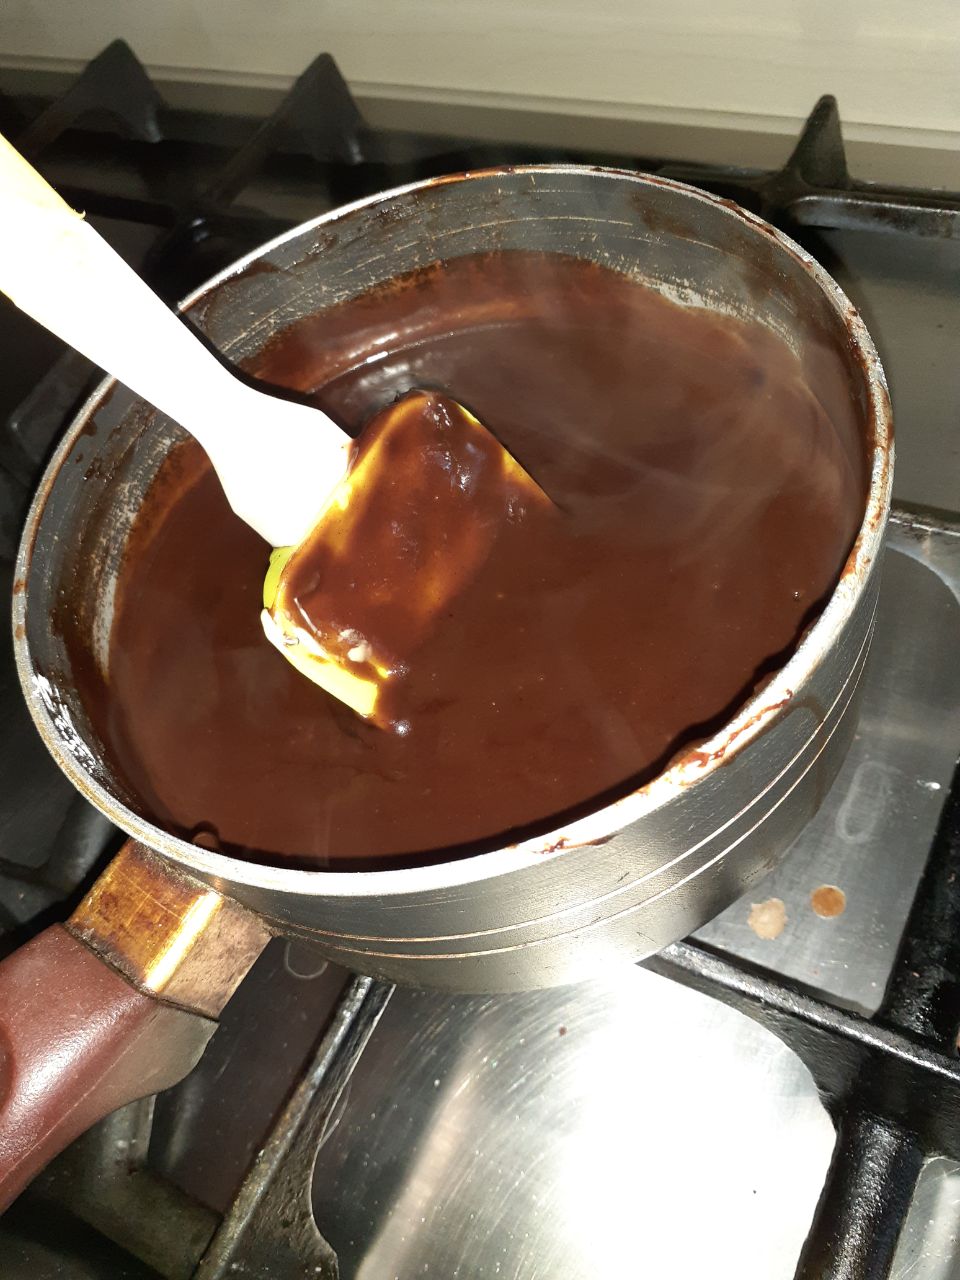
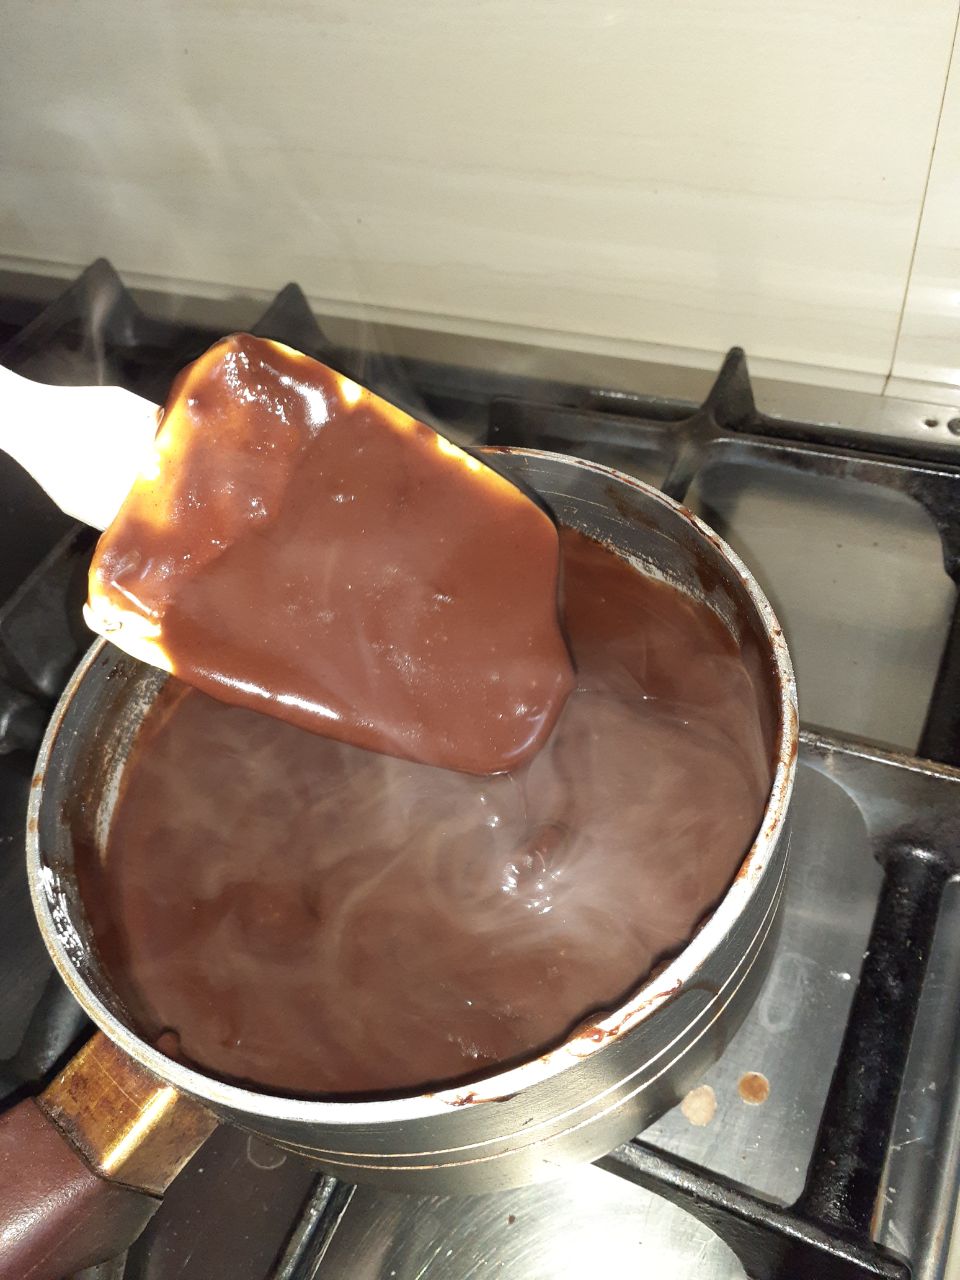
Paso 2. Seguir hasta que espese y una vez esté espeso apagamos la hornilla y le agregamos las dos cucharadas de mantequilla batir nuevamente hasta que la mantequilla se integre por completo. Pasar a un bowl y ponerle un papel film y que no pegue del chocolate para evitar formar una costra gruesa arriba una vez que se enfríe lo reservamos.
Step 2. Continue until it thickens and once it is thick, turn off the burner and add the two tablespoons of butter, beat again until the butter is completely integrated. Transfer to a bowl and put a plastic wrap on it so that it does not stick to the chocolate to avoid forming a thick crust on top once it cools down, we reserve it.
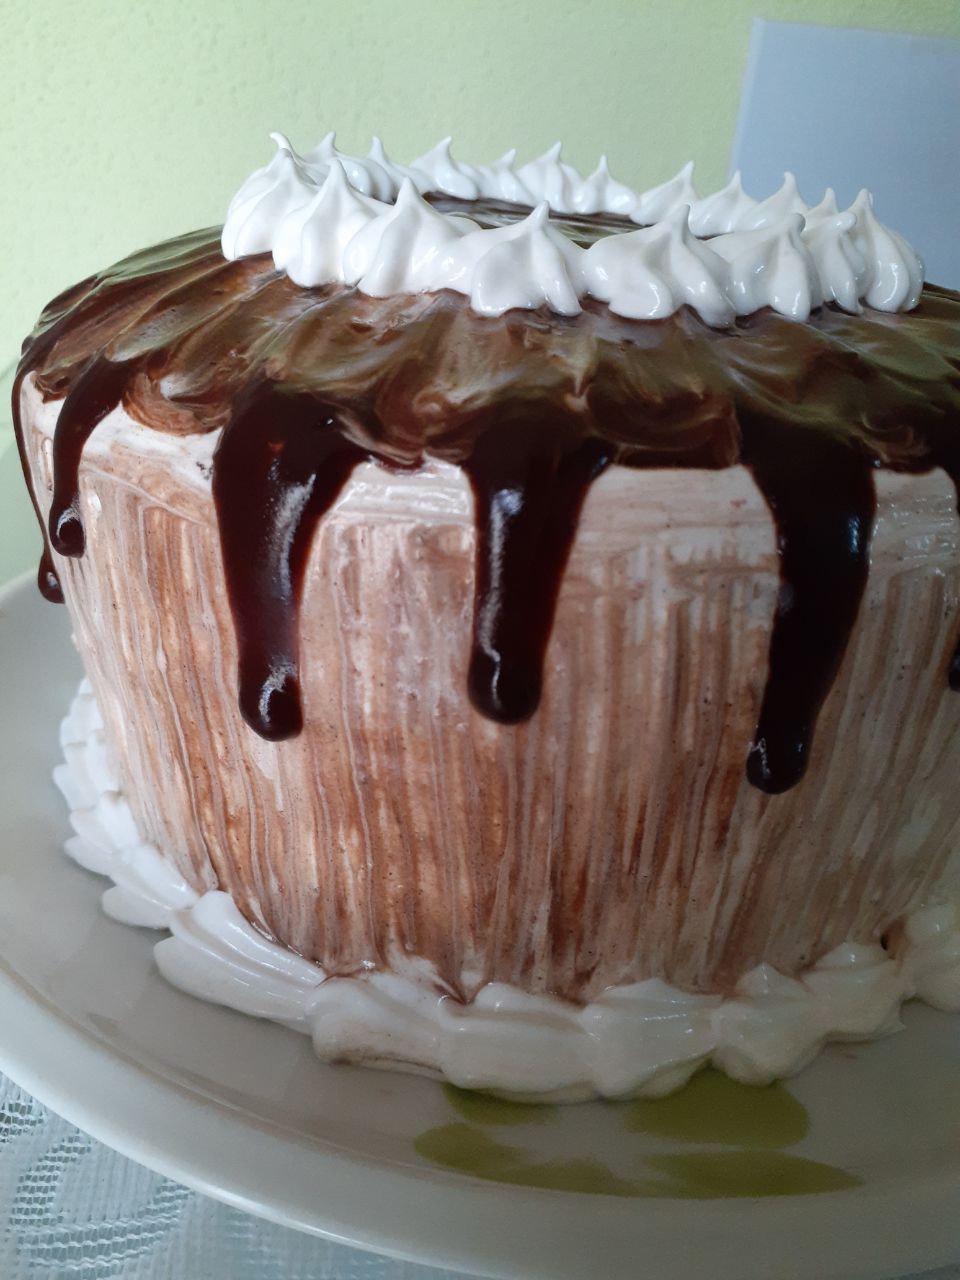
Una vez que las tortas estén frías se proceden al ensamblaje de las tortas y entre torta y torta le pondremos una capa generosa de ganache, el resto la dejamos para la decoración a su gusto.
En este caso la decoración de la torta fue con merengue y ganache de chocolate o también la pueden bañar con el ganache.
Once the cakes are cold, proceed to the assembly of the cakes and between cake and cake we will put a generous layer of ganache, the rest we leave for decoration to your liking.
In this case, the decoration of the cake was with meringue and chocolate ganache or you can also bathe it with the ganache.
Cada banner y separador que se encuentra en éste Post son de mi propiedad, elaborados en la app Canvas
Las imágenes adjuntas son mías tomadas desde mi celular
Each banner and separator in this Post are my property, made in the Canvas app
The attached images are mine taken from my cell phone

Esta torta es hermosa y lleva mucho trabajo también. No conocía el falso ganache, pero me encanta, al igual que esta receta muy original.
FoodiesUnite.net Yum! You have been curated @anggreklestari on behalf of on #Hive. Thanks for using the #foodie tag. We are a tribe for the Foodie community with a unique approach to content and community and we are here on #Hive.
Join the foodie fun! We've given you a FOODIE boost. Come check it out at @foodiesunite for the latest community updates. Spread your gastronomic delights on and claim your tokens.
Join and Post through the Community and you can earn a FOODIE reward.
Your content has been voted as a part of Encouragement program. Keep up the good work!
Use Ecency daily to boost your growth on platform!
Support Ecency
Vote for new Proposal
Delegate HP and earn more