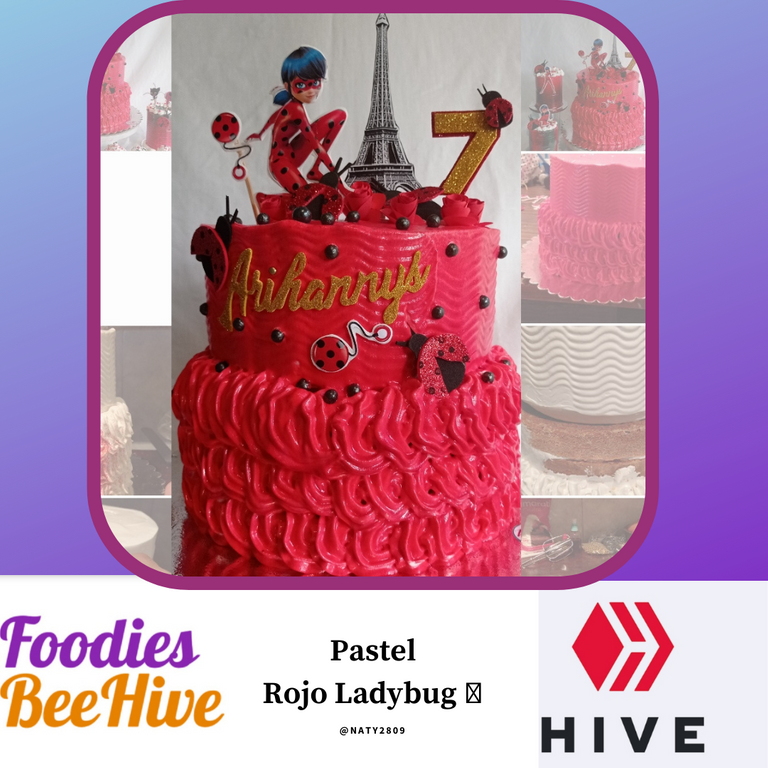
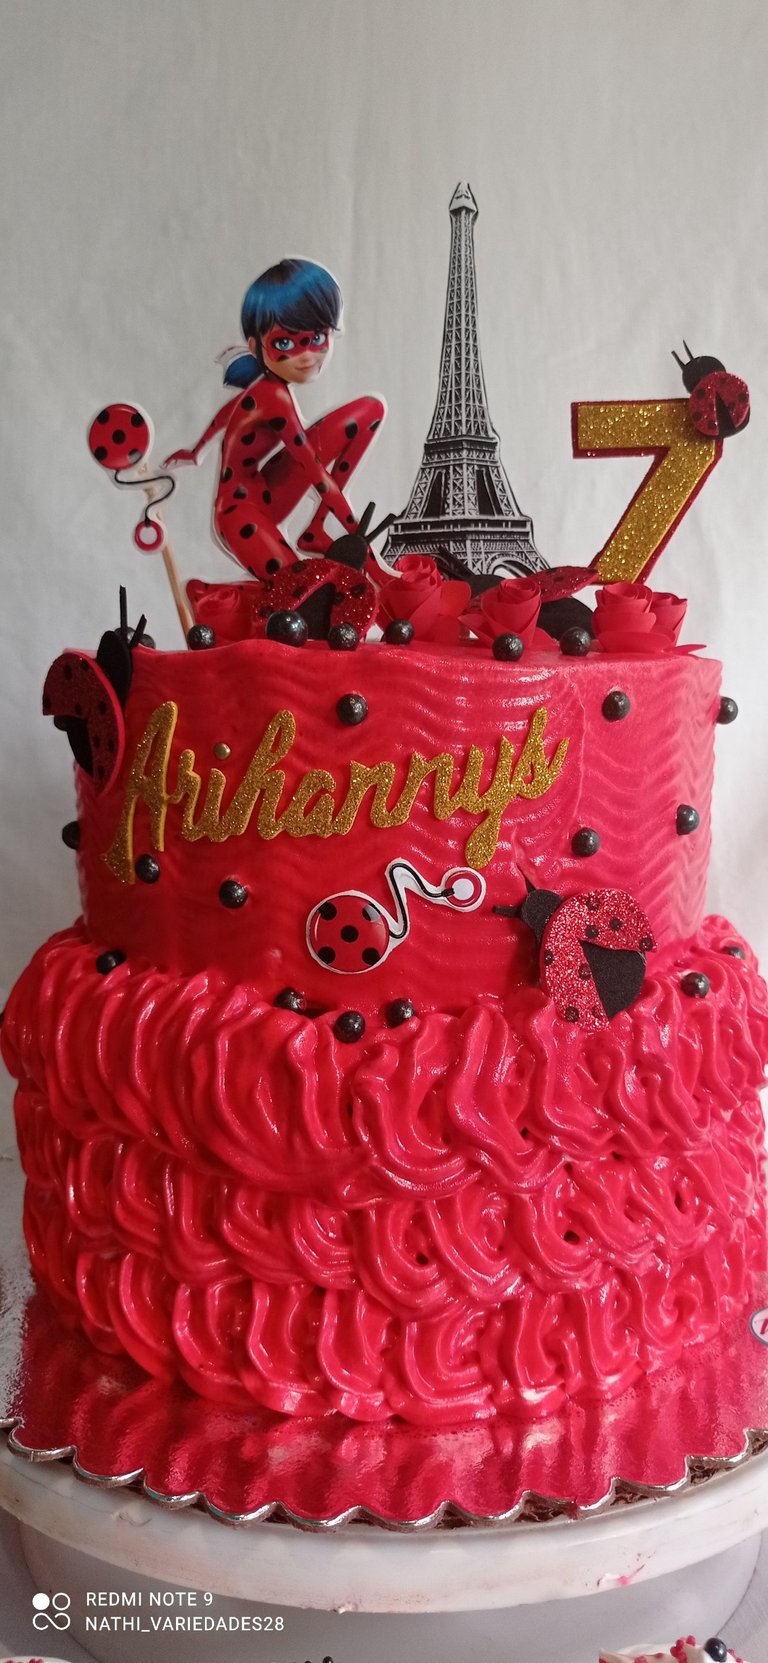
Hello friends of the hive community, as you all know my day to day is to decorate different types of cakes, of different themes; Today I bring you this beautiful decorated with Italian meringue in red, as a special touch decorations allusive to a movie called Miraculous or ladybug, these topper are created with foami and prints of images from the internet.
Acompáñenme y les explico el paso a paso de este bello pastel.
Join me as I explain the step by step of this beautiful cake.
Para llevar a cabo nuestra decoración como primer paso siempre es realizar el merengue, y claro tener previo un bizcocho hecho.
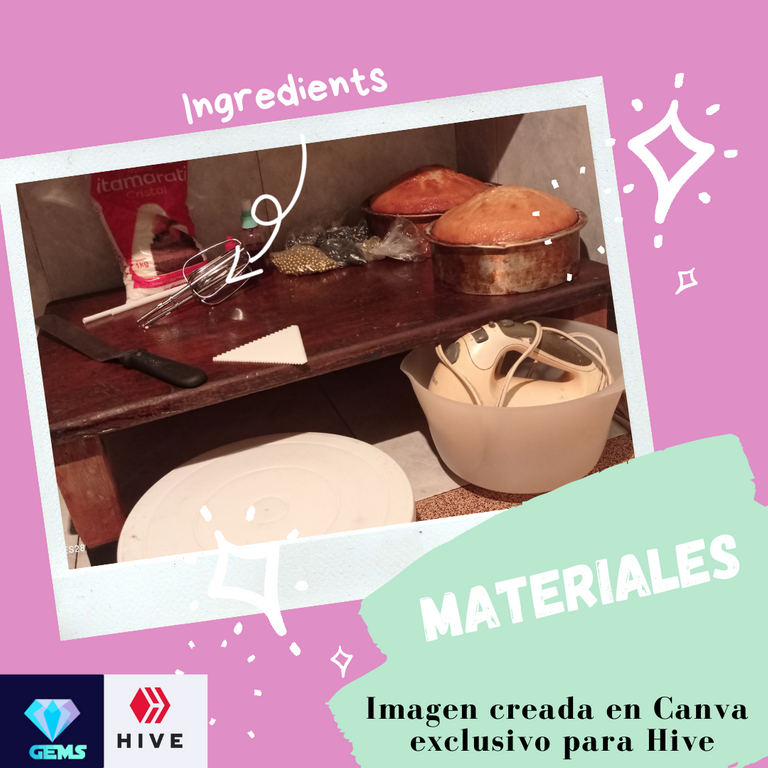
To carry out our decoration, the first step is always to make the meringue, and of course to have a previous sponge cake. We will use the following materials.
Materiales a utilizar. // Materials to be used.
- Batidora.
- Bol para mezclar.
- Espátula.
- Colorantes en polvo.
- Azúcar 350gr.
- 4 Huevos.
- Cucharas medidoras.
- Esencia (una cucharada).
- Manga pastelera.
- Cremor.
- Chocolate.
- Atomizador
- Blender.
- Mixing bowl.
- Spatula.
- Dyes.
- Sugar.
- 5 eggs.
- Measuring spoons.
- Essence.
- Pastry sleeve.
- Chocolate.
- Cream.
- Atomizer
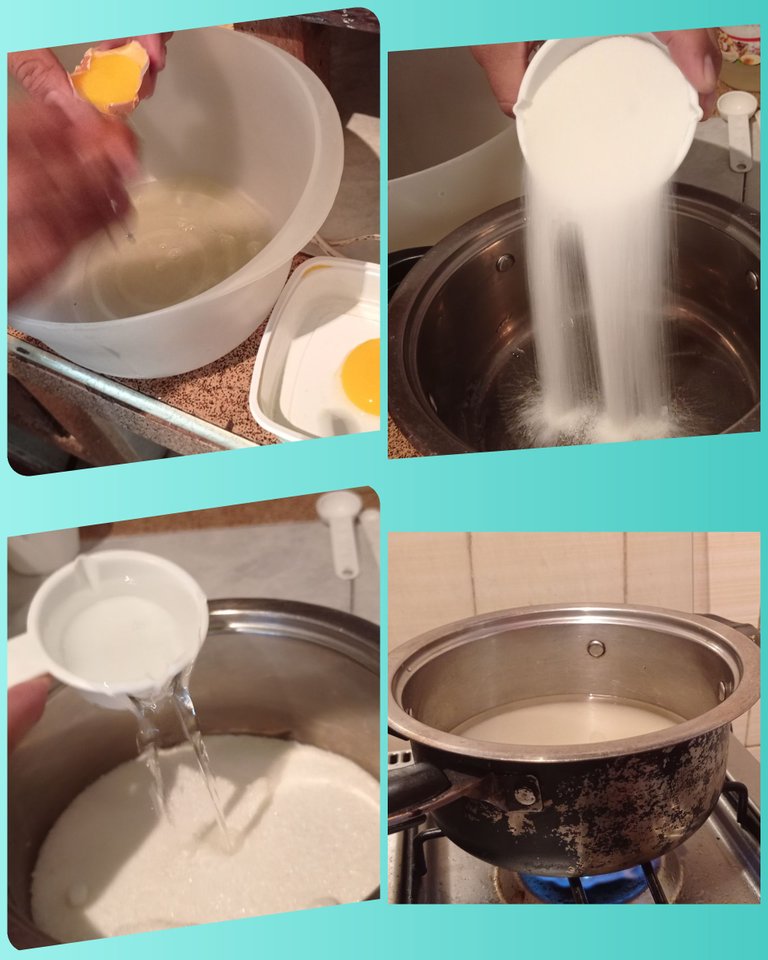
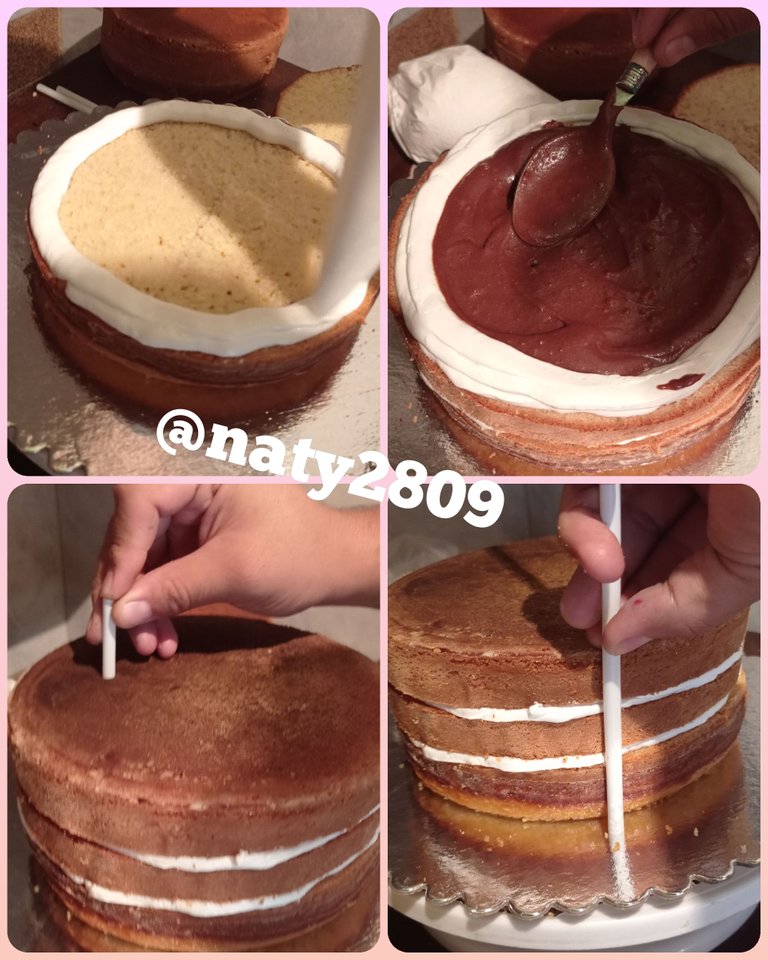
In a saucepan add the 350gr of sugar, cup and a half of water and place over medium heat, separate the egg whites and the yellow ones (in this case we will only use the whites) and add them in a bowl (whites).
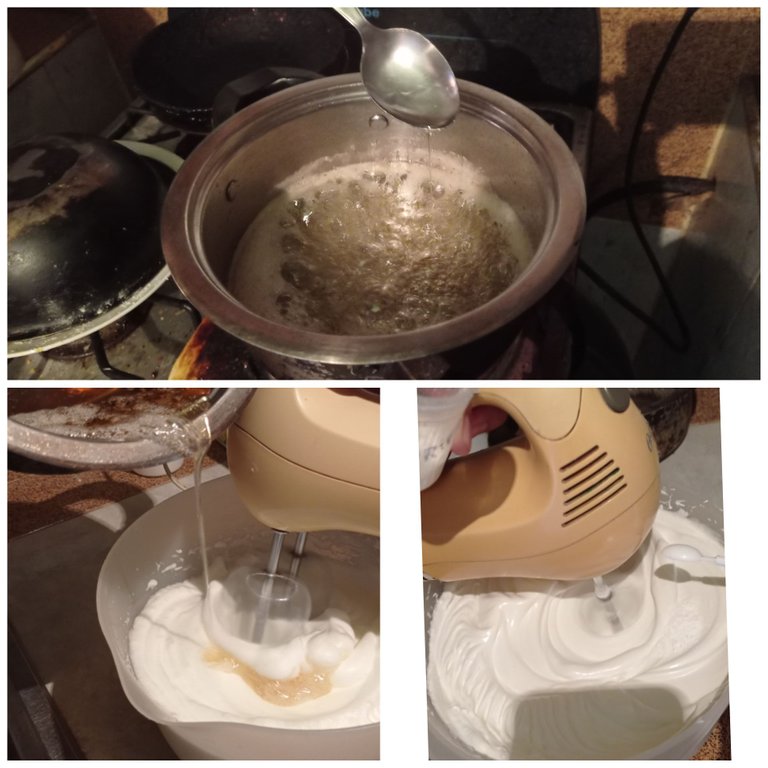
When the syrup makes smaller bubbles and a thread point, remove from heat and let stand for about 5 minutes, begin to beat the egg whites until stiff peaks, incorporate in a steady stream the syrup, beat for about 3 minutes, add a teaspoon of cream of tartar and a teaspoon of essence of your choice (in this case we use essence of natha) and continue beating for about 8 minutes or until the meringue makes peaks.
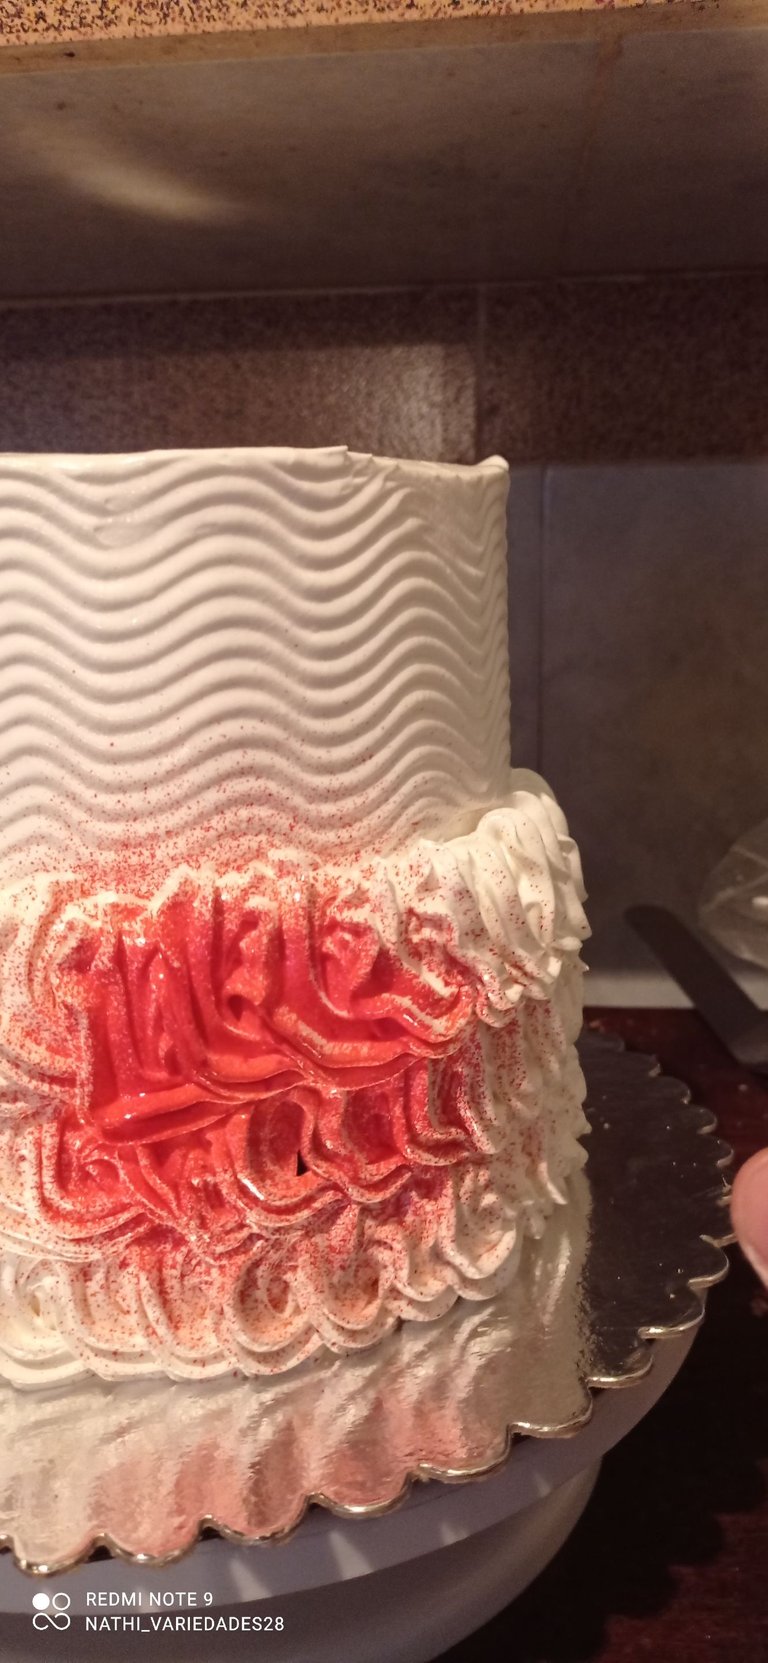
Once the meringue is firm we add it in our piping bag, without adding any color, we will do that later. Then we open our cake in 2 parts, with the white meringue we place a border on the edges so that the chocolate does not spill when placing the other layers, we place its supports (this is so that the cake does not move).
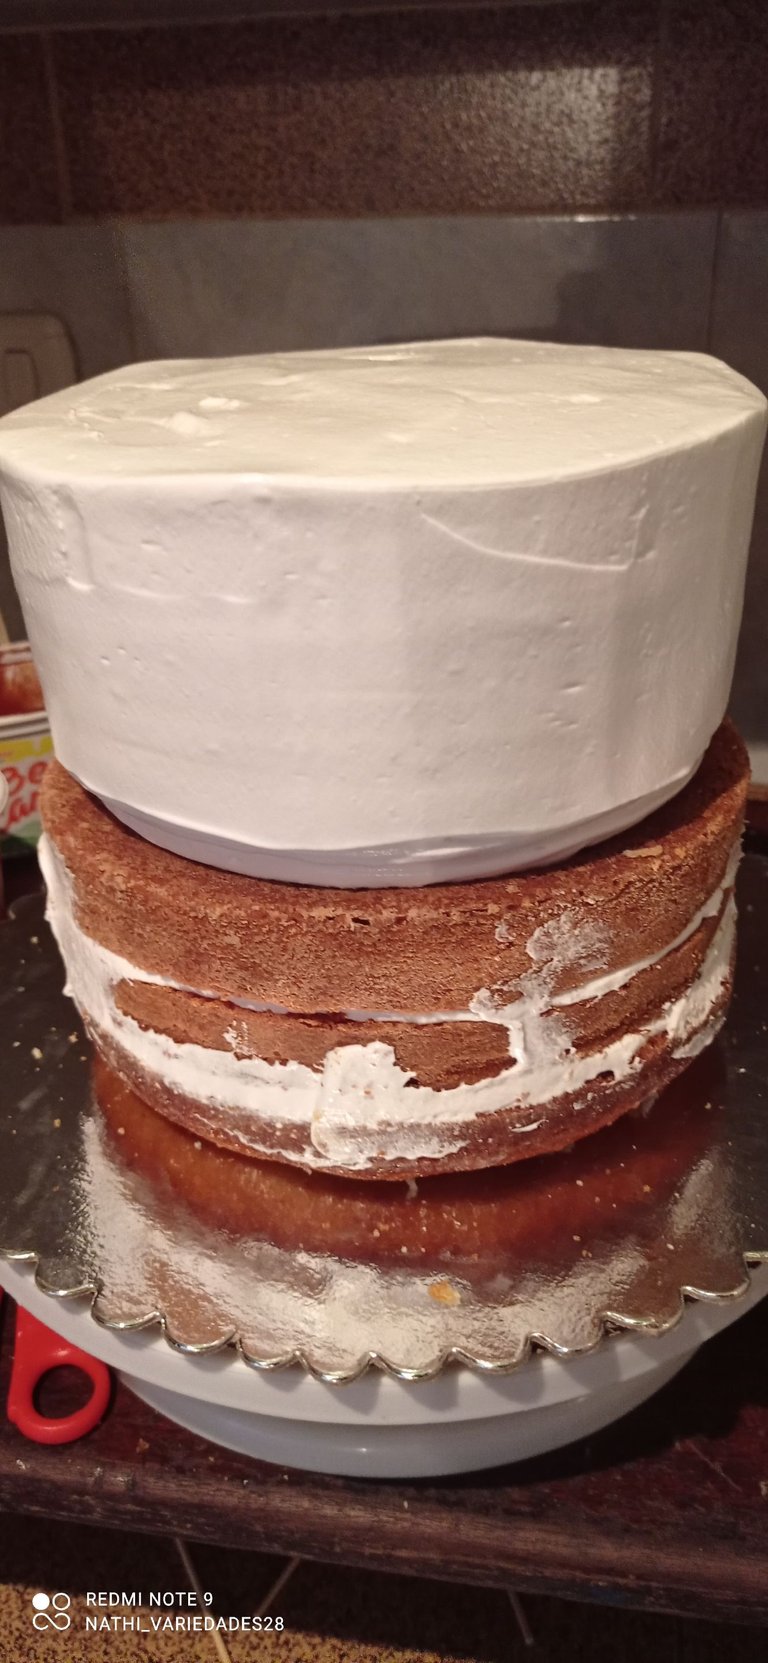
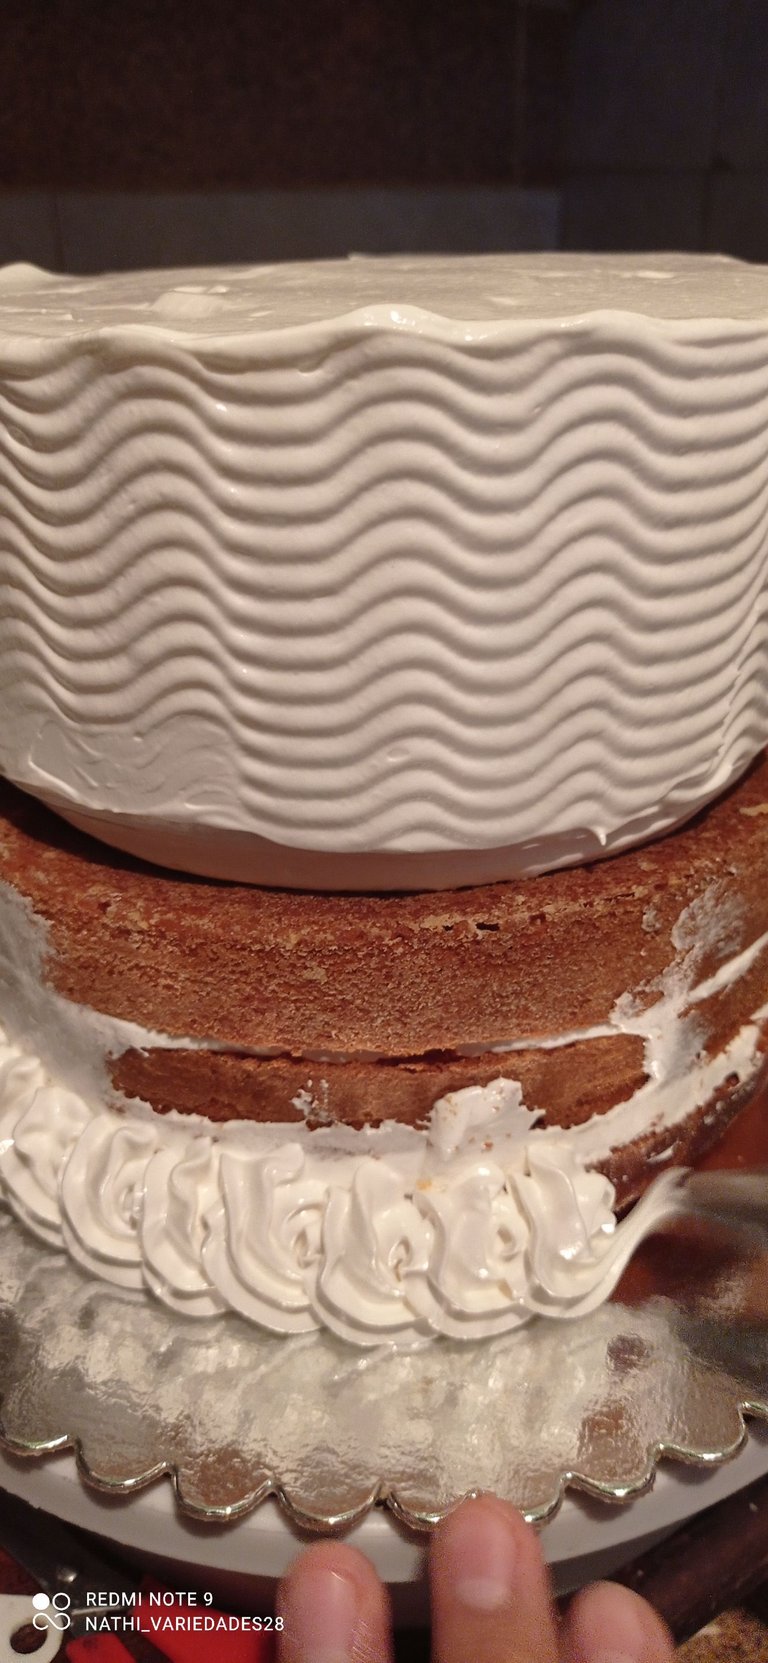
Once the cake already has its layers of filling, and its supports; with the white meringue we cover the upper cake, smooth it and pass the pastry comb. On the lower part we make some spirals, these are made by slightly squeezing the sleeve placing a point of meringue and turning our hand, to cause a spiral effect, we carry out this process until the cake is covered.

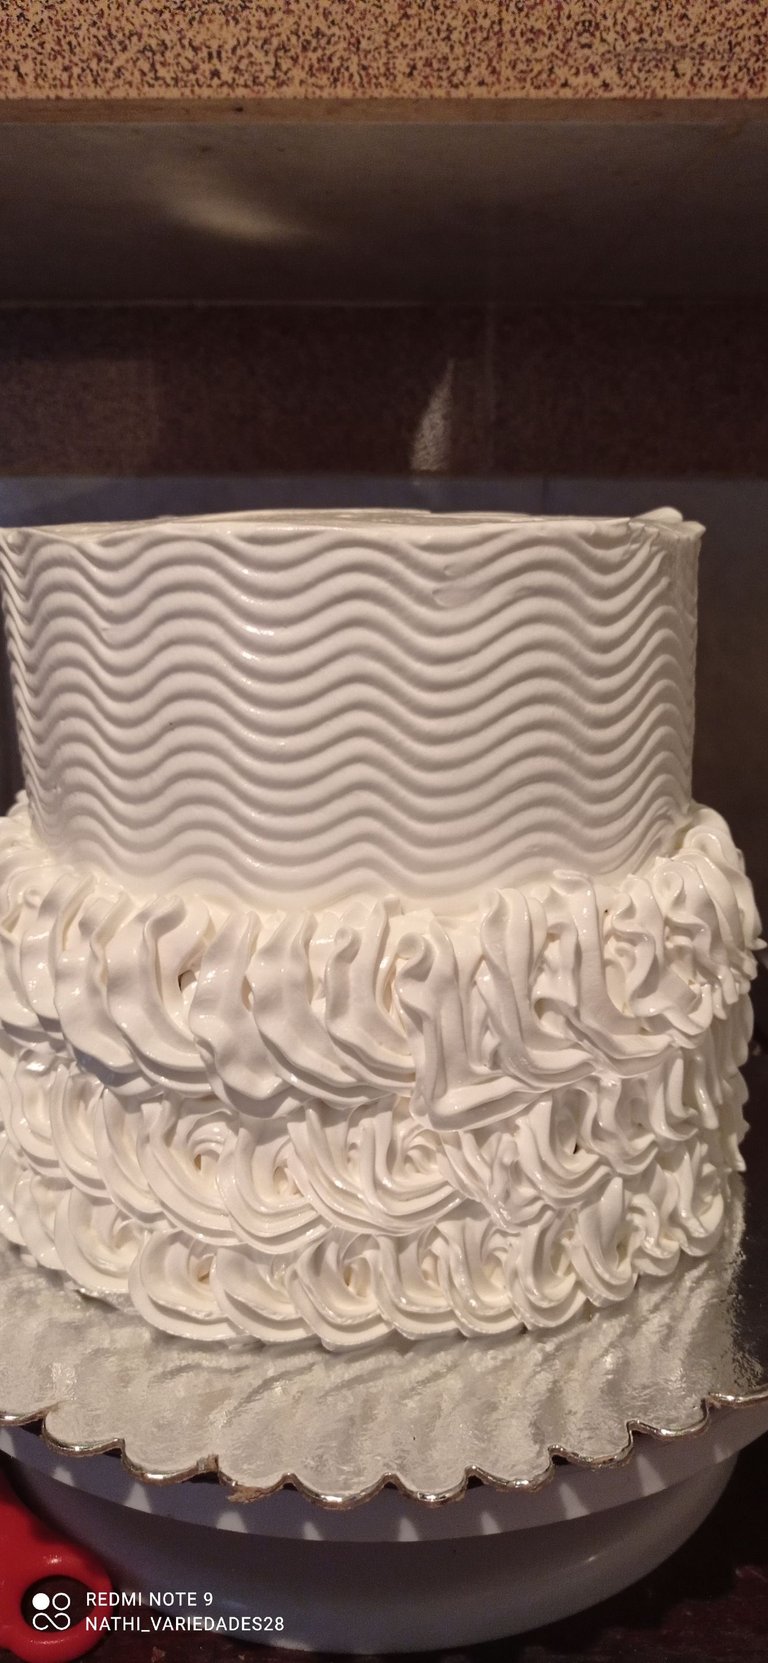
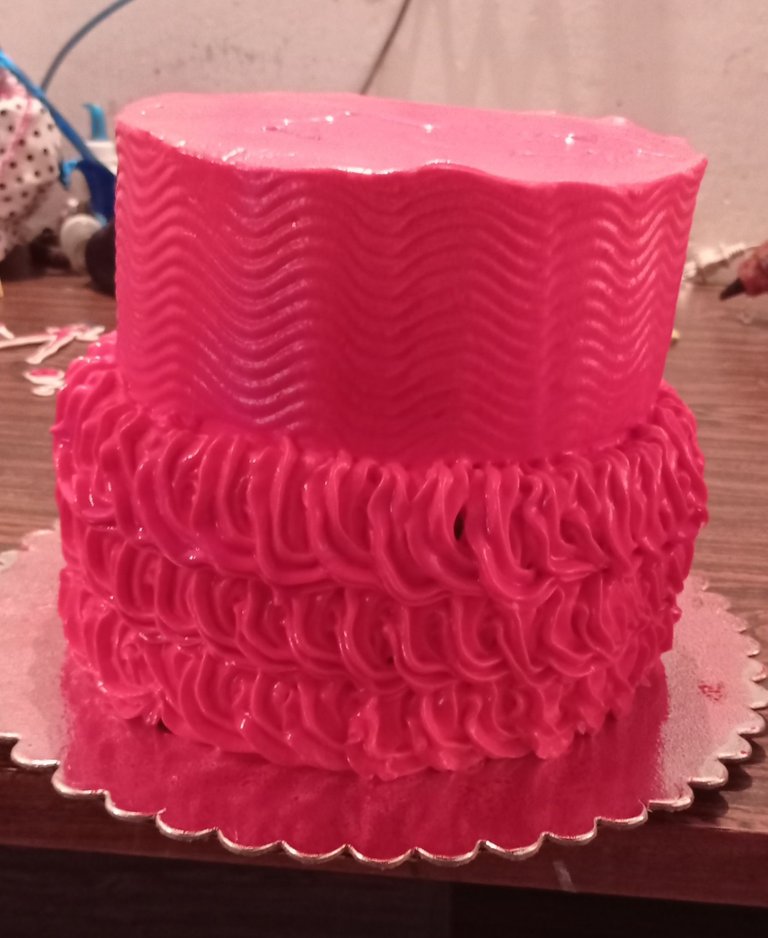
Ya tenemos nuestro pastel cubierto con el merengue todo en blanco, con el atomizador le agregamos color rojo a todo el pastel. Ya el pastel todo rojo procedemos a pegar los topper que realizamos en goma Eva brillante y normal, estas imágenes alusivas a la película Miraculous la tome de internet.
We already have our cake covered with meringue all in white, with the atomizer we add red color to the whole cake. Once the cake is all red, we proceed to glue the topper that we made with shiny and normal eva gum, these images alluding to the movie Miraculous I took from the internet.
Las fotografías son tomadas con mi teléfono Redmi note 9// The pictures are taken with my Redmi note 9 phone.
Y este es el resultado de la unión de pastelería y las manualidades realizadas por mi persona.// And this is the result of the union of pastry and handicrafts made by me.
Hi naty2809,
Visit curiehive.com or join the Curie Discord community to learn more.
Congratulations @naty2809! You have completed the following achievement on the Hive blockchain and have been rewarded with new badge(s) :
Your next target is to reach 2500 upvotes.
You can view your badges on your board and compare yourself to others in the Ranking
If you no longer want to receive notifications, reply to this comment with the word
STOPCheck out the last post from @hivebuzz:
Support the HiveBuzz project. Vote for our proposal!