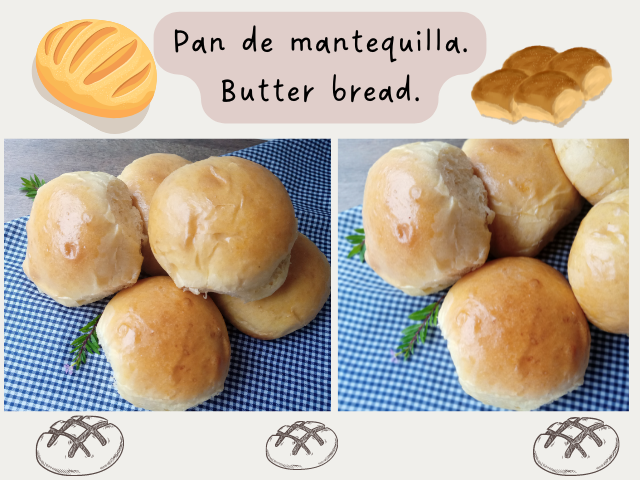
✨🥖¡Hola amigos amantes de la comida! Espero que tengan un gran día hoy.🥖✨
Hoy les comparto una receta súper fácil para hacer pequeños panes de mantequilla. Este pan es ideal como acompañante de comidas y desayunos. Además, si le pones un poco de azúcar por encima, son perfectos como pan dulce, para comer en las meriendas con una taza de café. El pan tiene un ligero sabor a mantequilla, una corteza suave y dorada y una miga suave y esponjosa. También sería una gran opción para hacer sándwiches o como pan para hamburguesas.
🔸A continuación, los dejo con el paso a paso:
✨🥖¡Hello food loving friends! I hope you are super well on this day.🥖✨
Today I am sharing a super easy recipe to make small butter buns. This bread is ideal as a companion for meals and breakfast, in addition, if you add a little sugar to the top, they are perfect as a sweet bread, to eat at snacks with a cup of coffee. The bread has a light buttery flavor, a soft, golden crust, and a soft, fluffy crumb. It would also be a great option for making sandwiches or as a bun for burgers.
🔸Next, I leave you with the step by step:
♥️Espero les guste. ¡Comencemos!
♥️I hope you like it. Let's get started!

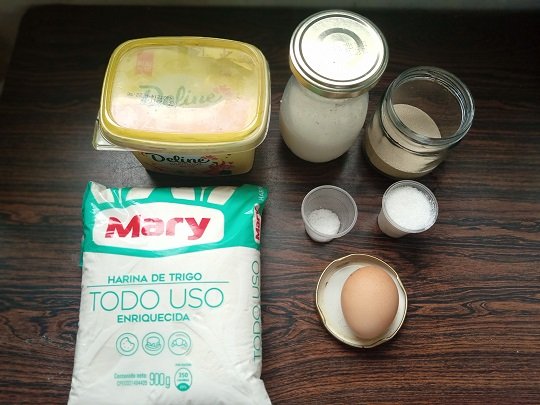
🍶 INGREDIENTES | 🍶 INGREDIENTS
- 2 y ½ taza de harina de trigo.
- 2 cucharadas colmadas de azúcar.
- ½ cucharada de levadura seca.
- 3 cucharadas de mantequilla.
- 1 cucharadita de sal.
- ½ taza de leche líquida.
- 1 huevo.
✨Para pincelar:
- 1 yema.
- 1 cucharada de leche.
- 2 and ½ cup of wheat flour.
- 2 heaped tablespoons of sugar.
- ½ tablespoon of dry yeast.
- 3 tablespoons of butter.
- 1 teaspoon salt.
- ½ cup of liquid milk.
- 1 egg.
✨To brush:
- 1 yolk
- 1 tablespoon of milk.
🥖 PREPARACIÓN | 🥖 PREPARATION
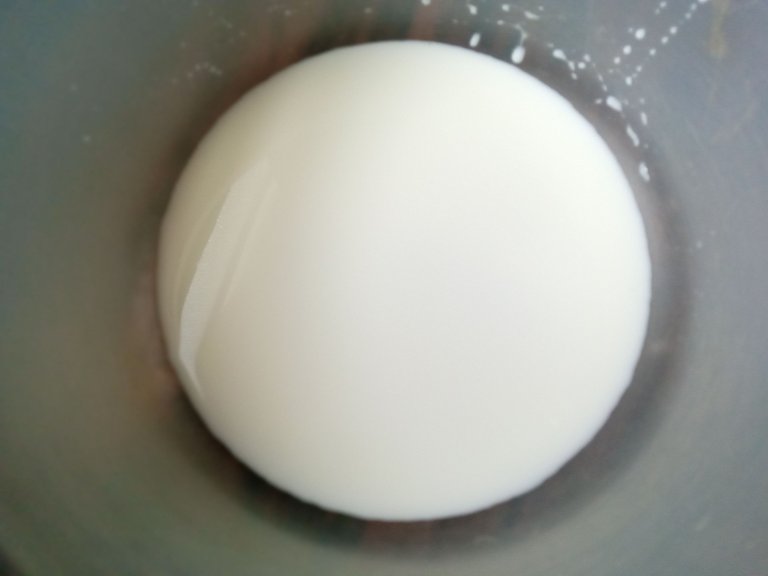
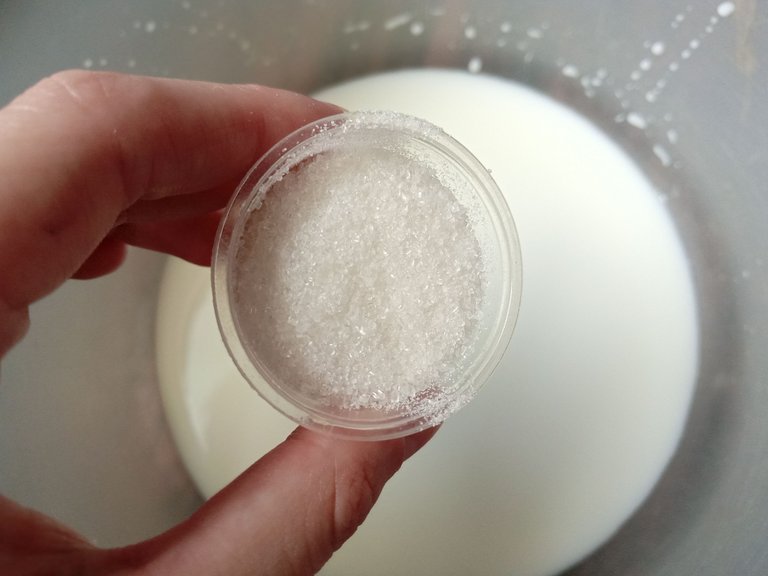
- PASO 1:
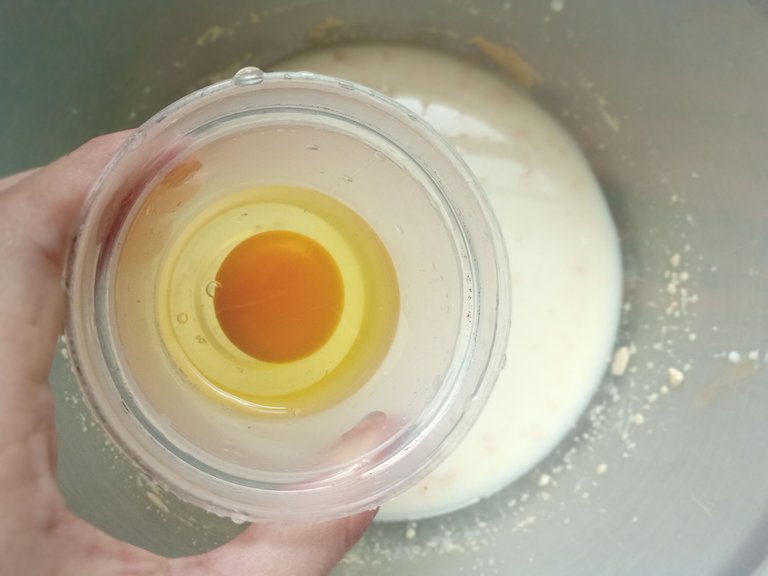
Lo primero que debemos hacer es calentar un poco la leche líquida, añadirla al bowl donde haremos la preparación junto con 2 cucharadas colmadas de azúcar. Continúe agregando ½ cucharada de levadura seca y batir un poco hasta que el azúcar se disuelva.
- 1 STEP:
The first thing to do is warm the liquid milk a little, add it to the bowl where we will make the preparation together with 2 heaping tablespoons of sugar. Continue adding ½ tablespoon of dry yeast and whisk a little until the sugar dissolves.

- PASO 2:
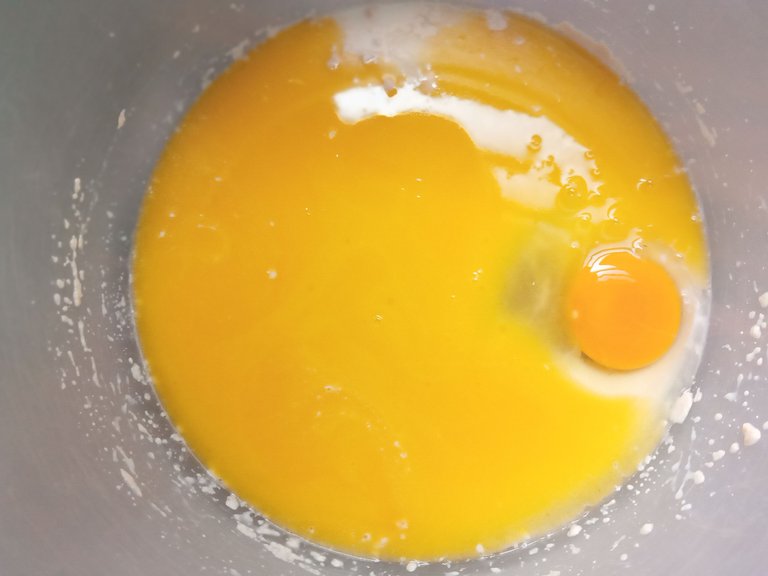
Luego agrega 1 huevo, Derrite 3 cucharadas de mantequilla, agrega a la preparación y mezcla muy bien todos los ingredientes.
- 2 STEP:
Then add 1 egg, Melt a little 3 tablespoons of butter, add to the preparation and mix all the ingredients very well.
- PASO 3:
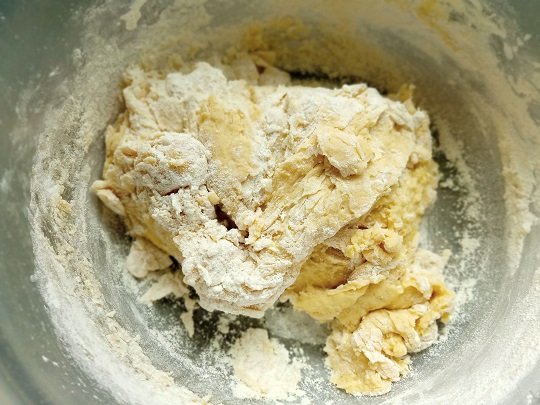
Una vez hecho esto, agrega las 2 tazas y ½ de harina en dos partes, junto con 1 cucharadita de sal (recuerda tamizar muy bien la harina para que no se formen grumos en la preparación) y mezcla los ingredientes con la cuchara o paleta. .
- 3 STEP:
Once this is done, add the 2 and ½ cups of flour in two parts, along with 1 teaspoon of salt (remember to sift the flour very well so that no lumps are formed in the preparation) and mix the ingredients with the spoon or palette.


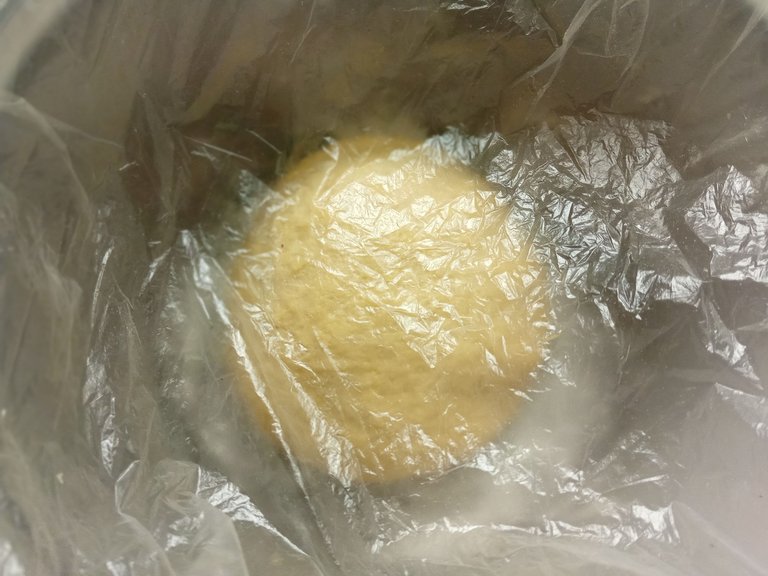
- PASO 4:
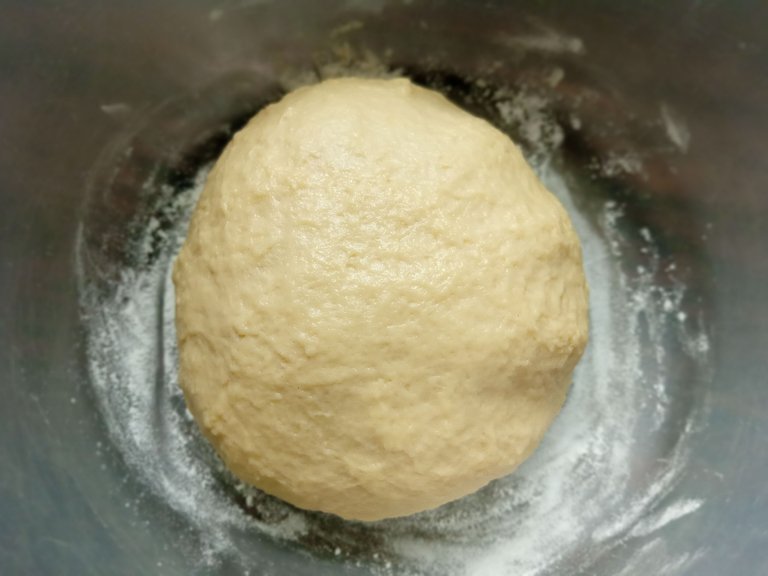
Una vez integrados los ingredientes, podemos comenzar a amasar con las manos durante aproximadamente 6 a 10 minutos (hasta que la masa esté bien integrada y deje de pegarse a las manos). Pasado el tiempo, agrega un poco de harina dentro del recipiente, coloca la masa, tapa con plástico y deja reposar la masa por 45 minutos aproximadamente.
- 4 STEP:
Once the ingredients are integrated, we can begin to knead with our hands for approximately 6 to 10 minutes (until the dough is well integrated and stops sticking to the hands). After the time has elapsed, add a little flour inside the container, place the dough, cover with plastic and let the dough rest for approximately 45 minutes.
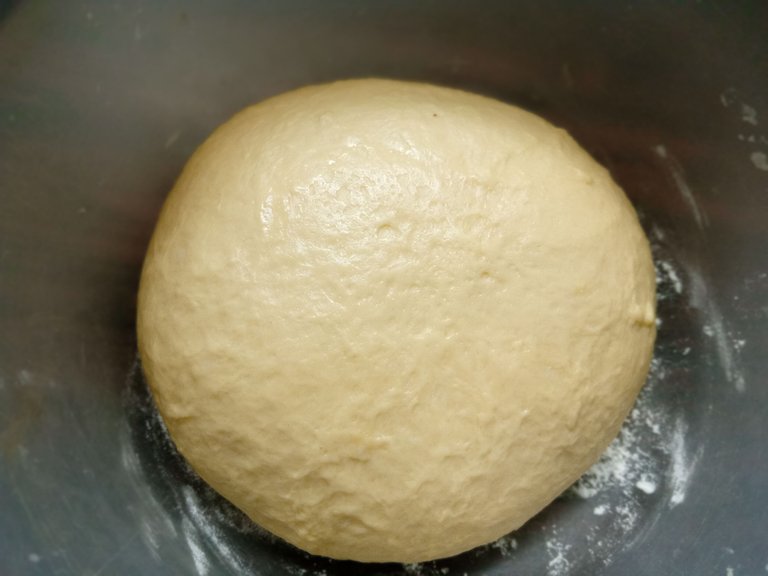
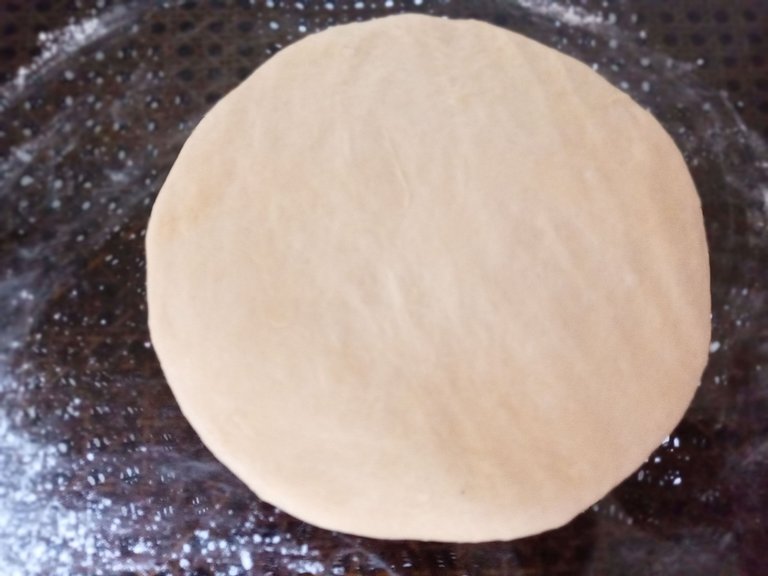
- PASO 5:
Después notaremos que dobla su volumen. Agregar solo un poco de harina a la mesa, colocar la masa y presionamos la masa con los dedos para desgasificar.
- 5 STEP:
Later we will notice that it doubles its volume. Add just a little flour to the table, place the dough and press the dough with your fingers to degas.
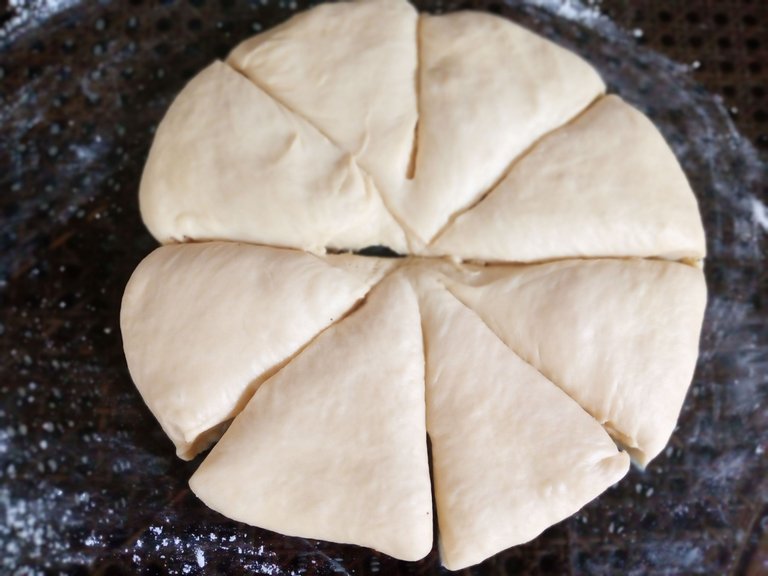
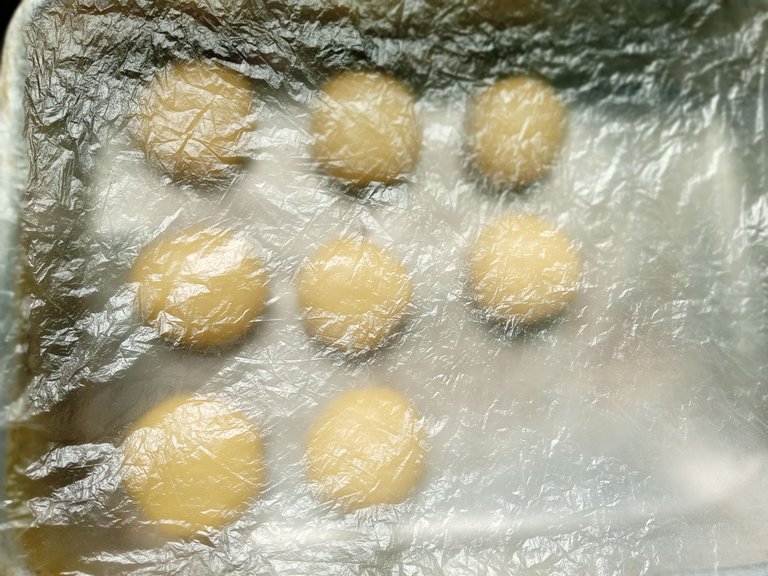
- PASO 6:
Con ayuda de un cuchillo, divide en 8 unidades, toma cada una y haz bolitas pequeñas, llevar a una bandeja previamente engrasada y coloca las porciones, dejando un espacio entre cada pan. Cubrir la bandeja con plástico y dejar reposar de nuevo durante 45 minutos.
- 6 STEP:
With the help of a knife, divide into 8 units, take each one and make balls, take it to a previously greased tray and place the portions, leaving a space between each loaf. Cover the tray with plastic and let rest again for 45 minutes.
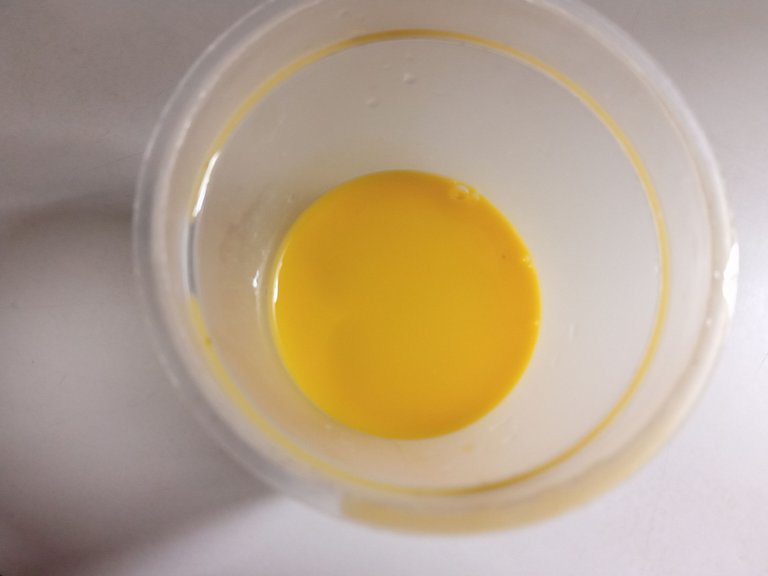
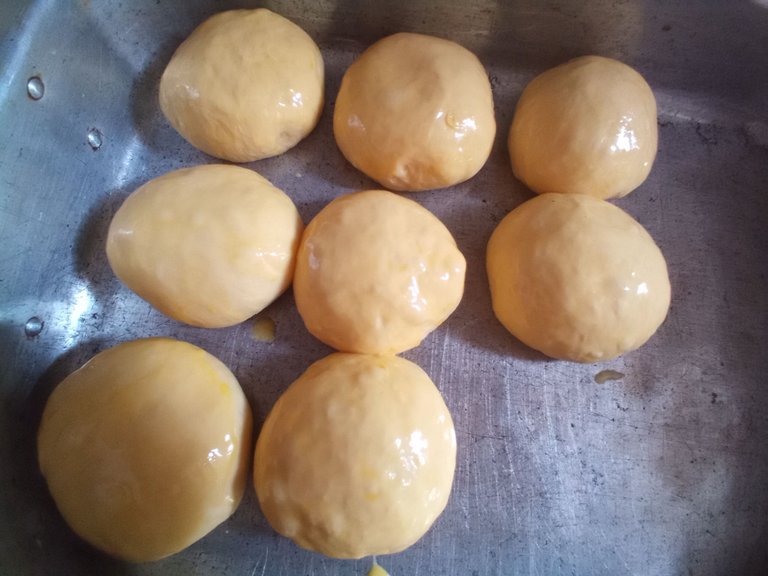
- PASO 7:
Con el tiempo habrán duplicado un poco su tamaño. En 1 taza agrega una yema y 1 cucharada de leche, une y pincela cada pan. Luego, llévala al horno precalentado a 180°C por aproximadamente 25 minutos.
- 7 STEP:
Over time they will have doubled in size a bit. In 1 cup add a yolk and 1 tablespoon of milk, unite and brush each bread. Then, take it to the preheated oven at 180°C for approximately 25 minutes.
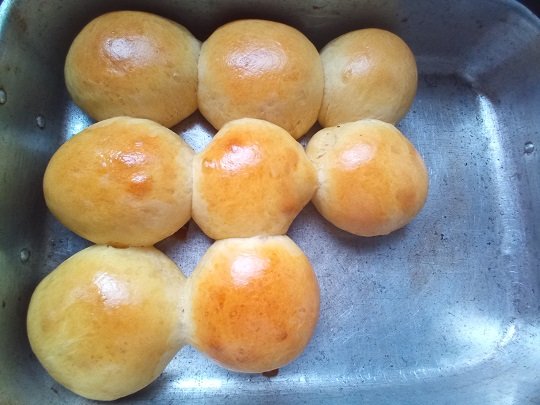
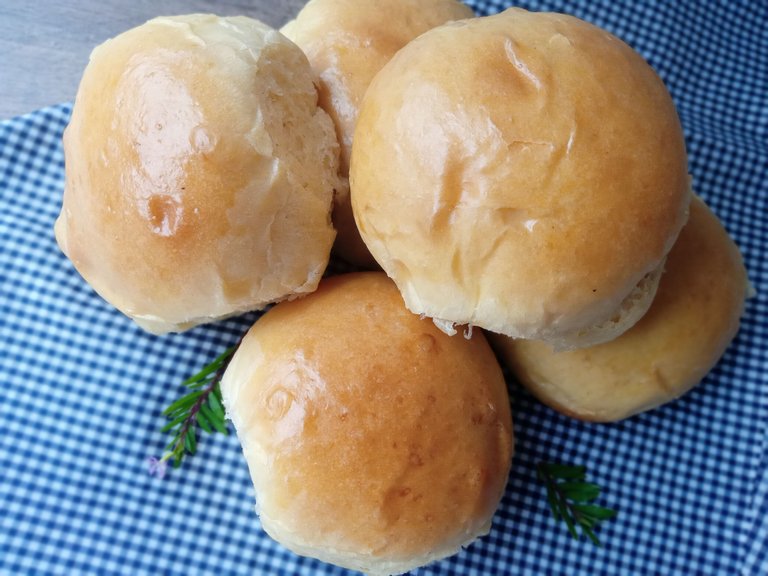
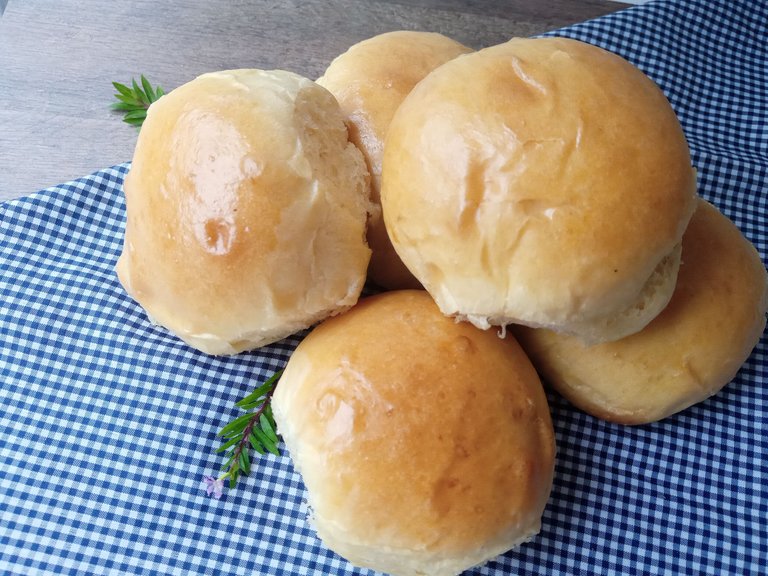
✨🥖¡Y listo!🥖✨ Habremos terminado con la preparación de estos panecillos para acompañar comidas, para hacer bocadillos, hamburguesas y también con la opción de hacerlos dulces y disfrutar de snacks. Espero que se animen a hacerlo y lo disfrutéis en familia. hasta la próxima publicación.
✨🥖¡And ready!🥖✨ We will have finished with the preparation of these small breads to accompany meals, to make sandwiches, hamburgers and also with the option of making them sweet and enjoying snacks. I hope you are encouraged to do it and enjoy it as a family. until the next post.
✨RESULTADO: | ✨RESULT:


Todas las fotografías son de mi propiedad.
Separador y Fotos editadas en Canva
All photographs are my property.
Photos edited in Canva
Gracias por este paso a paso, esta genial.
Tengo tiempo que no hago panes. Aunque sólo los he echo do veces jejeje.
Esta receta está perfecta por su bello resultado y porque tiene pocos ingredientes para probar.
Lo voy a guardar para realizarla y te menciono para que veas como me fue.
Saludos y bendiciones @valenpba.
Hola linda✨.
Así me pasó a mi, comencé haciendo unos panes y ya me volví adicta a probar deferentes recetas.
Si, tiene pocos ingredientes. La verdad que se toma su tiempo, pero el resultado vale la pena, son realmente suaves y con una miga muy linda.
Me encantaría muchísimo ver el resultado, espero te animes a hacerlos. ✨💕
Saludos linda. Un placer tenerte por acá. ✨☺️ Saludos y bendiciones @leidimarc
Eso es a lo que le huyo el tiempo que lleva en hacerse y luego de un bocado nos lo comemos jejeje.
Pero si los voy ha er pronto. Me falta la harina de trigo todo uso, tengo leudante.
Amén, igual para ti @valenpba
The rewards earned on this comment will go directly to the people sharing the post on Twitter as long as they are registered with @poshtoken. Sign up at https://hiveposh.com.
Tenemos que hacer esta receta, está todo muy bien descrito en el paso a paso y el resultado unos panes que lucen muy apetitosos, hacen falta unos de esos ahorita para acompañarlos de chocolatico caliente.
Muchas gracias por tu comentario amiga ✨🌼
Jaja estoy de acuerdo, acompañarlos con un chocolate caliente o cafecito estaría perfecto.
Súper recomendados amiga. Muchas gracias, un saludo.✨☺️