In this part for the revit lessons, we will build a room to make sure that we know the uses of the tools we talked about.
Firstly we create levels: we create levels from the elevations, so we open one of the elevation views.
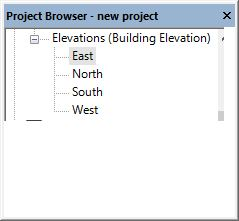
We have this as the east elevation we chose. we can only see the level lines because we have not created any wall yet.

Now we will create a floor and then our walls, but after we adjust our levels. the standard height of a residential building is 3000m, plus the floor height of 150m, and in some cases, 450 or 300mm foundation wall.
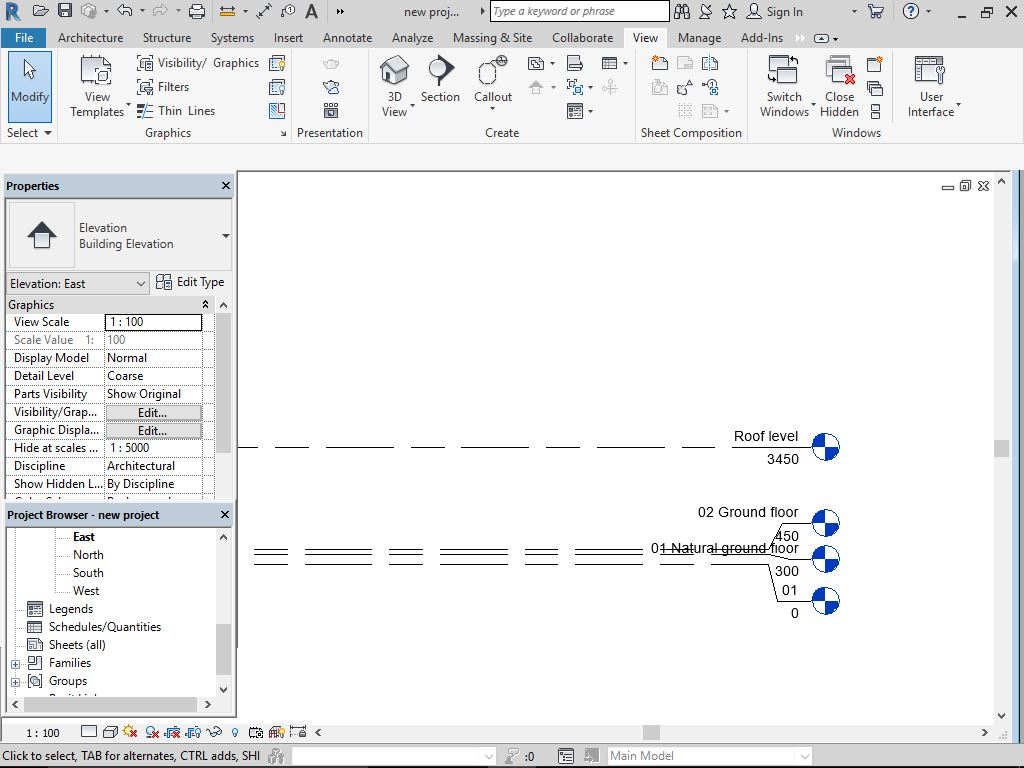
We have this to be our adjusted levels.
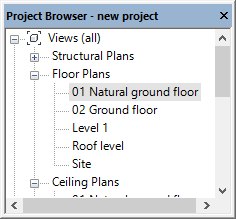
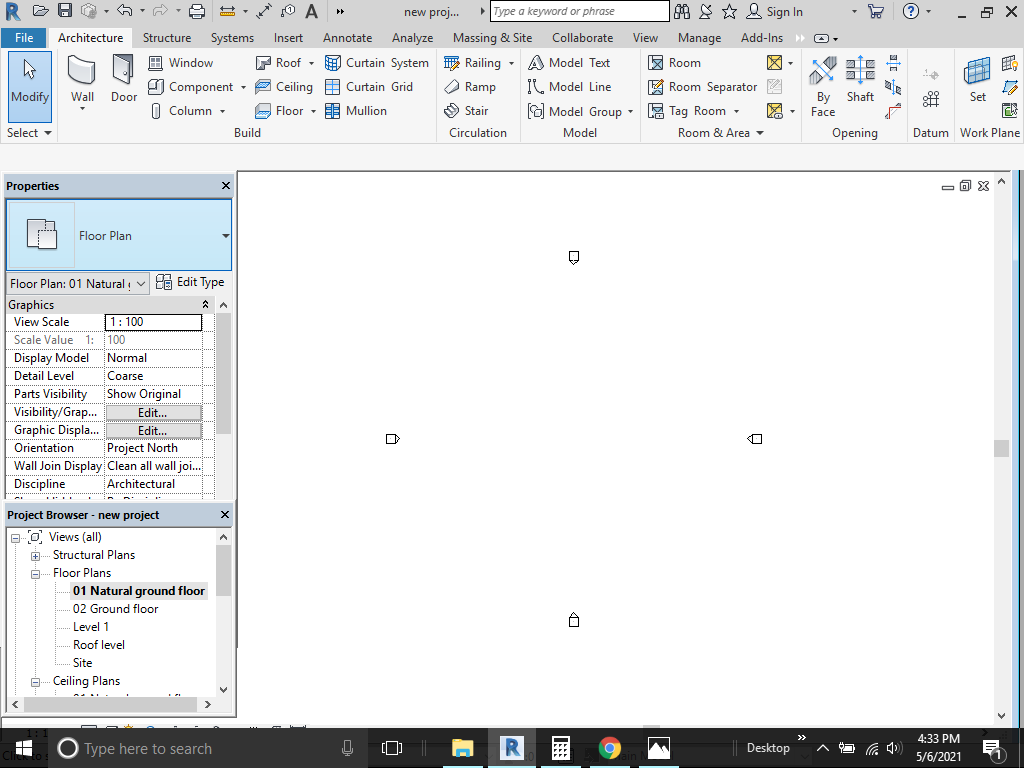
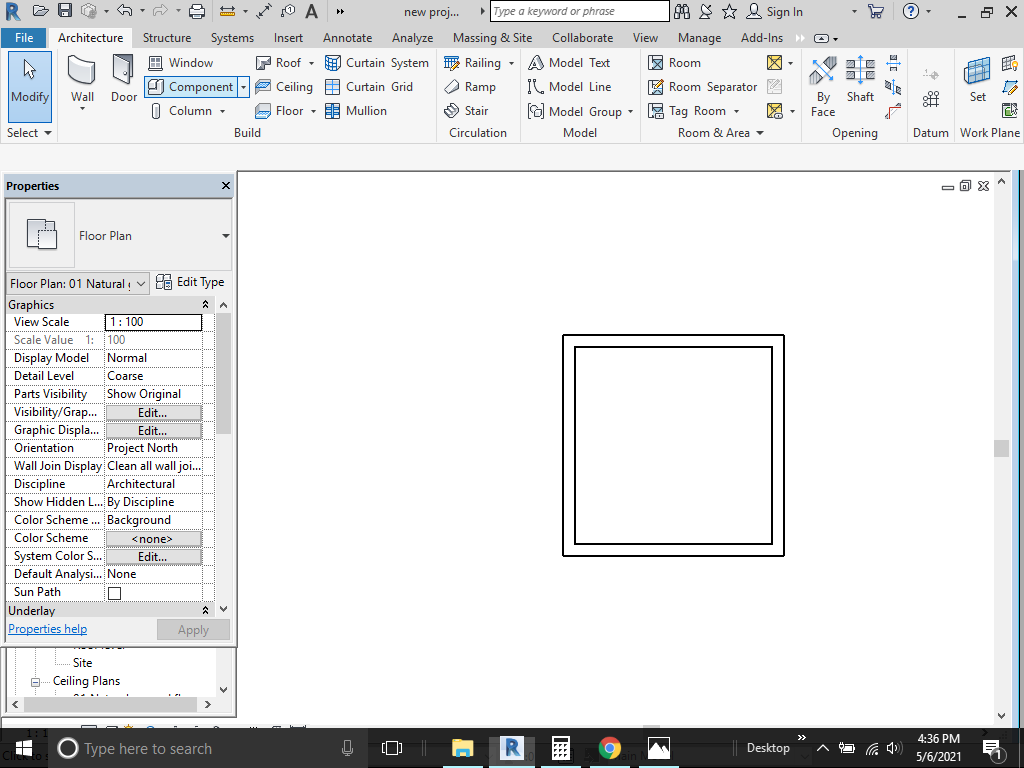
Next, we create our walls and floor. Now we select our natural ground floor here.
And we get this.
From the toolbar up, we select architecture, wall, wall:architectural and create walls on the page. But after selecting wall, we can always edit our wall type here.
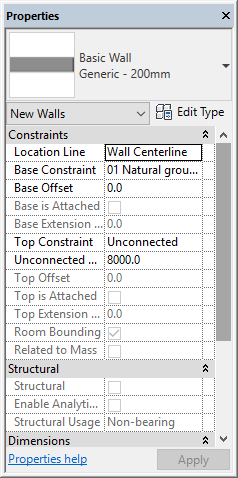
This is what the wall tool gives us.
On 3d we have the walls already built up like this.
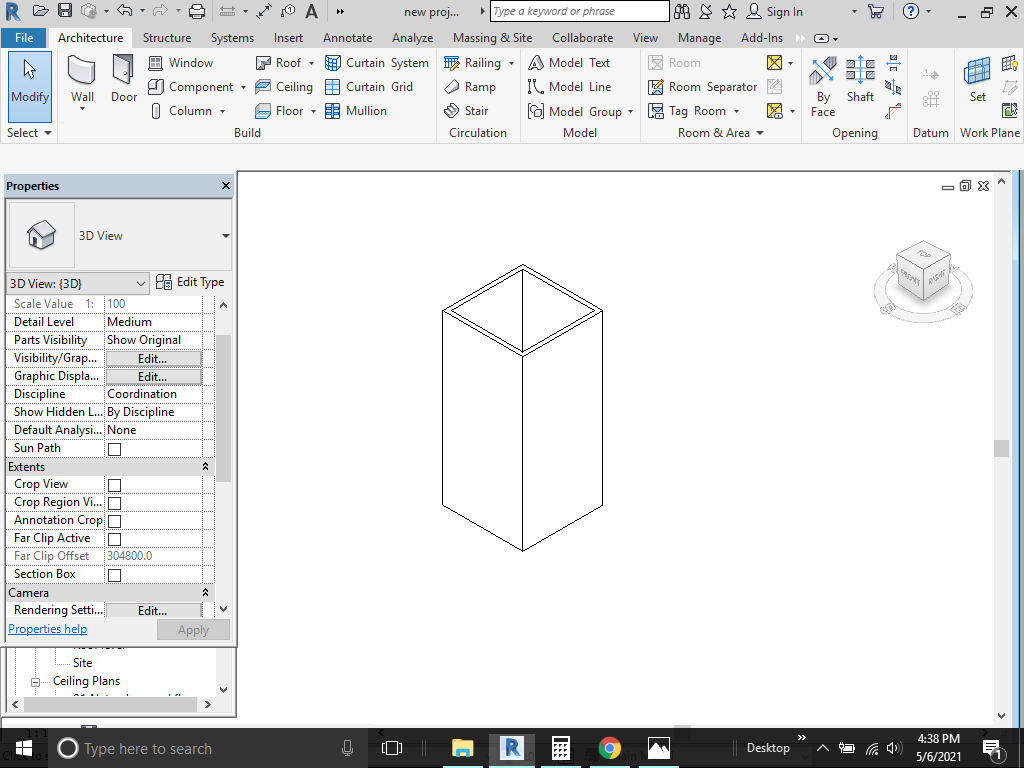
But as we can see the walls are higher than the standard height of a residential wall, we can just adjust the height of the wall in the properties area by selecting the wall.
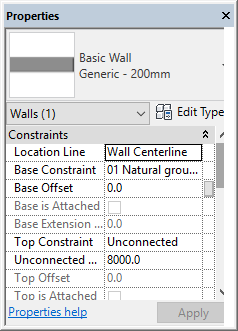
We can only edit the walls by selecting the walls or any other thing by selecting first. Then we edit the different parameters to suite our design. Here we can change the height of the wall and their properties of the same wall.
NOTE: IF WE WANT DIFFERENT WALLS TO HAVE THE SAME PROPERTIES, WE CAN EASILY SELECT ALL INSTANCES BY RIGHT CLICKING, OR HOLDING THE CTRL BUTTON DOWN AND CLICKING ALL THE WALLS WE WANT TO FOLLOW THE SAME CHECK.
Now we have this as a full structure and want to add other components.
This is the final shape of our floor plan. Next on our list is to tag the room spaces.
How do we tag our spaces?
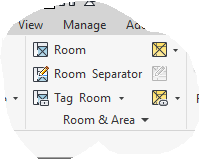
As simple as clicking architecture in the tool bar and clicking tag room.
And we get this after tagging each space.
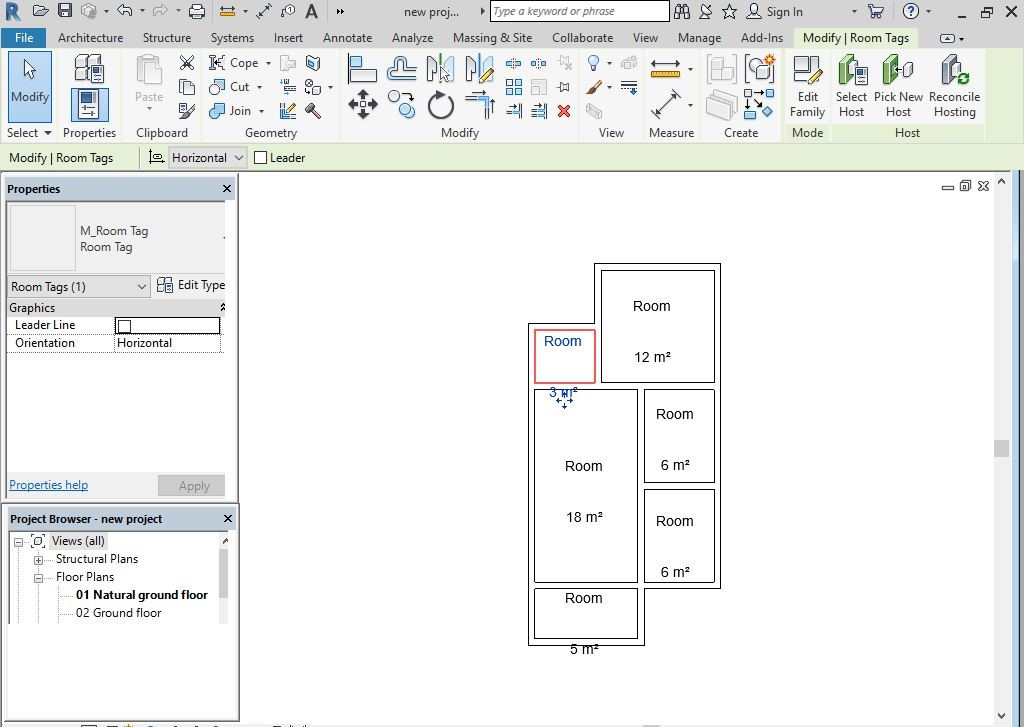
After tagging each space like this, we edit the room names according to the functions of the spaces.
Next we would like to do is fix windows, doors in the building.
lets do doors first.
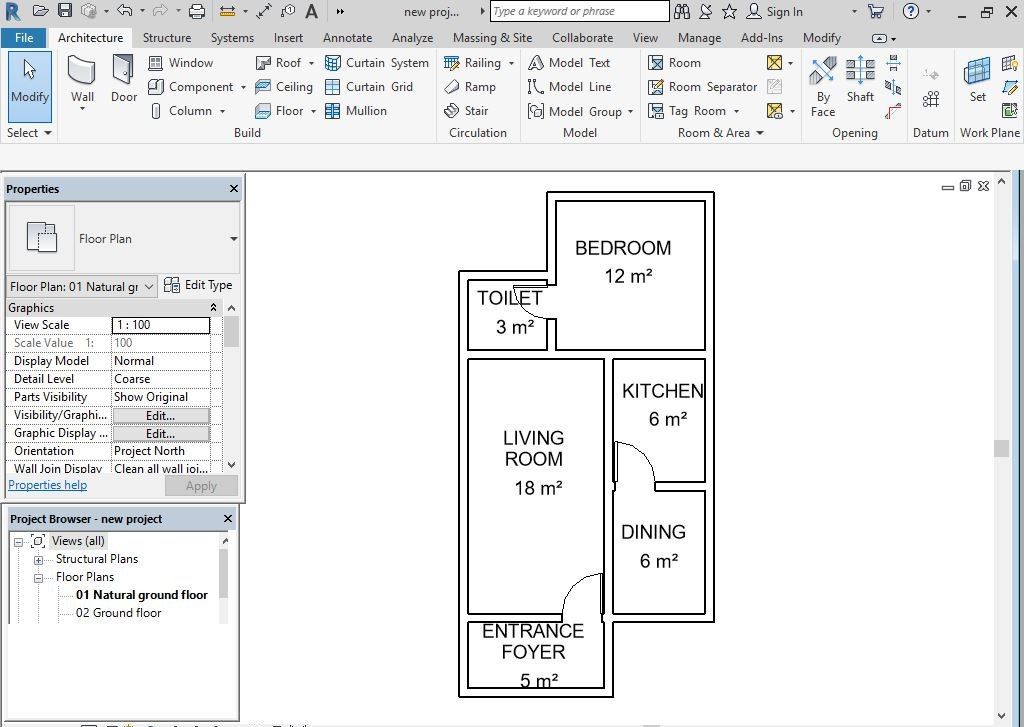
And then the windows.

From here we can see clearly that the entrance is enclosed by a wall, which makes it not accessible. All we have to do here is introduce an opening just like the doors or simply edit profile. By editing profile, we could create an arc there to make the entrance pronounced.
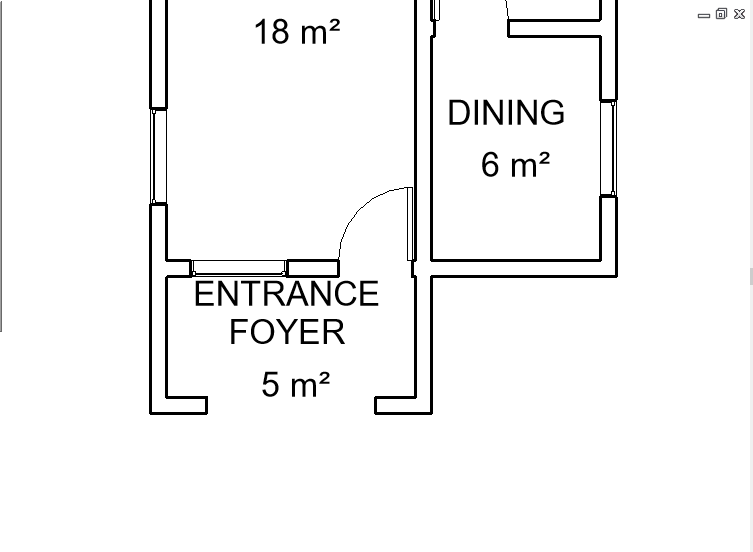 This is what using opening looks like on the plan.
Good we are going this fast and clear. In architecture, we have working drawings and presentation drawings. Working drawings are all about dimensions and workability, presentation drawings are arrangements of furniture, fittings and other things that would be put in different spaces.
presentation drawings come in color fill patterns and furniture layout. At times we have tiling and ceiling layout.
Here in this part we will do the color fill, and then the elevations and roof plan.
To the color fill. We find this in annotate.

Then we select this:
When we select this, the legend appears and we can drop this on any part of our work sheet. 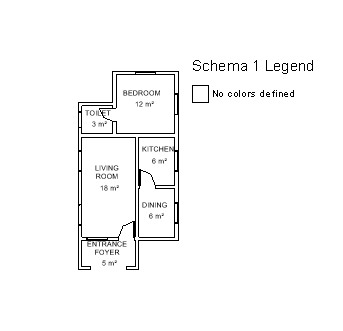
To edit this color fill, we double click on the legend that appears in the previous picture. This action brings us to where we can go ahead to edit the color scheme.

We click on edit color scheme and this appears:
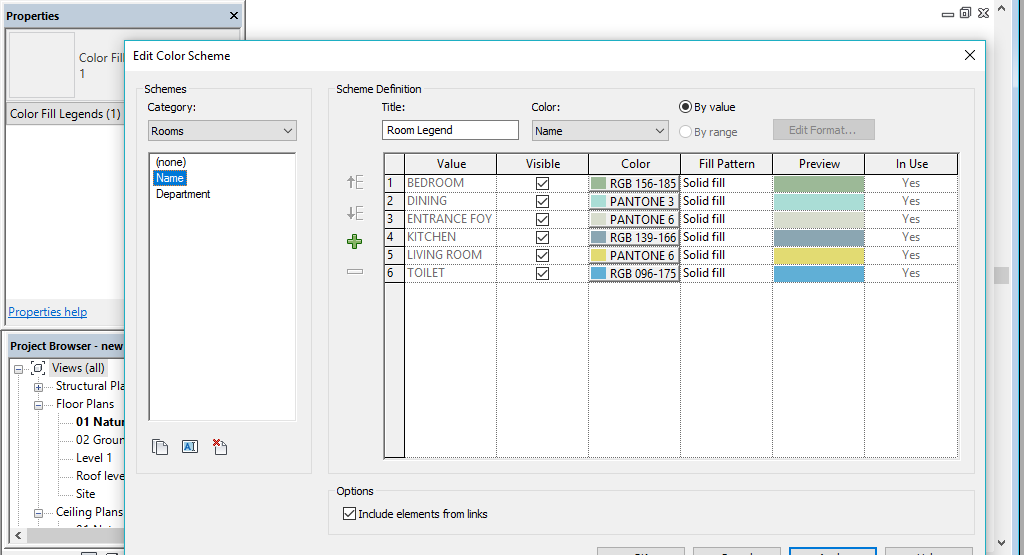
Now this did not just appear there. i had to make sure that the category was rooms and i clicked name for all the room names to appear with colors for each. You can always edit the different colors you want for different rooms.
And boom, we have this:

Just to spice the color a little and make it look better, we edit the walls also to have colors.
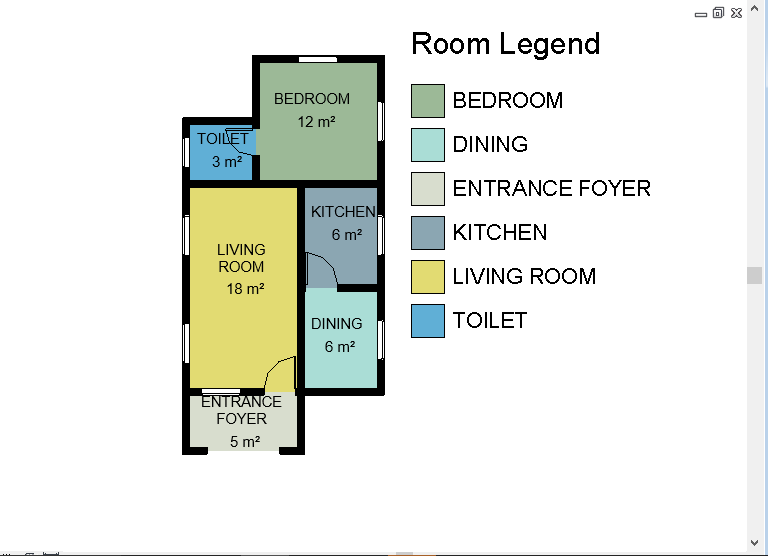
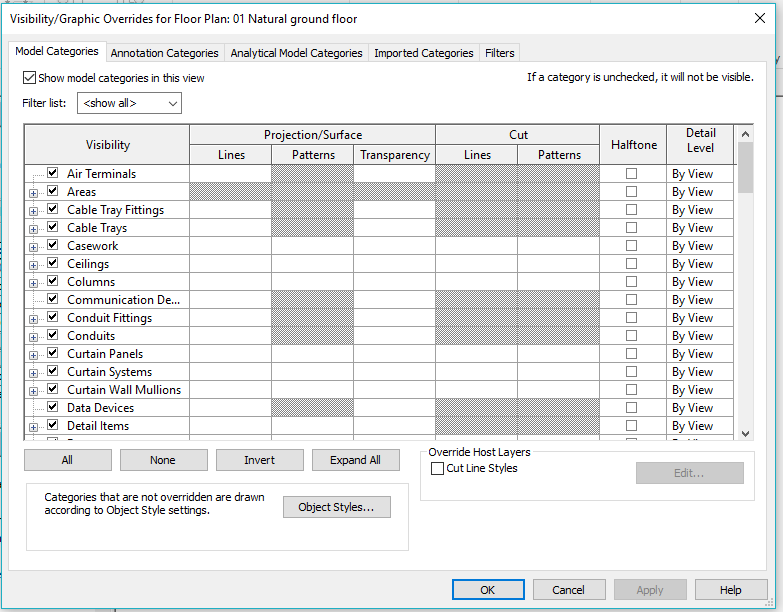
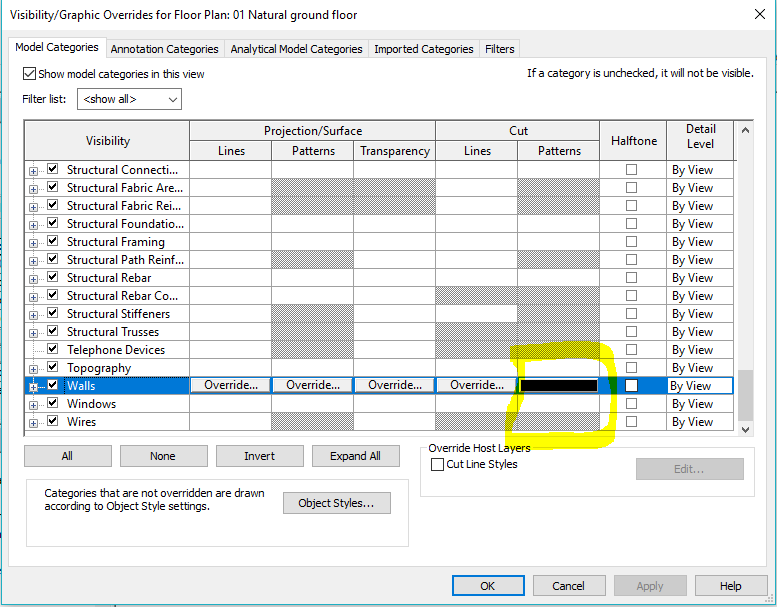
So what do you think about this. Well, its simple. Simply type VG on your computer, search for walls. click on walls, override and choose the fill you want. Here i chose black solid fill.
This appears when you type VG:
I think in order not to make all of this bulky, we will be stopping here, the elevations and roof would be done in the next part.
Gracias.