So I am back again.
Last time I introduced myself as an architect yeah
Now I am here with very informative information for you.
I would like to say something today; architecture is a very delicate profession, you have to know what you are doing as an architect because arrangement and functionality of spaces are very important in the daily lives of human. Down to the colors that are used in painting a room, they all have effects either positive effects or negative effects on the hosts.
Today I will be talking about the basics of revit software. To have good understanding about software or a particular thing, you should be ready and humble to learn from scratch. The idea from scratch always stick to the brain more, because whatever you want to do you have to do from basics.
This is the part one of this revit class and I can assure you the best lessons depending on your level of seriousness and willingness anyways.
Okay down to business.
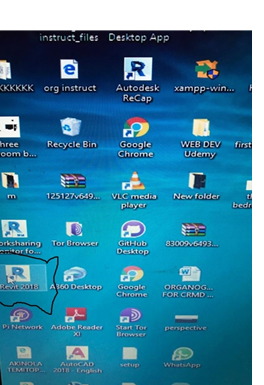
To use revit software, you have to get it Installed on your laptop or desktop, you can download if you have data up to 16 GB or get from a friend.
When you have it installed, it appears like this on your screen.
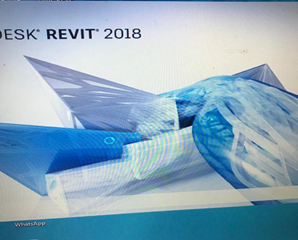
The next thing you want to do is open this software and see what is going on inside it.
When you double click with your mouse or you right click and choose open, this appears on your screen to show that the software was properly installed and is ready for use.
When it finally opens, you see this page. This page allows you to choose the kind of project or template you want.
When you see this page, you click on new

to start a new project, and if you want

to open a project that is already saved then you can use open or simply click on the project directly because it will save like this
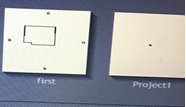
.
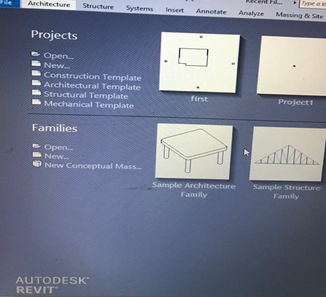
A template is different from a project. For an architectural drawing, you would use a project.
After you click new, you get a drop down that shows the different types of projects available in the revit software. As an architect, what you need is architectural project.
After you click architectural projects, it automatically fixes all architectural units and measurements you will need.
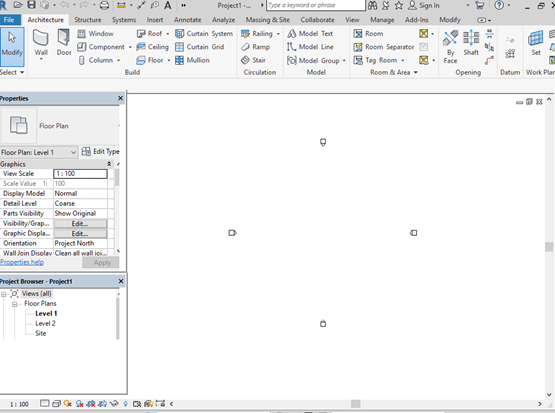
Now this is what you need to start your drawing.
As you can see it is set to scale 1:100 already. All the different tools are waiting for you to use them at any time you want.
For part one, we will discuss what all these tools are used for and we will be able to do a small house in part two.
So let us start from here.

This is what architecture project tools are.
We have walls, door, window, components, roof, ceiling, floor, curtain system, ramp, stairs, railings, and so on.
WALLS: we all know what a wall is. Revit is BIM software; it builds immediately unlike AutoCAD that mainly deals with lines. Revit creates walls immediately, creates elevations, sections, and 3ds at the same time. When you click this tool, you get a drop down from the little black arrow like this.
And all you want to do is select wall: architectural, since it is an architectural project.
DOOR: this tool will fix doors for you when you have built your walls.
COMPONENTS: this tool places an element in the building model, depending on the selected element type.
Here we have two options:
Place a component and model in place.
Place a component allows you place a component in the workspace from the list of components you already have in your revit file.
And model in place allows you create your own kind of element freely.

ROOF: allows you create your roof by footprint, extrusion, you could even use the roof tool to create roof fascia and other elements.
FLOOR: this tool creates the floor of the building model on different levels.
These are the important tools we have to make a complete room.
Other tools are stairs, ramp, grid, section lines and so on.
In the next part, we will be making a simple room with these tools.