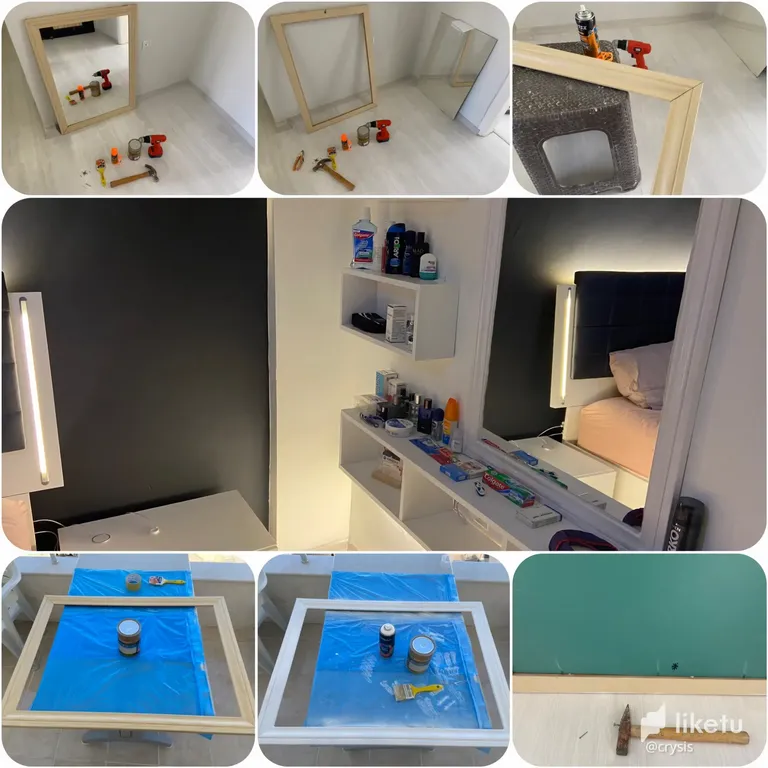
Hello Friends, I have prepared another DIY post for the bedroom. Today I want to show you how to turn an old mirror into a beautiful one. Let's see how do I make the mirror?

First of all, our materials; hammer, cordless drill, dowel, screw, nail, instant glue, water-based white paint and white spray paint. Our materials are ready. Let's see how we make the mirror? ☺️
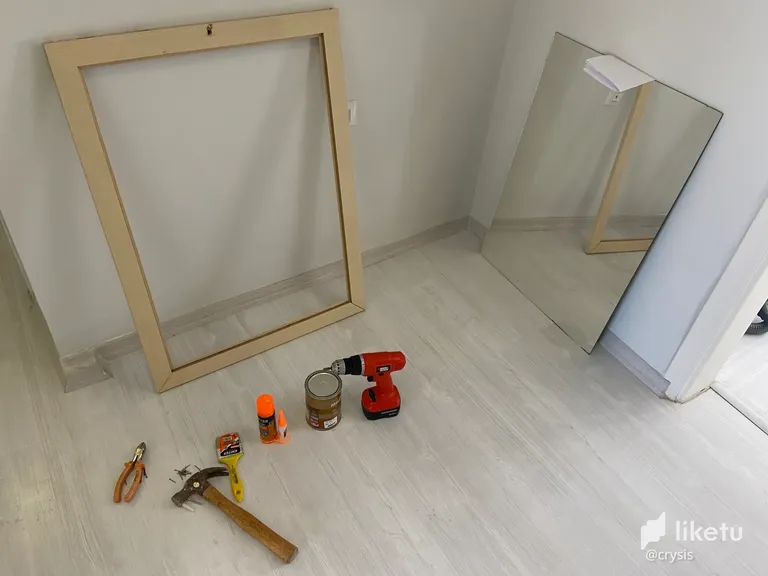
First, I take the mirror out of its frame as you can see in the picture. You have to be careful while doing this. Because the mirror can cut your hand.
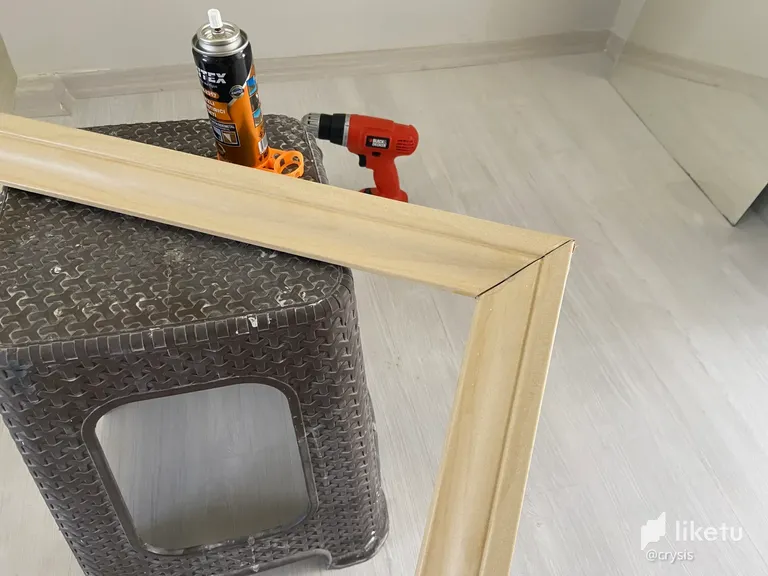
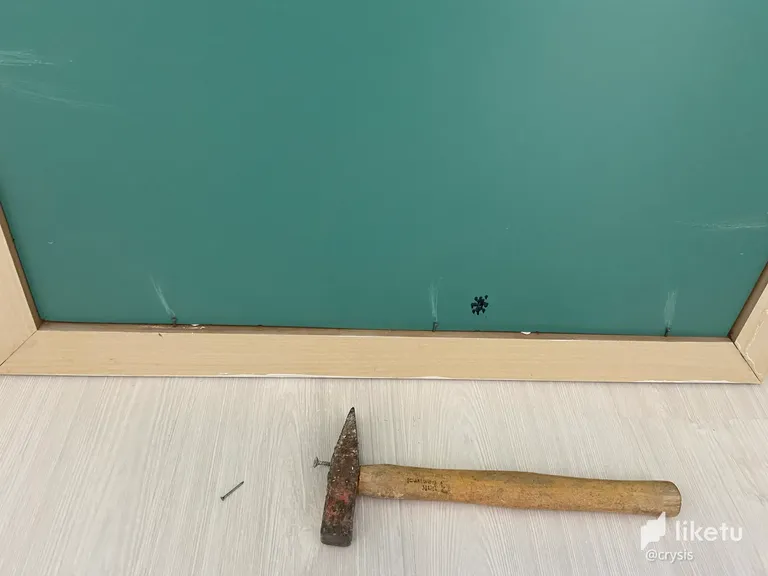
I glue the damaged area of the frame with instant glue. After sticking it, I make it stronger with thin nails. We repaired the mirror frame. Now we can move on to the painting process. ☺️
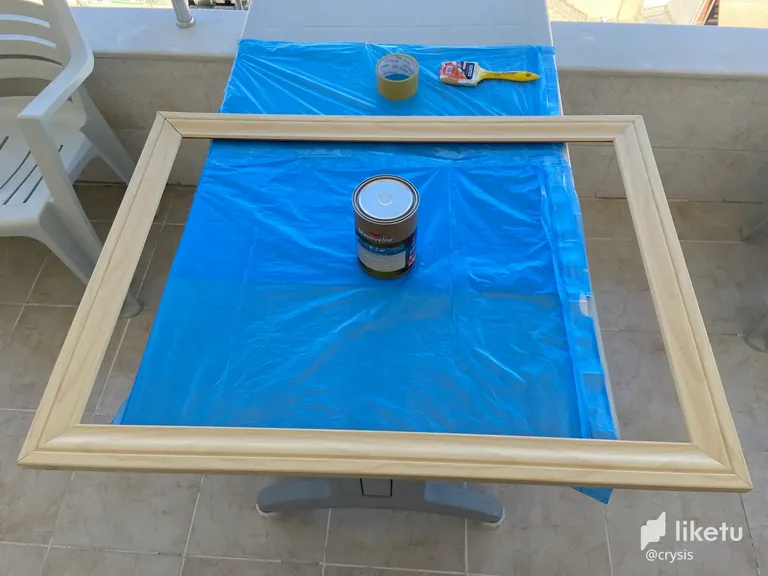
I decided to paint the mirror frame on the balcony. I covered the top of the table with a garbage bag. I attached it with tape. Now we are ready for the painting process. ☺️

I painted it once with water-based white paint. With a brush, I gave the mirror frame the appearance of the lines of the tree trunk. After the water-based paint dried, I completed the painting process with white spray paint.
After the mirror frame dried, I took the frame inside. As you can see in the picture, I mounted the mirror to the frame with thin nails. You have to be careful while doing this. You can break the mirror with a hammer.
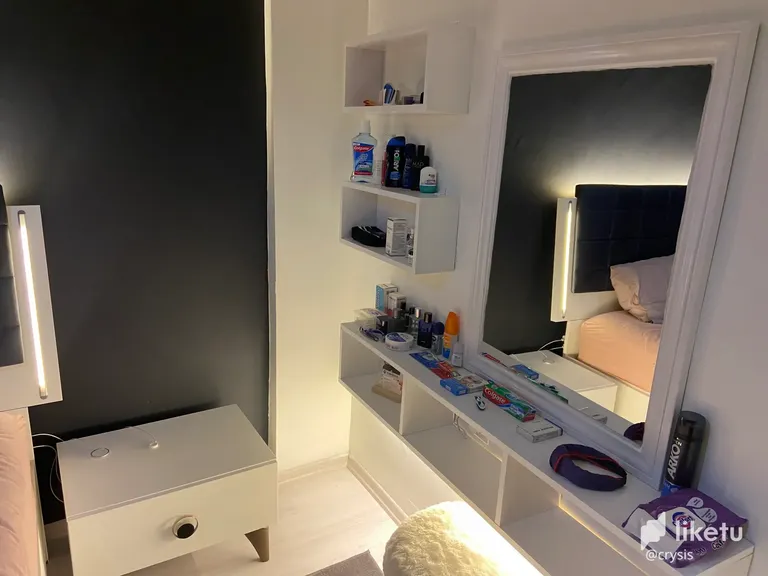
Finally, I drilled a hole in the wall with the cordless drill and inserted the dowel. I inserted the screw into the dowel. Our mirror is now ready for use. I ordered a makeup light online. Yes Friends, our diy post is over. Thank you for reading.☺️
🇹🇷 Postun Türkçe Versiyonu;
Merhaba Arkadaşlar, yatak odası için son bir diy postu daha hazırladım. Bugün sizlere eski bir aynayı nasıl güzel bir aynaya dönüştüreceğinizi göstermek istiyorum. Bakalım aynayı nasıl yapıyorum?
Öncelik olarak, malzemelerimiz; çekiç, şarjlı matkap, dübel, vida, cam çivisi, hızlı yapıştırıcı, su bazlı beyaz boya ve beyaz sprey boya. Malzemelerimiz hazır. Bakalım aynayı nasıl yapıyoruz? ☺️
İlk olarak, resimde gördüğünüz gibi aynayı çerçevesinden çıkarıyorum. Bu işlemi yaparken dikkat etmeniz gerekiyor. Çünkü ayna elinizi kesebilir.
Ayna çerçevesinin boyama işlemini balkonda yapmaya karar verdim. Masanın üstünü Çöp poşeti ile güzelce kapattım. Bant ile yapıştırdım. Artık boyama işlemi işin hazırız. ☺️
Bir kez su bazlı beyaz boya ile boyadım. Fırça ile ayna çerçevesine ağaç gövdesinin çizgilerinin görüntüsünü verdim. Su bazlı boya kuruduktan sonra beyaz sprey boya ile boyama işlemini tamamladım.
Ayna çerçevesi kuruduktan sonra çerçeveyi içeriye aldım. Resimde gördüğünüz gibi ince çiviler ile aynayı çerçeveye monte ettim. Bu işlemi yaparken dikkat etmeniz gerekiyor. Çekiç ile aynayı kırabilirsiniz.☺️
Son olarak, şarjlı matkap ile duvara delik deldim ve dübeli içine soktum. Vidayı da dübelin içine soktum. Aynamız artık kullanım için hazır. İnternetten makyaj ışığı siparişi verdim. Evet Arkadaşlar, diy postumuz bitti. Okuduğunuz için teşekkür ederim.☺️
For the best experience view this post on Liketu
It's amazing what can be done with just a few materials, the right tools and a lot of ingenuity. Thank you @crysis for sharing such useful and positive information.
Thank you so much 😊
Çok güzel olmuş.Emeklerinize sağlık👍
Teşekkürler ☺️
Evi bastan yaratiyorsun galiba :)
Öyle de denebilir 😂