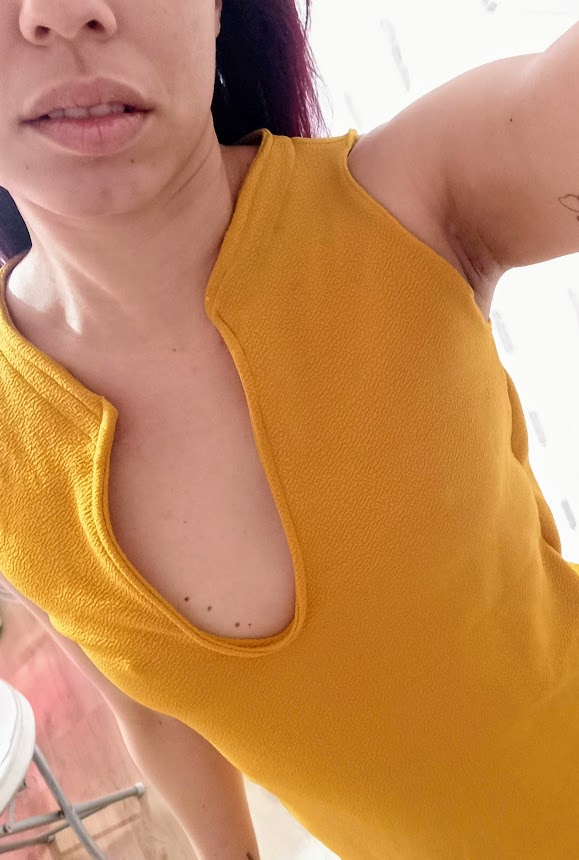
Buenos días hivers, querida colmena y comunidad, hoy seguimos needleworker, esta vez con una transformación, se trata del cambio de cuello que le hice a una blusa recién confeccionada y publicada aca en Hive el tutorial lo consiguen en mi blog, es realmente sencillo. Bueno, les cuento que el cuello de esa blusa me pareció que quedó muy alto y cerrado, entonces decidí hacerlo más pronunciado en abertura y profundidad aprovechando que viene el verano.
Good morning hivers, dear hive and community. Today we continue needleworker, this time with a transformation. This is the change of neck that I did to a blouse recently made and published here in Hive, you can find the tutorial on my blog, it's really simple. Well, I tell you that the neck of that blouse seemed to me that it was too high and closed, so I decided to make it more pronounced in opening and depth, getting ready for summer.
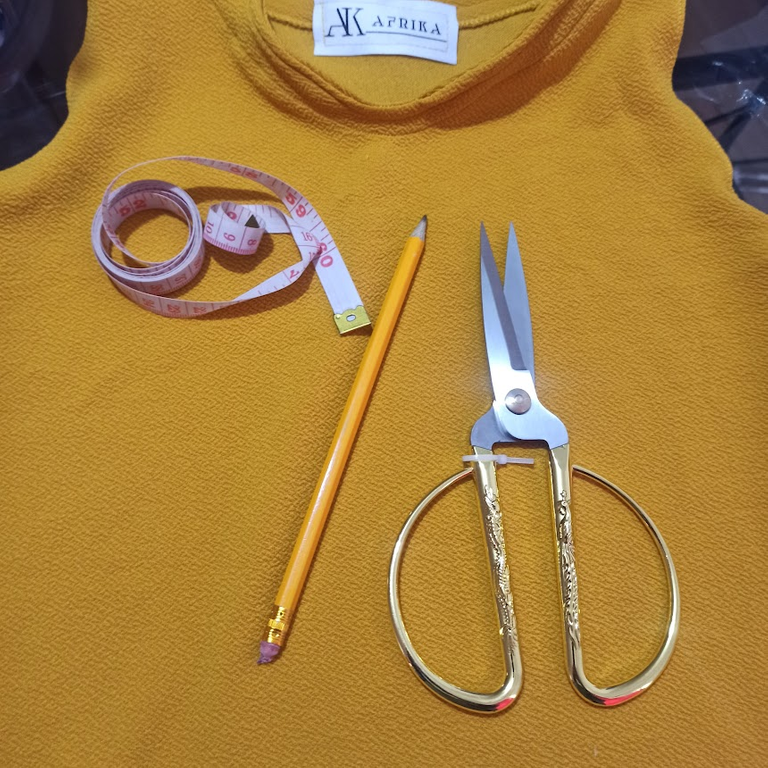
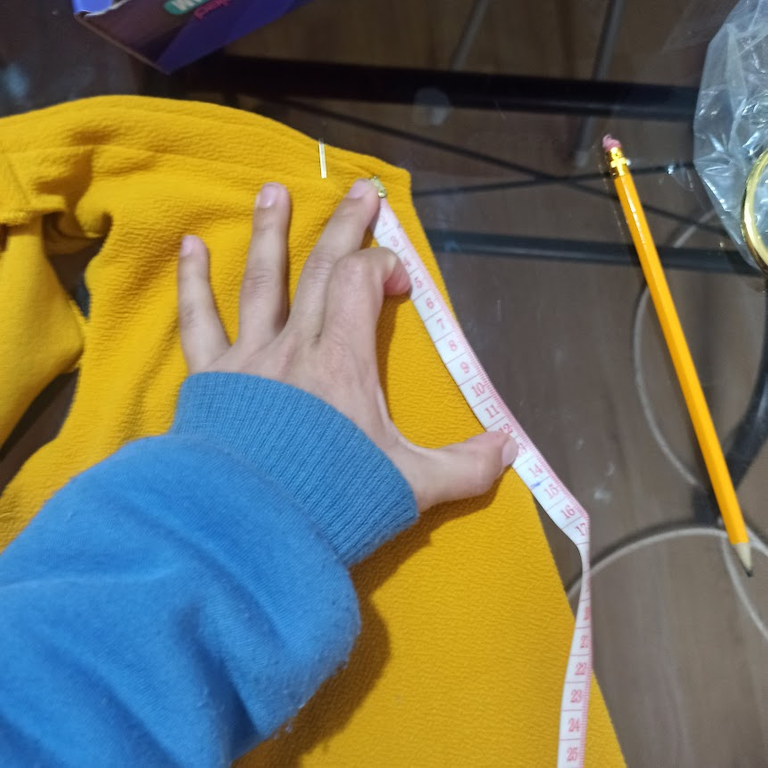
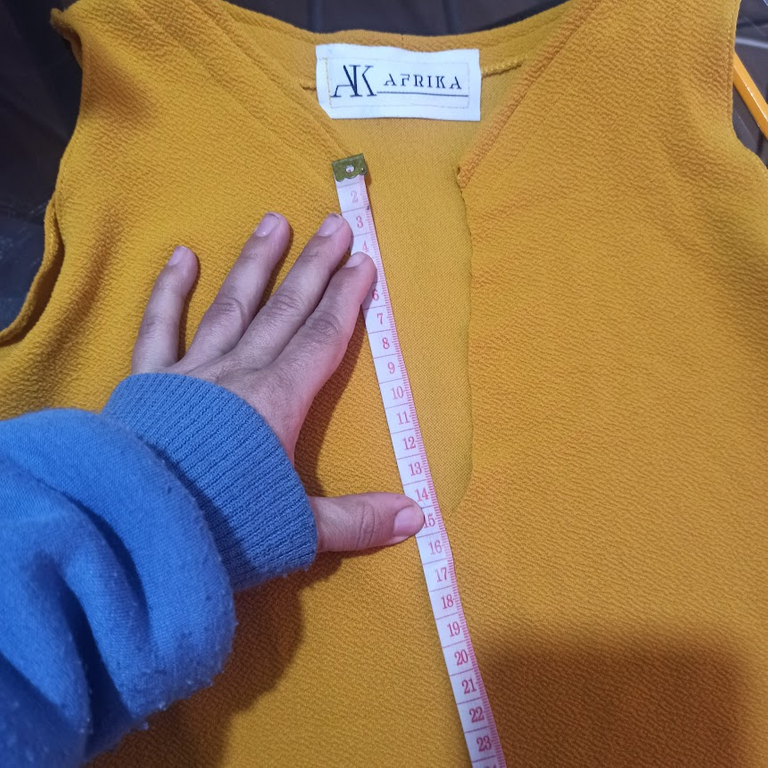
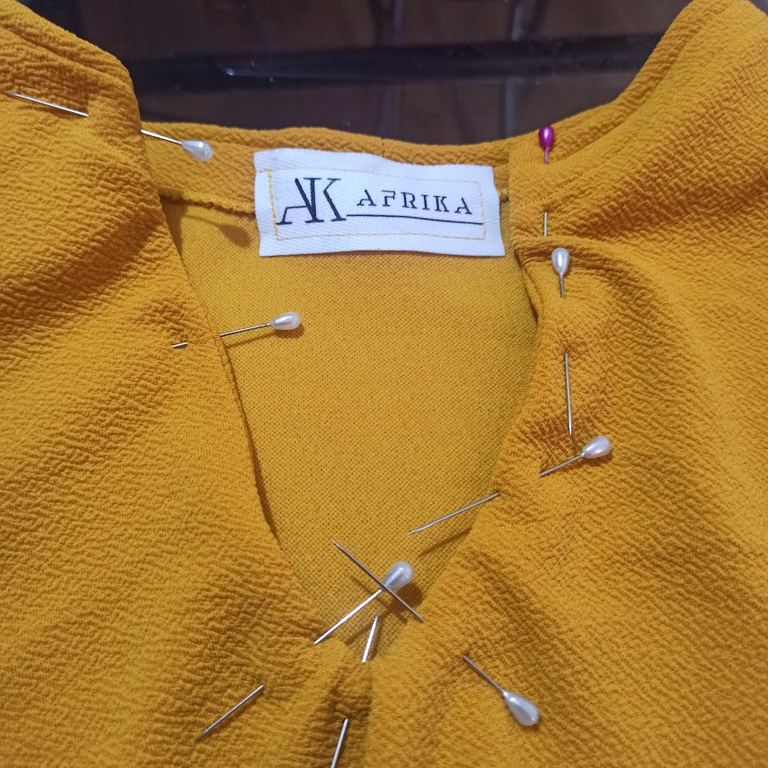
Bueno hivers y amantes de la costura para transformar el cuello de la blusa necesité: cinta métrica, tijera, lápiz, hilo, máquina de coser, tela licra Sofía, alfileres, por supuesto la blusa y paciencia. Primer paso fue determinar el centro del cuello delantero, doblar por la mitad, y ajustando con alfileres, junto la cinta métrica y el lápiz medí y marque la profundidad y abertura del nuevo cuello, como ven las imágenes.
Well hivers and sewing lovers to transform the neck of the blouse I needed: measuring tape, scissors, pencil, thread, sewing machine, lycra Sofia fabric, pins, of course the blouse and patience. First step was to determine the center of the front collar, fold it in half, and adjust it with pins. Together with the tape measure and pencil I measured and marked the depth and opening of the new collar, as you can see in the pictures.
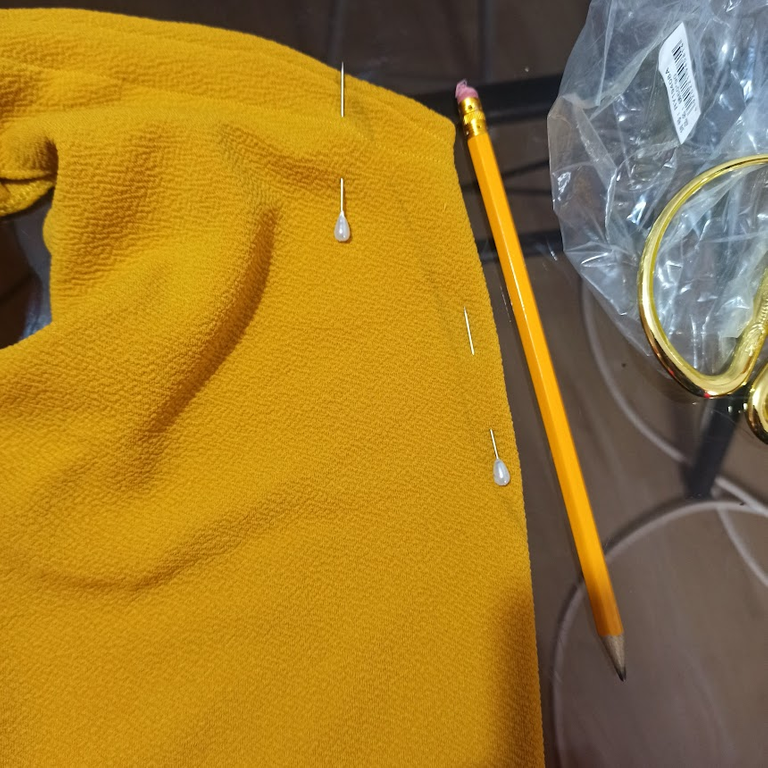
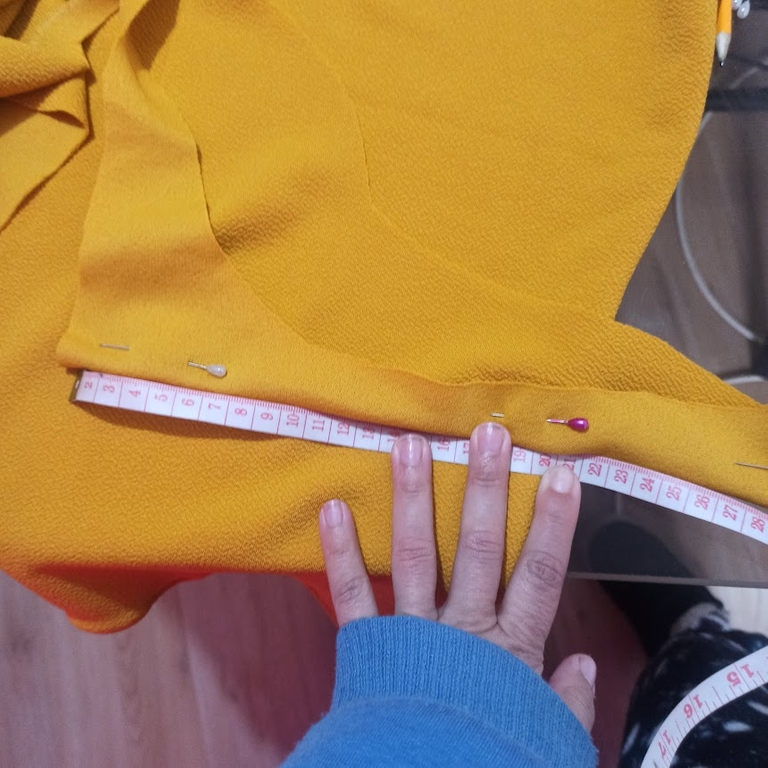
Una vez bien marcado todo, procedí a cortar por la línea, dejando el margen de costura correspondiente, esta vez fue de 0,5cm. Luego volví a medir el nuevo cuello delantero para hacer el bies que cubrirá este cuello. Una vez cortada el vivo o bies, lo ubique en la pieza enfrentando los derechos, como indica la imagen, los sujete con alfileres para luego coser con una costura recta simple.
Once everything was well marked, I proceeded to cut along the line, leaving the corresponding seam allowance, this time it was 0.5cm. Then I measured the new front neck again to make the bias binding that will cover this neck. Once the bias binding was cut, I placed it on the piece facing the right side, as shown in the picture, pinned it and then sewed it with a simple straight seam.
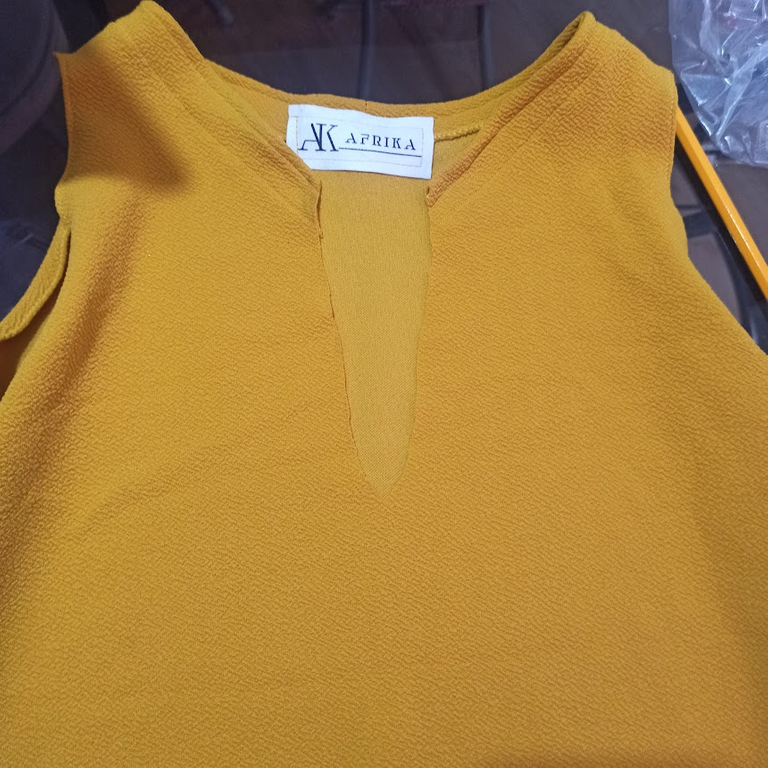
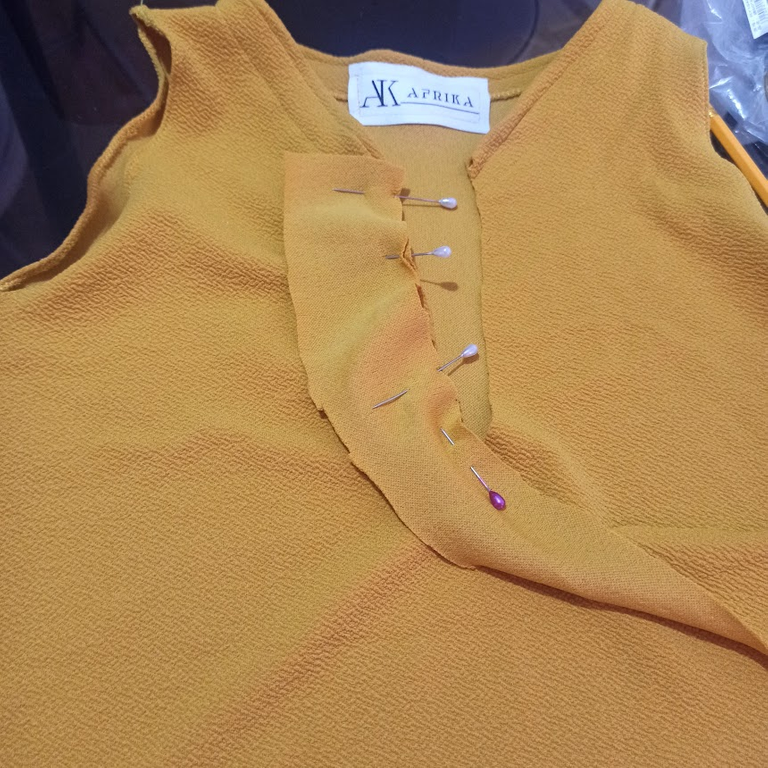
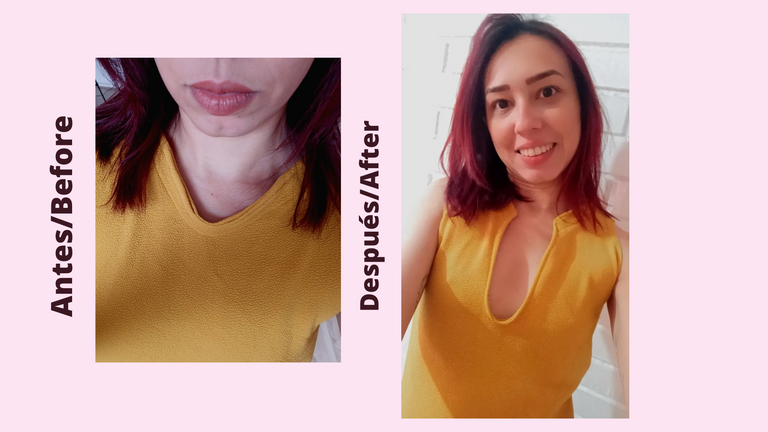
Una vez pasada la primera costura, pasé el bies hacia adentro, como indica la imagen, y sujete con alfileres, esta vez volví a coser con costura por el derecho del cuello, usando el límite del ruedo del cuello como referencia de distancia y así queda guardada la primera costura de la pieza, luego limpié de excesos de hilos y telas. Y listo hivers, así transformé el cuello de la blusa, ahora la siento más cómoda ¿Qué les pareció? Toda duda y comentario es bien recibida. Las fotos son registro personal, editadas en Canva. Gracias Hivers por el apoyo y motivación constante.
Once past the first seam, I sewed the bias binding inwards, as shown in the image, and pinned it, this time I sewed again with a seam on the right side of the collar, using the limit of the neck roll as a distance reference and thus the first seam of the piece is saved, then I cleaned the excess threads and fabrics. And that's it . That's how I transformed the collar of the blouse, now I feel it more comfortable, what did you think? All doubts and comments are welcome. The photos are personal records, edited in Canva. Thank you Hivers for your constant support and motivation.


The rewards earned on this comment will go directly to the people sharing the post on Twitter as long as they are registered with @poshtoken. Sign up at https://hiveposh.com.
This is so beautiful, I love the transformation and the outcome is really nice.
I love it too, thanks a Lot.
This is really a beautiful manipulation @afrikablr, would you mind adding a loop and button at the neckline... Maybe a rope of something, I think it will be a great addition but its really lovely like that.
I love the color and texture of the fabric.
Hello My dear, thanks for your appreciation. I ' ll consider your suggestion for the next piece.
Bueno, bueno. Me gusta más este escote más mostrón jajaja. Quedó genial amiga, fue una buena refacción. Felicitaciones ❣️.
Jajajaja "más mostron" me encantó esa expresión, Gracias querida siempre por tu apoyo.
Thank you for sharing this amazing post on HIVE!
Your content got selected by our fellow curator @hafizullah & you just received a little thank you via an upvote from our non-profit curation initiative!
You will be featured in one of our recurring curation compilations and on our pinterest boards! Both are aiming to offer you a stage to widen your audience within and outside of the DIY scene of hive.
Join the official DIYHub community on HIVE and show us more of your amazing work and feel free to connect with us and other DIYers via our discord server: https://discord.gg/mY5uCfQ !
If you want to support our goal to motivate other DIY/art/music/homesteading/... creators just delegate to us and earn 100% of your curation rewards!
Stay creative & hive on!
Thank You do much.
@afrikablr ,Jejeje este cambio fue genial ,de patito feo a diosa griega , excelente,👍
Wow, me encantó ete comentario jajajaj siiii total. Muchas gracias :)
Un pequeño cambio hizo que la camisa se estilizará mucho, pequeños cambios que hacen grandes diferencias, encantada con tu idea.
Y yo encantada con tu apreciación, gracias por comentar ❤️