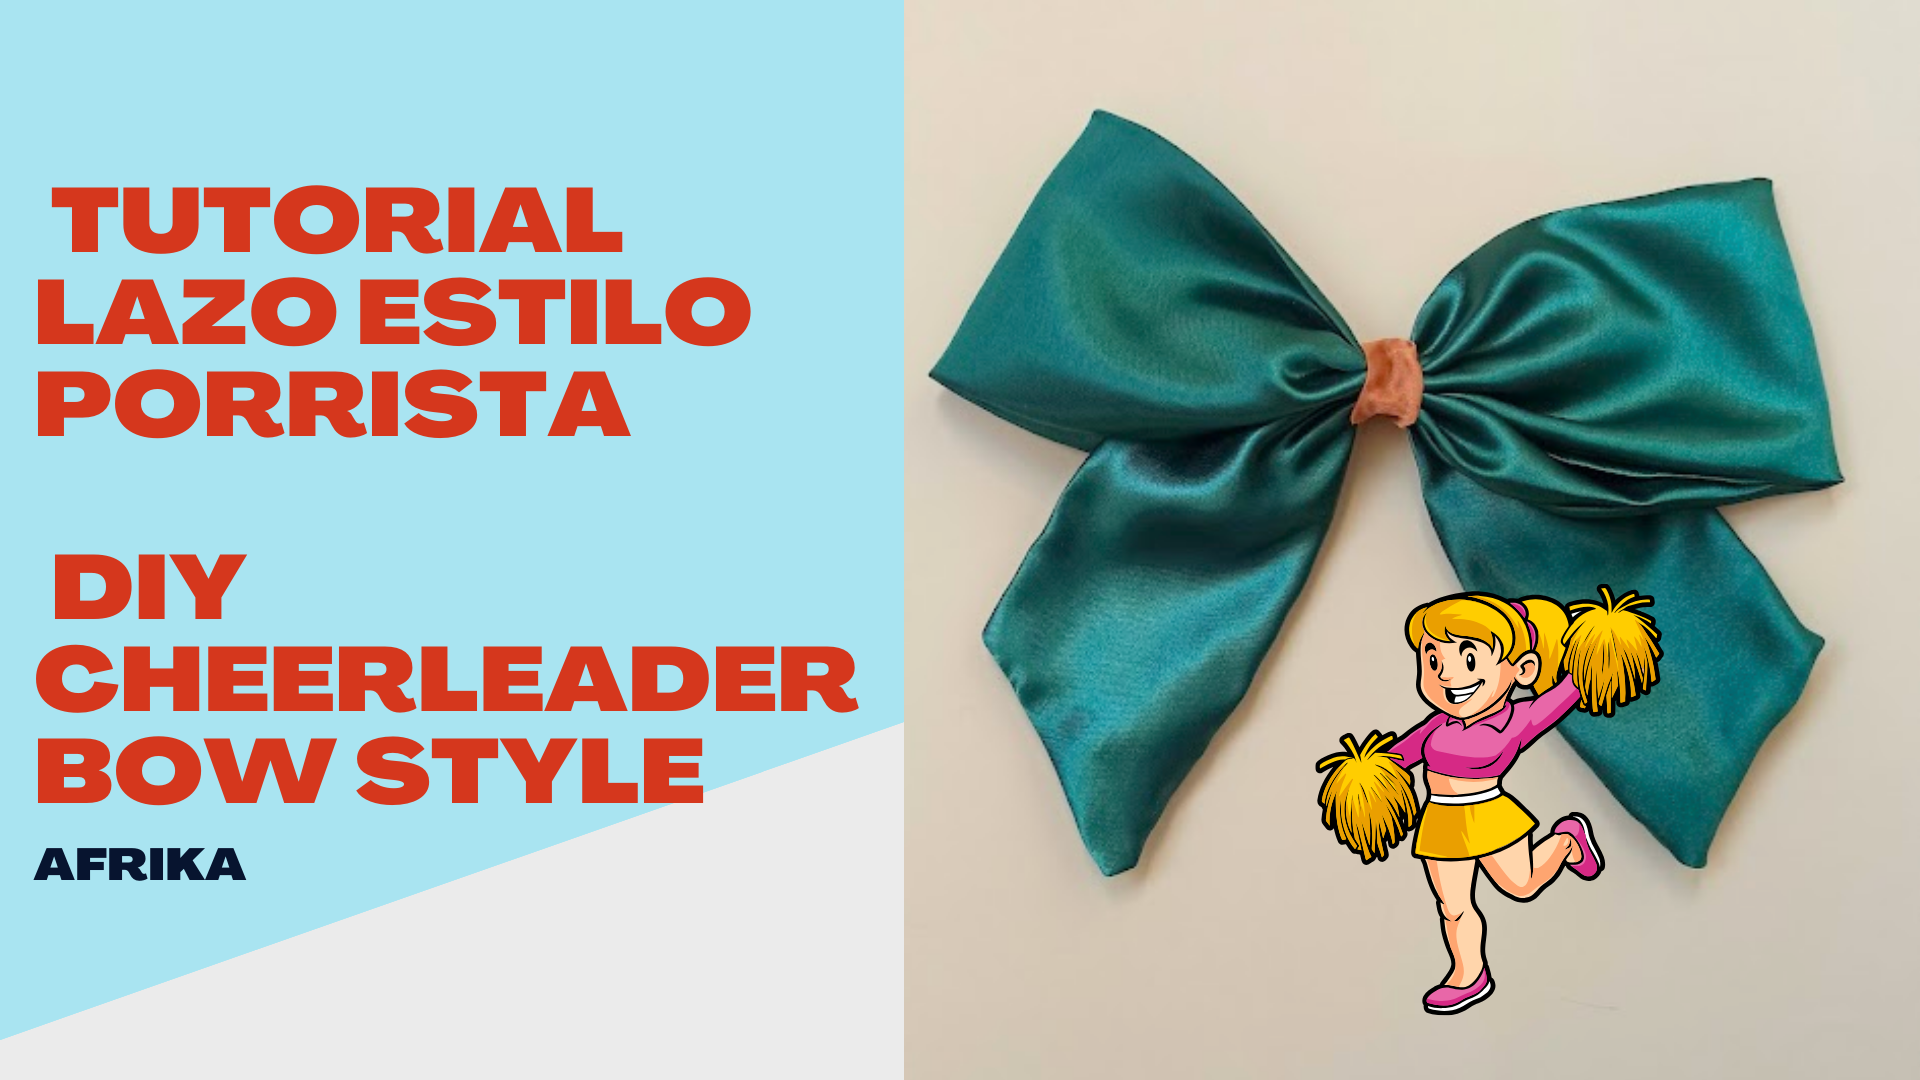
My dear hivers and stitch lovers, I hope February is treating you wonderfully. Over here we continue producing flirty fashion with a sporty tendency, today's tutorial is for a cheerleader type bow tie, I didn't know that the individual bow tie of this opportunity was called like that either.

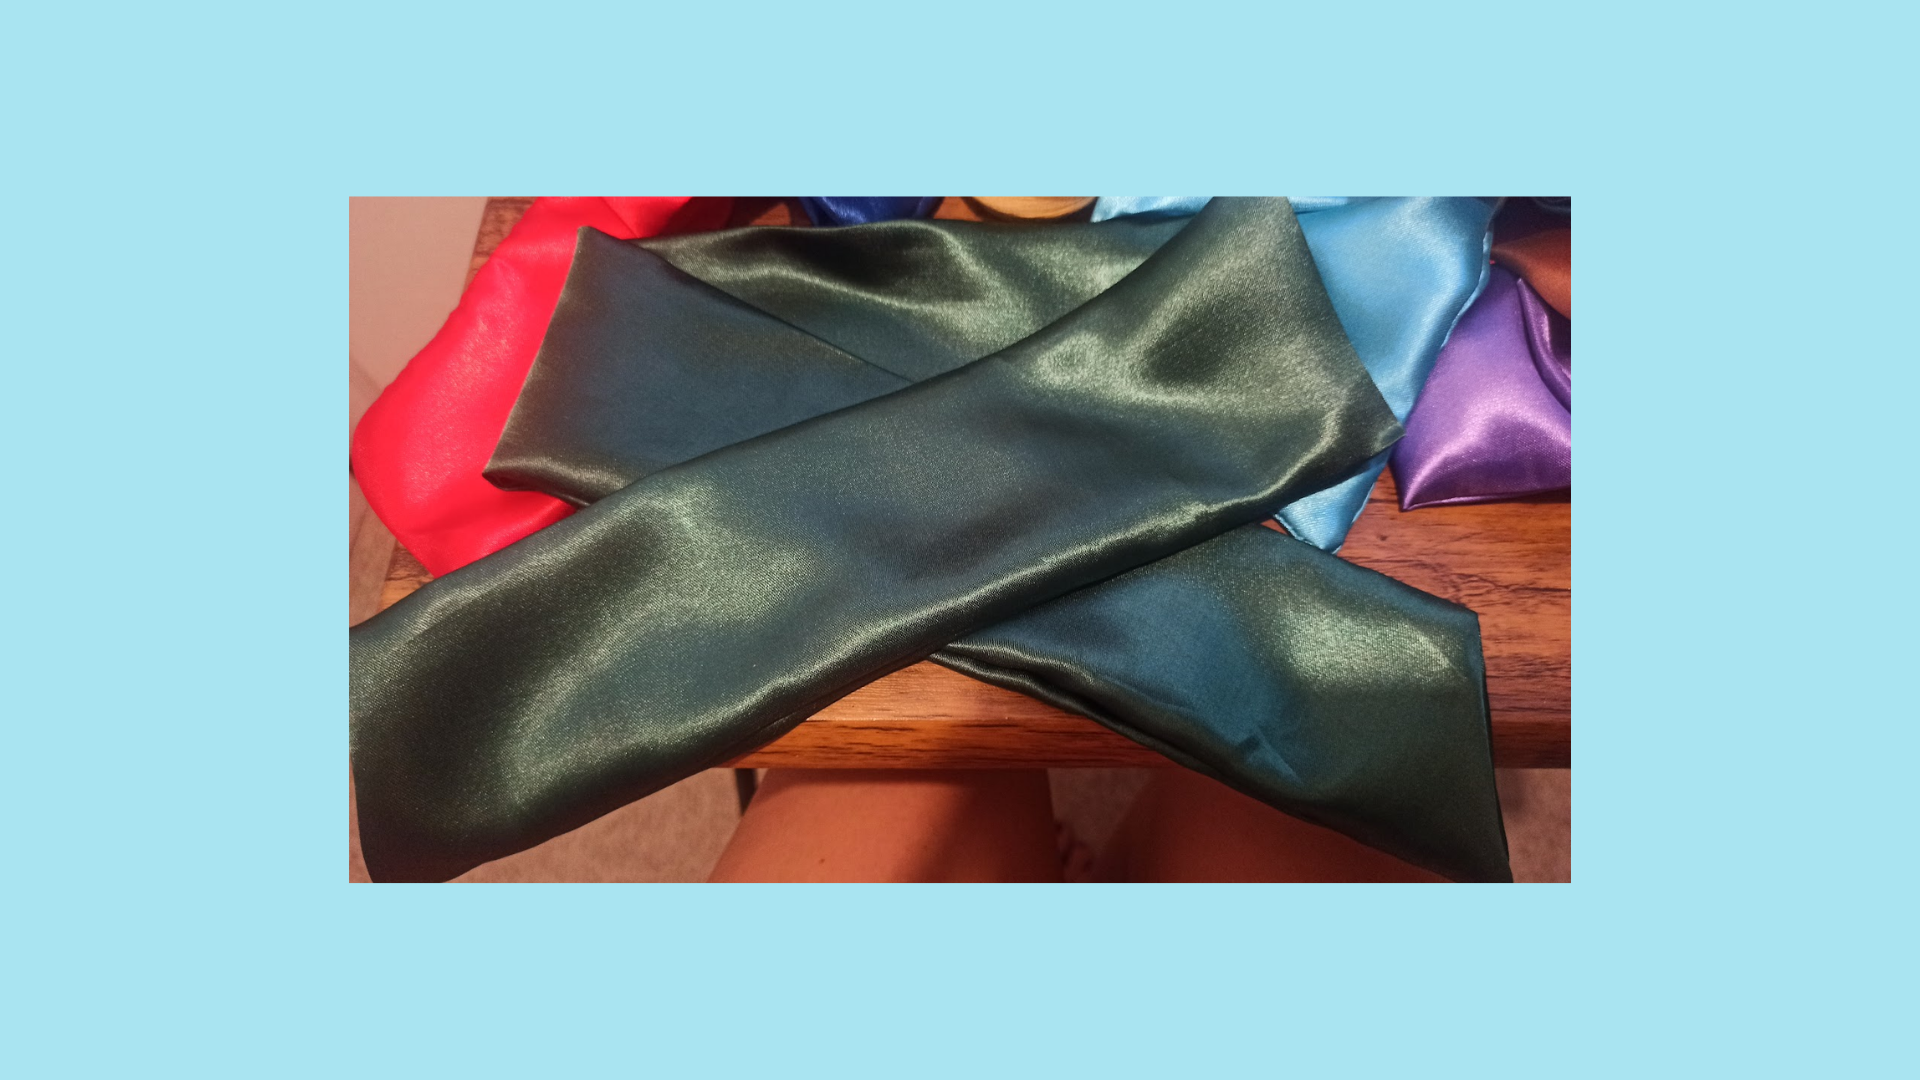
This bow is quite simple and a little simpler to make, let's hands to the fabric, but first the materials: 70 cm by 15 cm wide, thread, needle, pins, sewing machine or by hand, scissors and the base of the bow, it can be a buckle, clip or scrunchie. This bow can also be made with hot silicone.
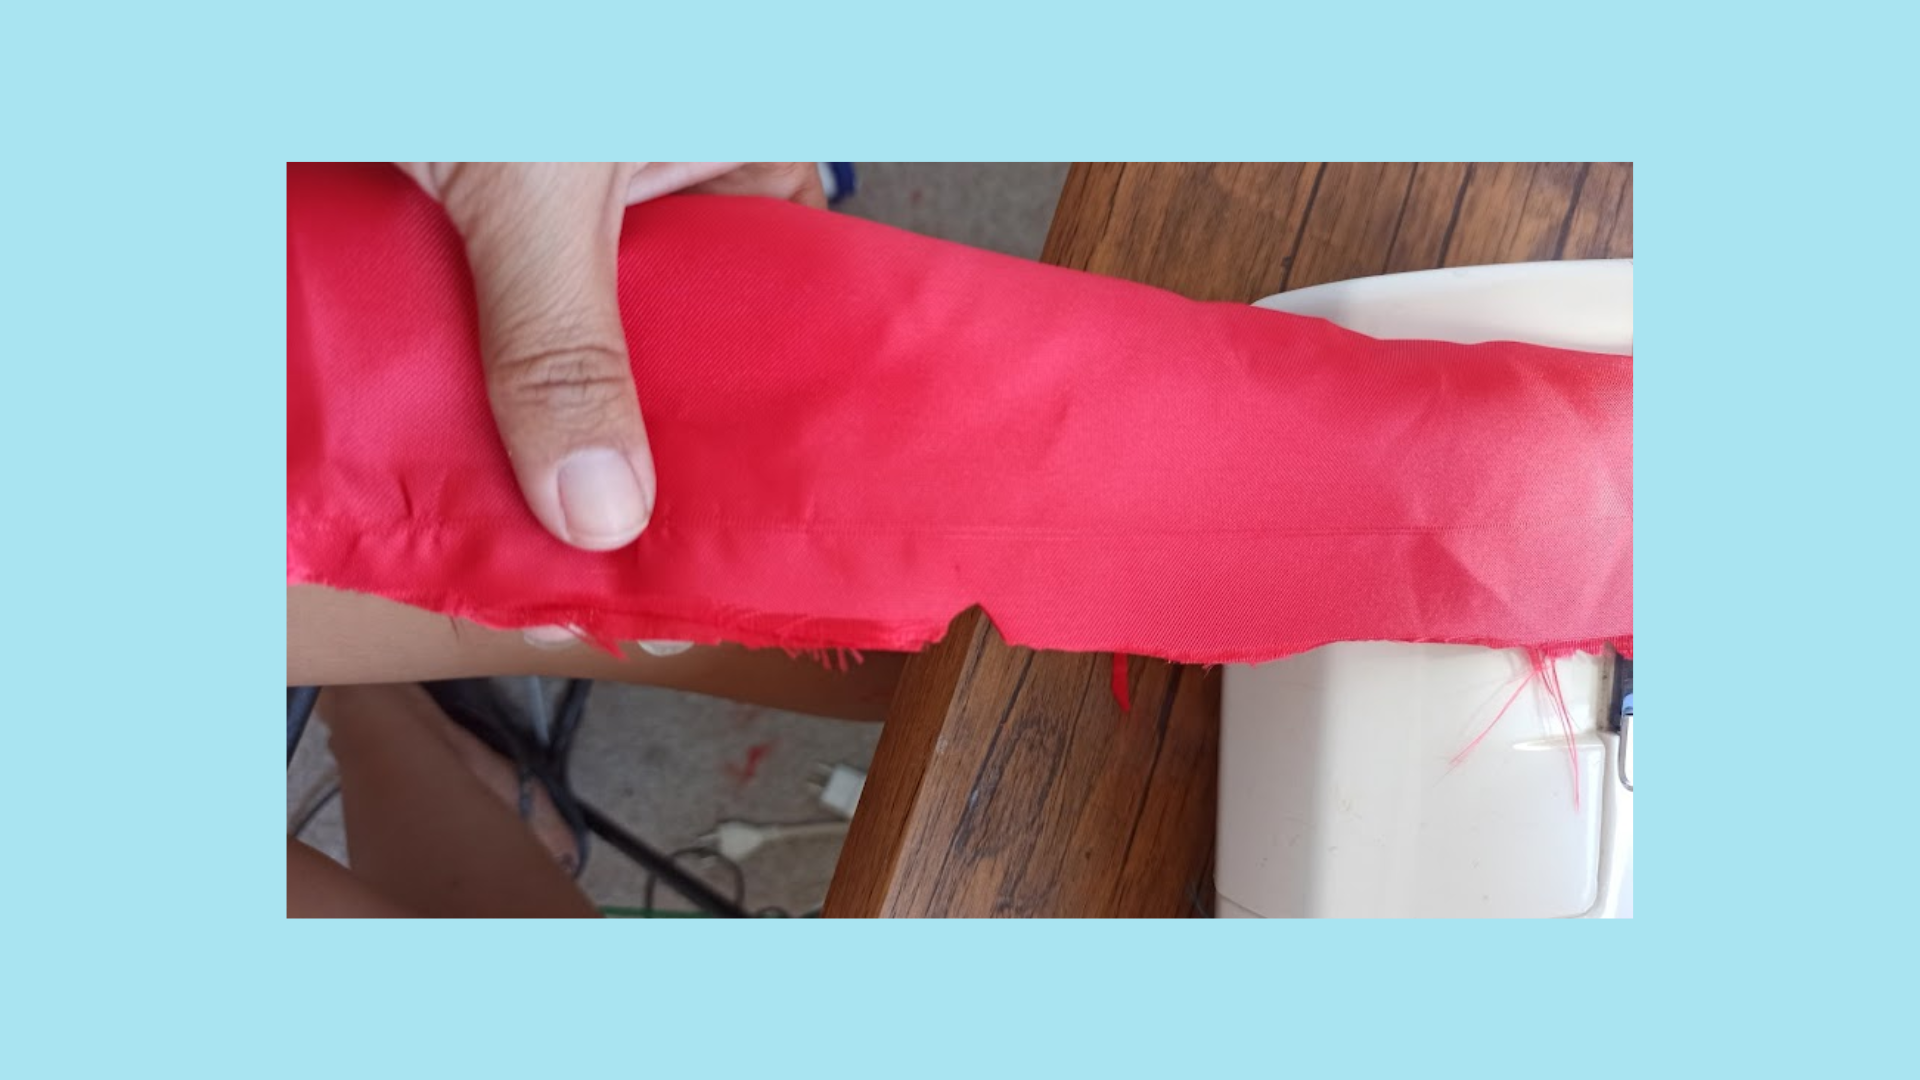
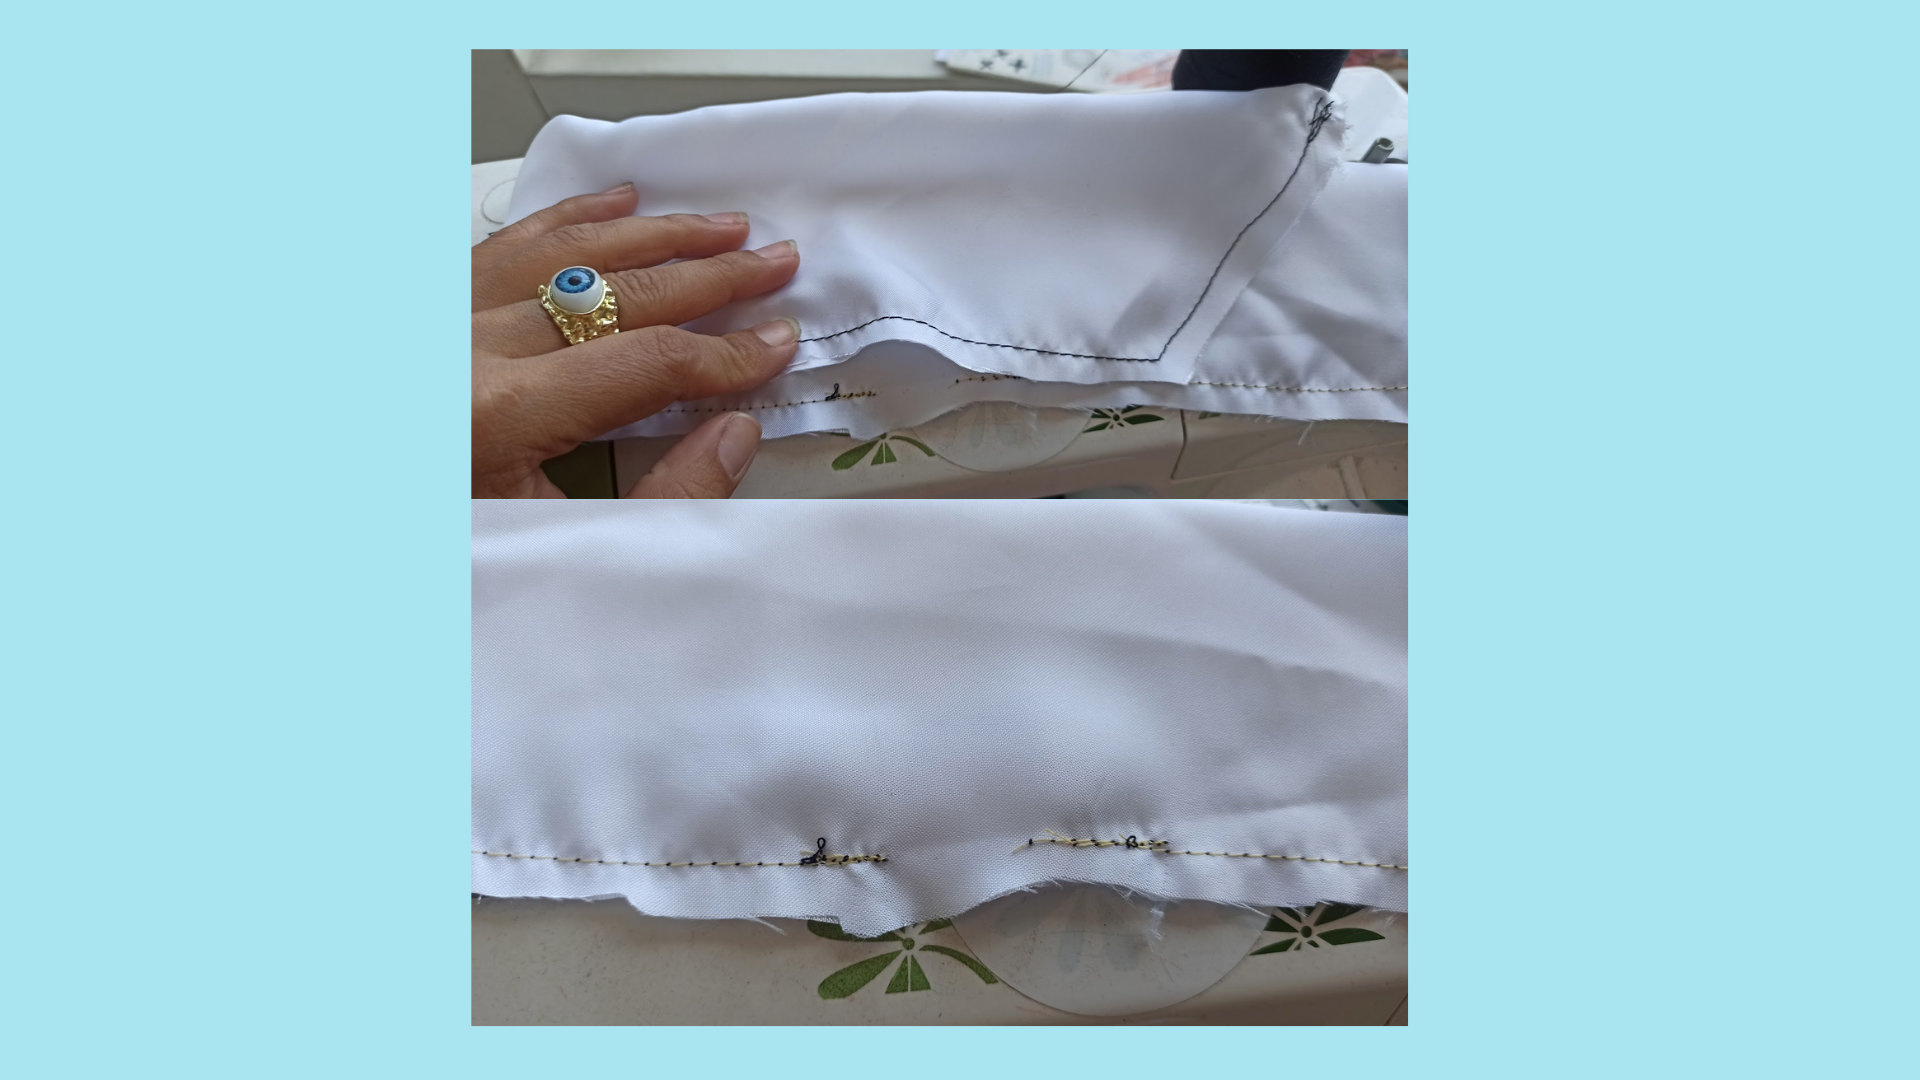
The first thing we are going to do is to face the right sides of the fabric and sew all around the edge, leaving an opening in the center as shown in the picture. Remember to make the ends diagonal or curved according to your taste for the bow. Then, with the help of the scissors, we turn it over and iron it, so the seams will settle giving a neater touch.
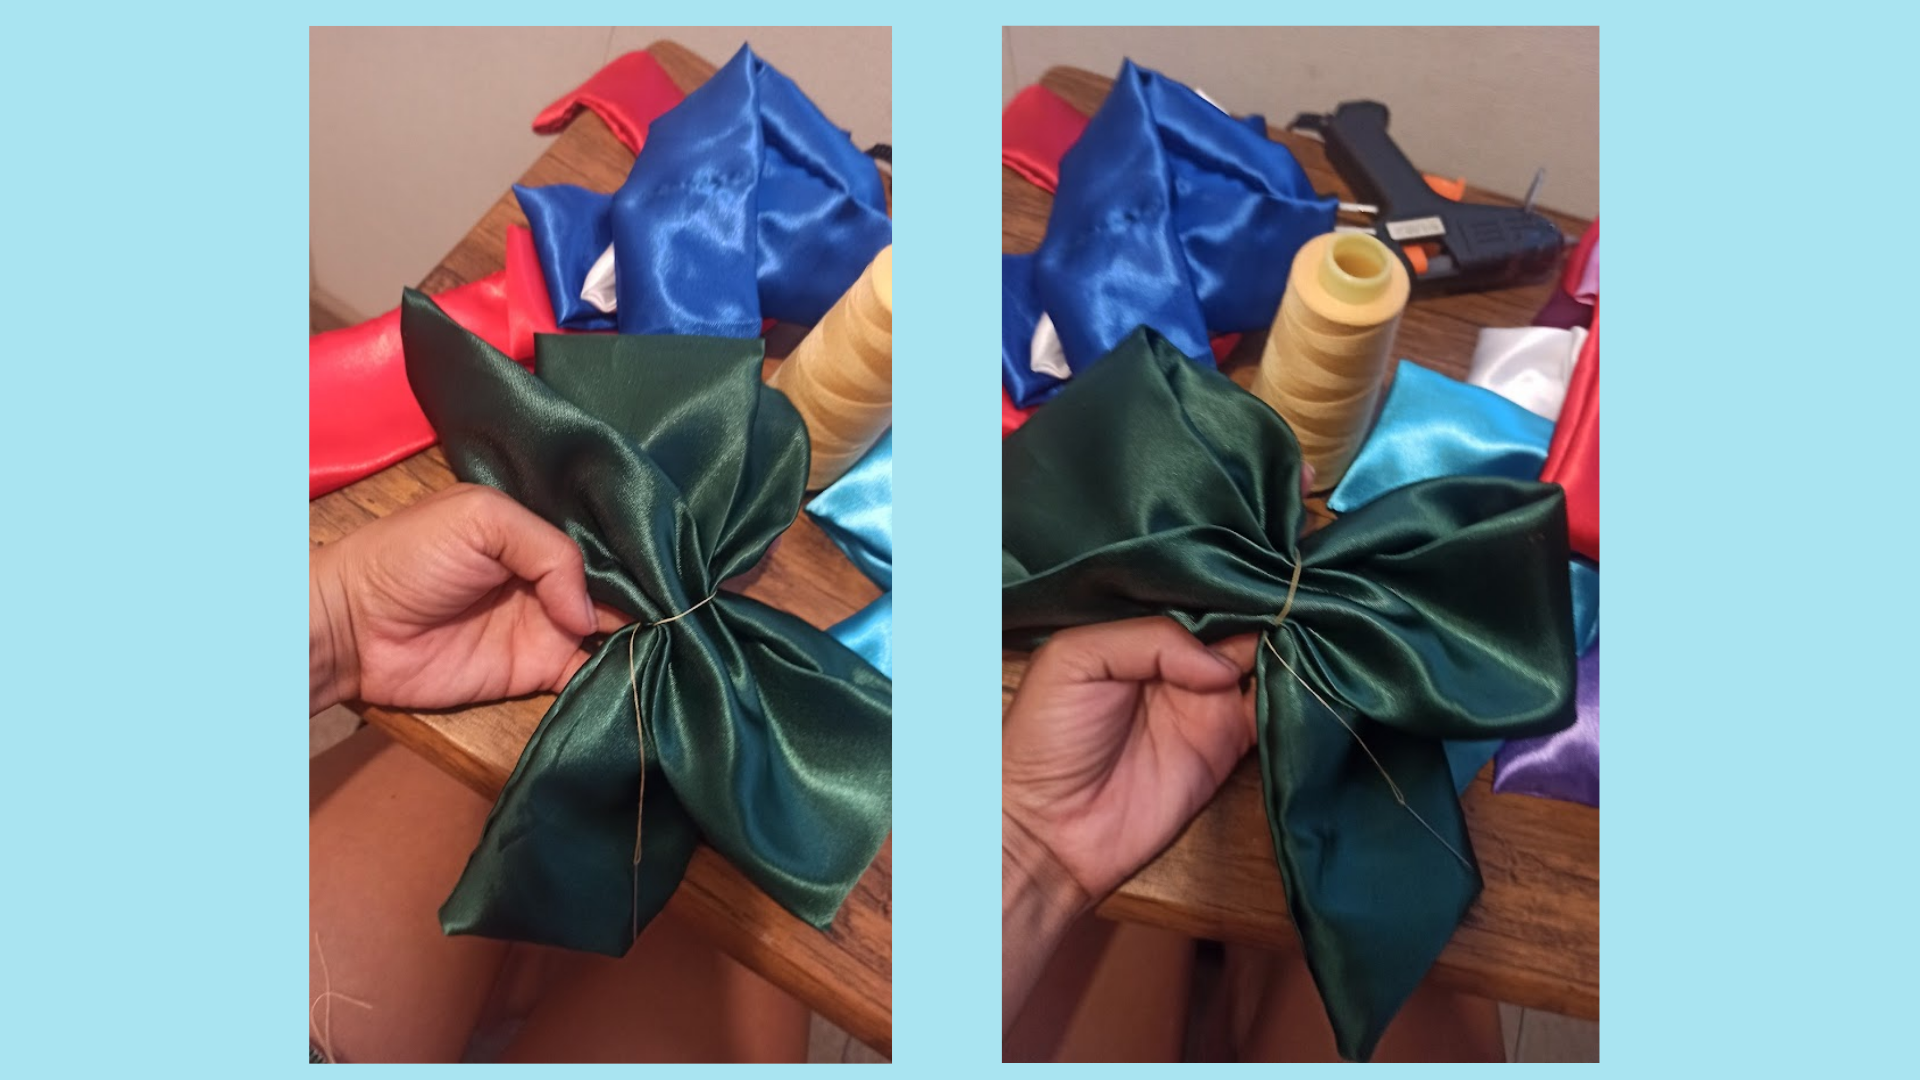
Then, we place the center and cross the fabric as shown in the image, making sure that the ends are at the same height, taking care of the symmetry. Then, through the whole center with needle and thread, we gather and join the parts, at the end we tie well so that it is well fastened.
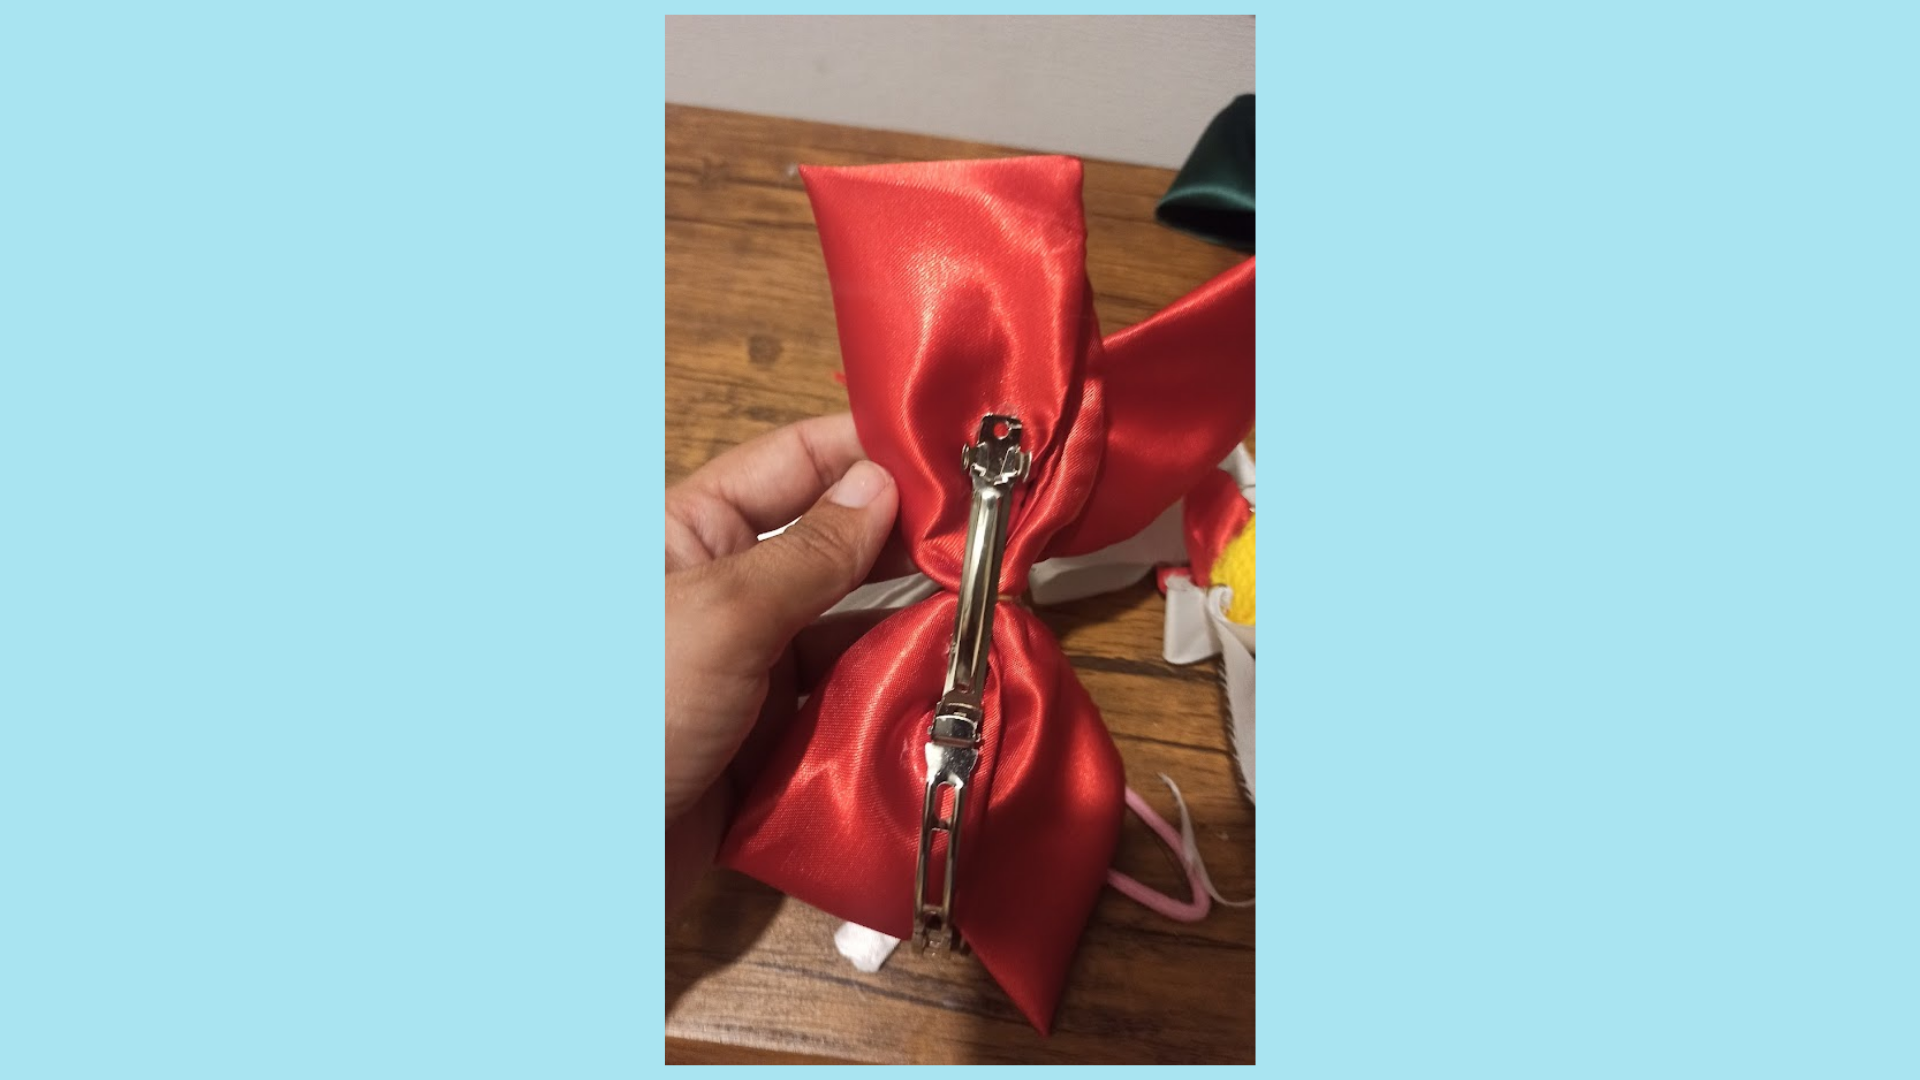
With the silicone we glue the ribbon to the buckle or the piece you have chosen as a base, finally, we cut a piece of fabric and use it to decorate the center of the ribbon, while at the same time we secure the union of the 2 pieces. Then, we clean the excess silicone and threads, so our cheerleader ribbon is ready.
What do you think of this another coquette bow shape? I liked it a lot because it really looks sporty and its use can be for more occasions look good, elegant but well soft. The photos are personal record edited in Canva. Thanks hivers, I look forward to seeing you in the comments.

The bow looks so clean. I only make regular bows so this is really a 100/10
Wow. Thanks For your words.🎀
I didn’t know there was something like cheerleader bow
I love how soft the material is and you’re right
It’s really simple to make and I think I can even make it with thread and needle
I didn't either. Hope to see your bow, you must look amazing, it is easy to sew, eve glue you ca use. The fabrinc is silk and satin.
thank you for this bow style steps, I learn something today, time to make my own instead of buying them
Yeeees, i love it. You will look amazing.
I love the bow, let me save this page, I want to make something similar very soon .
Of coruse. Thanks a lot. Hope to see it.