It's another week and I'm excited to share my knowledge with you again. Welcome to another episode of my tutorials 👌.
How are you, my friend?
Today, I'll teach you how to make a reversible sun hat.
I am using an Ankara fabric and a bridal satin(black)
Yas!!!! Sunhat can be worn to the beach and casual occasions, you can use any fabric aside from tulle to make it.
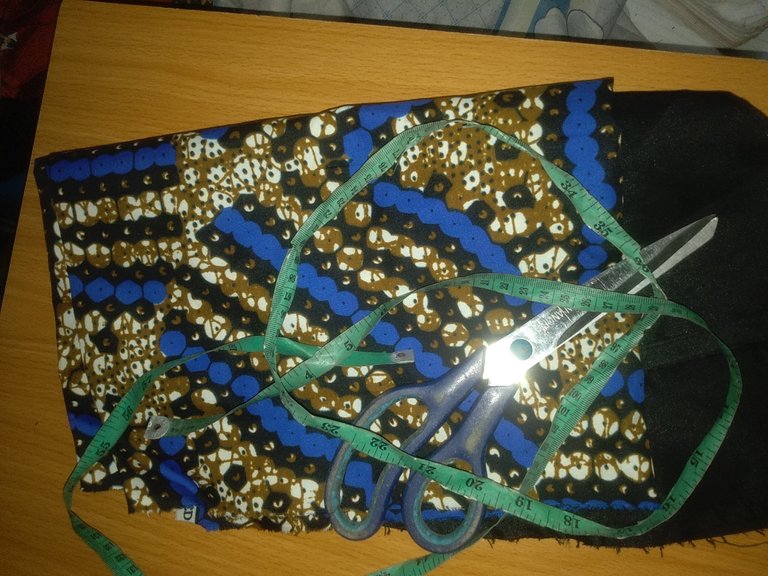
Materials you'll be needing.
-Tape rule
-pattern paper or brown paper
-Scissors
-Gumstay(interfacing)
-Actual fabrics
-Lining
-French curve
-Pencil or chalk
-Thread
-head measurement.
The sun hat has three layers.
Top panel, middle panel, and brim panel.
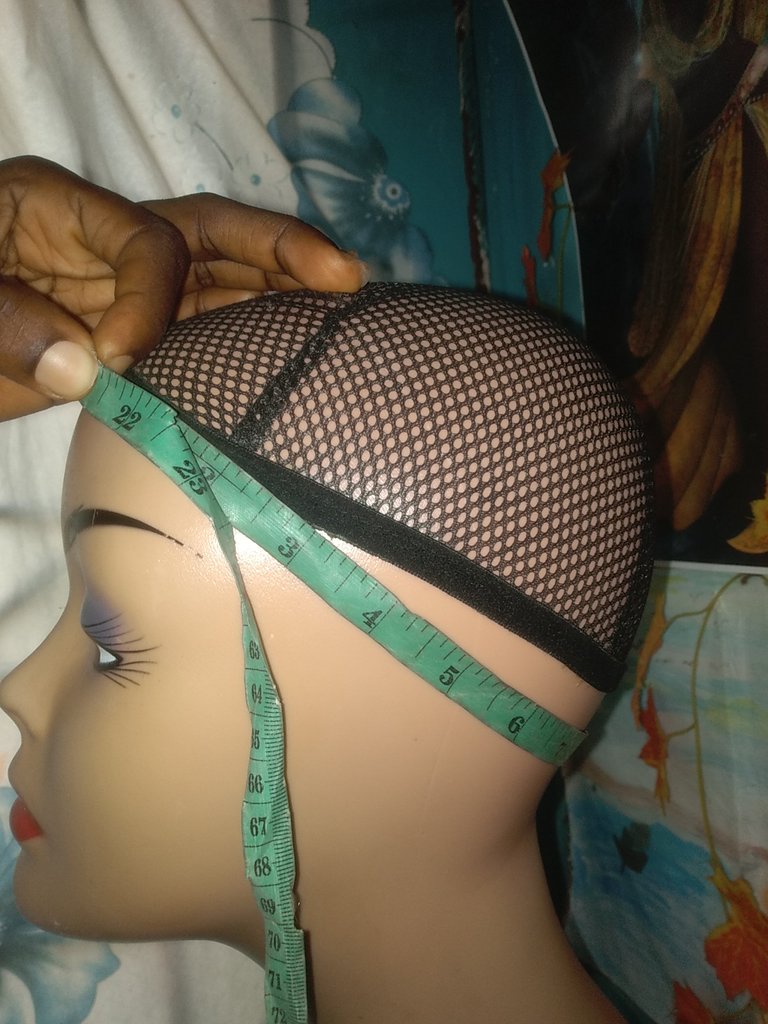
Step 1
Measure your head circumference like so.
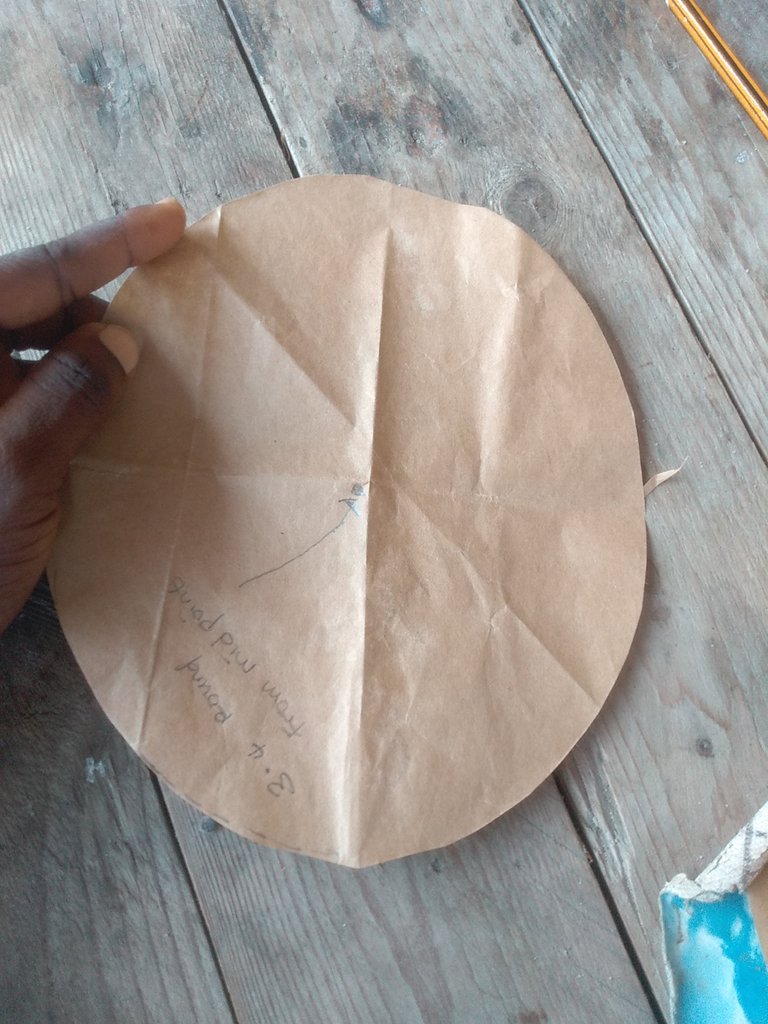
We want to get the top panel.
Head circumference measurement divided by 6.284, that's the standard measurement.
Mine is 21.5 ÷ 6.284= 3.4
Fold the fabrics into 4
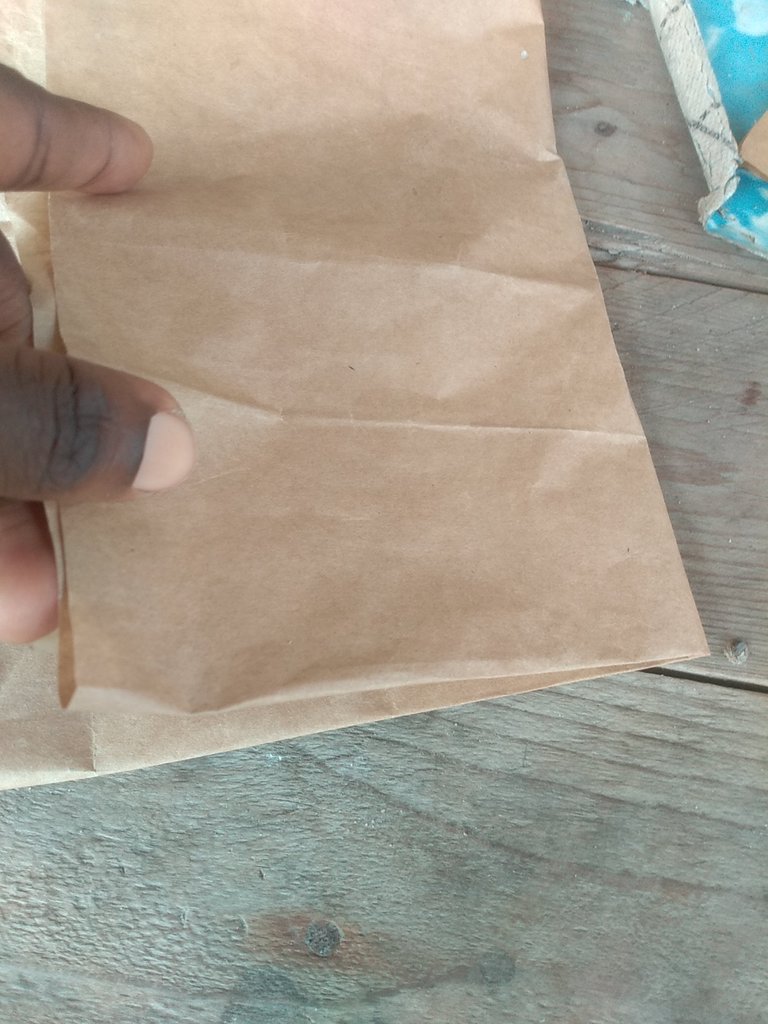
Place your measurement on it.
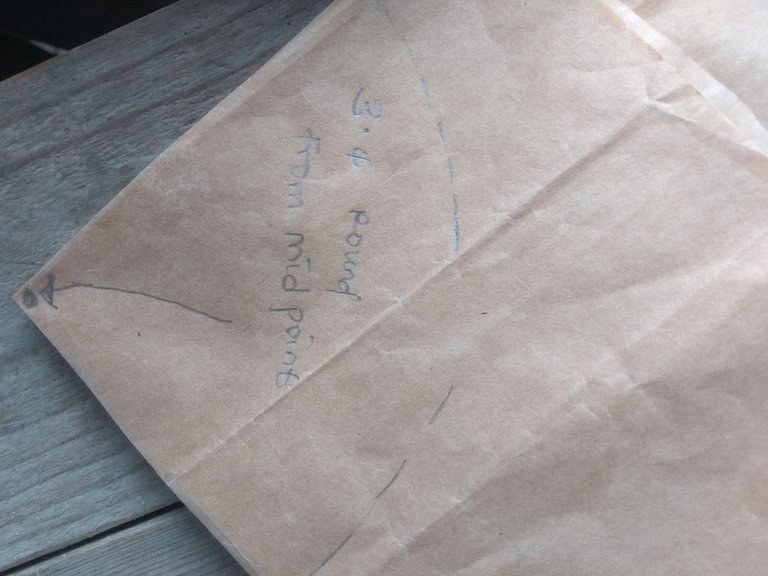
Measure the 3.4 round from the midpoint.
Cut out
you're cutting two pieces of the top panel you're using hard interfacing, but three pieces of it if you're using soft interfacing.
Middle panel
Step 2
Head circumference divided by 2
Mine is 21.5÷ 2= 10.75 for the length and then determine the width of your choice, for me I used 5 inches.
Measure horizontally by your answer mine I used 10.75 inches and 5 inches vertically for the width.
I came up vertically by 1.5 above the two vertical lines as shown in the picture.
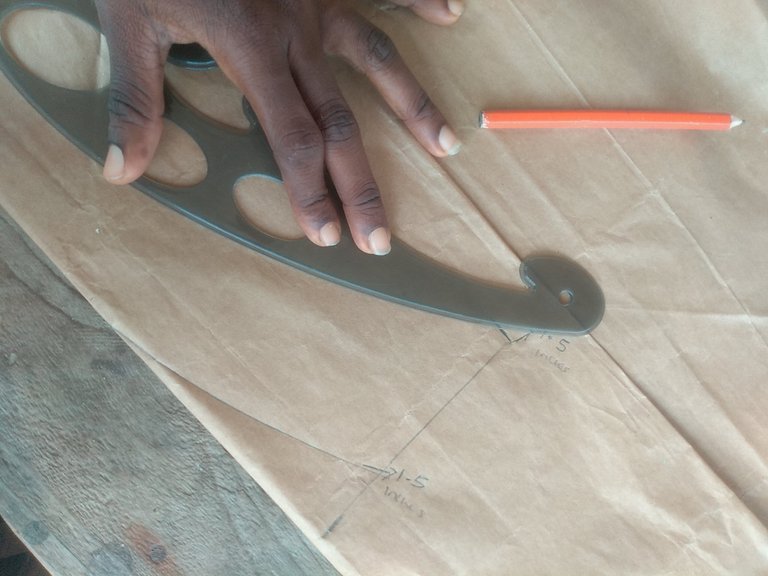
Then I connected the new measurement using my French curve to form a slight curve. To fit your head properly.
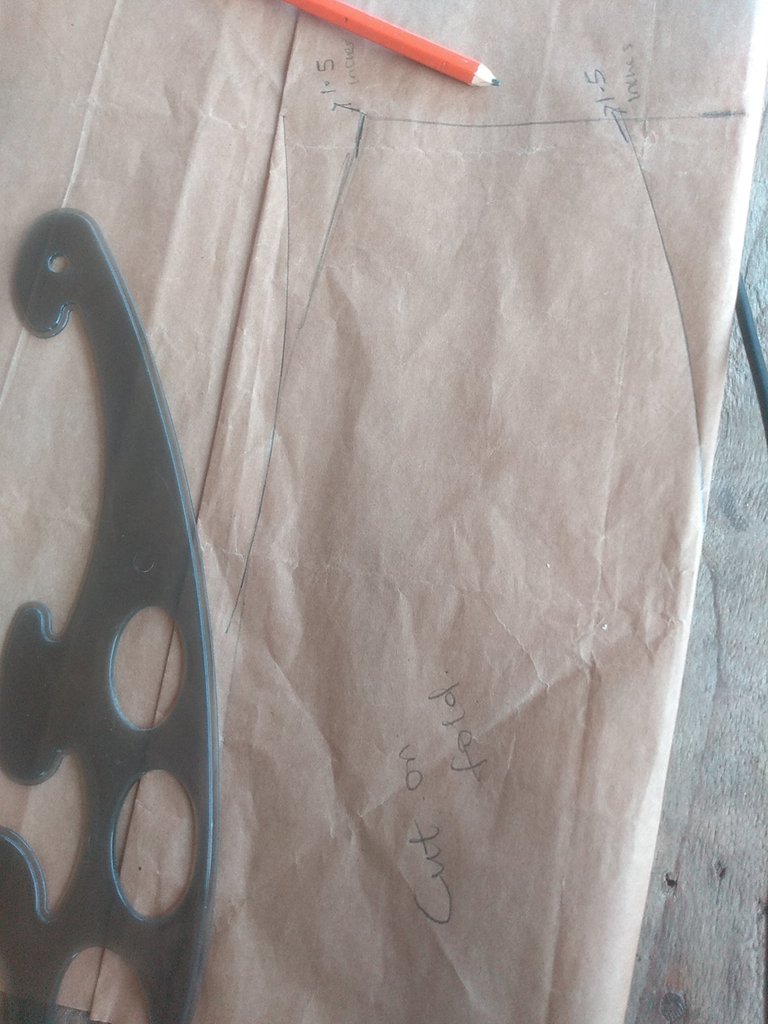
Always remember to cut two pieces for each of the panels.
Brim panel
Step 3
Place the top panel on your fabric folded like you're about to cut a zero flare as shown in the pictures.
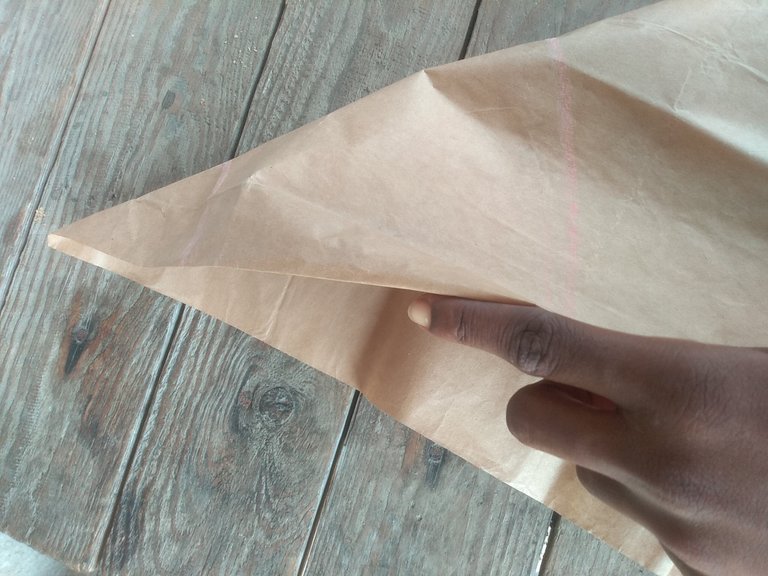
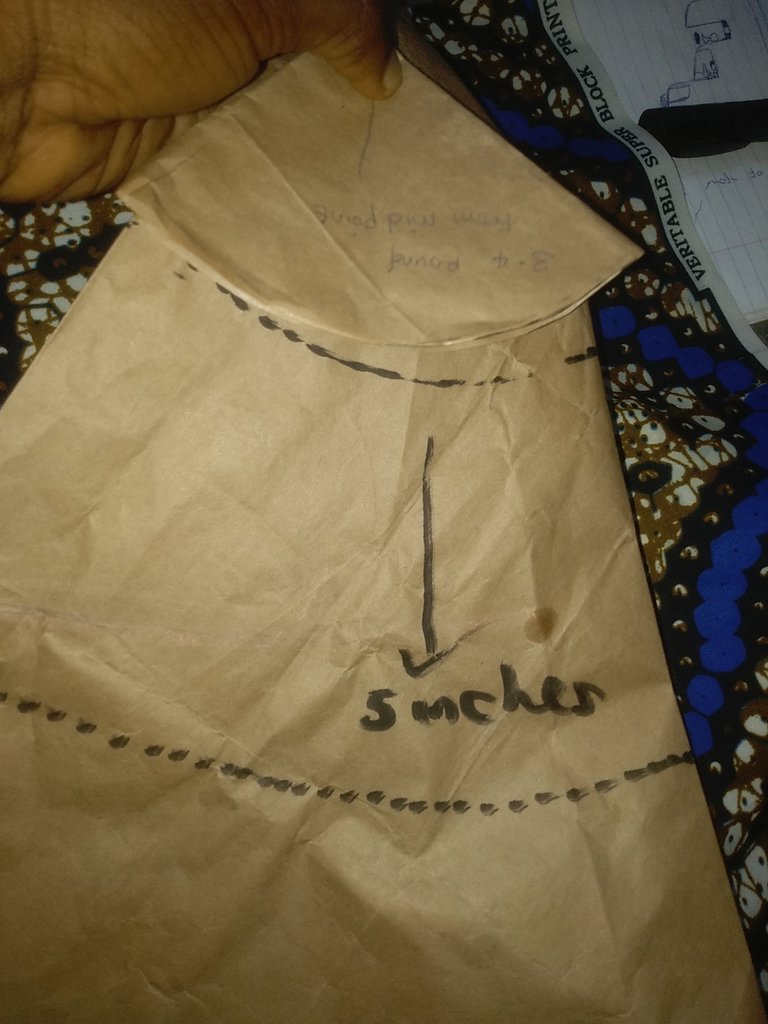
The 5 inches is the desired width of my brim.
Now, transfer all the patterns to your actual fabrics and add a 1inches allowance all around for sewing.
Then cut the same for the interfacing to make it firm.
Use your pressing iron to join the interfacing to the actual fabrics.
Join the brim to the middle part first as shown in my picture.
Do the same to the lining.
Join the top panel to it, and do the same to the lining, the right part facing each other since it's reversible, that means can be worn front or back. Left about 1 inch to turn in it out.
You can top stitch the brim panel to add beauty to it.
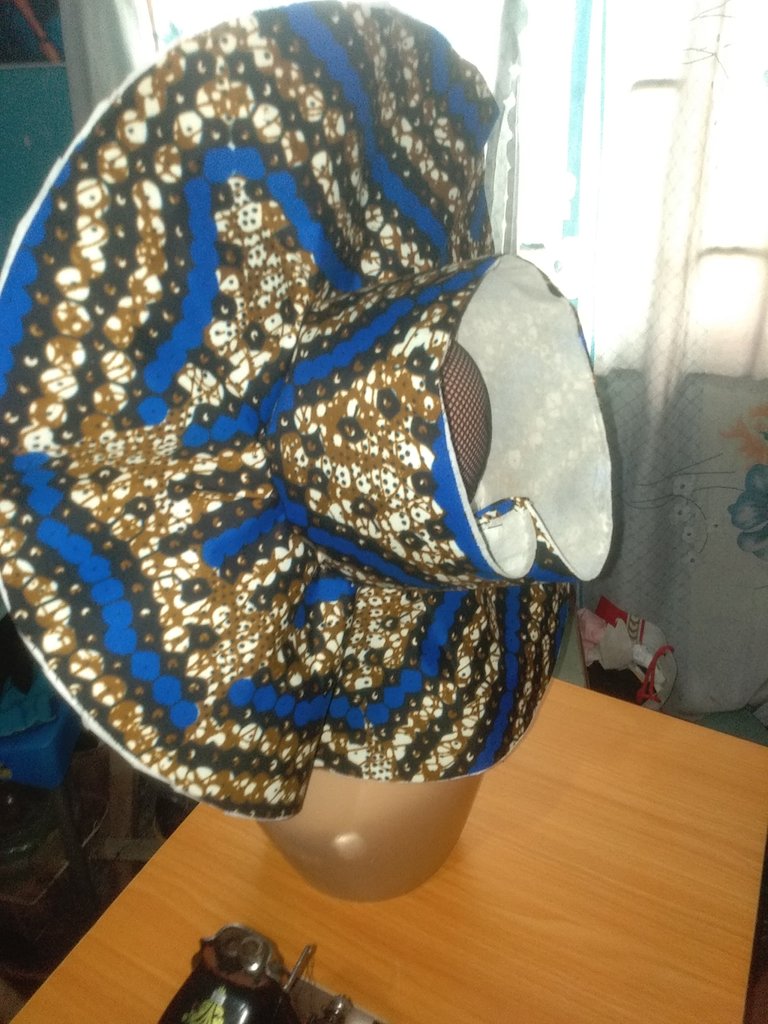
This is my result.
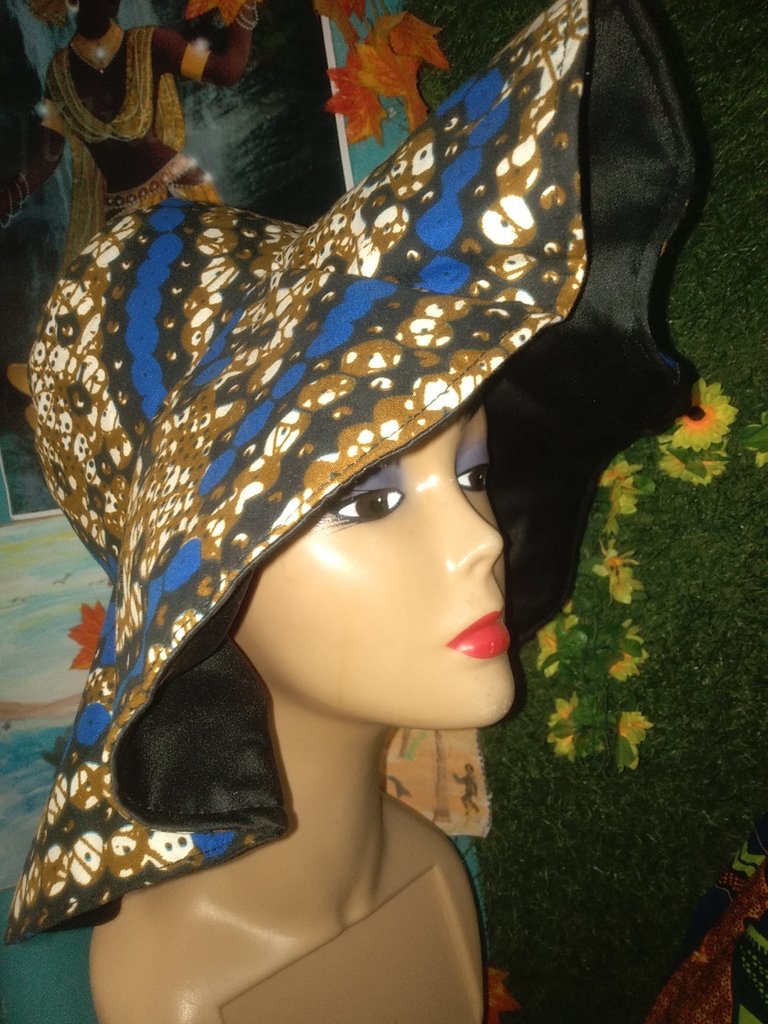
I can rock any side, either the Ankara or the plain. Hehe
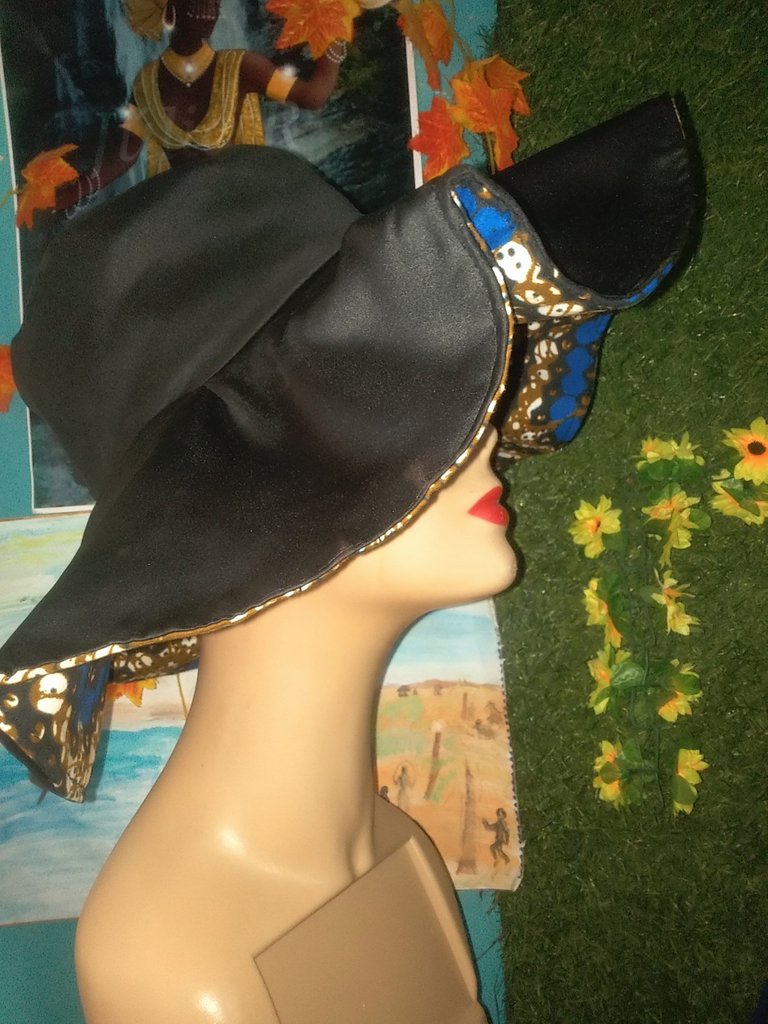

And of course, I would show you how beautiful I looked in it.
I hope you love my sun hat. Thank you for reading. All images are mine

Español
Es otra semana y estoy emocionada de compartir mis conocimientos con ustedes de nuevo. Bienvenidos a otro episodio de mis tutoriales 👌.
¿Cómo estás, amigo mío?
Hoy te enseñaré a hacer un sombrero de sol reversible.
Estoy utilizando una tela de Ankara y un raso de novia(negro)
¡¡¡¡Yas!!!! El sombrero de sol se puede usar para la playa y para ocasiones casuales, puedes usar cualquier tela aparte del tul para hacerlo.
Materiales que vas a necesitar.
-Regla de cinta adhesiva
-Papel estampado o papel de estraza
-Tijeras
-Gumstay (entretela)
-Telas reales
-Formación
-Curva francesa
-Lápiz o tiza
-Hilo
-Medida de la cabeza.
El sombrero de sol tiene tres capas.
Panel superior, panel central y panel del ala.
Paso 1
Mide la circunferencia de tu cabeza así.
Queremos obtener el panel superior.
La medida de la circunferencia de la cabeza dividida por 6,284, que es la medida estándar.
La mía es 21,5 ÷ 6,284= 3,4
Dobla las telas en 4
Coloca tu medida en ella.
Mide el 3,4 redondo desde el punto medio.
Recorta
cortar dos piezas del panel superior si se utiliza la entretela dura, pero tres piezas si se utiliza la entretela blanda.
Panel central
Paso 2
Circunferencia de la cabeza dividida por 2
La mía es 21,5÷ 2= 10,75 para el largo y luego determina el ancho de tu elección, para mí usé 5 pulgadas.
Mida horizontalmente por su respuesta la mía usé 10.75 pulgadas y 5 pulgadas verticalmente para el ancho.
Subí verticalmente 1,5 por encima de las dos líneas verticales como se muestra en la imagen.
Luego conecté la nueva medida usando mi curva francesa para formar una ligera curva. Para que se ajuste bien a la cabeza.
Recuerda siempre cortar dos piezas para cada uno de los paneles.
Panel del borde
Paso 3
Coloca el panel superior sobre tu tela doblada como si fueras a cortar un bengala cero como se muestra en las imágenes.
Las 5 pulgadas son el ancho deseado de mi ala.
Ahora, transfiere todos los patrones a tus telas reales y añade un margen de 1 pulgada alrededor para coser.
A continuación, corta lo mismo para la entretela para que quede firme.
Utiliza la plancha para unir la entretela con las telas reales.
Une primero el borde con la parte central como se muestra en mi foto.
Haz lo mismo con el forro.
Unir el panel superior a éste, y hacer lo mismo con el forro, la parte derecha enfrentada ya que es reversible, es decir, se puede llevar por delante o por detrás. Deja aproximadamente 1 pulgada para que la vuelta sea hacia afuera.
Puedes coser el panel del borde para darle más belleza.
Este es el resultado del mío.
Me puede molar cualquier lado, ya sea el Ankara o el liso. Hehe
Y por supuesto, os enseñaría lo guapa que estaba con él.
Espero que os encante mi sombrero de sol. Gracias por leerme.
Todas las imágenes son mías.
Congratulations, you have made a very well-made hat. You are really good at handmade work!
Thank you so much @arduilcelebren
WOW! This looks so great.
Thank you @twicejoy
You're welcome
!discovery 30
Thank you for visiting my blog @discovery-it and @stevenson7
This post was shared and voted inside the discord by the curators team of discovery-it
Join our community! hive-193212
Discovery-it is also a Witness, vote for us here
Delegate to us for passive income. Check our 80% fee-back Program
I would sure subscribe to your community right away.
This is really beautiful had considering how hot the weather is now and i have been looking for a shade for my head.
Have been too busy to think of a perfect measurements and I hope i can make one using yours as a template.
Thanks for sharing this detailed process ❤🌺🎉🎊
Oh, I'm glad the tips shared were helpful. Thanks for reading too.
Thank you for sharing this post on HIVE!
Your content got selected by our fellow curator jasonmunapasee & you just received a little thank you upvote from us for your great work! Your post will be featured in one of our recurring compilations which are aiming to offer you a stage to widen your audience within the DIY scene of Hive. Stay creative & HIVE ON!
Please vote for our hive witness <3
Thank you @diyhub for visiting my blog.
wow!!!!!! very cute!!!! great!!!!
Thank you @tali72 for visiting my blog and leaving a comment.
This post is really helpful, thanks for sharing.
I'm happy to share,thanks for reading.