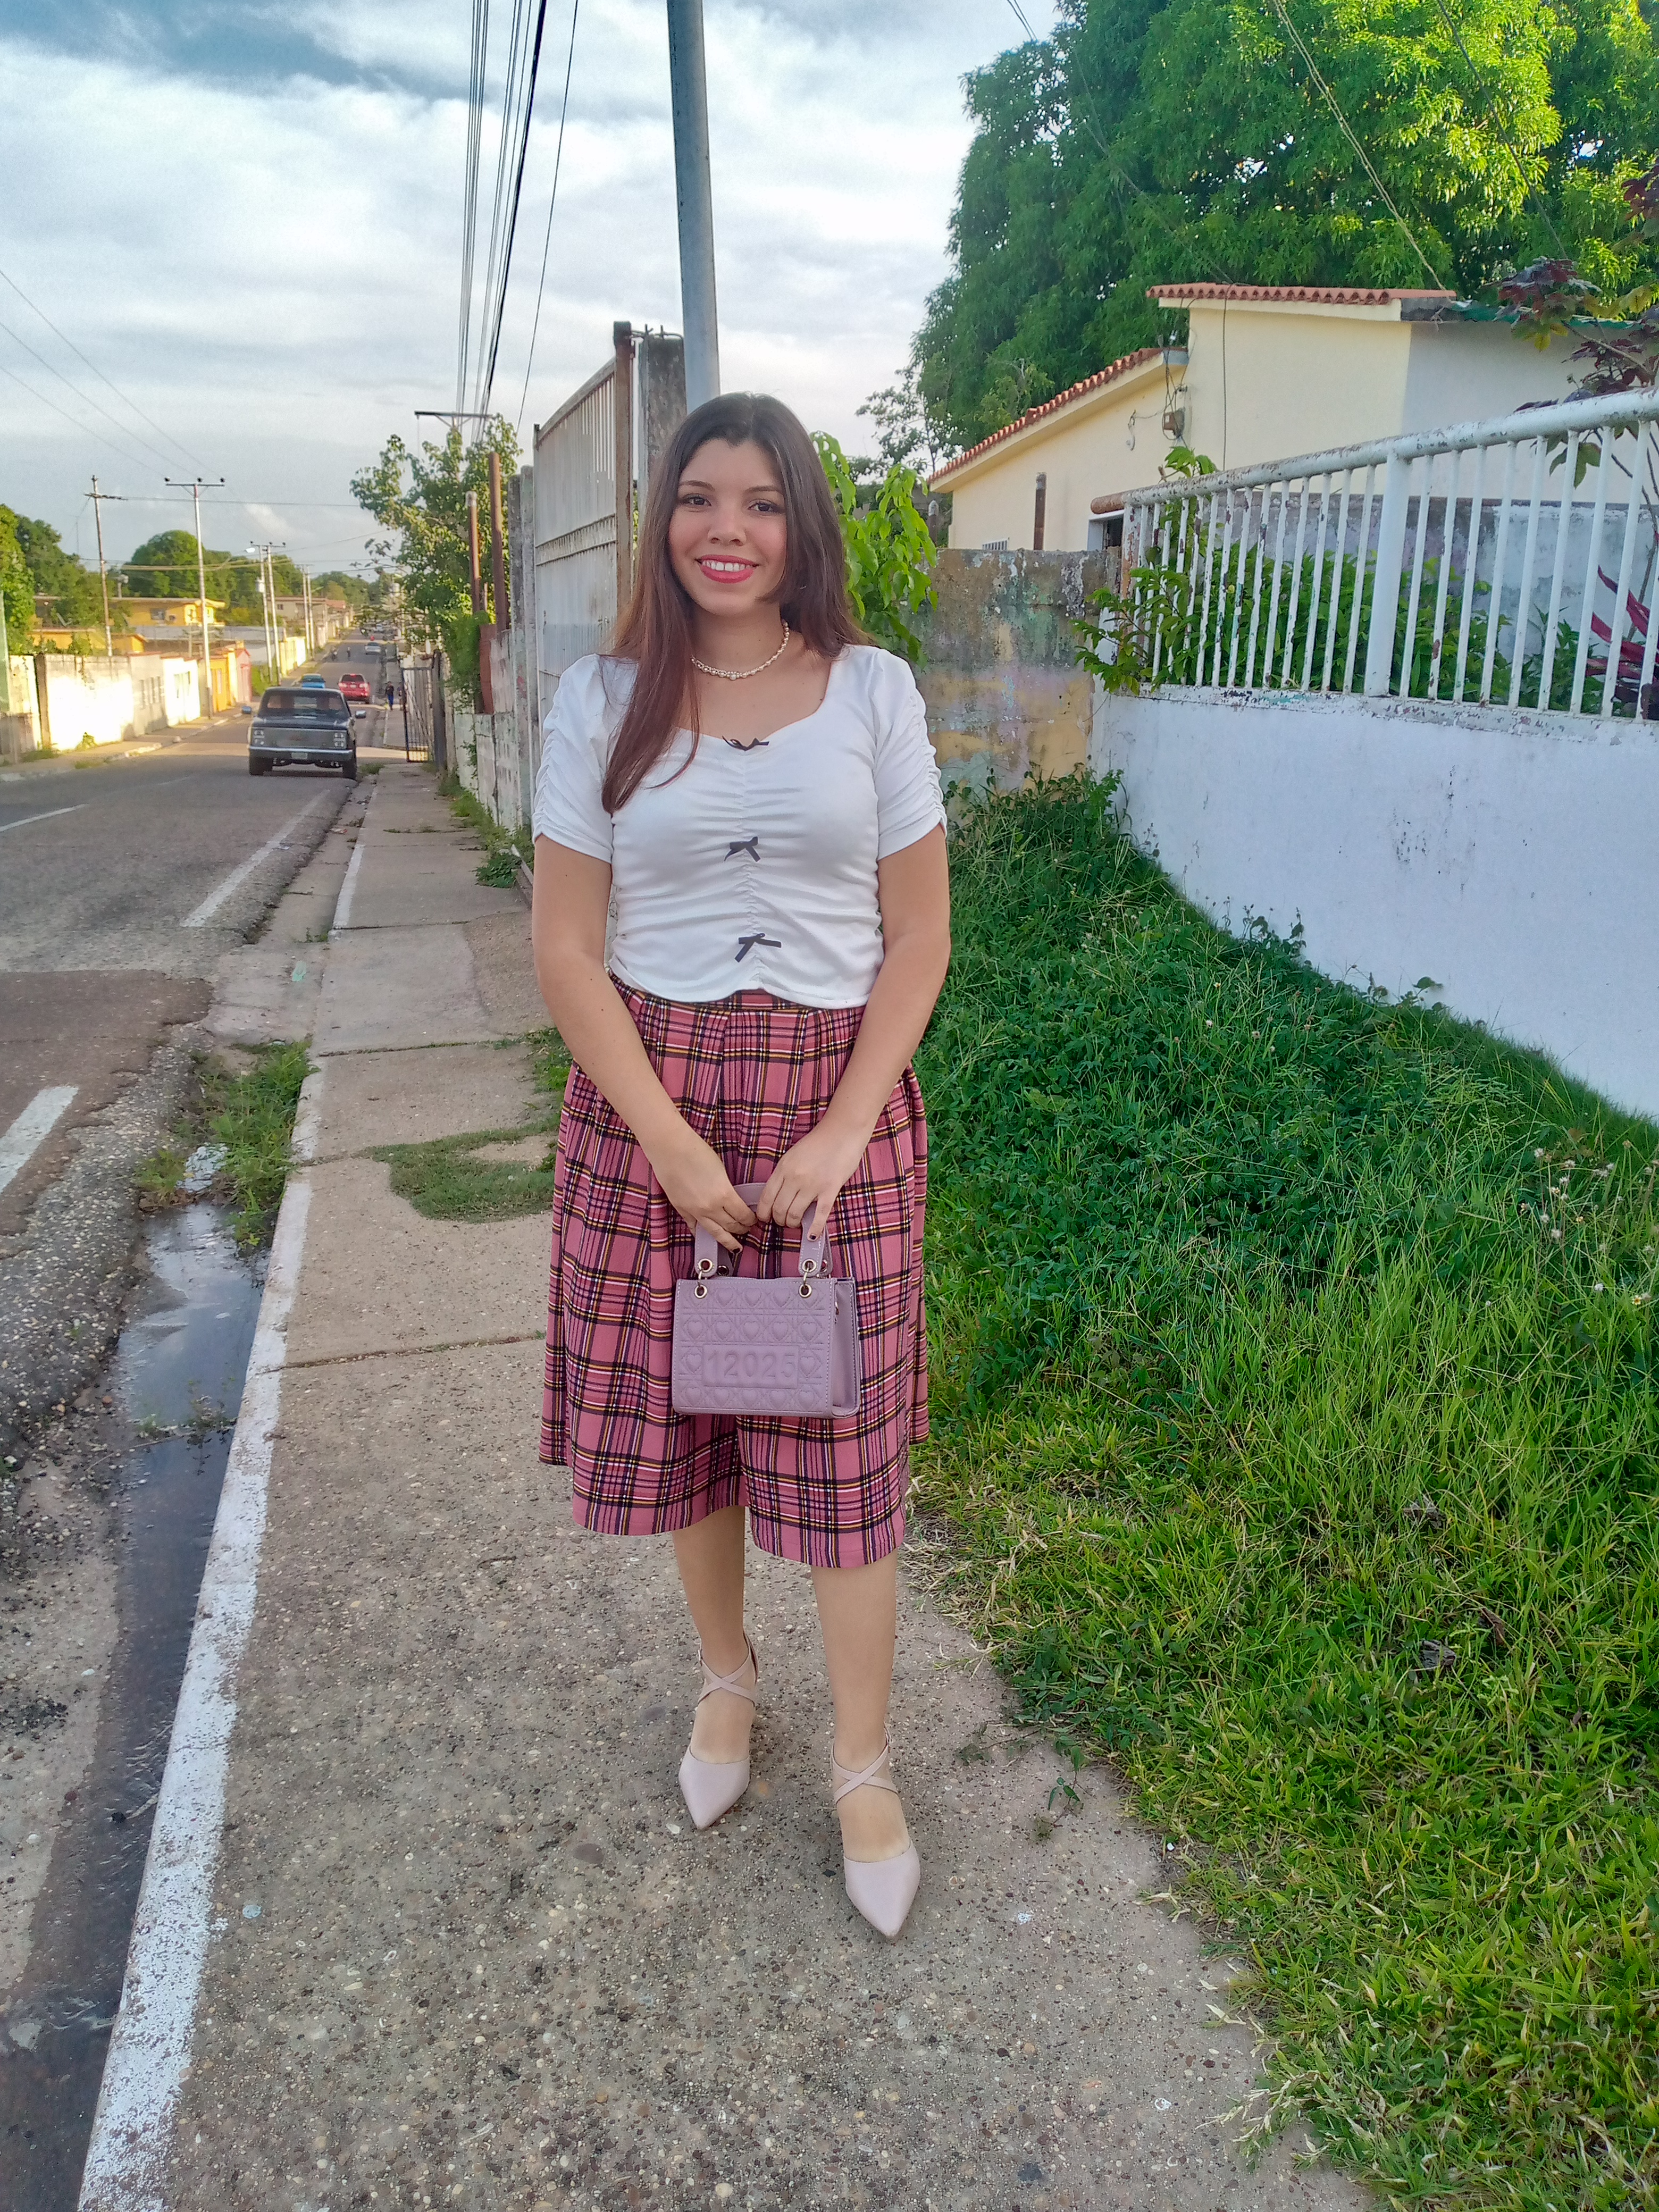
Bienvenidos a un segmento de costura conmigo yo soy ¡Annie! 💖🧵y vengo a enseñarte trucos de costura.|Welcome to a sewing segment with me! I'm Annie! 💖🧵 and I'm here to teach you sewing tips.


Yes friends today I will be teaching you how you can simply and easily place straps on your open blouses in the bust area (front of the blouse) this time we are going to place straps and bias to a blouse that I had with an opening precisely as I am telling you in the front of the bust in the chest, as you can see I will be using a piece of black fabric to match the black stripes of the blouse and make the straps stand out much more, placing bias and straps on blouses is very easy more than you think that is why today I will be teaching it to you, sit back comfortably because here in this tutorial you will learn how to place straps on your blouses and give a prettier touch to your clothes, whether for short blouses or sweaters.

Pasos a seguir: | Steps to follow:


Paso 01
Step 01
At the beginning I mentioned that I will be using a piece of fabric that I got from my scraps to make the straps, so I will cut four straps and one for the bias, what are the measurements? Well, they are the following: The straps have a length of 20 cm x 3 cm wide and the bias strap is 15 cm long x 3 cm wide too, in the front of the blouse as mine already had the open part because I had previously placed the zipper, it was not necessary to make an opening. In this case, my opening is 12 cm long, but if in your case you want to make the opening in the blouse for the first time, simply place the blouse double, mark the length, making a point as a reference, cut and make the shape of the opening a little oval.


Paso 02
Step 02
Ok, once I have my bias cuts and the opening of the blouse, I will place the bias that I made for the bias on the back of the blouse, right at the point where the neck bias ends. There I will place a pin to hold it while I sew, and we will sew along the bottom in a straight seam, stretching the bias a little.


Paso 03
Step 03
Once we sew the bias along the bottom, I proceed to sew or overlock it, making a small fold and then I will join one of the bias strips of the straps to the top piece of the neck with a straight seam. Then, I will also sew it from one end of the bias strip and take the seam inwards right to the end of my neck bias strip.


Paso 04
Step 04
Once we sew the bias to the tip of the neck, it looks as perfect as shown in the image... Now I proceed to sew the other biases in the same way as I sewed the bias on the top and we will simply sew them down 4 cm below the neck bias, we place the two on both parts of the neck and that's it, let's see how it looks.

Resultado: | Result:
Well friends, this is how my neck looks with straps already placed and finished, without a doubt I like the difference it has and gives a blouse when we put straps on it, our garment looks much more sensual, as I mentioned before we can apply this technique to dresses and other garments that we want to change their appearance, it is a matter of your imagination how to put straps on your garments and give them a different change, I hope you liked this idea, I wish you a beautiful morning friends God bless you.


¡Hola!...Soy Annie
Una chica que le apasiona el diseño,la costura las manualidades y crear cualquier cosa de mucho uso con mis manos,tengo como hobbie la música ,el maquillarme,la pintura y el dibujo,expresar mis ideas y sentimientos en un dibujo es algo que me gusta hacer,amo la naturaleza,un atardecer ,la playa y disfrutar con mis familiares de los buenos momentos de la vida.❤️
Creando las cosas con amor🌷♥️ | Creating things with love🌷♥️

Images:my own work | Edited by:Canva® and PicsArt © | Translator:Google Translate |Device:TecnoSpark 8C .

It is fashionable, charming, and beautiful. Its design stands out. Love it. You did a great job! Thanks!
selected by @rezoanulvibes
Thanks 😇
Interesante técnica. Gracias por compartir 😍👍
🤗❤️Saludos!!!...