Good morning needle lovers, I hope you are having an excellent week with the guidance of our God 🥰, in this blog and this tutorial I want to teach you how to do something different that if you still don't know how to do it, you will be very interested in learning how to make this cute tie for children with your fabric scraps, continuing with the theme of reusing our scraps that we have in our home, we are going to start doing a series of things that I want to teach you from your fabric scraps, those that you have left over from previous projects and that you don't know what to do with them🤷🏻♀️.

We start this time with top #2 of little things and seams made with scraps because previously I had taught you how to make a pincushion that you can find in my profile there is the complete tutorial on how to do it and how pretty it looks🥰, you will see that to make this tie you do not need a lot of fabric just a little is enough to make it, I show you the materials that we will use here below and the process, I hope you like it 🤭.
Materiales:// Materials:
- Retazos de tela
- Tijera
- Plancha de ropa
- Hilo de coser
- Maquina de coser
- Alfileres
- Fabric scraps
- Scissors
- Clothing iron
- Sewing thread
- Sewing machine
- Pins
Pasos a seguir://Steps to follow:
Paso 01
Step 01
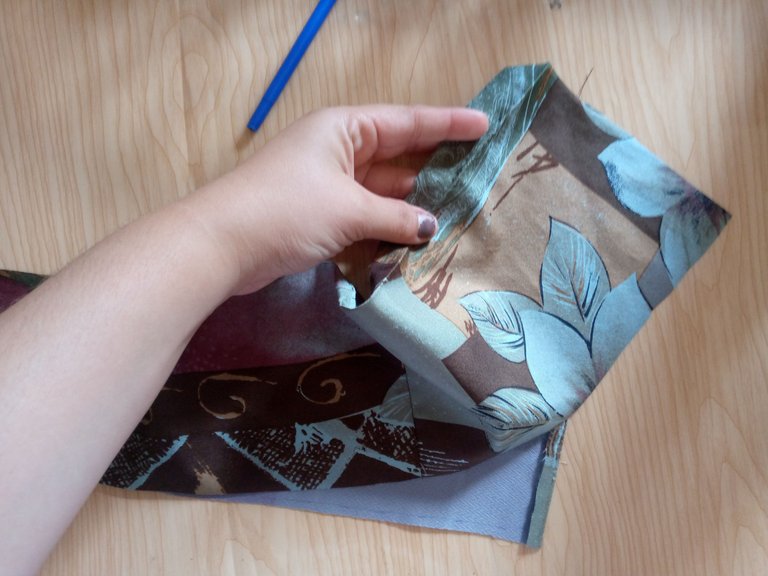
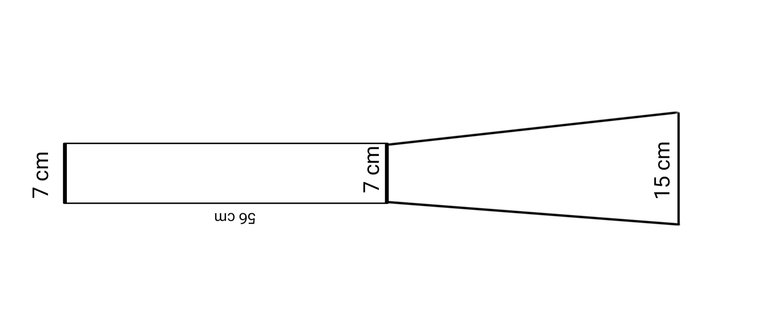
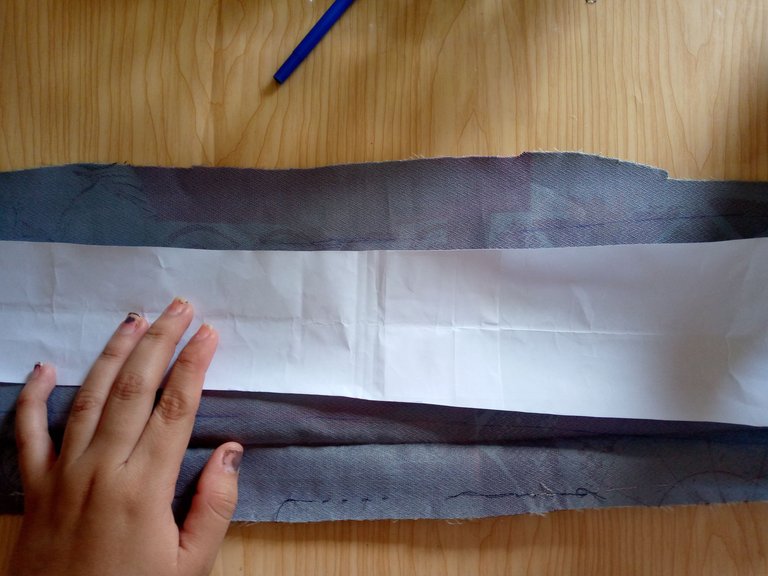
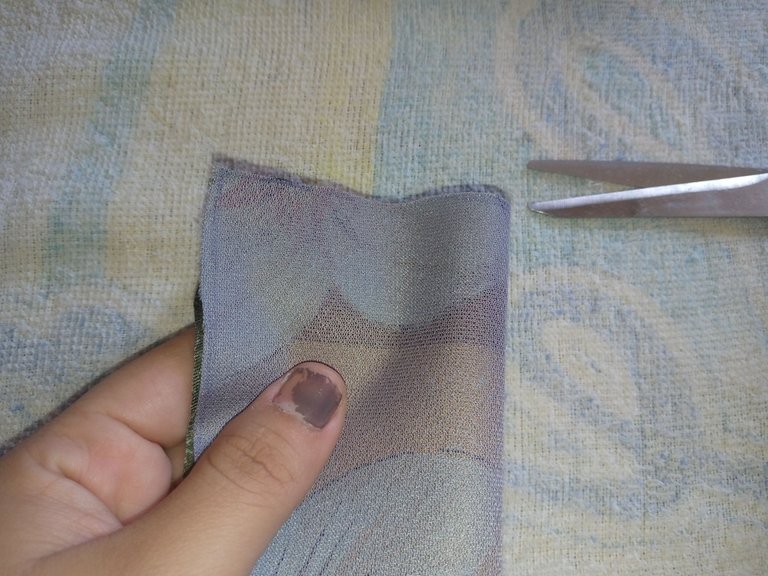
We start first by cutting our scrap of fabric with our pattern that I am going to leave it here for you to learn how to make yours 🥰, as it is a tie for children we will not make it so long but if of course it is a child from 11 years old then the tie will have a little more longer measurement, that depends on the age of the child for whom we will make this tie, then we then place the pattern on top of our fabric and you can hold it with pins so that it does not roll and we cut to then fold the corners place a pin and proceed to sew.

Paso 02
Step 02
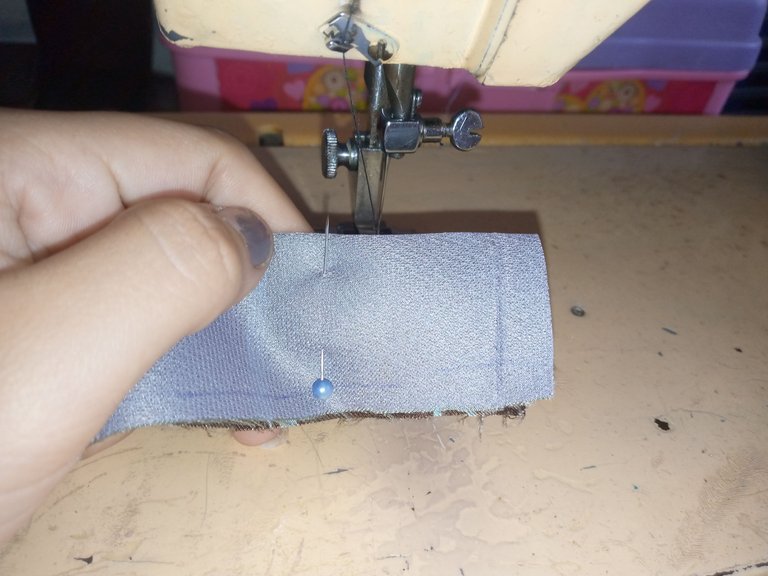
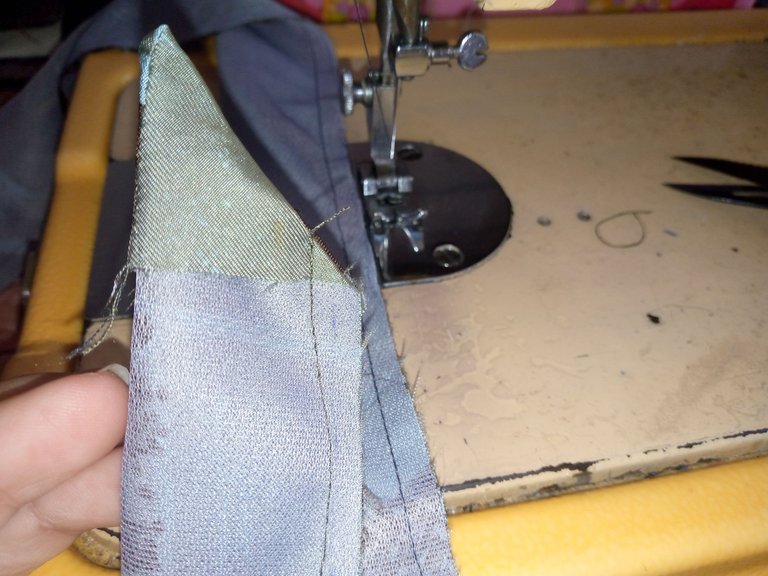
We are going to sew the corners afterwards, leaving 1 cm of seam inside and we make a small slanted cut and turn only this piece over, which we are going to place the tip inwards only in the middle and we are going to pass our hot iron there at medium level so that our fabric does not burn and then we iron the corners in the shape of a triangle the same as with the smallest corner on the other side.

Paso 03
Step 03
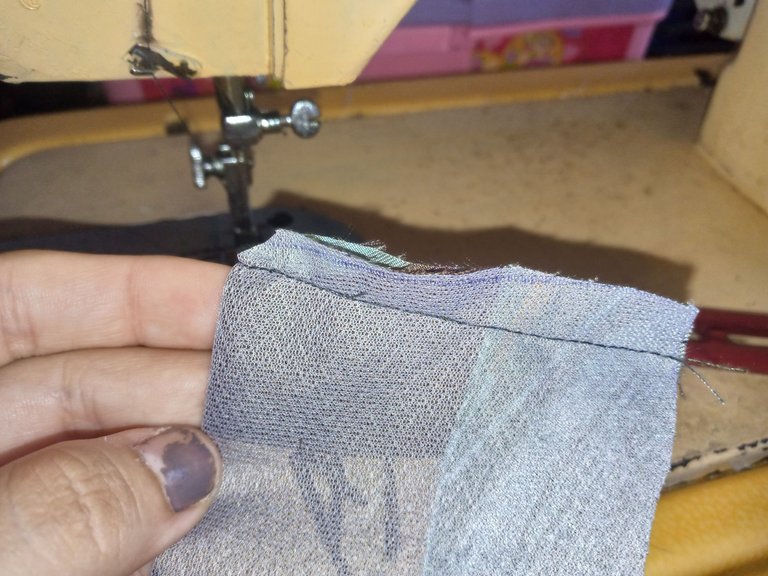
Then we will fold the fabric in half of the tie and leaving 1 cm of seam, we will again sew with a straight seam the entire tie completely to the bottom in a straight manner.
Paso 04
Step 04
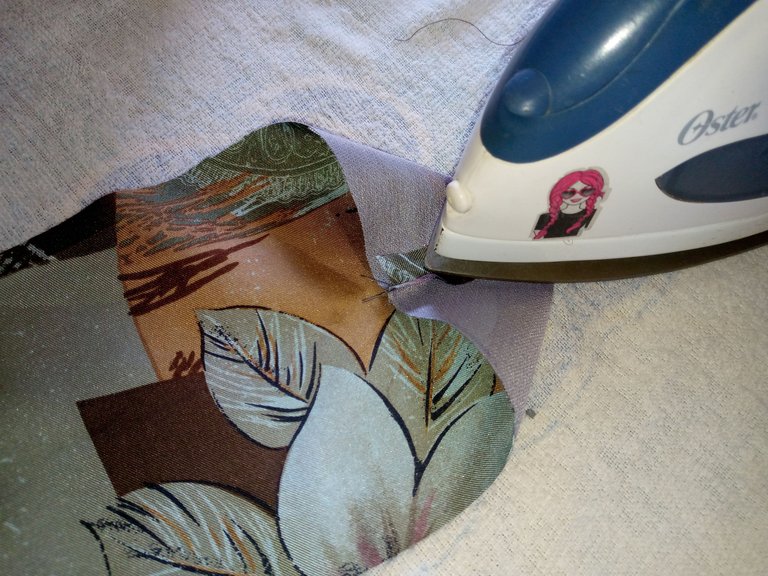
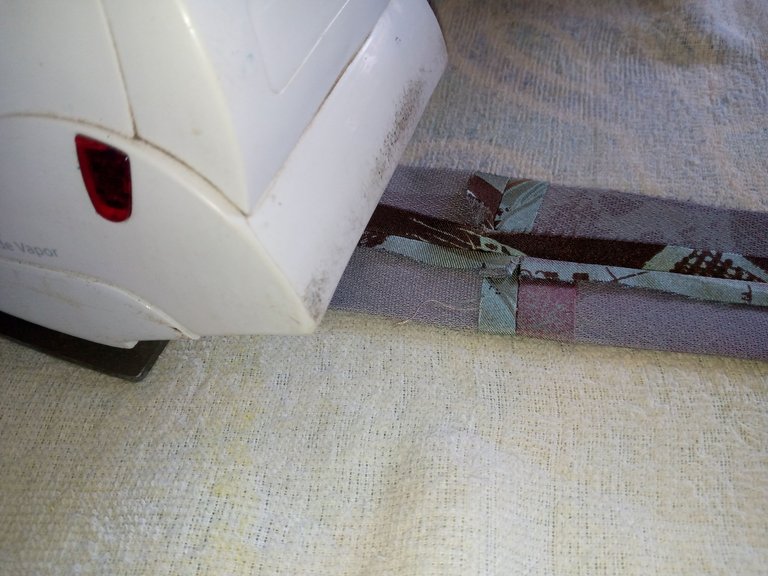
We proceed next, still without turning our tie over, and we are going to iron it in the middle, opening the half where we have sewn to give the tie a good finish. Then we turn it over and iron it over the tie again, and that's all, folks.
Resultado:// Result:
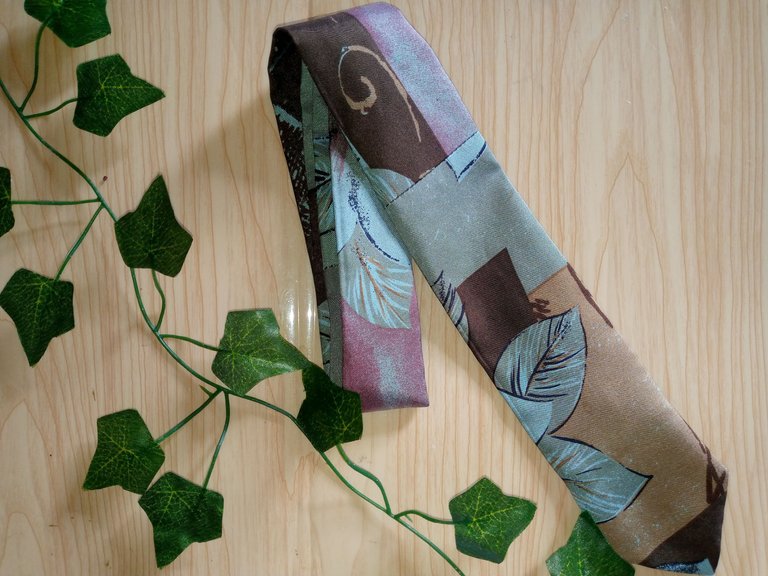
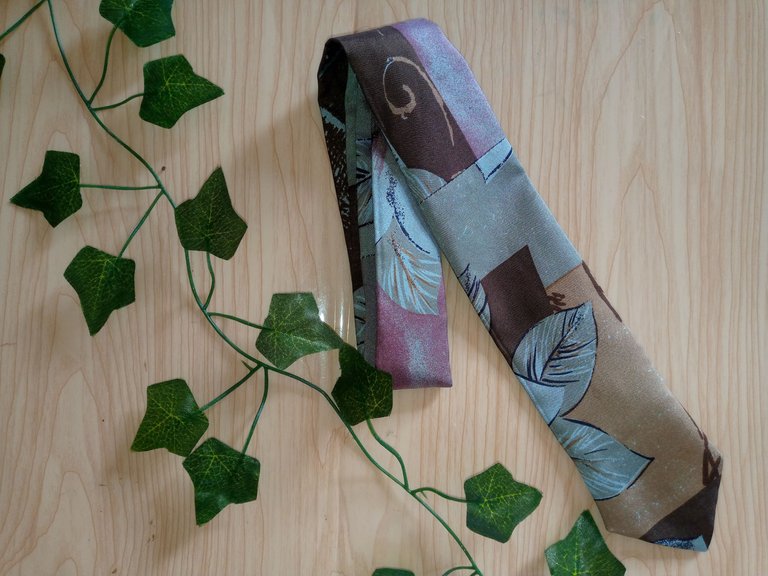
This is how our finished tie looks like 😍 well ironed and ready to wear, if you want it longer you can of course add more centimeters to the length of your tie that you want, I would be happy to know that you liked this work and I hope this tutorial is very useful to make ties for your children and whoever you want to make them for, I say goodbye friends wishing you a beautiful and happy day, see you soon. 👋🏻.
Creating things with love 🌷❤️
🦋✨ All the images in this publication are my author ,📱taken with my TecnoSpark8C cell phone |📸Photos edited in PicsArt and Canva. Text translated in Google Translate.
This turned out great, thanks for showing us the entire process, we are so proud to be part of your creative journey.
I'm glad to know that you liked this idea, greetings