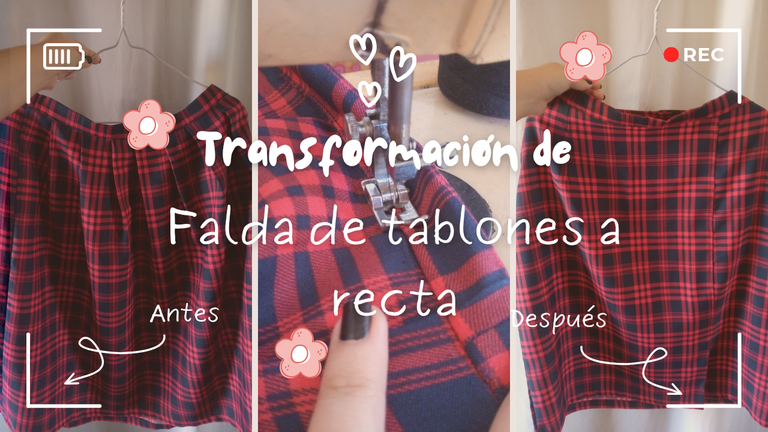
Hello needle lovers, I hope you are having a great day full of energy, well for my part I started the week doing several sewing projects that I had forgotten to do, and well I also had pending to do other sewing projects that belong to a client, but well I will do them soon, today I wanted to remodel this skirt that I was taking apart a few days ago precisely to transform it into a simpler and more comfortable style, I am not saying that pleated skirts are uncomfortable because I like them a lot, it's just that I felt that the fabric did not lend itself to making it like that with pleats since it was somewhat hard and always came up no matter how much I ironed it.
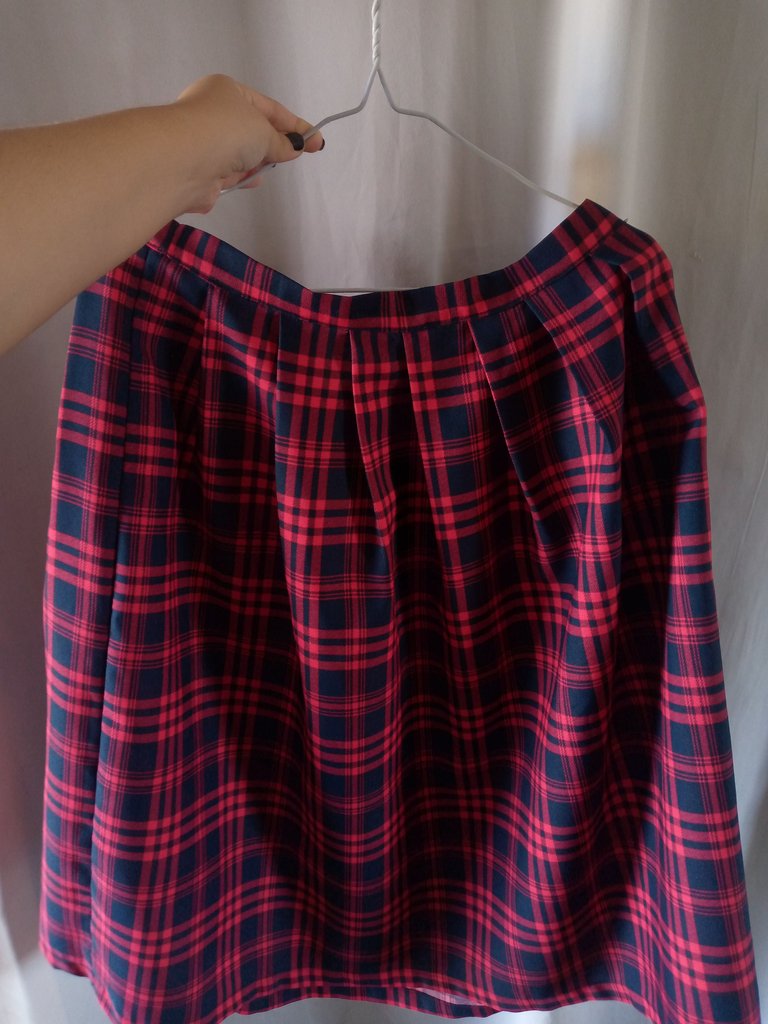
At home I have other skirt models that I really like, but it's been a while since I wore a straight A-line skirt, and well, the time has come to make this transformation to the skirt. I hope you like how it turned out in the end and the results. For now, I want you to join me in the process.
Pasos a seguir://Steps to follow:
Paso 01
Step 01
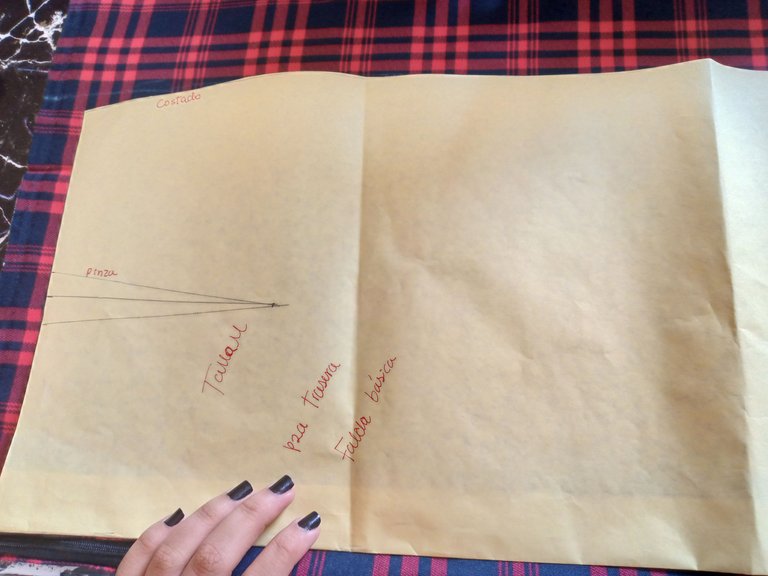
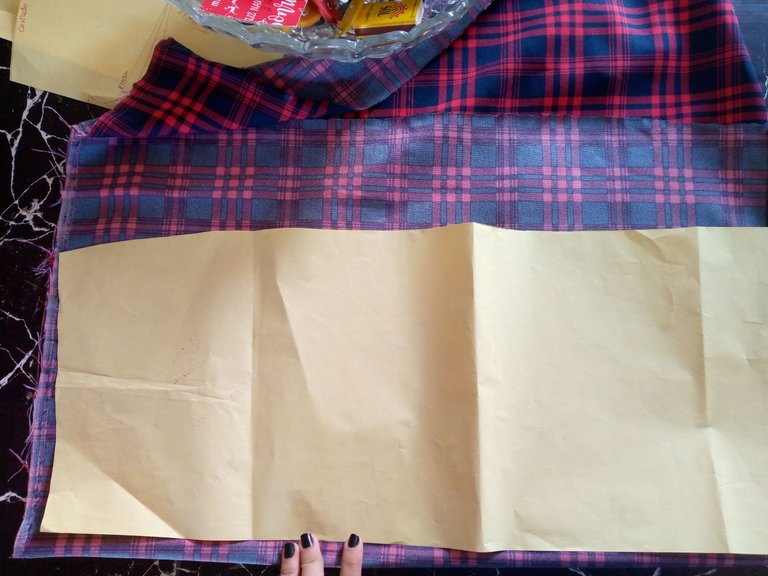
To make the transformation it was necessary to take apart the pieces such as the waistband of the skirt I had previously and the hem part only from the sides to then cut the sides of the skirt and reduce the front and back pieces and replace them with the pattern pieces of my glued straight skirt, these patterns can be made by guiding yourself by a skirt that fits you well or also by a measurement that you know will fit you just right.
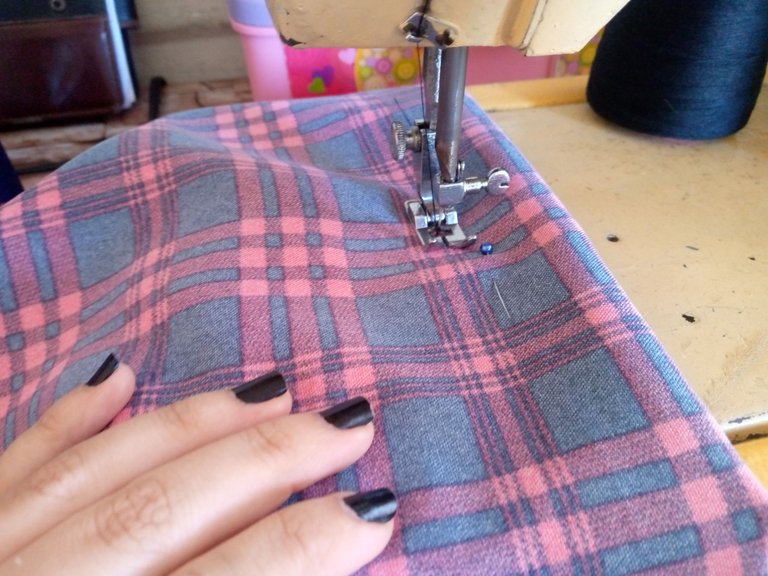

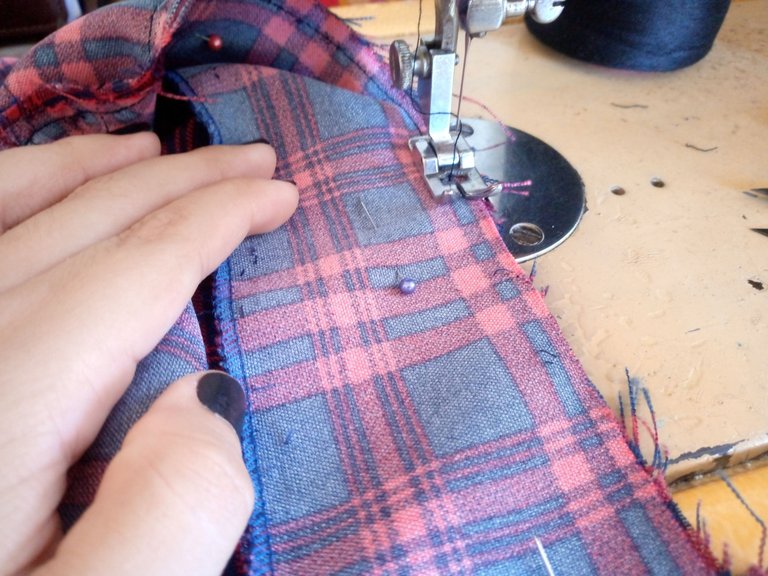
Paso 02
Step 02
I wanted to make a small board in the front of the piece only on the right side as well as a small fold for this I cut the front part a little wider than the original measurement if you want to do it with this fold but if not you can leave the front piece normal, then with a pin I held it and sewed from below then resting this same piece on the top facing right our fold and sewed the darts that are 12 cm long each with 1.5 cm wide at the top of the waist the dart is marked then I also held it with a pin and sewed it, that's what I did with the darts on the back piece.
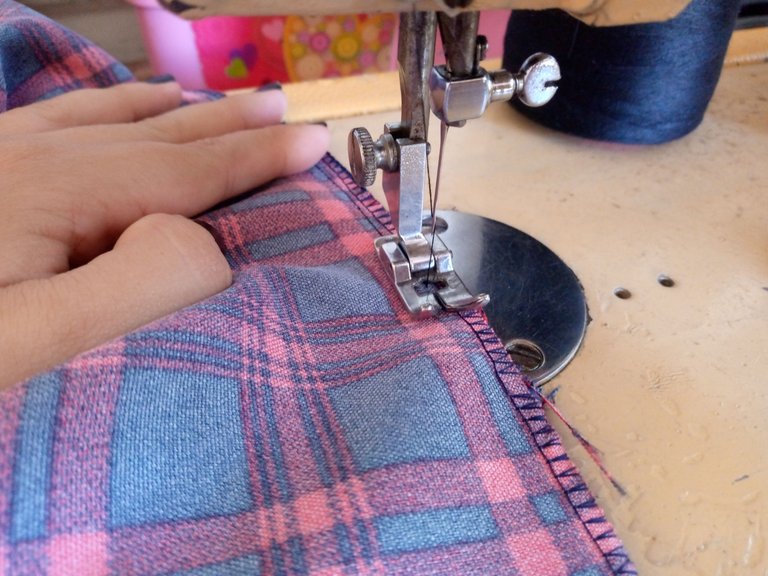
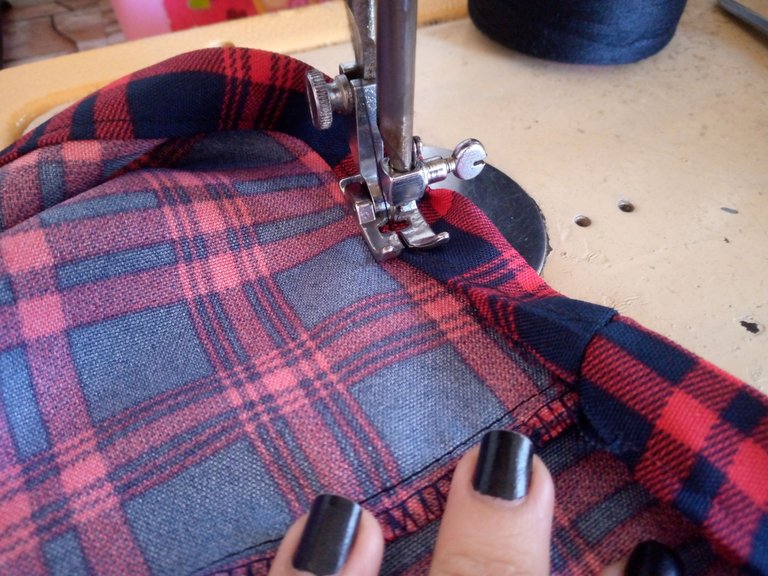
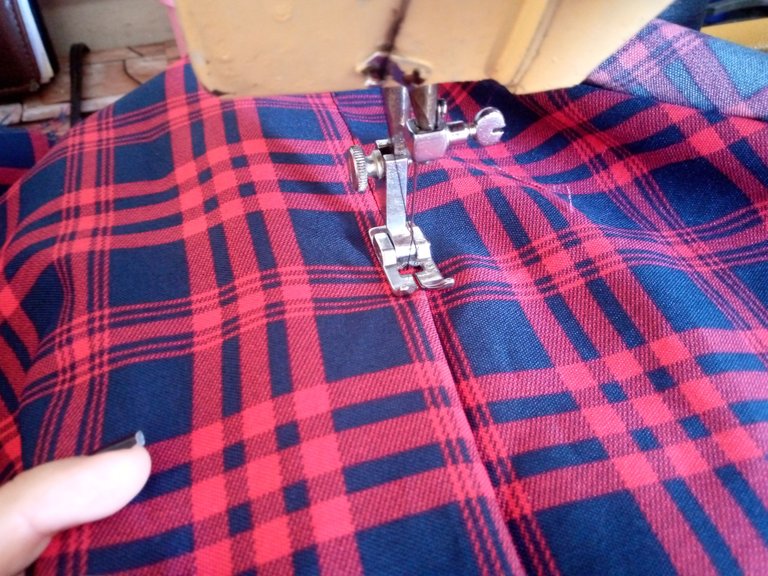
Paso 03
Step 03
At this point in the process, it was time to sew the sides, either with an overlock or a zigzag machine; any machine you have will be very helpful. We also reinforce the seam with a straight stitch along the edge and then we complete our hem at the bottom, taking it to the top of the skirt just like the other one she had, so it won't be noticeable that we unstitched this hem previously.
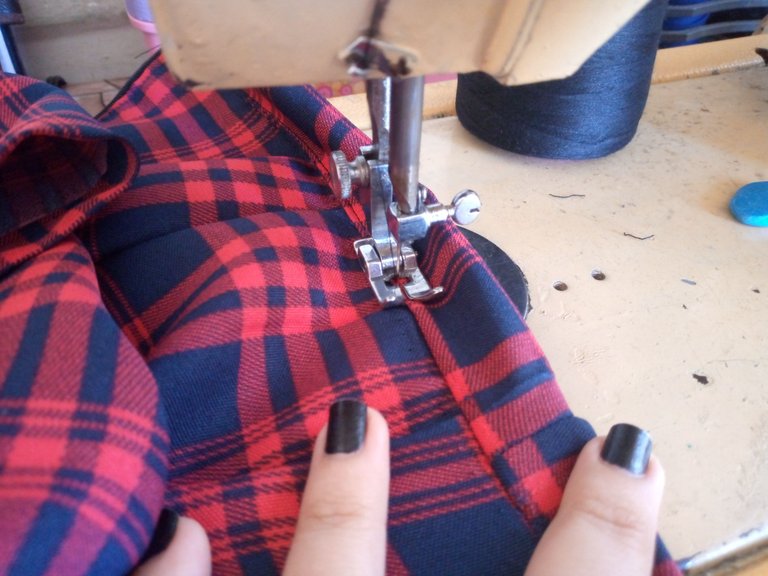
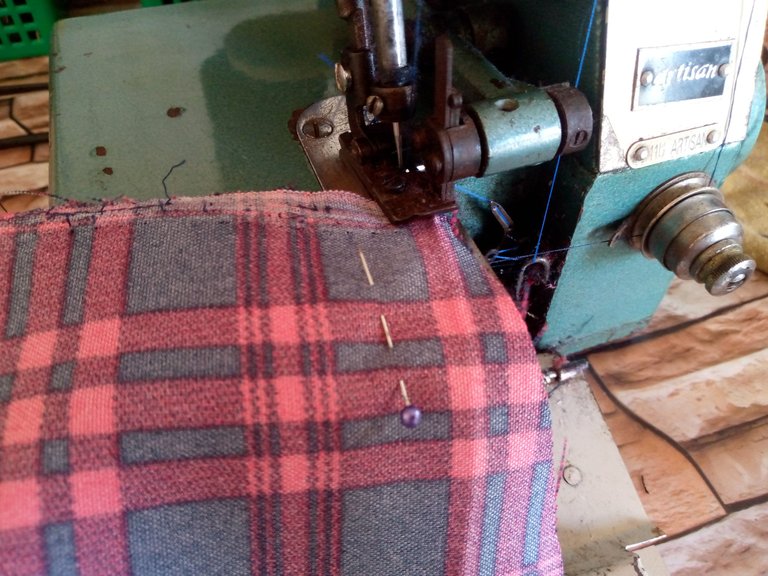
Paso 04
Step 04
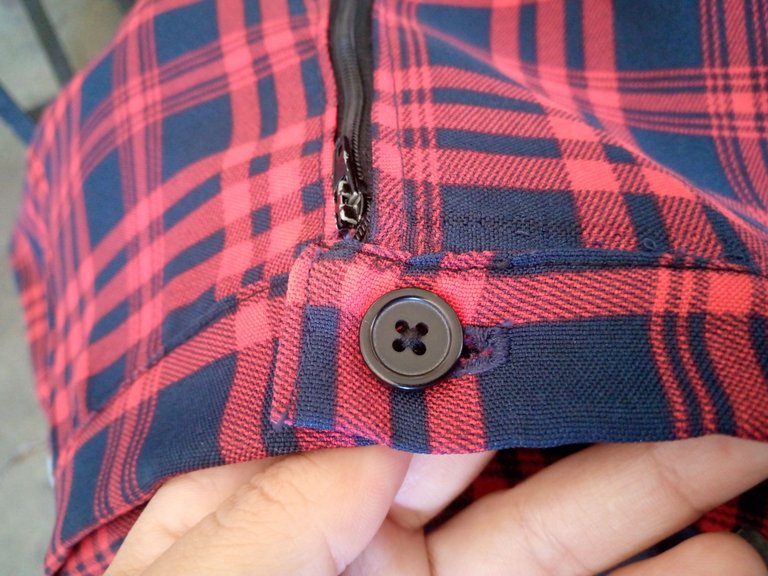
I will sew the edge of the waistband that faces inwards with an overlock and I will place it around the entire contour of my skirt with some pins so that I can sew without my skirt or the waistband rolling down. Then we will sew along the bottom and then the top, pressing the part of the waistband on the inside so that it is sealed with the seam we made on top. To finish, I will sew the button that we removed from the waistband and that's how we finish it.
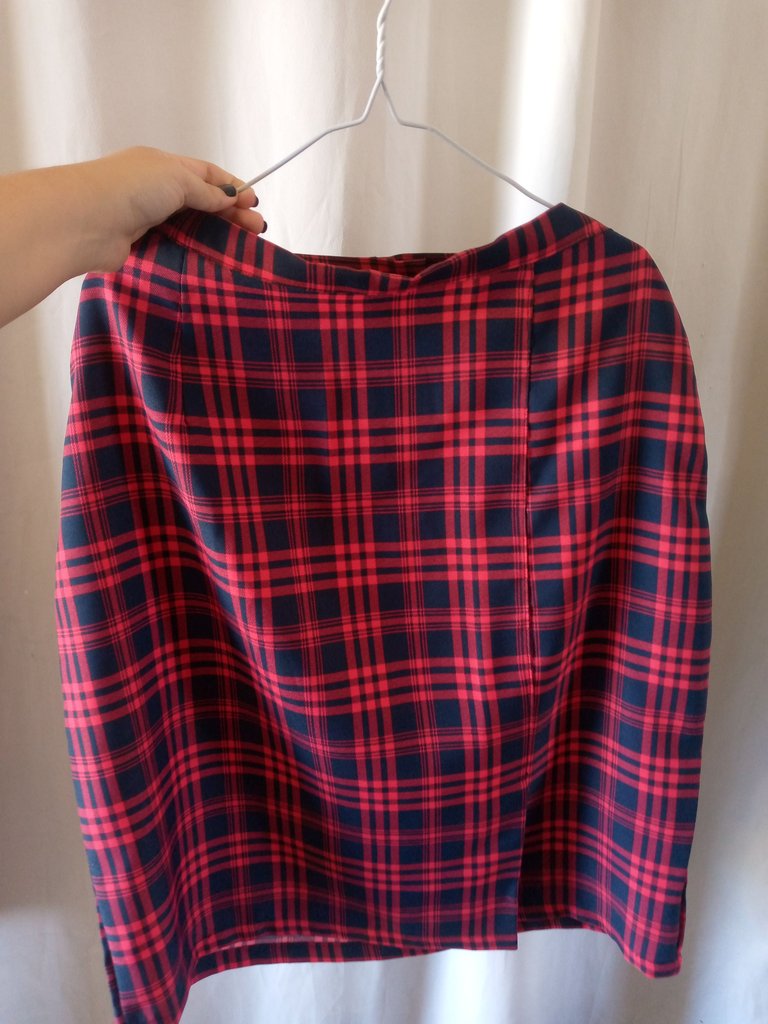
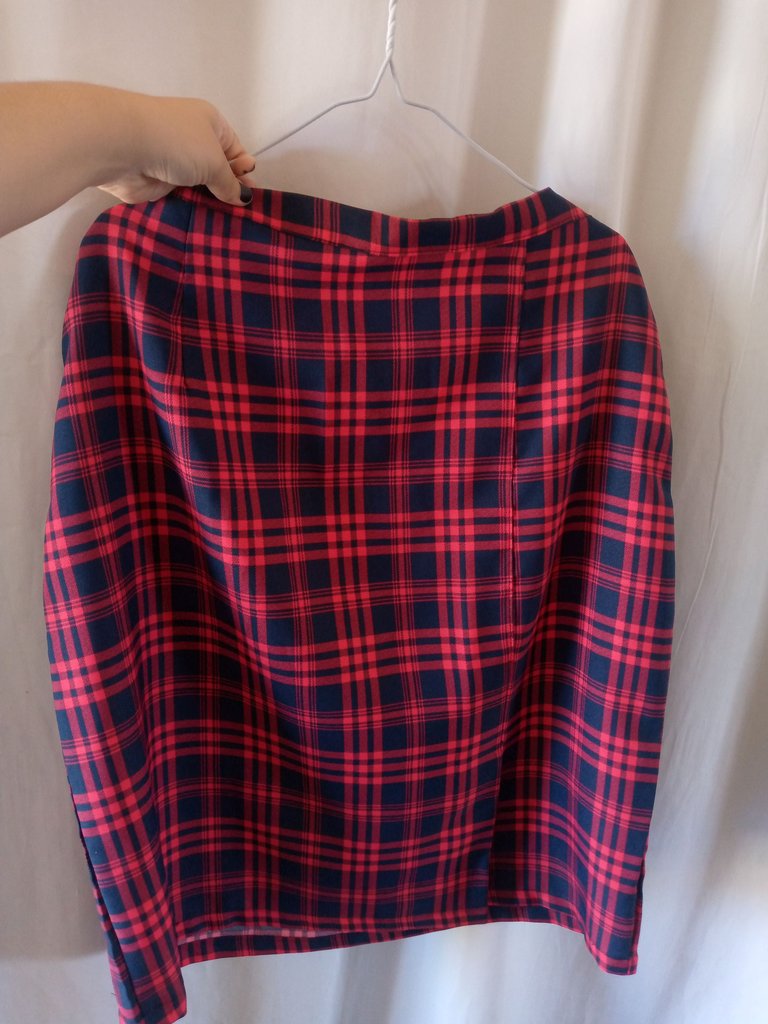
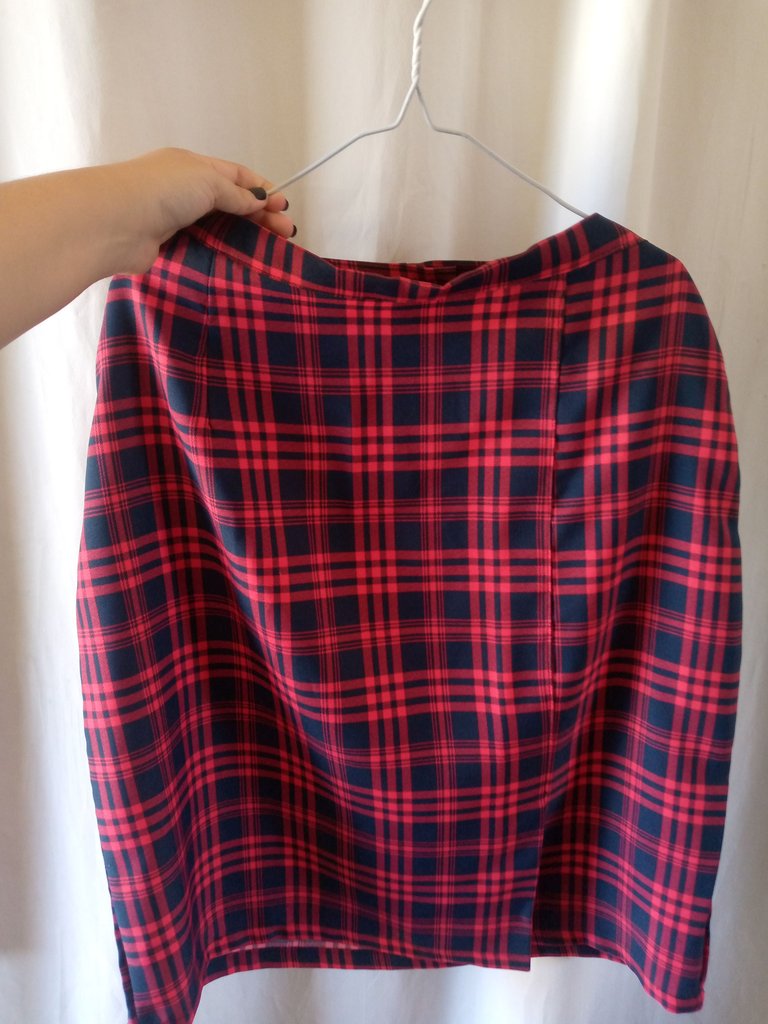
Resultado:// Result:
This way you can really appreciate the change and transformation that we have given to my skirt. The truth is that I really like how it turned out and of course it was just right for me. I will soon wear it to go out and have Sunday meetings. If you liked this transformation, do not hesitate to comment on what you think. I will gladly respond to your lovely and appreciated comments.
Once again, thank you for joining me on a new sewing blog and I hope to be able to share another sewing project with you again 🪡🧵, greetings and I wish you a beautiful and happy afternoon, see you 🥰🤗❤️....
Creating things with love 🌷❤️
🦋✨ All the images in this publication are my author ,📱taken with my TecnoSpark8C cell phone |📸Photos edited in PicsArt and Canva. Text translated in Google Translate.
Great transformation. The straight skirt looks so clean and stylish. you really nailed the adjustment. Bravo.
Thank you so much friend @diyhub 👋🏻