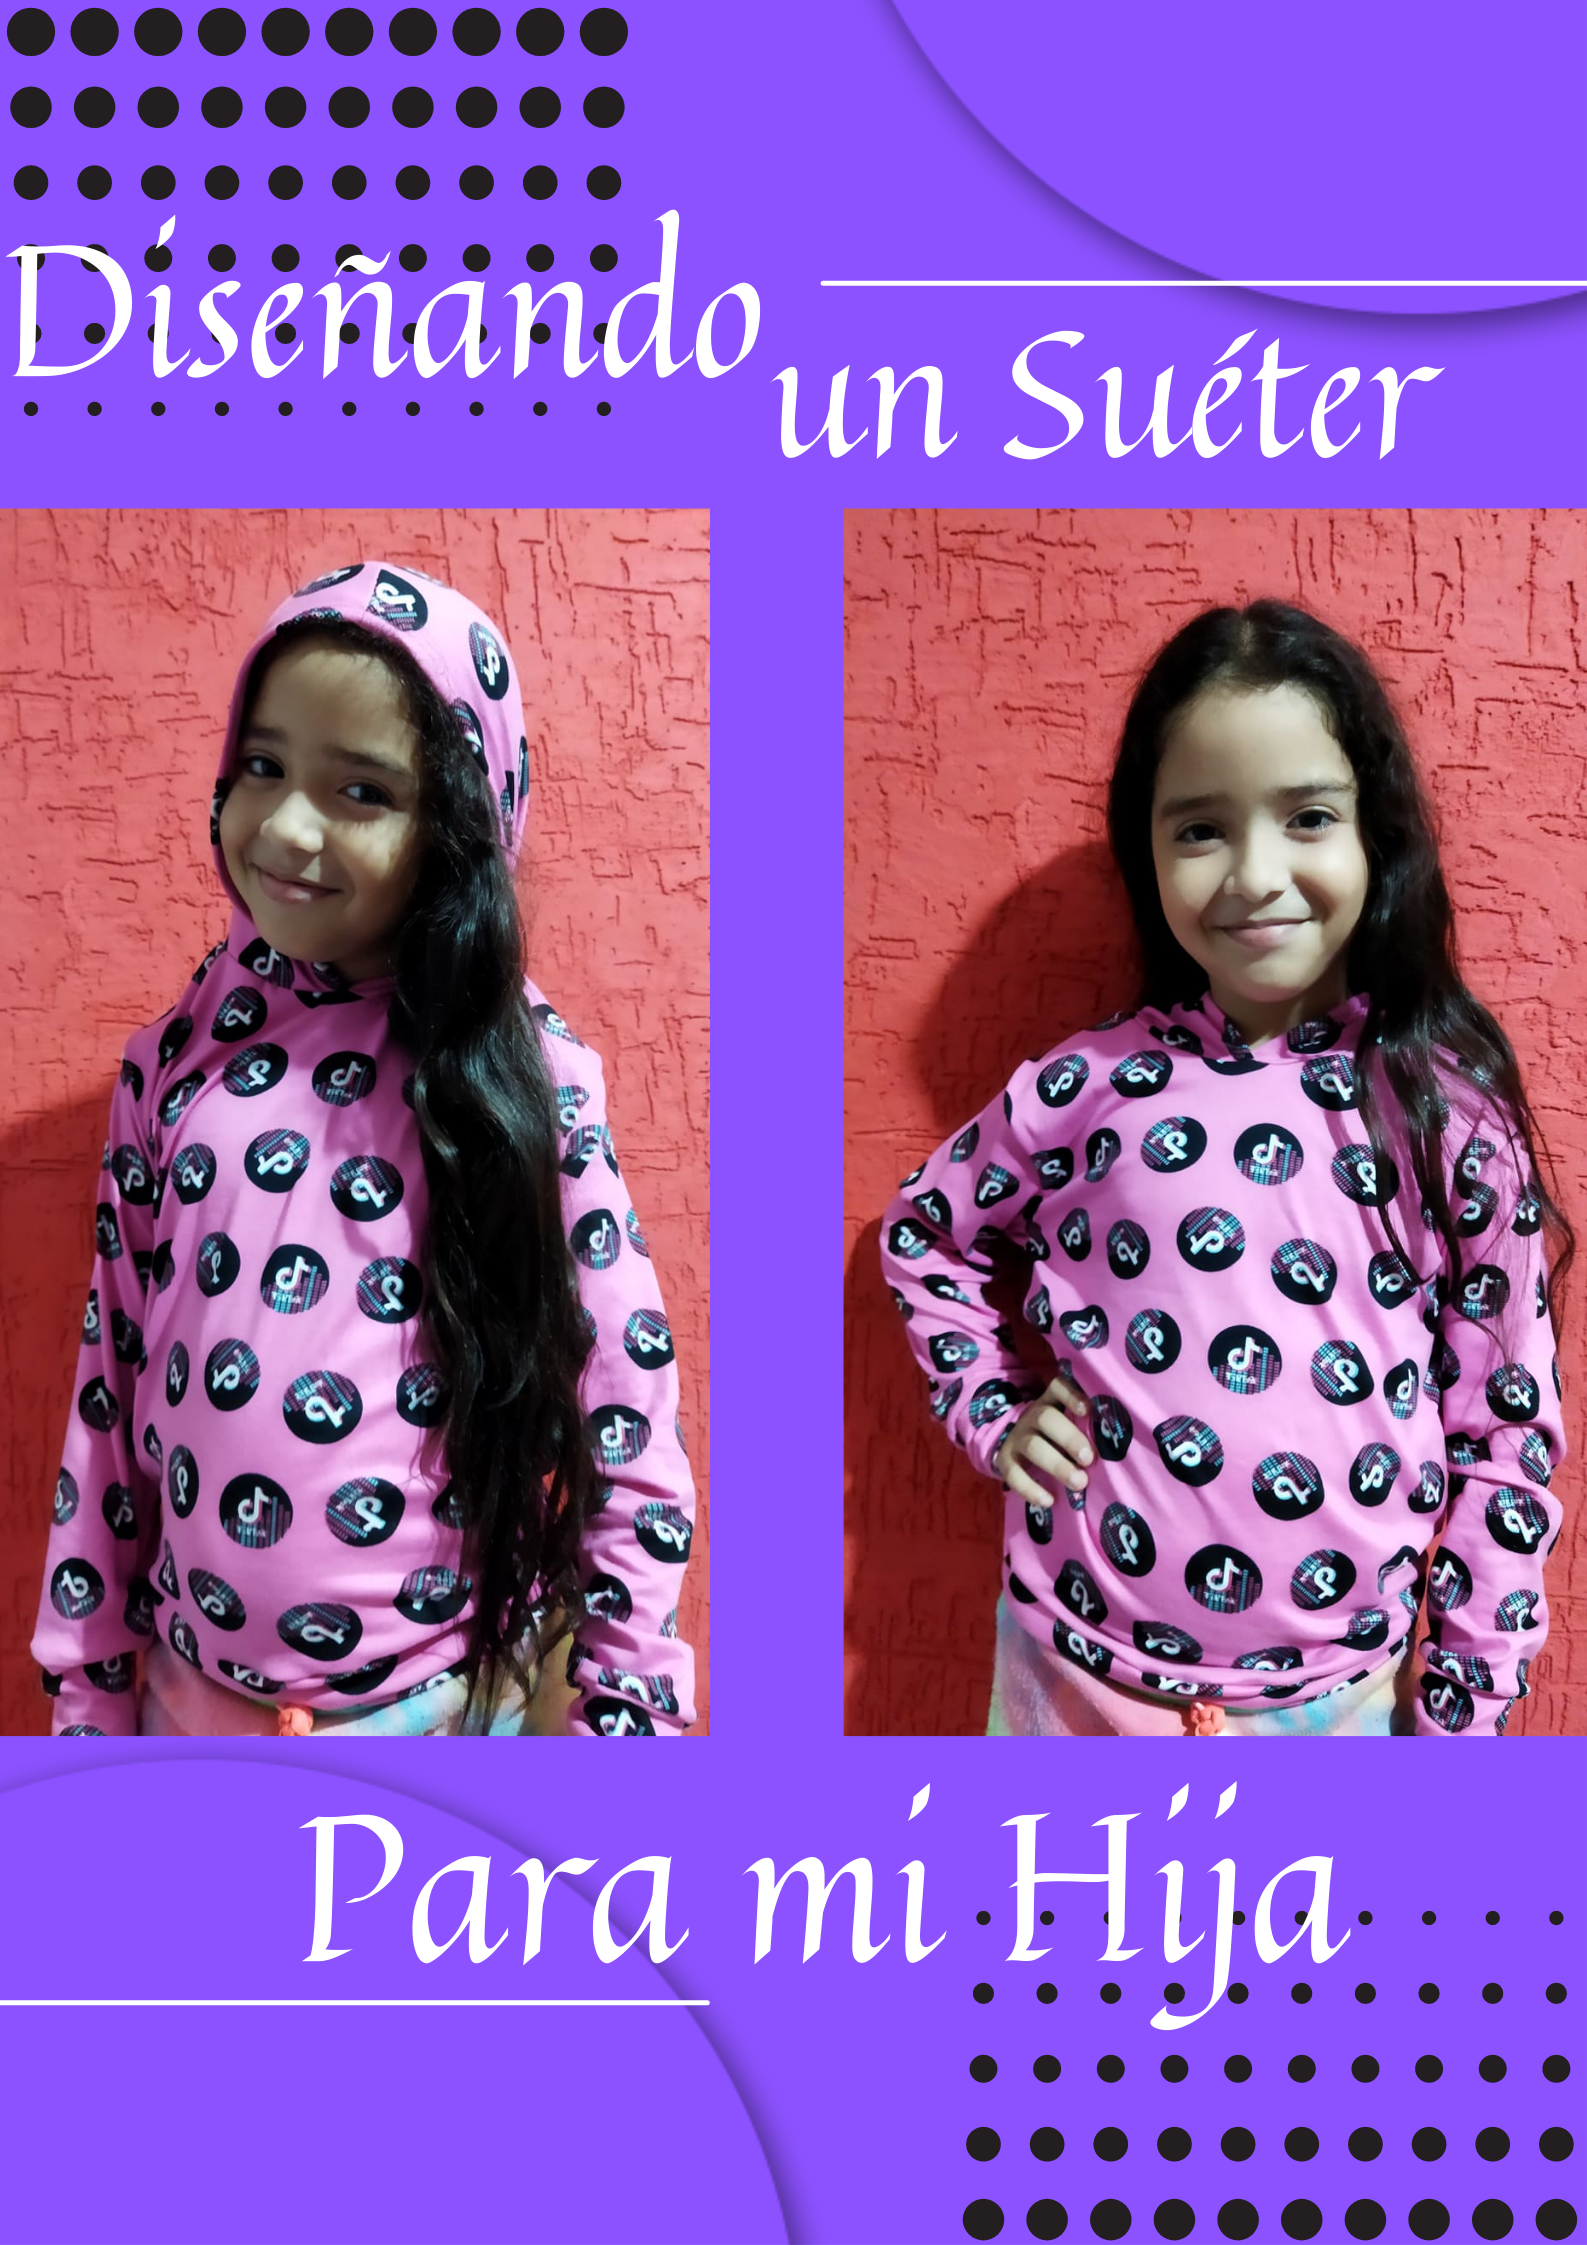
Hello Hive friends, greetings and blessings to all, I hope you are very well, today I want to share with all of you the Tutorial of a Wonderful sweater I made for my little daughter, super beautiful and easy, so let's start with the step by step:

.png)
-Materiales:
-1 Metro de tela Micro-Durazno. Color preferido.
-Hilo rosado.
-Tijera.
Paso 1: Tomaremos una medida de nuestro hijo o hija, para así de allí tomar y hacer la prenda de ropa a la medida indicada, De esta manera procedo a cortar la tela guiándome por la medida, luego aquí tenemos las piezas, las cuales son, la parte delantera y trasera del suéter, las mangas y la capucha. Procedemos a juntar hombro con hombro y coseremos esto.
-Materials:
-1 Meter of Micro-Durazno fabric. Preferred color.
-Pink thread.
-Scissors.
Step 1: We will take a measure of our son or daughter, so from there take and make the garment to the indicated measure, In this way I proceed to cut the fabric guiding me by the measure, then here we have the pieces, which are, the front and back of the sweater, the sleeves and the hood. We proceed to join shoulder to shoulder and sew this together.
.png)
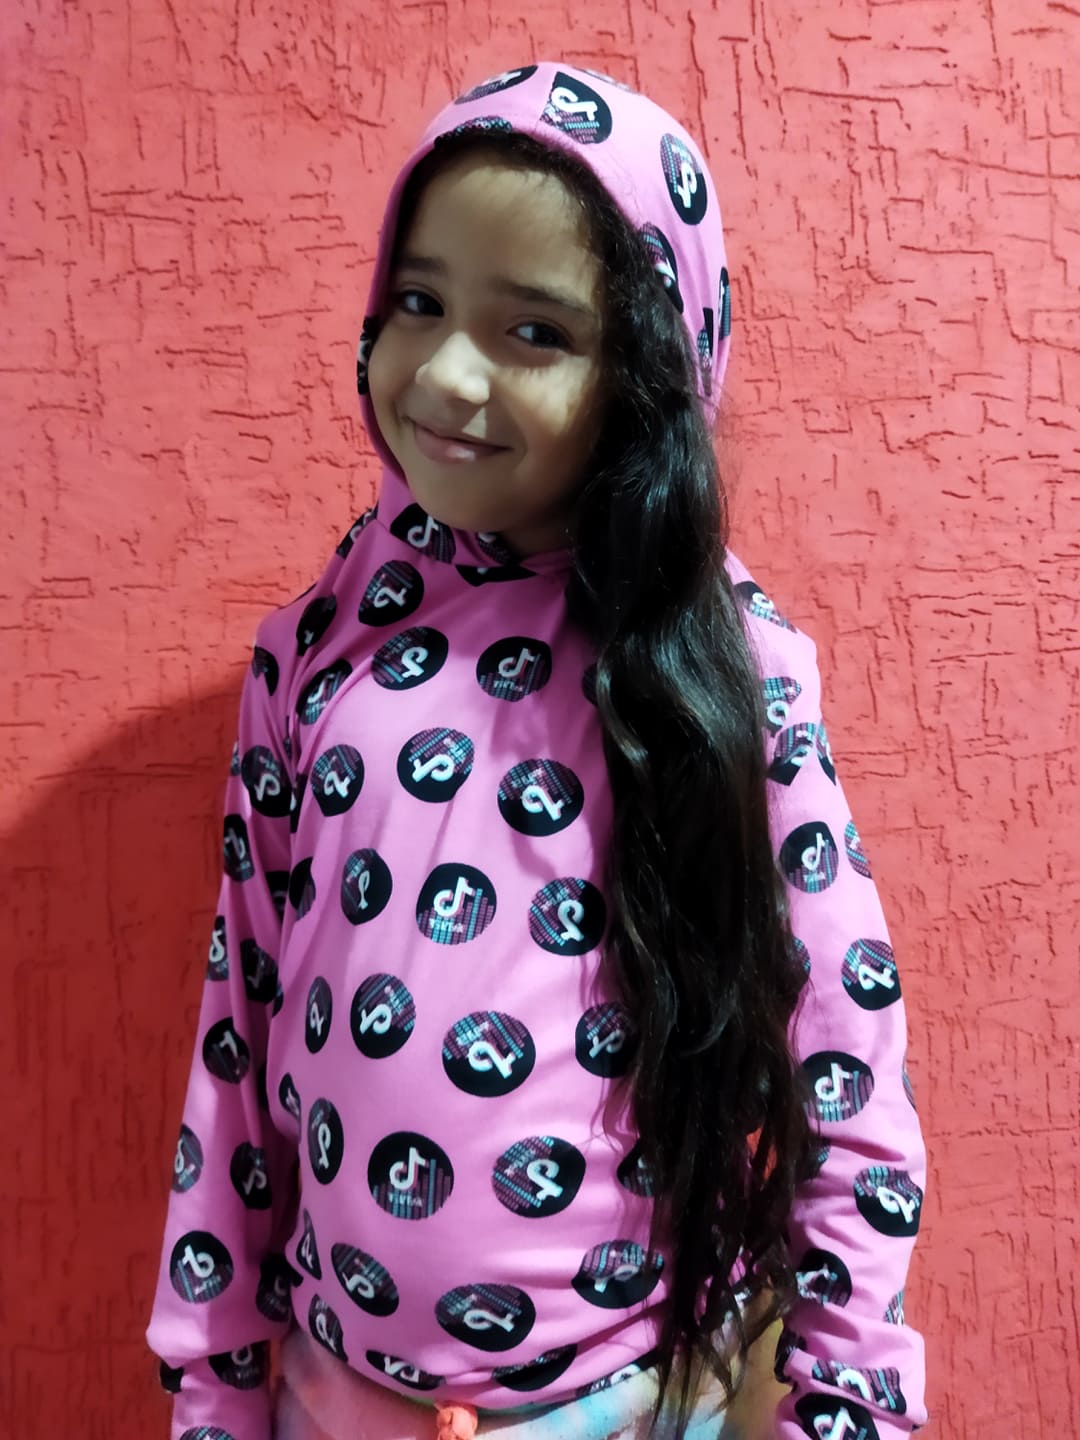
-Paso 2: Luego de haber cosido los hombros, pues seguimos cosiendo los lados de nuestro suéter y luego cosemos las mangas, procedemos luego a coser la capucha, esta se cose primero y luego la cosemos al suéter para unir todo, luego de haber cosido las mangas y la capucha, vamos a coser los puños de nuestro suéter. Para esto tomaremos una tira y mediremos en el brazo el grosor deseado.
-Step 2: After having sewn the shoulders, we continue sewing the sides of our sweater and then we sew the sleeves, we then proceed to sew the hood, this is sewn first and then we sew it to the sweater to join everything, after having sewn the sleeves and the hood, we will sew the cuffs of our sweater. For this we will take a strip and measure on the arm the desired thickness.
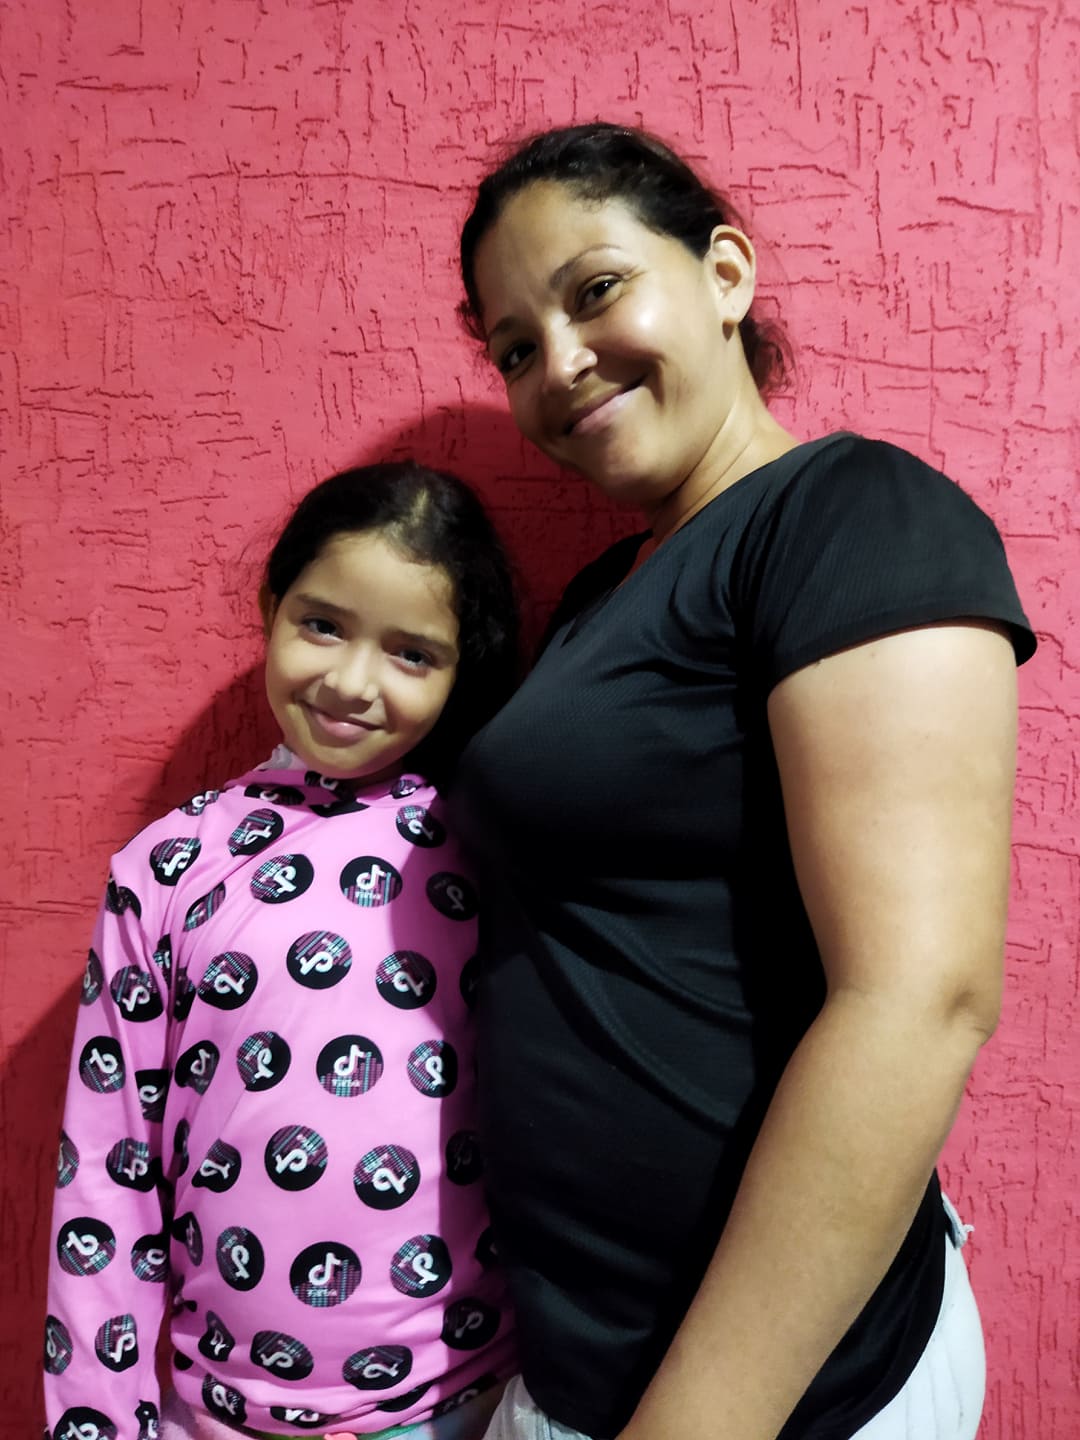
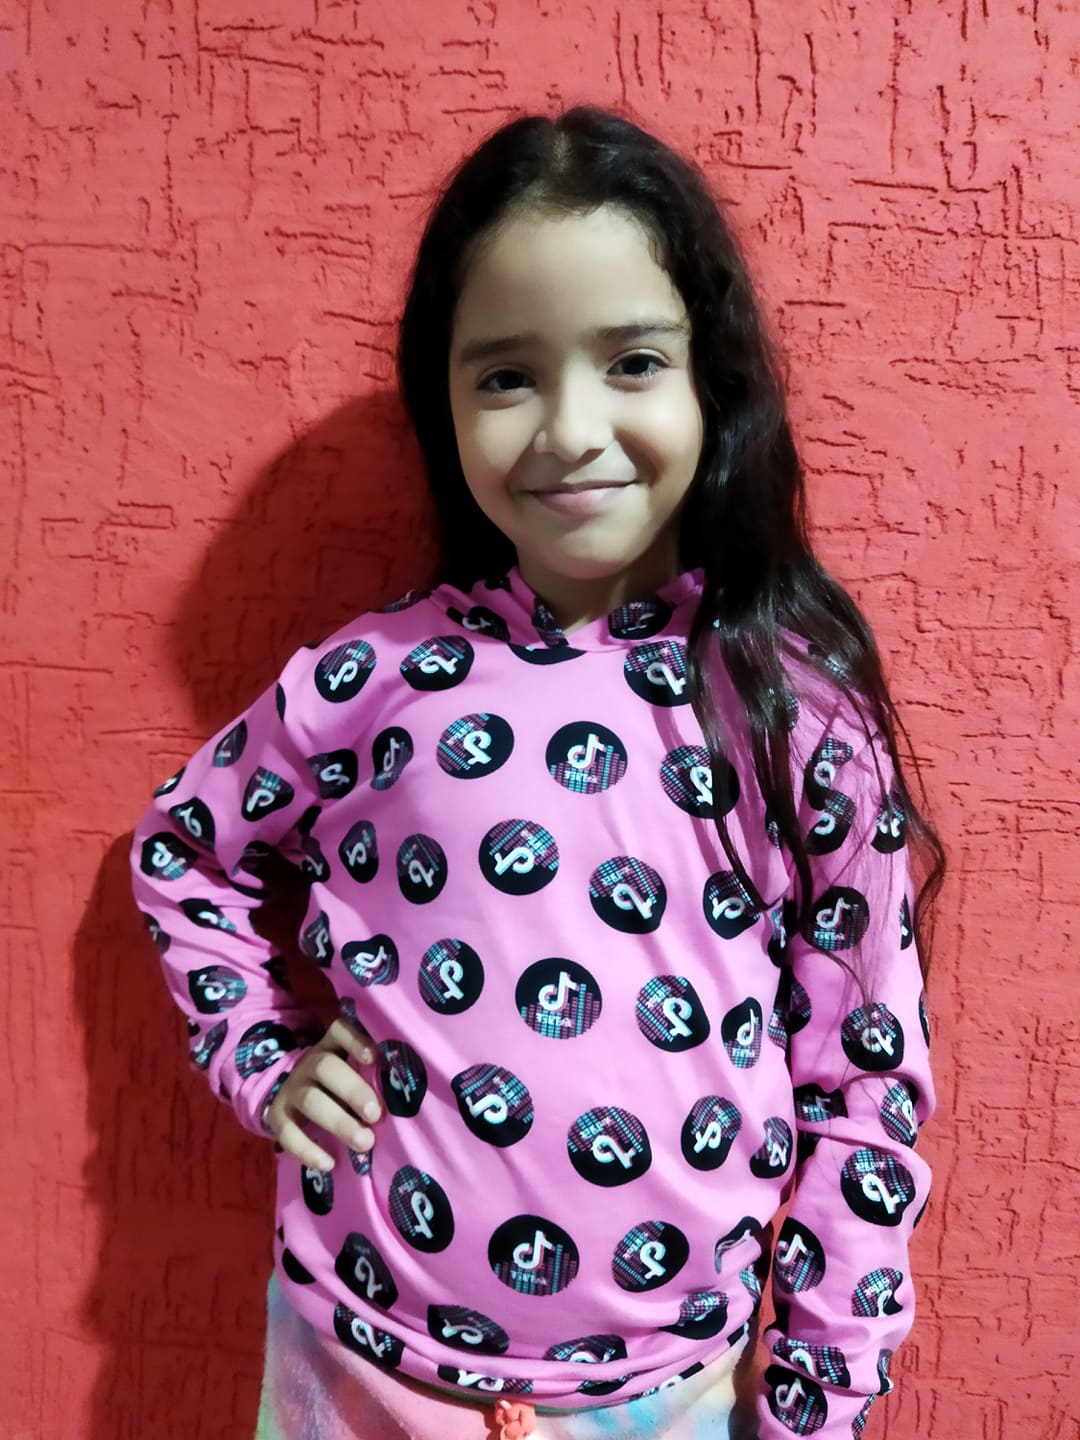
Final Result.
All photos are edited with canva.

Wow beautiful thanks for sharing
Thank you for sharing this amazing post on HIVE!
Your content got selected by our fellow curator @rezoanulvibes & you just received a little thank you via an upvote from our non-profit curation initiative!
You will be featured in one of our recurring curation compilations and on our pinterest boards! Both are aiming to offer you a stage to widen your audience within and outside of the DIY scene of hive.
Join the official DIYHub community on HIVE and show us more of your amazing work and feel free to connect with us and other DIYers via our discord server: https://discord.gg/mY5uCfQ !
If you want to support our goal to motivate other DIY/art/music/homesteading/... creators just delegate to us and earn 100% of your curation rewards!
Stay creative & hive on!