Hello to all the creative friends of the NeedleWorkMonday community, every day you show all the talent you have and teach us that creativity has no limits.
It is my first time here in this community, I hope to be able to interact with you and if I am wrong about something I will gladly accept your indications.
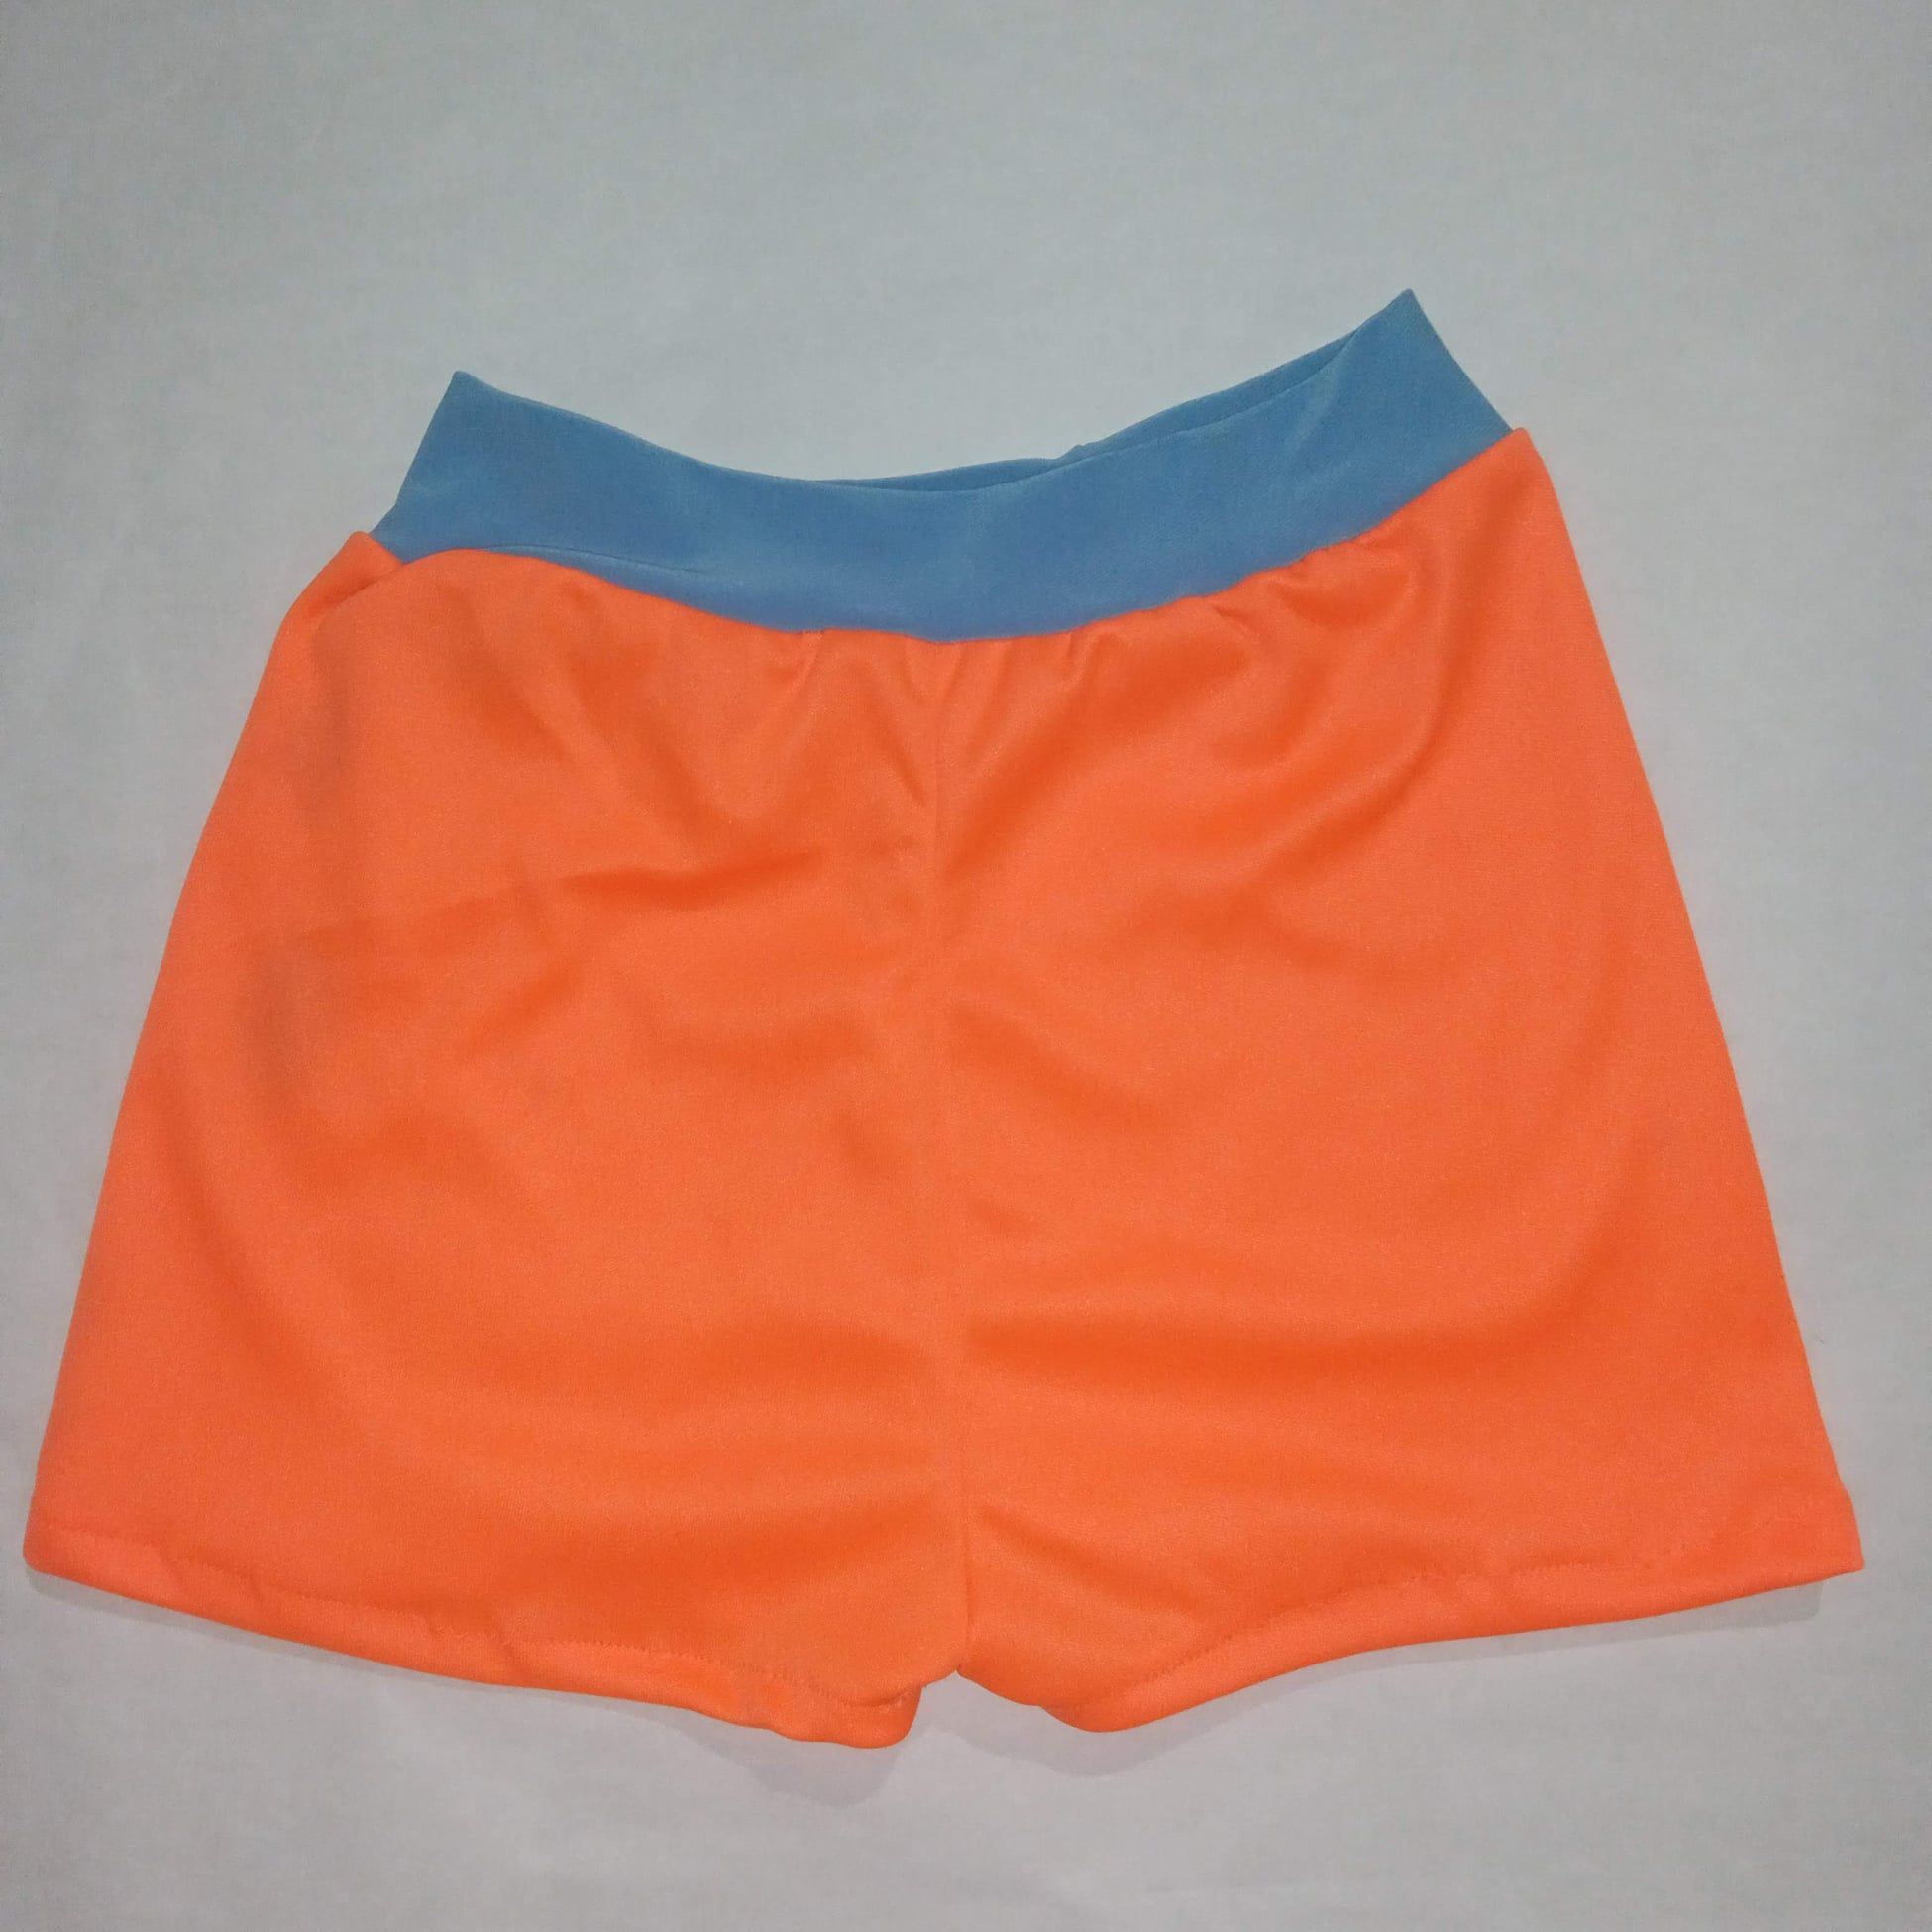
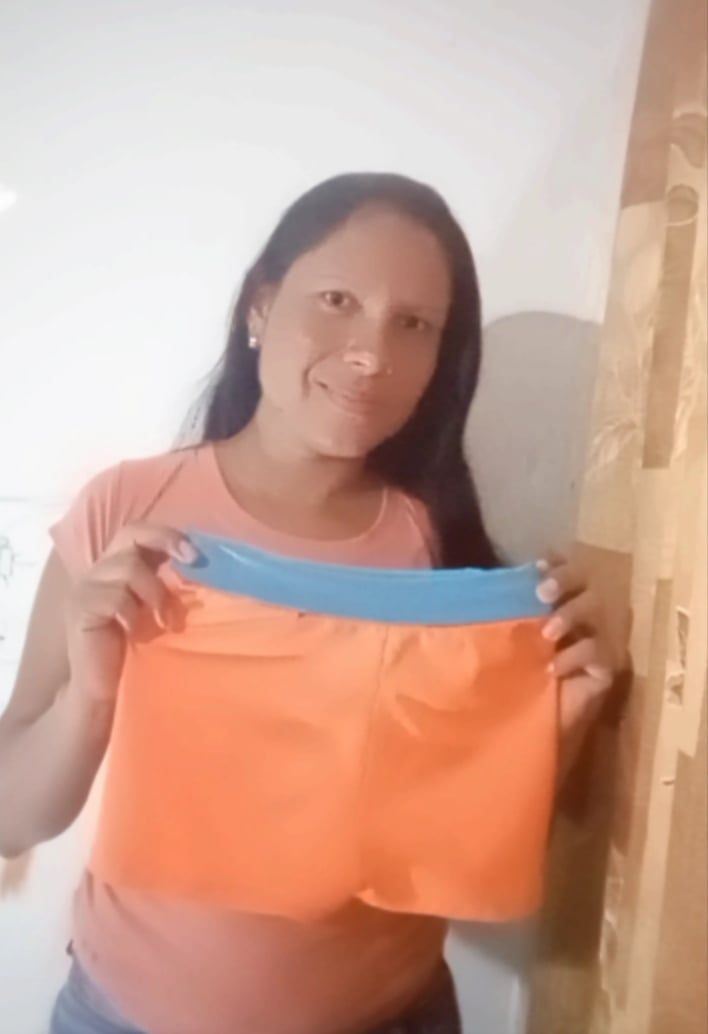
Today I come to show how to make a boy's underwear, with few materials, with lycra fabric that is easy to work with. In this case I made it for my son, size six, and since it is made of lycra he also uses it to go to the beach.
Materiales a utilizar:
. Tela de licra color naranja y azul
. Máquina de coser
- Tijera
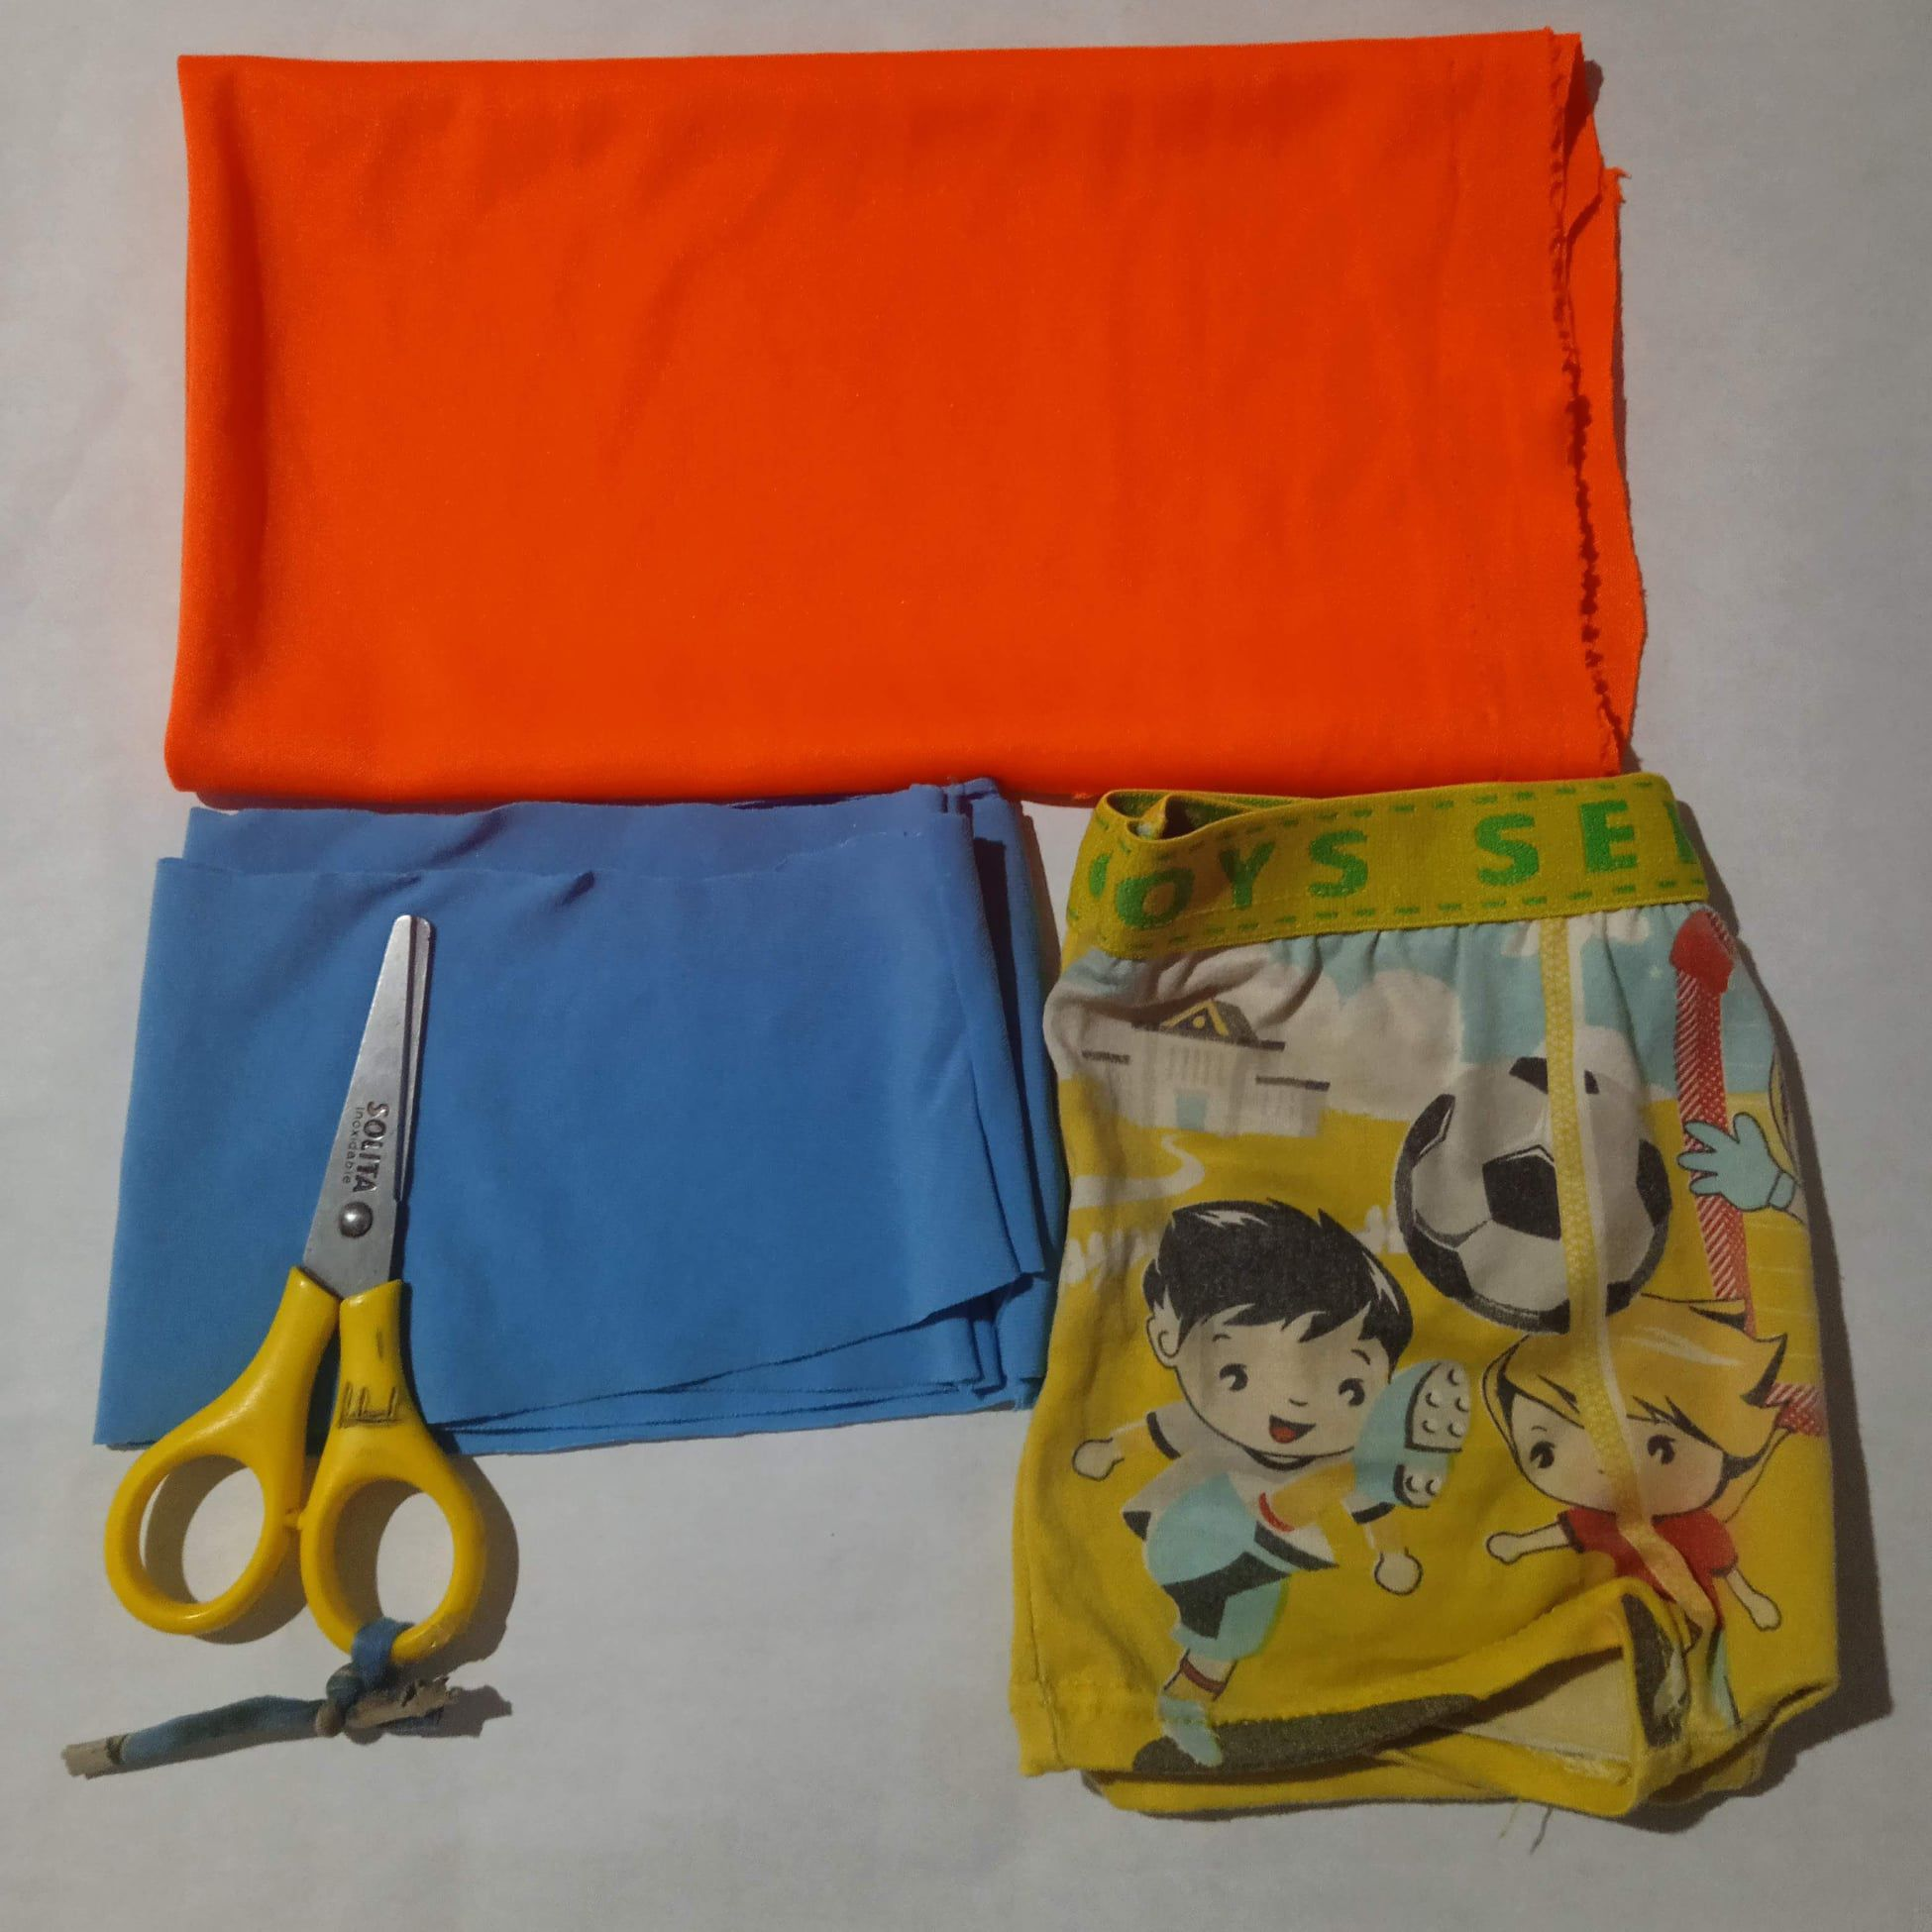
The materials to use:
Orange and blue lycra fabric
Sewing machine
Scissors
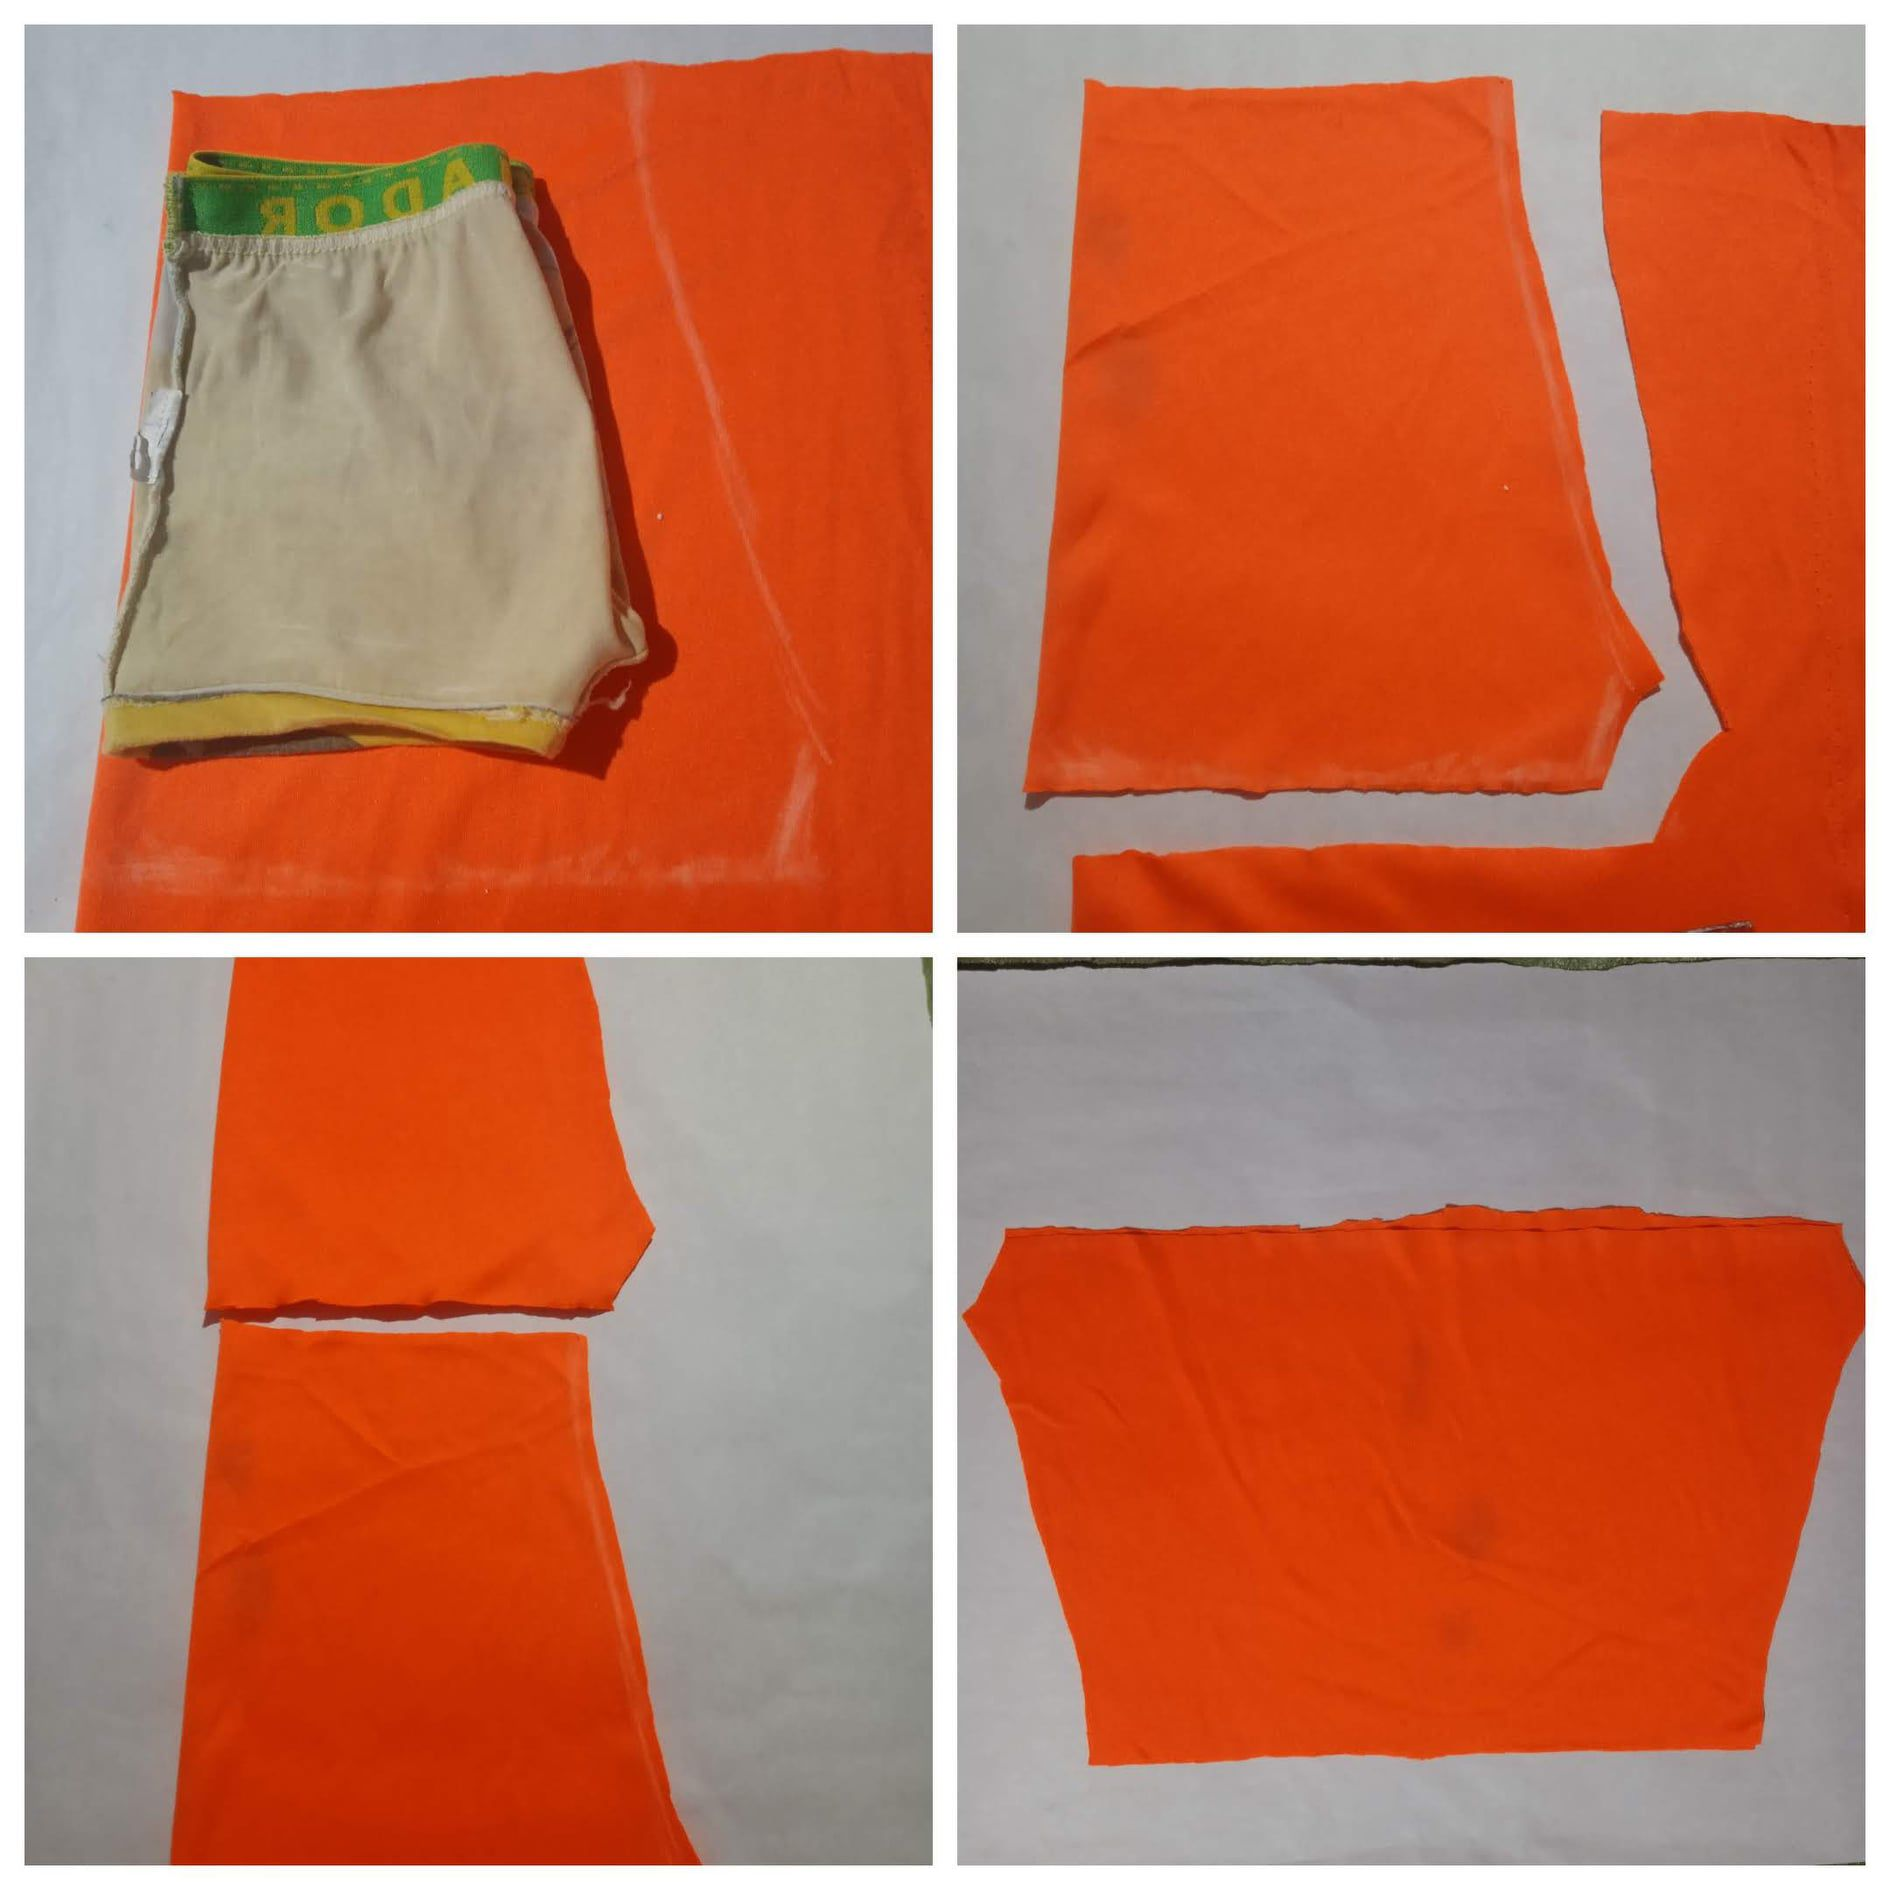
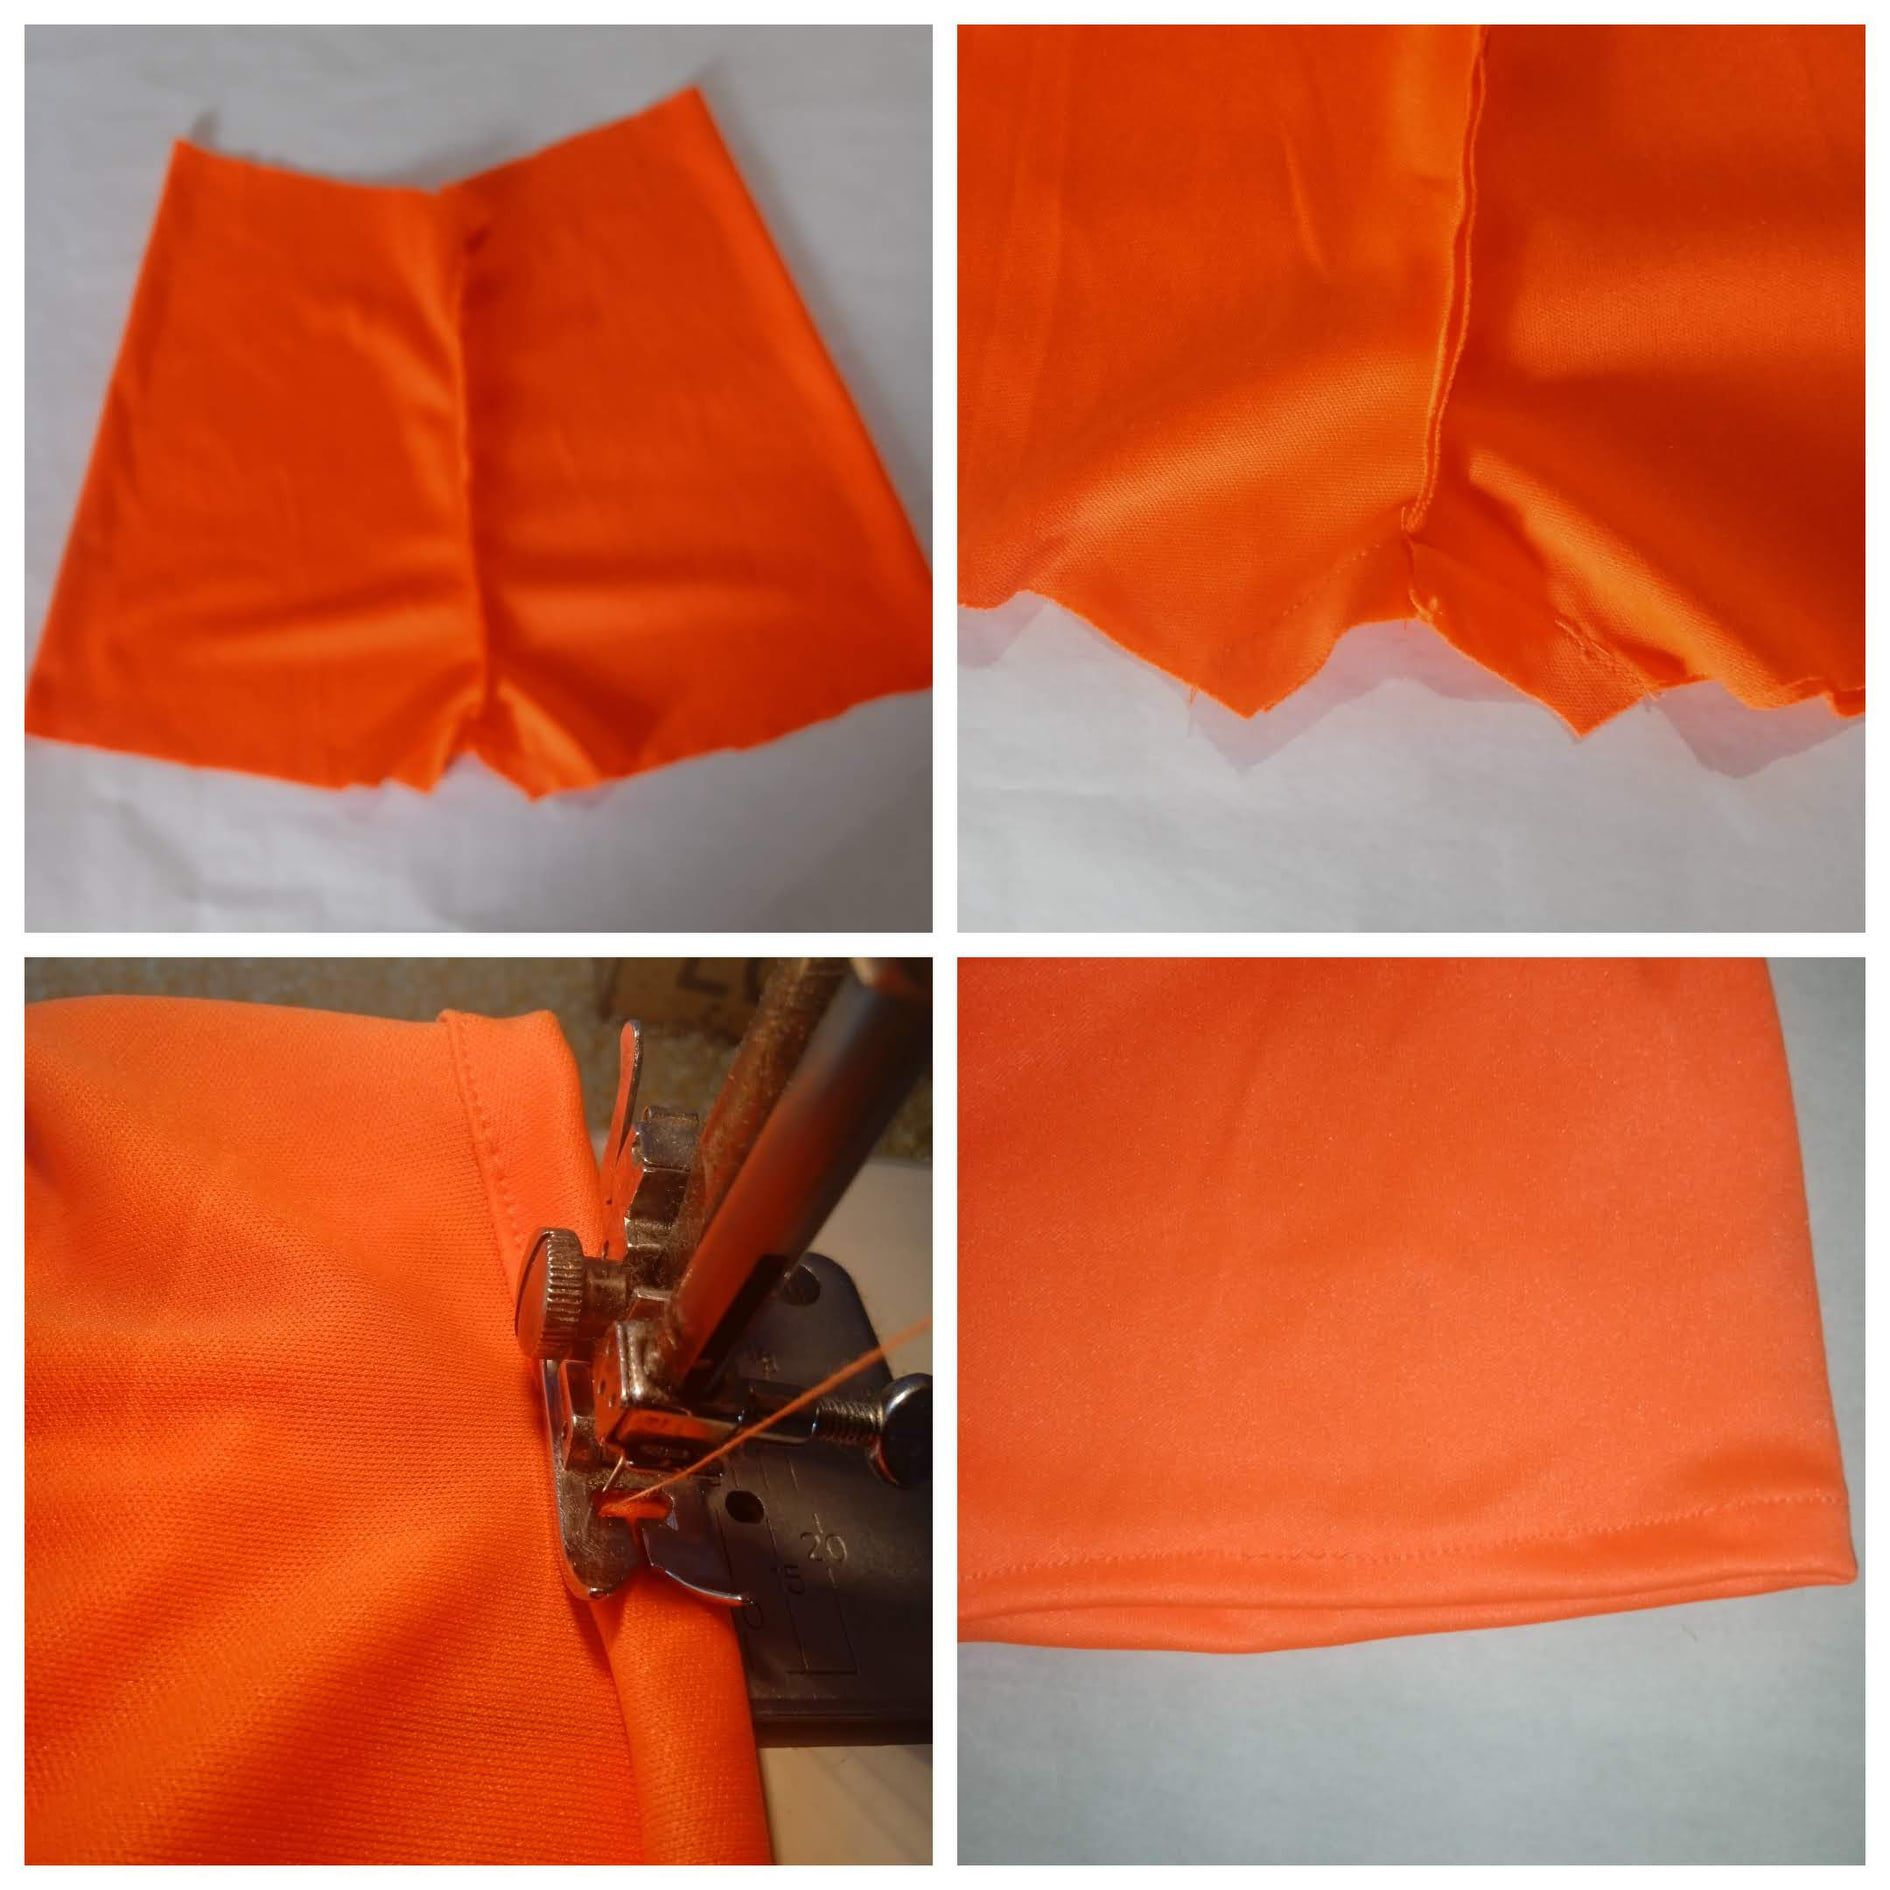
Working with alicrated fabrics is the best, well I like them a lot for their versatility to make this boy's boxer shorts, what we will do is place the fabric in doubles on the part that stretches the most, and place on top what will be our pattern in this In the case of my son's boxer shorts, size six, and we proceed to mark with chalk, leaving a centimeter and a half more, then we proceed to cut, we do this procedure twice to obtain two equal pieces, then we open these pieces and place one on top of the other in front of with front.
We continue making our pieces and in this step what we do is sew with the help of the machine on the sides passing a straight seam, the good thing about this type of fabric is that they are easy to work with and adapt to the body.
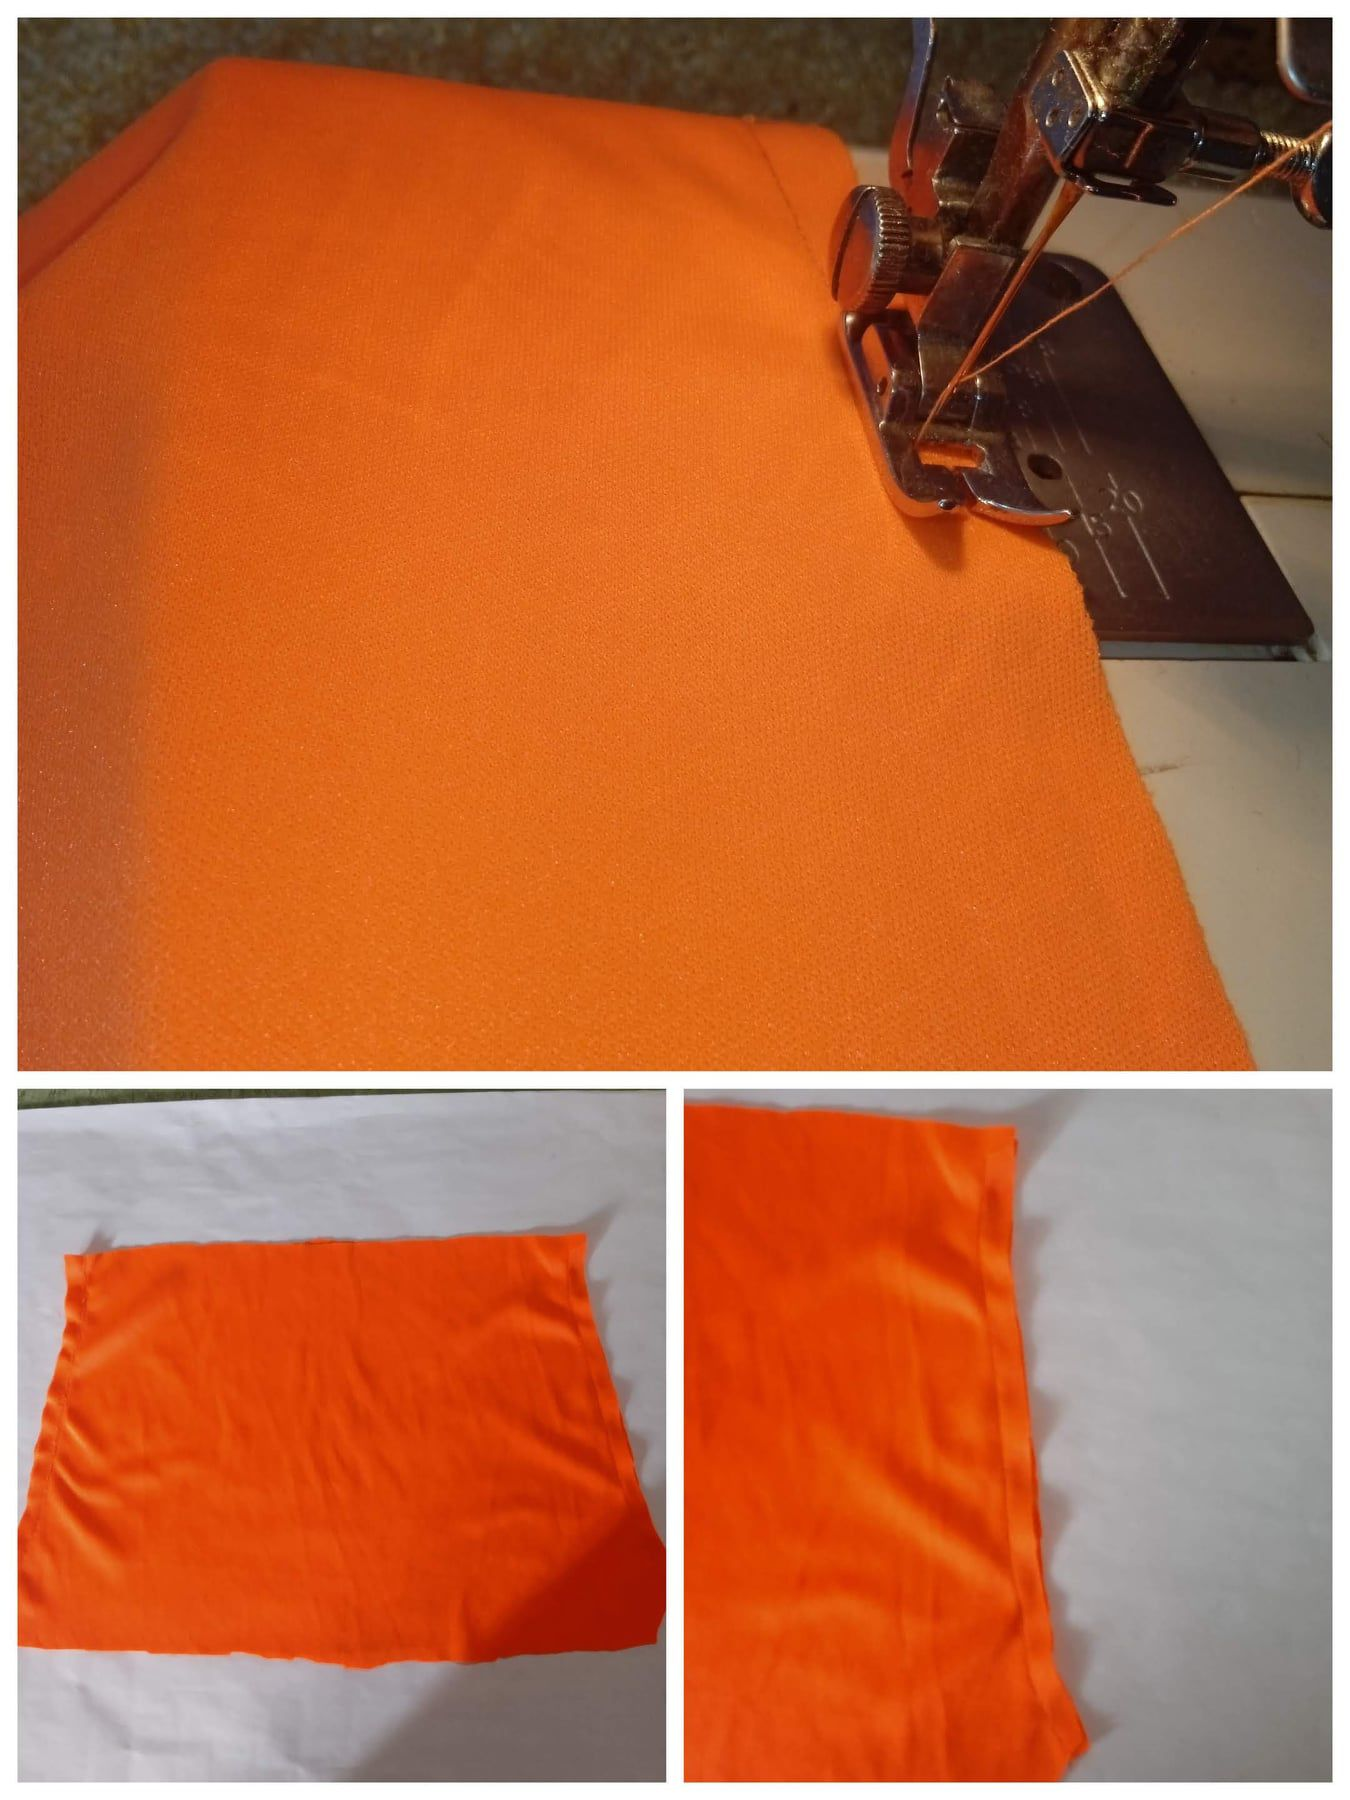
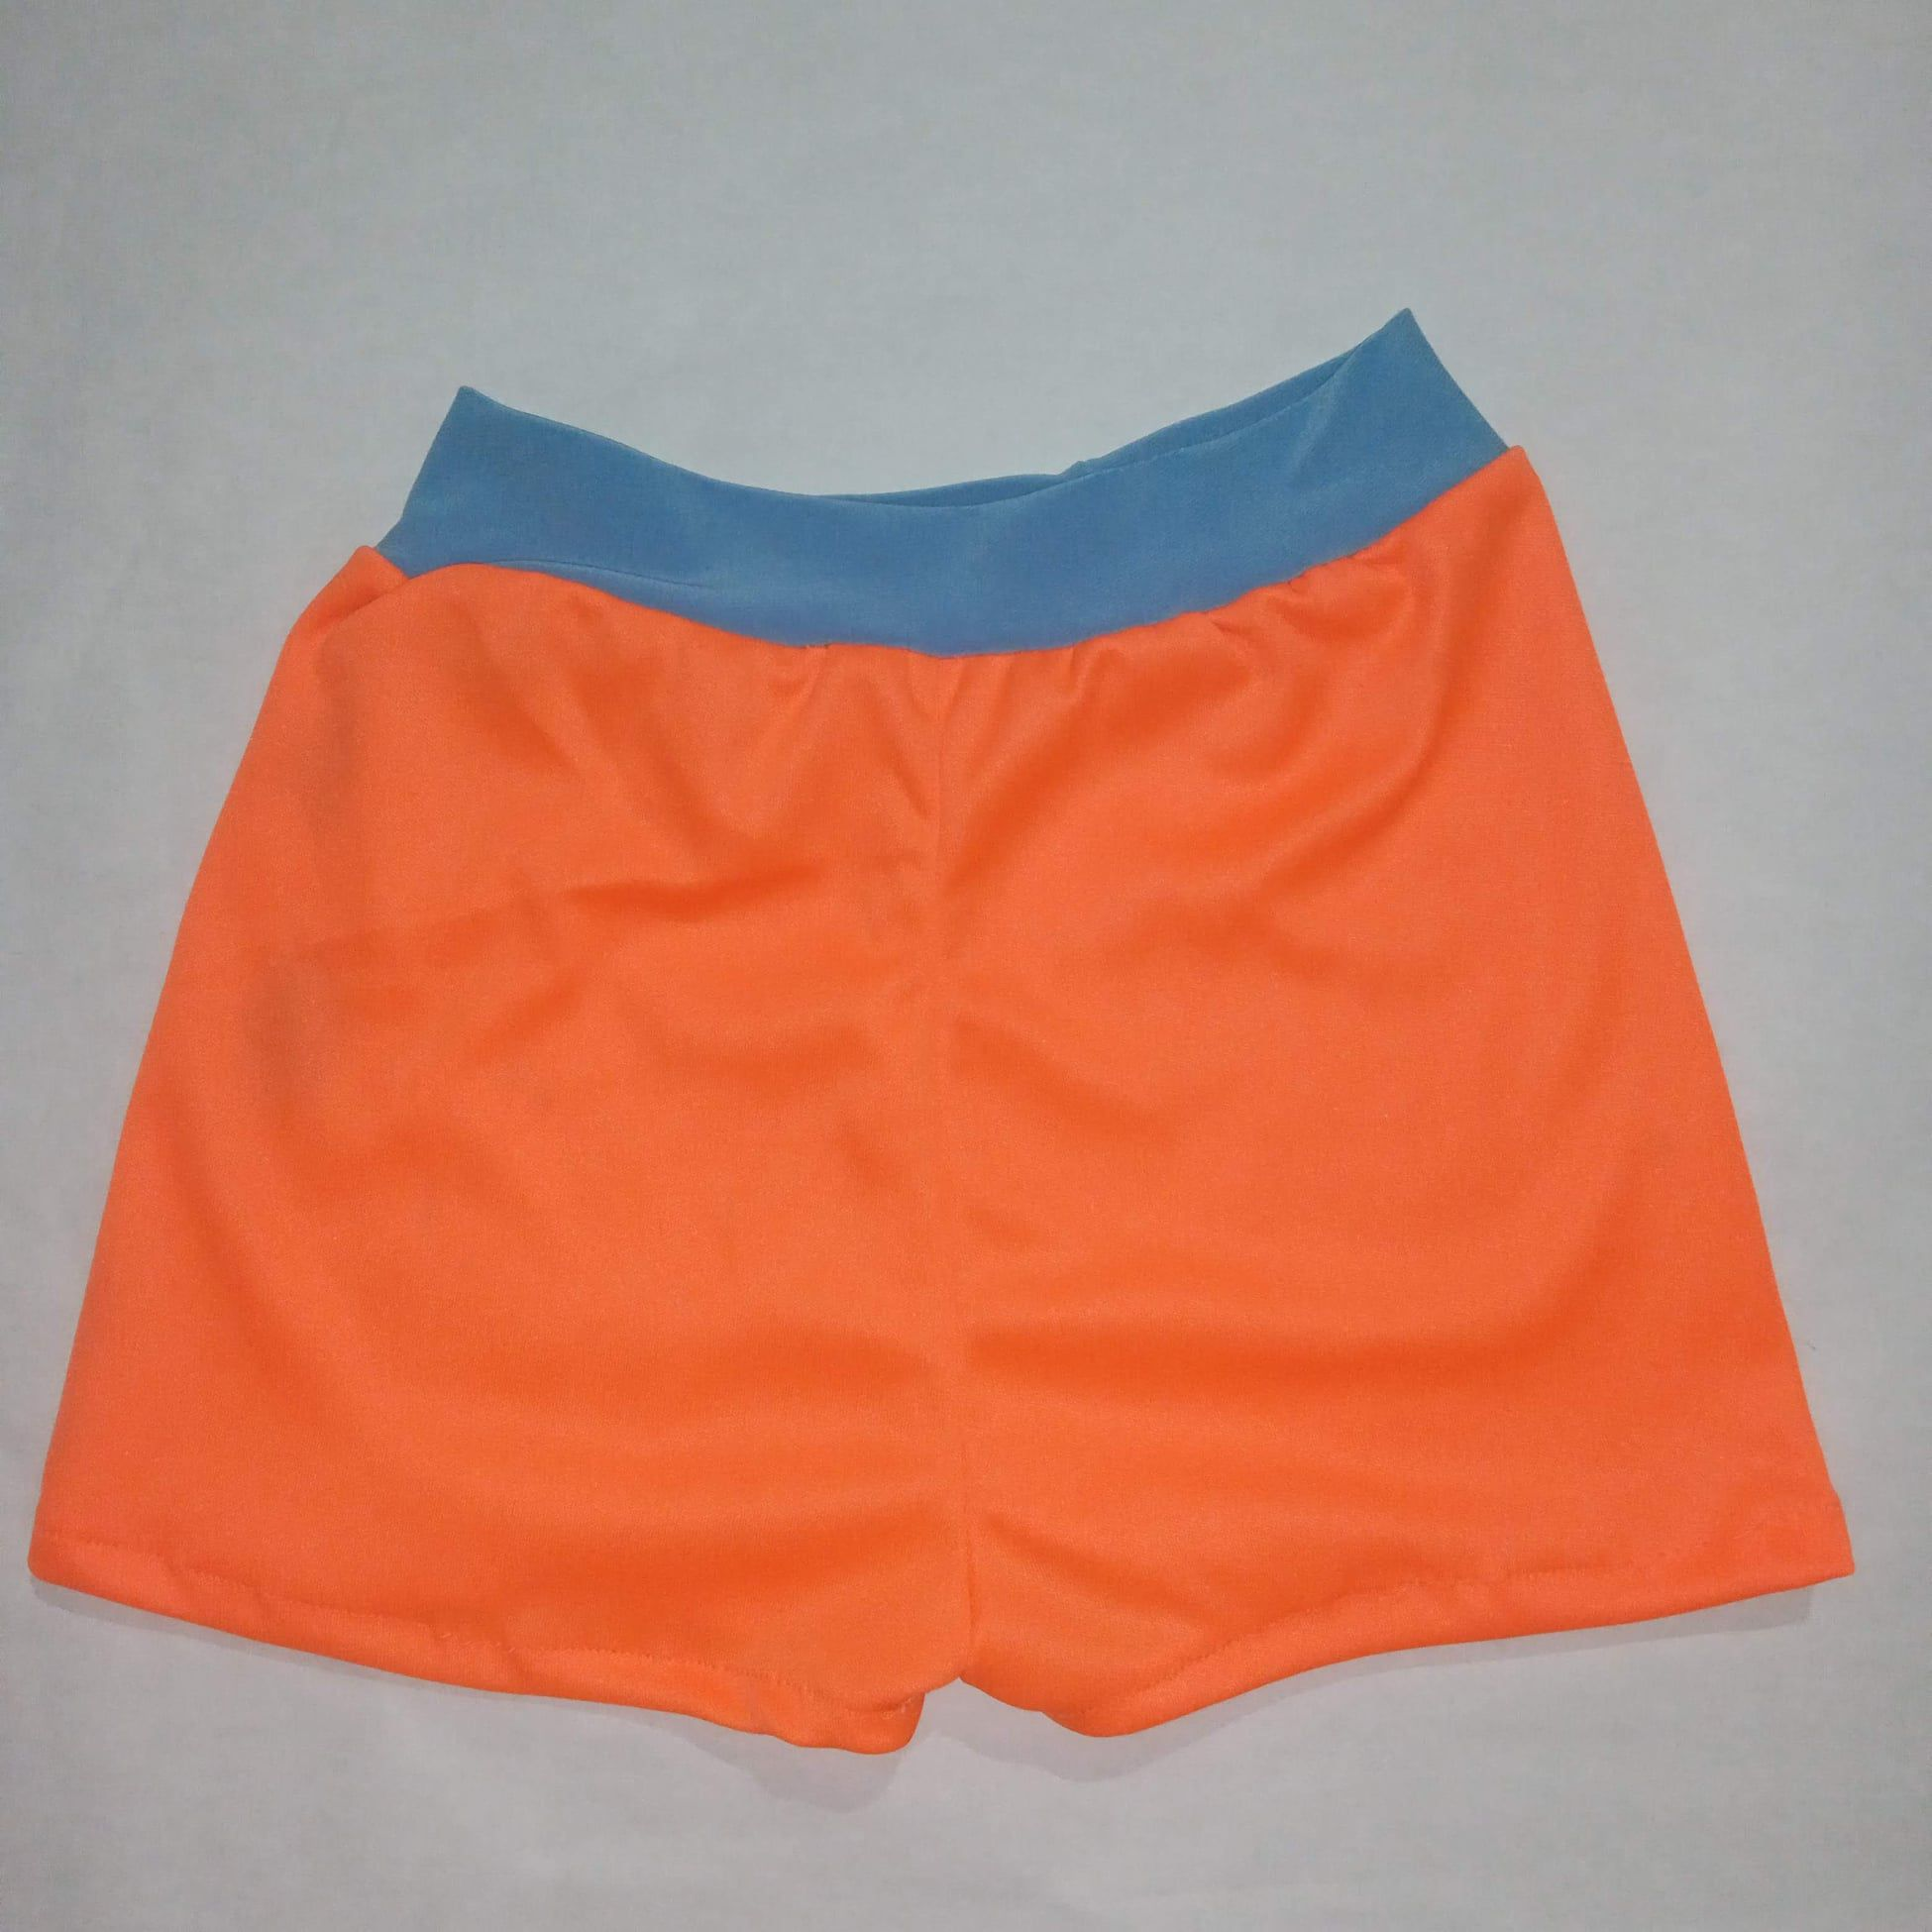
Next, we proceed to turn the piece and with it the shape of the boxer is shown, and then what we do is sew in the crotches to then make the straight seam in the part of the hem.
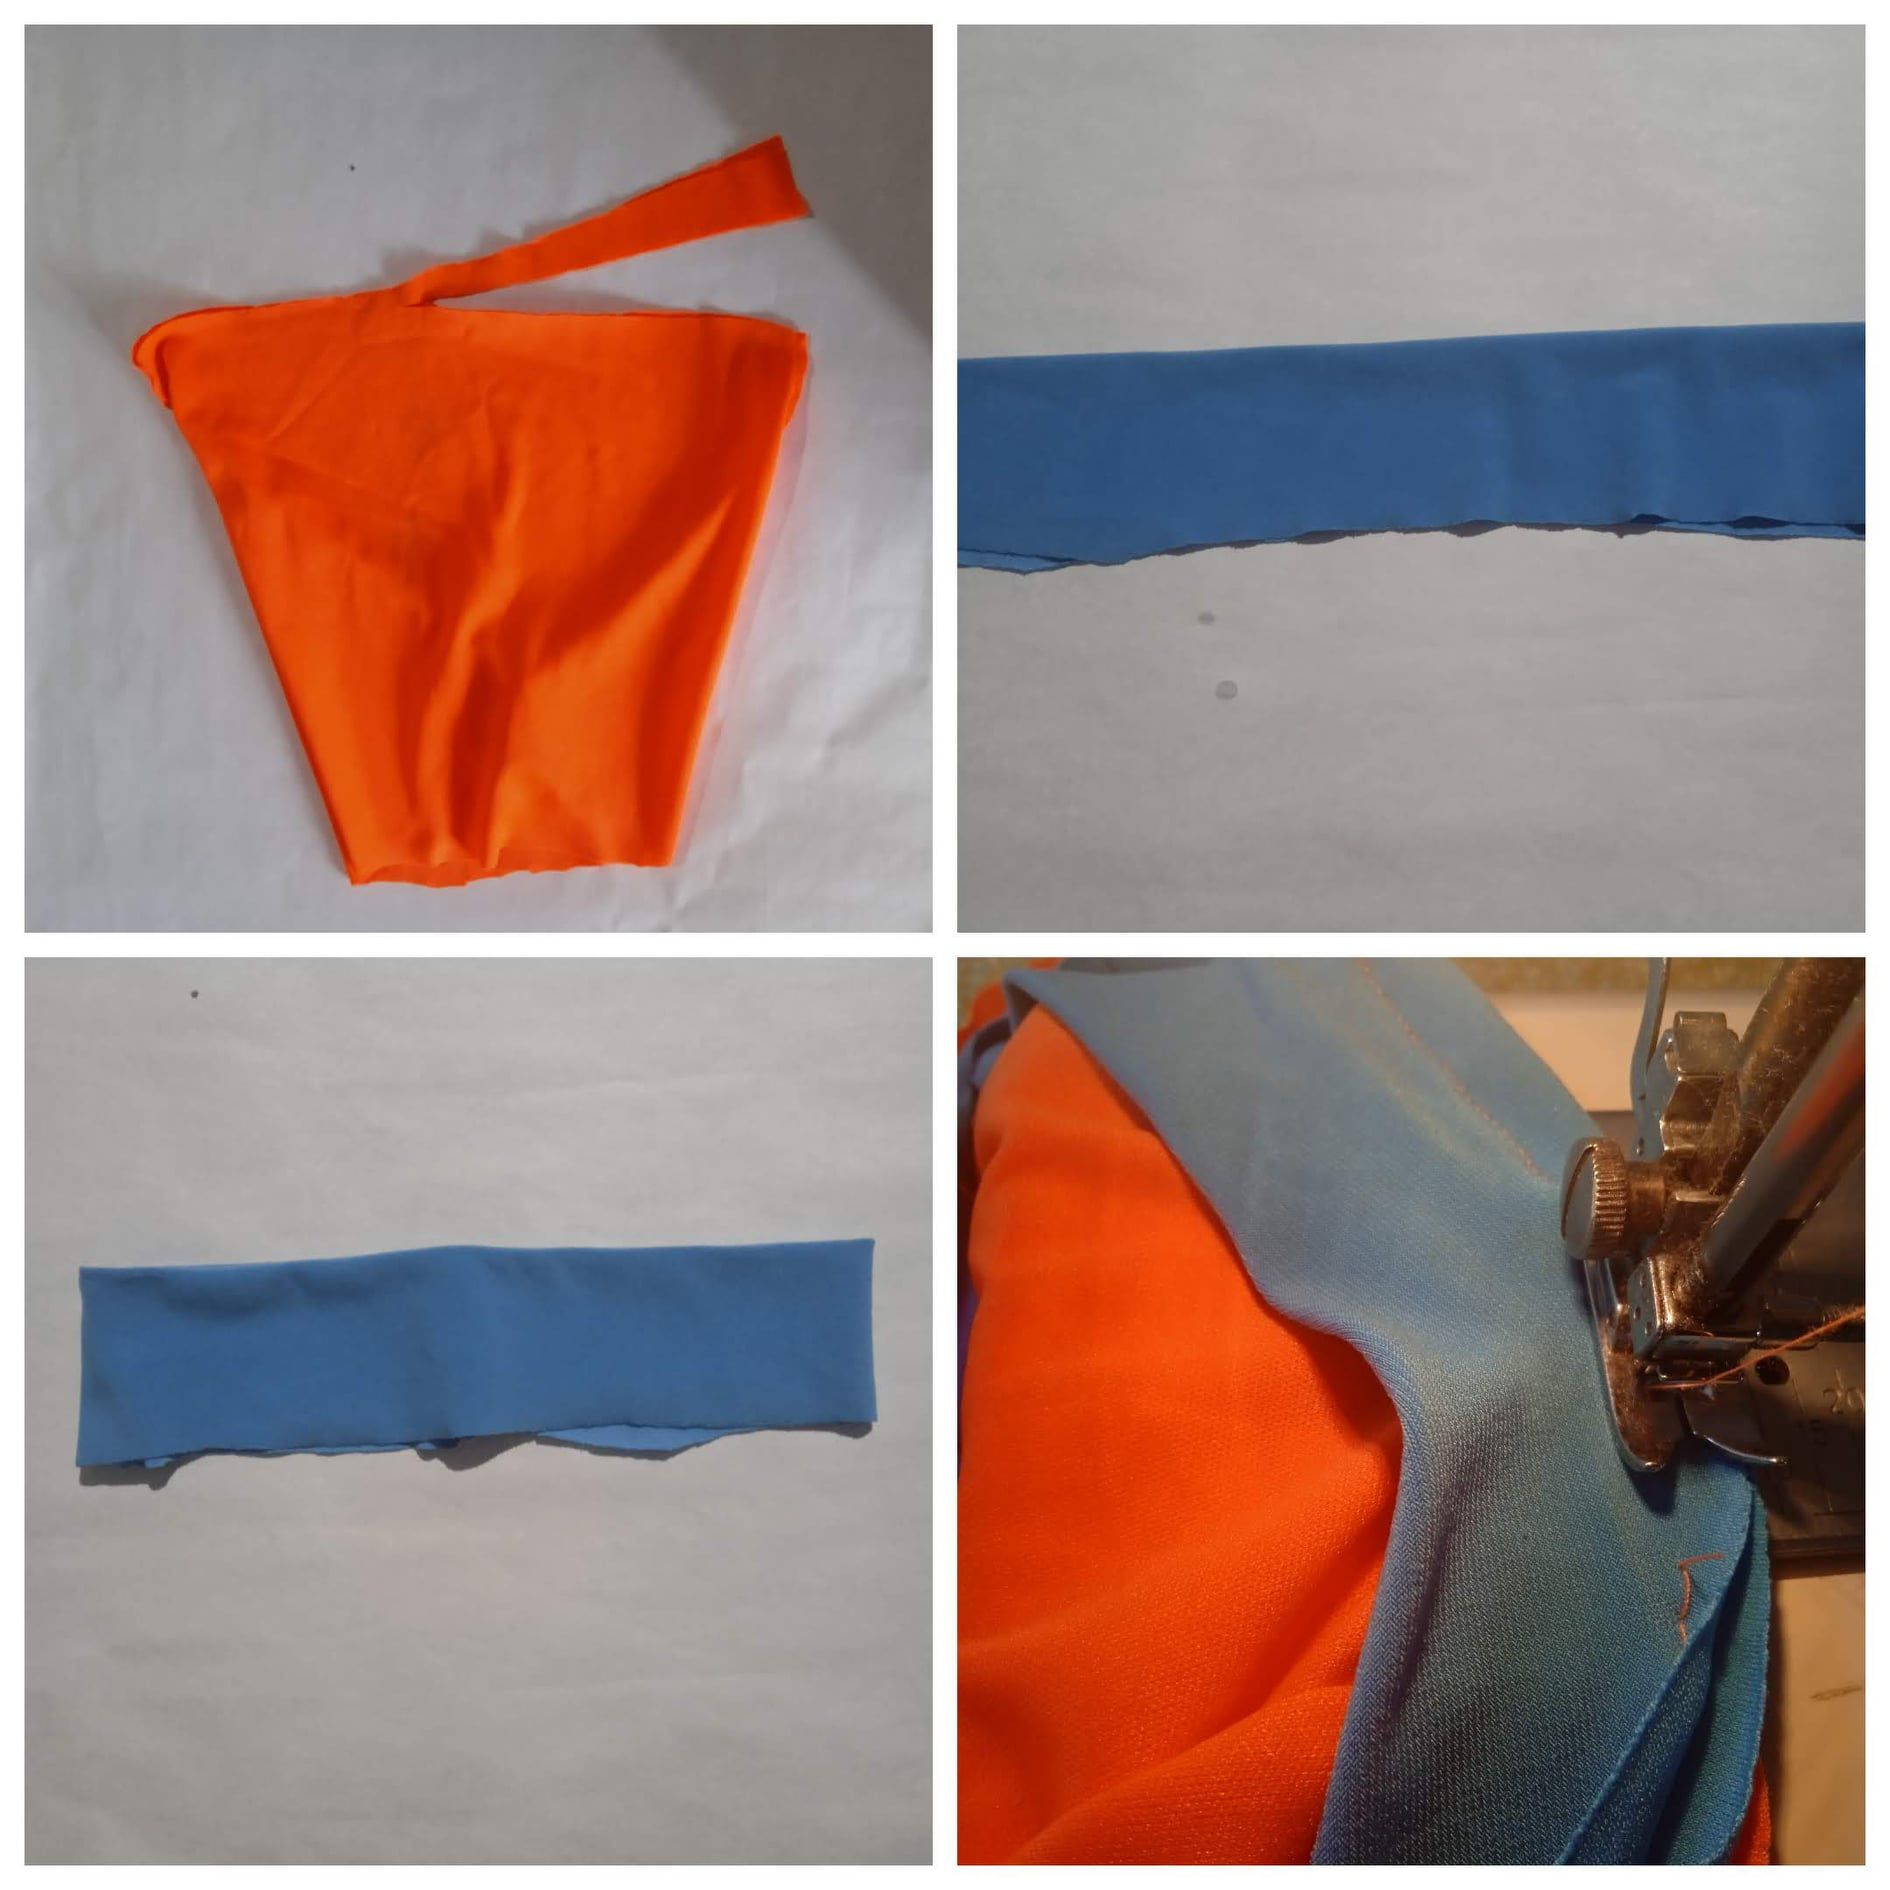
Now comes the part where we are going to define the front and back of this boxer, for this we place the piece in doubles and what we do is cut an inch and a half from one end towards the center, and for the waistband part we cut the fabric blue color with a measure of 8 cm wide and then fold it so that it would be 4 cm, in this case I measured my son's waist, take into account that it would be a little tight and cut the fabric, to proceed to sew starting from the center and stretching.
In this easy and fast way we get this piece that gets us out of trouble if we want to go to the beach and also for daily use.
Friends, I say goodbye to you with much love, hoping this tutorial will help you, until another opportunity
@celeni
It really make sense, sometime it exposes your good handwork because your son will definitely tell his friends that his mum sew it for him, I'm telling you that handwork is one of the most beautiful things in this whole wide world, more grace
This is very beautiful @celeni
I love that you like it, greetings