
Reciban un fraternal saludo mi gente linda de ésta colmena #NeedleWorMonday, me da mucho gusto volver a saludarlos y compartir un nuevo proyecto de costura con ustedes. Hoy te quiero mostrar cómo hacer una billetera personalizada, para guardar nuestros documentos y dinero de manera ordenada y segura. Espero les guste.
Receive a fraternal greeting my beautiful people of this #NeedleWorMonday hive, it gives me great pleasure to greet you again and share a new sewing project with you. Today I want to show you how to make a personalized wallet, to keep our documents and money neatly and safely. I hope you like it.
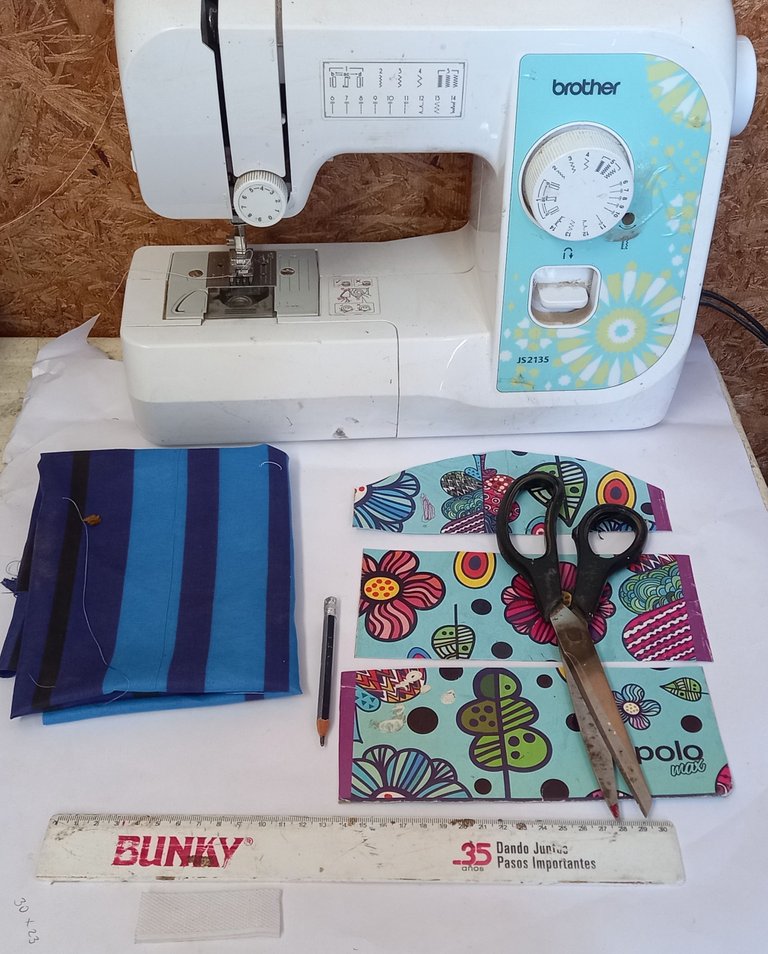
- Tela de seda bramante estampada.(opcional).
- Soportes de cartón.
- Máquina de coser.
- Tijeras.
- Hilo de coser.
- Lápiz.
- Regla.
- Printed silk fabric (optional).
- Cardboard supports.
- Sewing machine.
- Scissors.
- Sewing thread.
- Pencil.
- Rule.
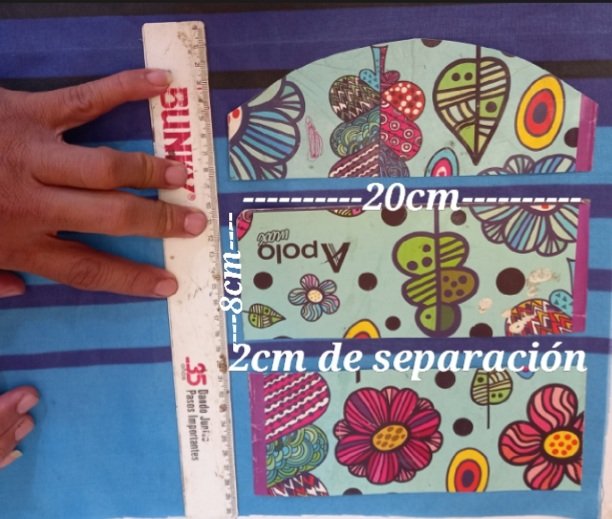
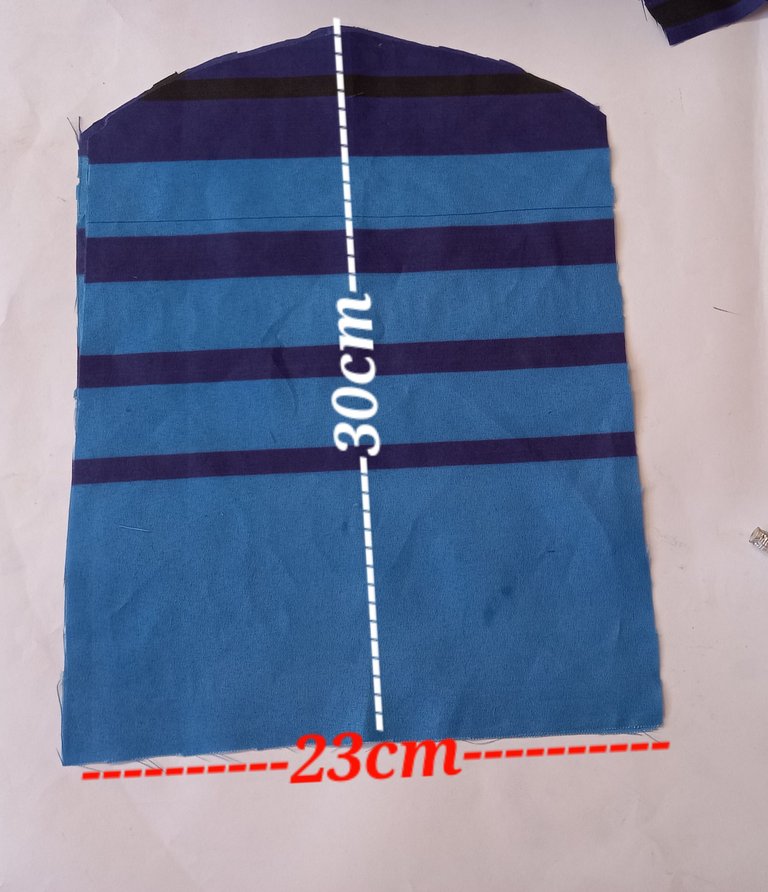
Lo primero que haremos es montar las tres piezas de cartón sobre la tela que vamos a utilizar, dejando una separación 2cm de distancia, luego recortamos dejando 1cm después del cartón. Haremos dos piezas de ésta.
The first thing we will do is to mount the three pieces of cardboard on the fabric we are going to use, leaving a separation of 2cm distance, then we cut leaving 1cm after the cardboard. We will make two pieces of it.
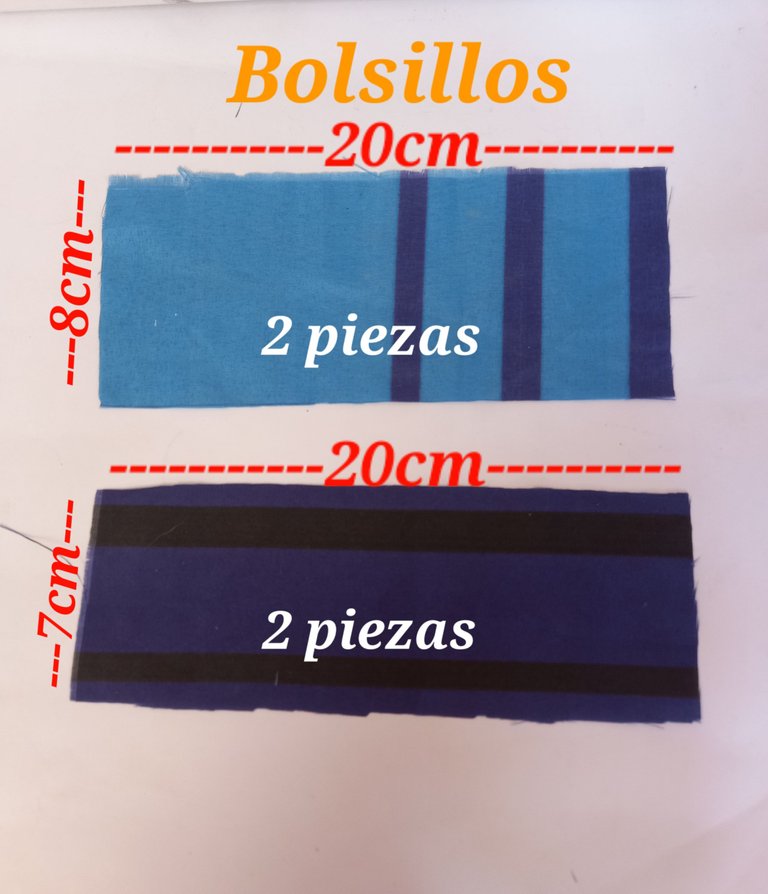
Luego cortaremos dos rectángulos uno de 20 cm de largo y 8 cm de ancho y otro de 20 cm de largo y 7 cm de ancho. Sacaremos dos piezas de cada uno.
Then we will cut two rectangles, one 20 cm long and 8 cm wide and the other 20 cm long and 7 cm wide. We will take two pieces from each one.
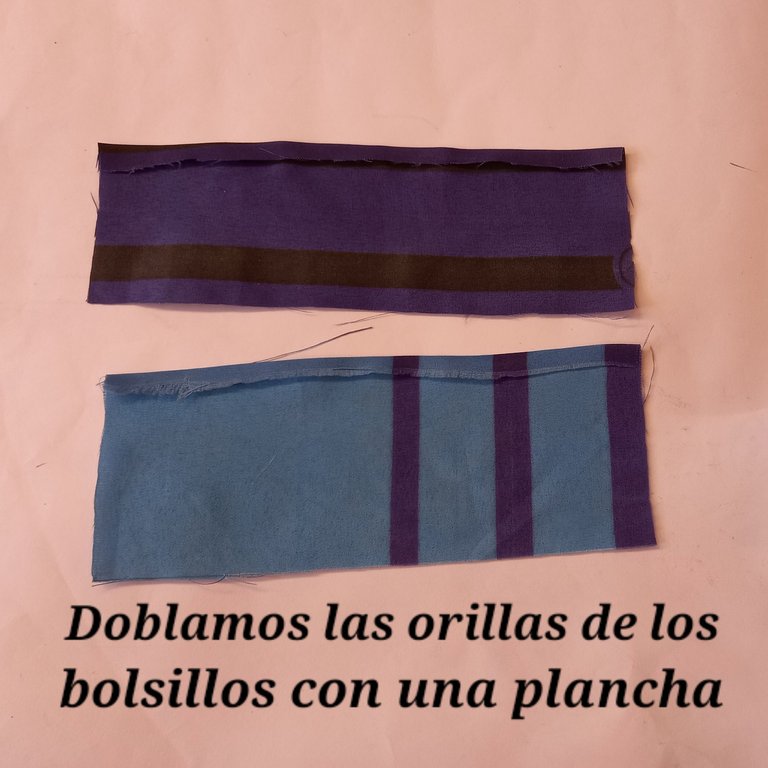
Después doblamos con la plancha las orillas de todos los rectángulos.
Then we fold the edges of all the rectangles with the iron.
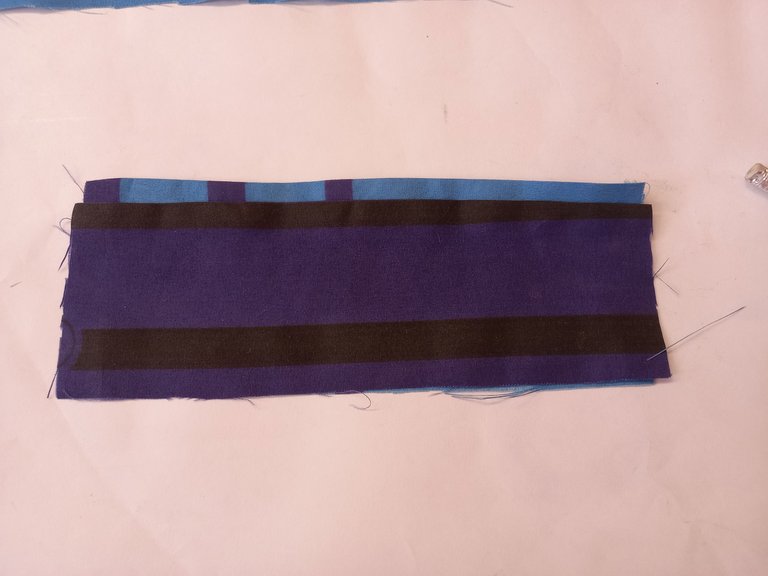
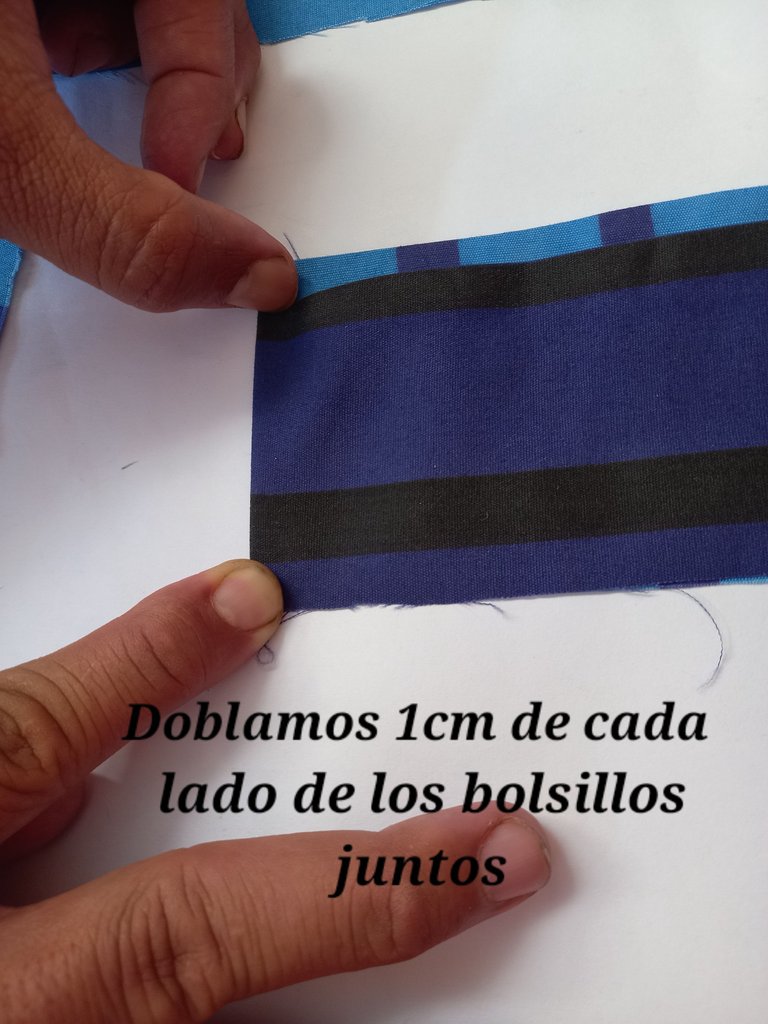
Colocaremos dos rectángulos juntos poniendo cada uno por sus bordes inferiores y hacemos un dobladillo de 1cm de ancho a los lados.
We will place two rectangles together by placing each one by its lower edges and we will make a 1 cm wide hem on the sides.
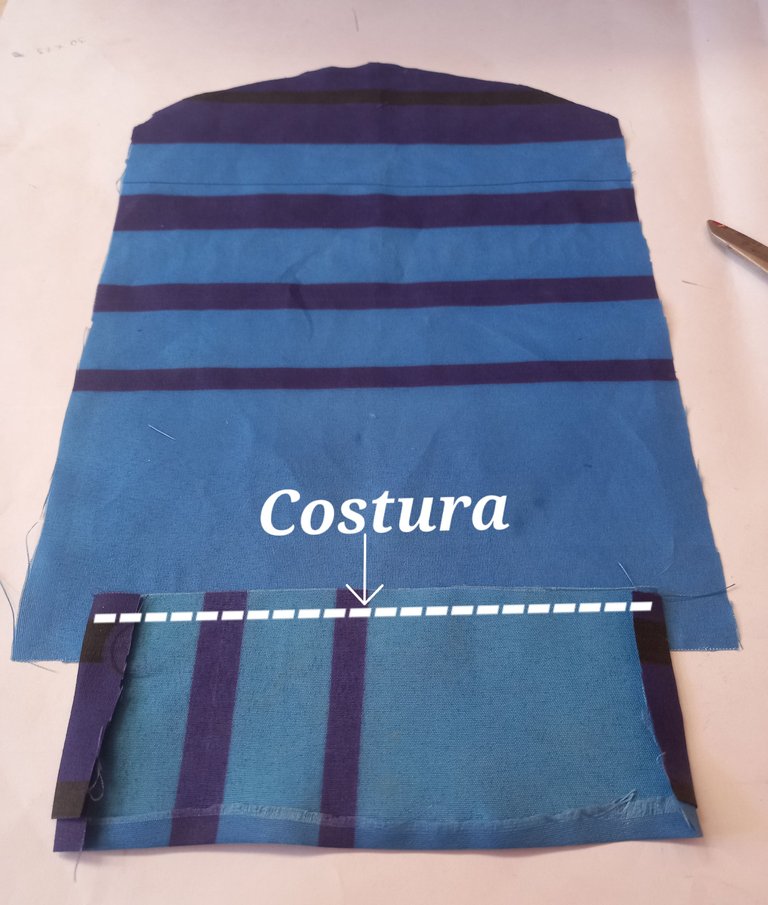
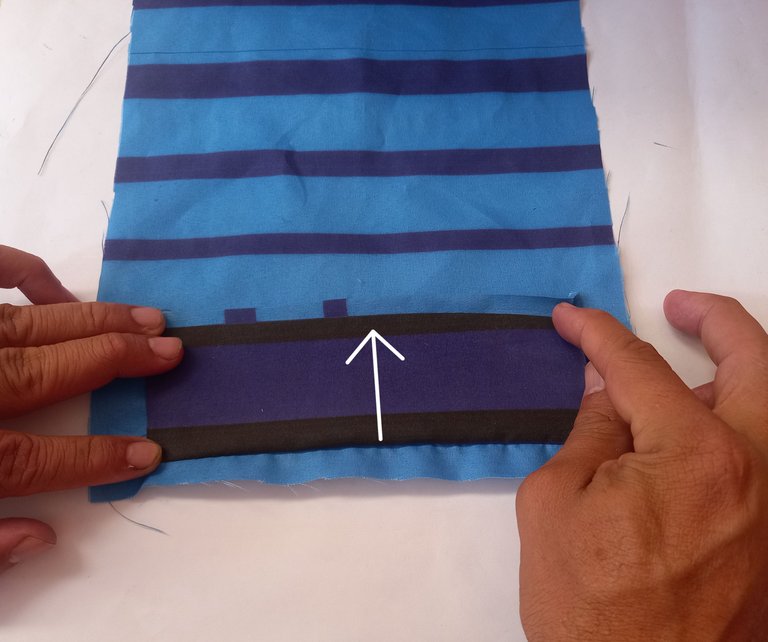
Colocamos el borde inferior del rectángulo a 2cm más arriba del borde inferior de la pieza completa y cosemos.
Place the bottom edge of the rectangle 2 cm above the bottom edge of the complete piece and sew.
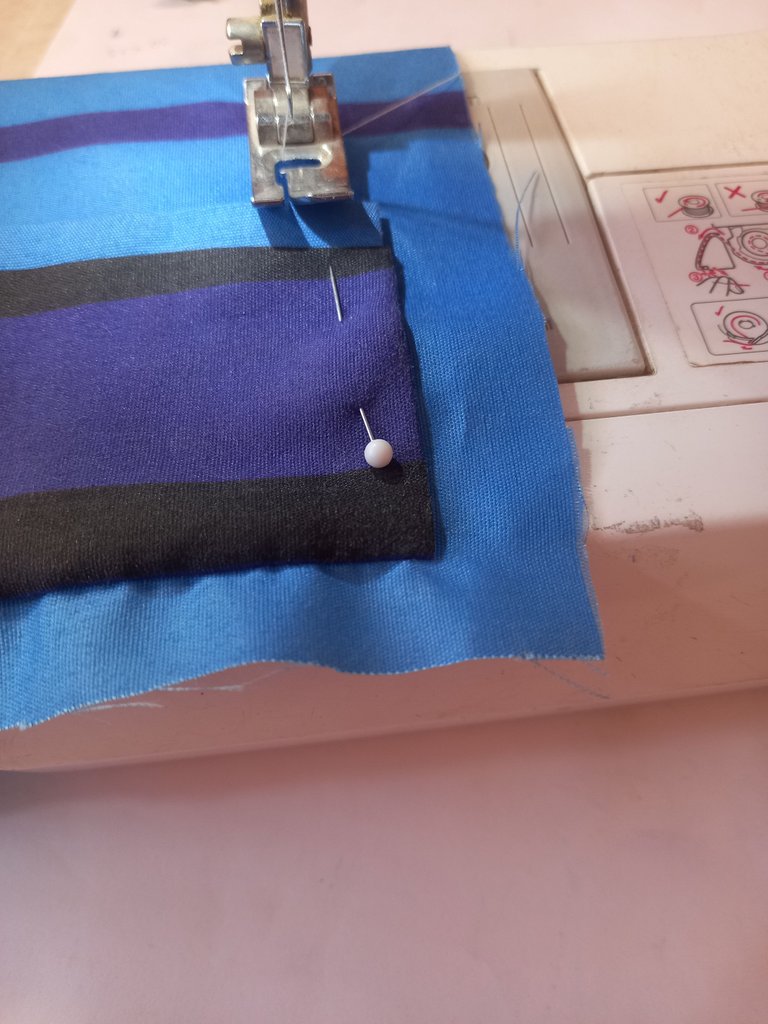
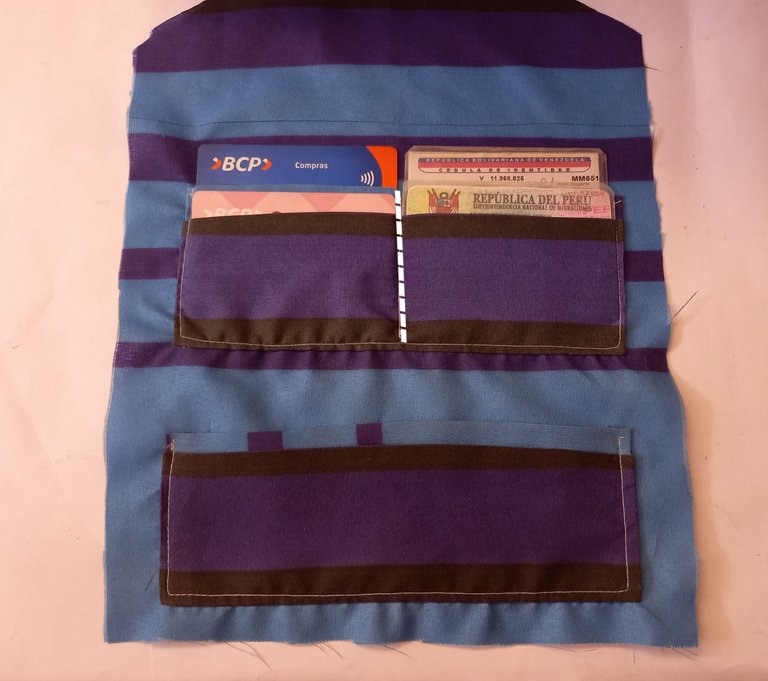
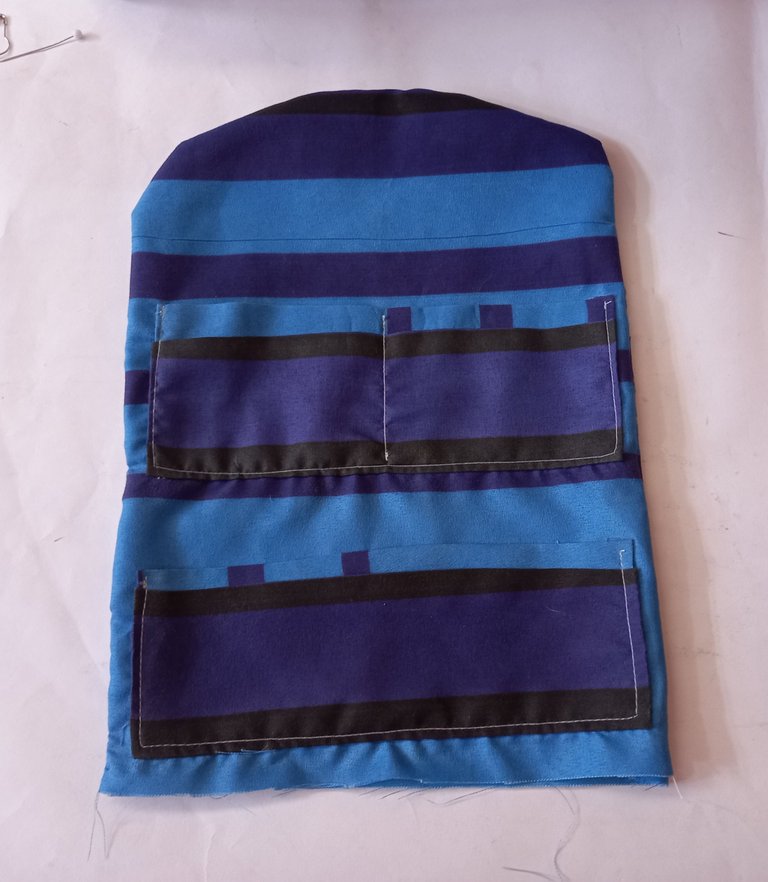
Llevamos el borde superior del rectángulo hacia arriba y cosemos los laterales. De esta manera tendremos los dos primeros bolsillos.
We bring the top edge of the rectangle upwards and sew the sides. This way we will have the first two pockets.
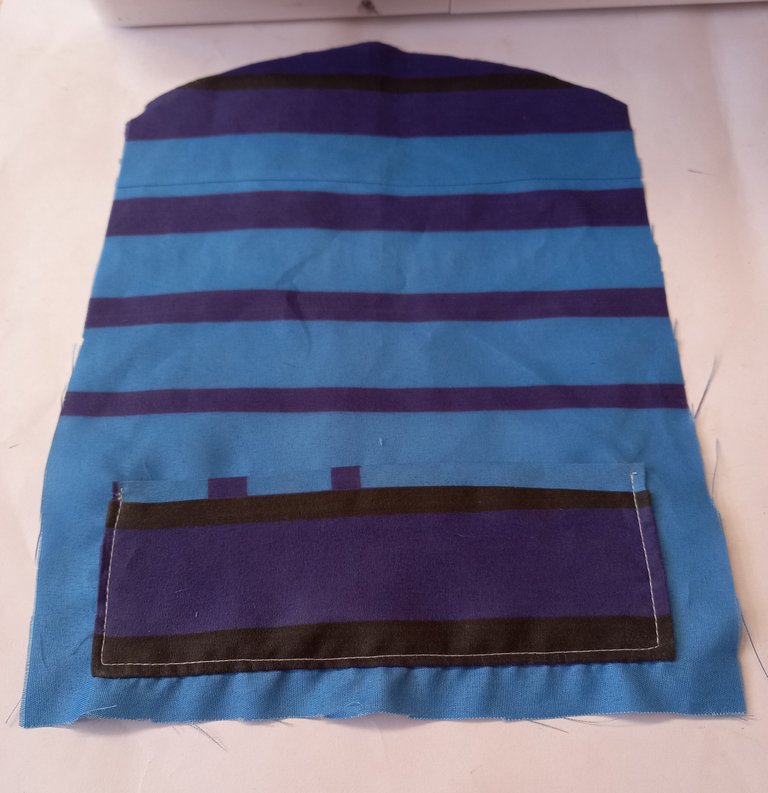
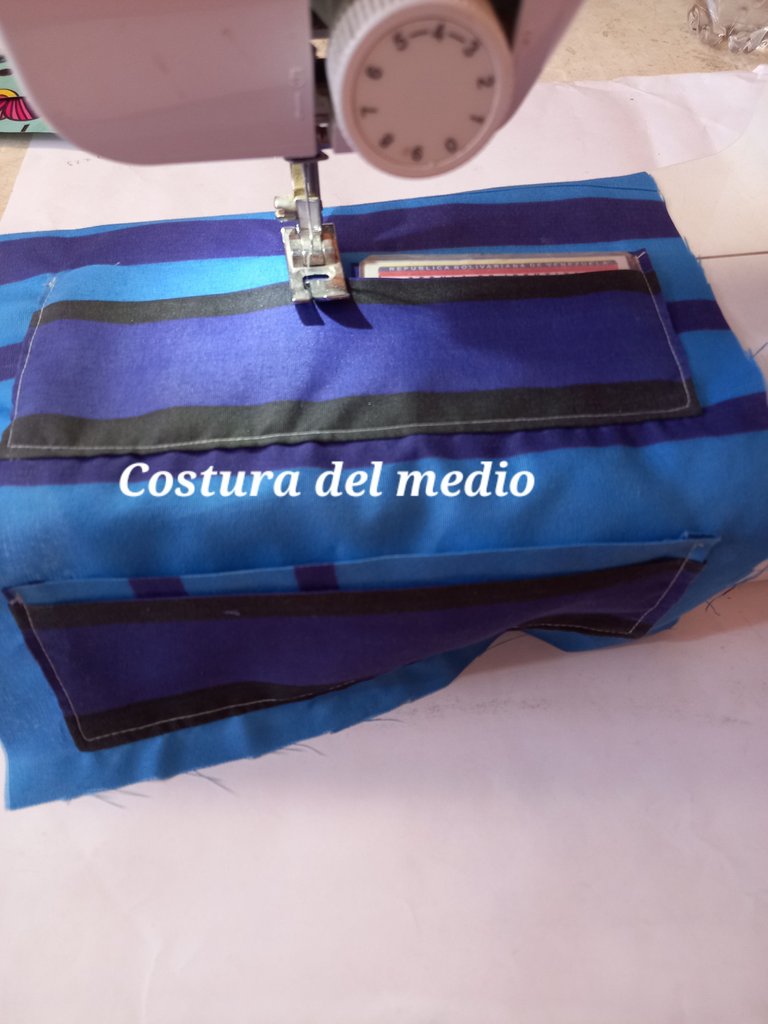
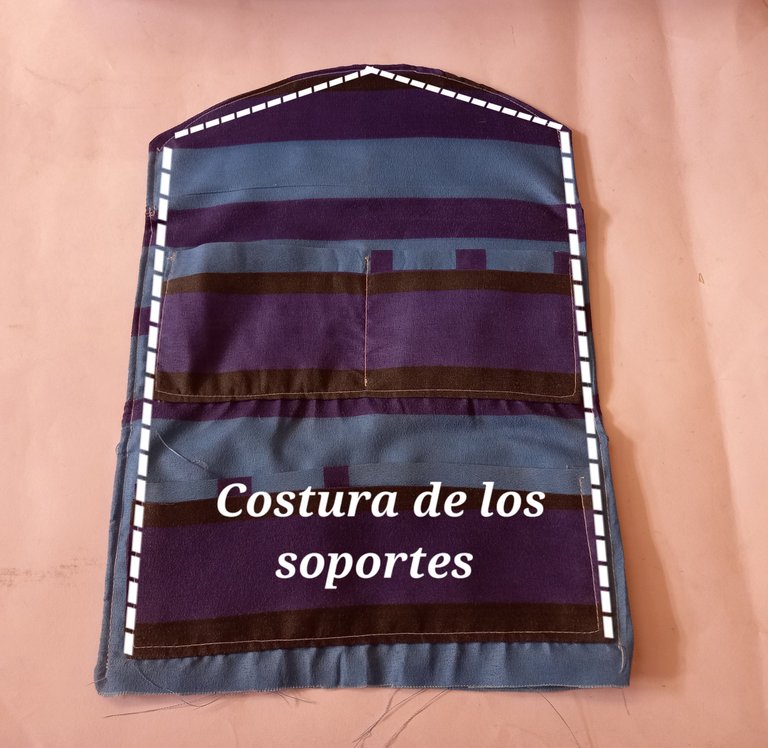
Éste mismo procedimiento lo haremos para los otros bolsillos, los cuales coseremos 2 cm más arriba de los primeros bolsillos; Además le haremos una partición con costura en el centro.
The same procedure will be used for the other pockets, which will be sewn 2 cm higher than the first pockets.
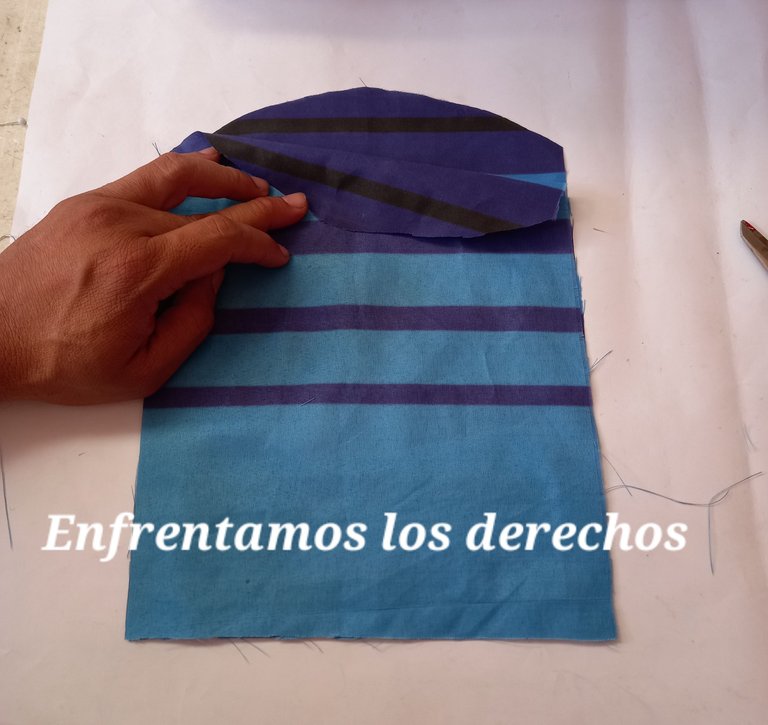
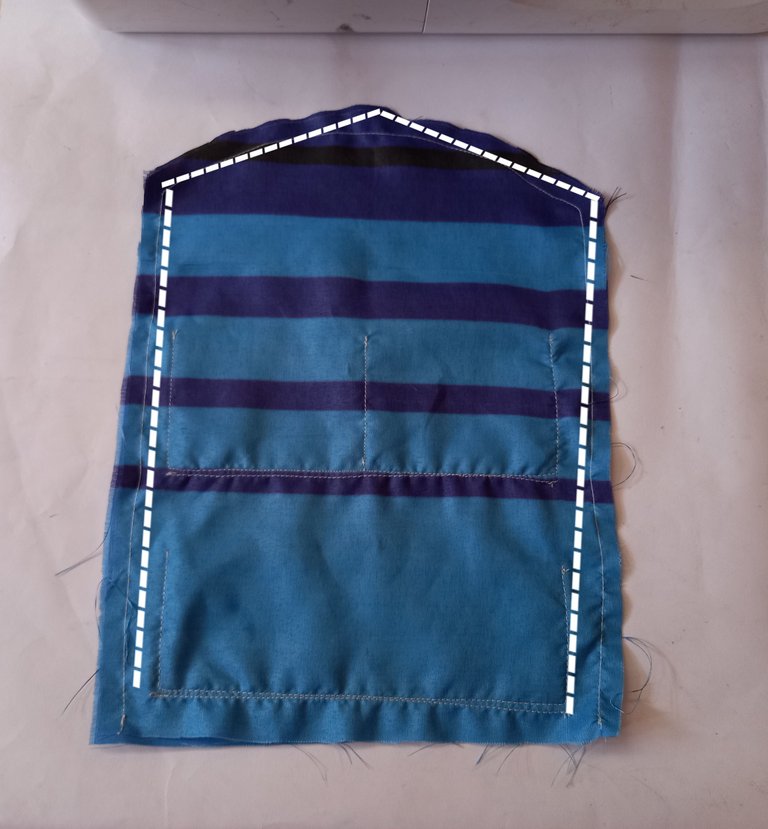
Posteriormente uniremos las dos piezas grandes colocando derecho con derecho y pasamos costura en los bordes, excepto en la parte inferior.
Afterwards, we will join the two large pieces right sides together and sew along the edges, except at the bottom.
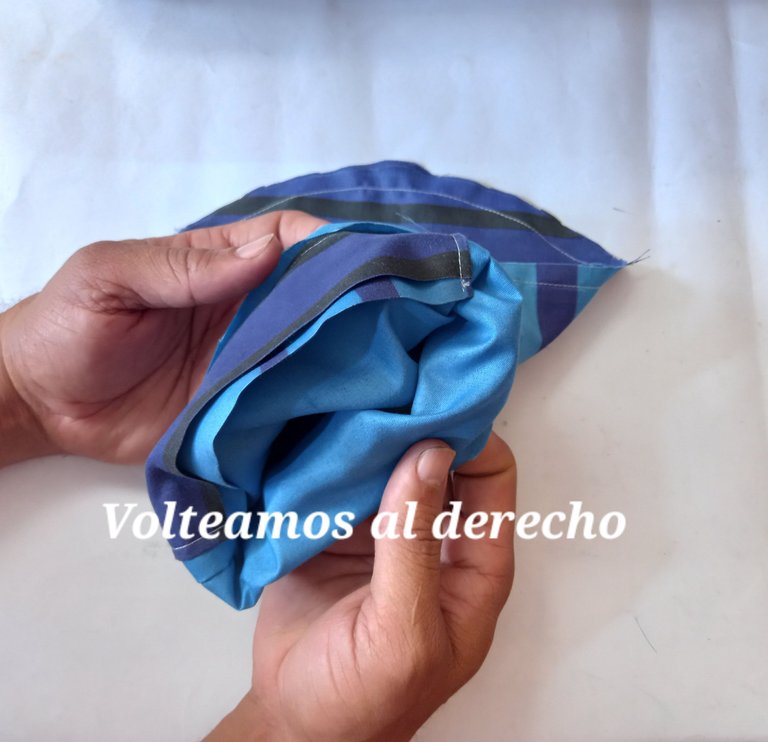
Volteamos las telas al derecho
We turn the fabrics right side out
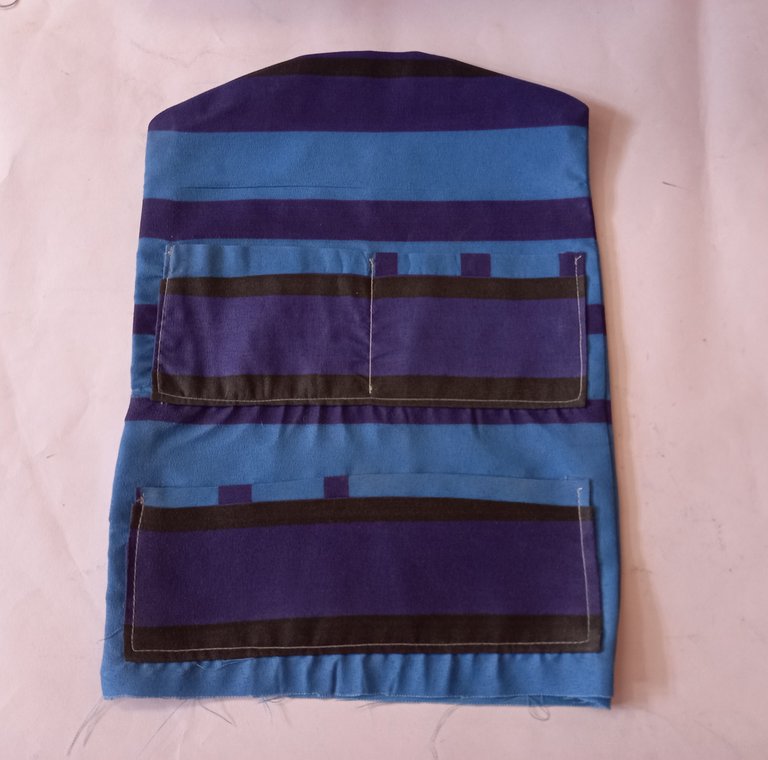
Planchamos toda la pieza completa haciendo énfasis más en sus bordes para darle un mejor acabado.
We iron the whole piece, emphasizing more on its edges to give it a better finish.

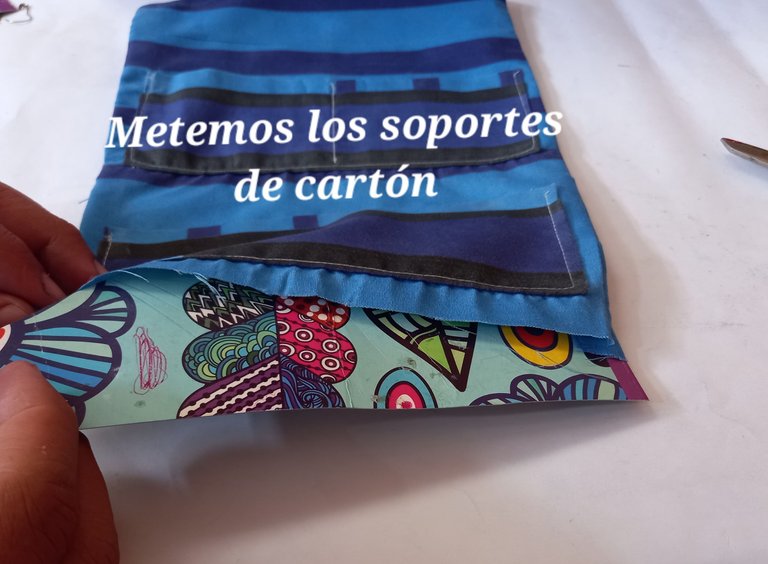
Comenzaremos a introducir los soportes por el espacio que quedó sin costura e iremos cosiéndolos.
We will begin to insert the supports through the space left without sewing and we will sew them.
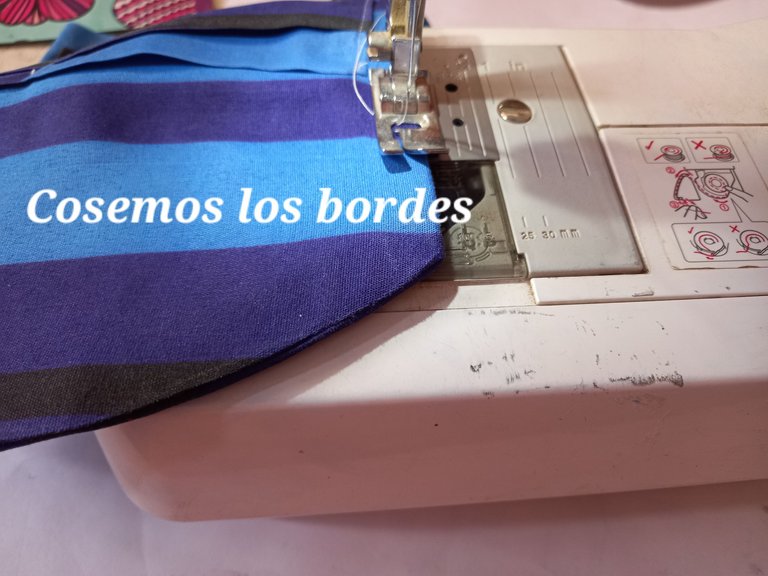
Después de haber introducido y cocido todos los soportes, doblaremos 1cm de tela, de los bordes inferiores que quedó abierto y cosemos.
After inserting and sewing all the supports, we will fold 1 cm of fabric from the lower edges that were left open and sew.


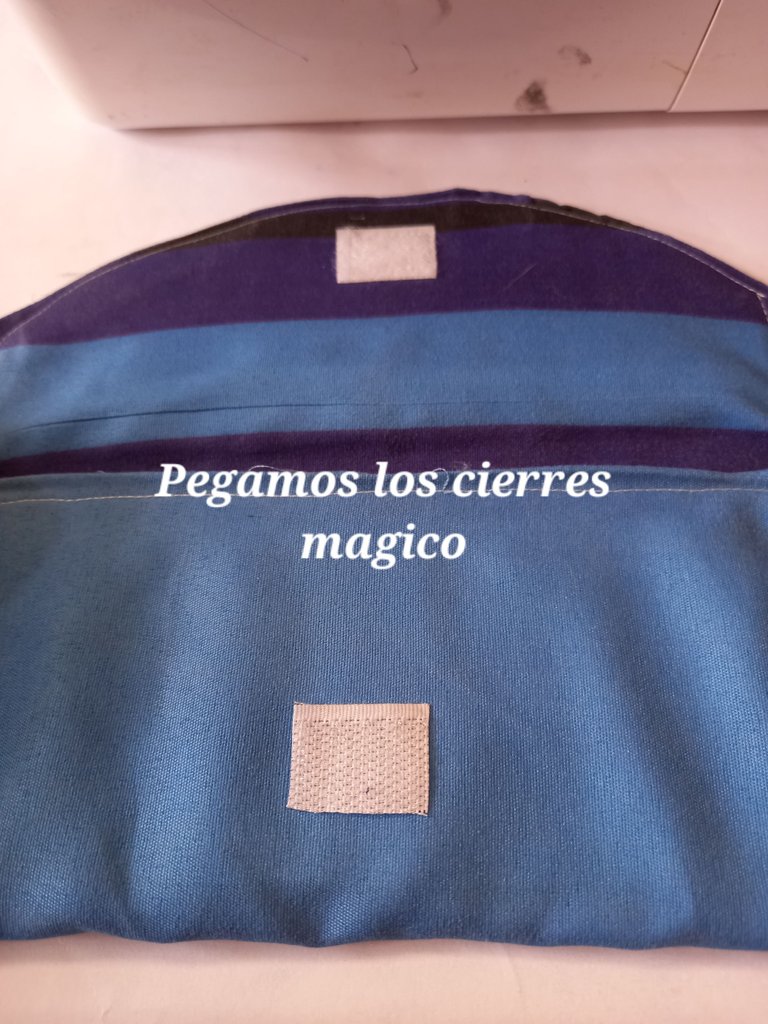
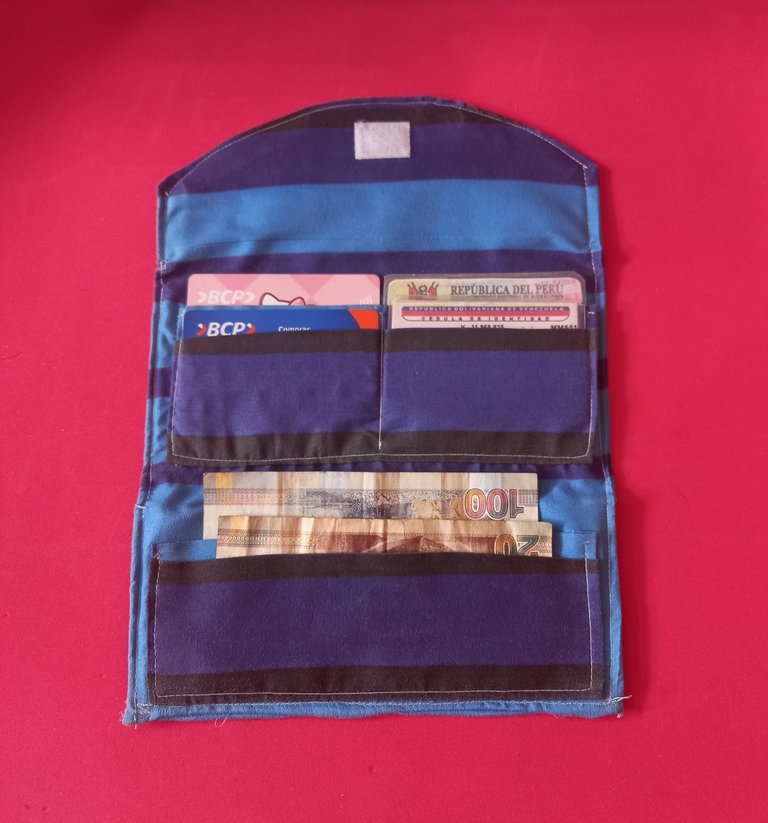
Finalmente pegamos los cierres mágicos, uno en la parte de adentro de la tapa y otro en la parte de atrás del último soporte.
Finally we glue the magic fasteners, one on the inside of the lid and one on the back of the last support.
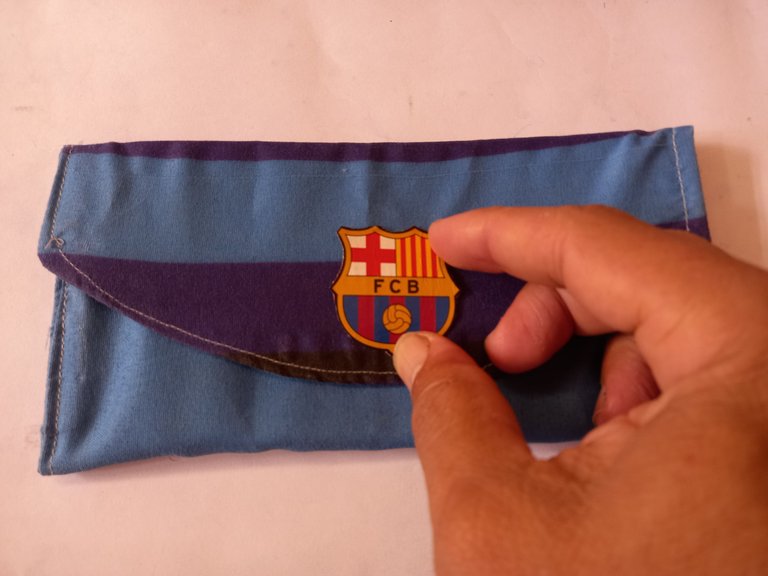
Para personalizar la billetera usaremos el sticker de temática que más nos guste, eso sí, que sea de plástico o cartón duro y lo pegamos encima del cuadrado de costura del cierre mágico.
To personalize the wallet we will use the sticker of the theme we like the most, but it must be made of plastic or hard cardboard and we will stick it on top of the sewing square of the magic clasp.

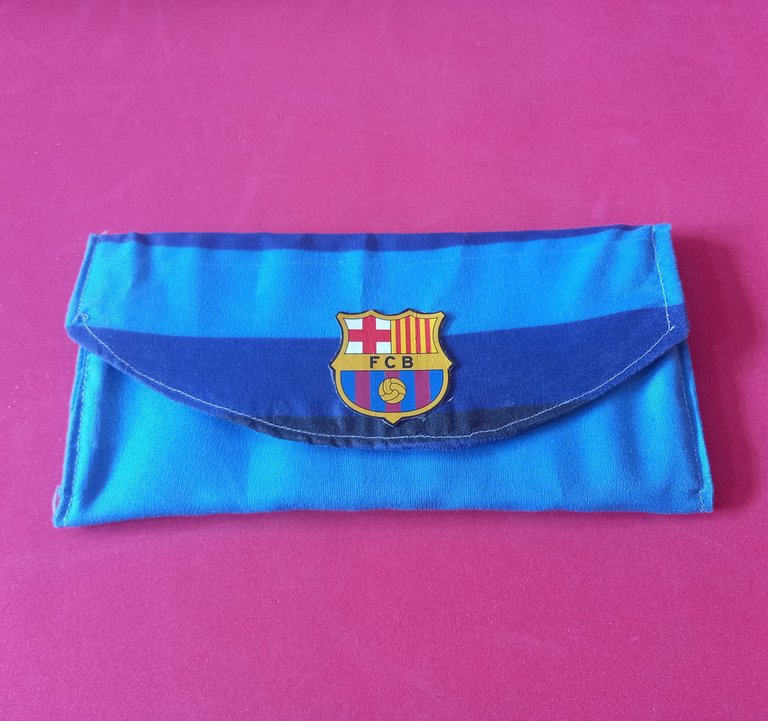
Gracias estimado amigo por visitar mi blog y quedarte hasta el final de éste corto tutorial; espero que te haya gustado. Dios los bendiga.
Thank you dear friend for visiting my blog and staying until the end of this short tutorial; I hope you liked it. God bless you.
Congratulations @chandehc! You have completed the following achievement on the Hive blockchain and have been rewarded with new badge(s):
Your next target is to reach 6000 upvotes.
You can view your badges on your board and compare yourself to others in the Ranking
If you no longer want to receive notifications, reply to this comment with the word
STOPCheck out the last post from @hivebuzz:
Support the HiveBuzz project. Vote for our proposal!
Que bien se ve ésta billetera y muy fácil de realizar. Gracias por compartir con nosotros estimado @chandehc
Me encanta este tipo de billeteras. Ahora las necesitamos todos.
Lindo color. El tutorial estupendo. Me parece que puedo hacerlo a mano.
Gracias 🙏 por dejarnos el tutorial tan bien explicado. Saludos.
Gracias estimada @creacioneslelys por tu agradable y motivador comentario. Esa es la idea amiga, que las personas puedan verlo como útil y fácil de realizar, desde la comodidad de su hogar. Saludos cordiales 😊👍🏻
que hermoso trabajo y muy bien explicado! gracias.
Gracias estimada @g2ml por comentar. Feliz día 😊
Excelente propuesta hacer nuestra propia billetera personalizada. Tu paso a paso es muy bueno.
Felicitaciones
Hola estimada @yennysferm71, muchas gracias por tus felicitaciones. Que tengas un bonito día. Bendiciones 🙏🏻
Gracias! Hiciste ver que es muy fácil de realizar, tome notas para realizar el mio, saludos
Hola estimada @leslieq78, gracias por comentar. Saludos para ti también 😊
Nicely done thanks for sharing @chandehc
Gracias estimado @smilestitches, que tenga un gran día
Yea welcome @chandehc
Gracias estimado 👍🏻
Dear @chandehc, we need your help!
The Hivebuzz proposal already got important support from the community. However, it lost its funding a few days ago when the HBD stabilizer proposal rose above it.
May we ask you to support it so our team can continue its work?
You can do it on Peakd, Ecency,
https://peakd.com/me/proposals/199
All votes are helpful and yours will be much appreciated.
Thank you!