¡¡Bienvenido a mi Tutorial!!❤️
Welcome to my Tutorial!!❤️
Holaaa comunidad #needlework. Aquí nuevamente con ustedes creando diseños con los hilos.
En esta oportunidad voy a compartir la elaboración rápida de un collar para cualquier ocasión. Es un modelo muy sencillo y fácil de hacer. Los niños pueden hacerlo acompañados de sus padres.
Los materiales pueden obtenerlo en mercerías o en lugares donde venden telas. Y si tienen en casa hilo y accesorios también es aceptable. Se vale reciclar. El objetivo de elaborar este collar es para que aprendan hacerlo y lucirlo o para obsequio. Es una prenda muy duradera aunque dependiendo del hilo conque lo hagas es su tiempo de duración. En este caso lo hice con hilo de nylon que es muy duradero.
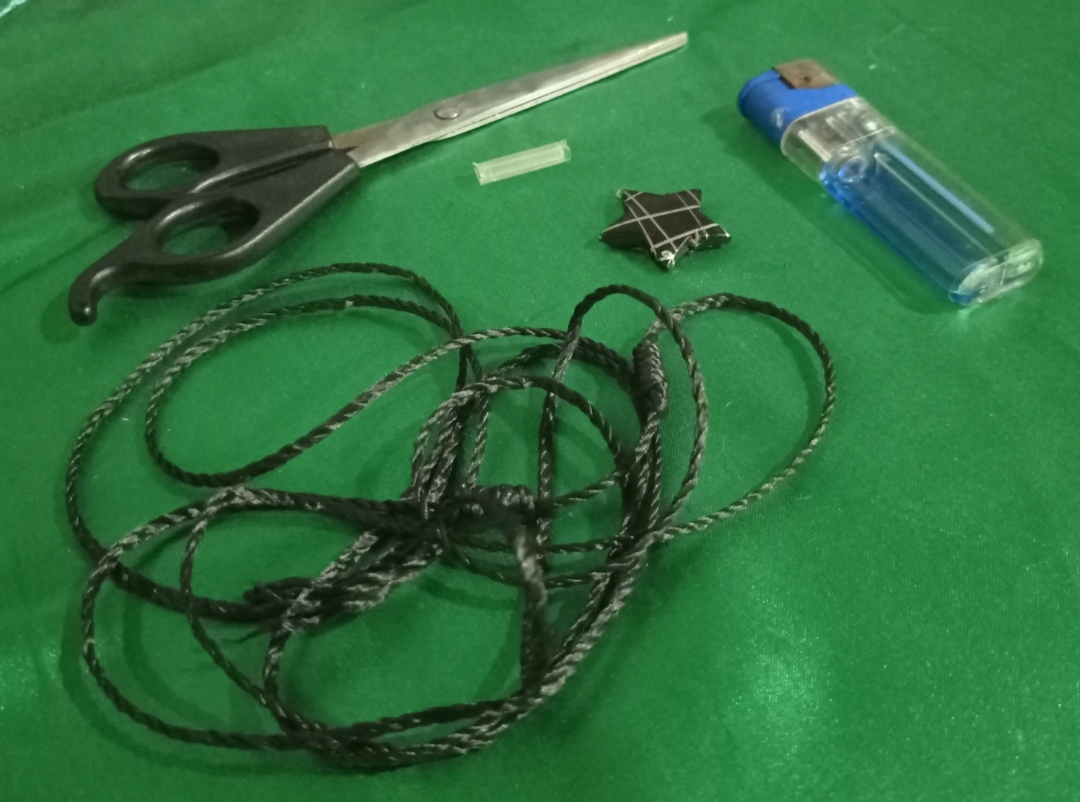
Para la creación de este collar se necesitaron los siguientes materiales:
Hellooo community #needlework. Here again with you creating designs with the threads.
In this opportunity I am going to share the quick elaboration of a necklace for any occasion. It is a very simple and easy model to make. Children can do it accompanied by their parents.
The materials can be obtained from haberdashery stores or places where they sell fabric. And if they have thread and accessories at home, it is also acceptable. Recycling is okay. The objective of making this necklace is for them to learn how to do it and wear it or as a gift. It is a very durable garment although depending on the thread with which you do it is its duration time. In this case I made it with nylon thread which is very durable.
For the creation of this necklace the following materials were needed:
Materiales:
- 1,5 m de Hilo de nylon número 36 negro
- Dije de estrella negra
- Tijera
- Yesquero o vela
Materials:
- 1,5 m of Nylon thread number 36 black
- Black star charm
- Scissors
- Tinderbox or candle
Materiales
Materials
Procedimiento:
Process:
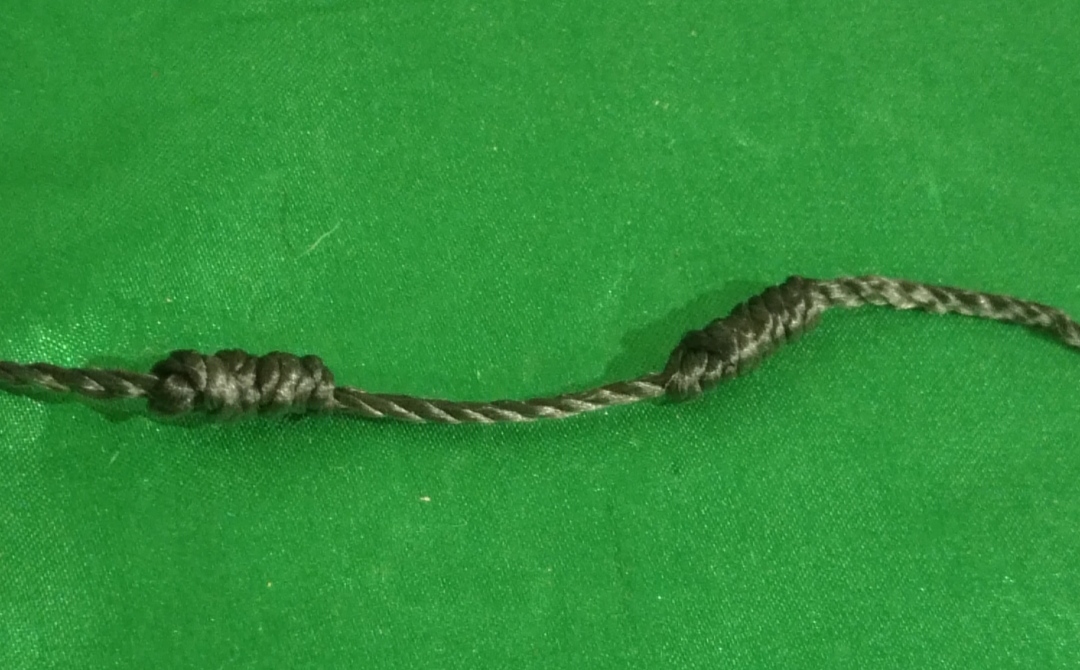
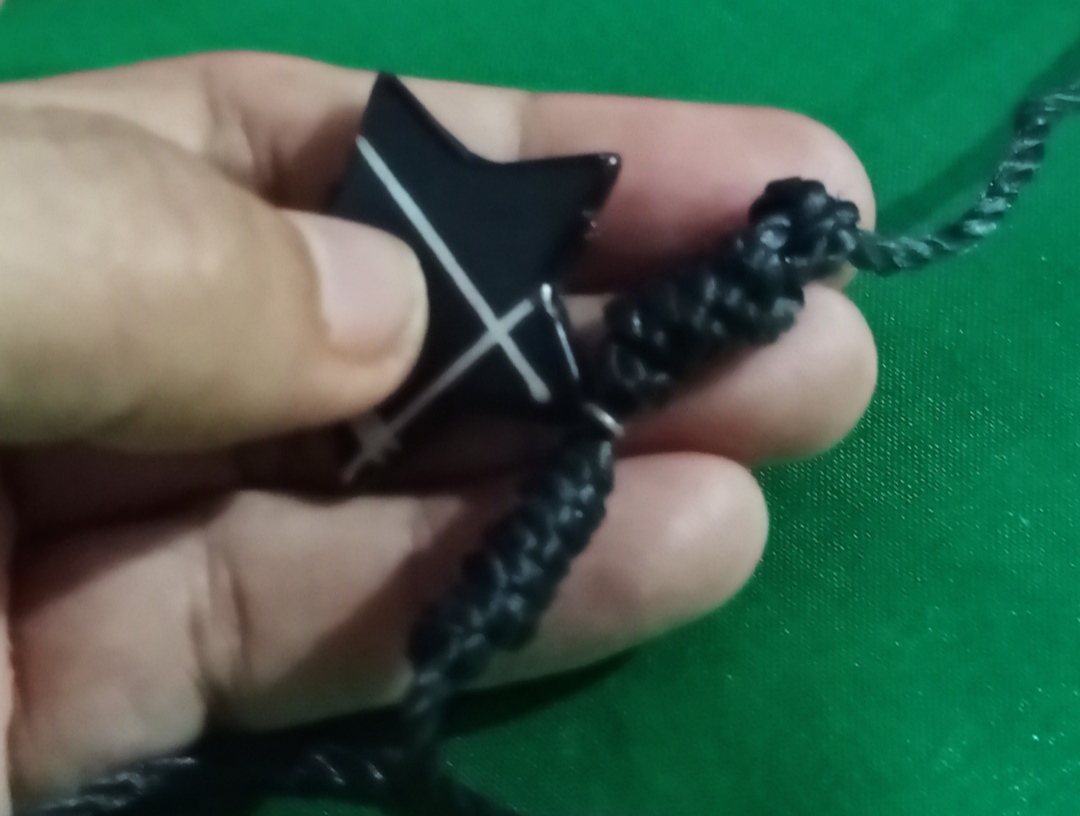
Vamos a formar cuatro nudos.
Primeramente formamos dos nudos como hice en el post anterior con la misma técnica y colocamos el dije.
We are going to form four knots.
First we form two knots as I did in the previous post with the same technique and we place the pendant.
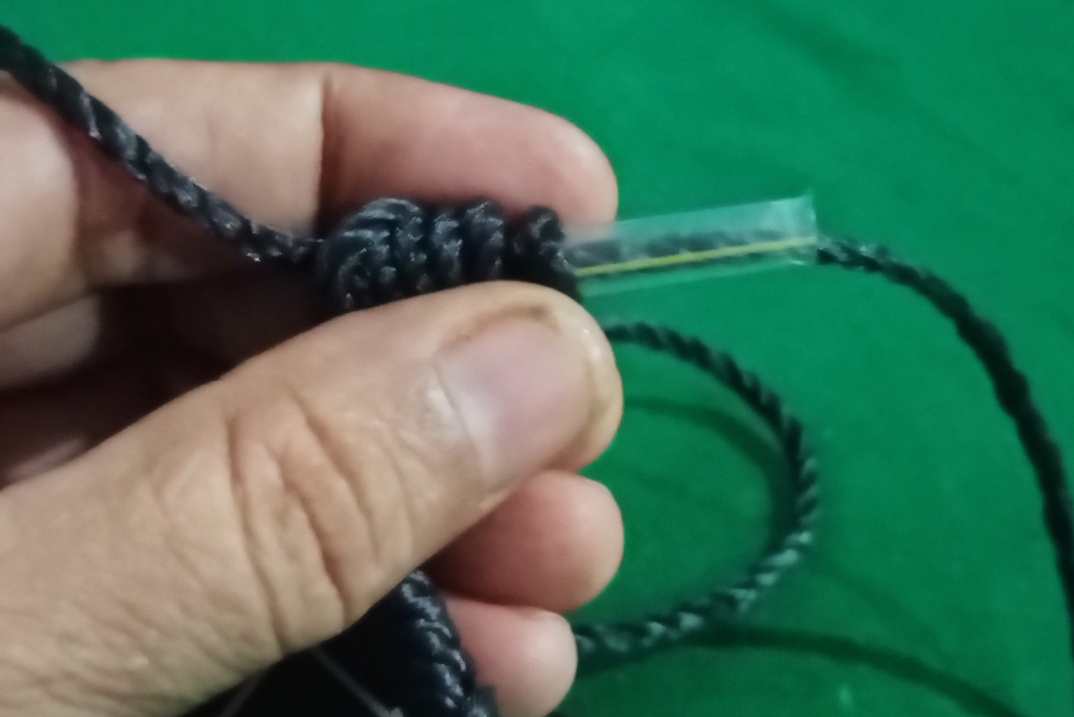
Aquí le explicaré nuevamente la técnica:
Colocamos el pitillo a una distancia de 28 cm en el hilo.
Here I will explain the technique again:
We place the straw at a distance of 28 cm on the thread.
Luego enrollamos 10 veces
Then we roll 10 times
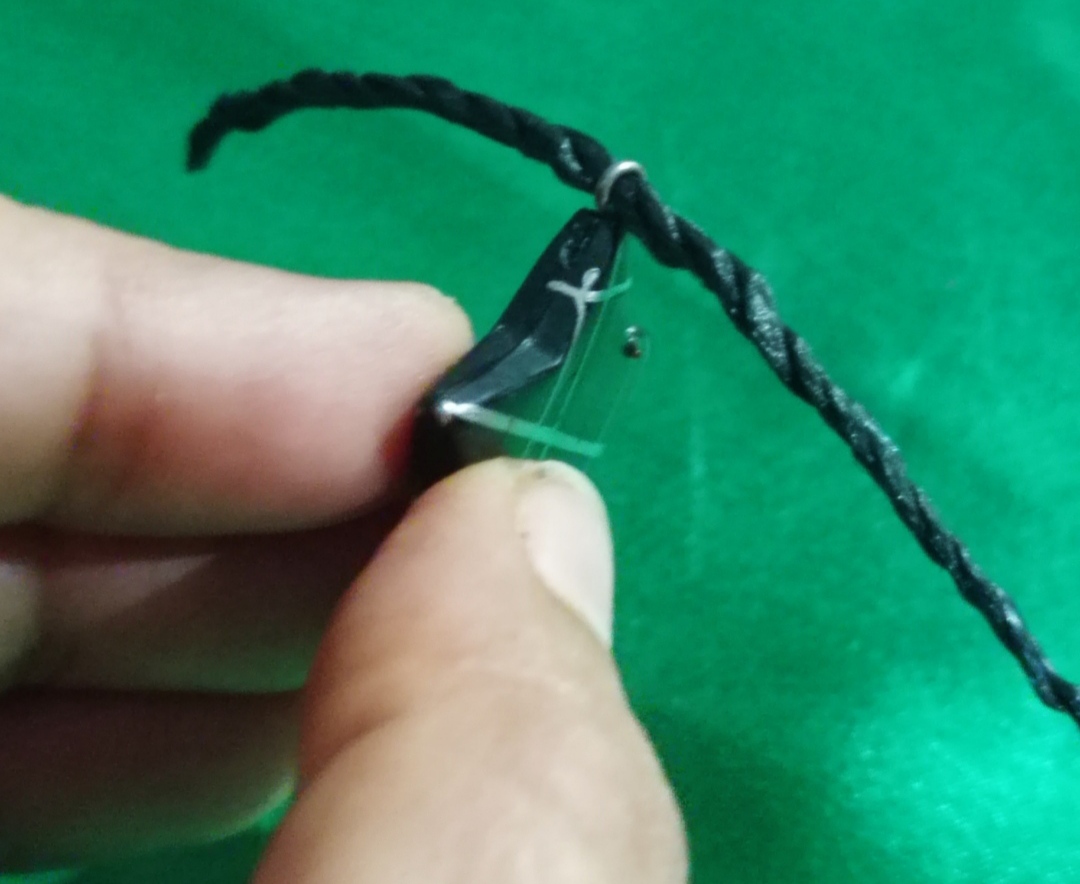
Introducimos la punta del hilo por donde se termina el enrollado.
We introduce the end of the thread where the winding ends.
Se saca el pitillo
takes out the cigarette
Y se hala el hilo por ambos lados hasta quedar cerca del Dije y apretado.
And the thread is pulled on both sides until it is close to the pendant and tight.
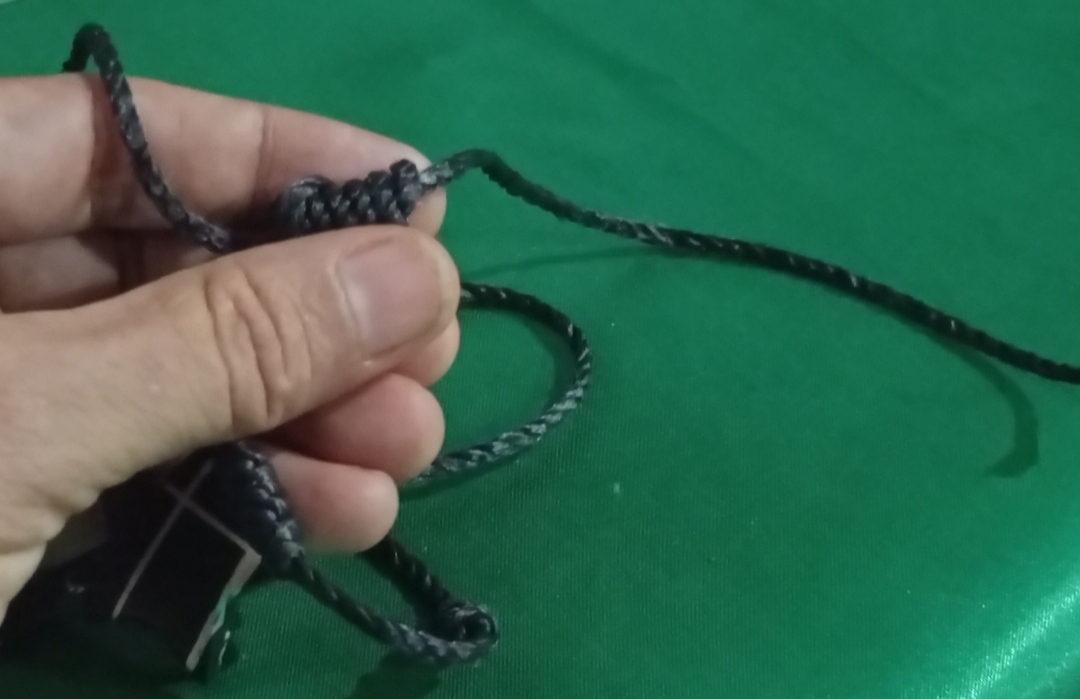
Y después se hace el otro de la misma manera a la misma distancia como se ve en el otro lado para que queden iguales.
And then the other is done in the same way at the same distance as seen on the other side so that they are equal.
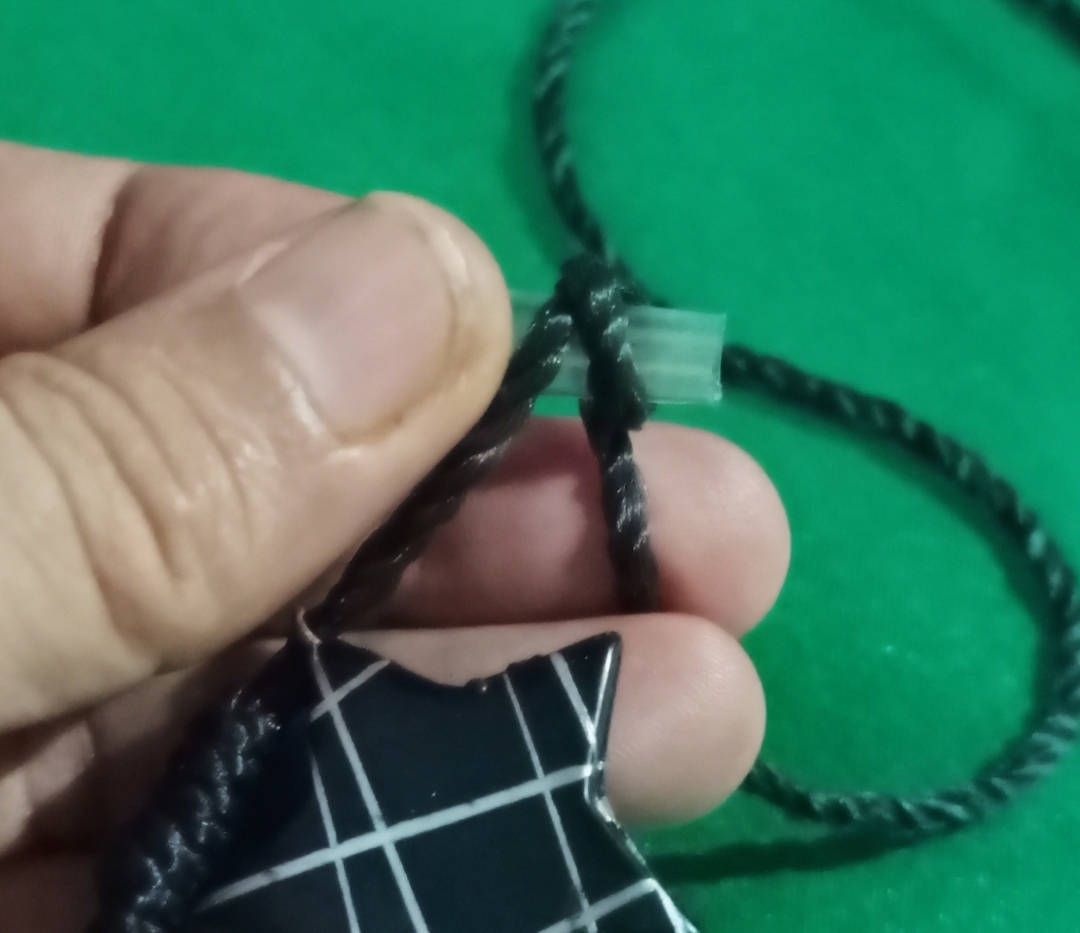
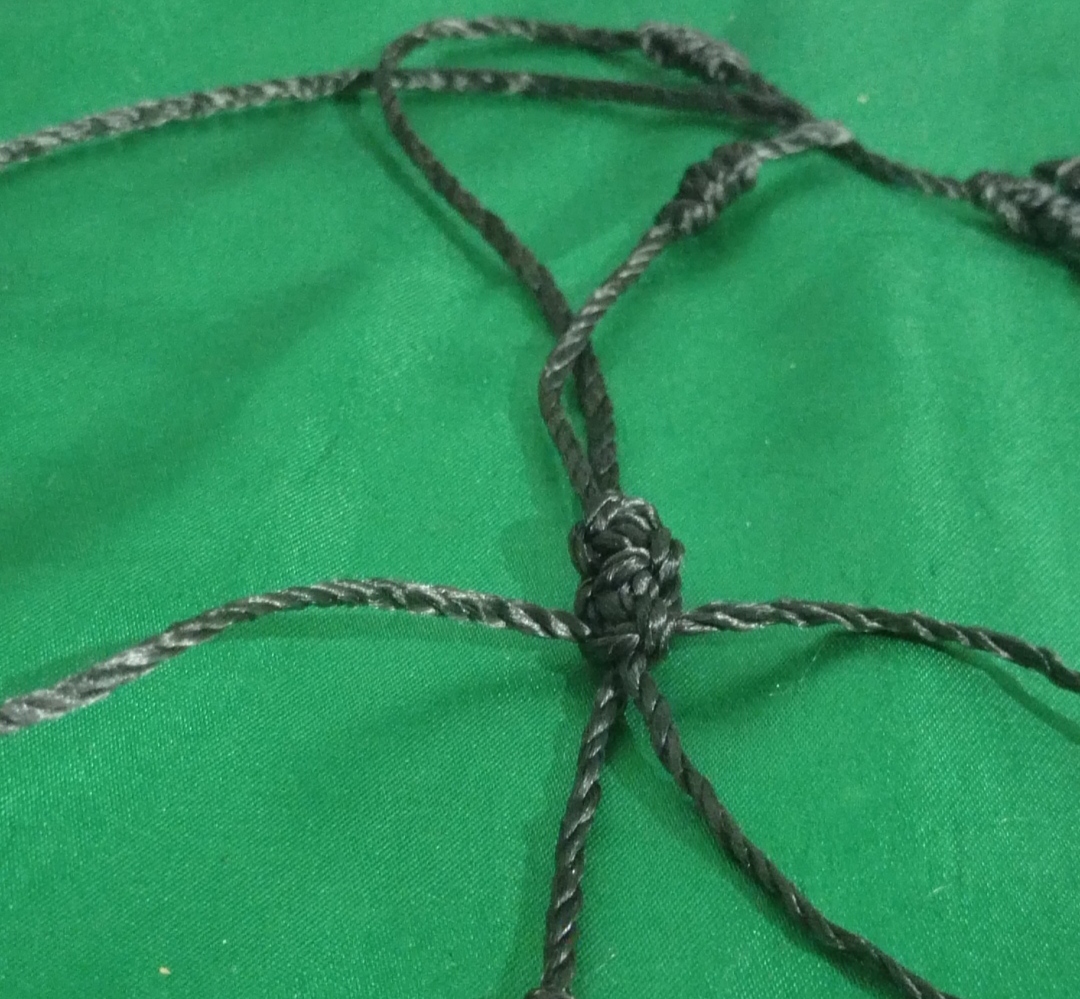
Ahora vamos hacer el nudo corredizo.
Se cruzan los dos lados como se ve en la foto
Se corta con la tijera 20cm de hilo para hacer el nudo.
Now let's make the slipknot.
The two sides are crossed as seen in the photo
Cut 20cm of thread with scissors to make the knot.
Hacemos un amarre normal y apretamos
We make a normal tie and tighten
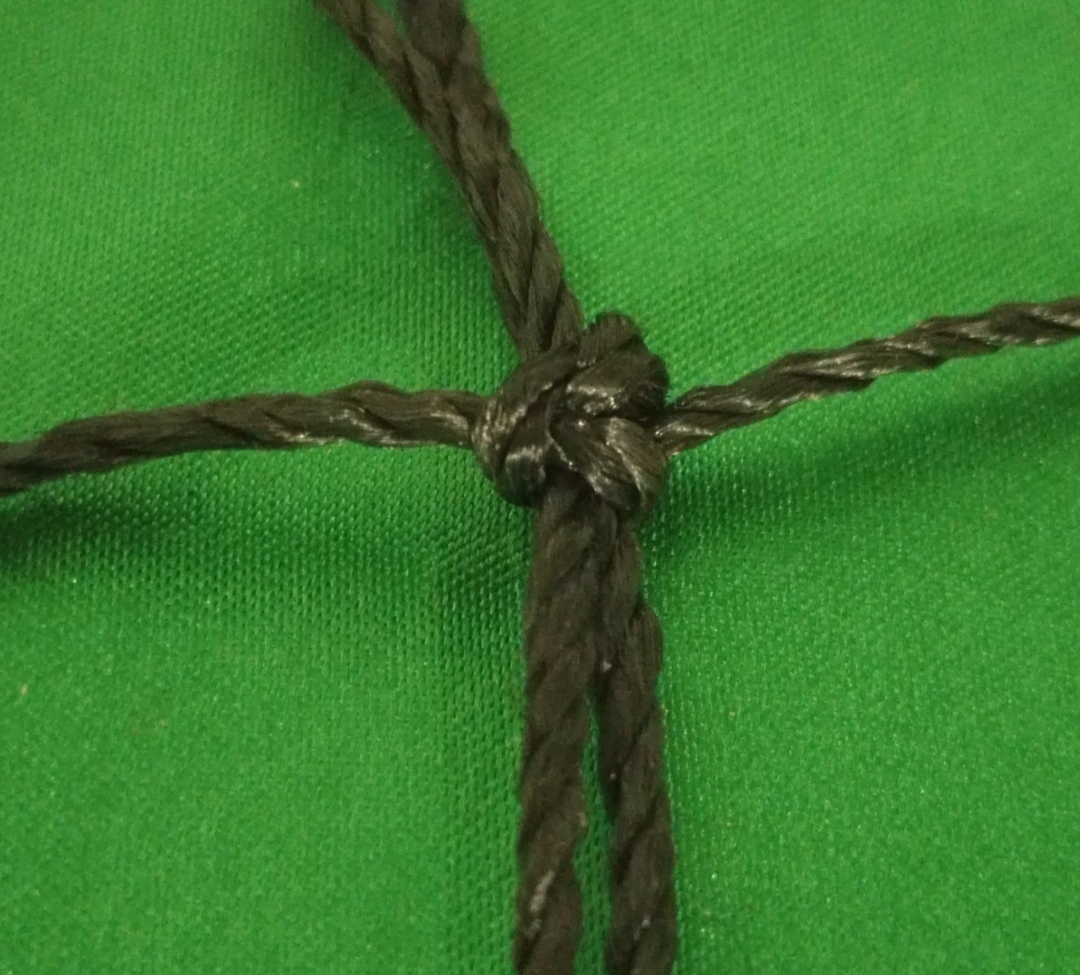
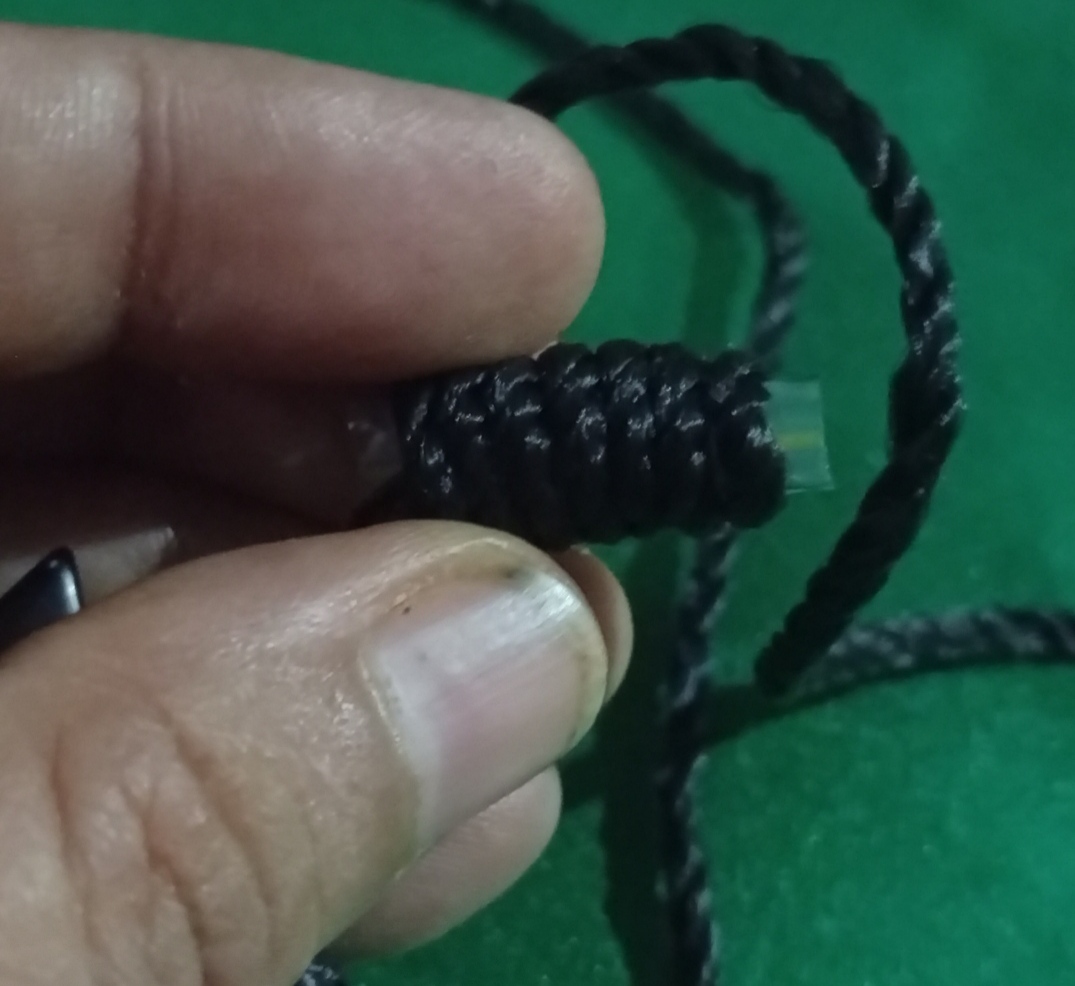
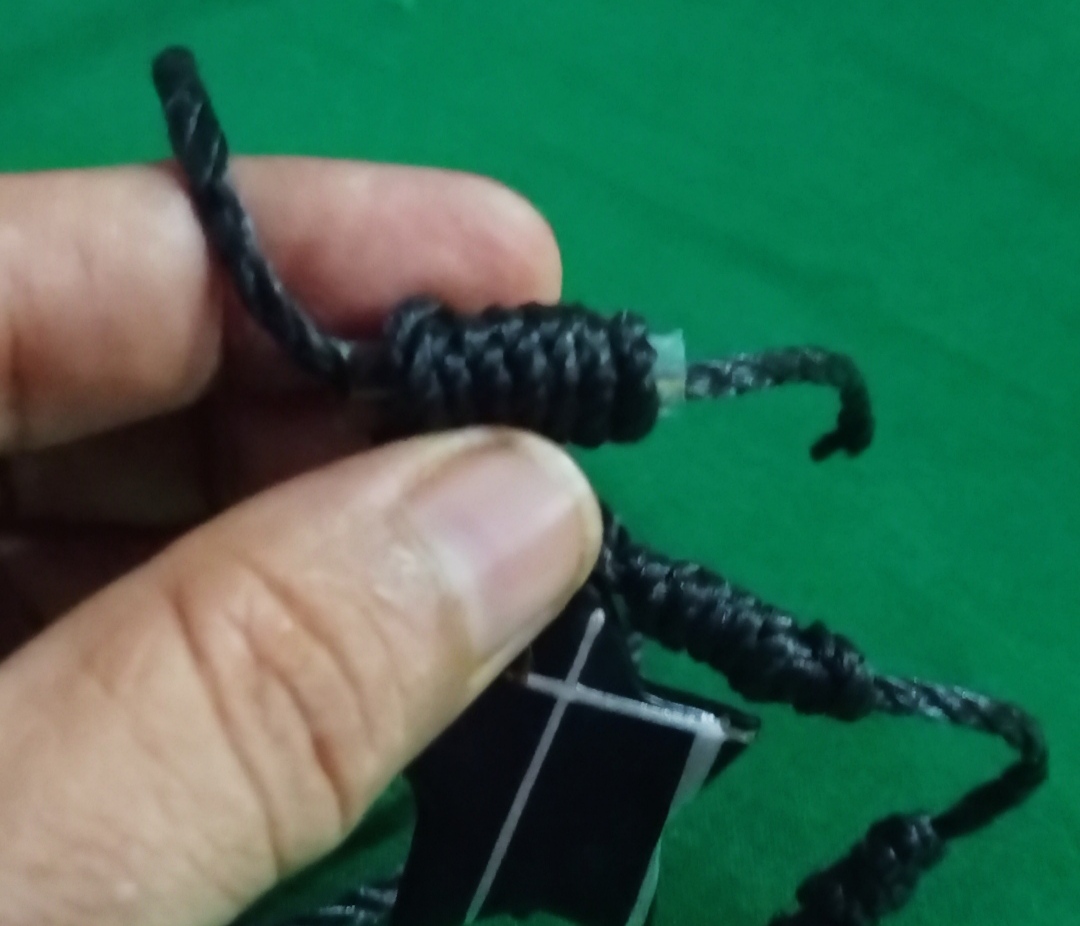
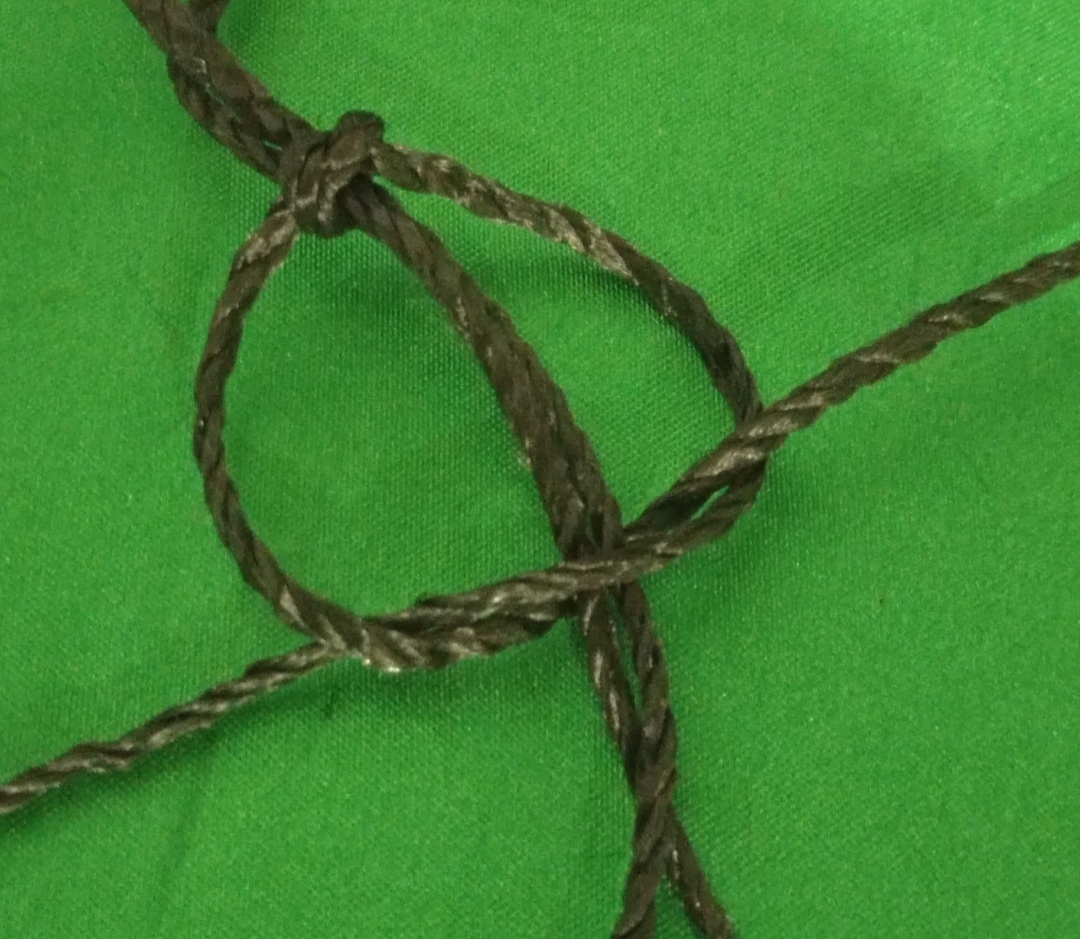
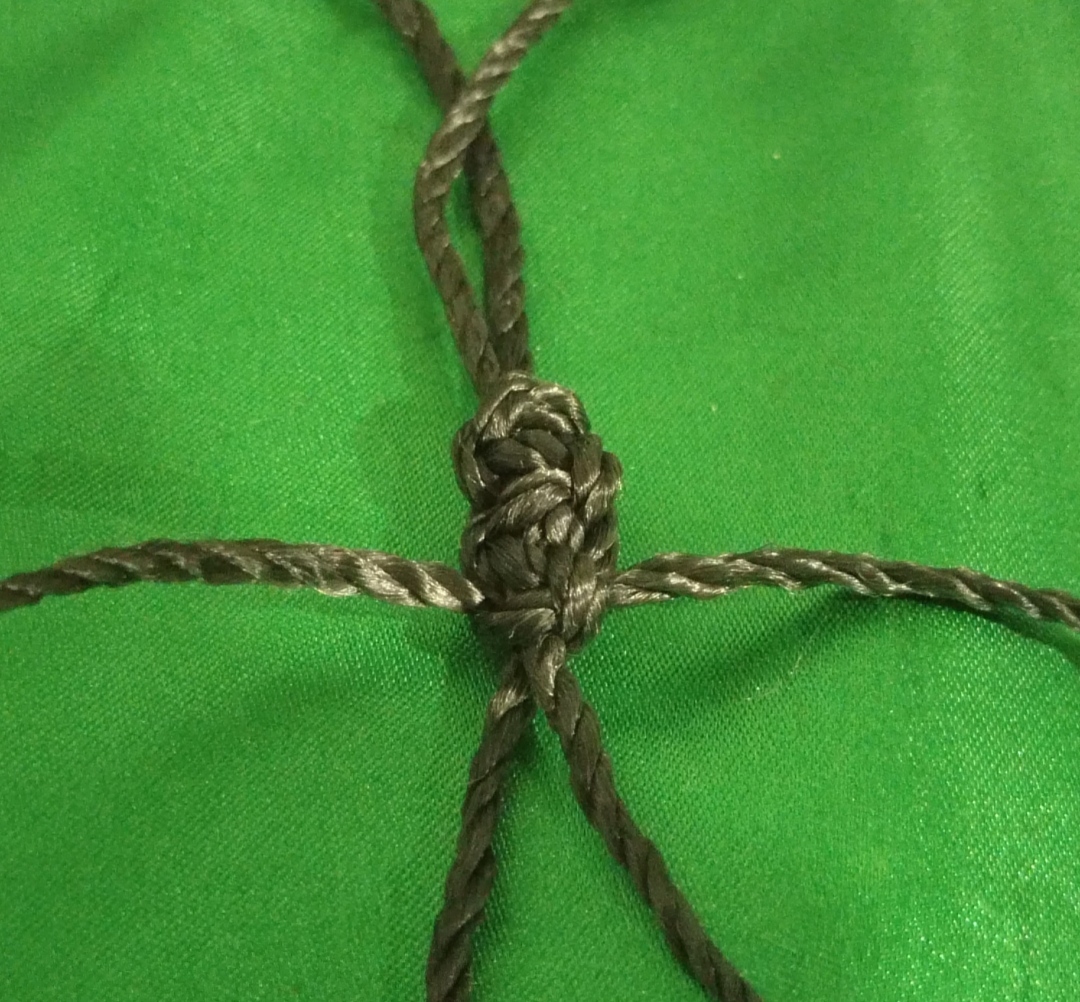
Luego hacemos el nudo macramé mostrado en la siguiente foto:
Se dobla el hilo por detrás de los dos hilos del collar y el del lado derecho se dobla por delante. Y luego se procede hacer cómo está en la foto. Si quieres más detalles aquí le dejo el link anterior: https://hive.blog/hive-127911/@elinorrg/esp-eng-como-elaborar-una-pulsera-con-nudos-y-mostacilla-how-to-make-a-bracelet-with-knots-and-beads-by-elinorrg
Then we make the macramé knot shown in the following photo:
The thread is folded behind the two threads of the necklace and the one on the right side is folded in front. And then proceed to do as it is in the photo. If you want more details here I leave the previous link: https://hive.blog/hive-127911/@elinorrg/esp-eng-como-elaborar-una-pulsera-con-nudos-y-mostacilla-how-to-make-a-bracelet-with-knots-and-beads-by-elinorrg
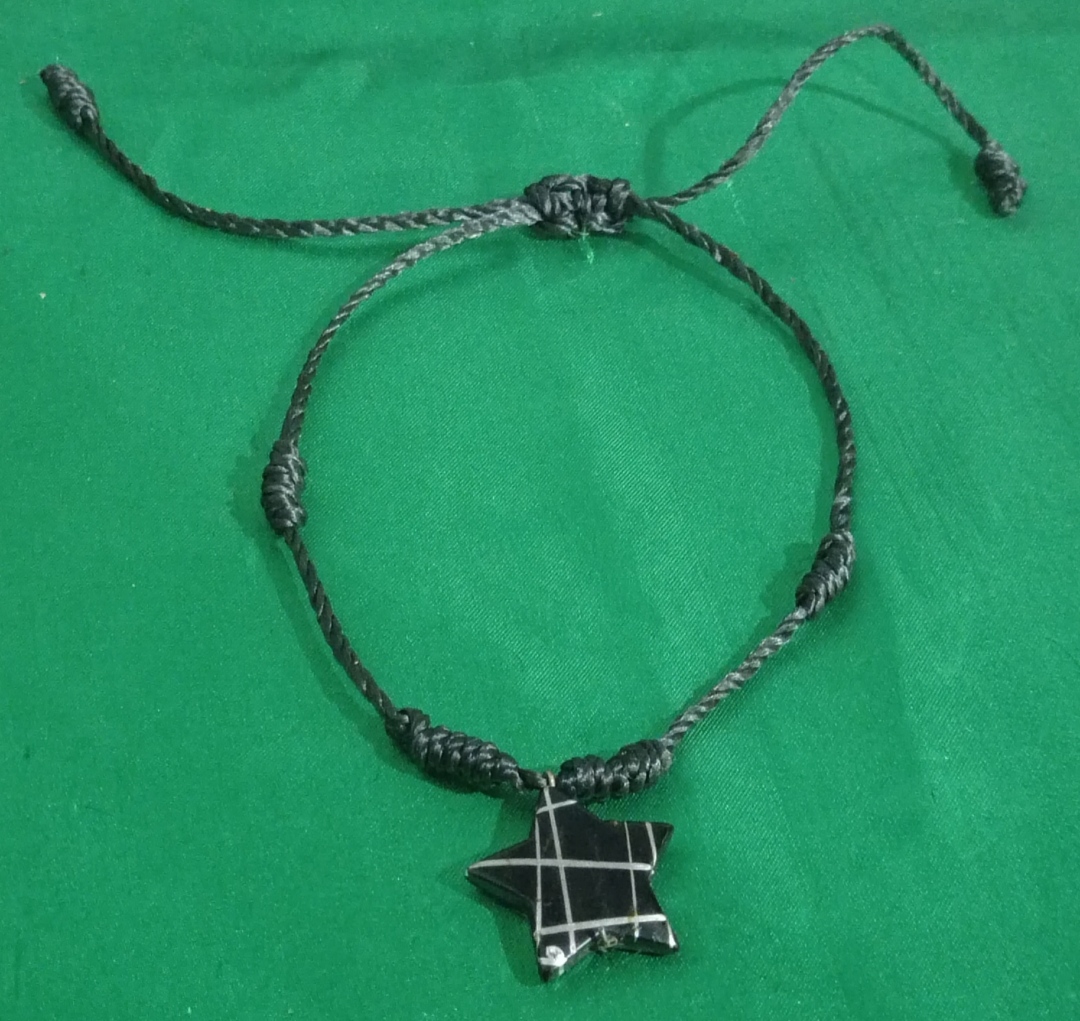
Y se repite por ambos lados hasta formar 6 nudos macramé y después se queman con el yesquero o la vela las puntas terminales
And it is repeated on both sides until forming 6 macramé knots and then the terminal points are burned with the tinderbox or candle.
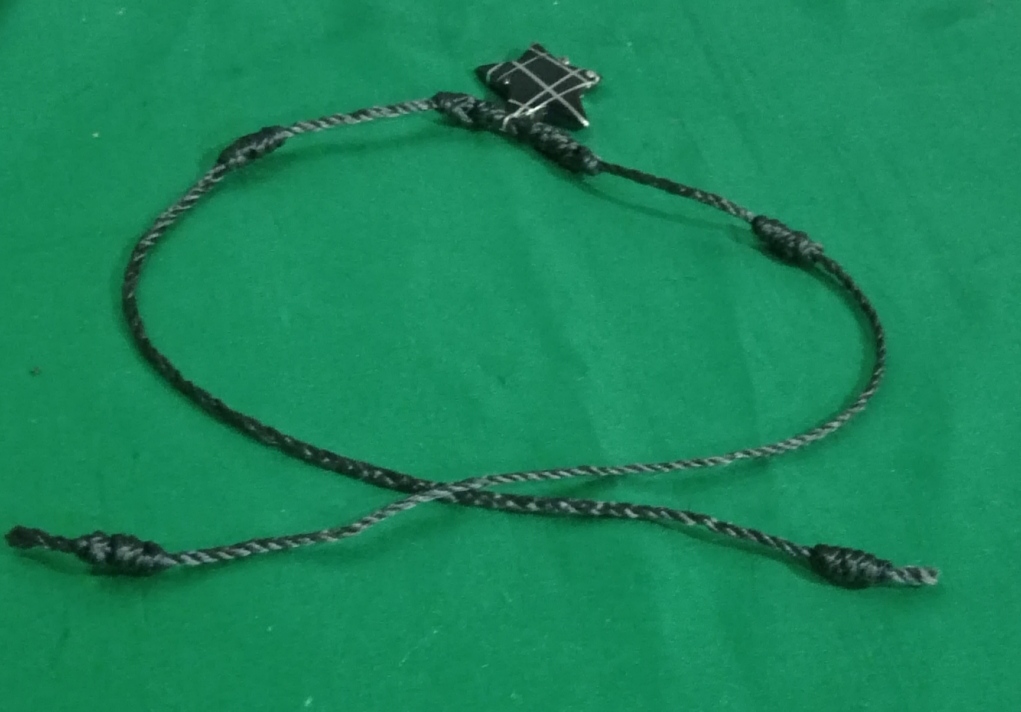
Y listo
And ready
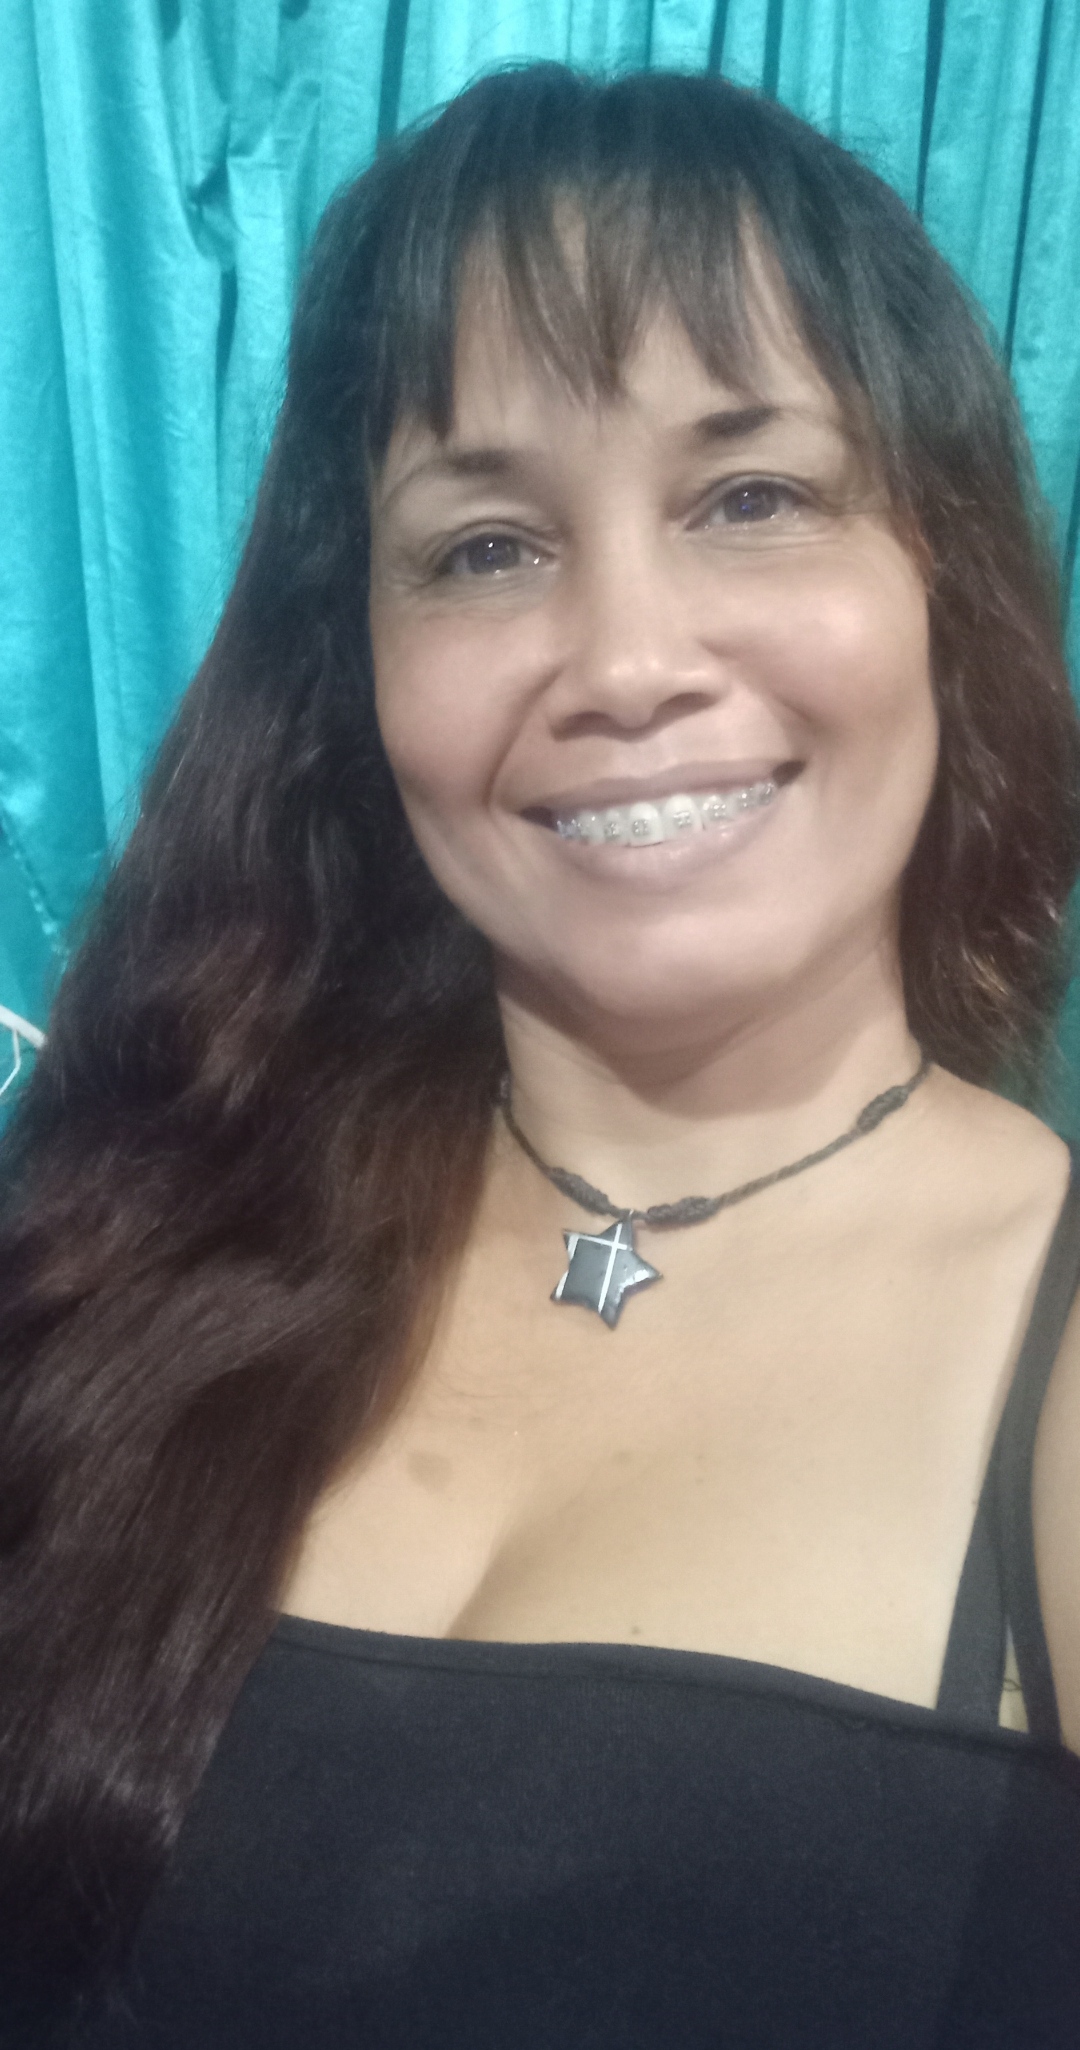
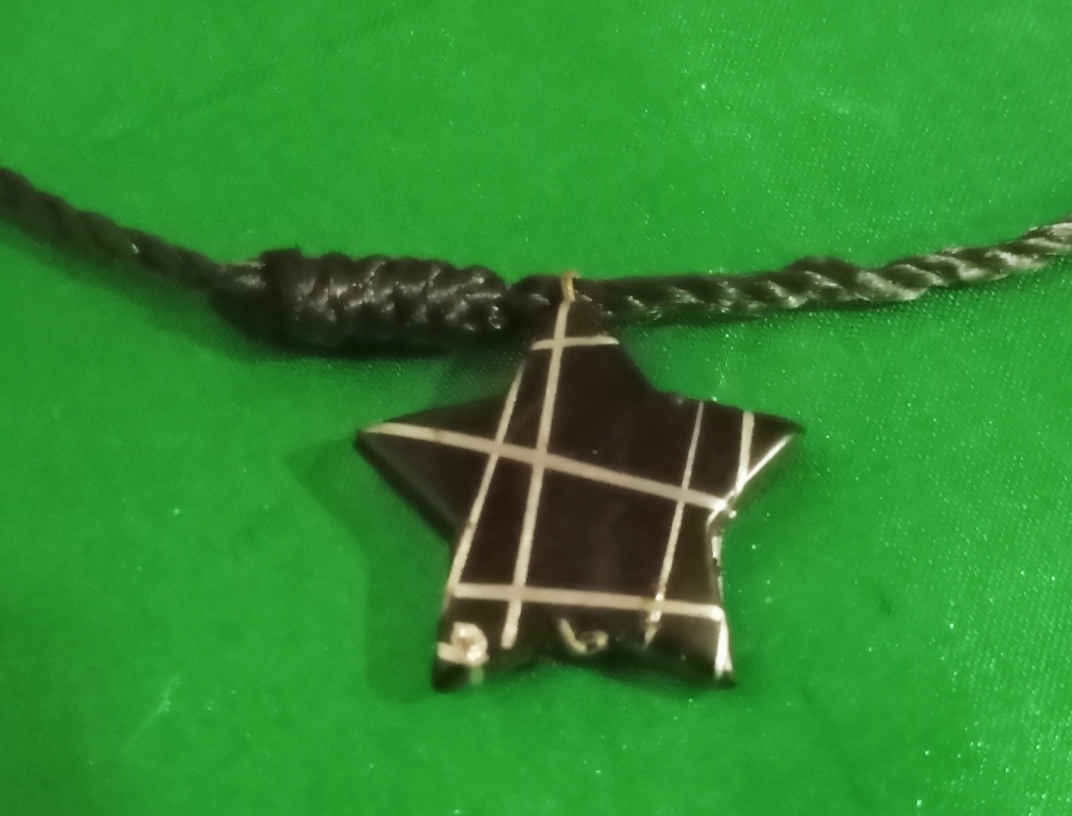
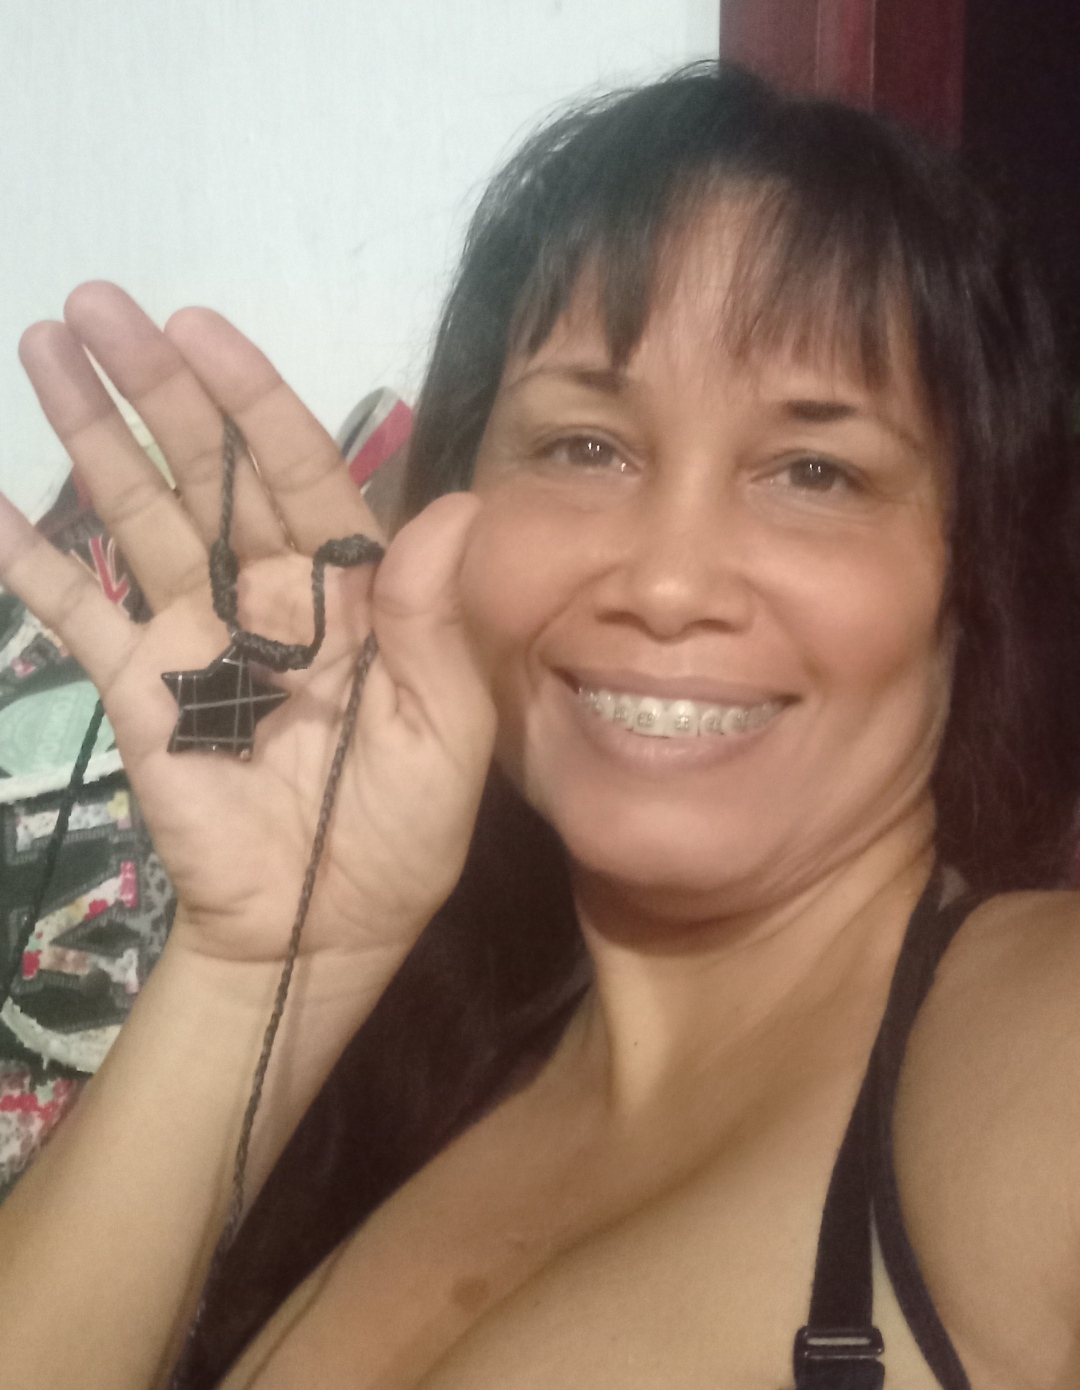
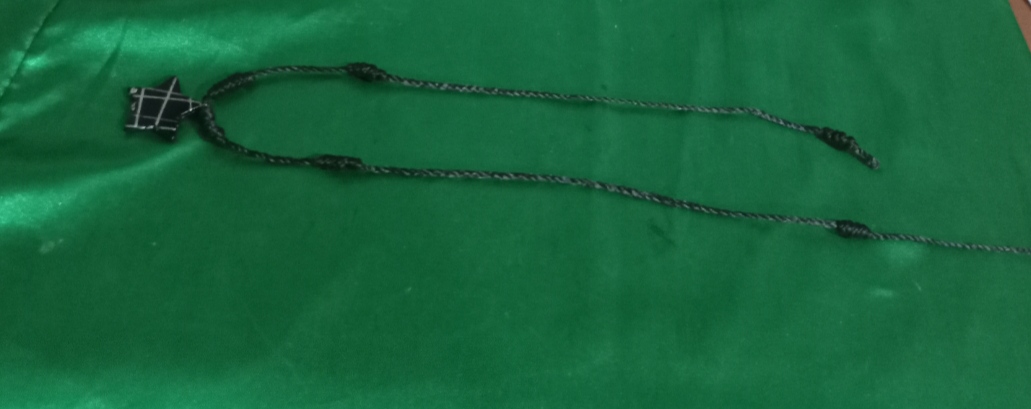
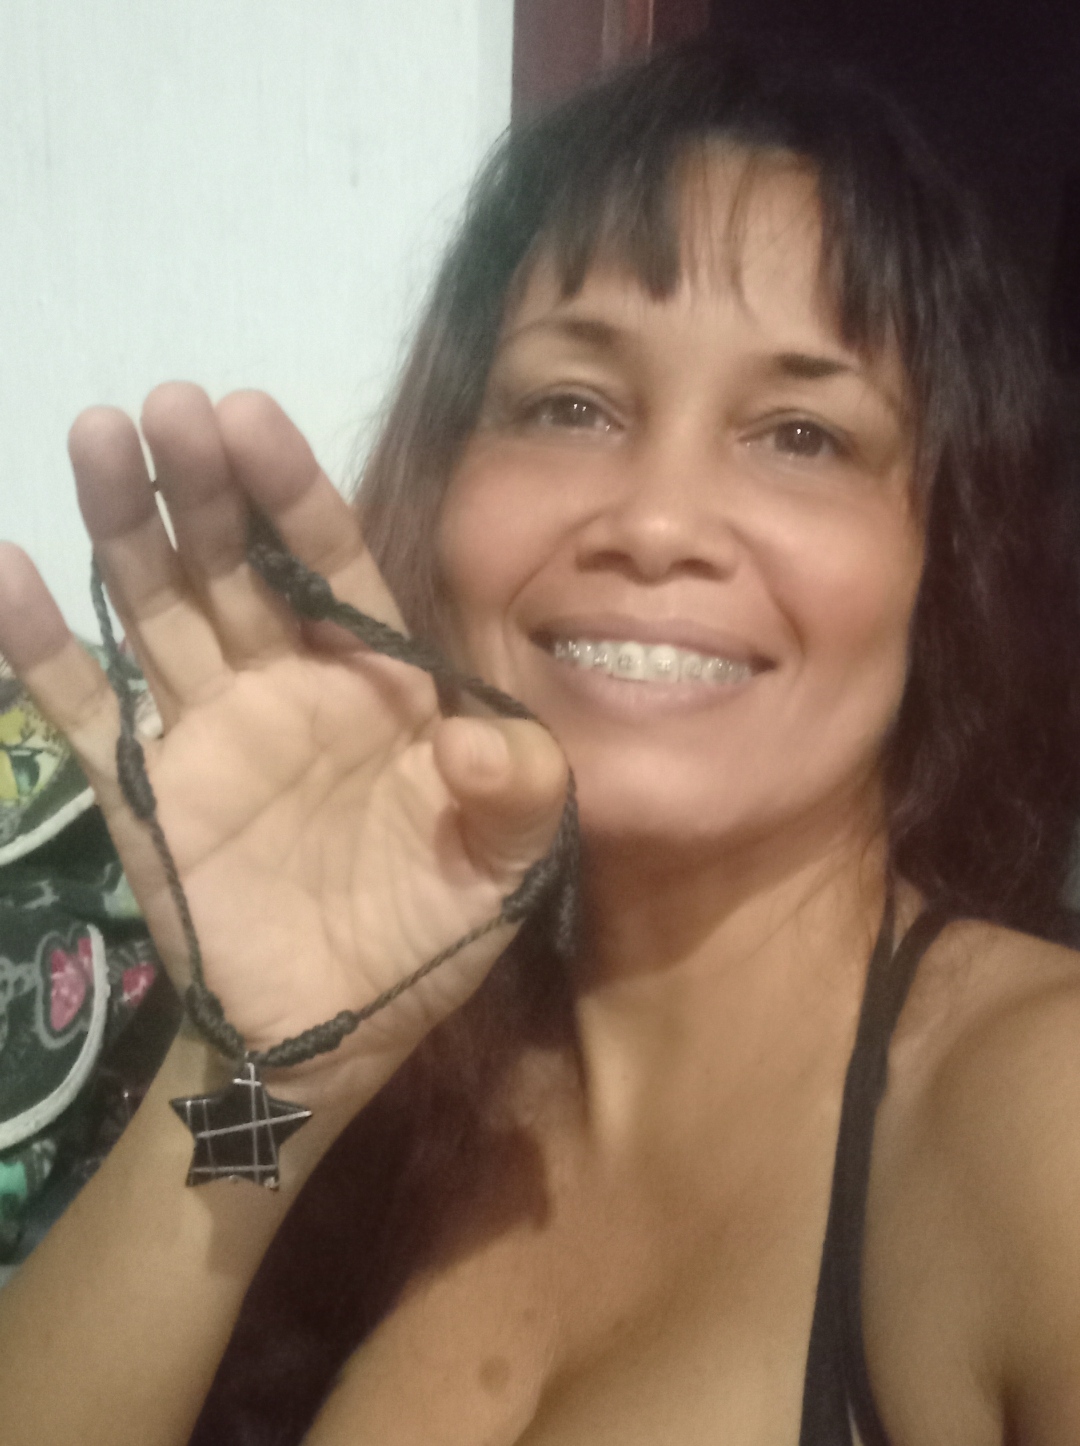
Aquí le muestro cómo queda el collar puesto
Here I show you how the necklace looks on
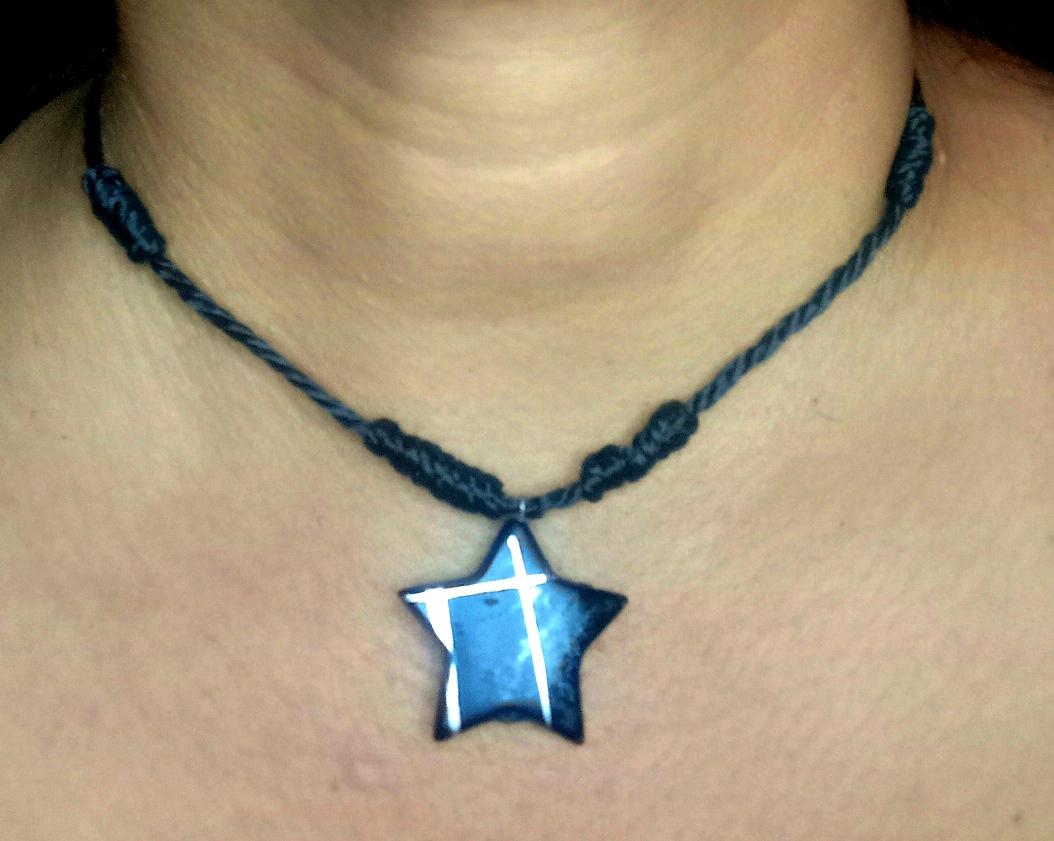
¿Les gustó el collar?
Espero que se entusiasme haciéndolo porque es muy fácil y rápido de hacer. Disfrútenlo como yo.
Did you like the necklace?
I hope you get excited about doing it because it is so easy and quick to do. Enjoy it like me.
Nos vemos en el próximo tutorial
See you in the next tutorial
Feliz día a todos.🤗
Happy day to everyone.🤗
Las fotos fueron tomadas con la cámara de mi teléfono Redmi note 9
The photos were taken with the camera of my phone Redmi note 9
Me alegra que hayan disfrutado de mi Tutorial👏
I'm glad you enjoyed my Tutorial👏
¡Gracias por estar aquí!💞
Thanks for being here! 💞
Esta lindo tu collar y el paso a paso esta fácil de seguirlo, hace años que hice un curso de macramé aprendimos hacer esos nudos.
Pero tengo algunos años que no hago nada con ese materia y técnica.
Saludos y bendiciones @elinorrg
Gracias @leidimarc que bueno que lo sepas hacer te felicito. Bueno ahí está una idea fácil para q te hagas uno. Saludos.
Hi @elinorrg
Do you know you could have used #diy tag for this post to earn some BUIDL tokens in addition to Hive crypto?
In case you are not aware, read this post to know the kinds of content, among others, you could post using #diy tag.
You could also use the #diy tag when you share content showcasing your DIY skills.
Because most people are not aware of the potential of BUIDL token, it can still be bought at very cheap price now.
Hermoso proyecto, la felicito
Gracias. Saludos