
Les traigo esta hermosa ratoncita porta control remoto elaborada con retazos de tela de jeans muy fácil de hacer, ideal para guardar el control remoto del televisor, aire acondicionado, entre otros, para así tenerlo a la mano en un solo lugar, de igual manera con ella podemos decorar nuestra cama o sofá.
I bring you this beautiful remote control mouse made with pieces of jeans fabric very easy to make, ideal for storing the TV remote control, air conditioning, among others, so you can have it at hand in one place, likewise with it we can decorate our bed or sofa.

- Tela de jeans
- Tela estampada
- Fieltro
- Cinta
- Botones
- Campana de cascabel
- Tijera
- Yute
- Relleno
- Sisa dorado
- Jeans fabric
- Printed fabric
- Felt
- Tape
- Buttons
- Rattle bell
- Scissors
- Jute
- Filling
- Golden armhole


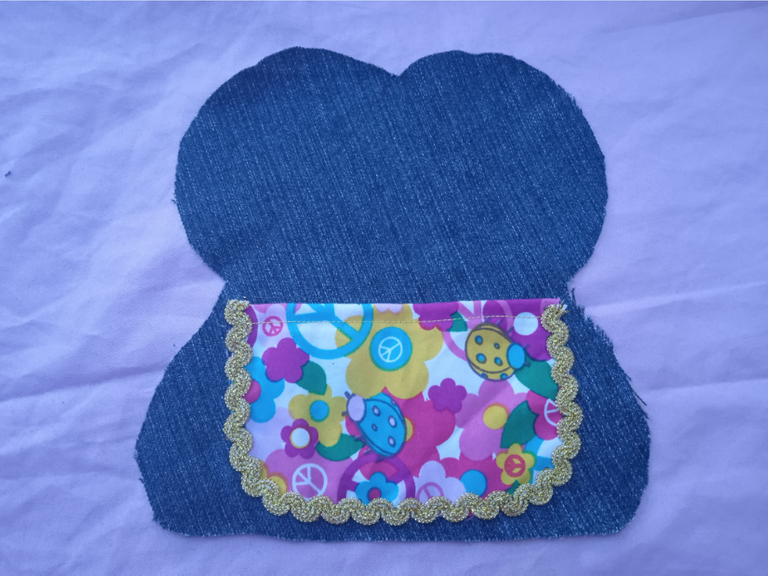
Lo primero que debemos hacer es diseñar el molde del animalito con el que quieras trabajar, luego recortamos, colocamos sobre la tela y sacamos 2 piezas.
The first thing we have to do is to design the mold of the little animal you want to work with, then we cut it out, place it on the fabric and take out 2 pieces.


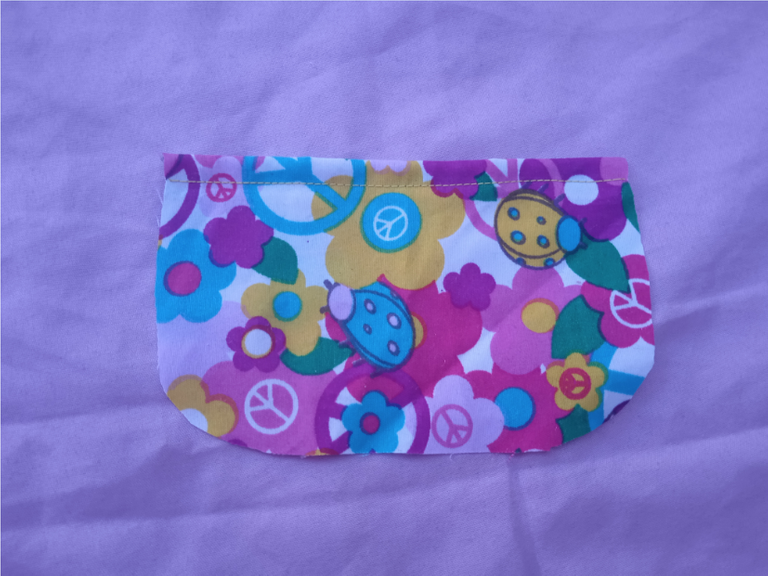
Después elaboramos un bolsillo con una tela estampada, pasamos una costura por el borde, luego sujetamos con alfileres y llevamos a la maquina de coser. Decorando el borde con una sisa dorada.
Then we made a pocket with a printed fabric, passed a seam through the edge, then pinned and took to the sewing machine decorating the edge with a golden armhole.
Ahora cosemos la cabeza por todo el borde y vamos a rellenar solo las orejas.
Now we sew the head all around the edge and we are going to fill only the ears.


Trazamos una linea de la manera indicada en la foto y pasamos una costura.
We draw a line as indicated in the photo and pass a seam.


Terminamos de coser el resto del cuerpo dejando una abertura para terminar de rellenar, después cerramos.
We finish sewing the rest of the body leaving an opening to finish filling, then we close.


Por ultimo colocamos los detalles de la cara como los ojos, la nariz, los bigotes y un lazo para darle ese toque de coquetería, todo esto lo vamos a pegar con silicon. Así queda terminada nuestra ratoncita porta control remoto.
Finally we put the details of the face as the eyes, nose, whiskers and a bow to give that touch of coquetry, all this is going to stick with silicone. This is the end of our remote control mouse.


Espero les halla gustado este proyecto de manualidad y se animen a realizarlo.
I hope you liked this craft project and encourage you to make it.
| Pueden seguirme en 💙: | You can follow me on 💙: |
|---|---|
| eveyese1312 | |
| Discord | eveyese1312#6211 |
Todas las fotos son de mi propiedad y fueron tomadas con una Tablet Samsung GT-P62000L
Todas las fotos son de mi propiedad y fueron tomadas con una Tablet Samsung GT-P62000L

Very creative and nifty! Great job!
By the way, I am @romeskie and I've chosen this post for 100% curation in Hive Cross Culture's curation project.
• You will receive a percentage of the rewards from our curation post.
• And this post would be featured in our next weekly digest article.
Hive Cross culture is a community for conversation about culture. This can be national, local, community, or personal culture, subculture or your ideas about culture, language posts etc. We also invite and support bilingual posts, and are searching for ways to support and grow the local communities on Hive. Come join us in our discord chat if you are interested!
Este proyecto es muy bueno incluso para guardar el celular. Siempre lo pierdo porque queda tirado por algún lado jajaja. Además, es una buena idea para reciclar tela de jean. ❤️
Hello @eveyese1312! Your post was selected by our staff on behalf of the OCD Community Incubation Program and has received an OCD upvote! Congratulations!!! Please keep sharing these quality posts :)
I invite you to continue sharing anything needlework related directly to the NeedleWorkMonday Community. On Monday’s we use the #needleworkmonday tag and on all other days the #needlework tag.
Written by @crosheille for the NeedleWorkMonday Community ~