
Happy day to all the sewing community, starting the week with lots of harmony and health, I hope you all are having a great time. I made a sheet lining and pillowcases, I bought this fabric about a month ago in Puerto La Cruz in the fabric store El Castillo, along with other fabrics as well, is where they sell a little cheaper, and there is a variety of fabrics to choose from, I really liked this design so I bought 3 meters of fabric, which gives to make the lining and pillowcases for the pillows.
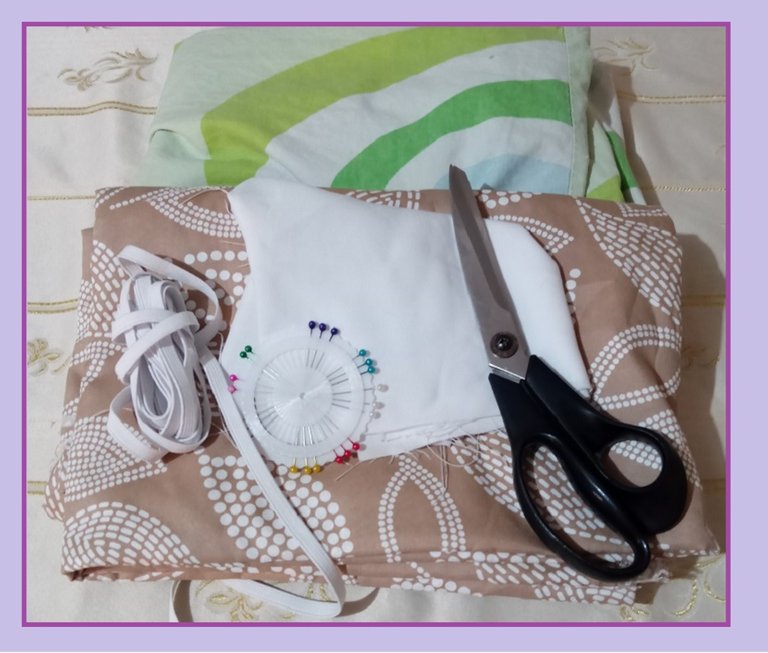 )
)**My materials
3meters of sheeting fabric.
2meters of elastic.
Measurements or pattern.
Sewing machine, thread, needles, pins, measuring tape.
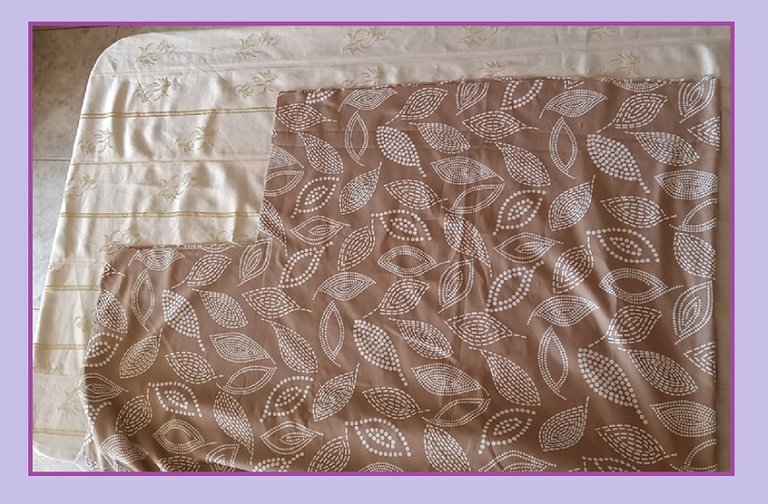
I cut the fabric of a lining that fits very well to the mattress, it is a mattress of standard measures which are, 190cm long; 1,40cm wide; 20cm and high.
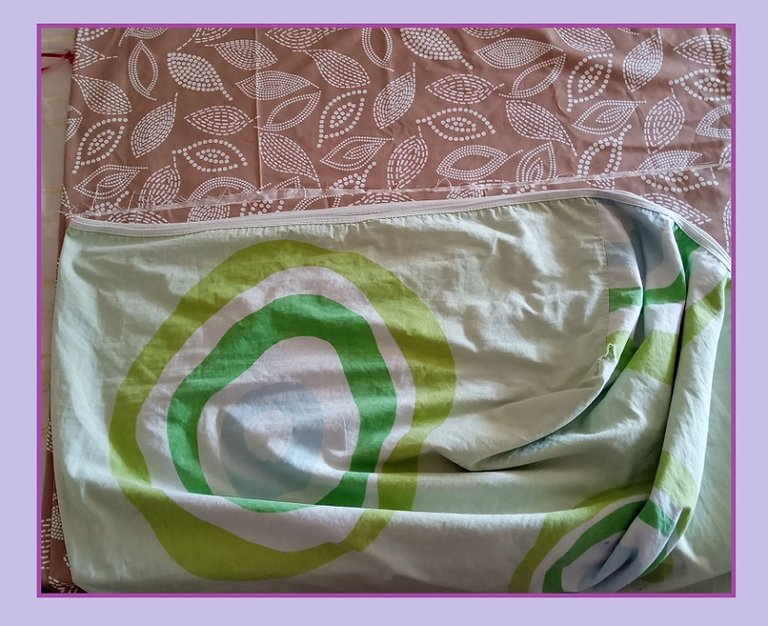
To be able to cut the sheet, with the desired measurements, I place the fabric well and put the pattern sheet on top of it, so I can take out the corners.
When I join the corner parts, I make a straight seam, then I overlock the seam by folding a little the edge and pass the straight seam.
With the part of the corners, where there is a square, I cut it in two parts, and sew them in each corner to reinforce, and at the same time it will give more adjustment at the moment of placing the lining in the mattress.
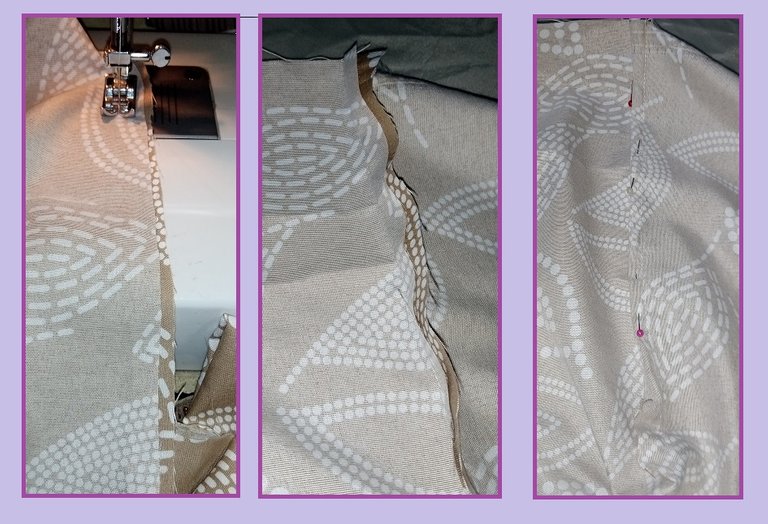
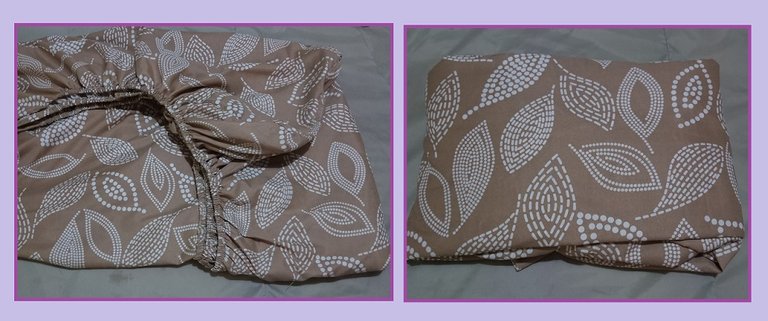
Once placed or sewn this part, I proceed to glue the elastic, I cut 1 meter of elastic, which I sew only for the horizontal part of the bed, that is to say the headboard and towards the feet.
I measure half of this part of the sheet, and also half of the elastic, and begin to sew to the other end, so once I finish sewing the elastic I finish sewing it all the way around.

For the covers it is something more basic and easy because all I did was to close this rectangle, making its border. It measures 64cm long and 42cm wide.
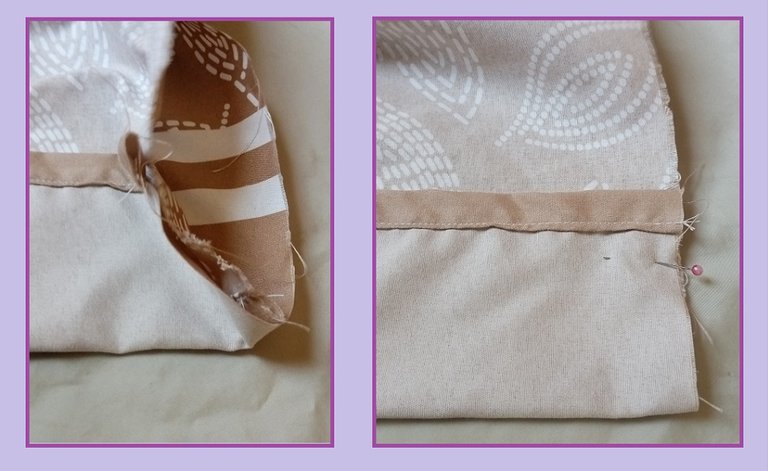
And as I saw that there was still a piece of fabric left, and not to keep it, I took advantage of it and took it out to make a candy, with a faralo in white fabric.

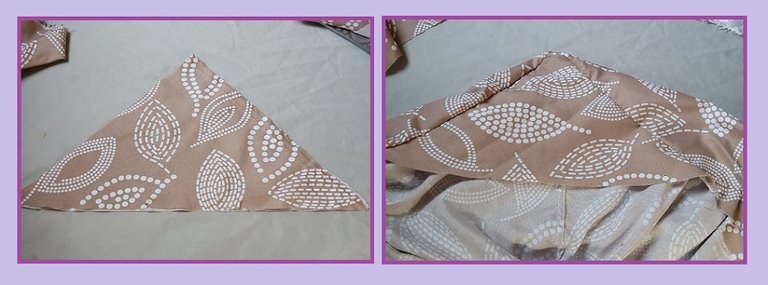
Cut a rectangle of 40cm long by 38cm wide, for the circle with a measure of 13cm in diameter, and a white strip for the faralao 5cm wide and 80cm long.
I join the white strip, and sew a seam along the edge with the hemming machine foot, this I do with the zig-zag.
Then I gather a little bit, until the right size.

I sew the rectangle leaving an opening to be able to fill it, and at each end I start sewing the circle with the faralao, and then I sew the circle on each side.

Once ready, I start stuffing and finish sewing the opening with thread and needle by hand, leaving a neat seam.
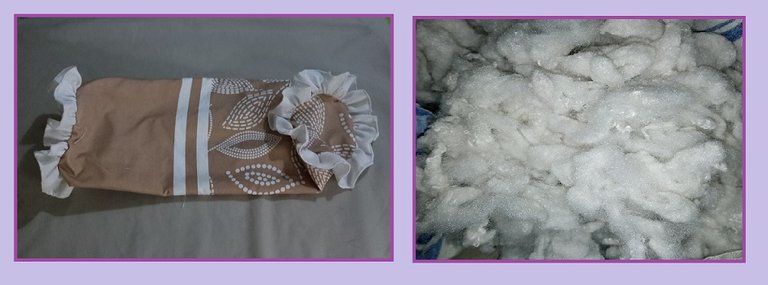

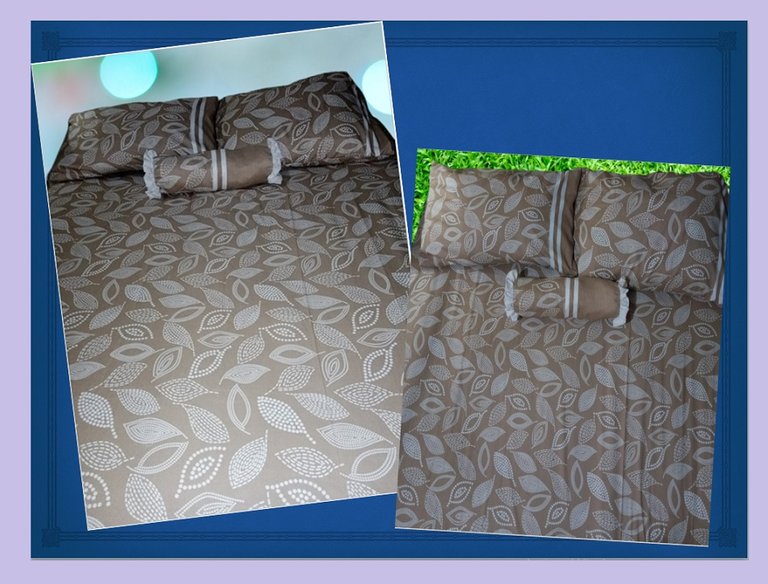
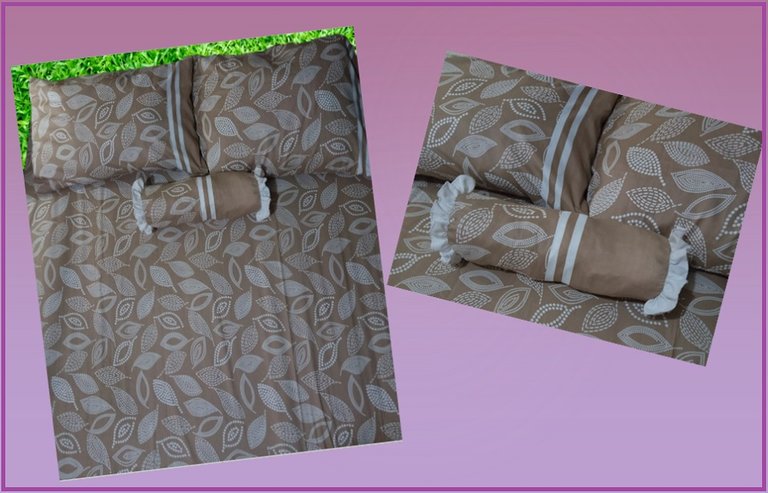
Here I finished this set of sheets, with their covers and candy, I really like how it looks, so I'm renewing my sheets for new ones, and in different designs and colors.
As always this was made for this occasion with much affection, thank you for your time and visit, for reading, until next time, keep having a great time, happy day.


Feliz dia a toda la comunidad de costura, empezando la semana con mucha armonía y salud, para todos, espero la estén pasando muy bien. Hice un forro de sabana y sus fundas para las almohadas, esta tela la había comprado hace mas o menos como un mes en puerto la cruz en la tienda de tela El Castillo, junto con otras telas también, es donde venden un poco más económico, y además hay variedad de telas para escoger, me gusto mucho este diseño así que compre 3 metros de tela, lo que da para hacer el forro y sus fundas para las almohadas.
)Mis materiales:
3metros de tela para sabana.
2metros de elástica.
Medidas o patrón.
Maquina de coser, hilo. agujas, alfileres, cinta métrica.
Corte la tela de un forro que le queda muy bien al colchón, es un colchón de medidas estándar los cuales son, 190cm de largo; 1,40cm de ancho; 20cm y de alto.
Para poder cortar la sabana, con las medidas deseadas, acomodo bien la tela y coloque la sabana de patrón encima y así poder sacar bien la parte de las esquinas.
Cuando uno las partes de las esquina, hago una costura recta, luego le paso una sobre costura doblando un poco la orilla y paso la costura recta.
Con la parte de las esquinas, donde queda un cuadro, el cual corte en dos partes, y las coso en cada esquina para reforzar, y al mismo tiempo le dará más ajuste al momento de colocar el forro en el colchón.
Una vez colocados o cosidos esta parte, procedo a pegar la elástica, corte 1 metro de elástica, el cual coso solamente para la parte horizontal de la cama, es decir el cabecero y hacia los pies.
Mido la mitad de esta parte de la sabana, e igualmente la mitad de la elástica, y empiezo a coser hasta el otro extremo, así de una vez al terminar de coser la elástica termino de hacer su ruedo al todo alrededor.
Para las fundas es algo mas básico y fácil porque solamente lo que hice fue cerrar este rectángulo, haciendo su ruedo o borde. Mide de largo 64cm y de ancho 42cm.
Y como vi que todavía quedó un retazo de tela, y para no guardarla, aproveche y saque para hacer un caramelo, con un faralo en tela blanca.
Corte un rectángulo de 40cm de largo por 38cm de ancho, para el círculo con una medida de 13cm, de diámetro, y una tira color blanco para el faralao 5cm de ancho y de largo 80cm.
Uno la tira blanca, y le paso una costura por la orilla con el pie de maquina de dobladillo, esto lo hago con el zig-zag.
Luego arrucho un poco, hasta la medida adecuada.
El rectángulo lo coso dejando una abertura para poder rellenar, y en cada extremo comienzo a coser el círculo con el faralao, y luego le coso el circulo en cada lado.
Teniendo listo, comienzo a rellenar y término de coser la abertura con hilo y aguja a mano, dejando la costura prolija.
Aquí terminé este juego de sabana, con sus fundas y caramelo, a mi me gusto mucho como quedo, así voy renovando mis sábanas por unas nuevas, y en distintos diseños y colores.
Como siempre este fue hecho para esta ocasión con mucho cariño, gracias por tu tiempo y visita, por leer, hasta la próxima, sigue pasándola muy bien, feliz día.

Me encanta como se ve este juego, recuerdo que mi madre siempre hacía sus sábanas. A ella le encanta coser. Las fundas es lo mejor que coso, sin adornos claro.
Te felicito por tu excelente proyecto de costura. Te quedó muy bonito.
Saludos lelys, mi mami tambien me enseño a coser, ella siempre hacia mucha lenceria, de cama, baño y cocina, me alegra mucho su comentario, que tengas feliz dia.
Buen trabajo, nada como uno mismo realizar sus prendas, que bueno sabes realizar..
Muchas a ti por tu visita.
Hola Eylis. Hermoso te quedó todo este proyecto de ropa de cama completo, me encantó que también hayas aprovechado para hacer un pequeño almohadoncito. Todo se ve muy bien y prolijo. ¡Te felicito!
Por otro lado te recuerdo que interactuar con otros compañeros de la comunidad es importante, a todos nos gusta que lean y aprecien nuestros proyectos.
Te mando un saludo, feliz semana ❤️
Saludos @lauramica, me alegro que te haya gustado, claro que sí gracias por la recomendación. Feliz noche.
This is very beautiful. I love the color of the material you use it look cool. I have learn from your post. Thanks for sharing it here
Greetings to you I love your comment, I will continue to show as best as possible the steps performed in each garment, happy day.
Coser tus propias sábanas, lo máximo. Aquí he visto personas que diseñan y confeccionan su propia ropa interior, deportiva y hasta galas, pero también las sábanas, esto es maravillo. Por cierto, te quedó precioso.
Muchas gracias @artsugar, la lenceria forma parte del armario, ya que también hay que tener variedad, gracias por tu visita y comentario.