How are they? I hope you are well, today I bring you the mold of a bodysuit. This time the sizes range from XS to XXL, each with its respective colors.
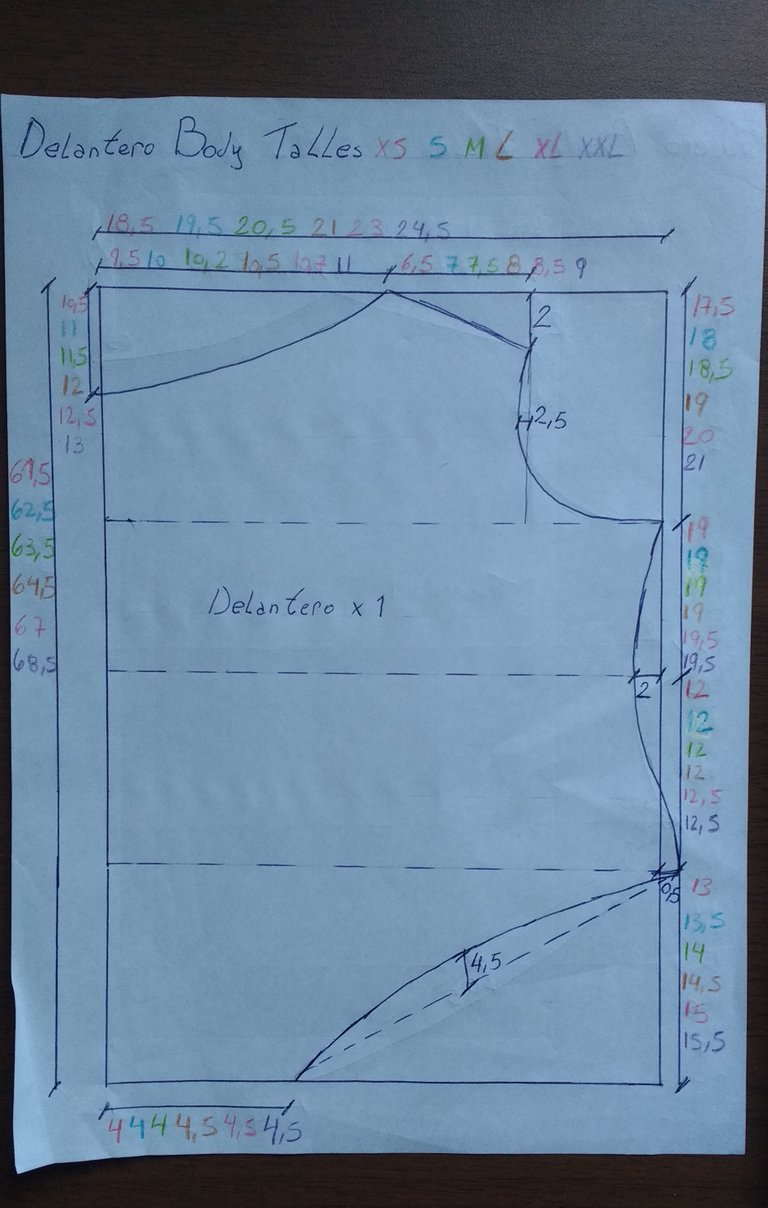
The measurements that are in the pen are not modified no matter what size they want to make.
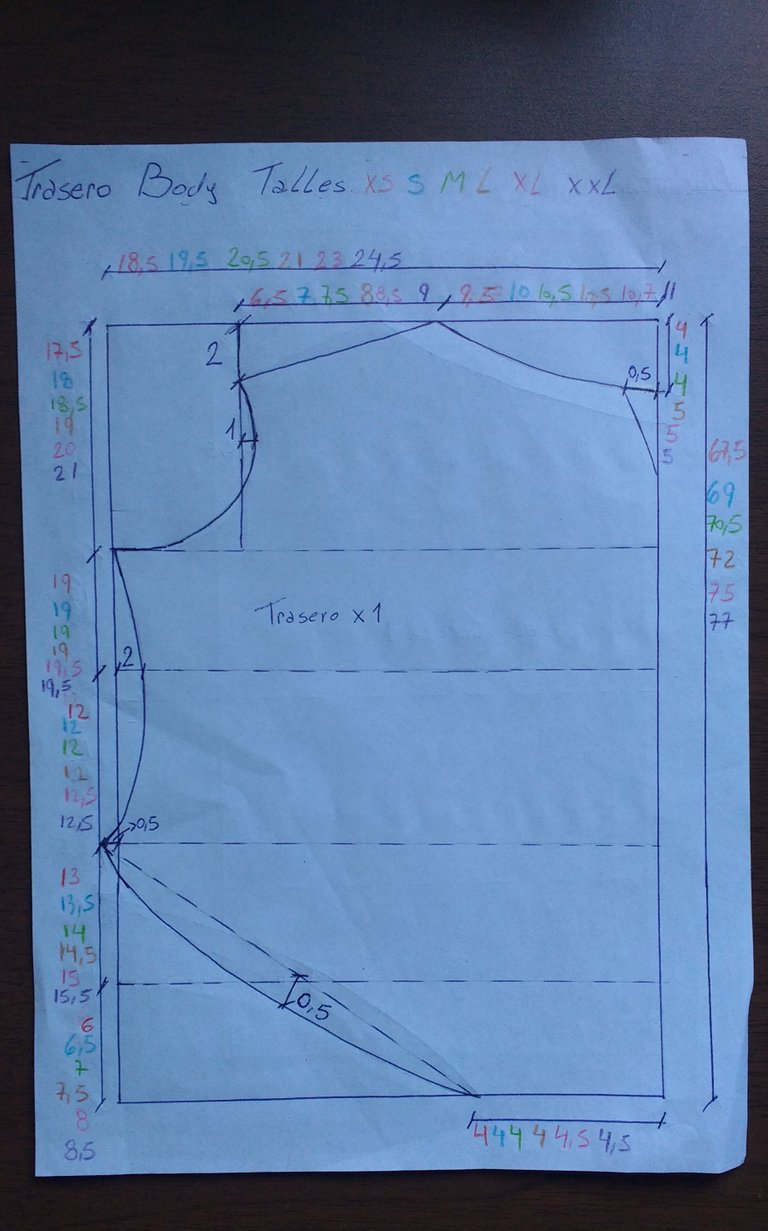
The same happens in the rear mold.
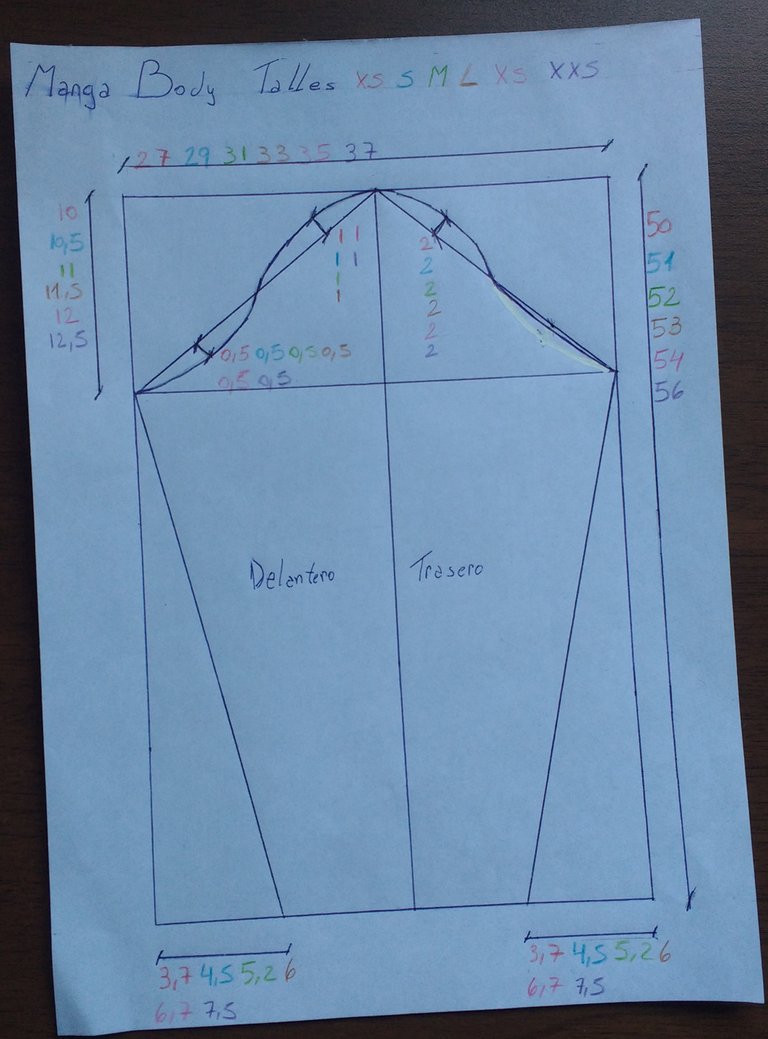
In the case of the sleeve, all measurements will vary according to size.

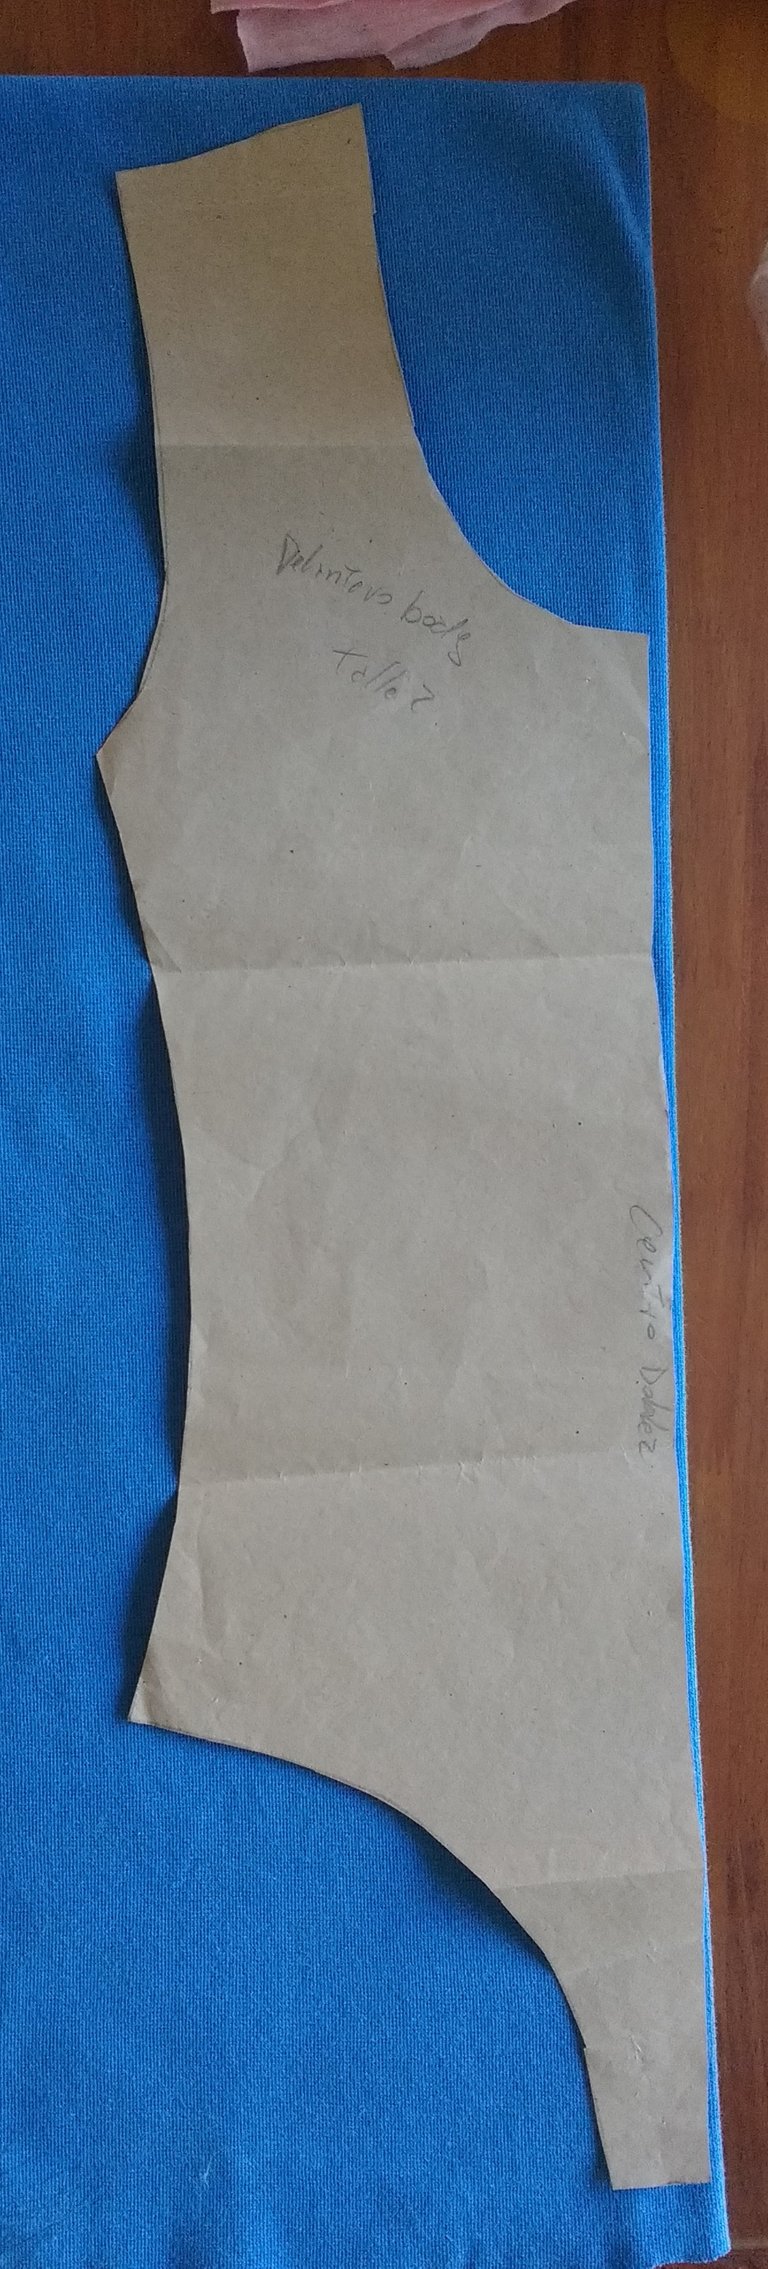
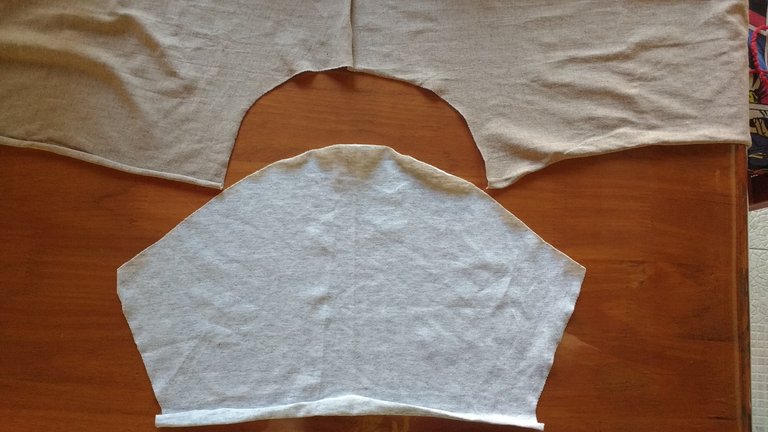
This is what the mold would look like once it is cut.
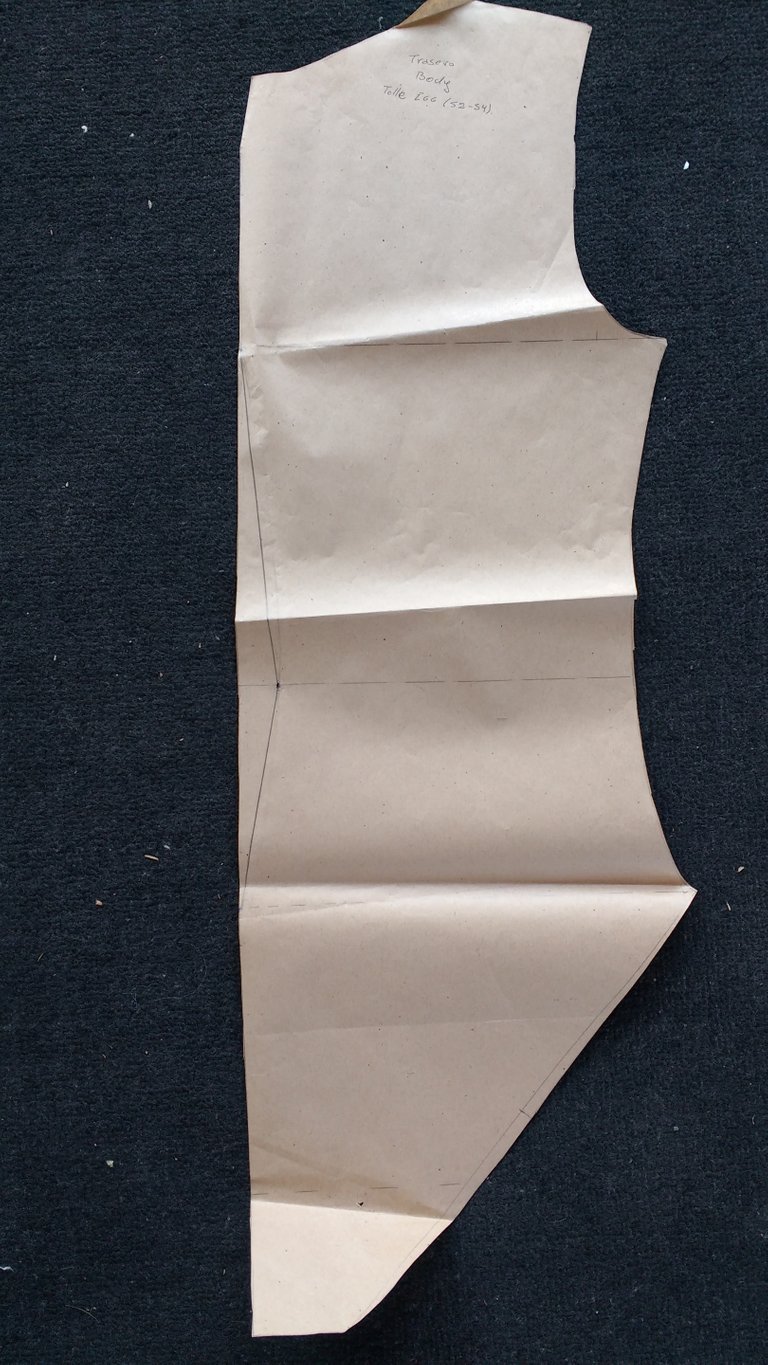
The images correspond to a size XXL, but it is only to show how it would look.
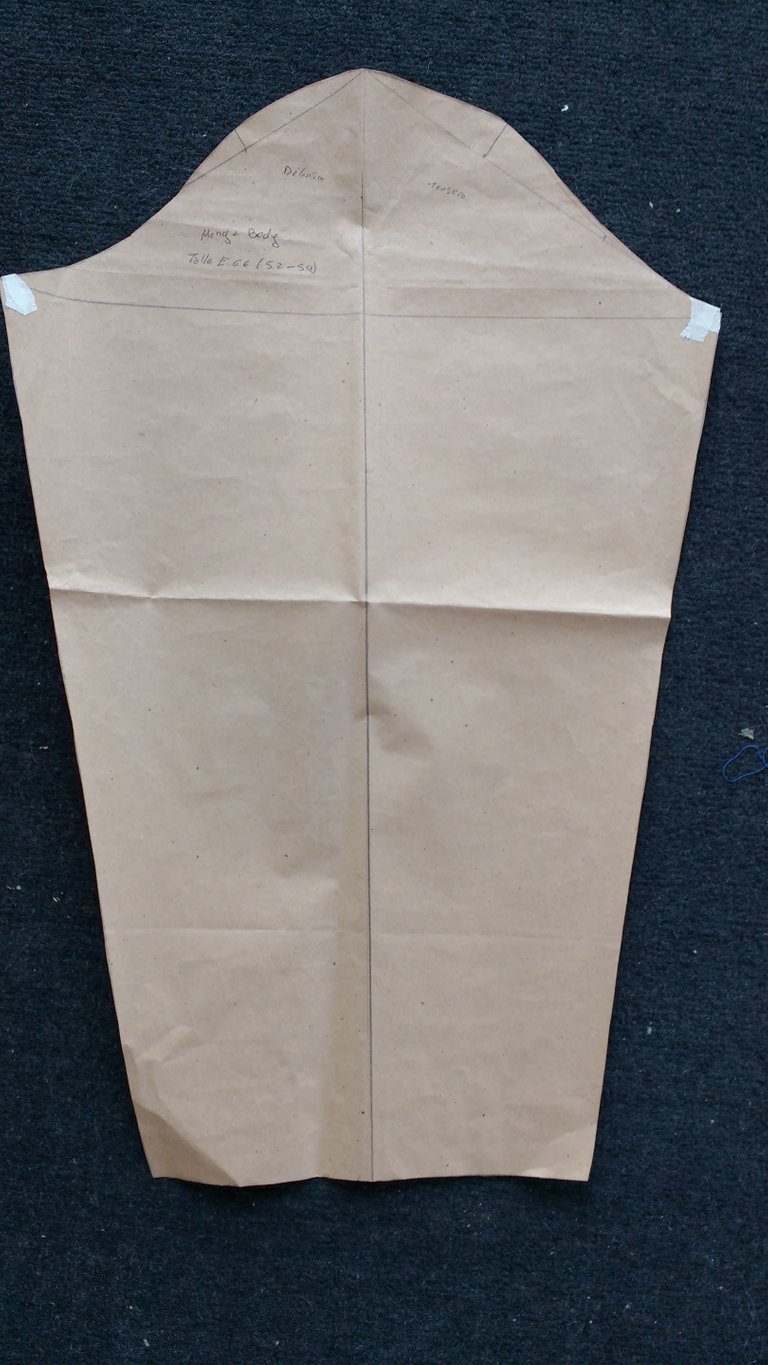
The sleeves are long, but you can do it with short sleeves or 3/4 sleeves, that will depend on the taste of each one.
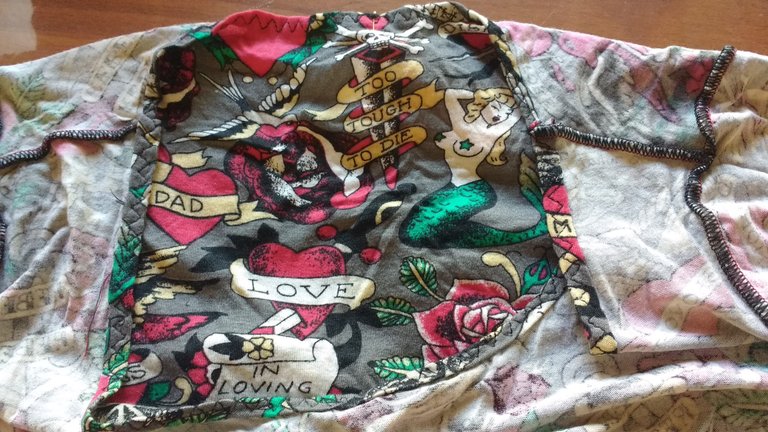
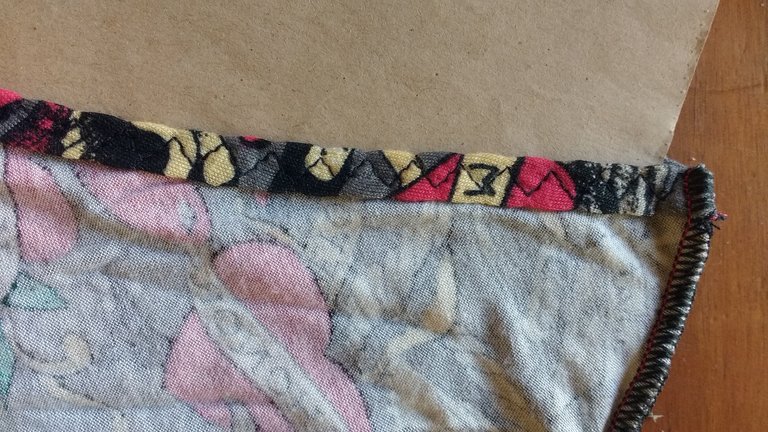
Once they have all the mold cut, they go to the fabric. I already have several ready-made bodysuits, so I just put the mold on the fabric, so they can see how it is placed. Remember to leave 1.0 cm of seam allowance.
When they have all the pieces cut, we will start with the sewing .....
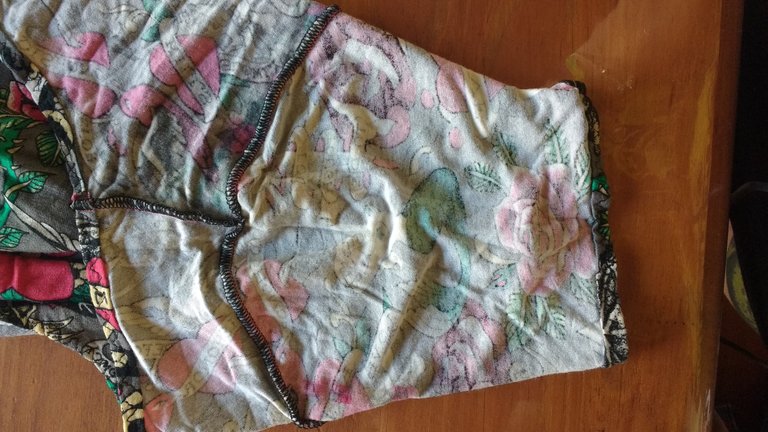
Well, the first thing we are going to do is join a front shoulder with a back one, why not join the two shoulders? because I do it to be able to do the neck.
This is the way I make the collars (you don't have to do it that way only): as before cutting I gave the seam allowance, what I do after joining one shoulder is to fold the entire neck and sew it, in case of very elastic fabrics I use the zigzag for elastic. As seen in the image.
When I finish making the collar, I sew the other front shoulder with the back and put on the sleeves. In this case, the image is so that you can see how the sleeve should be presented in the garment, matching the front of the sleeve with the front of the bodysuit and the back of the sleeve with the back of the bodysuit.
Having finished garments, it seemed to me that this was the best way to show you the location of the sleeves.
This is how the sleeve attached to the garment would look.
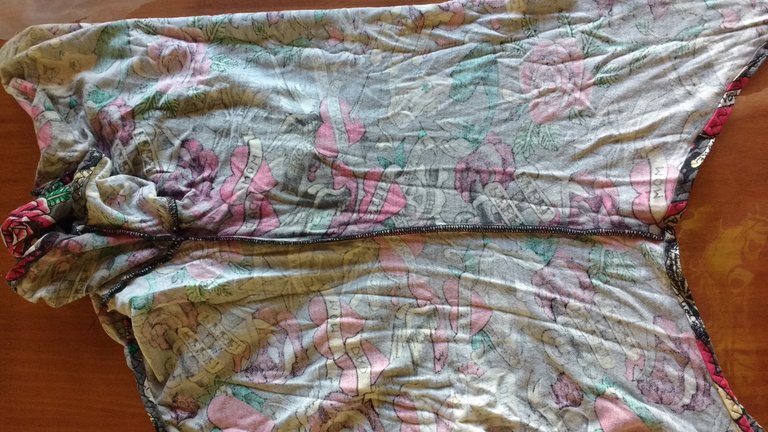
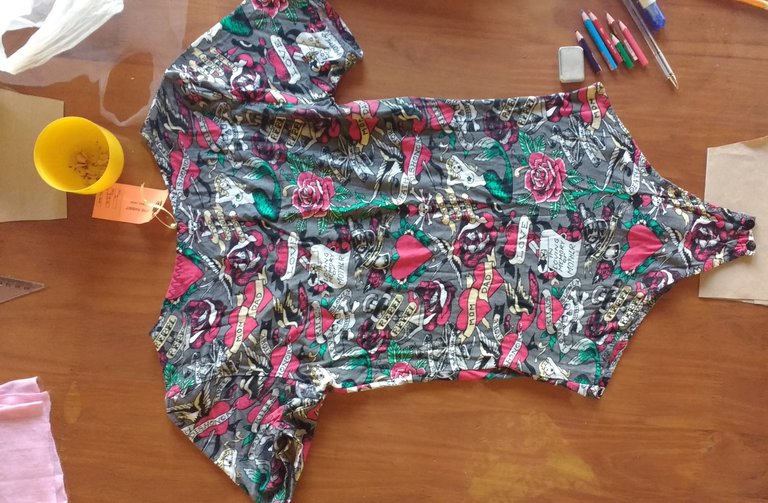
Sewn the two sleeves, we proceed to sew the body of the bodysuit, as seen in the image.
Now we have to do the "roll" so to speak, of all the legs, for that, we can stretch or do as I did in the neck, just fold and sew.
In the case of elasticizing, it is the same as in lingerie garments, the total length is measured and 6.0 cm is subtracted from the total. In my case, the fabric was so stretchy that there was no need to stretch it.
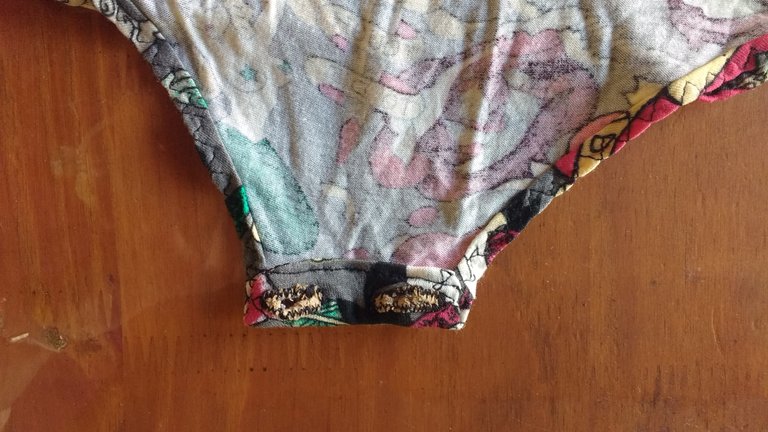
Now we put the buttons and the buttonholes, for personal taste I use buttons, but you can put bra hooks. Remember that in the front there are the buttonholes and in the back, being longer, there are the buttons.
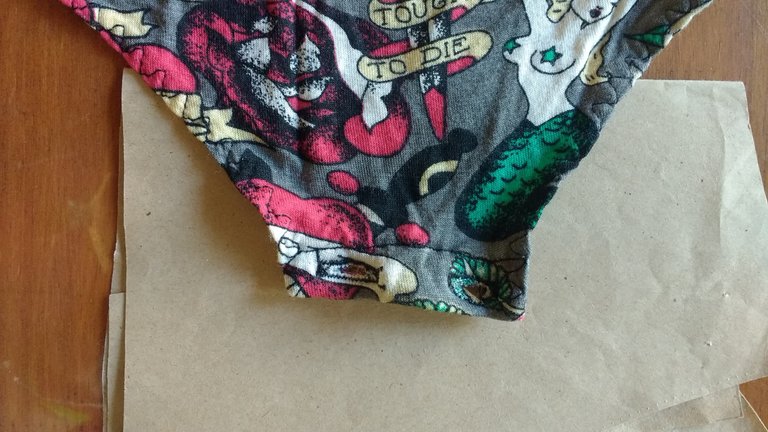
The photo above shows how the buttonholes look on the inside of the garment. To make them look like this, they have to fold the front part about 2.0 cm and sew it. In this image you can see how the buttonholes are once finished.
We previously measure the length of the buttons to know what size the buttonholes will be.
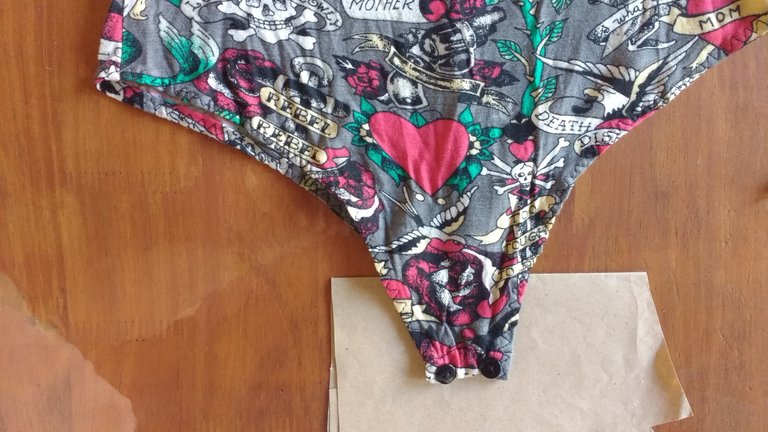
With the back of the bodysuit we do the same, fold about 2.0 cm sew and then measure the distance of the buttons, and then sew them.
And voila, that's how we finish a bodysuit. In this image you can see how the front is.
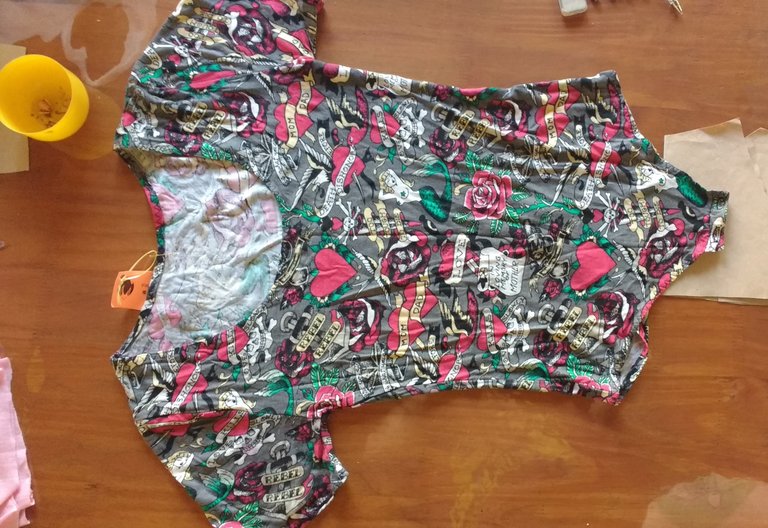
And so the rear.

Image taken from my Instagram @fire_rabbit. This bodysuit is a size S or size 2.
Congratulations @firerabbit! You have completed the following achievement on the Hive blockchain and have been rewarded with new badge(s) :
You can view your badges on your board and compare yourself to others in the Ranking
If you no longer want to receive notifications, reply to this comment with the word
STOPDo not miss the last post from @hivebuzz:
😊