Hi, today we are going to see the mold of a children's T-shirt, the sizes range from: 1 year to 14 years, with their colors to identify them.
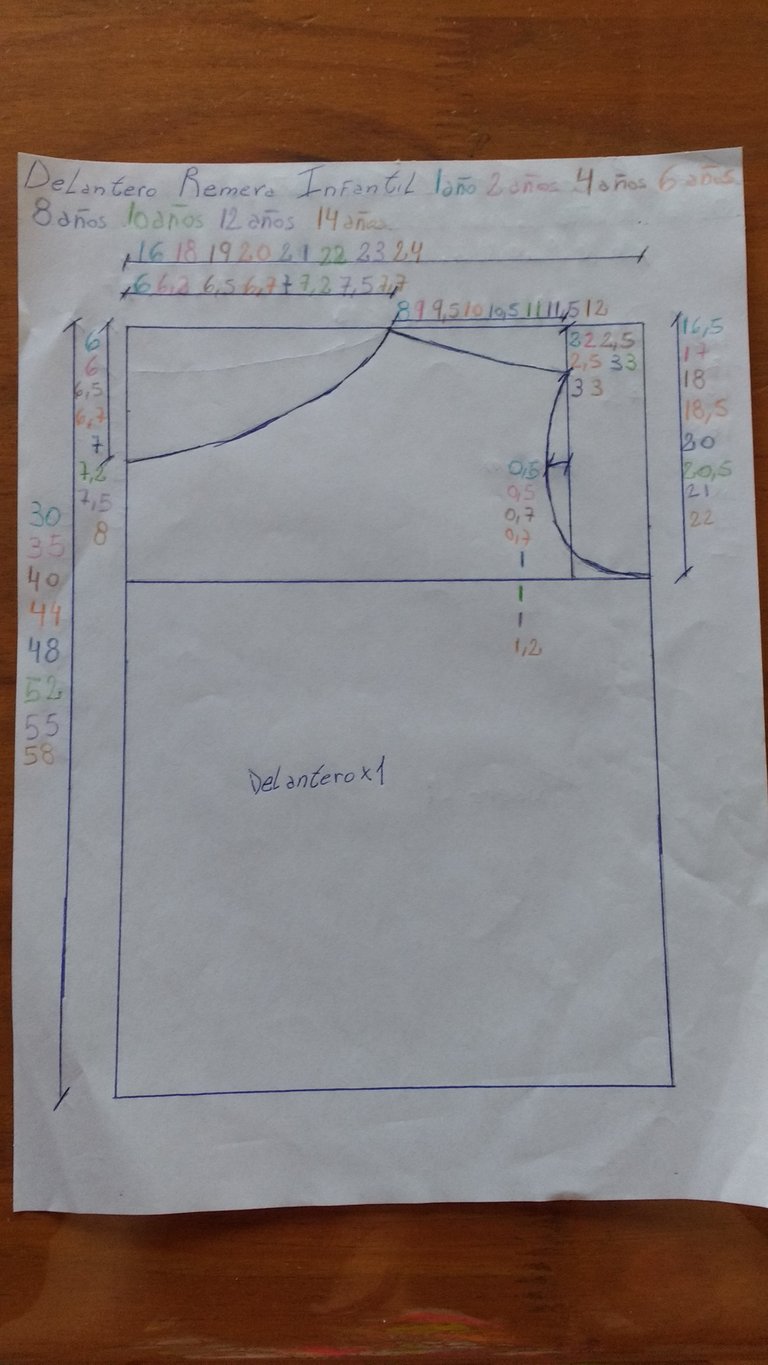
In the case of the front mold, the measurements of the curve of the armhole are various, so the different colors.
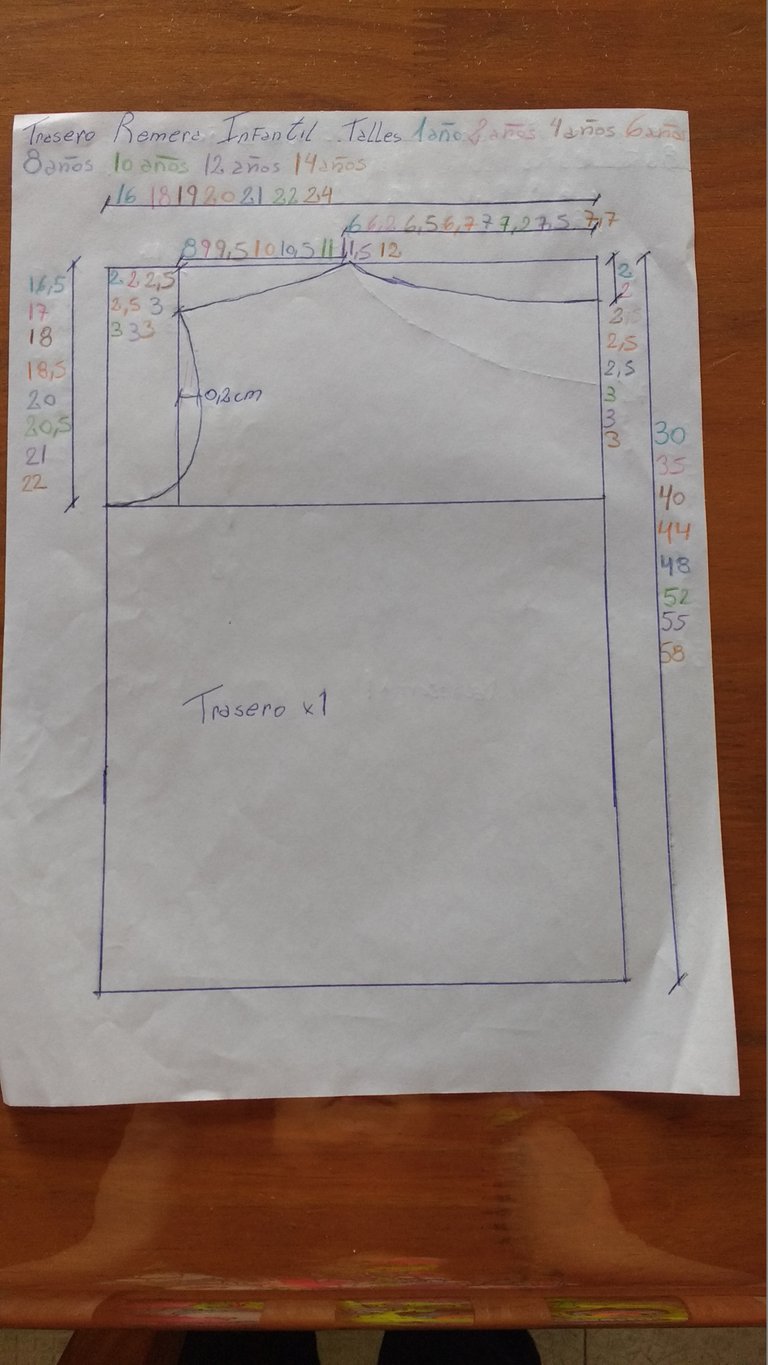
But in the case of the back mold, as in the molds for adults, the measurements in the pen are not modified.
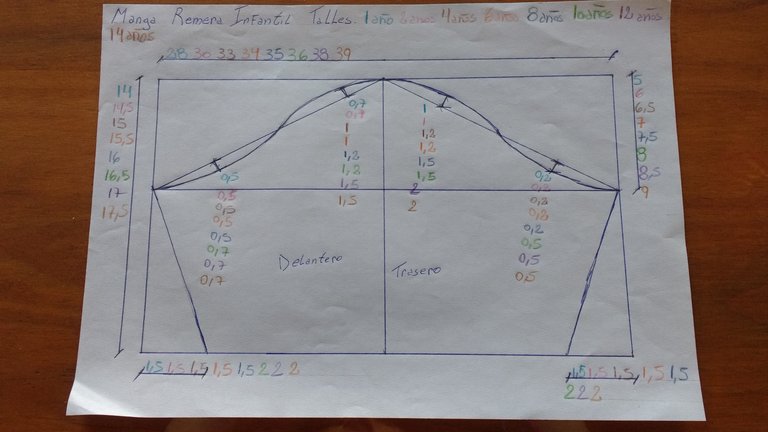
The sleeves also have various measurements.
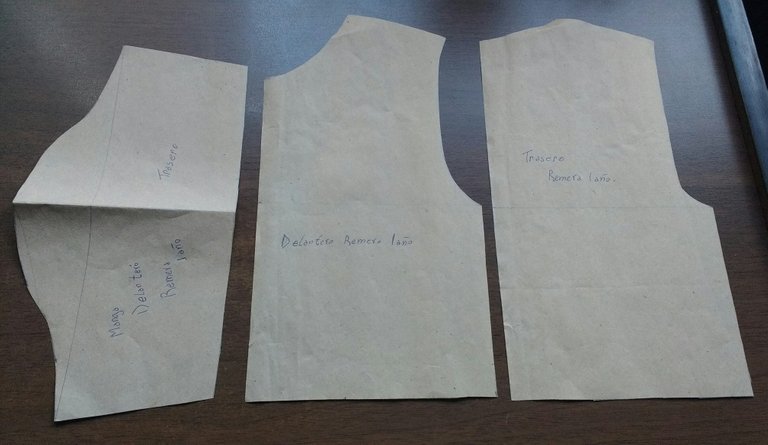
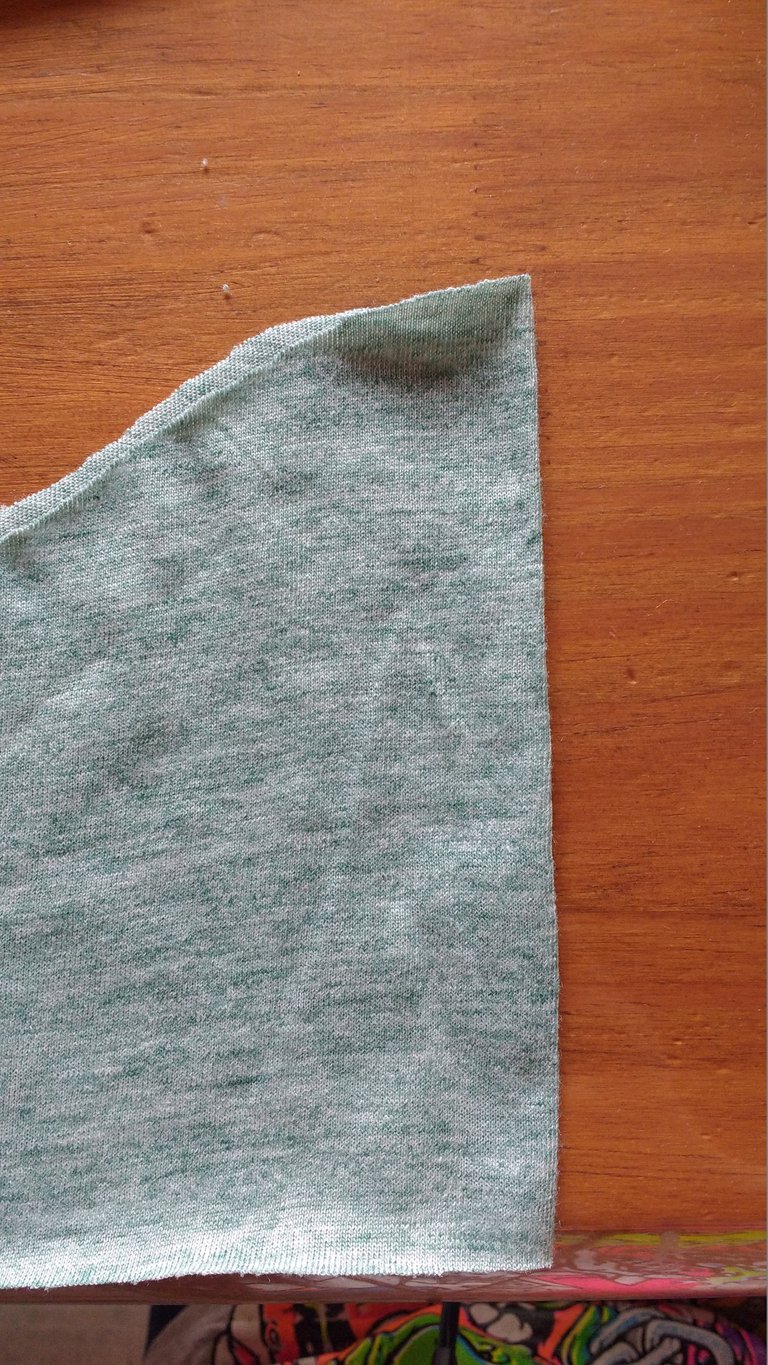
This is how the mold would look once cut. Remember to leave 1.0 cm for the seam allowance. I cut the fabric and immediately started making, so I did not take photos of how the mold would look on the fabric. For the hem they can leave 2.0 cm more, so it is a little longer.
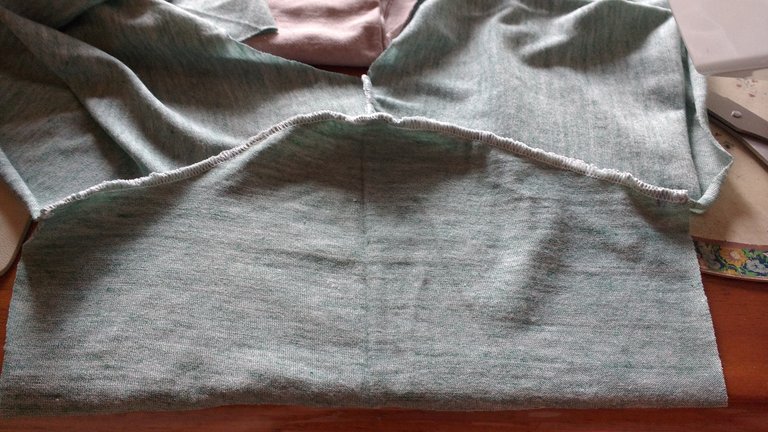
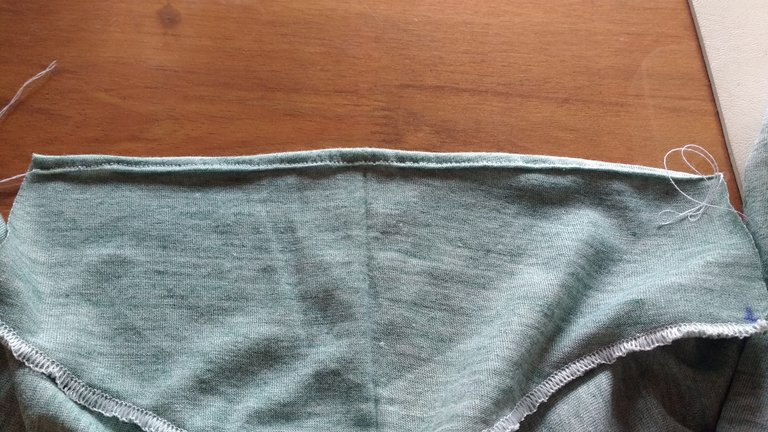
Once the fabric is cut, the first thing they are going to sew is one of the front shoulders with one behind, as seen in the image.

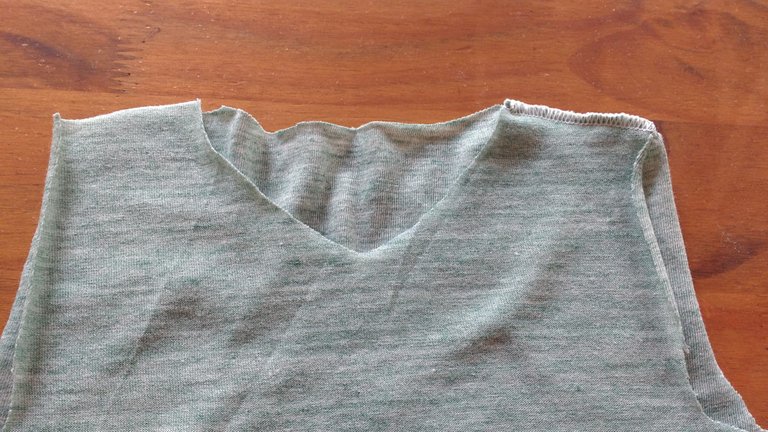
Then, they fold the entire neckline and sew it with the straight machine, as shown in the image. If they have or want they can put a collar for T-shirts.
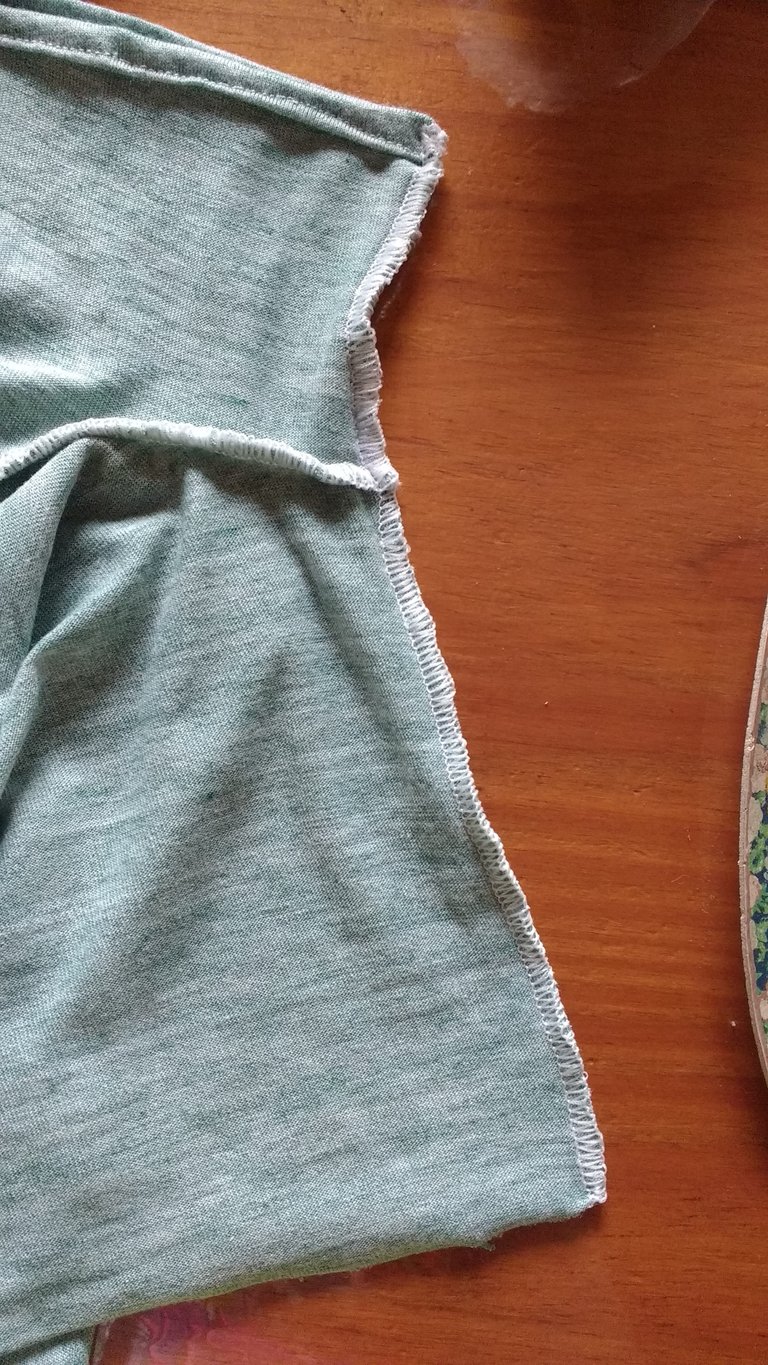
When they finish positioning or bending the neck, they close the other shoulder. For the sleeves, what you have to do is fold the sleeve, as seen in the image and mark it well in the center.
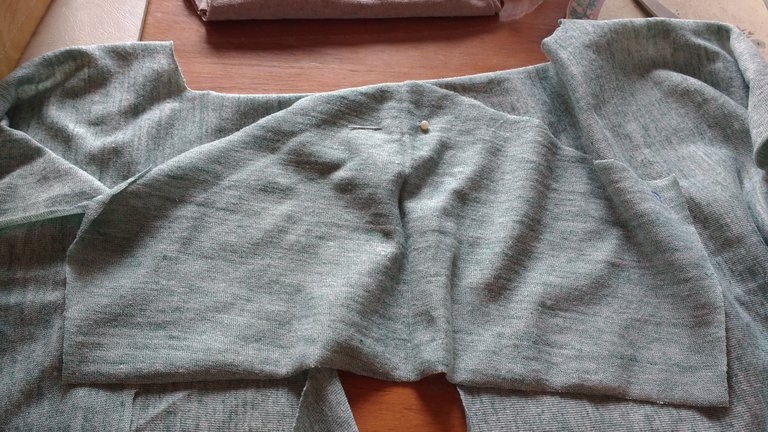
That mark is going to help you center the sleeve in place, you can secure it with a pin, as seen in the photo, or you can do it with a needle and thread.
Then they can sew it, end to end, making both sides match.
Before closing the sleeves, what they can do is fold the edge and thus make the hem of it, as seen in the photo, they can also do as in the neck and add fabric for the sleeves.
Having both sleeves in place with their respective hems made, they close the sides of one of them, as can be seen in the image.
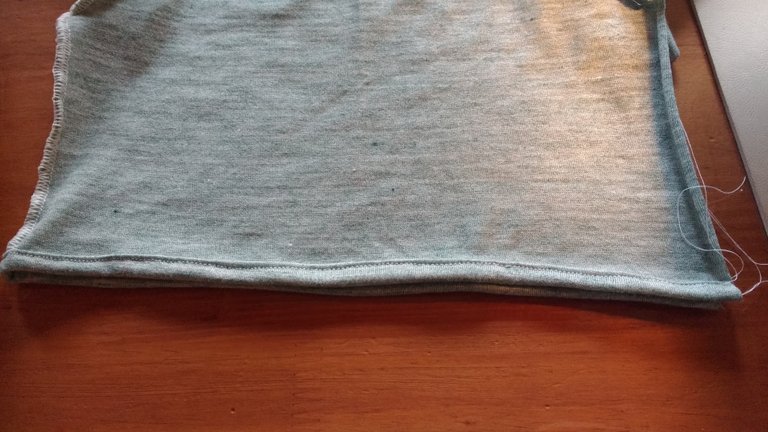
To make the hem, what you have to do is fold one of the ends and sew the entire length, it sounds repetitive but you can also add fabric as in the neck and sleeves. After doing the hem, they close the other side and voila, they already have a finished children's shirt.

As for the decoration, if you want to sew an appliqué you have to do it before closing the sides, in this way it is well centered and more neat, in my case, as I did not have so I was left with a smooth shirt.
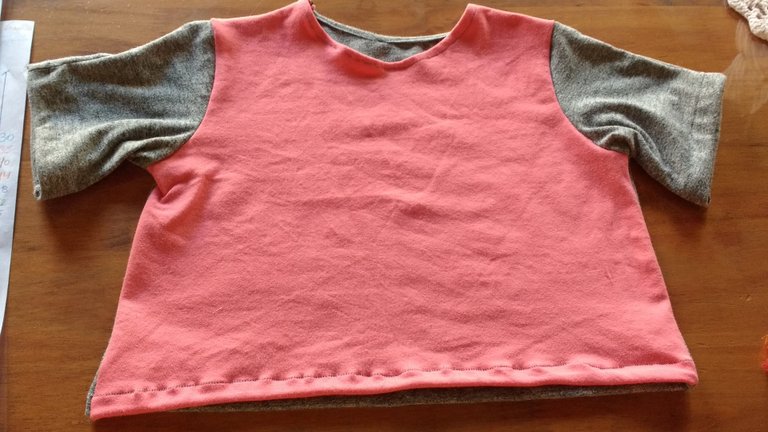
Fabrics can also be suitable, in this case use pink and gray fabric, the sleeves have a seam at the top, since I could not cut it whole, that also remains as a detail.