Hello, today I bring you a transformation of a pants, this pants was given to me so it has no mold. Later I will make a pants from scratch and upload the corresponding molds.
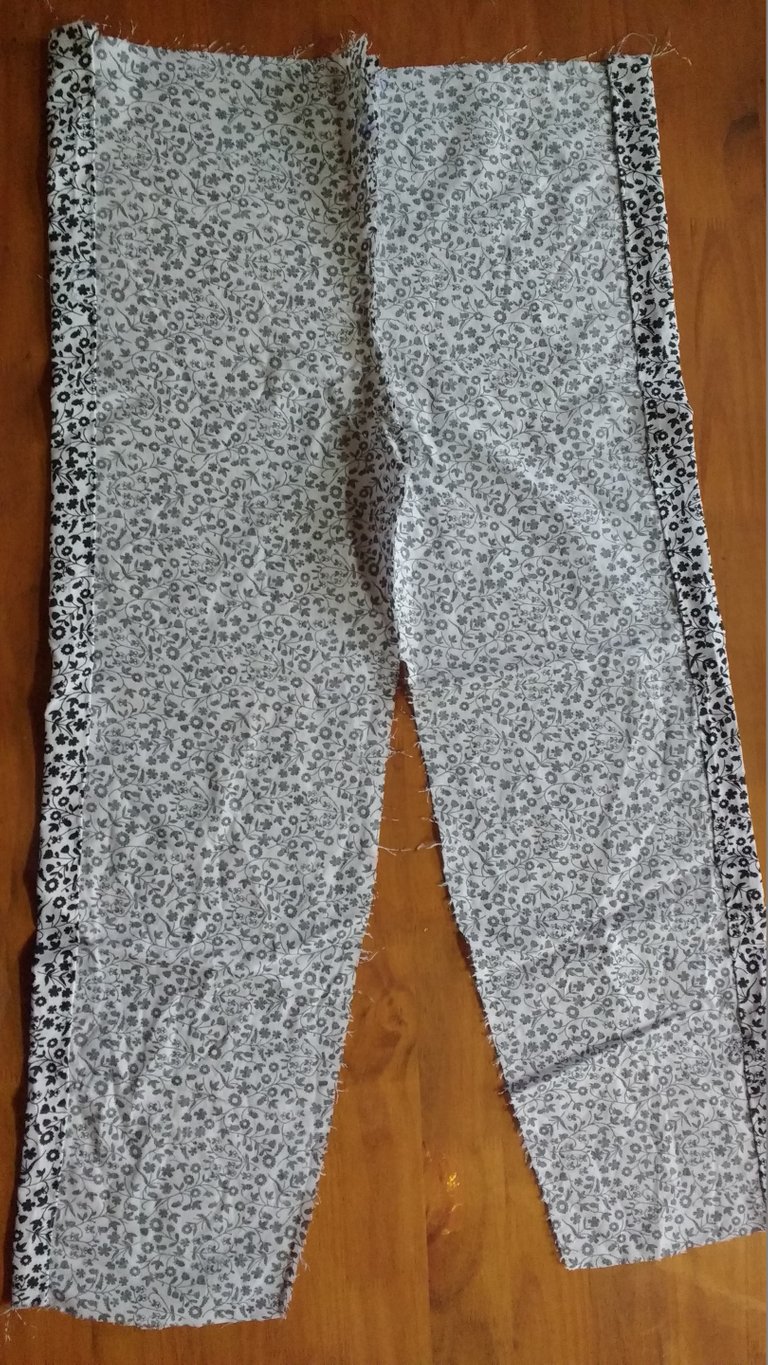
The image corresponds to the front of the pants.
The first thing I did was completely disassemble the front and rear, then on each outer side of the legs I doubled it as if it were a hem.
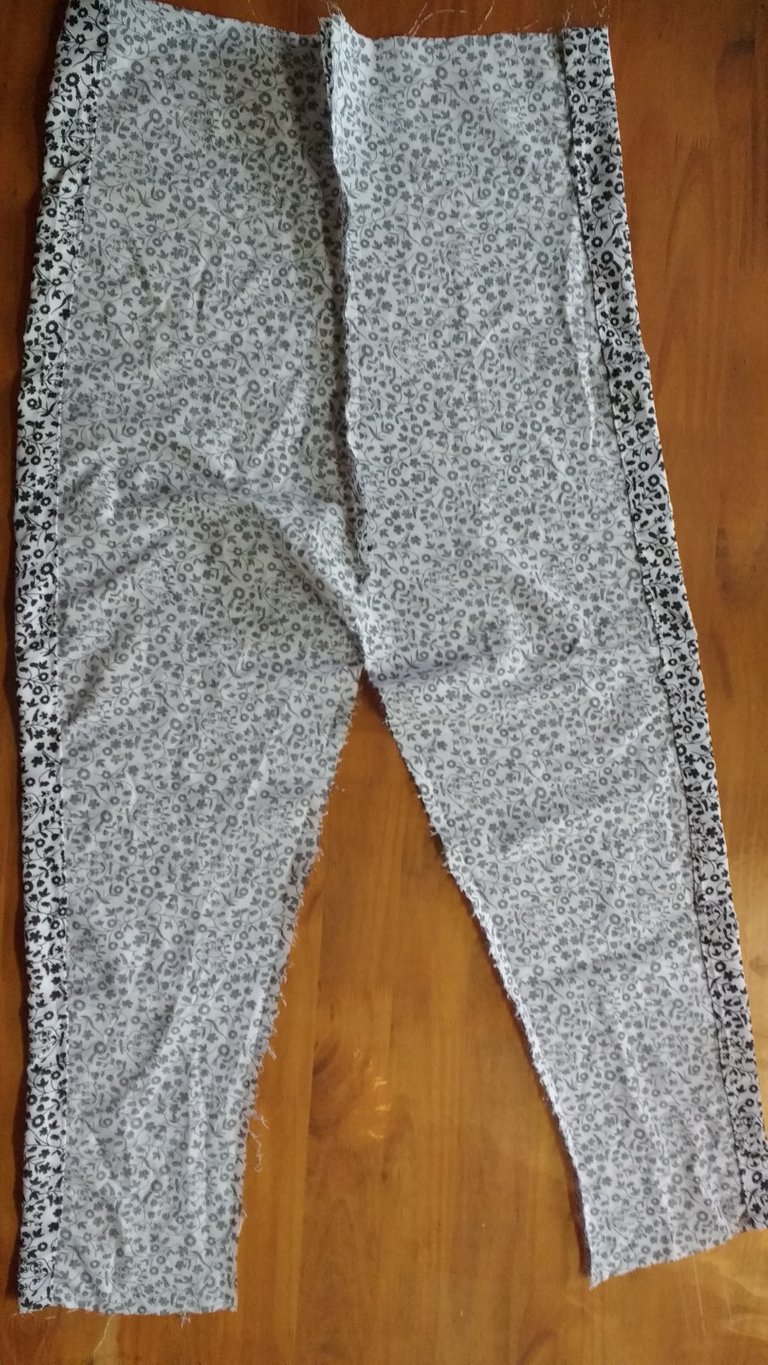
In the case of the back of the pants, as seen in the image being a size 54 and I am a 38, I had to redesign the shot, this is easy, if you have a mold of a pants you just have to cut it on the base to this one, but if they don't have one, they just look for a pair that fits them well, turn it over and place it on the fabric, once on they mark it (don't forget the seam allowance which is 1.0 cm). In this case I had to add pins, this is done by measuring from the seam that joins the backs to the outer edge, then half is marked, on that half they are measured 3.0 cm and they are lowered 12.0 cm, those pins give the shape to the "bottom" of the pants.
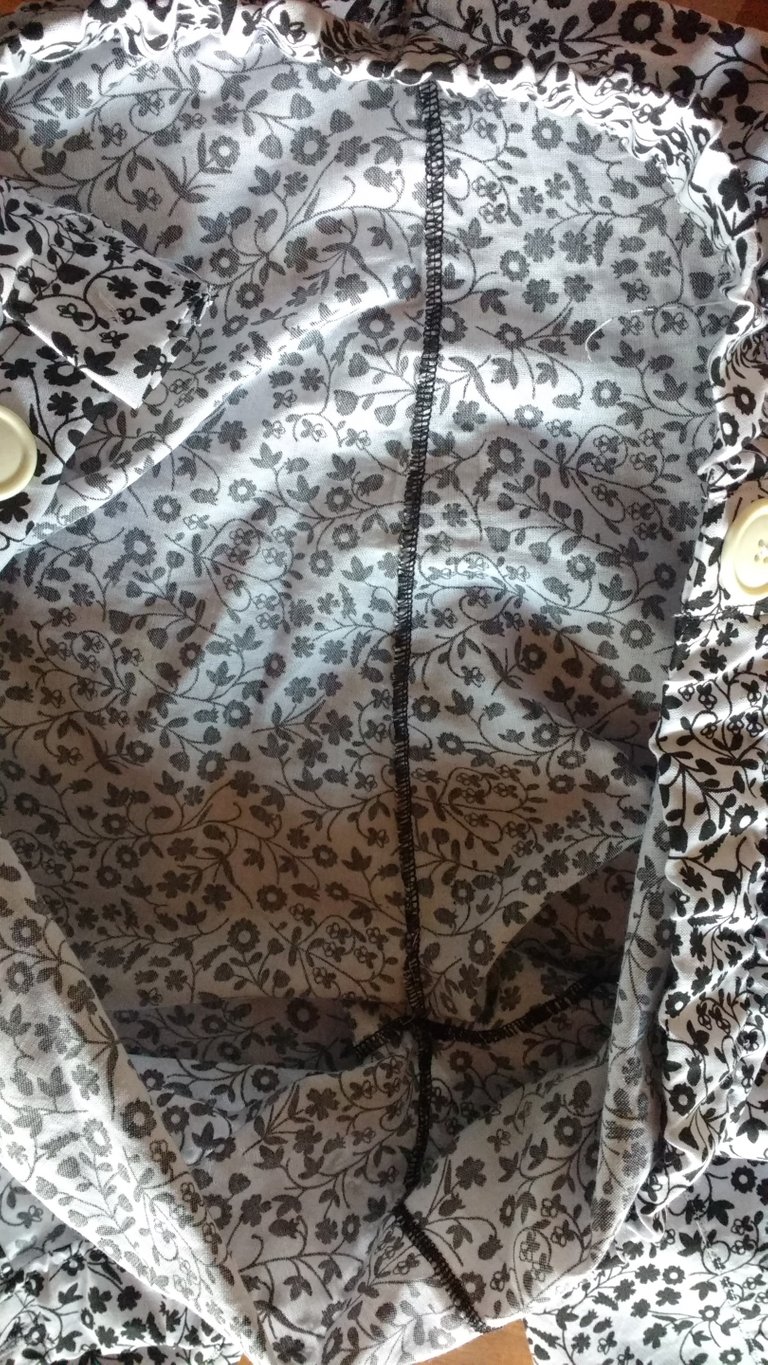
When we have all the sides and the shot ready, we sew, first the sides separately and then we join the shots, as in the image.
To stretch, we do it separately, on the one hand the front and on the other the rear. It stretches in the same way that we do for underwear, in this case instead of measuring the entire waist, what we do is measure the front and subtract 6.0 cm and the same from the rear.
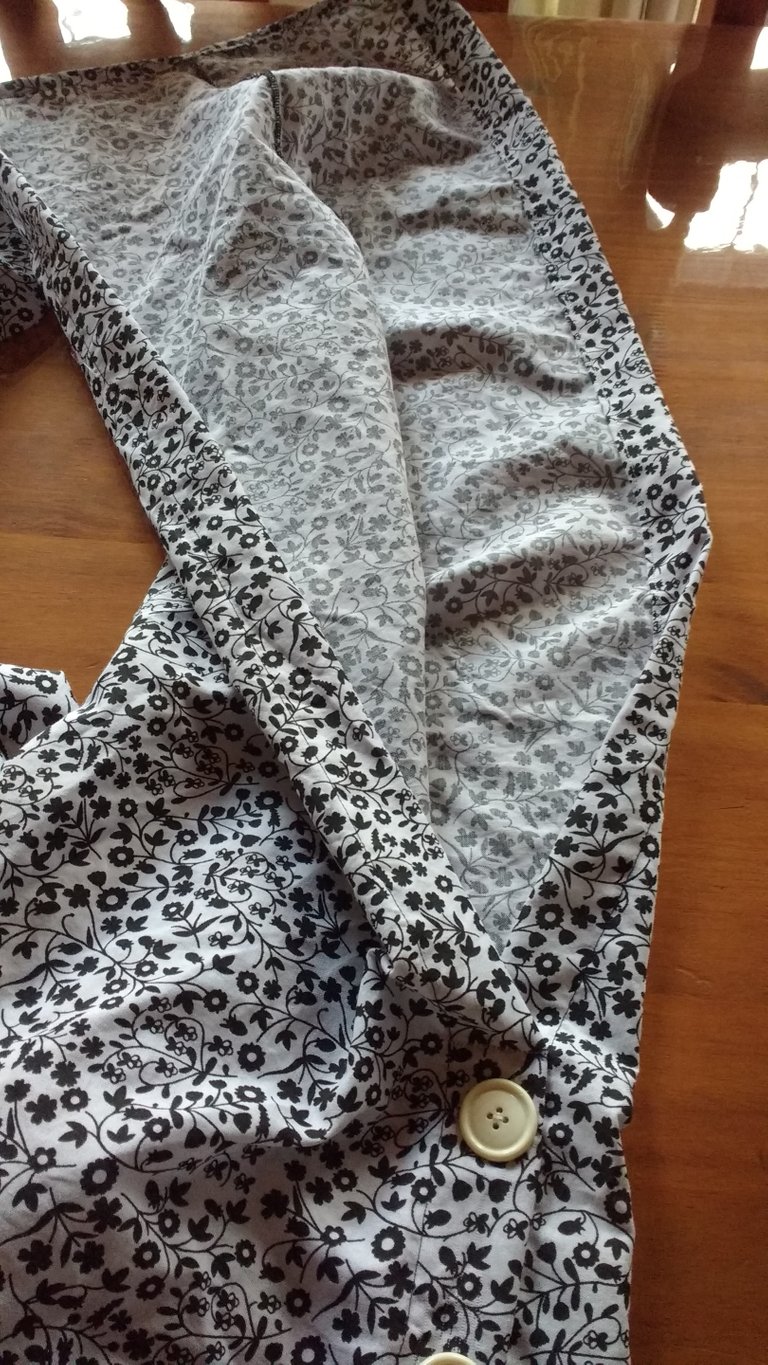
At the time of sewing the legs, before sewing, let's measure up to what height we will make the union of the leg, once measured we superimpose a front fold on a back one (the one that corresponds) and sew it up to the mark. As seen in the photo, only that I did it on one side, on the other leg I only sewed the limit.
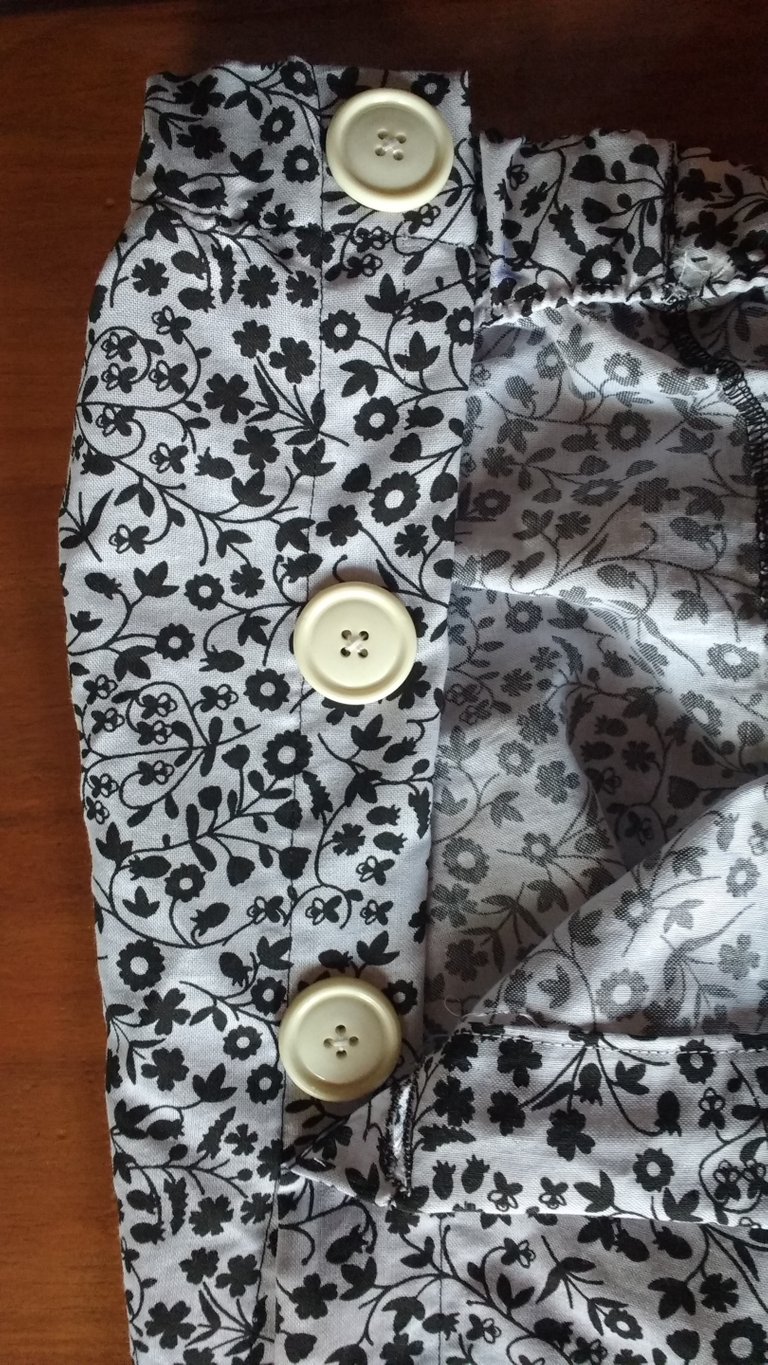
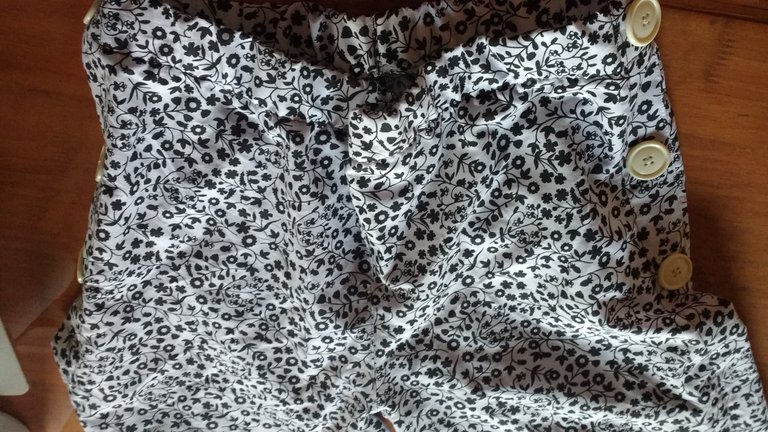
On the side that did not join, what I did was the following, on the back side I measured (in this case) 9.0 cm between button and button, and on the front, with the same measurement (9.0 cm) mark the buttonholes. Once I sew the buttons and prepare the buttonholes, I only have to do the hem and voila, transform a classic trousers into a beach style one.
As a decorative way, I measured on the side of the leg that was completely attached the same distance from the buttons and sewed them, giving the illusion that it is buttoned on both sides.