
¡Hola gente bella espero que estén muy bien! es mi primera vez en la comunidad, y estoy contenta de compartir con ustedes mis pequeñas creaciones 😘
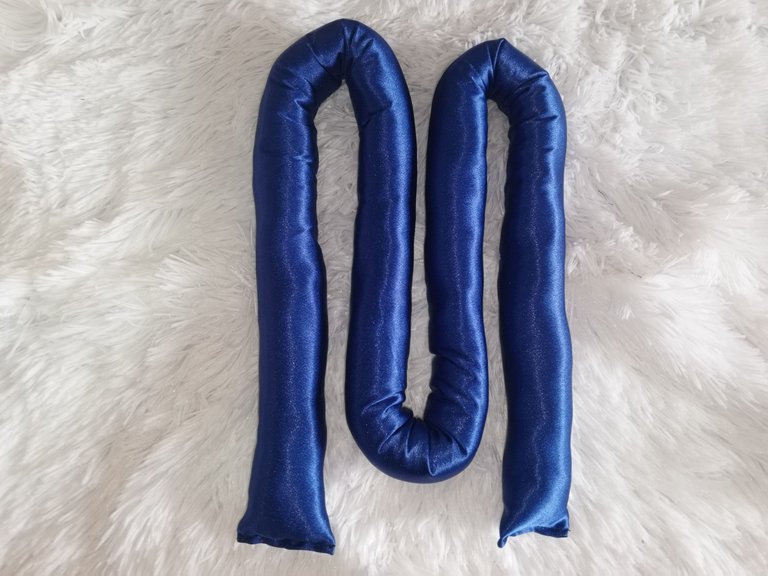
En esta oportunidad les quiero compartir un nuevo producto de mi emprendimiento que se está vendiendo como pan caliente, y es este bello rizador de cabello.
Amo tener ondas naturales en mi cabello, sin embargo, nada más pensar lo mucho que sufre nuestra melena por lo abrasivo que es el calor me frena un poquito de intentarlo, pero con este rizador elaborado en tela de satín es lo máximo para lucir unas ondas de impacto sin que nuestro cabello sufra.
ENGLISH
Hello beautiful people I hope you are very well! is my first time in the community, and I am happy to share with you my little creations 😘.
In this opportunity I want to share with you a new product from my venture that is selling like hot cakes, and it is this beautiful hair curler.
I love having natural waves in my hair, however, just thinking about how much our hair suffers because of the abrasive heat stops me a little bit from trying it, but with this curling iron made of satin fabric is the best to show off some impact waves without our hair suffers.
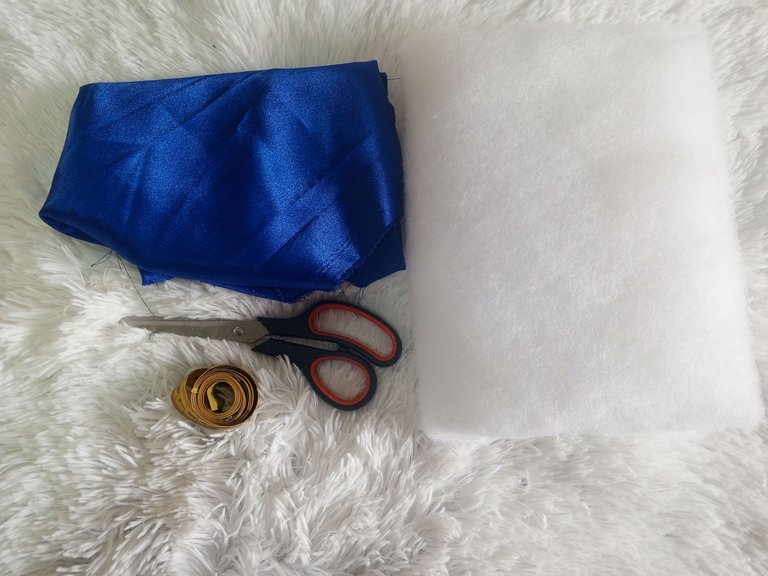
Primero te voy a mostrar los materiales que utilice para la creación de este tubo rizador.
| 15 cm de ancho y 120 cm de largo de tela de satín (también puedes utilizar seda) | |
|---|---|
| ½ metro de Guata es esta espuma textil blanca que sirve para dar volumen a las prendas o cojines. | |
| Cinta métrica | |
| Una tijera | |
| Y por supuesto nuestra máquina de coser. |
First I will show you the materials I used for the creation of this curling tube.
| I used 15 cm wide and 120 cm long satin fabric (you can also use silk) | |
|---|---|
| ½ meter of wadding is this white textile foam that is used to give volume to garments or cushions. | |
| Tape measure | |
| A pair of scissors | |
| And of course our sewing machine. |
 |  |  |
|---|
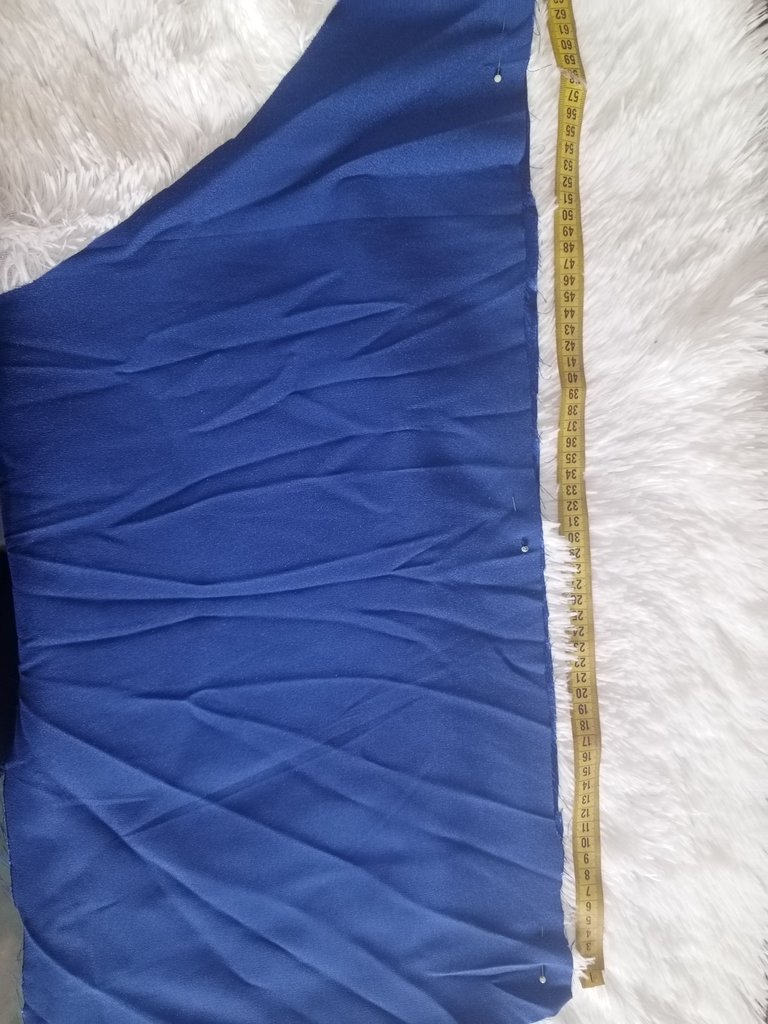
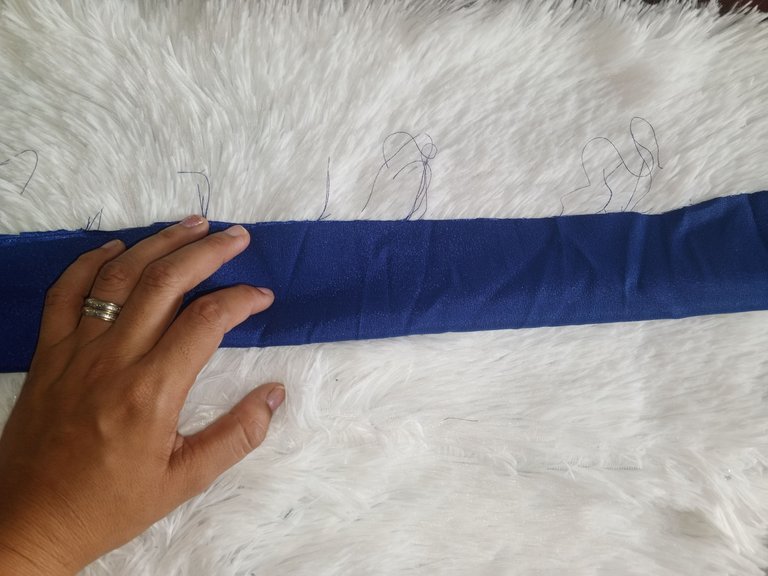
Lo primero que haremos será darle vuelta a nuestra tela y marcaremos por el lado que no tiene brillo las medidas que definimos para nuestro tubo rizador, yo la hice larga porque la cliente que lo pidió tiene su cabello muy largo y no quise que perdiera el producto tan rápido, pero allí ustedes pueden jugar un poco con la medida del mismo, ya esto es a gusto de cada quien y de cada cliente.
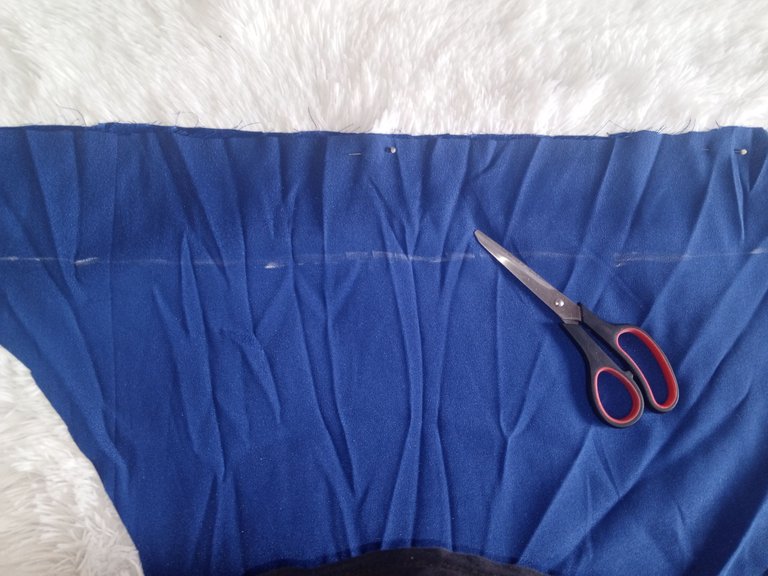
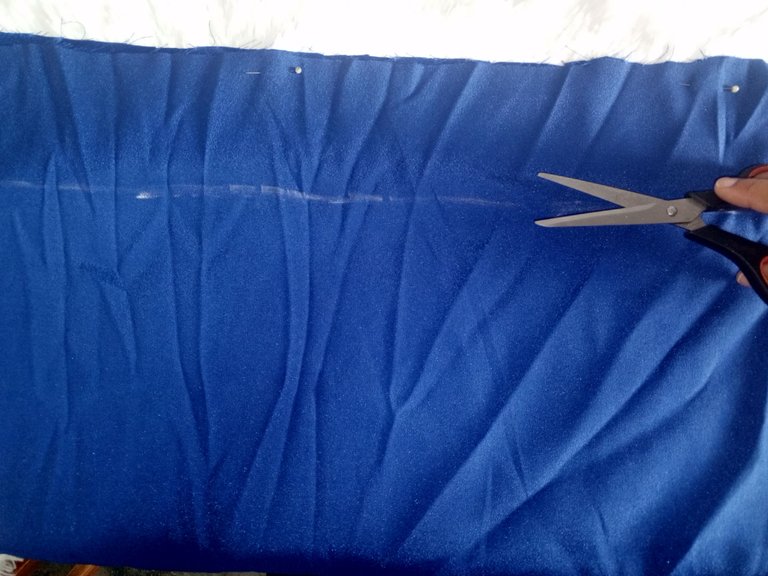
Marcamos todo en la tela, yo me ayudé con alfileres y una tiza blanca para que mis líneas quedaran bien rectas y perfectas, procedemos a cortar por nuestra línea guía con mucho cuidado y obtendremos una tira gruesa y muy larga como esta.
Una vez lista esta tira, cortamos esos hilitos que quedan sobrando yo los corto y los quemo de una vez con el fin de mantener el corte por más tiempo y así evitar que se deshilache de nuevo, puedes hacerlo en este paso o si prefieres una vez que ya tengas todo con su costura puedes realizarlo, yo lo hago cuando tengo todo ya cosido.
ENGLISH
The first thing we will do is to turn our fabric over and mark on the side that has no shine the measures that we define for our curling tube, I made it long because the client who asked for it has very long hair and I did not want her to lose the product so fast, but there you can play a little with the measure of it, this is to the taste of each person and each client.
We mark everything on the fabric, I helped myself with pins and a white chalk so that my lines were straight and perfect, we proceed to cut along our guide line very carefully and we will get a thick and very long strip like this.
Once this strip is ready, we cut those threads that are left over, I cut them and burn them at once in order to keep the cut longer and thus avoid fraying again, you can do it in this step or if you prefer once you already have everything with its sewing you can do it, I do it when I have everything already sewn.
 |  |  |
|---|
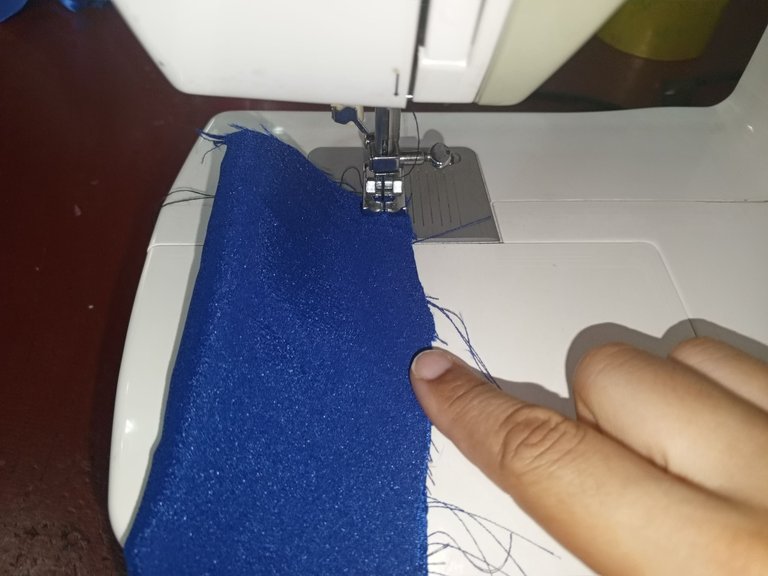
Ahora vamos a enfrentar los dos laterales o si no simplemente doblar la tira a la mitad y llevar a la máquina con una puntada número 3 para que quede bien firme, procedemos a coser todo el borde de esta larga tira yo deje un centímetro de costura.
De esta manera nos queda la tira una vez lista, cortado y quemado todos esos hilitos o excedentes.
Ahora nos preparamos para dar vuelta a este tubito.
ENGLISH
Now we are going to face the two sides or if not simply fold the strip in half and take it to the machine with a stitch number 3 to make it firm, we proceed to sew the entire edge of this long strip I left a centimeter of seam.
In this way we have the strip once ready, cut and burned all those little threads or surpluses.
Now we prepare to turn this little tube.
 |  |  |
|---|
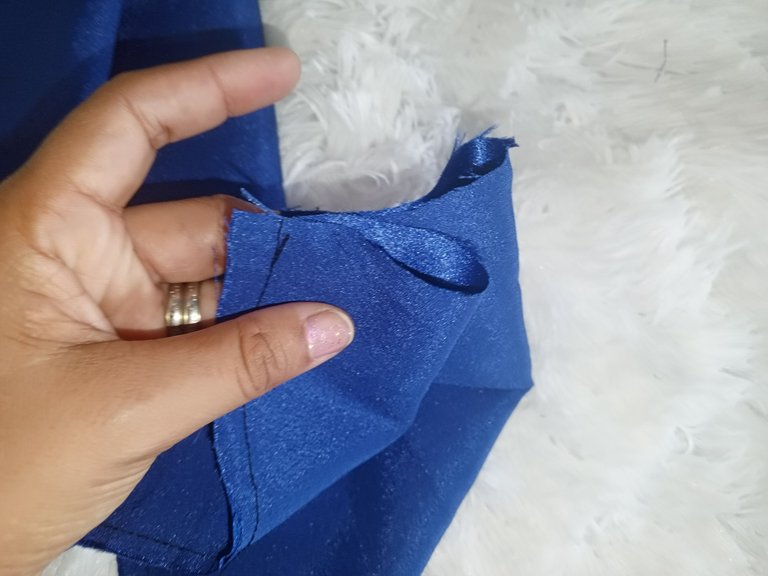
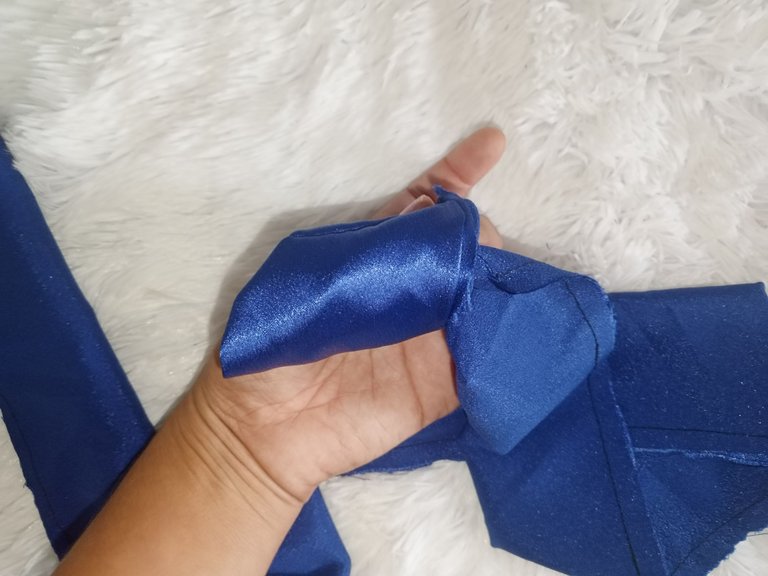
Por uno de los dos extremos que dejamos sin coser vamos a ir introduciendo la tela de a poco hasta que finalmente logremos voltear toda la tela y nos quedara este bello tubo brillante listo para rellenar y coser.
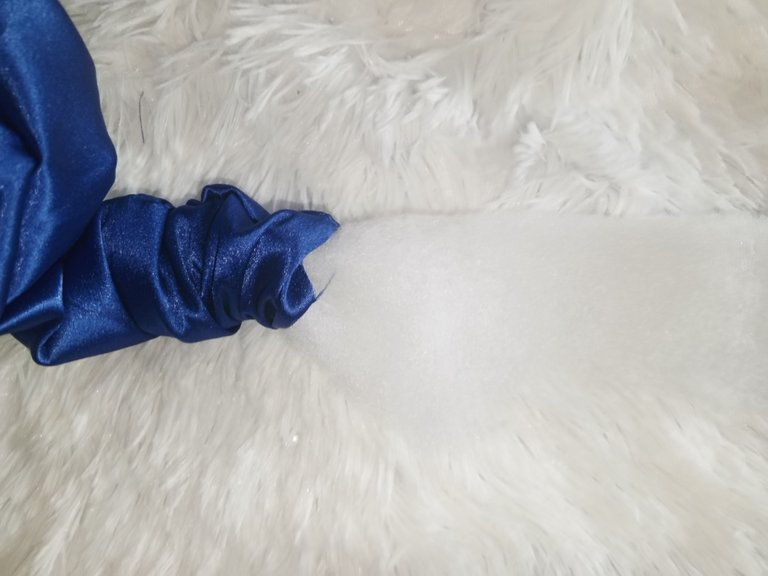
Tomamos uno de los extremos para sellarlos y así proceder a meter el relleno de guata evitando que se nos salga por los extremos, yo hice una costura recta sencilla, doble los bordes hacia dentro del tubito y pase la costura recta, y así me quedo.
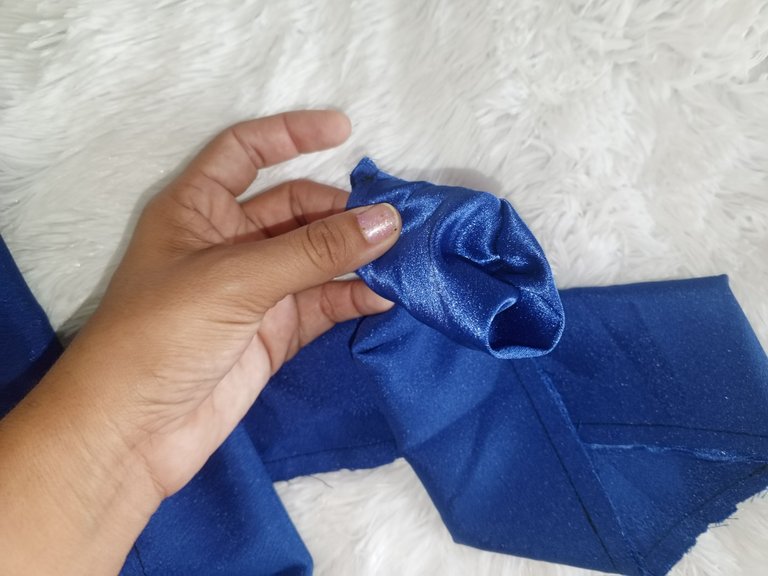
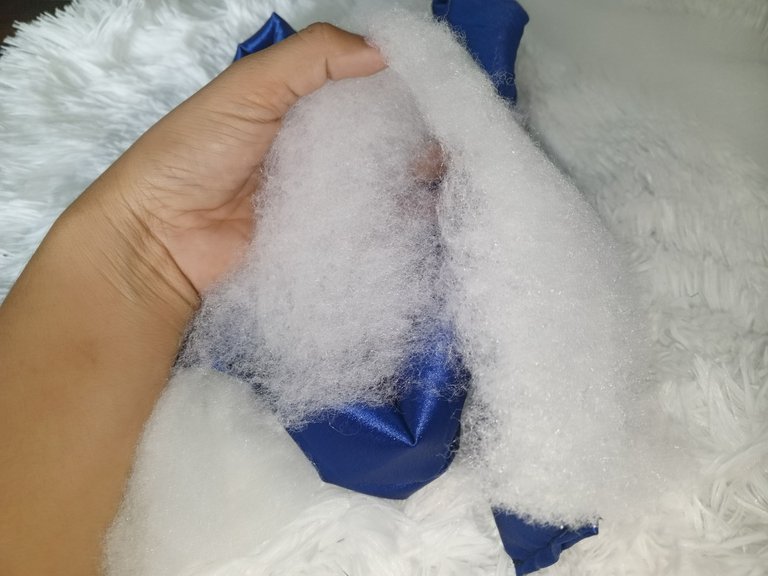
Ahora sin más preámbulo empezamos a cortar la guata en tiras de unos 4 centímetros y vamos a ir introduciéndolos en el tubo, se ve que es bastante complicado pero no, la tela al ser muy suave hace que la esponja se deslice bastante rápido, yo me he tomado como unos 10 minutos en llenar completamente el tubo y lograr que quede una apariencia lisa y prolija.
ENGLISH
By one of the two ends that we left unsewn we are going to introduce the fabric little by little until we finally manage to flip all the fabric and we will have this beautiful shiny tube ready to fill and sew.
We take one of the ends to seal them and thus proceed to put the wadding filling avoiding that it leaks through the ends, I made a simple straight seam, fold the edges into the tube and pass the straight seam, and that's how I left it.
Now without further ado we begin to cut the wadding into strips of about 4 centimeters and we will be introducing them into the tube, you can see that it is quite complicated but no, the fabric being very soft makes the sponge slides pretty fast, I have taken me about 10 minutes to completely fill the tube and get a smooth and neat appearance.
 |  |  |
|---|
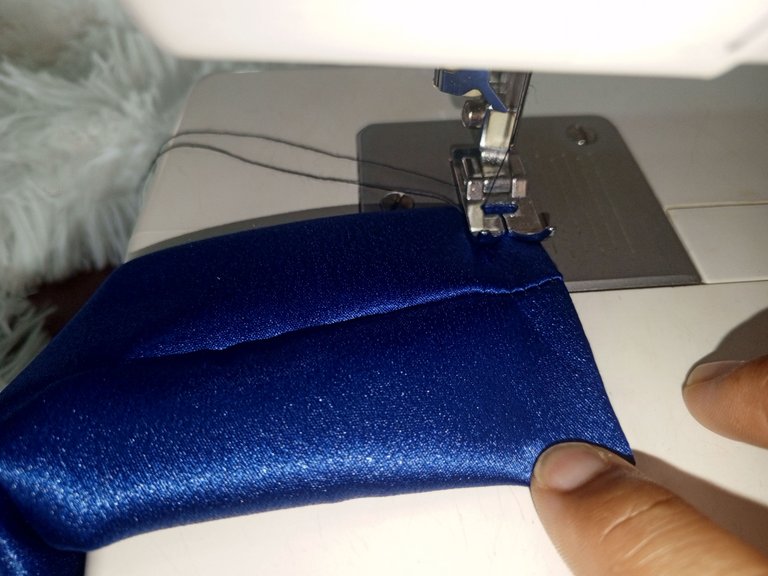
En el extremo que nos quedó, es decir por donde estábamos metiendo la esponja vamos a coser en costura recta, con el mismo procedimiento que a la otra punta, allí tenemos que estar pendientes de que ambas puntas queden con la misma diferencia de centímetros y que no se vea dispareja, sino que obtengamos un producto estéticamente hermoso y con buenos acabados.
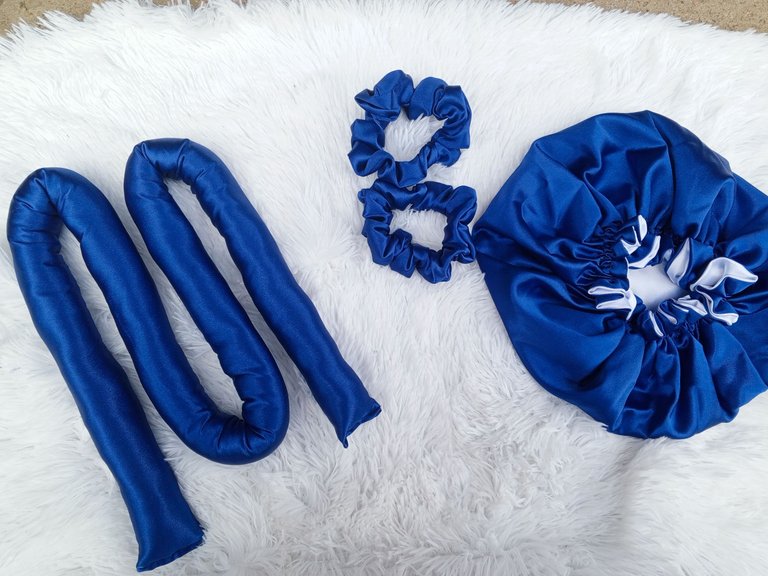
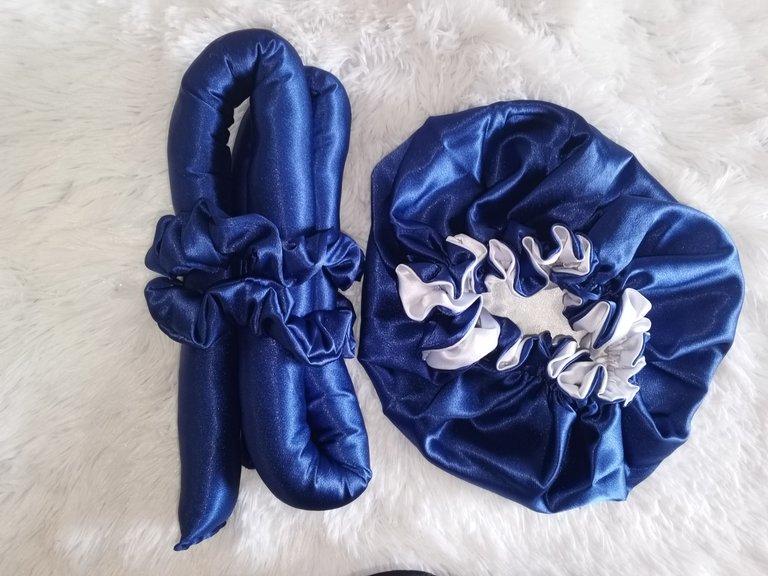
Y ya tenemos listo nuestro rizador para nuestro cabello, en este caso mi clienta quería un kit completo que incluye: gorro de satín, scrunchies, y el tubo rizador, todos elaborados por mí.
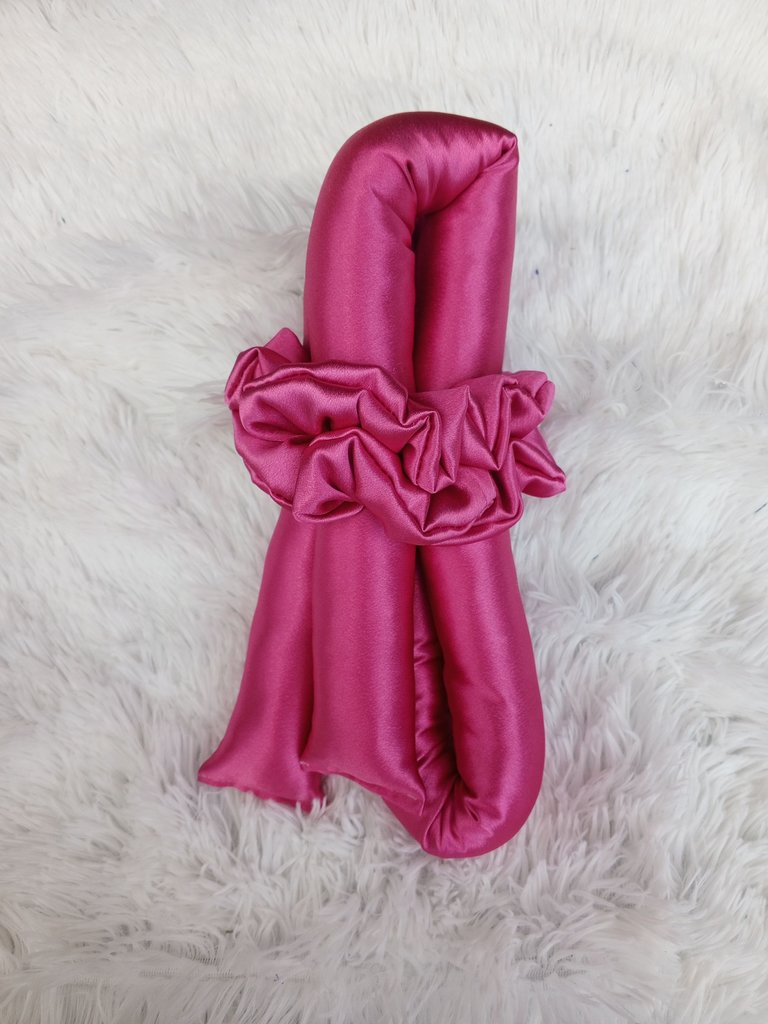
Espero que te guste y que te animes a hacer este accesorio que le asienta muy bien a nuestra rutina capilar para evitar maltratarlo, un producto bastante cómodo a la hora de utilizar.
Si tienes alguna duda o pregunta déjala en los comentarios y con gusto te responderé. 😊
ENGLISH
At the end that we have left, that is to say, where we were putting the sponge, we are going to sew a straight seam, with the same procedure as the other end, there we have to be aware that both ends are with the same difference of centimeters and that it does not look uneven, but that we obtain an aesthetically beautiful product and with good finishes.
And now we have our curling iron ready for our hair, in this case my client wanted a complete kit that includes: satin cap, scrunchies, and the curling tube, all made by me.
I hope you like it and that you are encouraged to make this accessory that sits very well to our hair routine to avoid mistreating it, a very comfortable product to use.
If you have any doubts or questions leave them in the comments and I'll be happy to answer you.

✨Imagen principal editada utilizando Canva
⚠️Todas las fotografías son propias capturadas con mi teléfono Tecno Spark 10 pro
✨Main image edited using Canva.
⚠️Todas photos are my own captured with my Tecno Spark 10 pro phone.
Translated with DeepL.com (free version)
Wow! This is really innovative
I can just imagine how helpful this will be for those who can’t stand having heat in their hair
It’s a brilliant product, well done
Hi dear, it's a great idea and the best thing is that you can customize it at home, and have beautiful waves without mistreating your hair.
Yeah I agree
Ciertamente ideal para quienes les gustan usar rizos más sin pasar por la tortura del secador. te felicito por tu original idea.