¿Cuántas maneras de colocar cabello conoces?
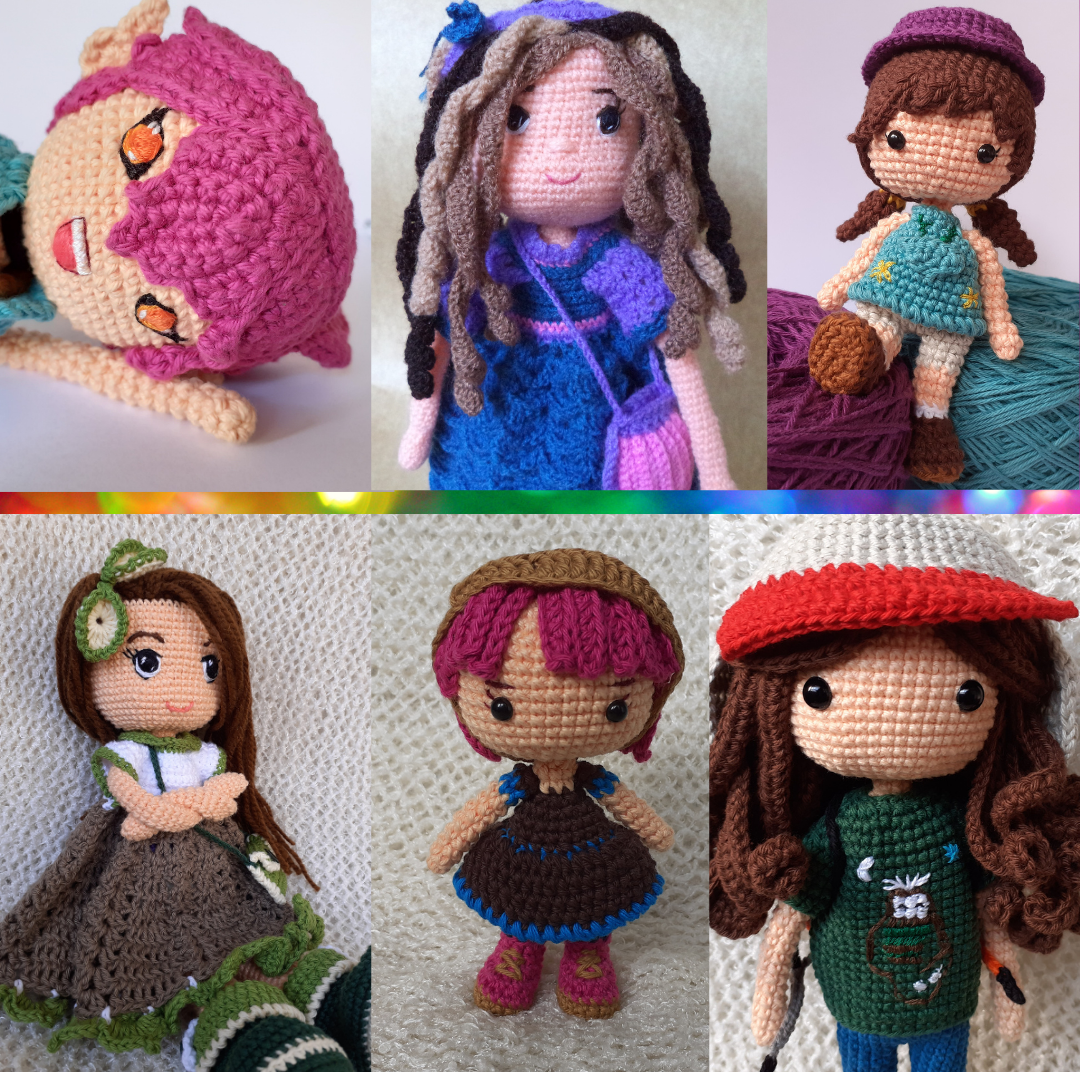
¡Hola, espero la estén pasando bien!
Hi, I hope you are having a good time!
Muchas veces cuando tejes amigurumis la parte más complicada es elegir el tipo de cabello a incorporar. En un principio creí que solo había una manera, luego me dí cuenta de la infinidad de texturas y colores que se puede elaborar, ya sea tejido, pegado o colocado con otras técnicas.
Many times when you weave amigurumis the most complicated part is choosing the type of hair to incorporate. At first I thought there was only one way, but then I realised the infinite number of textures and colours that can be made, either woven, glued or placed with other techniques.
Estaba pensando en un tipo especial de cabello que no volvería a utilizar, pero la mayoría si volvería a utilizarlos. Claro, eso dependerá del tamaño del amigurumi, del grosor del hilo o lana a utilizar y del color del cabello planeado.
I was thinking of a special type of hair that I wouldn't use again, but most of them I would use again. Of course, that will depend on the size of the amigurumi, the thickness of the yarn or wool to be used and the colour of the planned hair.
Tipo de cabello Nº 1
Hair type No. 1
-Complejidad: Este cabello es uno de los mas utilizados y es algo complicado por eso decidí empezar por aquí.
-Tamaños: Es ideal para amigurumis pequeños (13cm de altura) y medianos (20cm de altura).
-Tipo de material a tejer: Por lo general hilo de algodón o mezclas algodón y acrílico.
-Dato extra: El tejido debe ir al revés, simulando un cabello lacio.
-Complexity: This hair is one of the most used and it is a bit complicated so I decided to start here.
-Sizes: It is ideal for small (13cm high) and medium (20cm high) amigurumis.
-Type of material to knit: Usually cotton yarn or cotton and acrylic mixtures.
-Extra information: The weave should go inside out, simulating straight hair.
Materiales /materials :
Aquí no es tan importante los materiales, mas si la técnica a utilizar.
- Hilos de algodón (4 hebras) / Cotton thread (4 strands)
- Crochet 2.5mm
- Tijera / Scissor
- Aguja lanera / Wool needle
- Alfileres con cabeza / Pins with heads
- Silicona / Silicon
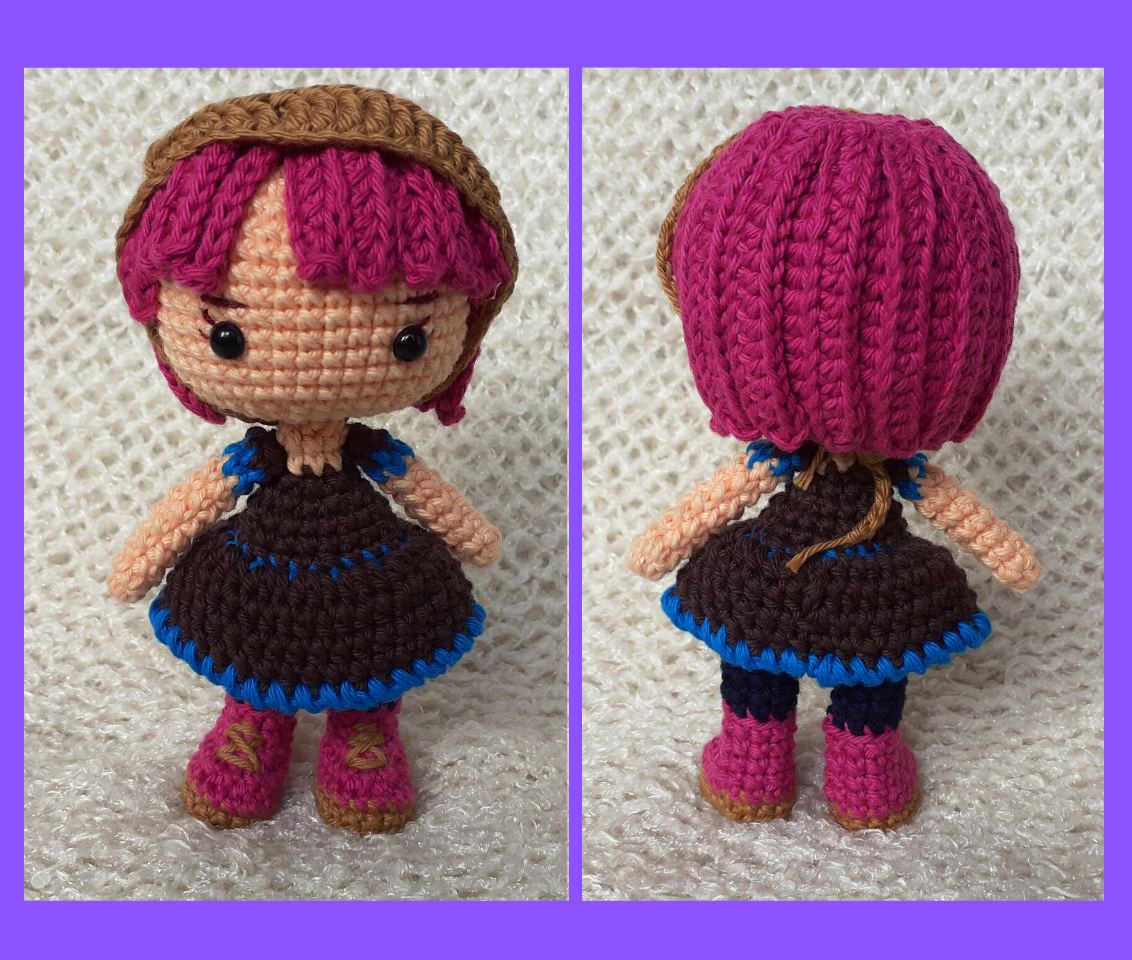
Este amigurumi es pequeño, para el tejido de la cabeza se llegó hasta 42 puntos iniciando con un anillo mágico de 6. Entonces, el cabello fue tejido con un anillo mágico de 6 puntos, seguido de aumentos dando un total de 12 puntos. /STOP/ Aquí voltear el tejido y tejer las hebras de atrás un número de cadenas según el largo deseado. Para este caso tejí 22 cadenas (cad) y luego regresé con puntos medios altos (pma). Así hasta obtener 12 tiras de cabello.
This amigurumi is small, for the weaving of the head it went up to 42 stitches starting with a magic ring of 6. Then the hair was knitted with a magic ring of 6 stitches, followed by increases giving a total of 12 stitches. /STOP/ Here flip the weaving and knit the back strands a number of chains according to the desired length. For this case I knit 22 chains (cad) and then back with medium high stitches (pma). This way until you have 12 strands of hair.
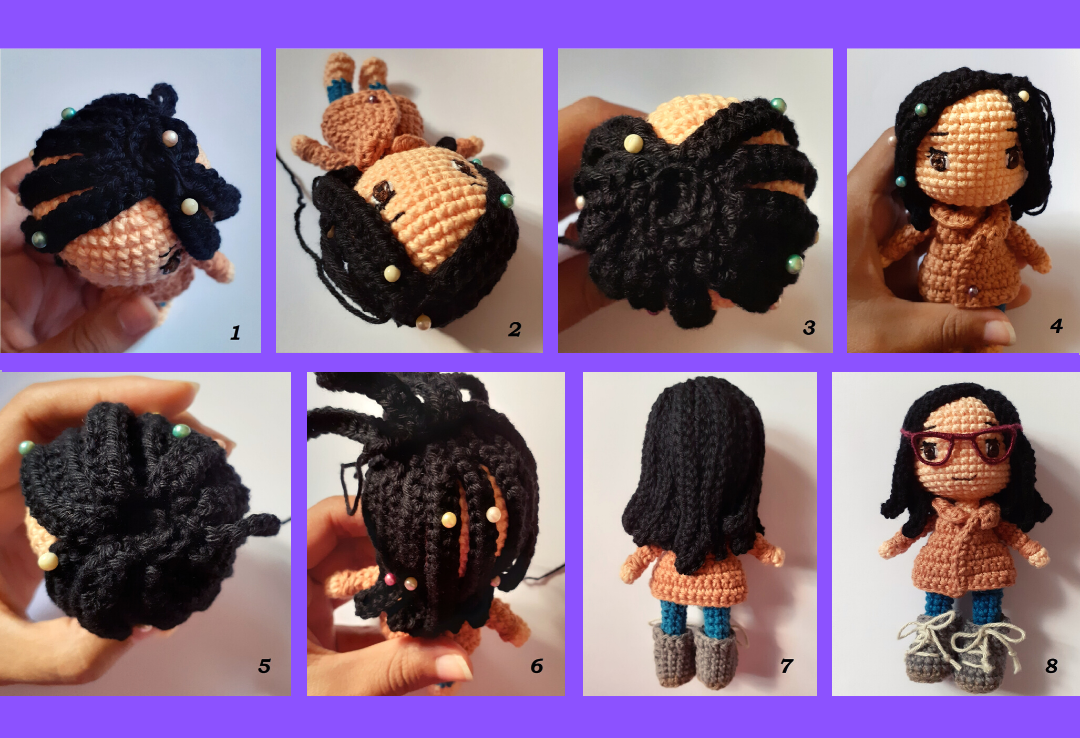
Fig. 1: A medida que vas tejiendo las tiras de cabello, ir diagramando con los alfileres.
Fig 2 y 3: Este cabello tiene raya al costado, por lo que 5 tiras de cabello serán más largas que las otras.
Fig 4: Seguir diagramando a medida que se va tejiendo. Recuerda que el número de tiras tejidas (12), aún no cubrirán por completo la cabeza.
Fig. 1: As you weave the strips of hair, diagram with the pins.
Fig 2 and 3: This hair has a side parting, so 5 strips of hair will be longer than the others.
Fig 4: Continue diagramming as you weave. Remember that the number of strips woven (12), will still not completely cover the head.
Se tejerá de nuevo las otras 12 tiras de cabellos pero esta vez por las hebras delanteras. Si al momento de la diagramación nos damos cuenta que será mucho cabello, entonces el número de tiras puede ser menor. Para esto se puede utilizar puntos deslizados en la hebra donde no queremos tejer tiras de cabello.
We weave the other 12 strands of hair again, but this time through the front strands. If we realise when we are diagramming that there will be a lot of hair, then the number of strands can be less. For this you can use slipped stitches in the strand where you don't want to weave hair strips.
Fig. 5: Tejer las tiras de cabello por la hebras de adelante.
Fig. 6: A medida que vas tejiendo, tratar de cubrir los espacios vacíos con el cabello nuevo (diagramación).
Fig. 7: Cabello visto por detrás.
Fig. 8: Cabello visto por delante.
Fig. 5: Weave the strands of hair through the front strands.
Fig. 6: As you weave, try to cover the empty spaces with the new hair (diagramming).
Fig. 7: Hair seen from behind.
Fig. 8: Hair seen from the front.
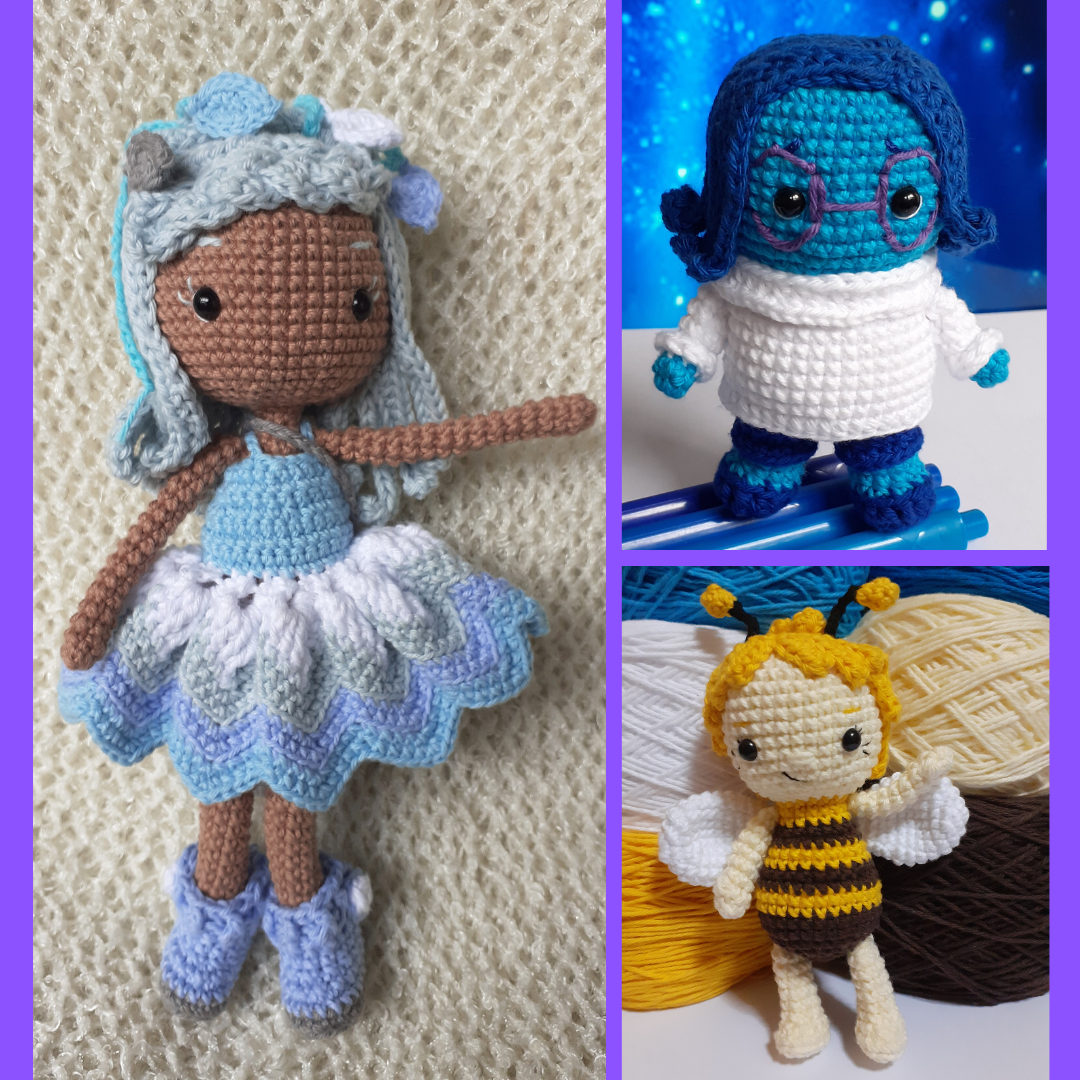
Estos ejemplos tienen ligeras variaciones y lo veremos en el siguiente post.
These examples have slight variations and will be discussed in the next post.
¡Y eso es todo!,
¡…Hasta la próxima!
See you next time!
Dato curioso: El crochet a utilizar será un ligero número más al crochet que se utiliza para tejer / *The crochet to be used will be a slight number more than the crochet used for knitting.*
►Encuéntranos en:
- Instagram: https://www.instagram.com/inici_arte_craft/
- Creary: https://creary.net/@diana.waranqa/
- Facebook: https://www.facebook.com/iniciartecraft/
Este post me encantó. Para mí esta es la parte más complicada de los amigurrumis. Espero la segunda parte. Saludos
Que bueno que le agrade y gracias por comentar. A veces no se cómo explicar lo que tengo en mente y me quedo pensando...Sobre todo si se trata de temas donde hay varios detalles.