Greetings dear Community.
A few days ago my little niece started looking at images on her mobile and came across a tutorial on how to create a cupcake amirugumi. Obviously she knows I have crochet and immediately asked me to make it for her.
Here is the step by step, I also tell you that the creator of this pattern is Blue Babalú, well let's go to work....
Saludos querida Comunidad.
Hace unos días mi sobrinita se puso a mirar imágenes en su móvil y se encontró con un tutorial de cómo crear un amirugumi de cupcake. Obviamente ella sabe que tengo crochet e inmediatamente me pidió que se lo hiciera.
Aquí está el paso a paso, también les cuento que la creadora de este patrón es Blue Babalú, bueno manos a la obra....

Materiales / Materials
- Hilo acrílico para crochet: verde, gris, blanca, rosado y roja
- Ganchillo 2,5 mm
- Aguja de ojal grande
- Relleno
- Tijera
- Acrylic yarn for crochet: green, gray, white, pink y red
- Crochet 2,5 mm
- Large eyelet needle
- padding
- scissors
Base
|
|
|
|

|

|
|

|
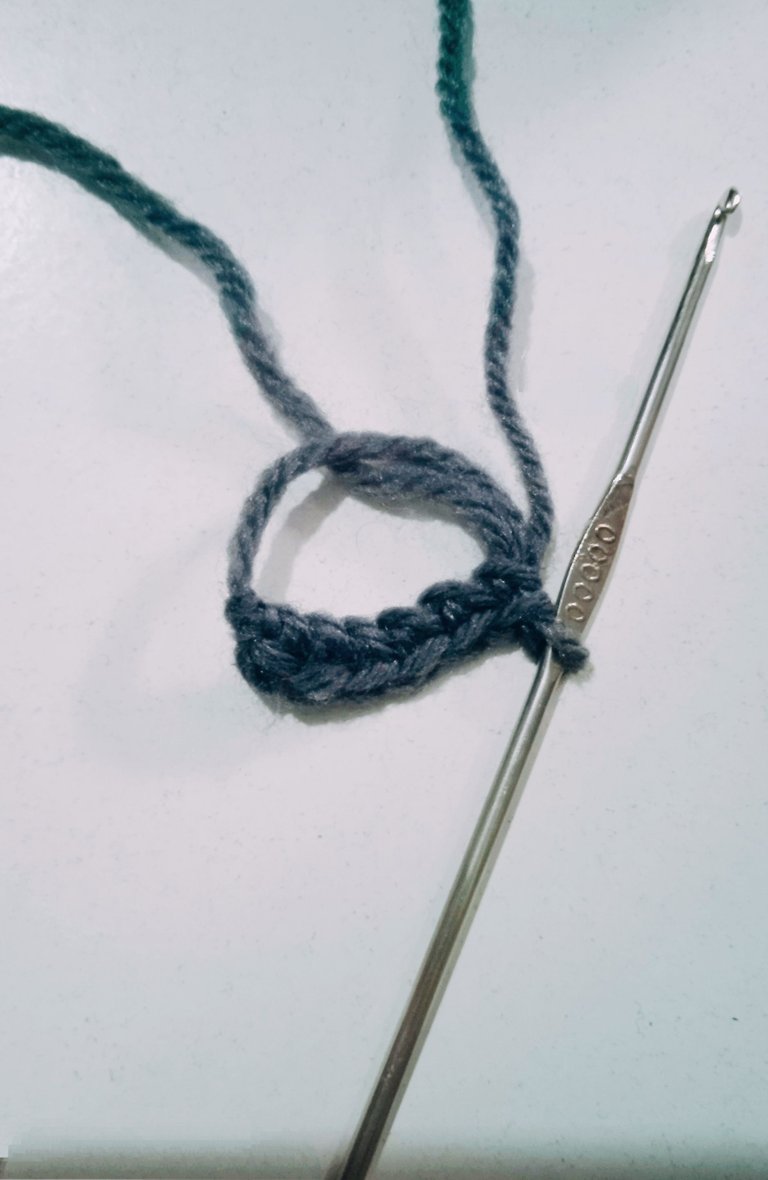
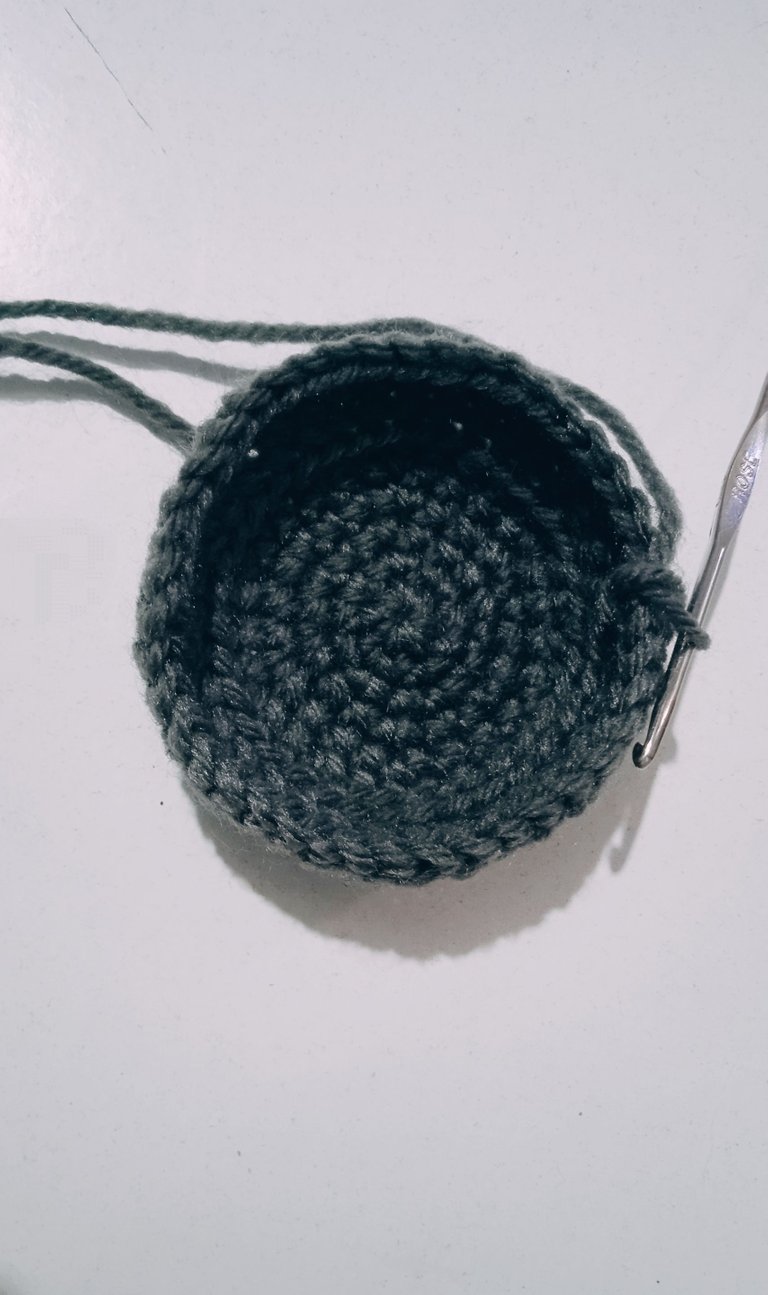
- 1 Comenzamos con el hilo gris y hacemos 6 puntos bajos en un anillo mágico.
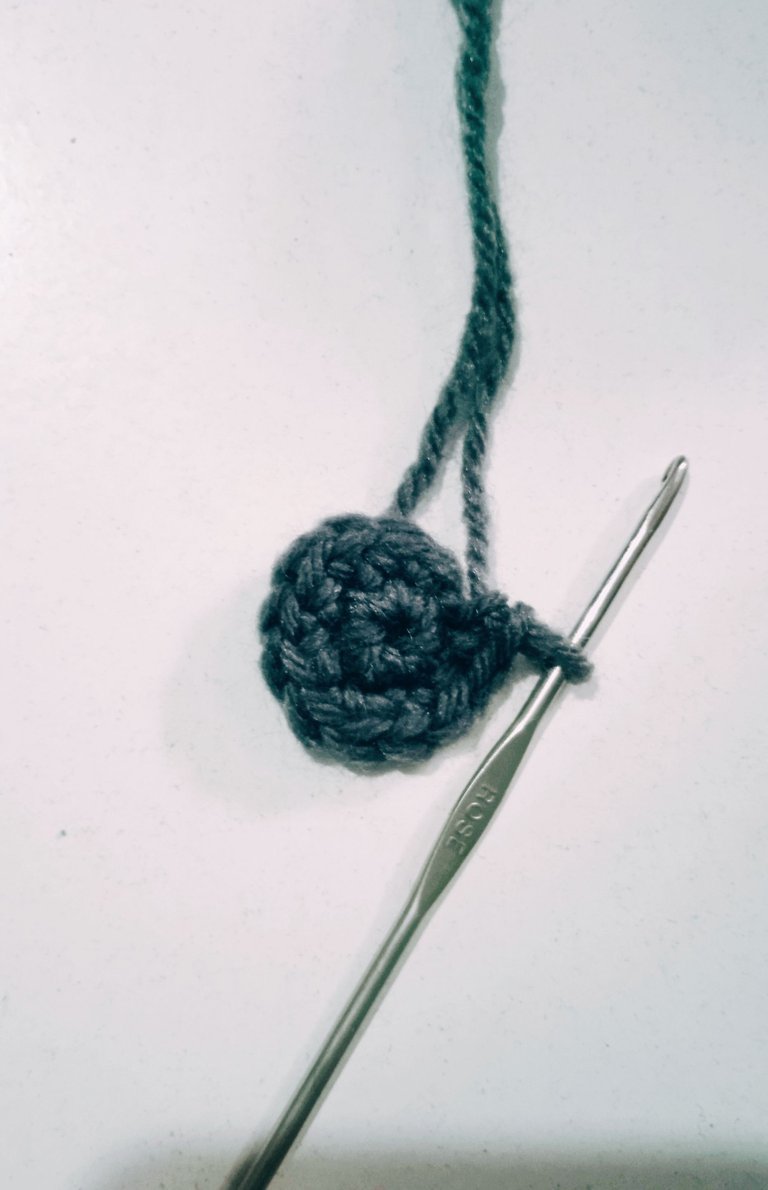
- 2 Hilera: 6 aumento. Total de puntadas: 12
- 3 Hilera: (1 punto bajo, 1 aumento) X 6. Total de puntadas: 18
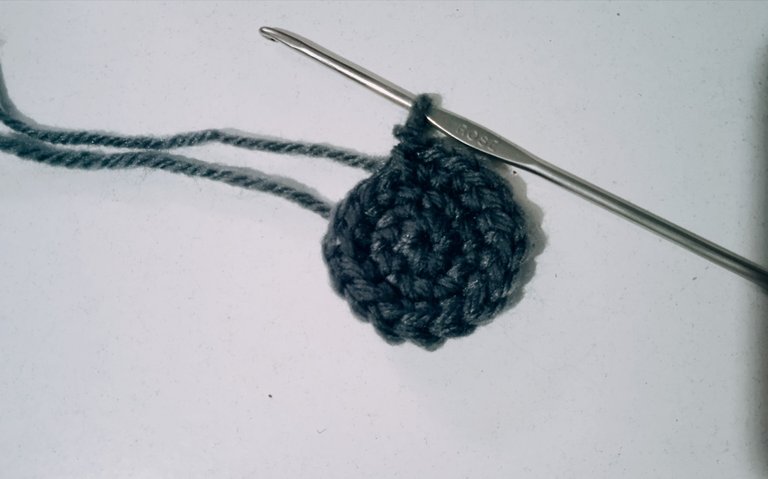
- 4 Hilera: (2 punto bajo, 1 aumento) X 6. Total de puntadas: 24
- 5 Hilera: (3 punto bajo, 1 aumento) X 6. Total de puntadas: 30
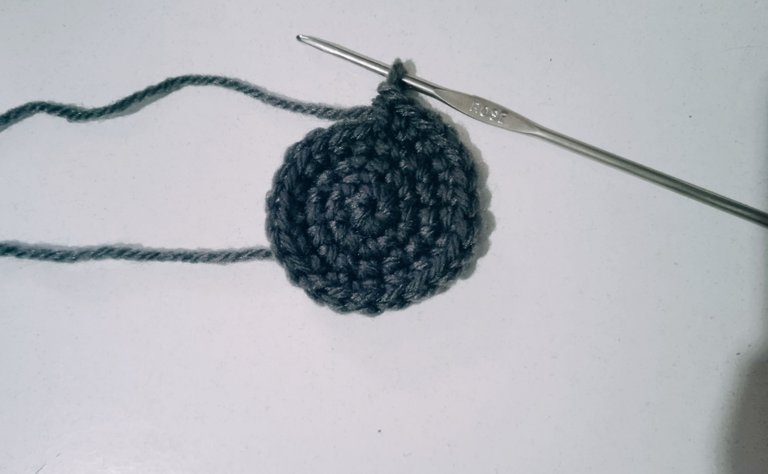
- 6 Hilera: (4 punto bajo, 1 aumento) X 6. Total de puntadas: 36
- 7 Hilera: 36 puntos bajos cogiendo solo la hebra trasera.
- 8 Hilera: 36 puntos bajos normales.
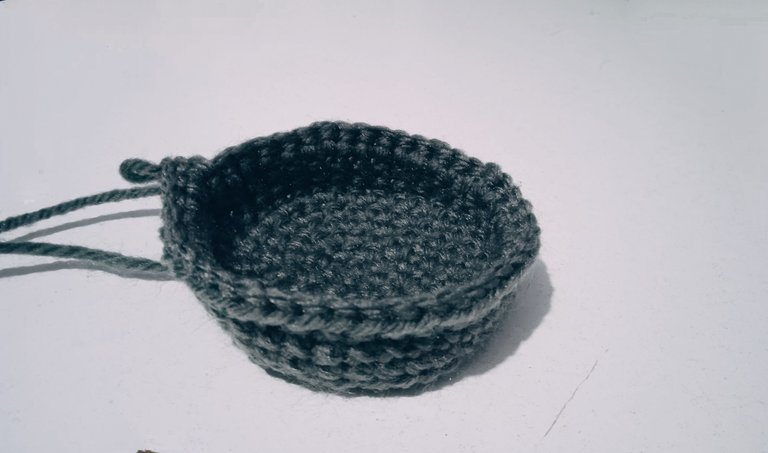
- 9 Hilera: (5 punto bajo, 1 aumento) X 6. Total d puntadas: 42
- 10-11 Hilera: 42 punto bajos.
- 12 Hilera: (6 punto bajo, 1 aumento) X 6. Total de puntadas: 48
- 13 Hilera: 48 puntos bajos.
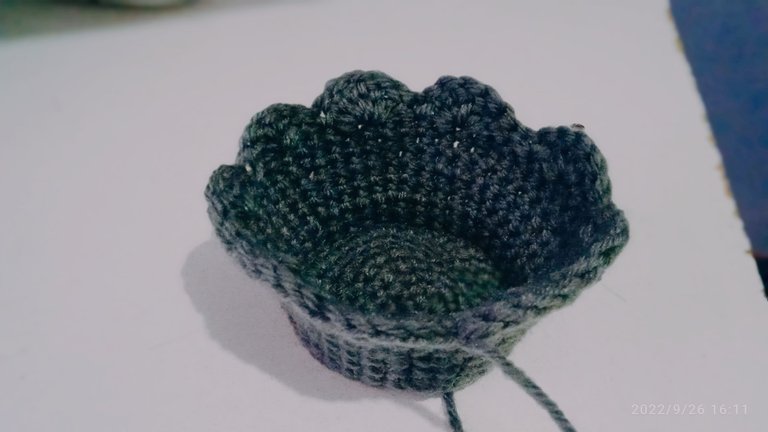
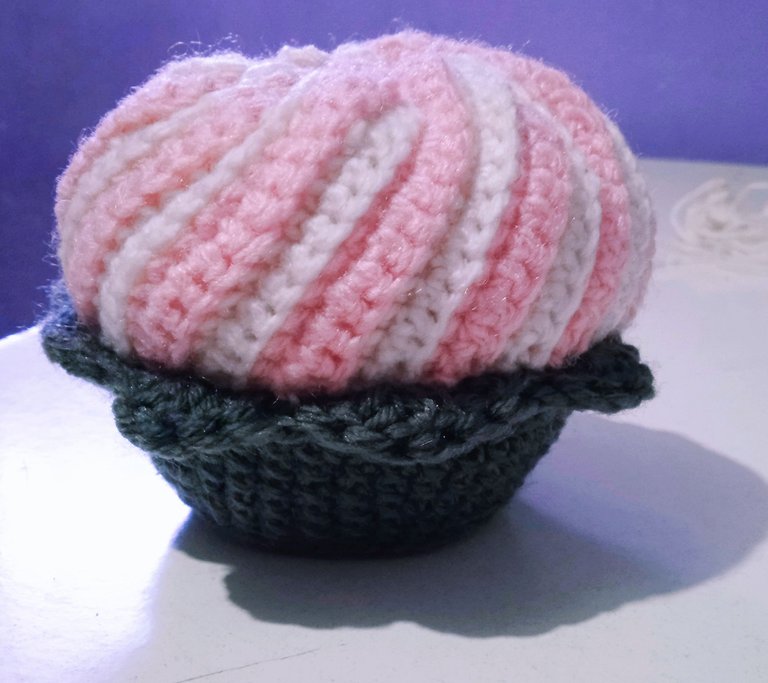
- 14 Hilera: empezamos con 1 punto raso, luego me salto 1 punto y en el tercer punto hago 5 puntos altos, nuevamente me salto 1 punto y en el siguiente 1 punto raso. Repetimos está secuencia hasta terminar.
- 1 We start with the grey yarn and knit 6 single crochets in a magic ring.
- 2 Row: 6 increase. Total stitches: 12
- 3 Row: (1 single crochet, 1 increase) X 6. Total stitches: 18.
- 4 Row: (2 single crochets, 1 increase) X 6. Total number of stitches: 24
- 5 Row: (3 single crochets, 1 increase) X 6. Total stitches: 30
- 6 Row: (4 single crochets, 1 increase) X 6. Total stitches: 36
- 7 Row: 36 single crochets by picking up only the back strand.
- 8 Row: 36 normal single crochets.
- 9 Row: (5 single crochets, 1 increase) X 6. Total number of stitches: 42.
- 10-11 Row: 42 single crochets.
- 12 Row: (6 single crochets, 1 increase) X 6. Total number of stitches: 48
- 13 Row: 48 single crochets.
- 14 Row: we start with 1 single crochet, then I skip 1 stitch and in the third stitch I make 5 double crochet, again I skip 1 stitch and in the next stitch 1 single crochet. Repeat this sequence until the end.
Cobertura / Coverage
Nata / Cream
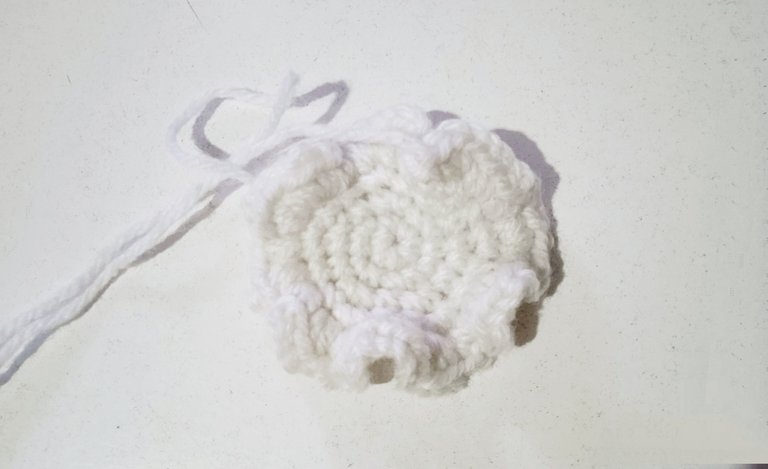
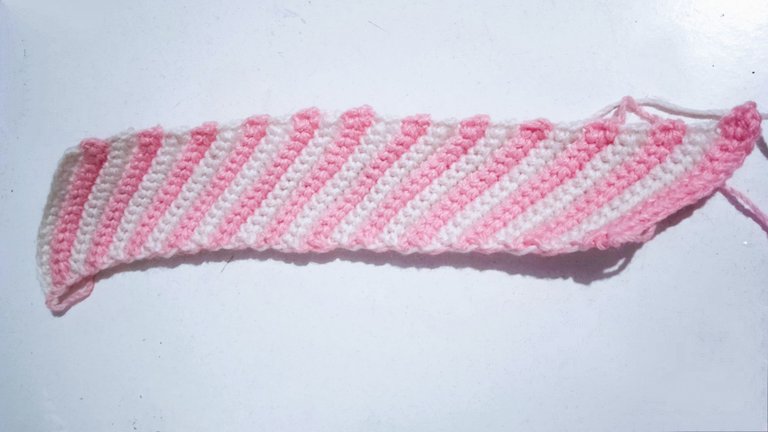
- 1 Con el hilo blanco y hacemos 6 puntos bajos en un anillo mágico.
- 2 Hilera: 6 aumento. Total de puntadas: 12
- 3 Hilera: (1 punto bajo, 1 aumento) X 6. Total de puntadas: 18
- 4 Hilera: 5 puntos bajos en el mismo punto hasta completar la fila.
- 1 With the white yarn and make 6 single crochets in a magic ring.
- 2 Row: 6 increase stitches. Total stitches: 12
- 3 Row: (1 single crochet, 1 increase) X 6. Total stitches: 18.
- 4 Row: 5 single crochets in the same stitch until the row is completed.
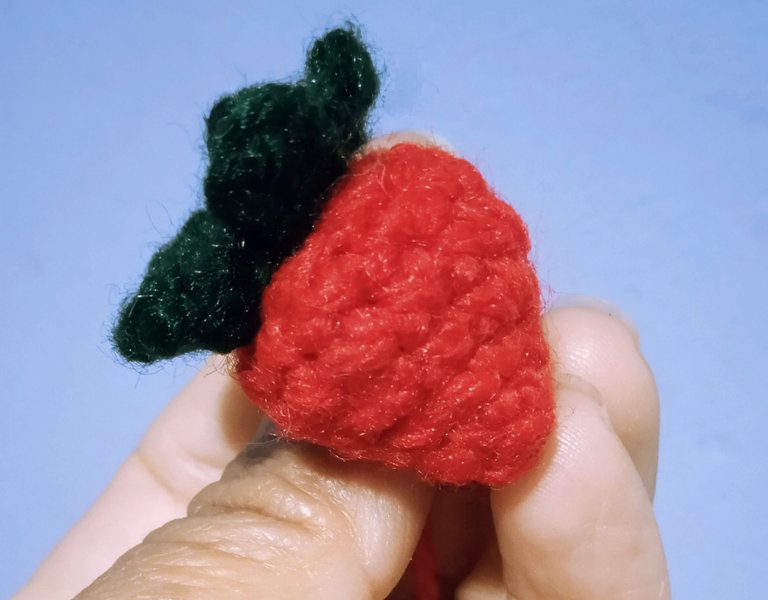
Fresa / Strawberry
- 1 Con el hilo rojo hacemos 4 puntos bajos en un anillo mágico.
- 2 Hilera: 4 puntos bajos.
- 3 Hilera: ( 1 aumento) X 4. Total de puntadas: 8
- 4 Hilera: (1 punto bajo,1 aumento)x 4. Total de puntadas: 12
- 5-6 Hilera: 12 puntos bajos.
- 7 Hilera: (1 punto bajo, 1 disminución)x 4. Total de puntadas: 8, Rellenamos.
- 8 Hilera: Solo disminuciones
A continuación haremos las hojas y después la coseremos a la fresa.
- 1 Con el hilo verde hacemos 5 puntos bajos en un anillo mágico, luego en cada punto hacemos 1 punto picot.
- 1 With the red thread we make 4 single crochets in a magic ring. + 2 Row: 4 single crochet. + 3 Row: (1 increase) X 4. Total stitches: 8 + 4 Row: (1 single crochet, 1 increase) x 4. Total stitches: 12 + 5-6 Row: 12 single crochet. + 7 Row: (1 single crochet, 1 decrease) x 4. Total stitches: 8, Fill. + 8 Row: Decrease only
Next we will make the leaves and then we will sew it to the strawberry.
- 1 With the green thread we make 5 single crochets in a magic ring, then in each stitch we make 1 picot stitch.
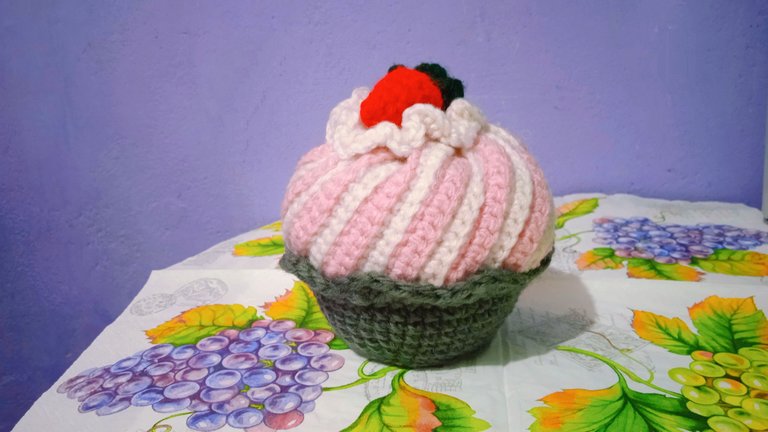
¡¡Este es resultado de final!!
This is the final result!!!

Realmente un proyecto muy lindo y tierno. Me encantó el detalle de la fresa.
Gracias por compartir, saludos!🤗
Gracias, a mí también me gustó muchísimo la fresa, se ve tan real y sabrosa.
How cute is your cupcake. Thanks for the tutorial.
Te quedó hermoso!!😍😍 me gustó mucho la fresa que le pusiste✨ gracias por compartir este patrón!!!
¡Hola! Amiga me dejas sorprendida. Tejes muy bonito. Es una hermosa creación. Gracias por compartirnos el paso a paso.
Nunca he realizado un helado de este tipo. A ver si me animo y tejo unos parecidos.
¡Muy buen trabajo! 👏🐝🥳🙋🥂😉😁🙏❤️🌷👆🤗
Saludos Lelys. Me encanta hacer amirugumis son tan lindos de tejer, es relajante para mí.
Muchas gracias por pasar por aquí :)
Congratulations @jcchelme! You have completed the following achievement on the Hive blockchain and have been rewarded with new badge(s):
Your next target is to reach 700 replies.
You can view your badges on your board and compare yourself to others in the Ranking
If you no longer want to receive notifications, reply to this comment with the word
STOPSupport the HiveBuzz project. Vote for our proposal!
Beatifull and sweet to look at <3
Hola @jcchelme, el ponqué está super tierno, el detalle de la fresa lo hace ver tan real, que quiero comer uno ja, ja.
Feliz día!
Provoca comérselo. Que rico. Te quedó muy lindo. Buen trabajo. Saludos 🌹😘